

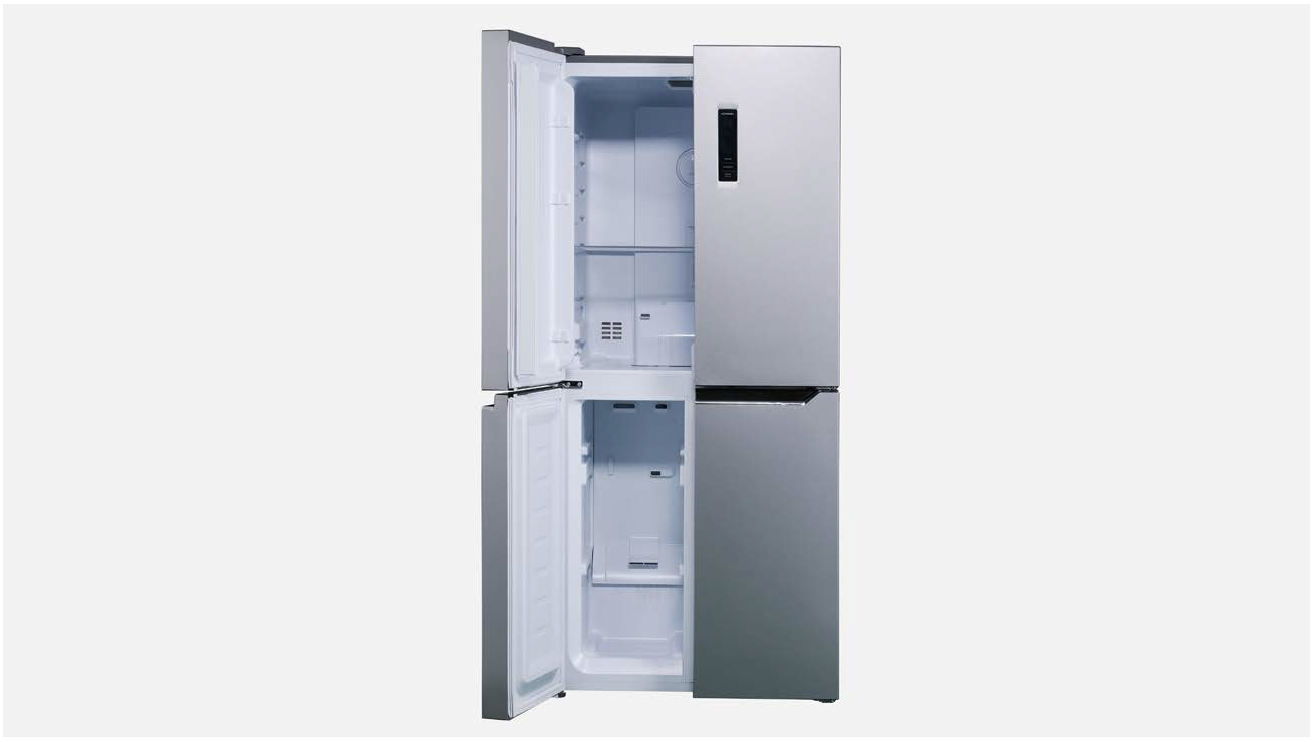
CHECK AND TEST 1
Step 1
Unscrew cover of mainboard with a Cross-head screwdriver.

Step 2
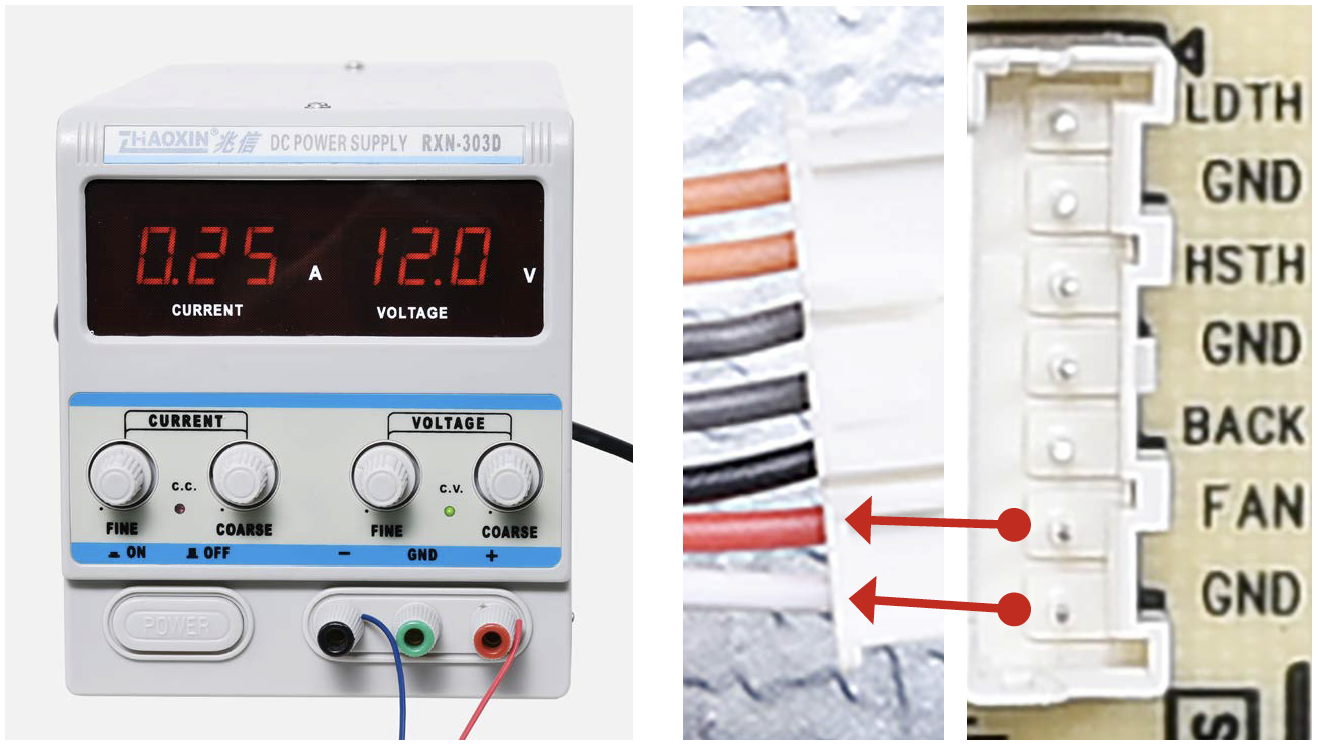
Power off the appliance, and turn the power output of transformer to DC 12V.
Step 3
Supply power from terminal in PCB area.
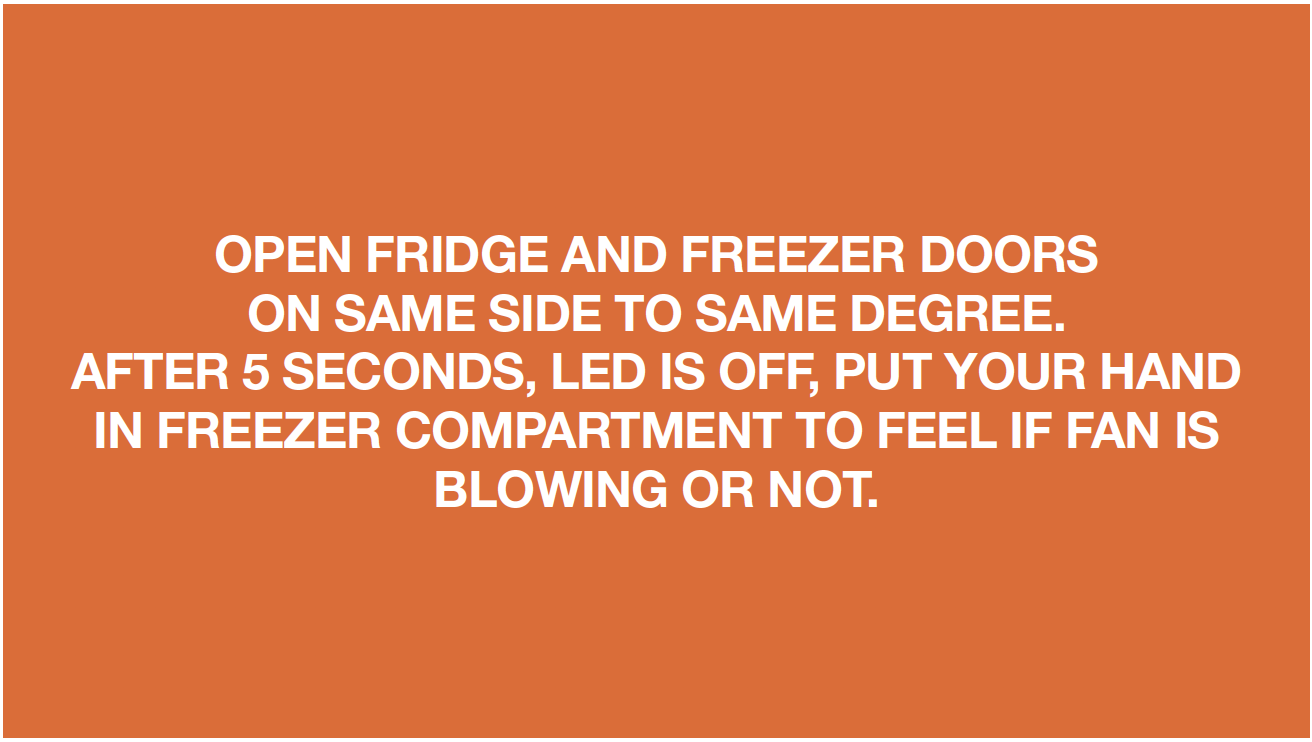
Step 4
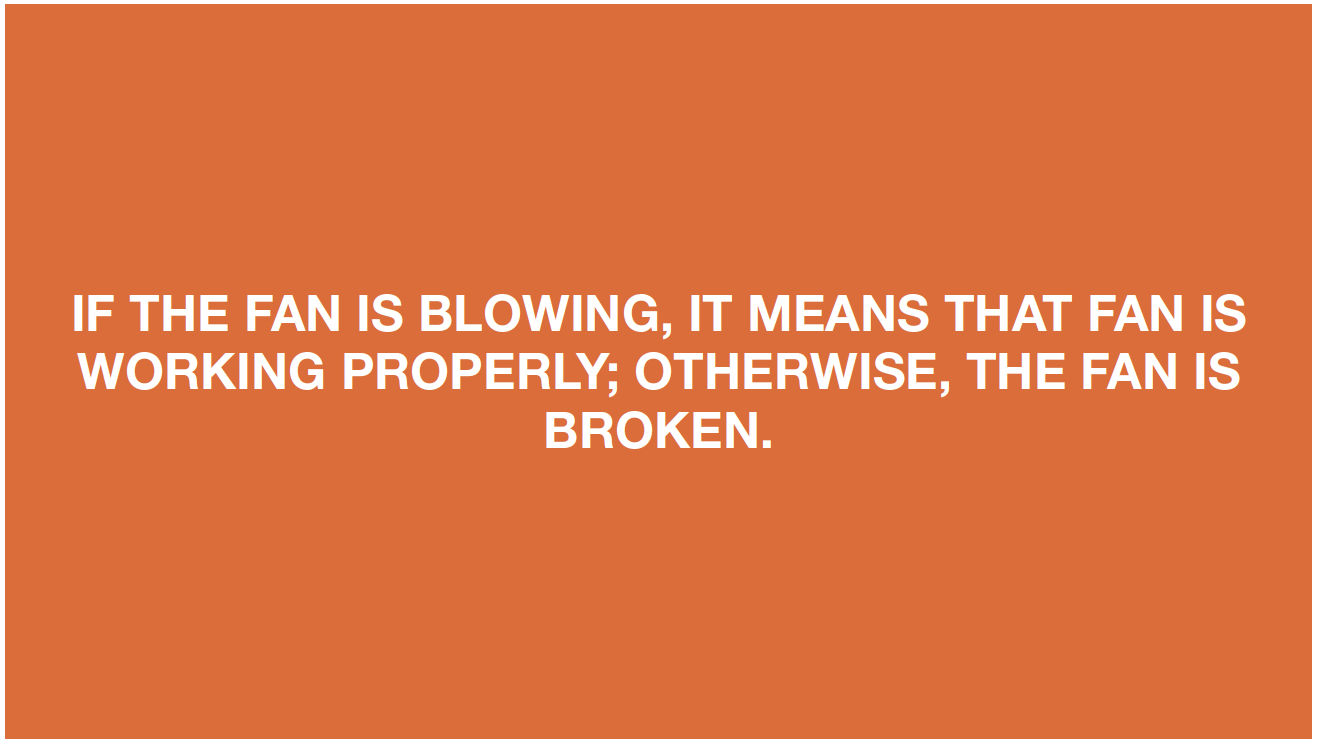
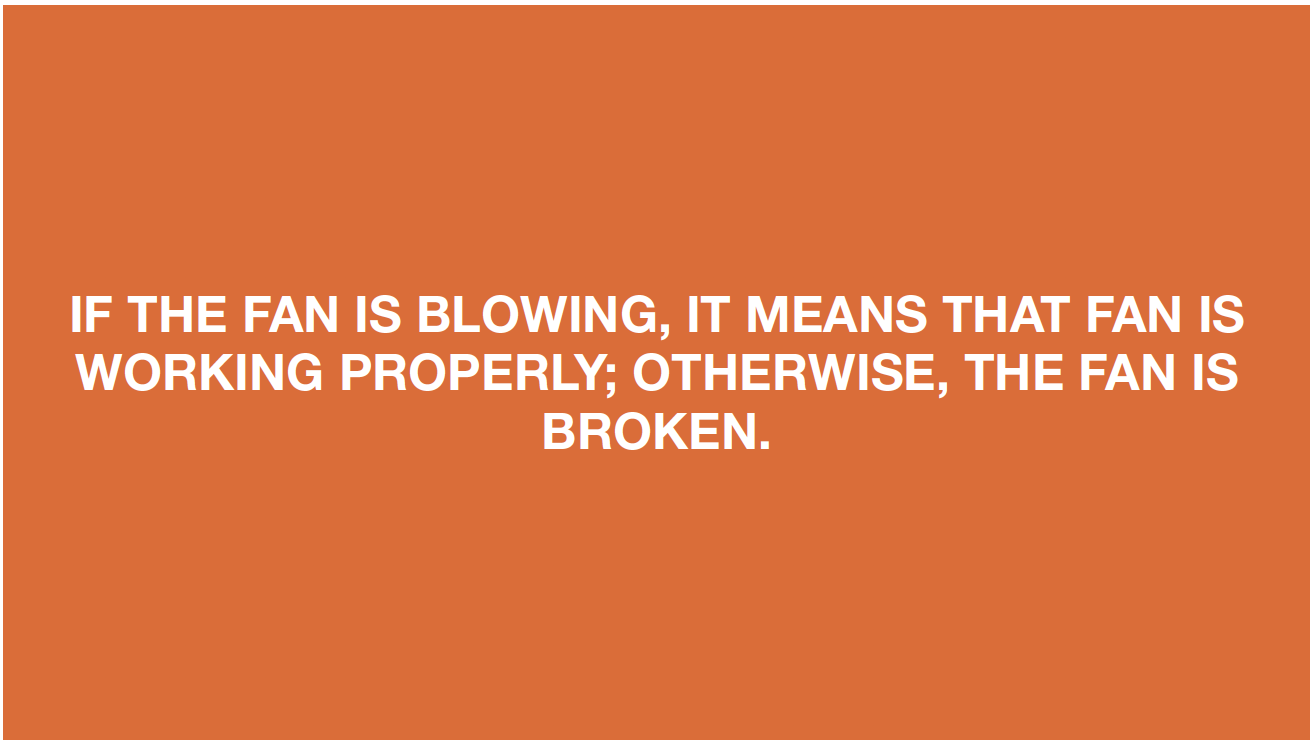
Open fridge and freezer doors on same side to same degree. After 5 seconds, the LED is off, put your hand in freezer compartment to feel if fan is blowing or not.


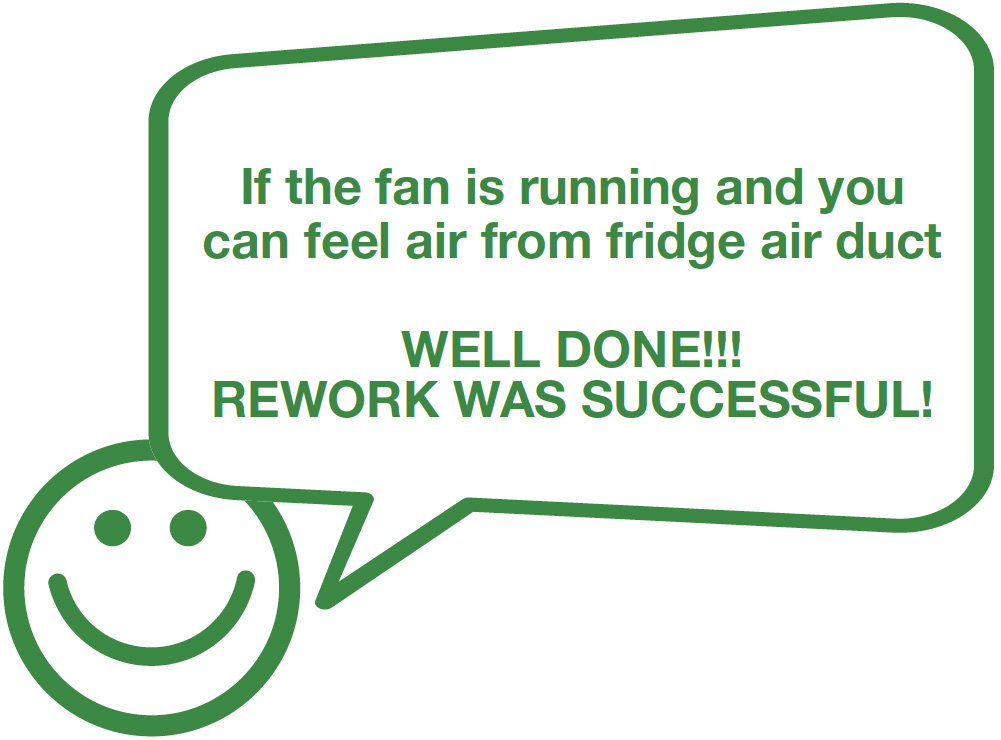
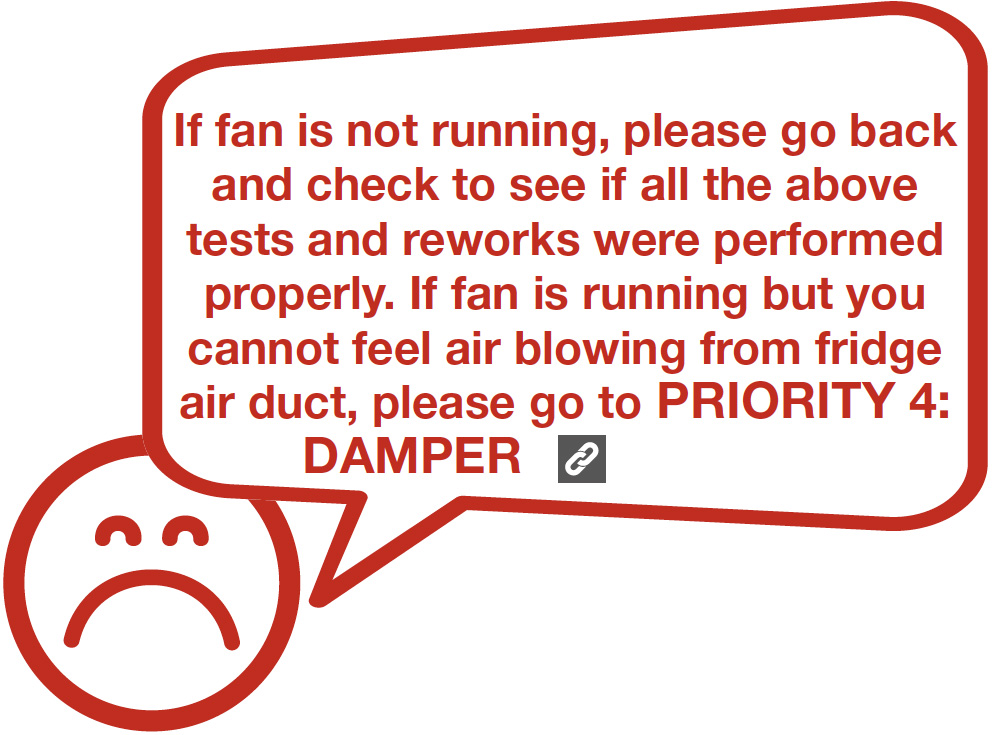
DIAGNOSIS 1


PROCEDURE 1
Step 1
Remove all drawers.

Step 2
Remove all shelves.

Step 3
Remove the vertical
partition plate:
a. Insert 2mm slotted
screwdriver into
the gap;
b. Lever up the cover
plate from bottom;

c. Insert 2mm slotted
screwdriver into the
side gap;
d. Lever up the cover
plate from bottom;

e. Pull the bottom end of
cover out;
f. Pull the top of the
cover out;

g. Pull pipes down to a
horizontal position;
h. Push the latch down
and pull top out of the
cavity;

i. Push the latch up and
pull bottom out of the
cavity;
j. Pull the partition
outward and remove
the partition;
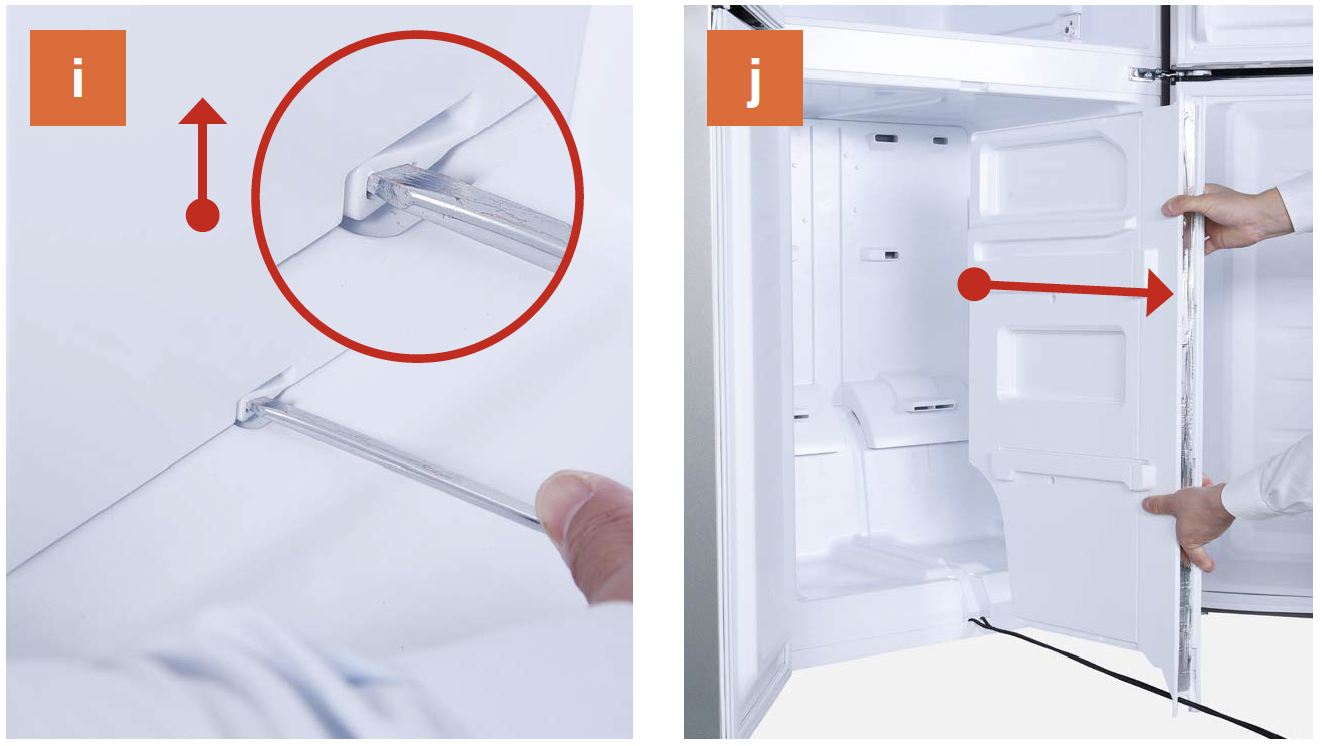
k. View inside once partition has been removed.

Step 4
Dismantle the air duct.
a. Hold the bottom of
air duct;
b. Pull air duct out from
below;

c. Disconnect the
terminal for fan motor;
d. Disconnect the
terminal of freezer temp. sensor;

e. Move air duct away.
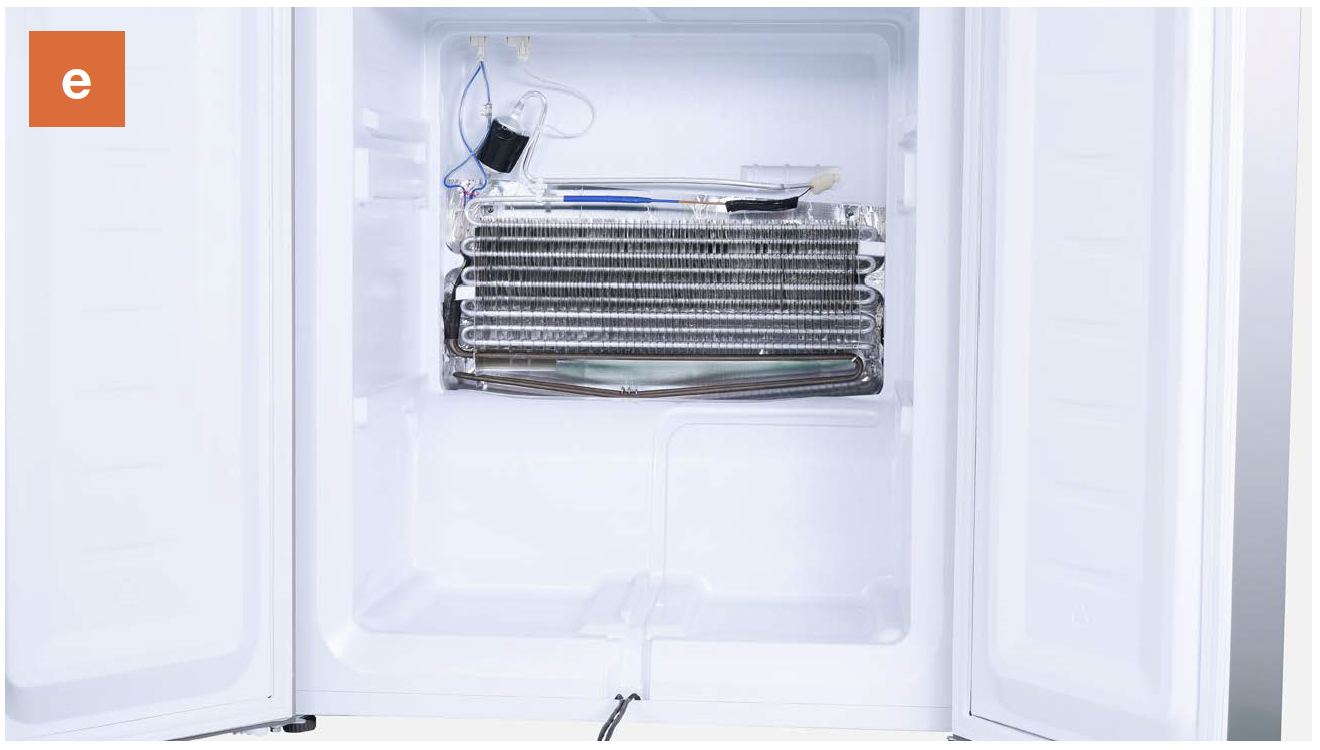

CHECK AND TEST 2
Step 1
In duct area, check if terminal is pushed into final position.
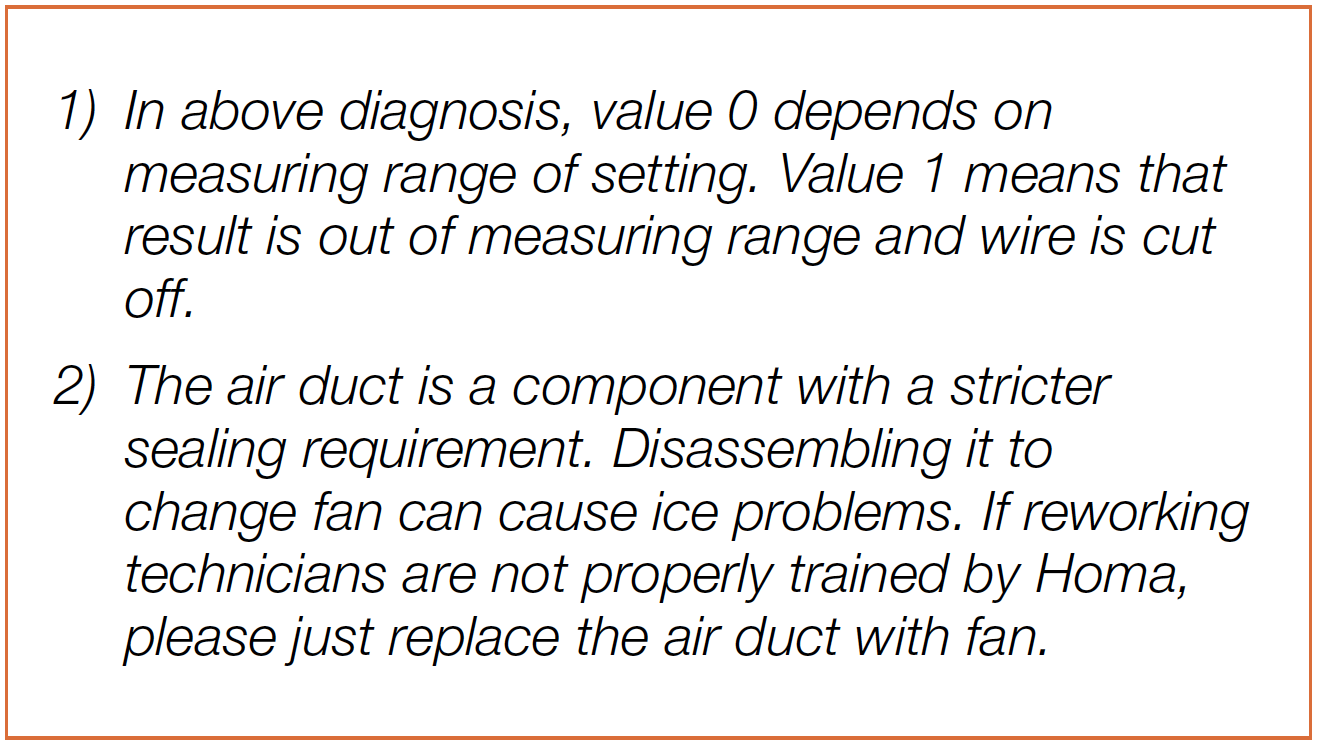
Note
A & C are not OK; B is OK..

Step 2
Check if terminal is filled with foam or not.
IF YES, please use
tweezers to clean and
remove the foam.
Later, reconnect the
terminals

Step 3
Power off the appliance and turn the power output of transformer to DC 12V.
Step 4
Supply power from terminal in PCB area.

Step 5
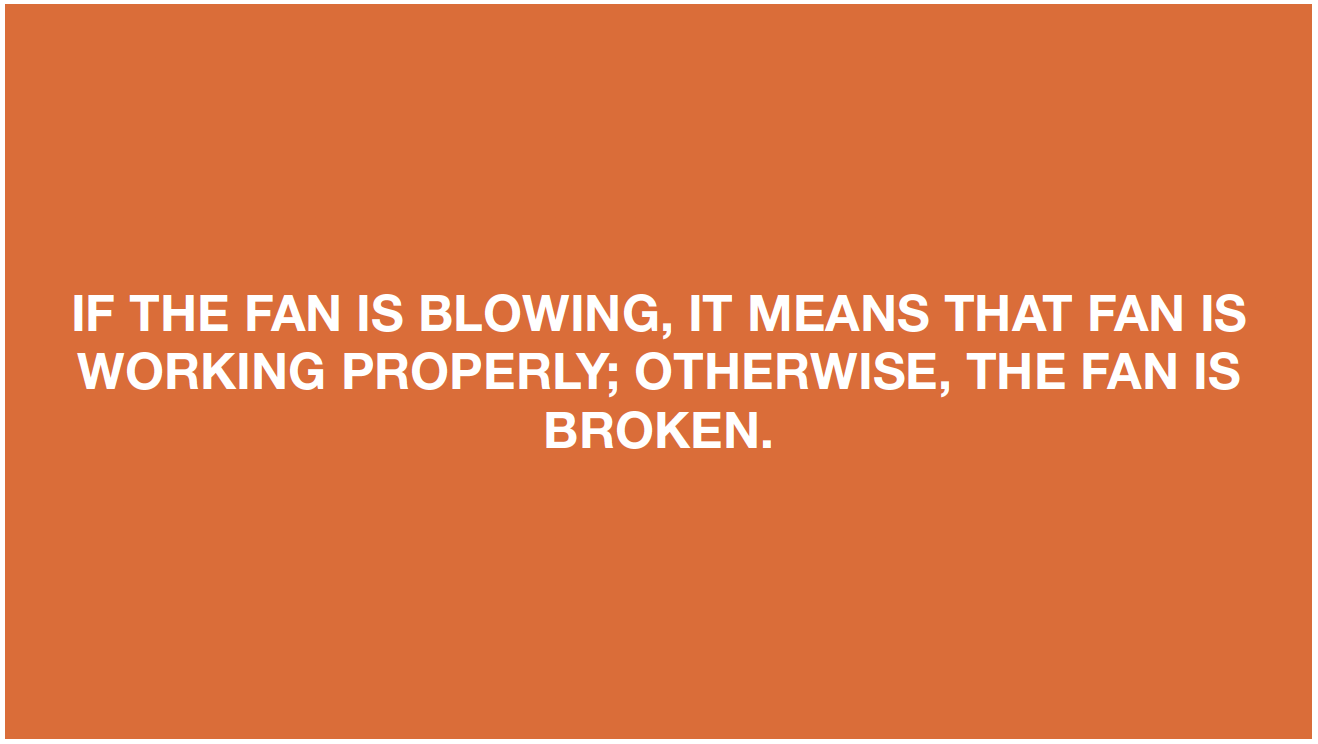
Open fridge and freezer doors on same side to same degree to feel if fan is blowing or not.


DIAGNOSIS 2


CHECK AND TEST 3
Step 1
Check to see if wires are damaged or not.

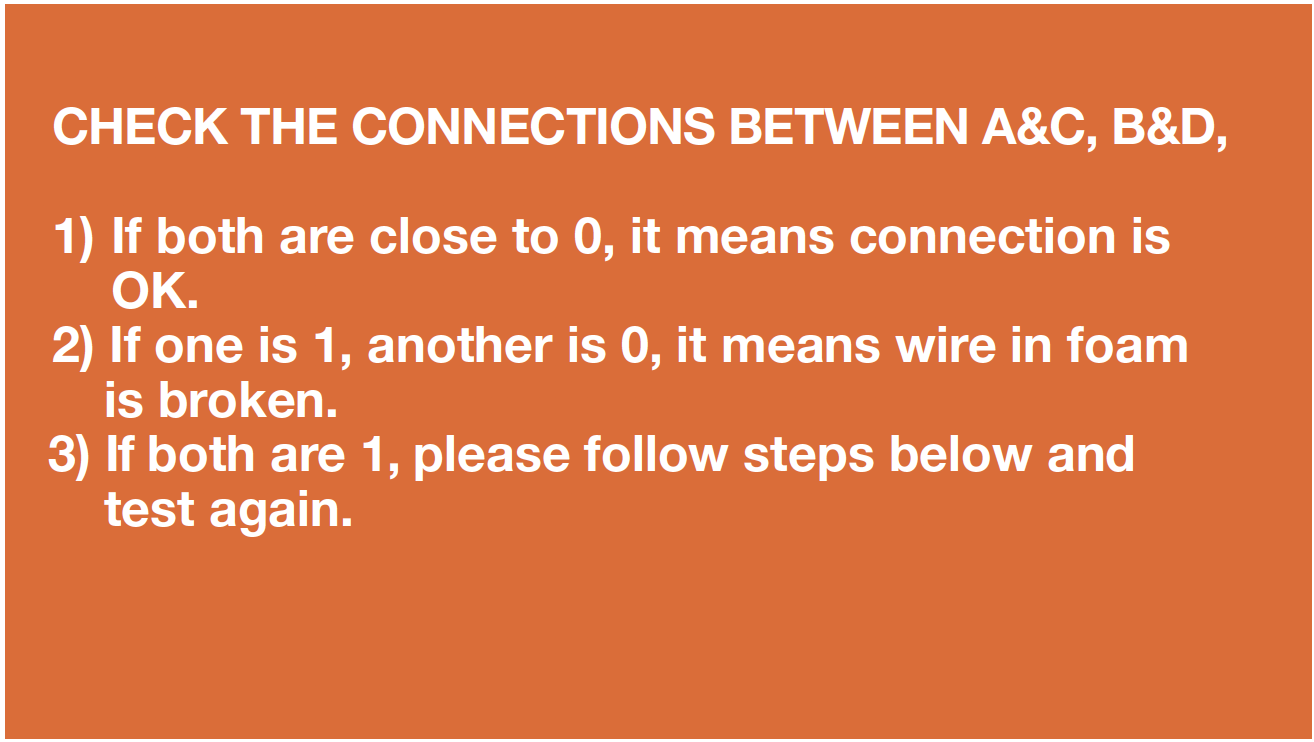
Step 2
Check to see if the wires
are in the correct order
and their connections in
the foam are correct:
1. Set multimeter to
resistance gear;

2. Put detector into one end of wires in PCB area;

3. Put another detector into end of wires behind air duct.


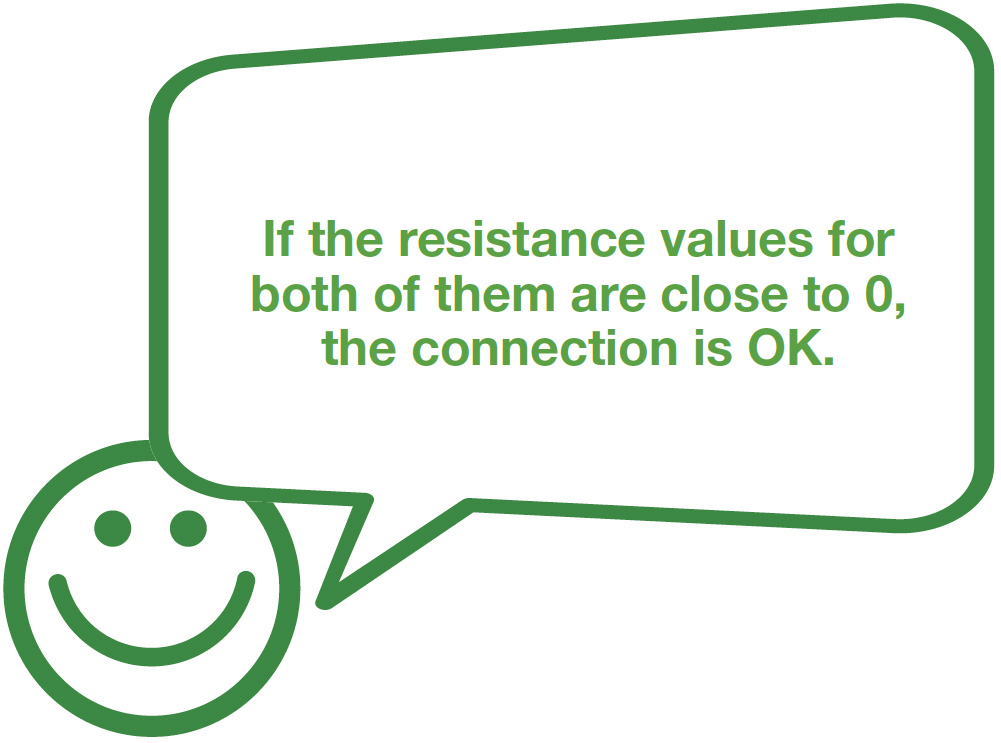
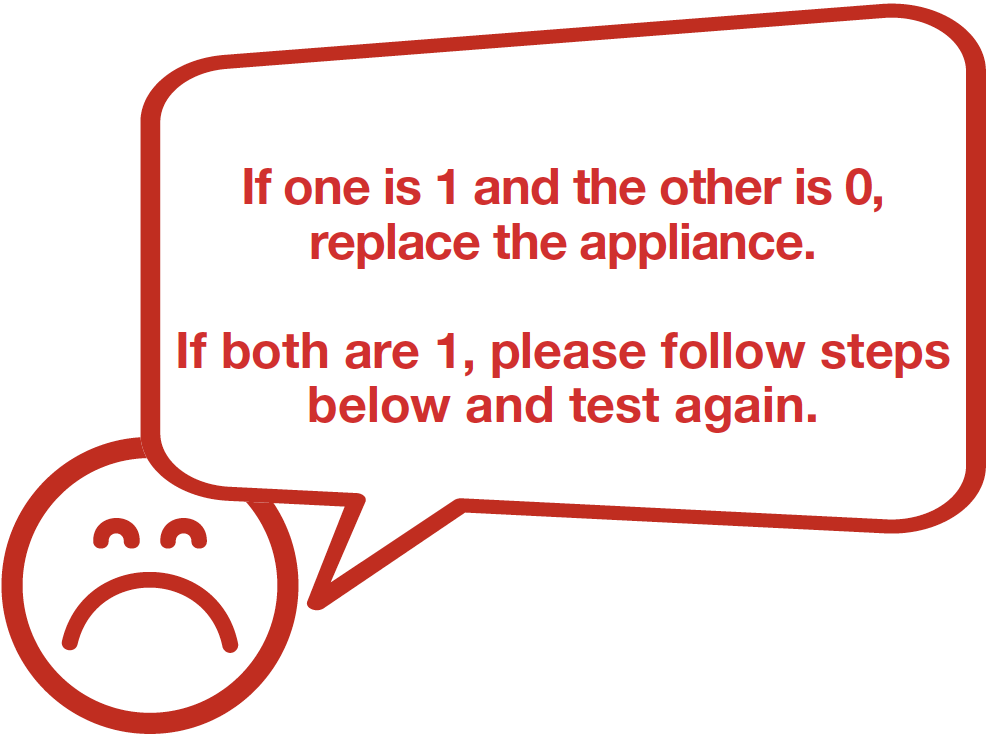
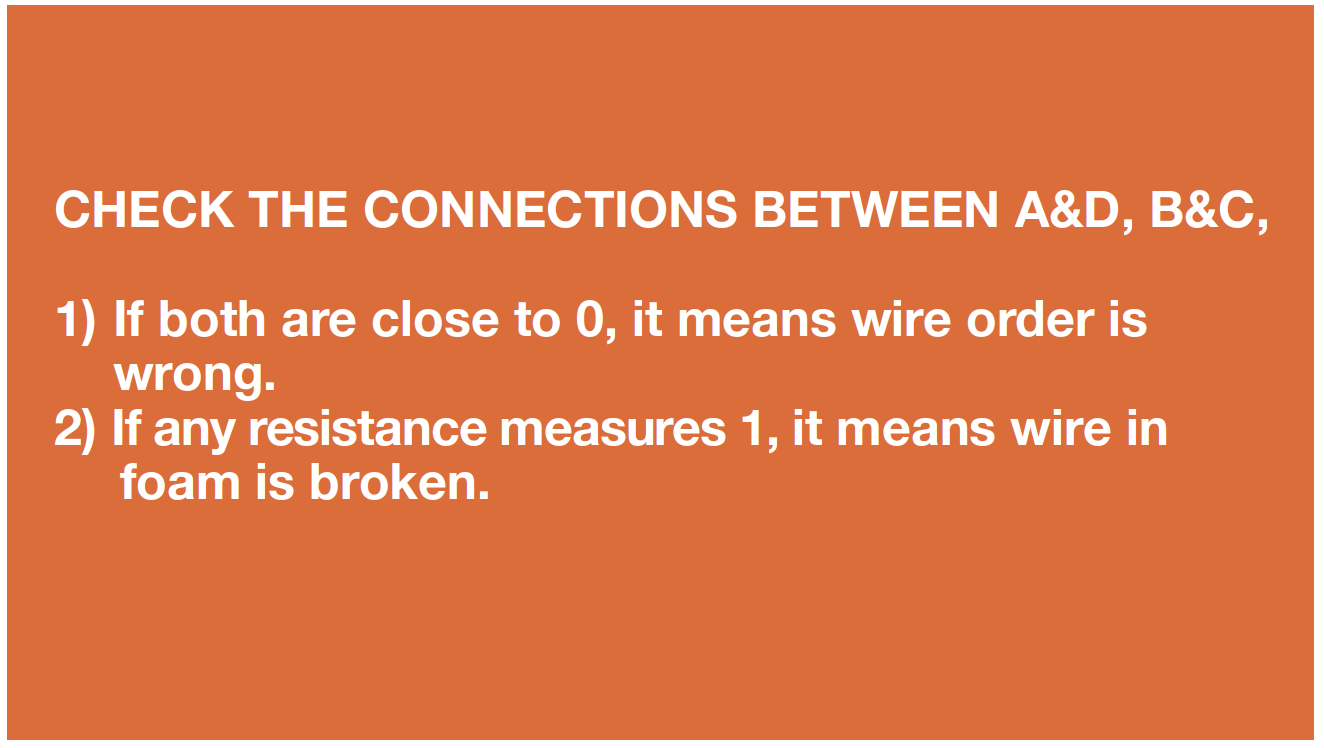
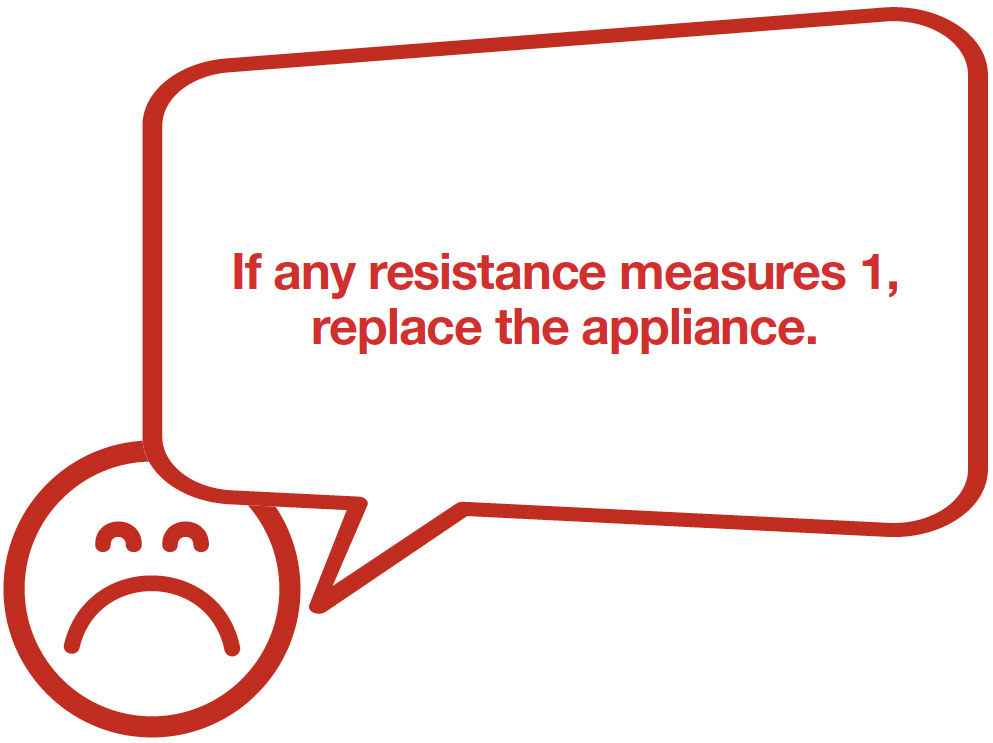
DIAGNOSIS 3

DIAGNOSIS 4
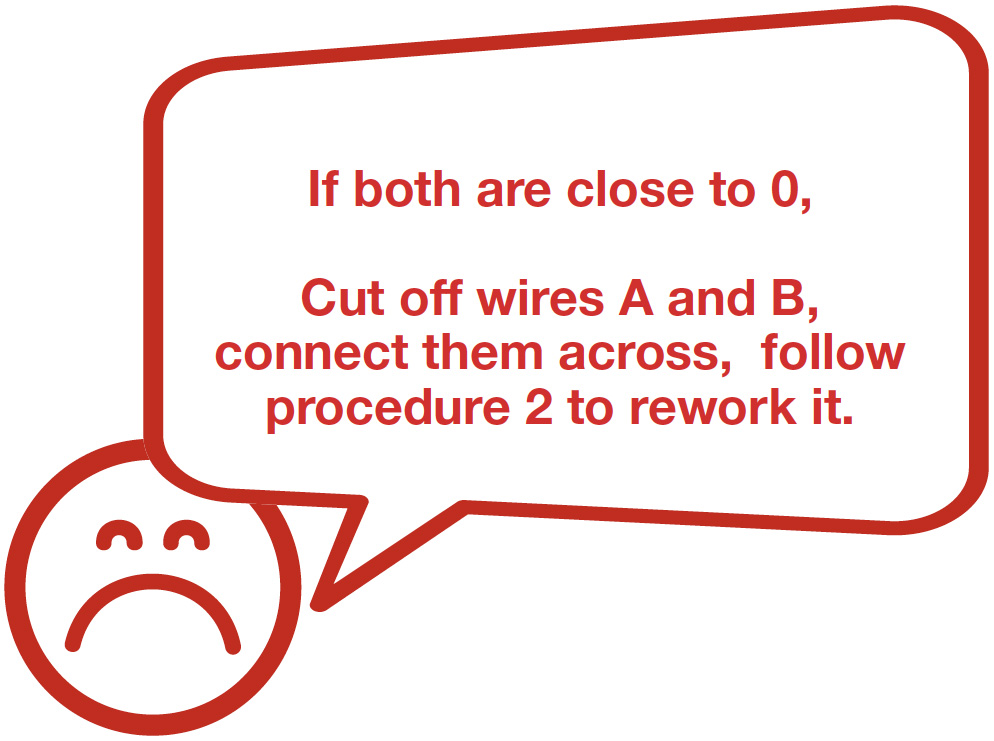

PROCEDURE 2
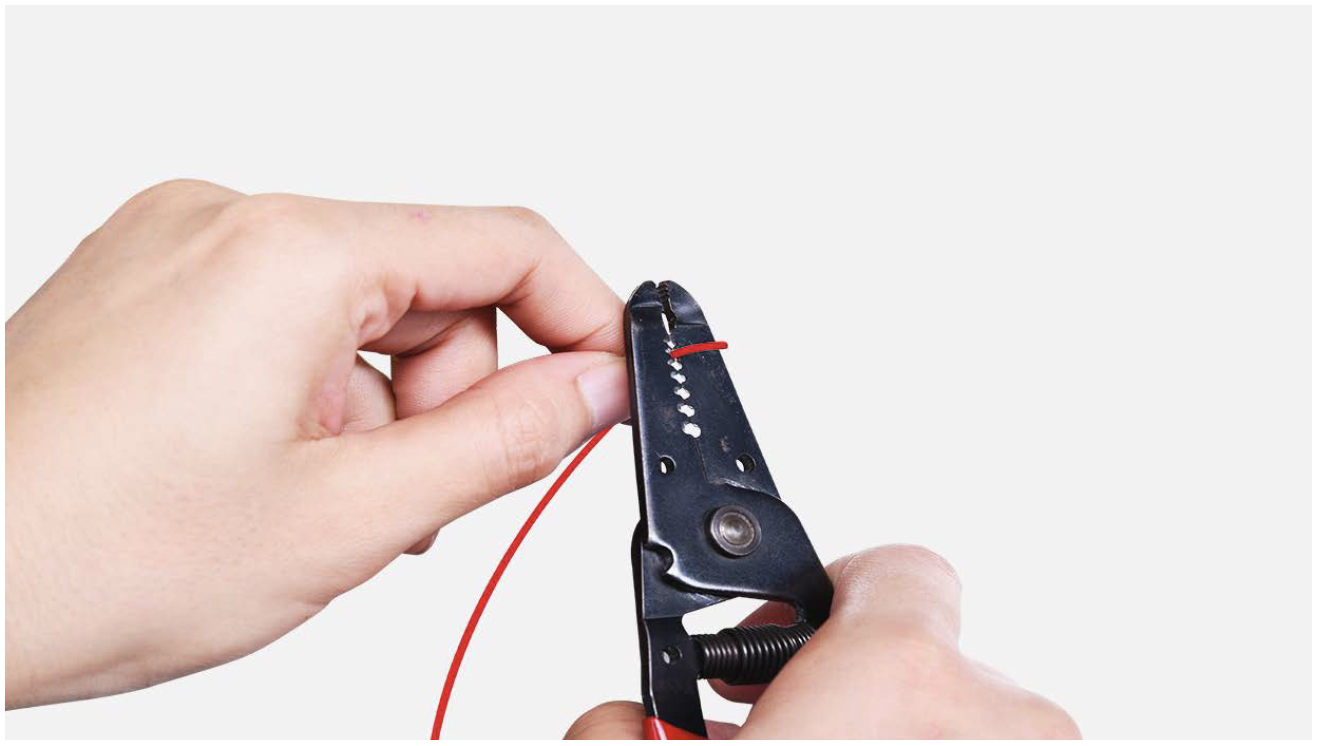
Step 1
Cut wire off from broken area.

Step 2
Peel off the sleeves.
Step 3
Check to ensure proper wire order and connect them.

Step 4
Tin soldering.

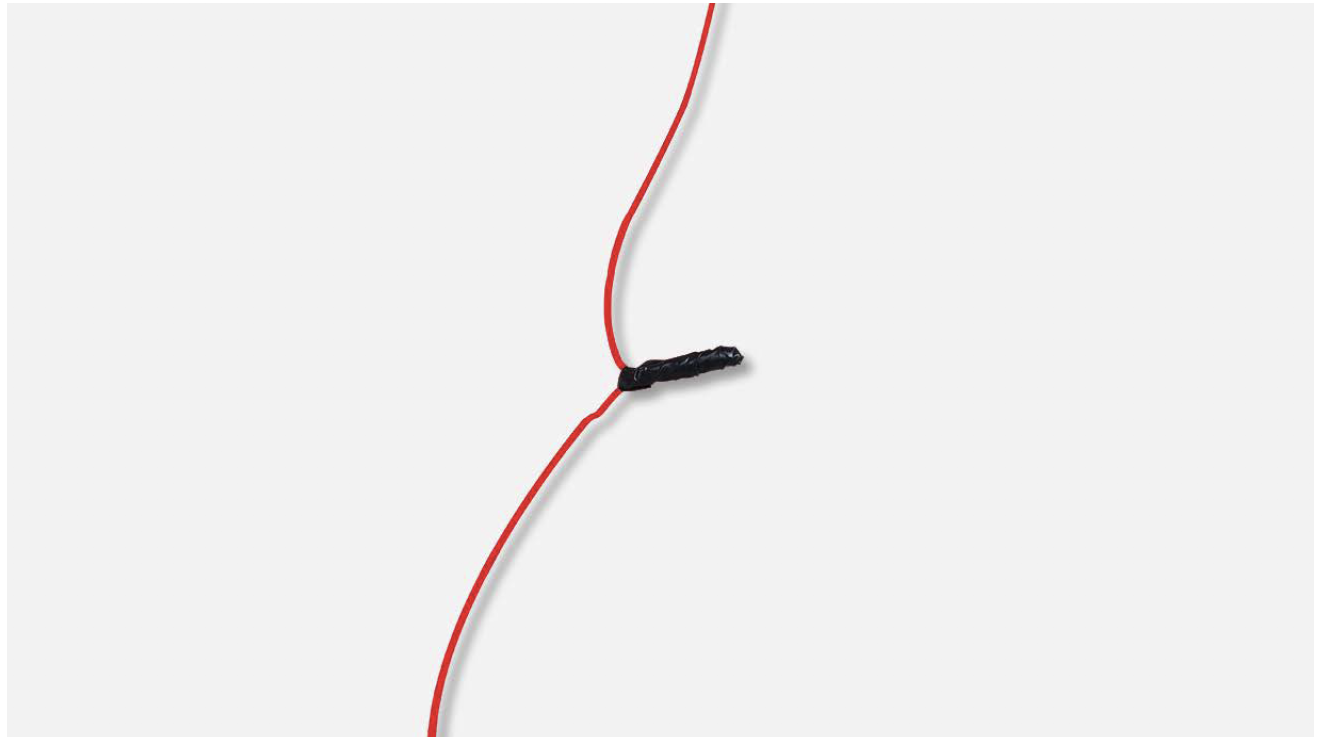
Step 5
Cover connection with electrical tape.

CHECK AND TEST 4
Step 1
Set output of transformer to DC 12V to test fan from the terminal behind the air duct.


DIAGNOSIS 5


Note

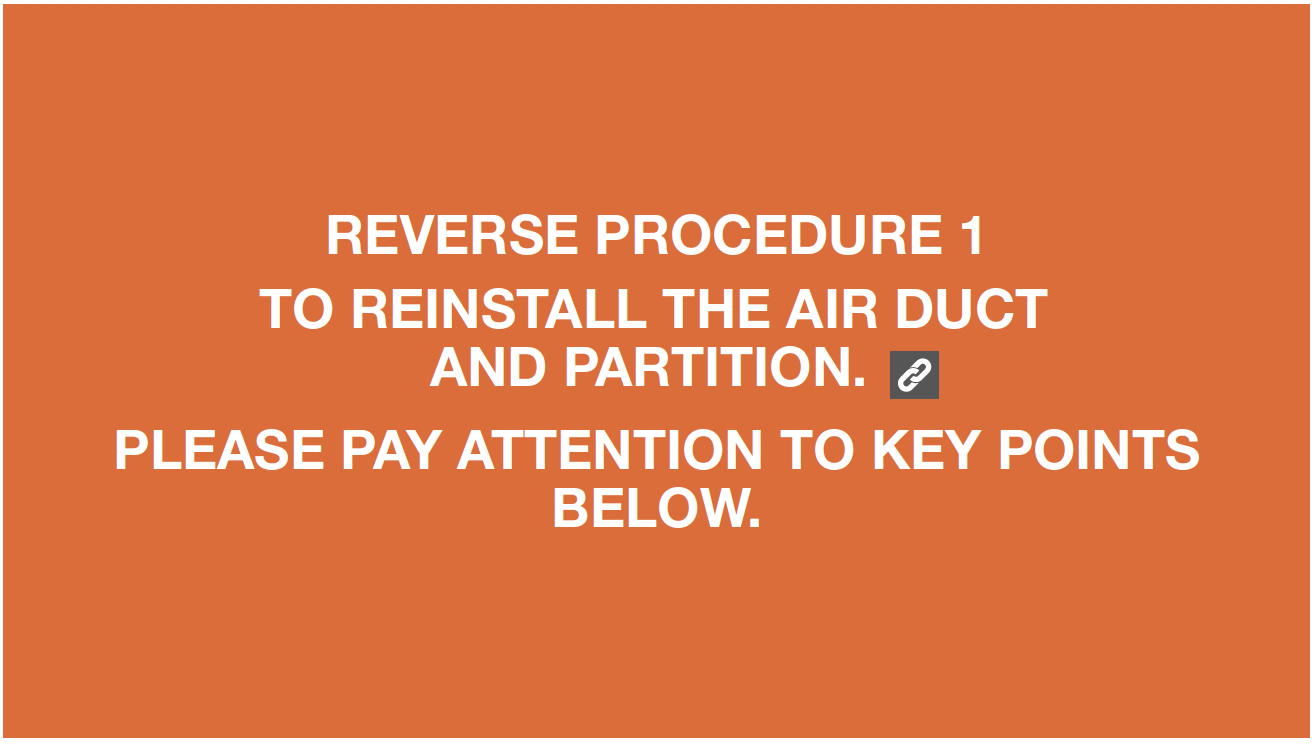
PROCEDURE 3
Tip 1
When re-installing the air duct, move the wires out of the way so that they won’t be crushed by air duct.

Tip 2
After pushing air duct
into position, it should
make a click sound.
If no click is heard, do it again.

Tip 3
Check to see if there is a wide gap between air duct and cabinet.
IF SO, install air duct again.

Tip 4
Check to ensure that the latch is properly inserted into the cavity.

Tip 5
First, insert top of the cover plate into the gap, then bend the plate to insert the bottom. Finally, push the middle into the slot.


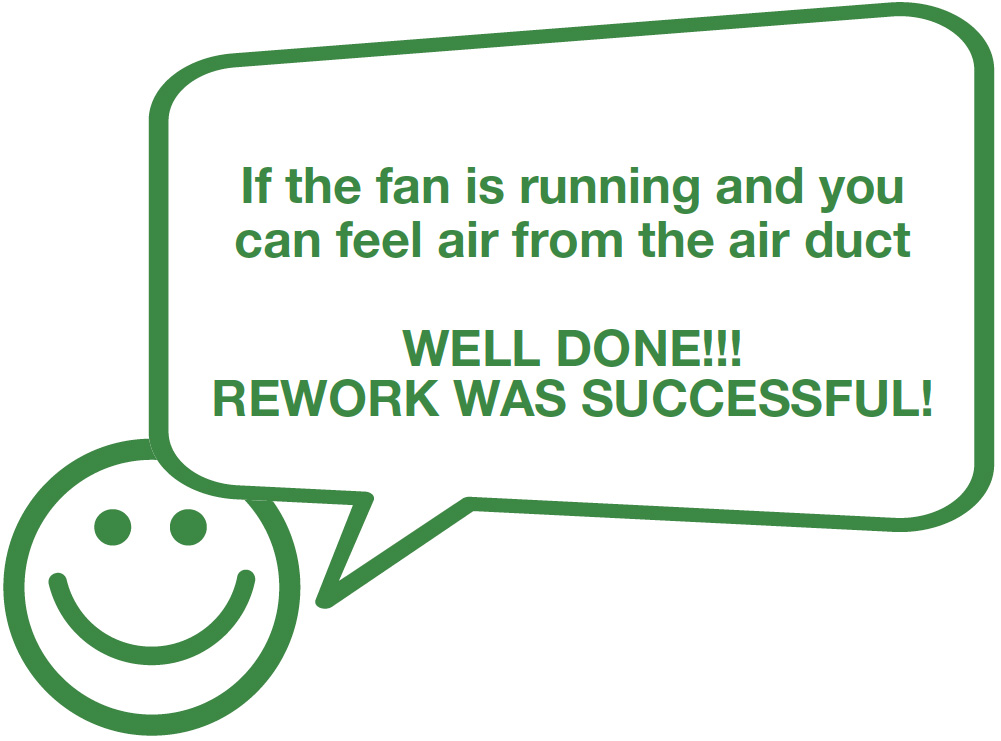
CHECK AND TEST 5
Step 1
Open fridge and freezer doors on same side to same degree.

DIAGNOSIS 6

GO BACK TO COMPONENT LIST