

CHECK AND TEST 1
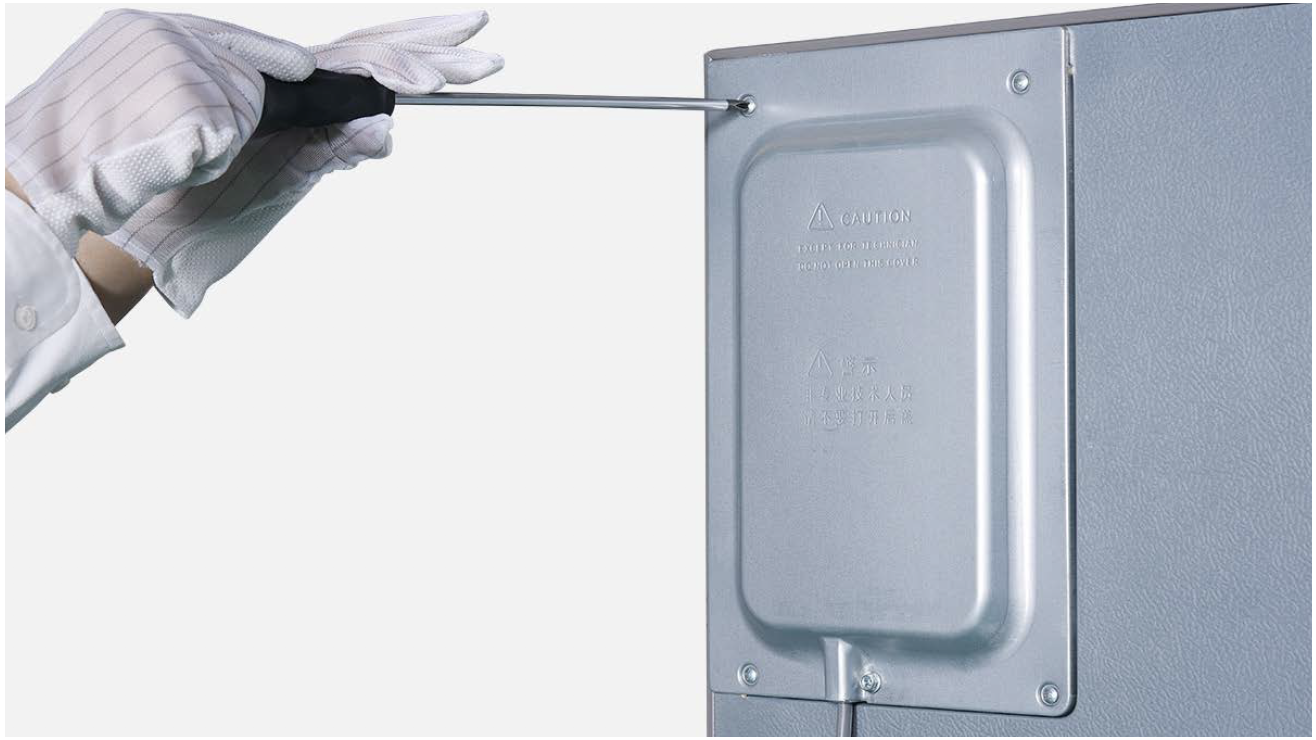
Step 1
Unscrew cover of mainboard with a Cross-head screwdriver.
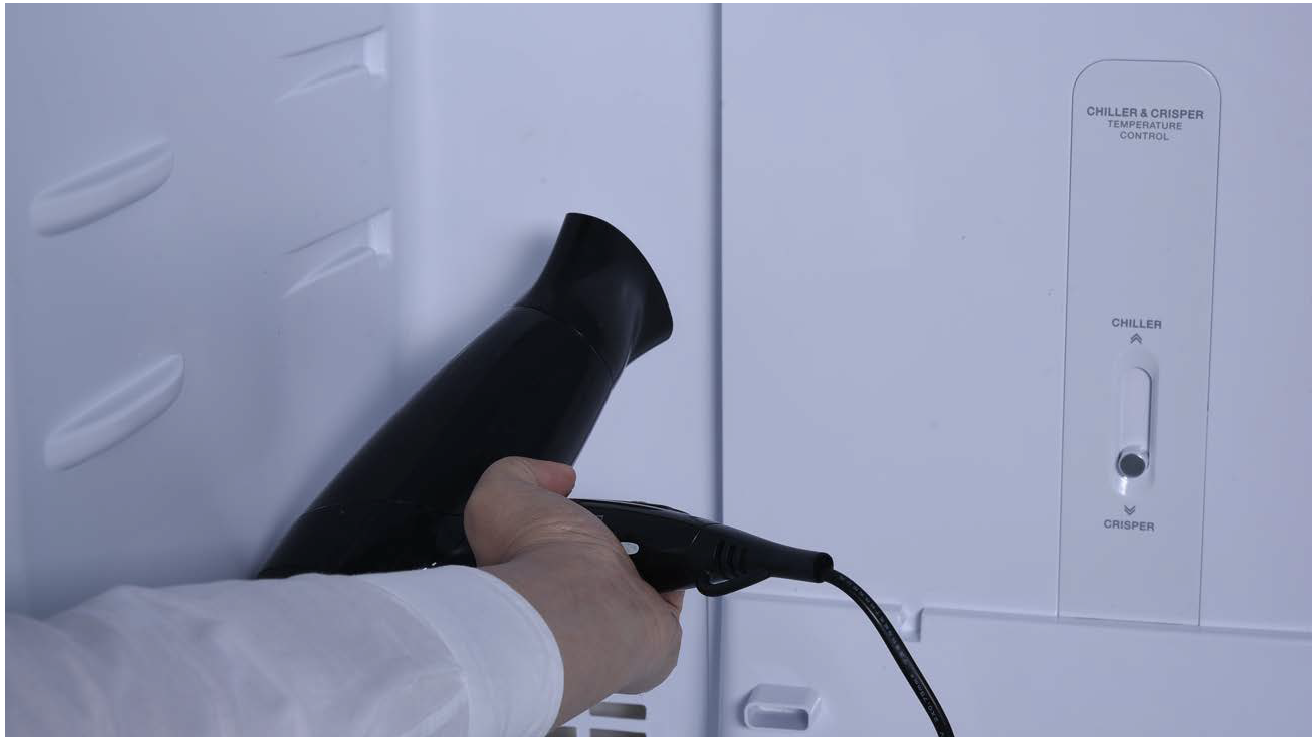
Step 2
Heat freezer temp. sensor.

Step 3
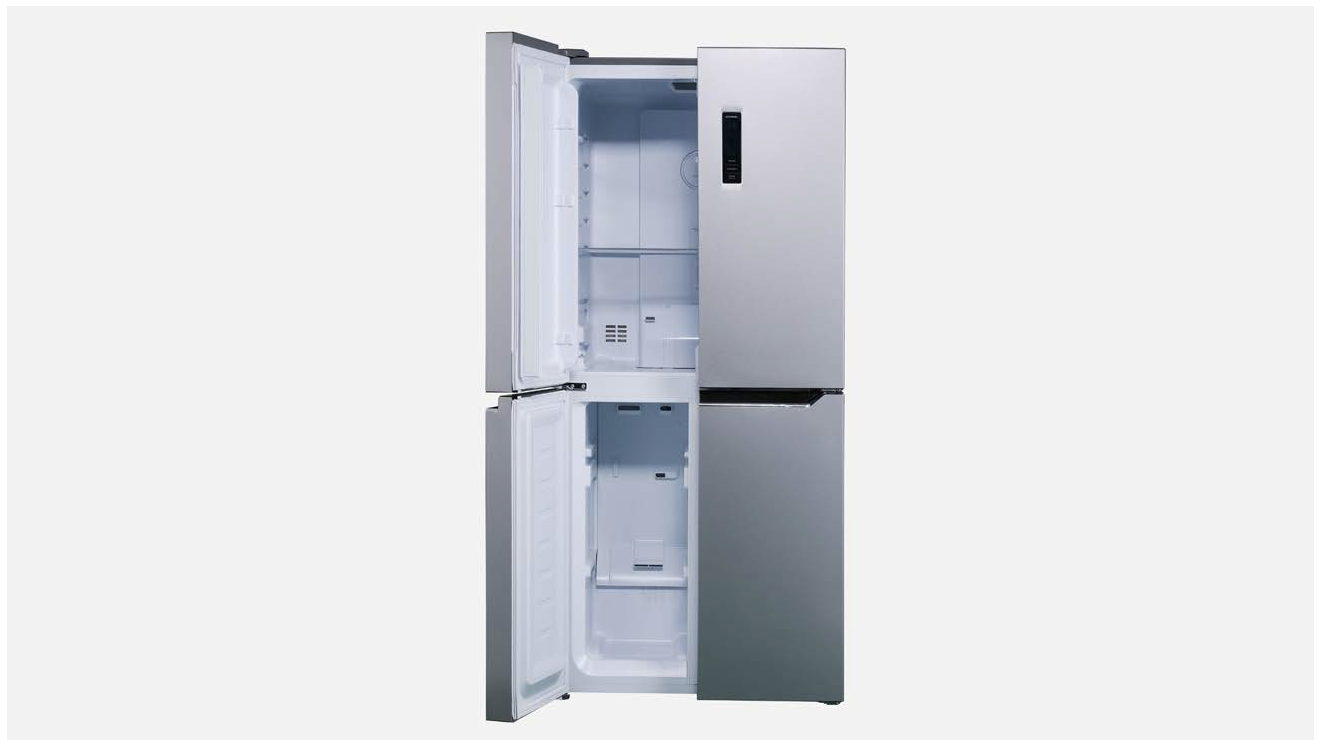
Open the fridge and freezer door on same side to same degree.
Step 4
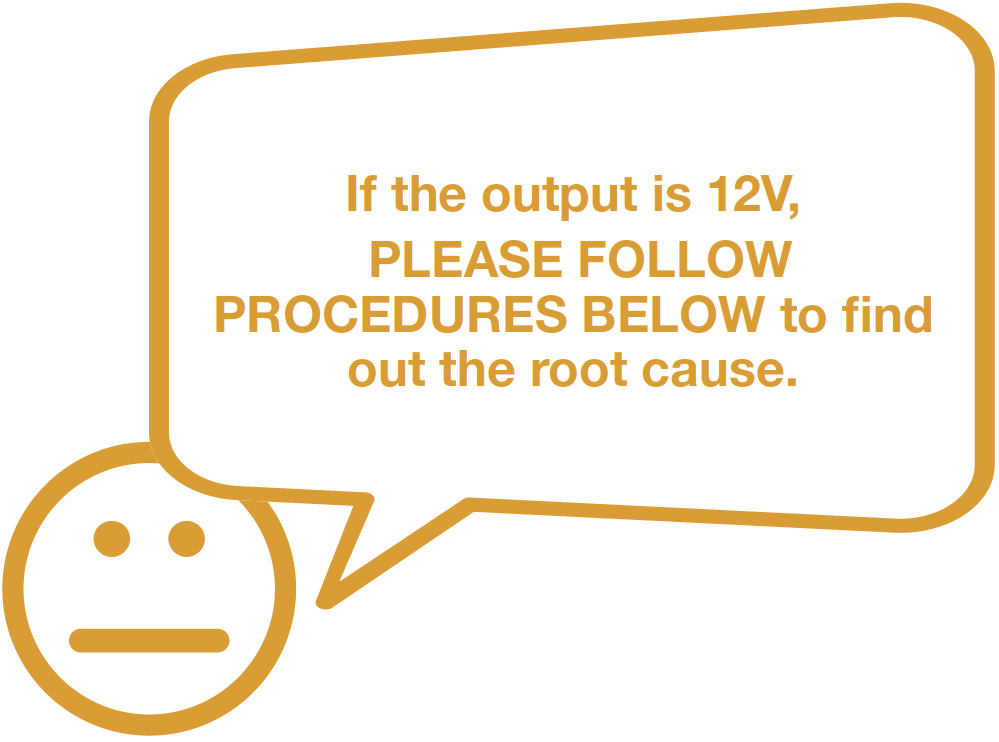
Use multimeter to measure the voltage output of PCB for “FAN+”&”GND”.

Step 5
Take note of test result.

Note


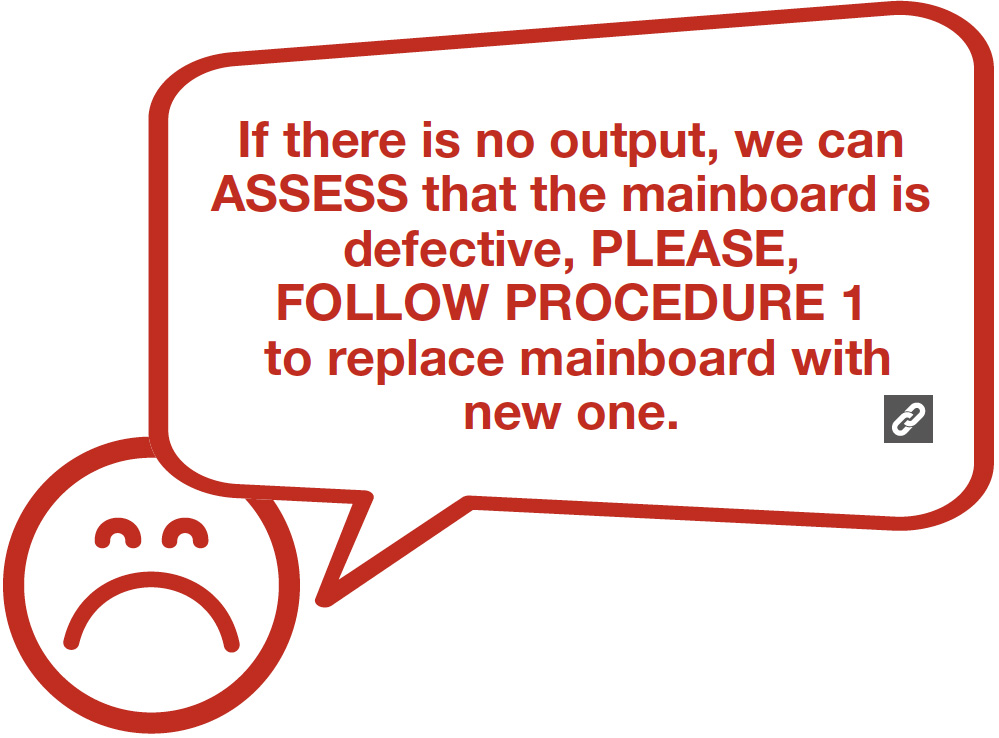
DIAGNOSIS 1


CHECK AND TEST 2
Step 1
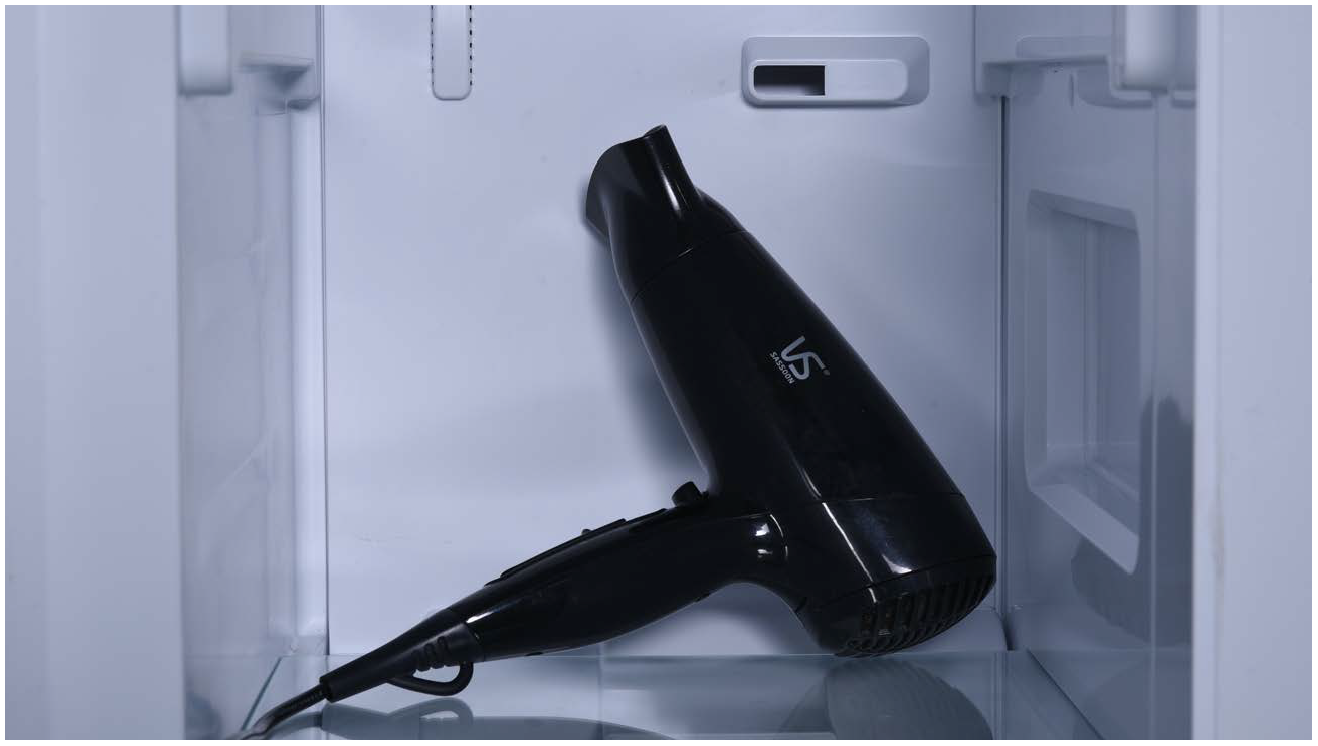
Heat fridge temp. sensor.
Step 2
Heat freezer temp. sensor.
Step 3
Power on the appliance and observe the signal for 5 seconds after opening or closing the door.
Note
Please open or close only one door.

Step 4
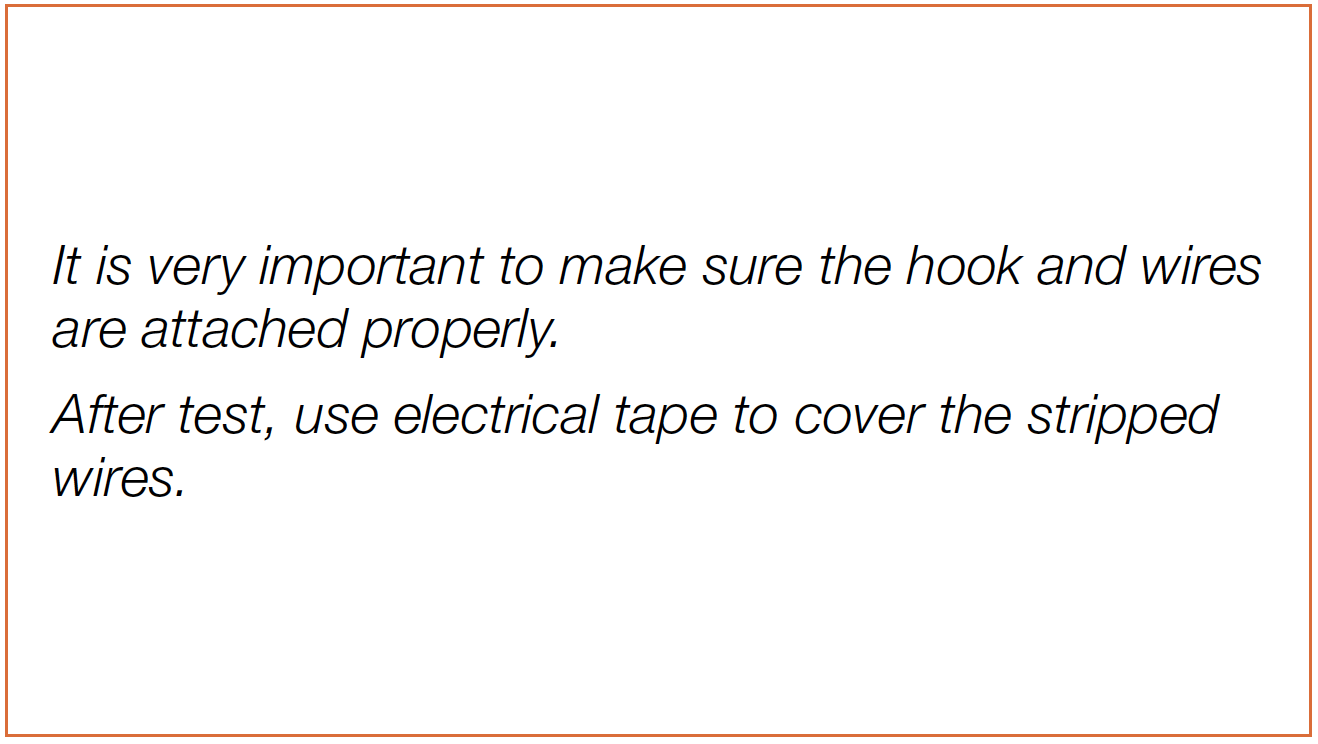
Attach detecting hook to wires after stripping sleeves, use an oscilloscope to measure signal for damper between “A+” & “B+” or “A-” & “B-”

Note
Step 5
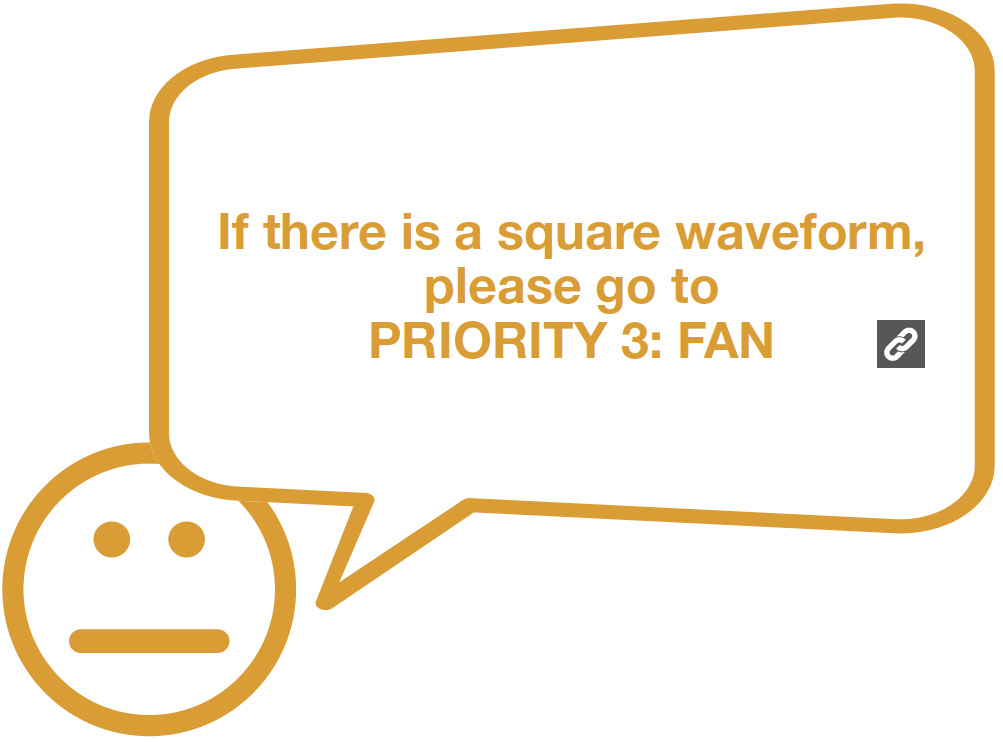
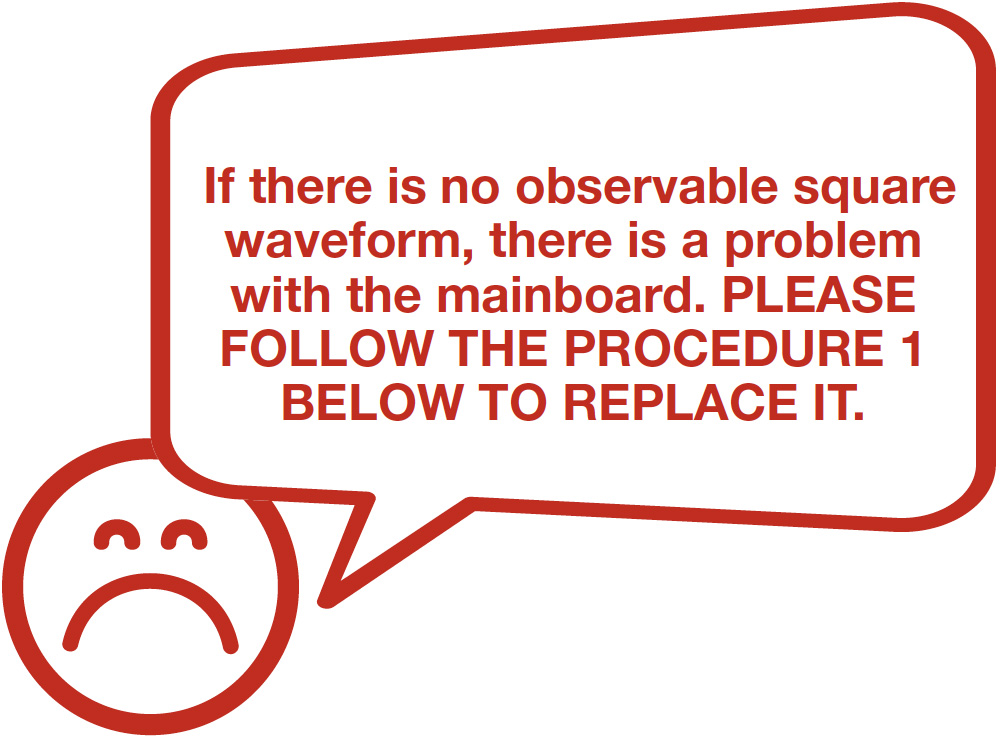
Power on the appliance and observe the signal for five seconds after opening or closing the door. Check to see if there is a square waveform output.


DIAGNOSIS 2


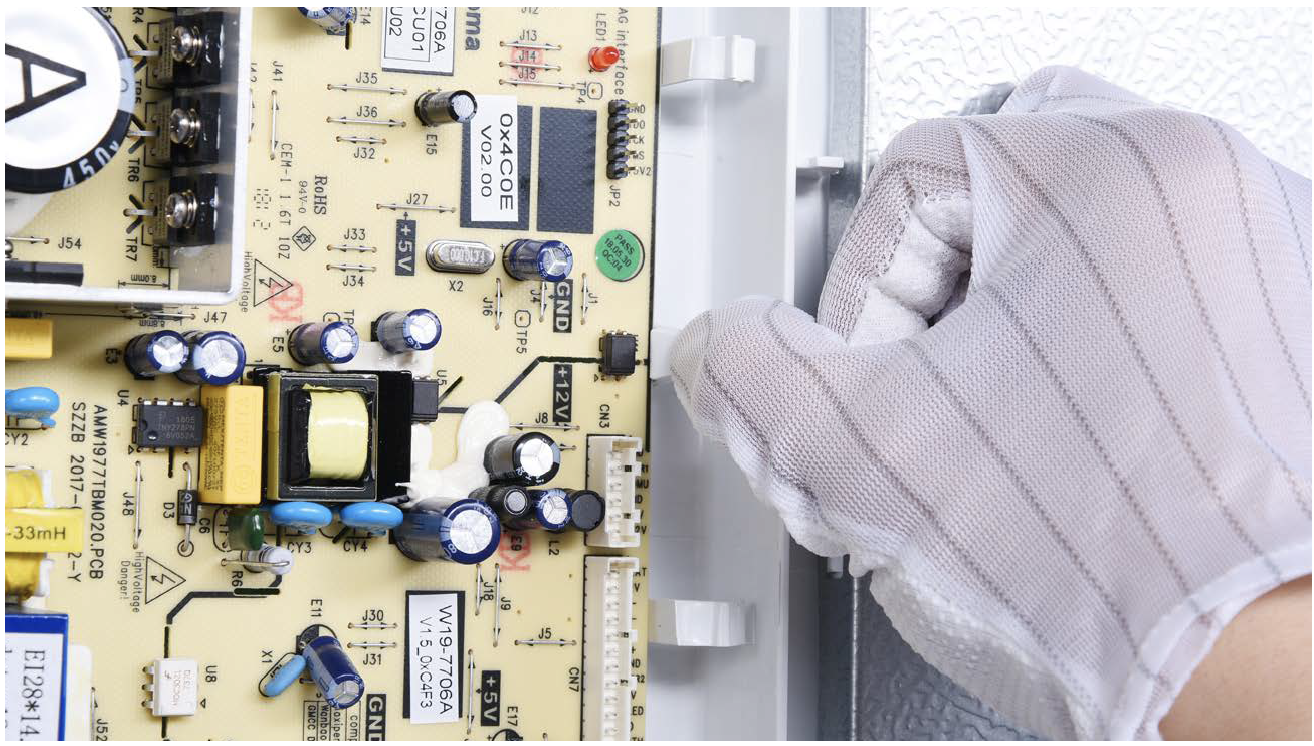
PROCEDURE 1

Step 1
Disconnect terminals.

Step 2
Pull out earthing wires.

Step 3
Unscrew the mainboard.

Step 4
Pull out the buckle to remove the mainboard.

PROCEDURE 2


DIAGNOSIS 3


GO BACK TO COMPONENT LIST