

CHECK AND TEST 1
Step 1
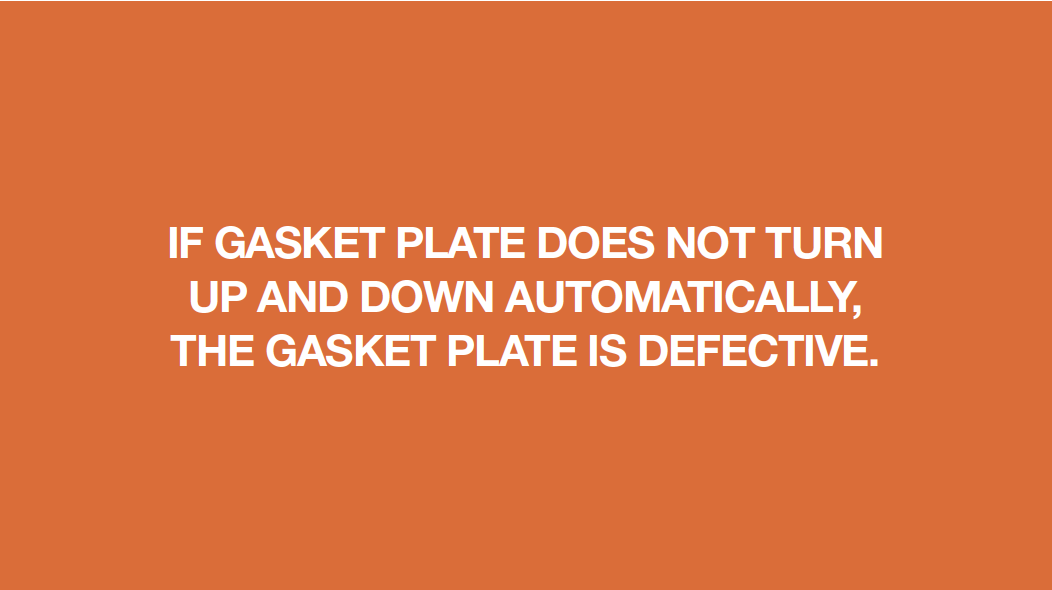
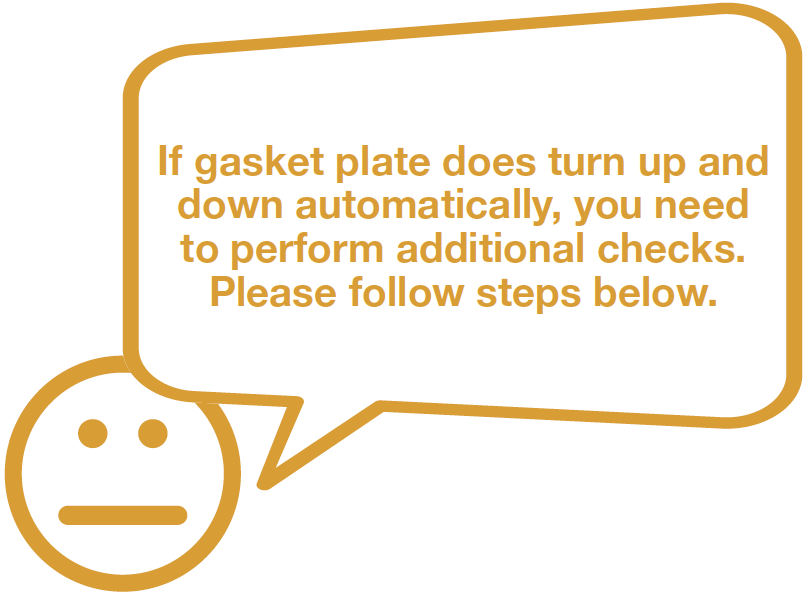
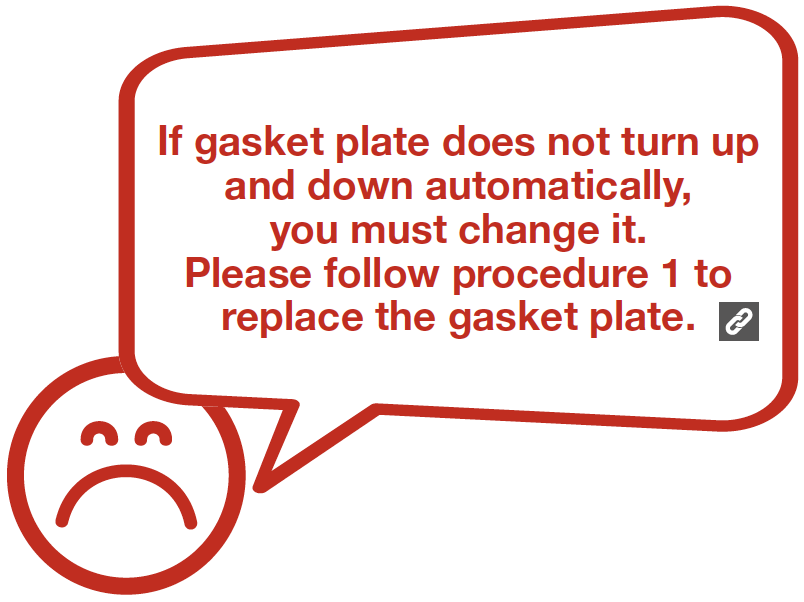
Open left fridge door to see if gasket plates turns up and down automatically.

DIAGNOSIS 1
CHECK AND TEST 2
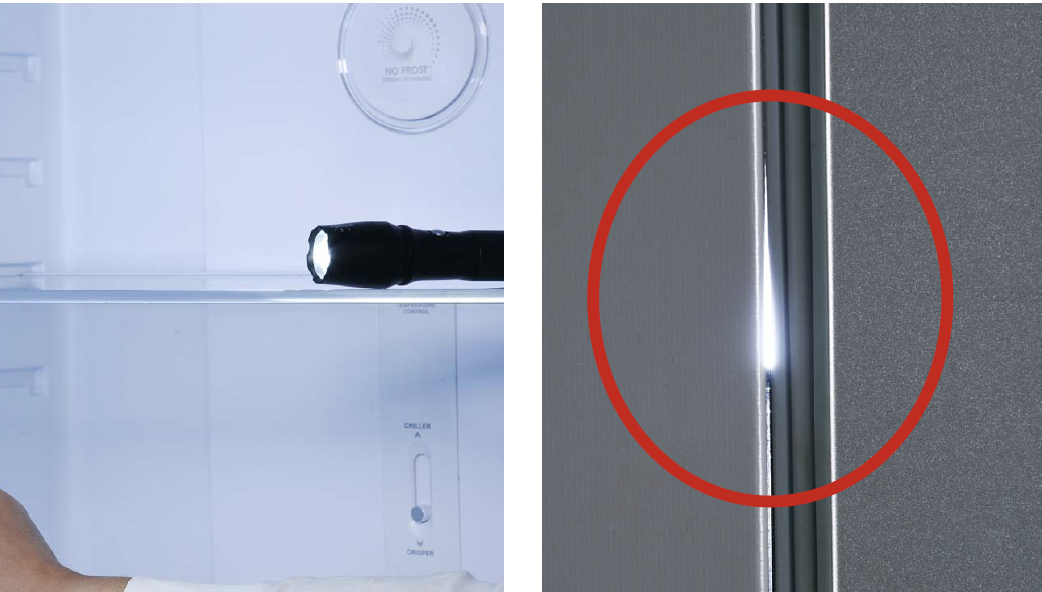
Step 1
Place a torch on shelf with light pointed towards the gasket.
Step 2
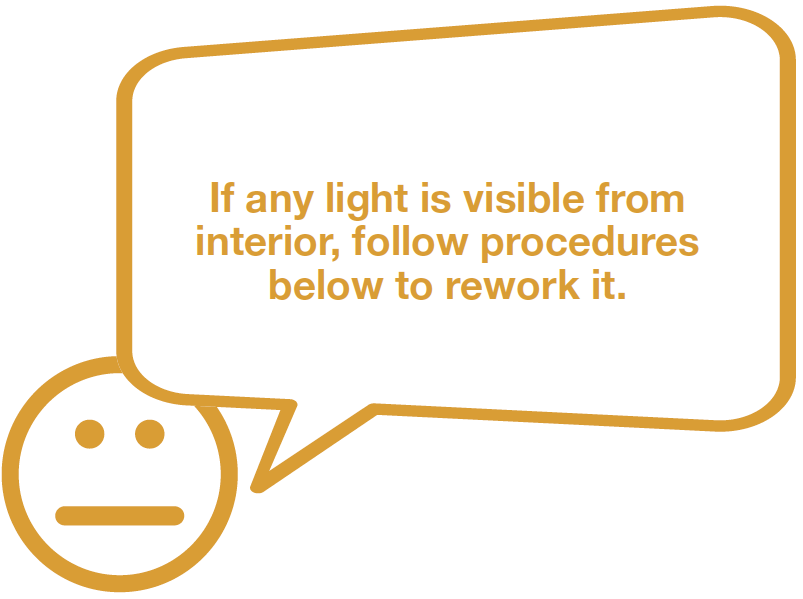
Close the door to see if any light is visible from interior.

DIAGNOSIS 2


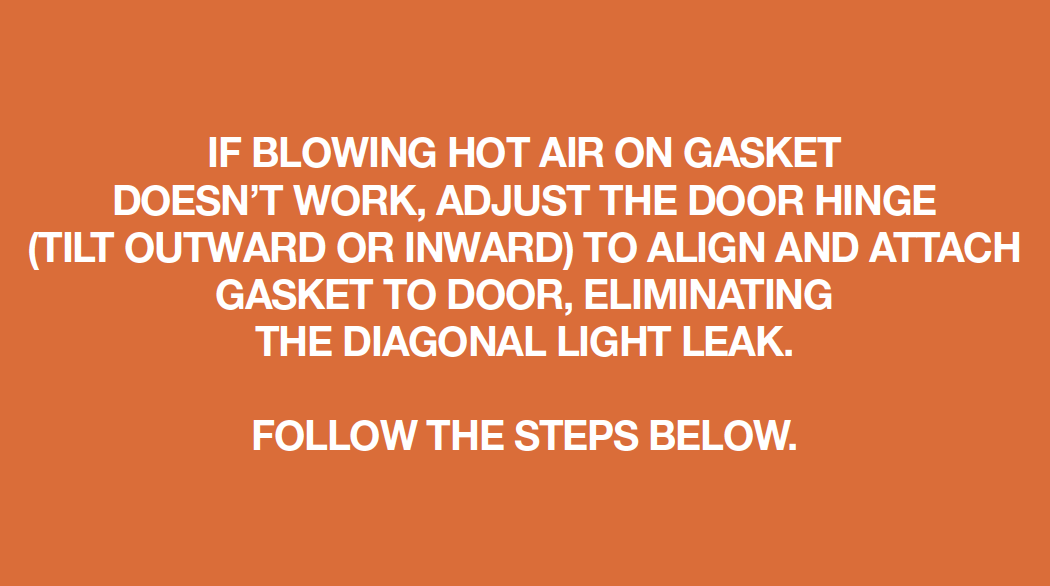
CHECK AND TEST 3
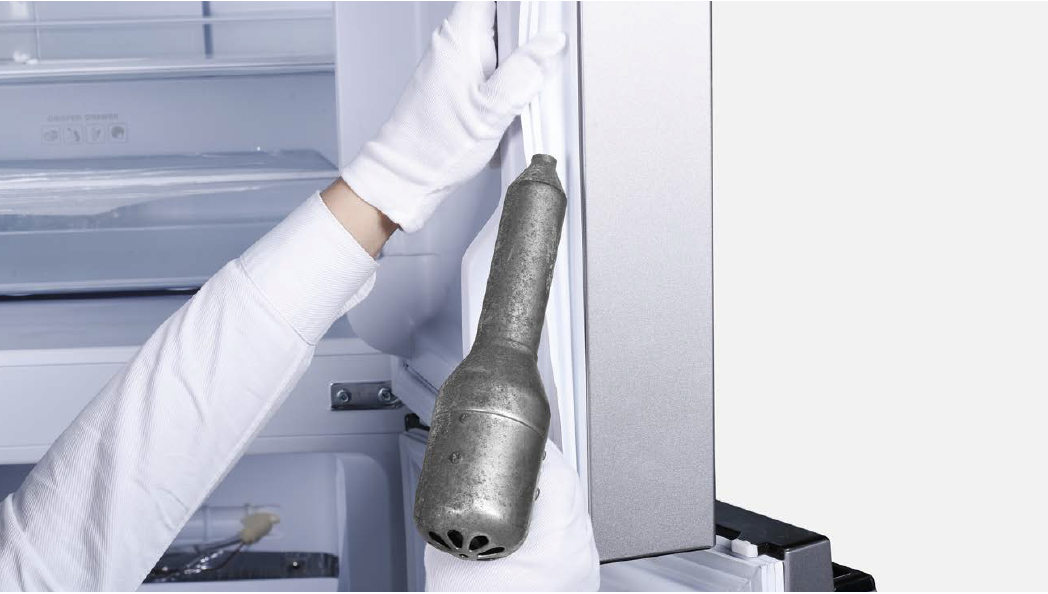
Step 1
Blow hot air on gasket with a hair dryer to soften gasket, so it can be easily attached to cabinet.

Step 2
Place a torch on shelf
with light pointed
towards the gasket.
Step 3
Close the door again to see if any light is visible from internal.

Step 4
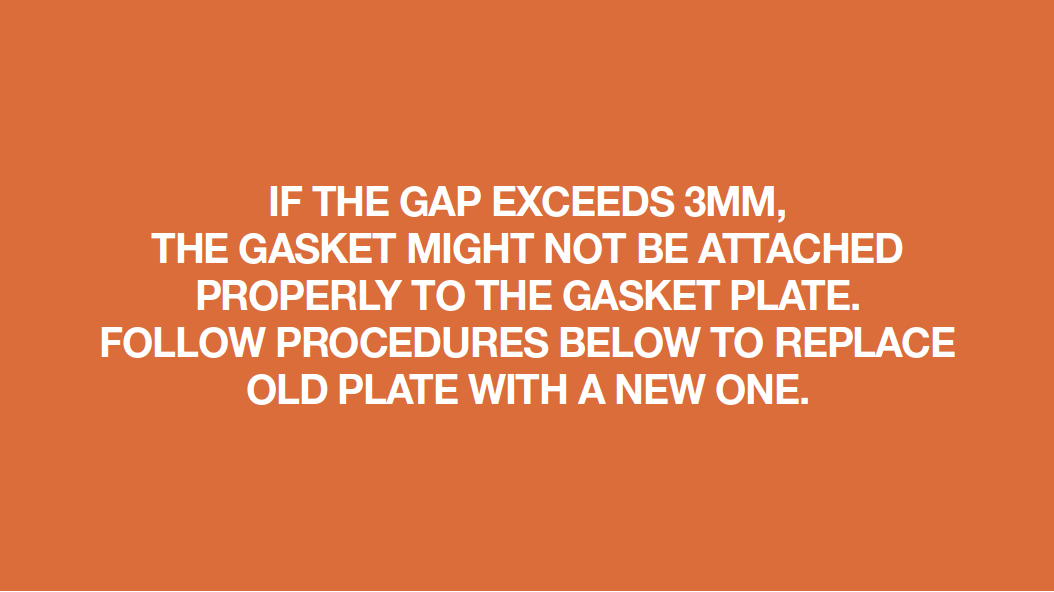
If light still leaks out from internal, place the front edge of a steel ruler parallel to the gasket plate. Then, measure the gap between the ruler and the plate.

DIAGNOSIS 3


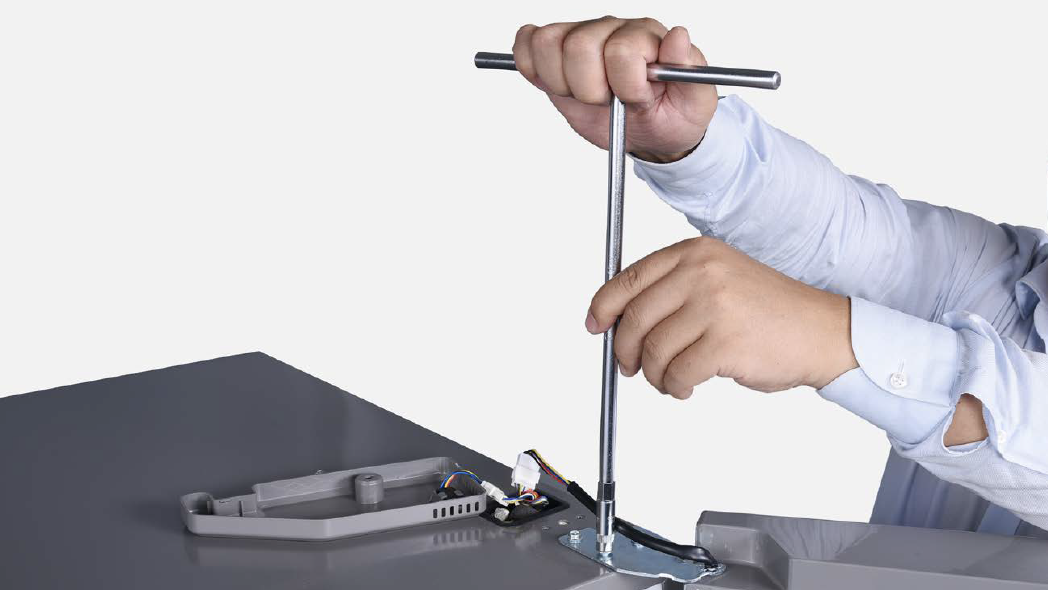
PROCEDURE 1

Step 1
Remove the screw cover in the middle.

Step 2
Loosen 2 screws
of terminal cover in
anticlockwise direction.
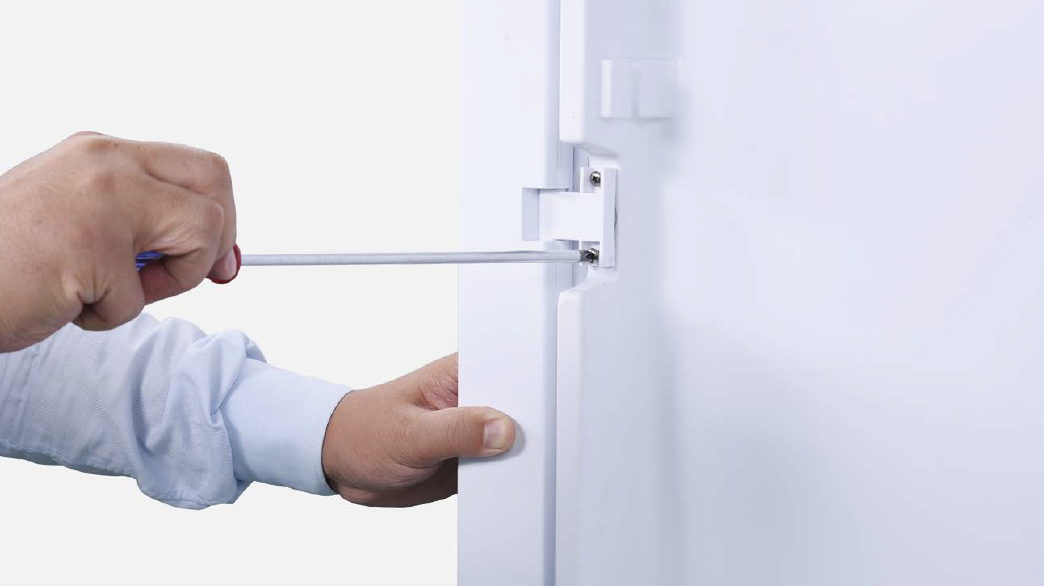
Step 3
Disconnect the terminal.

Step 4
Use 2 hands to move gasket plate up.

Step 5
Lift gasket plate up until negative end is released from positive end of fastener.


PROCEDURE 2
Tip 1
Connect the terminals then place wires carefully so they will not be crushed by cover.

Tip 2
Check to make sure gasket plate can turn properly up and flat when doors are opened and closed.

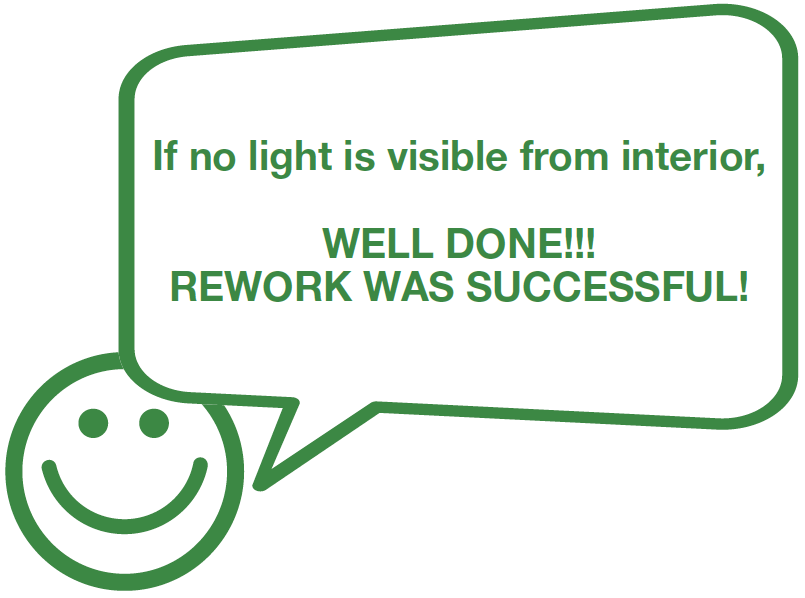
CHECK AND TEST 4
Step 1
To assess whether rework was successful, place a torch on shelf with light pointed towards the gasket.

Step 2
Close the door to see if any light is visible from interior.

DIAGNOSIS 4

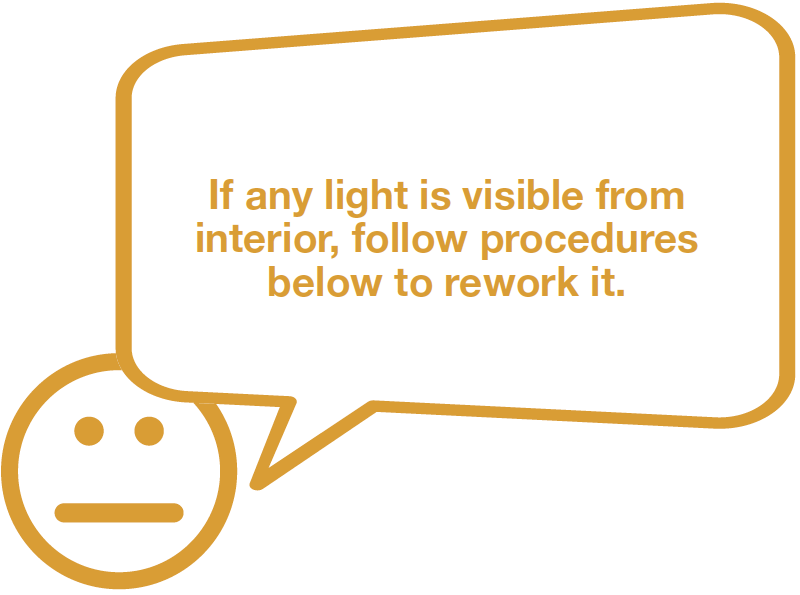
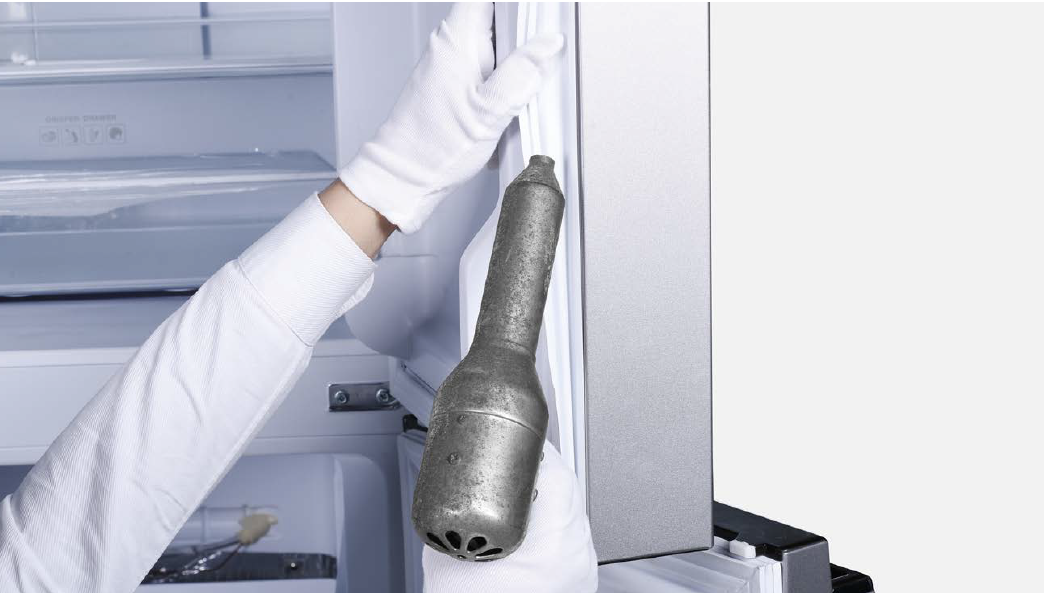
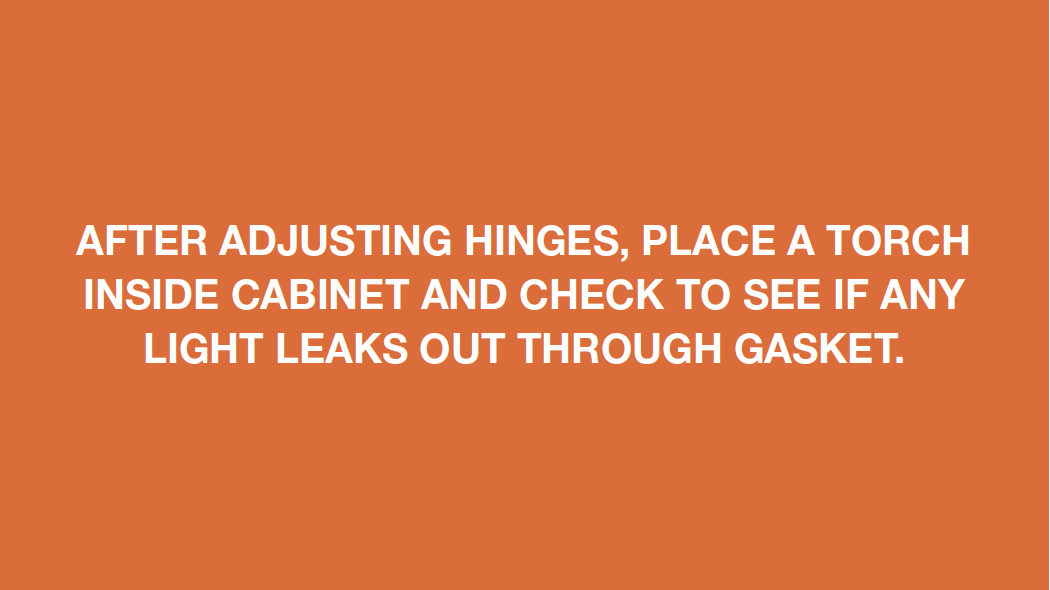
CHECK AND TEST 5
Step 1
Place torch in the cabinet and check to see if any light leaks out through gasket.
Step 2
If any light leaks out through gasket, blow hot air on gasket with a hair dryer to soften gasket, so it can be easily attached to cabinet.

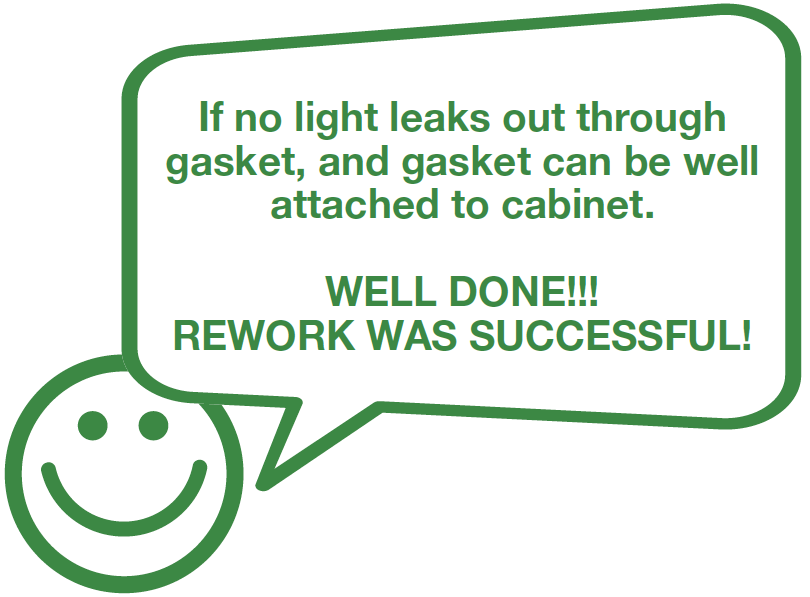
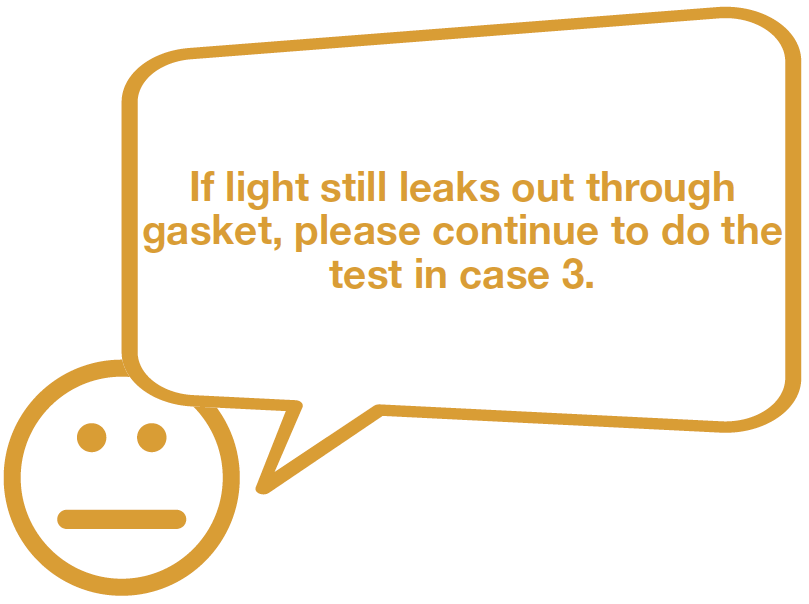
DIAGNOSIS 5


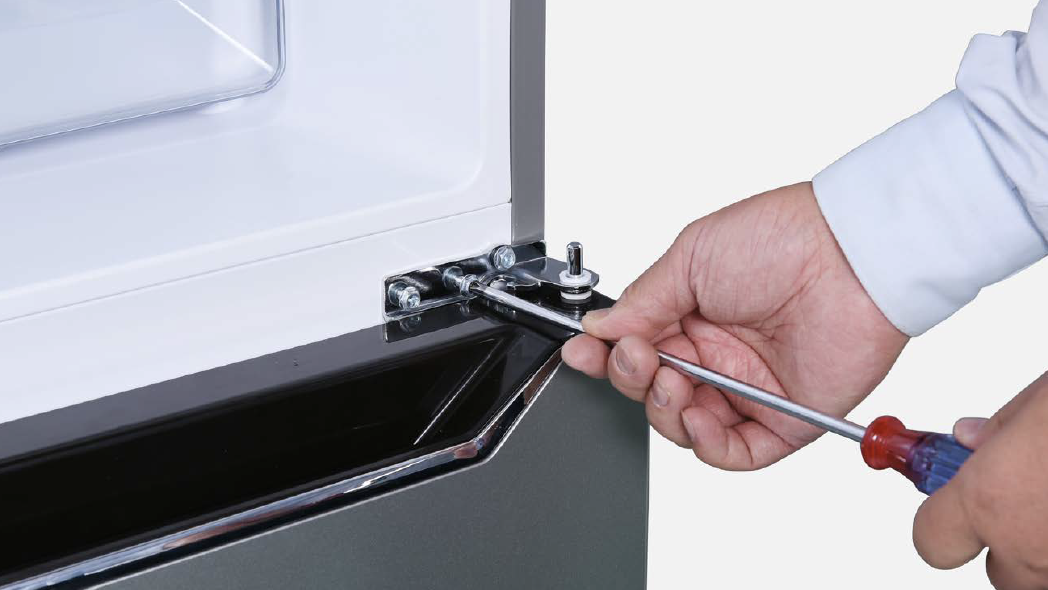
PROCEDURE 3
Note
When hinge adjustment is required, please start by disassembling hinge and fridge door.

Step 1
Unscrew hinge cover.

Step 2
Remove the cover.

Step 3
Disconnect the terminals.

Step 4
Unscrew 3 bolts and remove the top hinge.
Step 5
Remove fridge door.

Step 6
Unscrew 3 bolts and remove the middle hinge.
CHECK AND TEST 6

Case 1:
Light leaks out from the corner of opening side.

Note
Step 1
Add washer to make middle hinge move outward.

Step 2
Use hinge with big hole and push it out.

Step 3
Use a hair dryer to blow hot air onto gasket and make it easier to attach to cabinet.
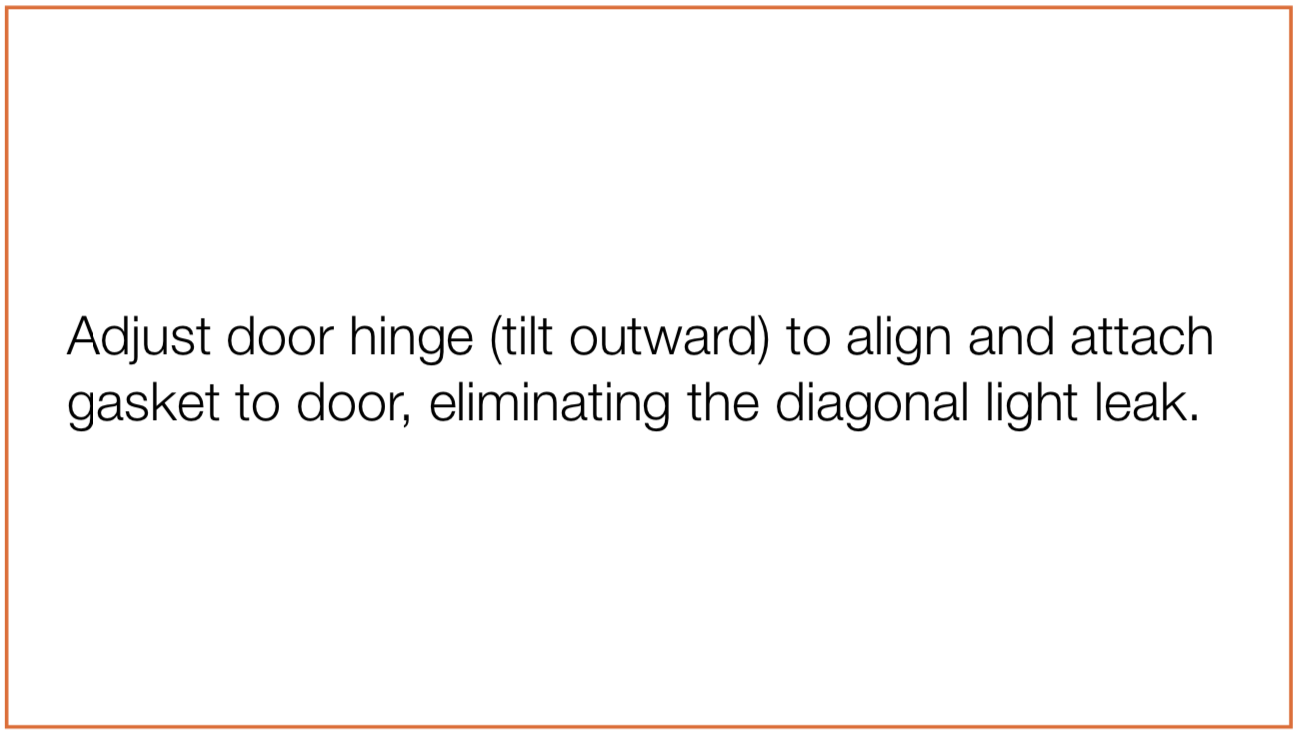
Case 2:
Light leaks from the corner on hinge side.
Note
Step 1
Remove washer to make middle hinge move inward.
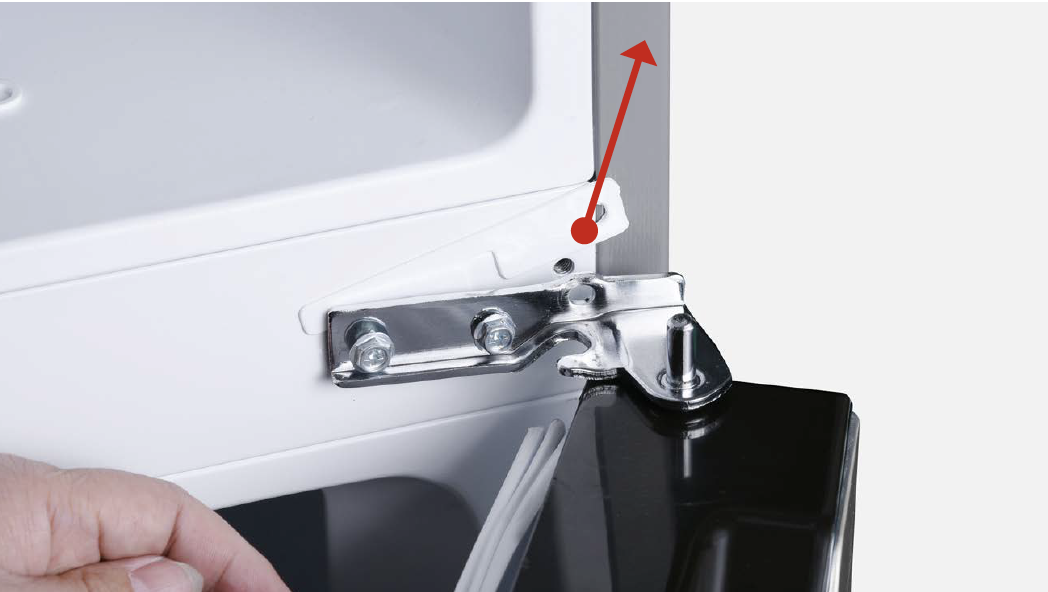
Step 2
Push top hinge in.

Step 3
Use a hair dryer to blow hot air onto gasket and make it easier to attach to cabinet.
DIAGNOSIS 6
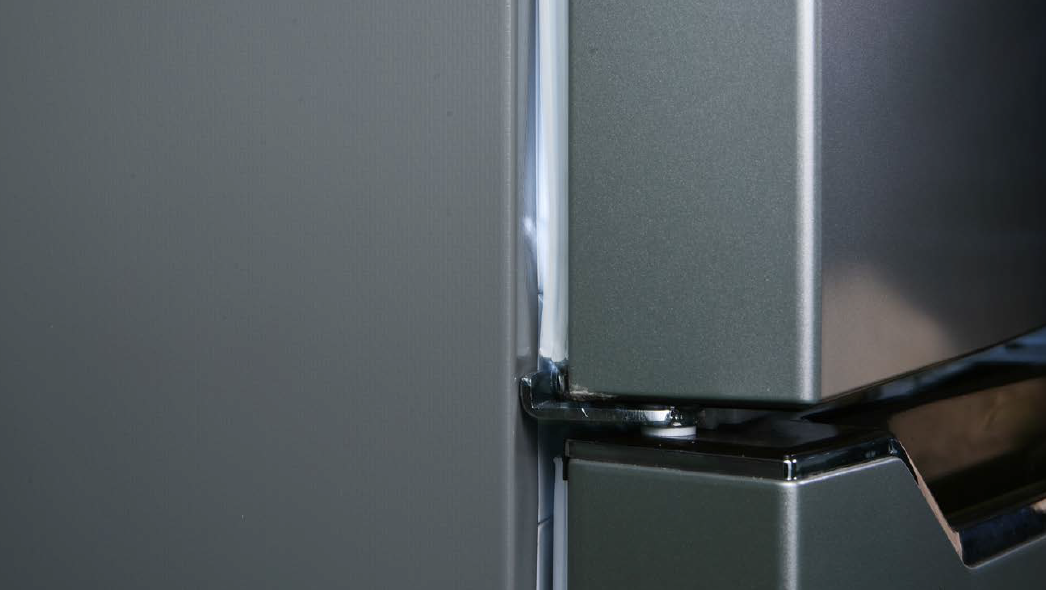
CHECK AND TEST 7
Case 3:
Light leaks in the middle of hinge or opening side.

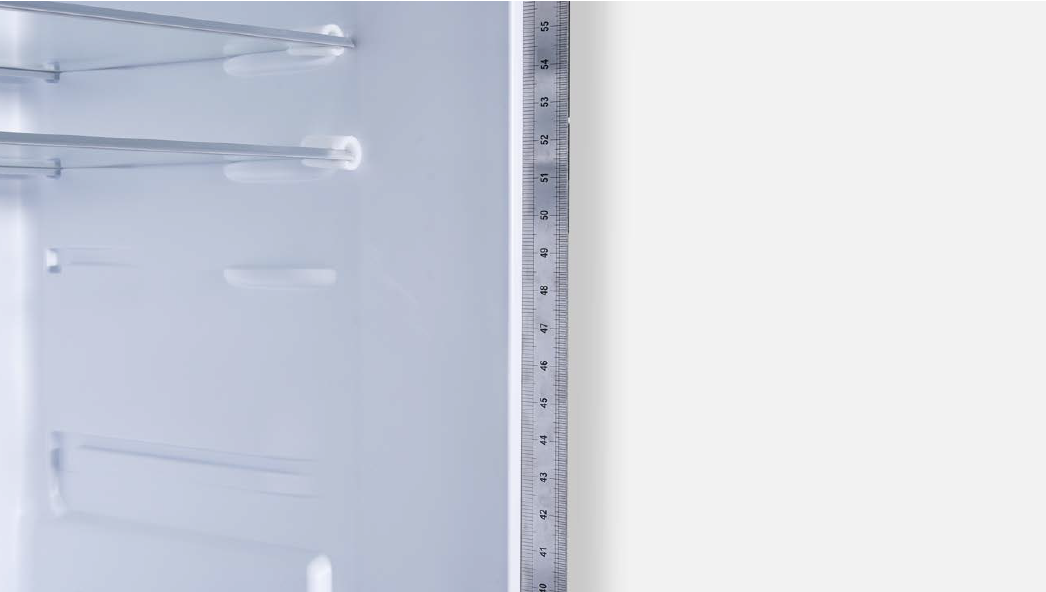
Step 1
Use steel ruler to measure the deformation of door and cabinet.

Step 2
Use steel ruler to measure the deformation of door and cabinet.
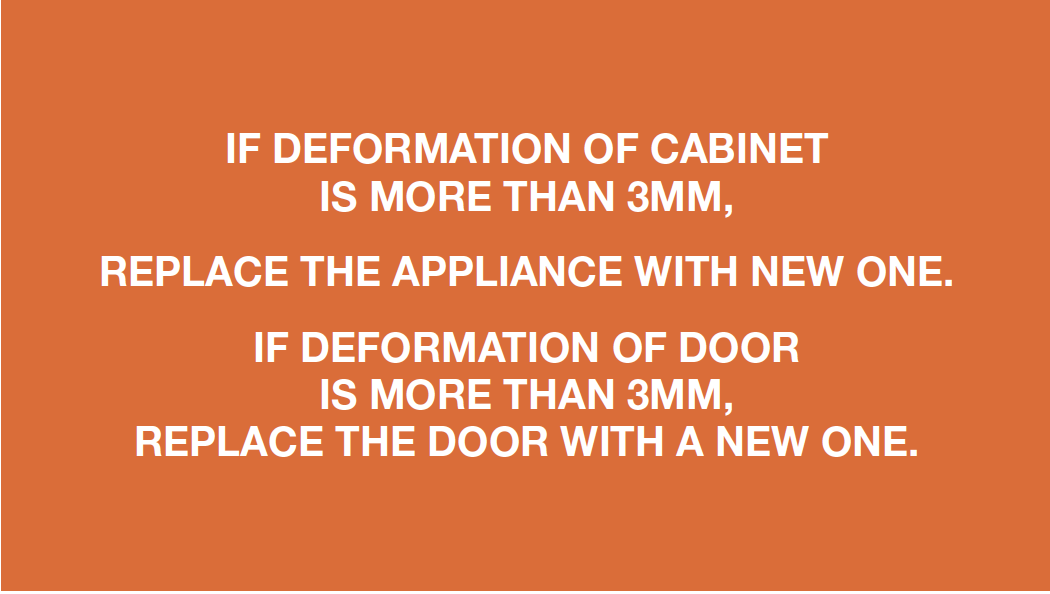
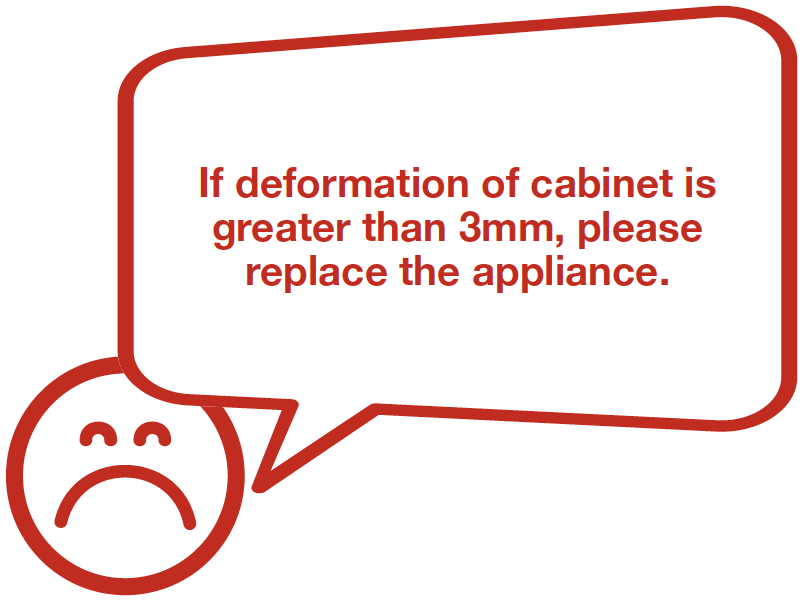
DIAGNOSIS 7
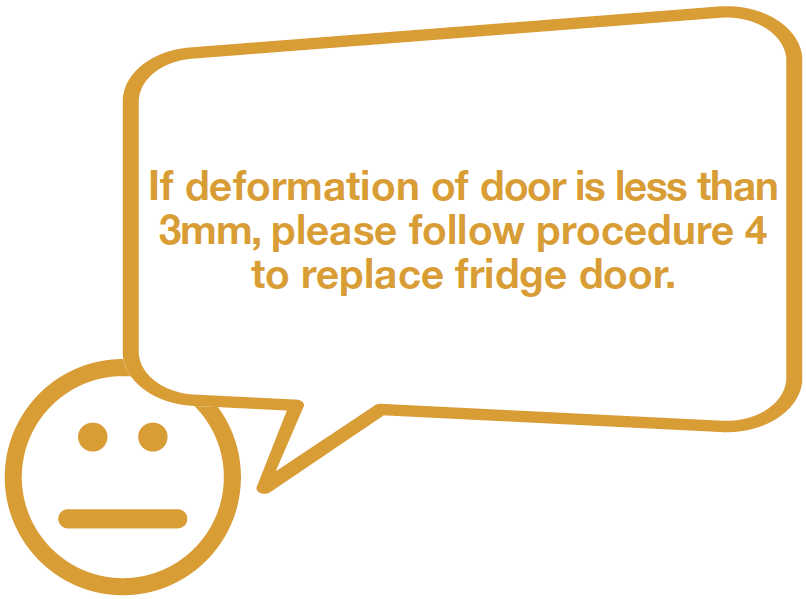
PROCEDURE 4
Tip 1
Don’t forget to put washer on hinge pin.

Tip 2
When inserting door on hinge, please check alignment of door- stopper and hinge.

Tip 3
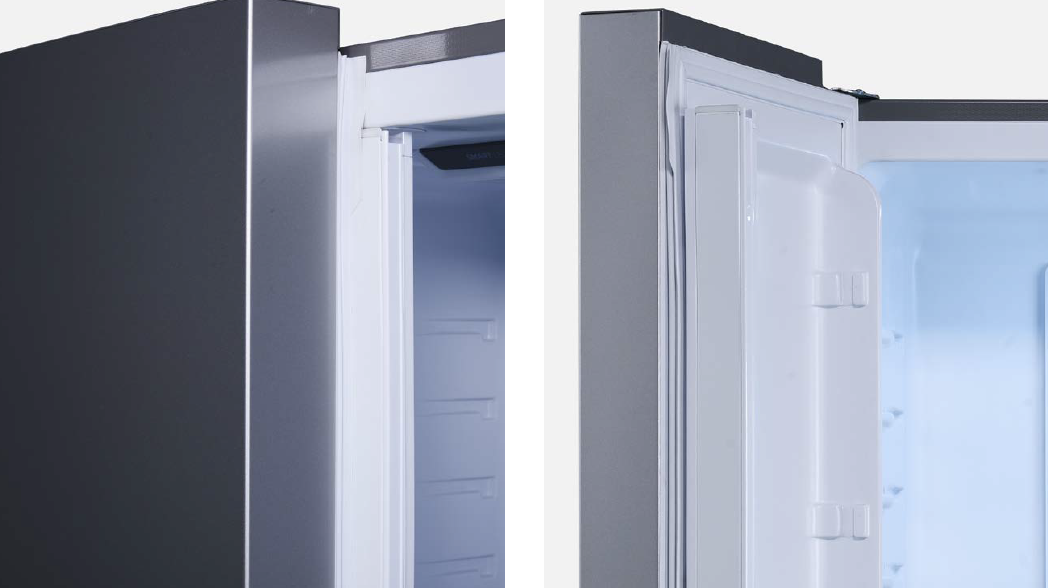
Gasket must be well-attached.

Tip 4
Gaps between door must be even and equal.
Tip 5
Check to make sure the gasket plate turns over properly when the door is opened and closed.

GO BACK TO COMPONENT LIST