

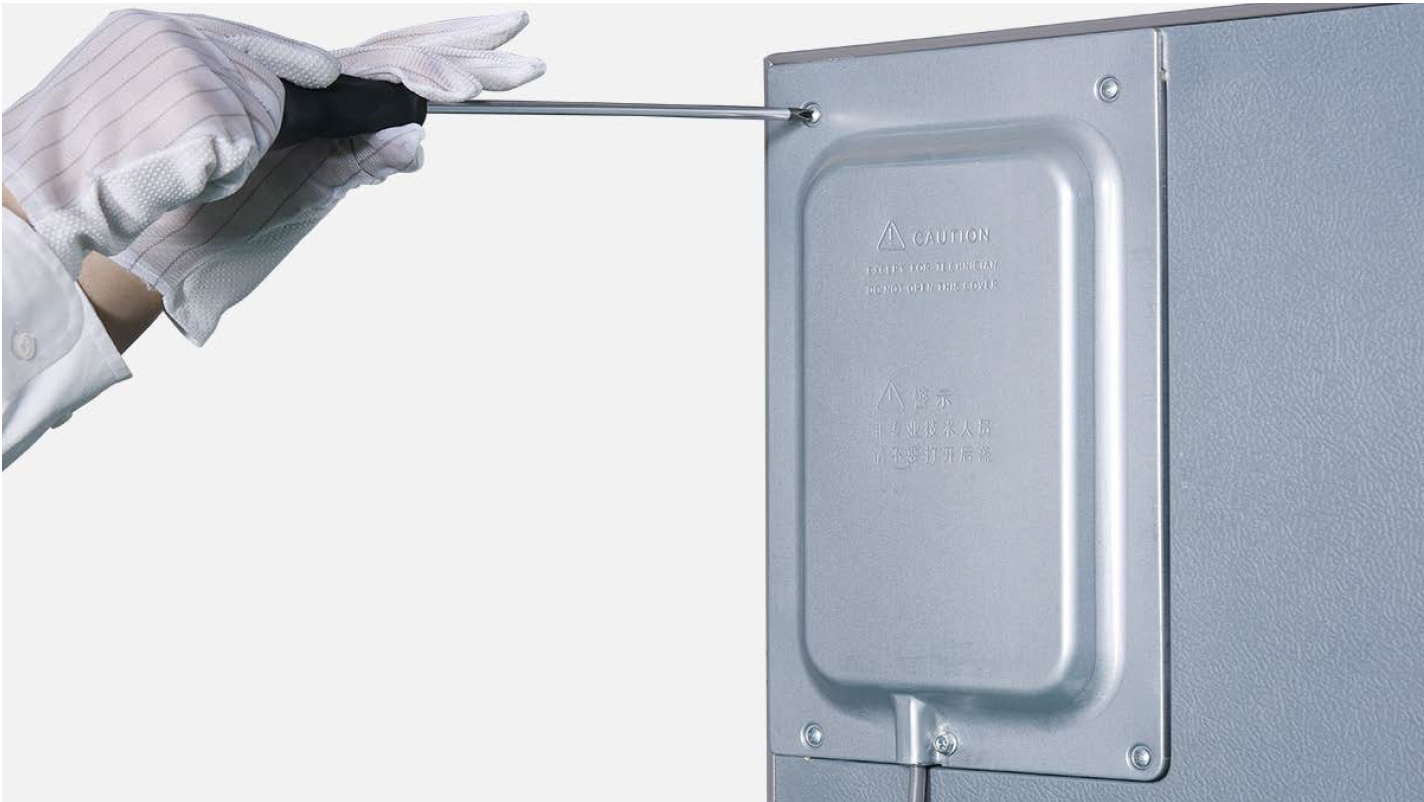
CHECK AND TEST 1
Step 1
Unscrew cover of mainboard with a cross-head screwdriver.
Step 2
Disconnect terminals.

Step 3
Measure resistance of heater from terminal in PCB area.

Step 4
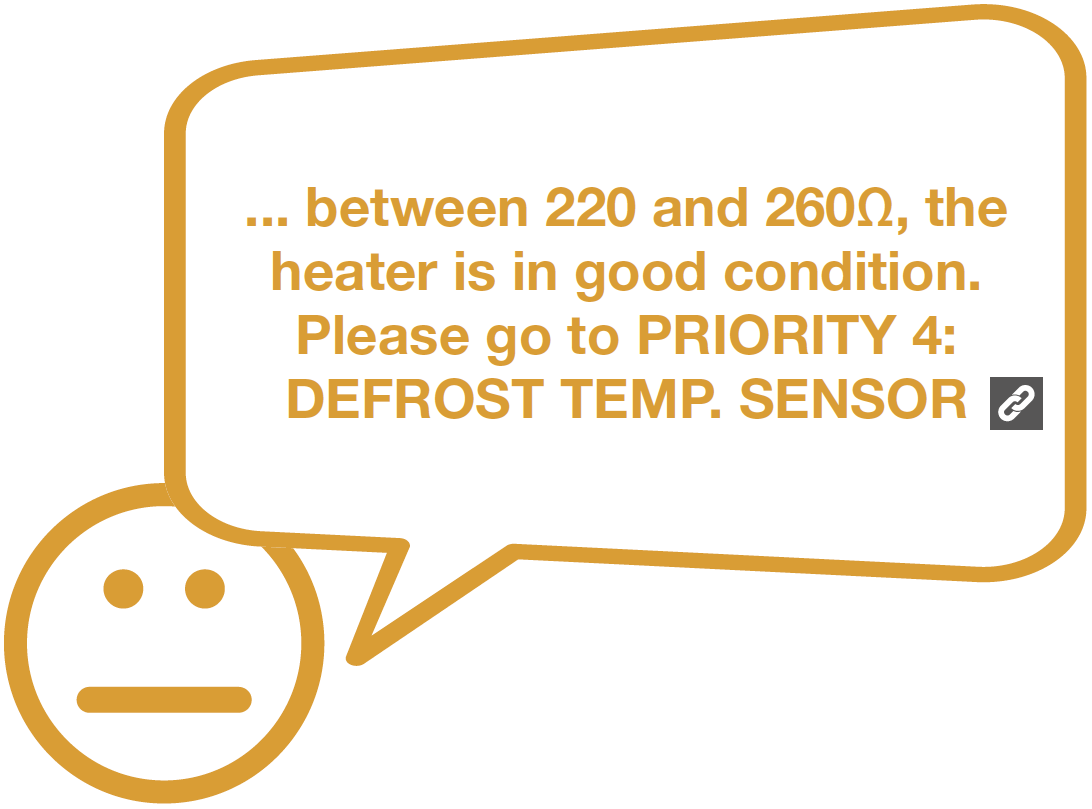
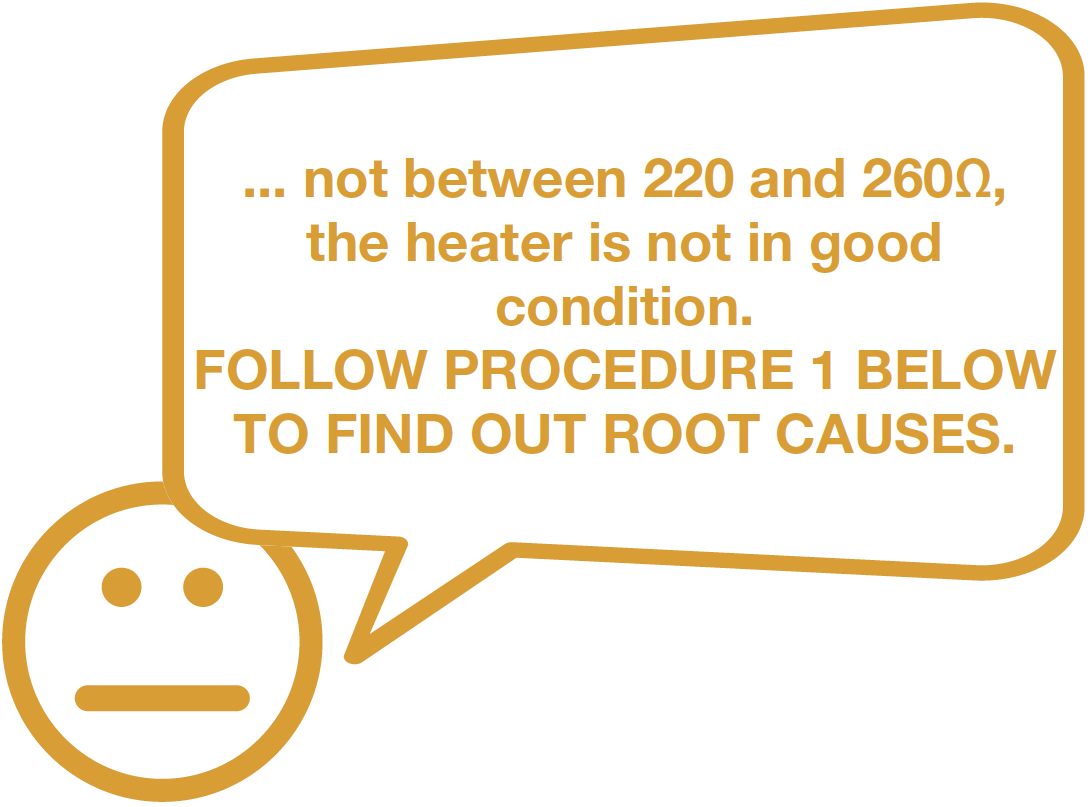
Check the result.

DIAGNOSIS 1


PROCEDURE 1
Step 1
Remove all drawers.

Step 2
Remove all shelves.

Step 3
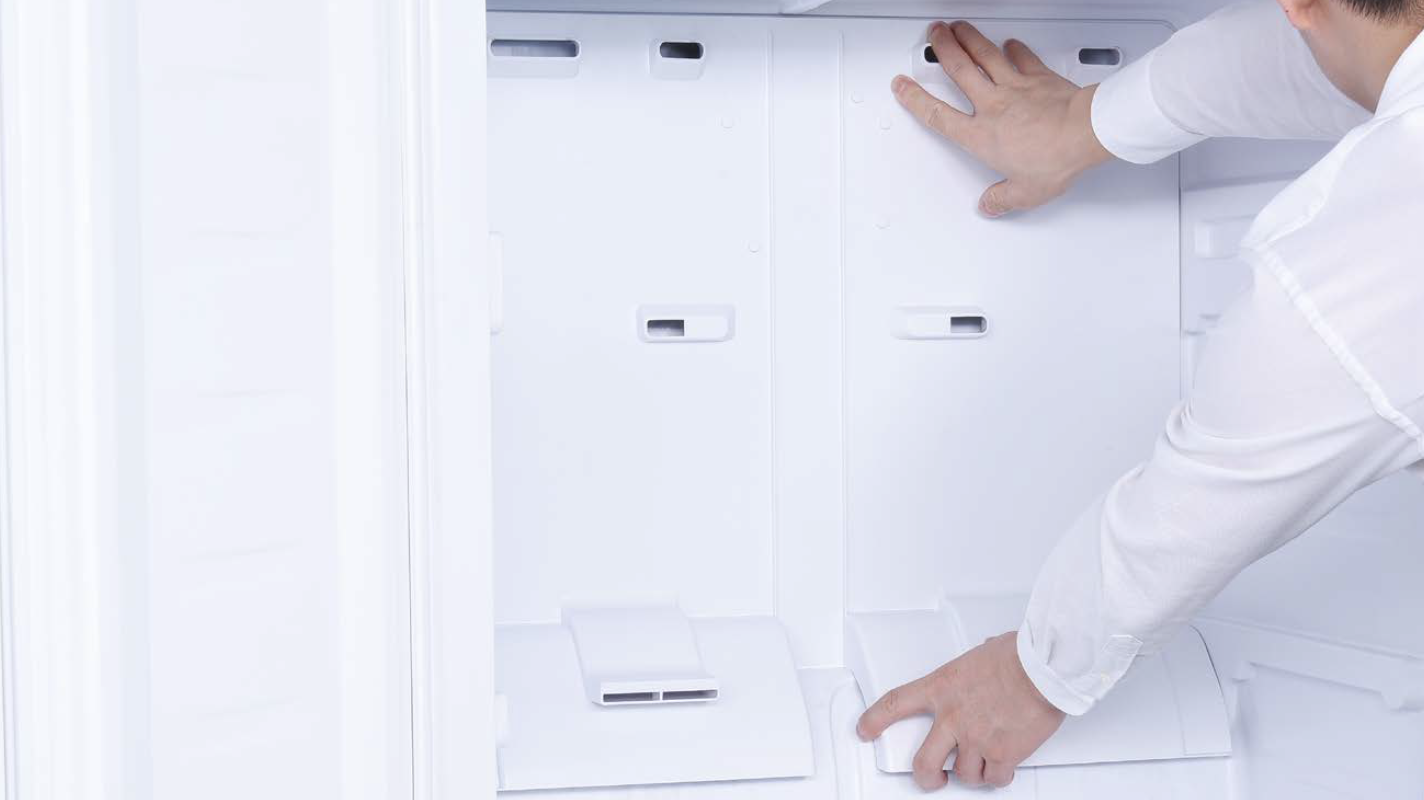
Remove the vertical partition plate:
a. Insert 2mm slotted screwdriver into the gap;
b. Lever up the cover plate from bottom;
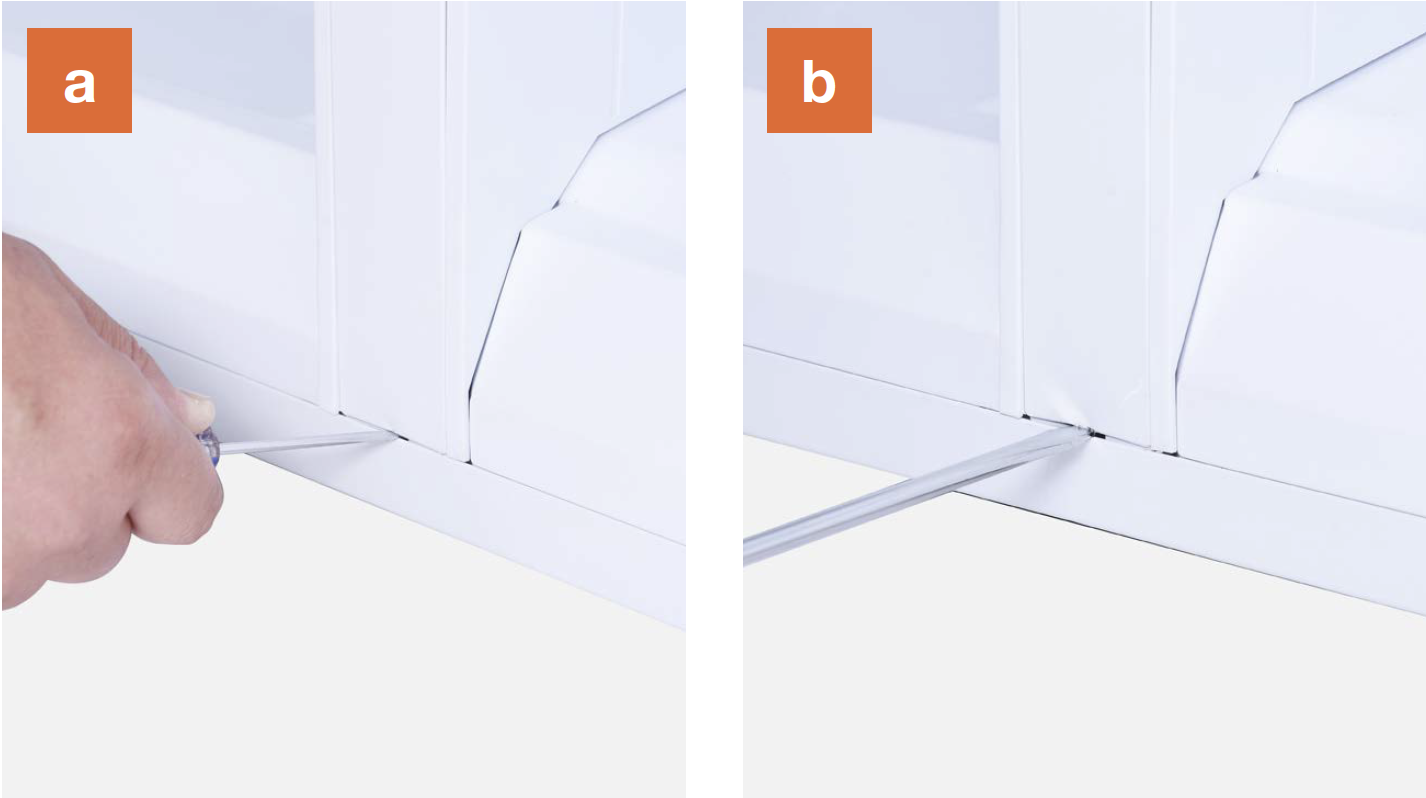
c. Insert 2mm slotted
screwdriver into the
side gap;
d. Lever up the cover
plate from bottom;
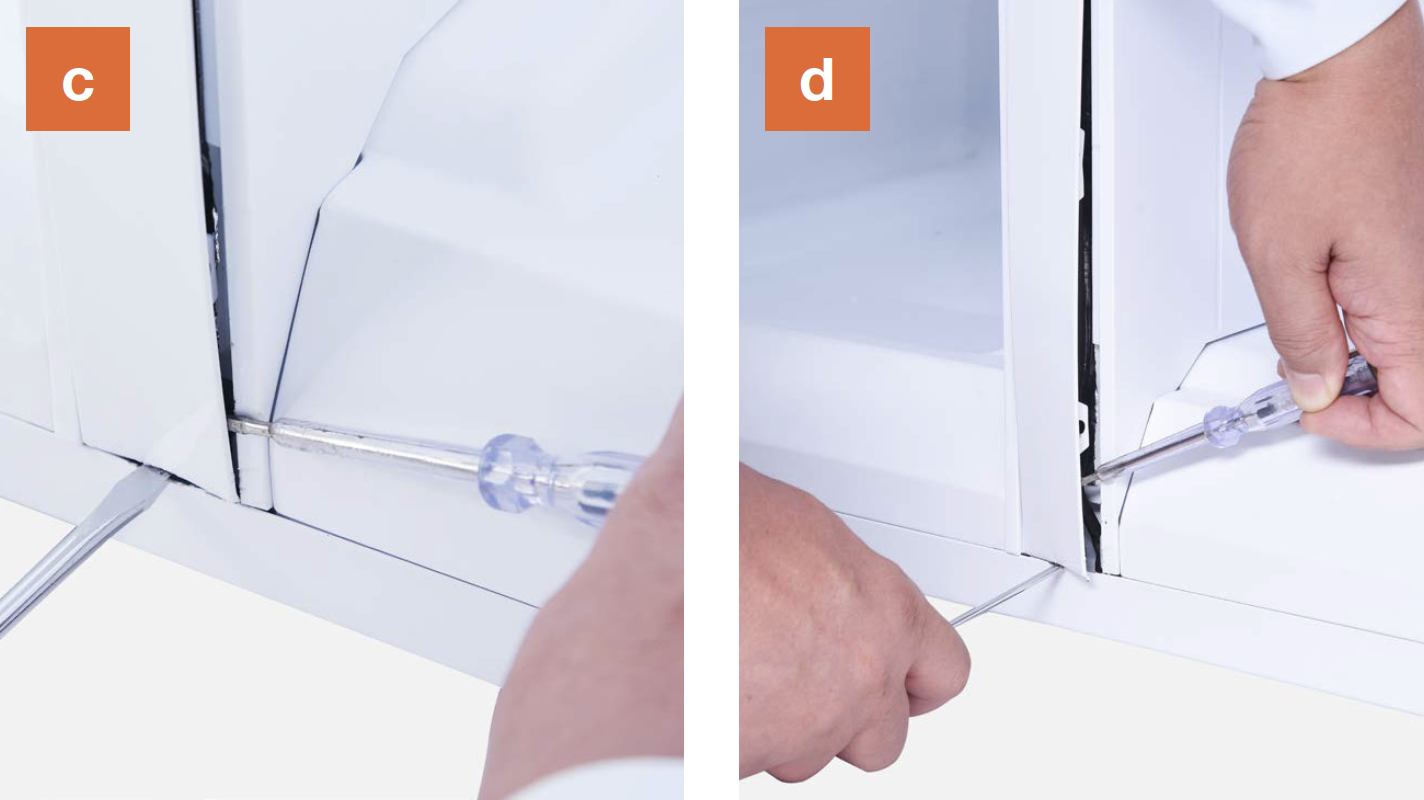
e. Pull the bottom end of cover out;
f. Pull the top of the cover out;
and pull them into a
horizontal position;
h. Push the latch down
and lift top out of
cavity;

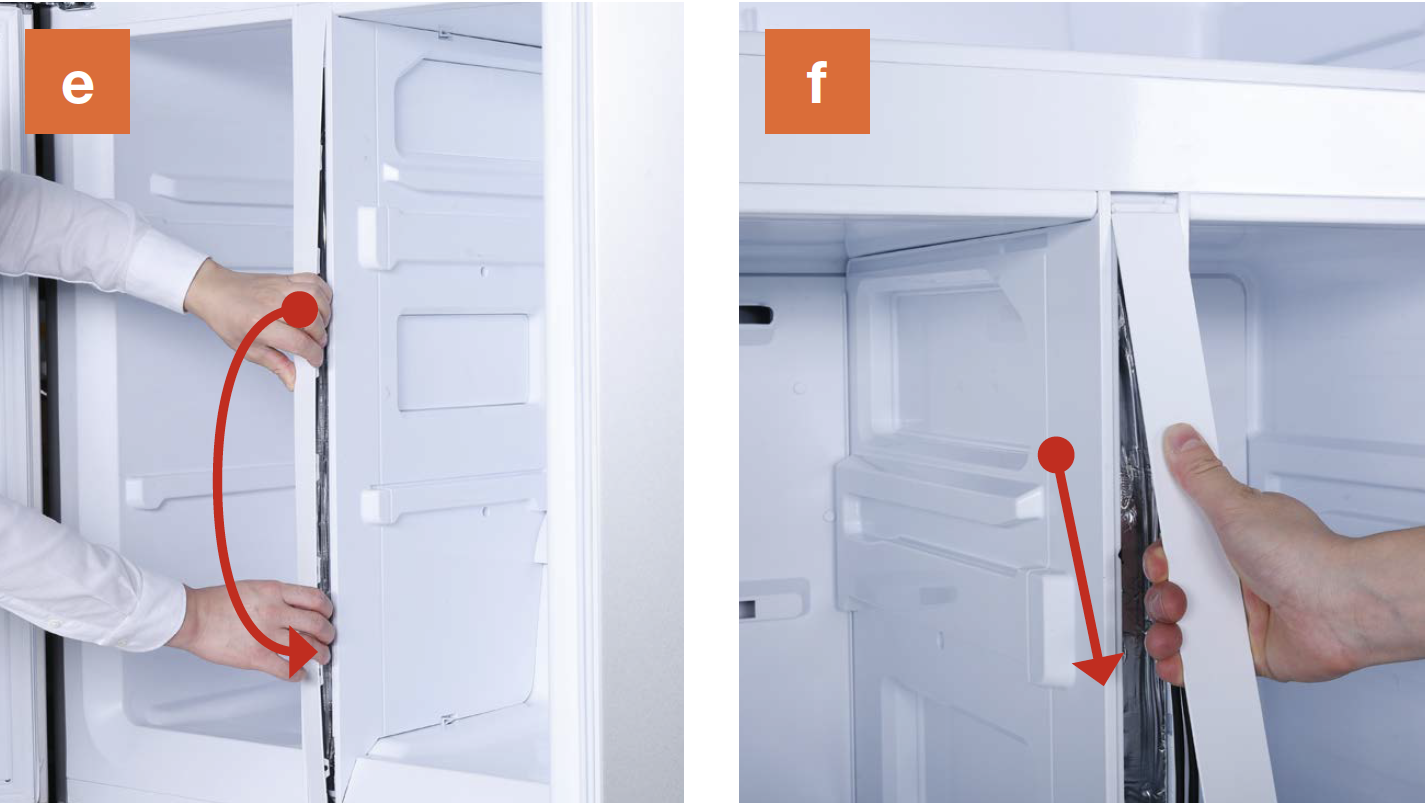
i. Push latch up and pull bottom out of cavity;
j. Pull partition outward and remove partition.
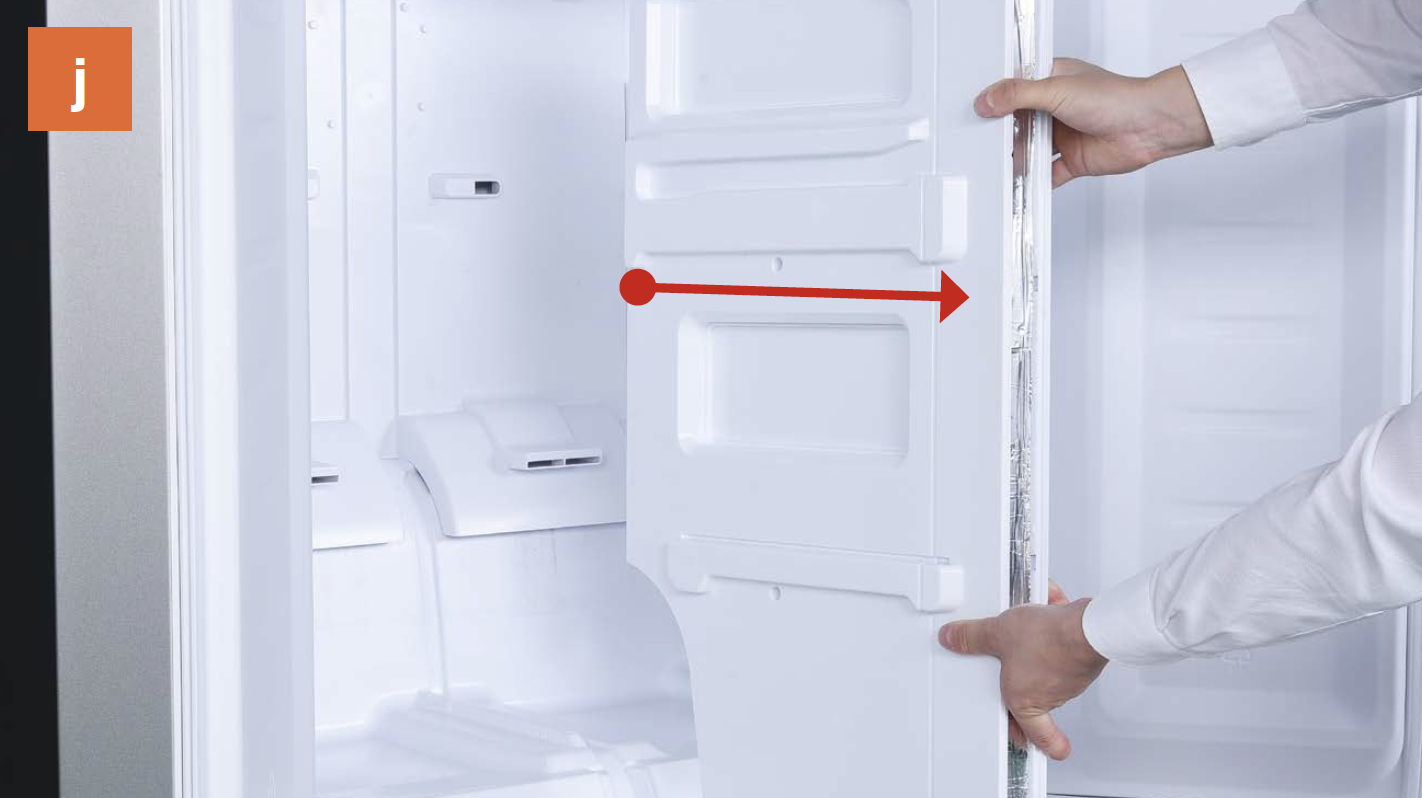
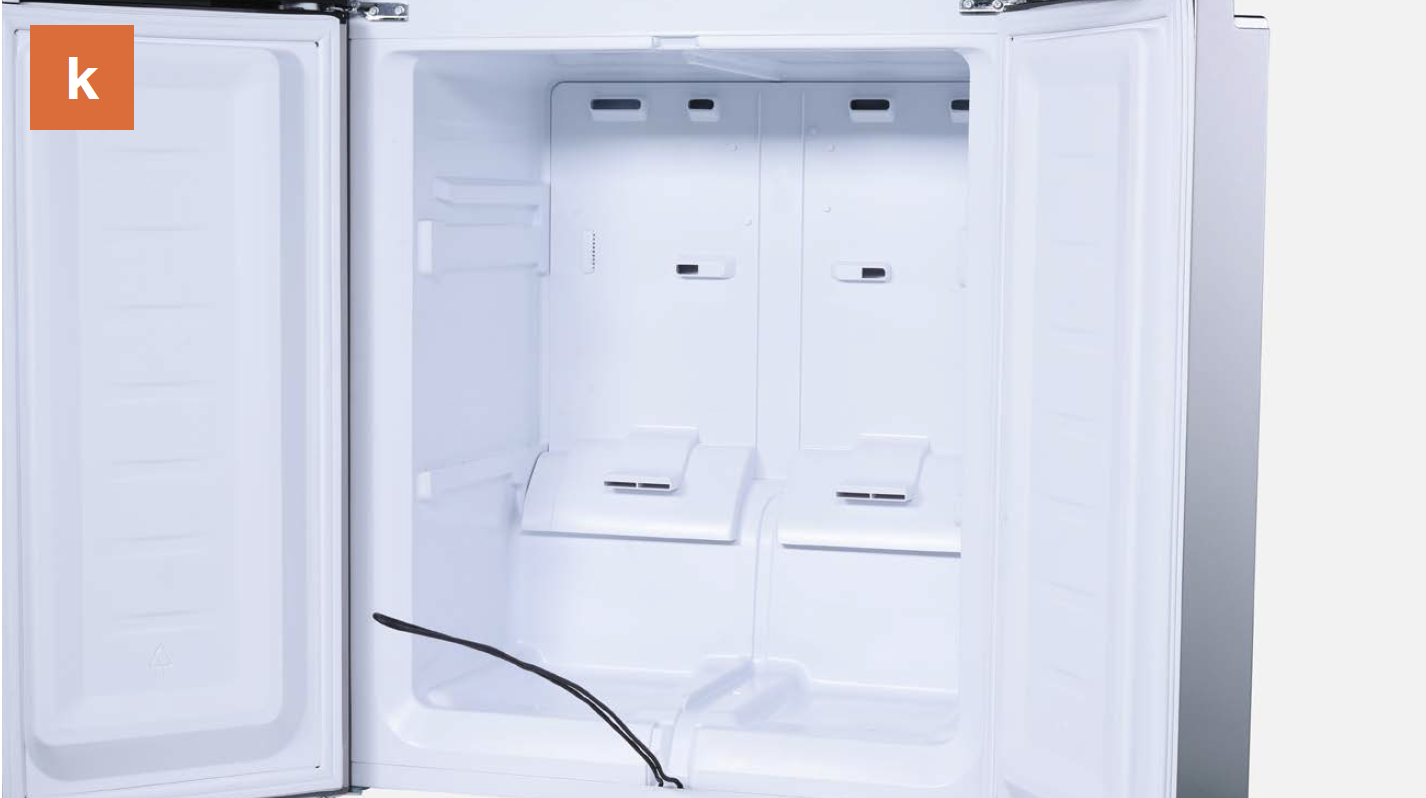
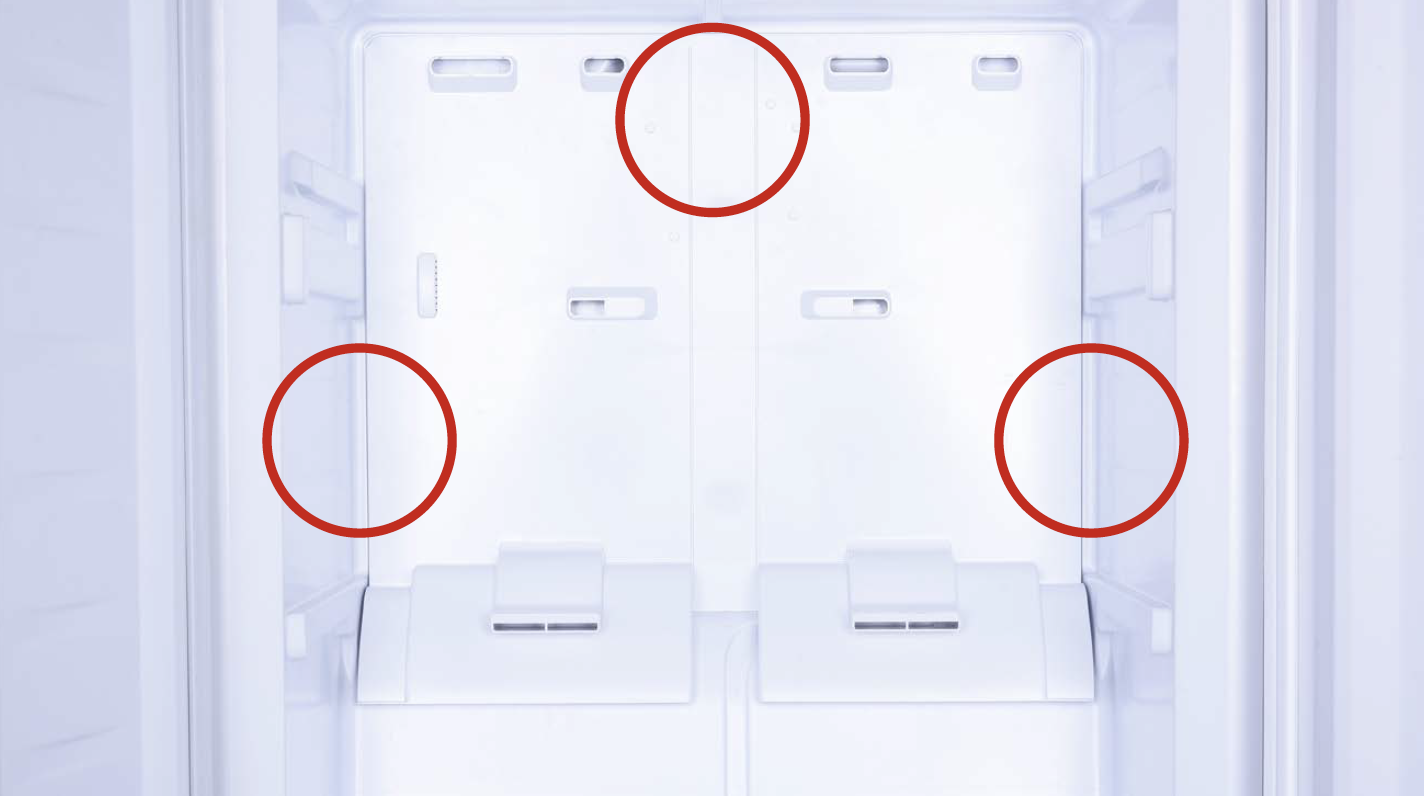
k. View of interior after partition has been removed.
Step 4
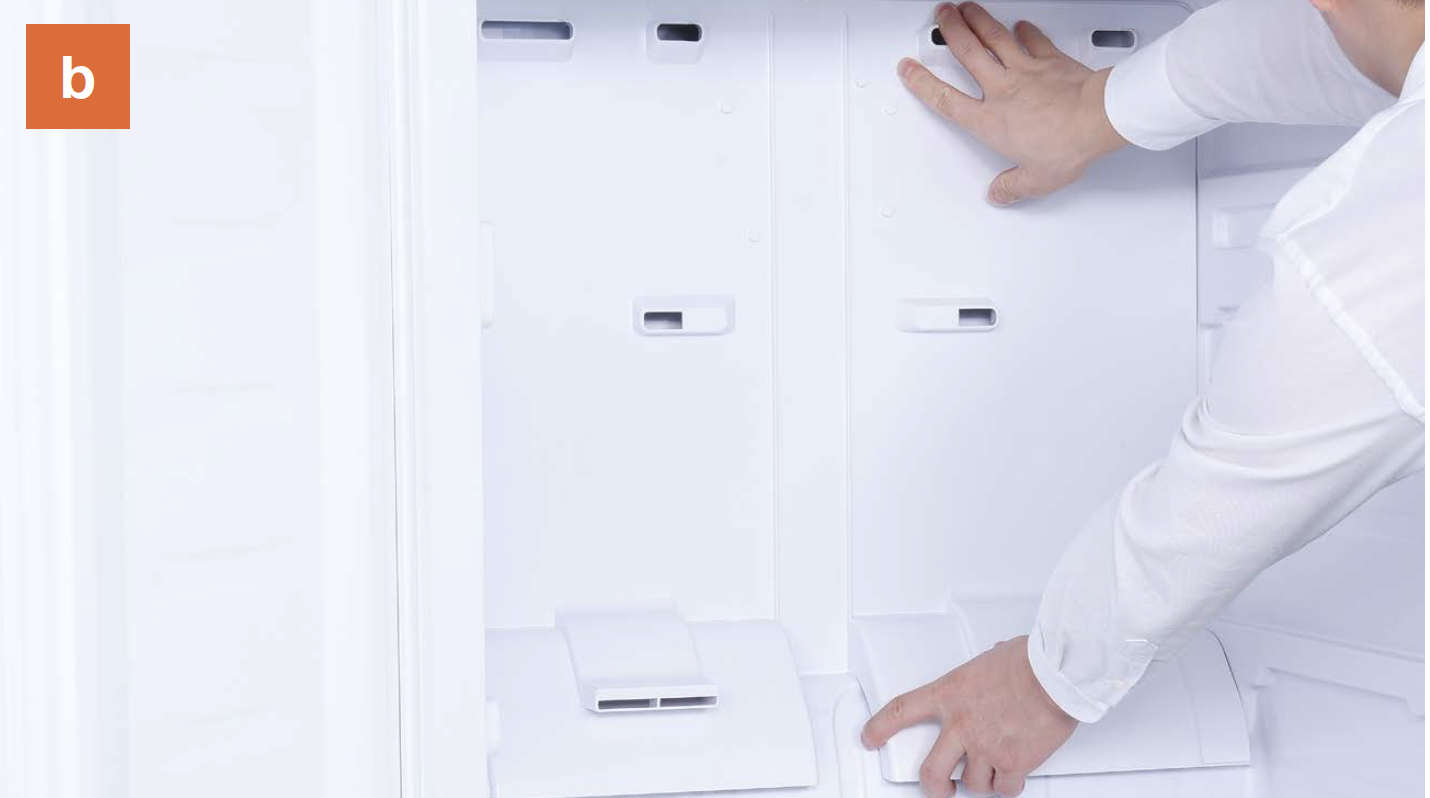
Dismantle the air duct.
a. Hold the bottom of air duct;

b. Pull air duct out from below;
c. Disconnect the terminal for fan motor;

d. Disconnect the terminal of freezer temp. sensor;
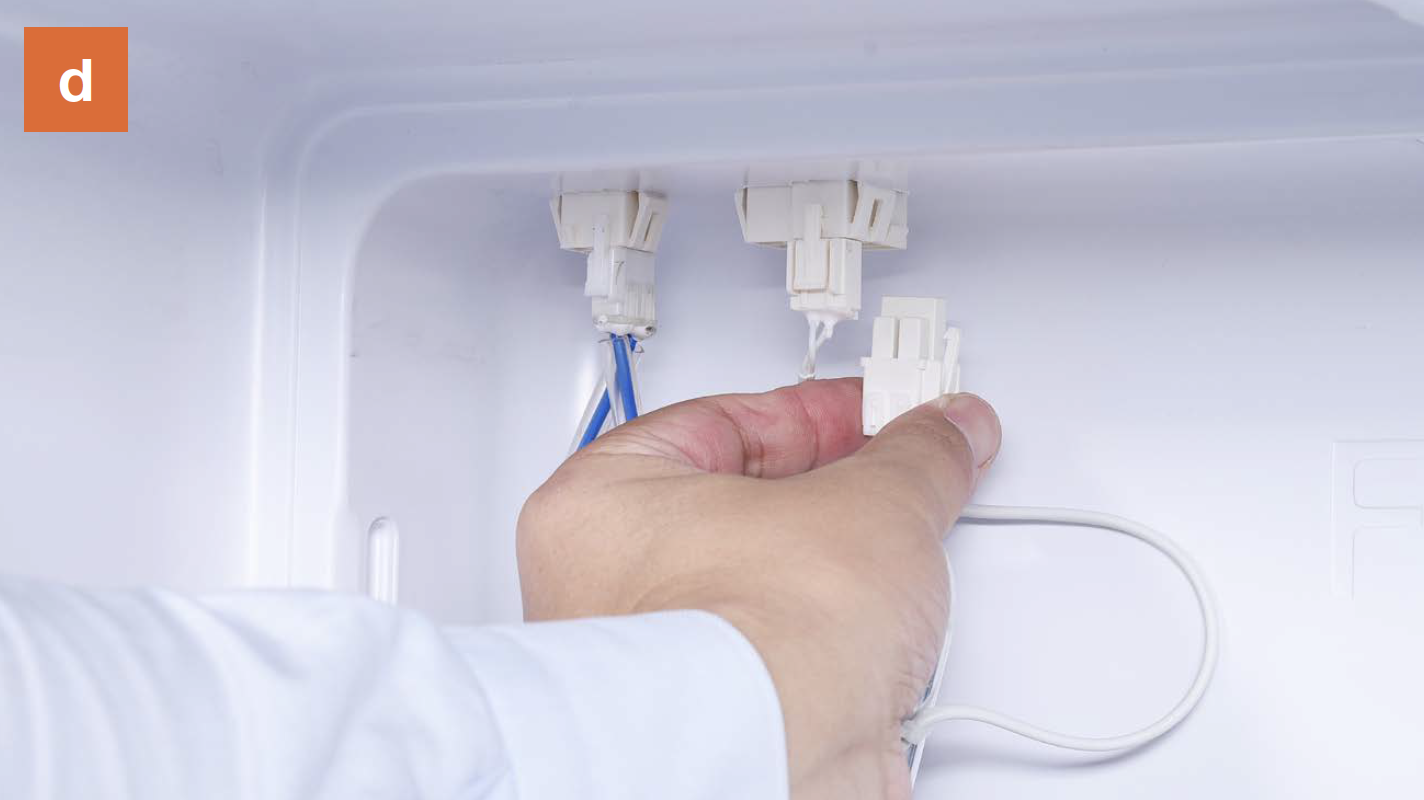
e. Remove air duct.

CHECK AND TEST 2
Step 1
Check to see if terminal is full of foam.
If yes, use tweezers to remove foam.

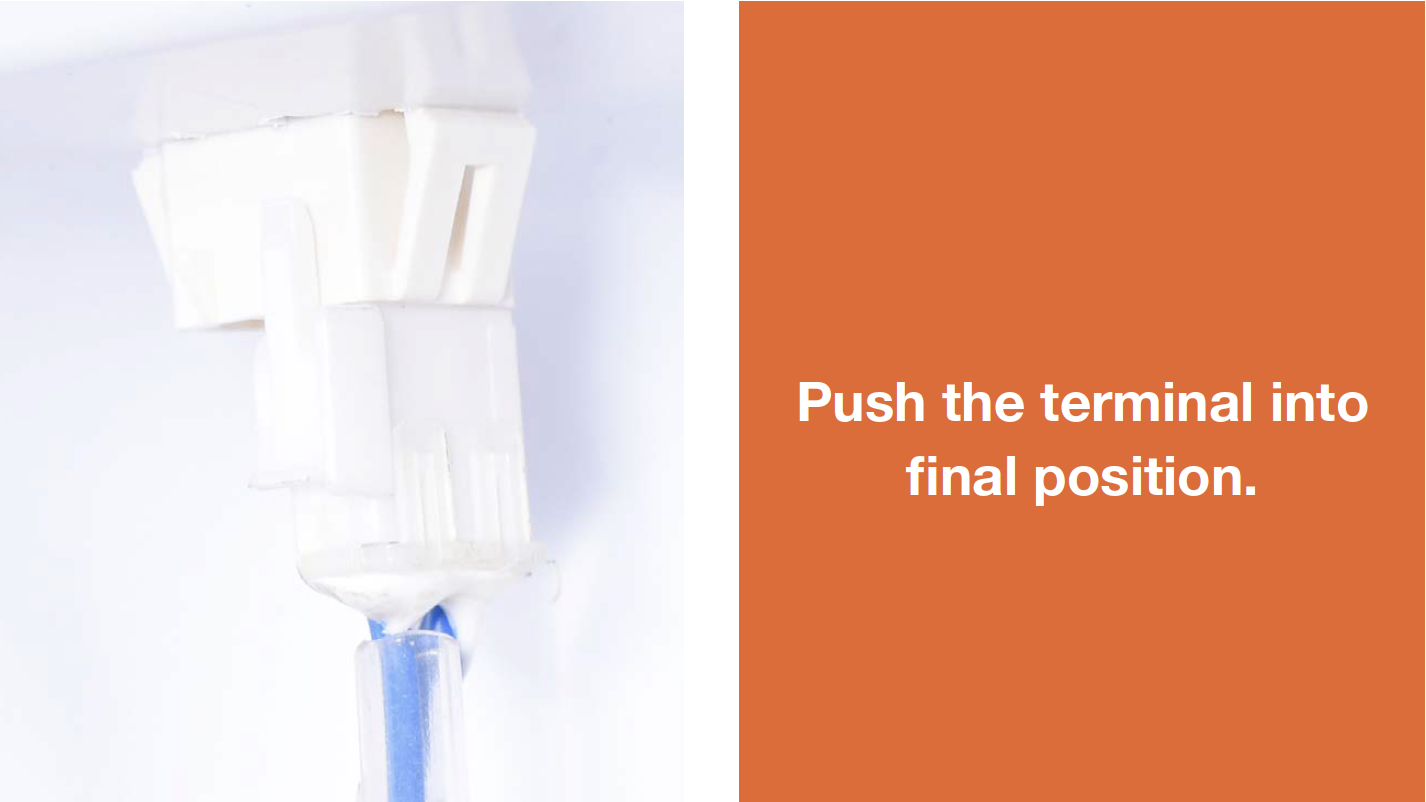
Step 2
Ensure terminals behind freezer air duct are properly inserted.
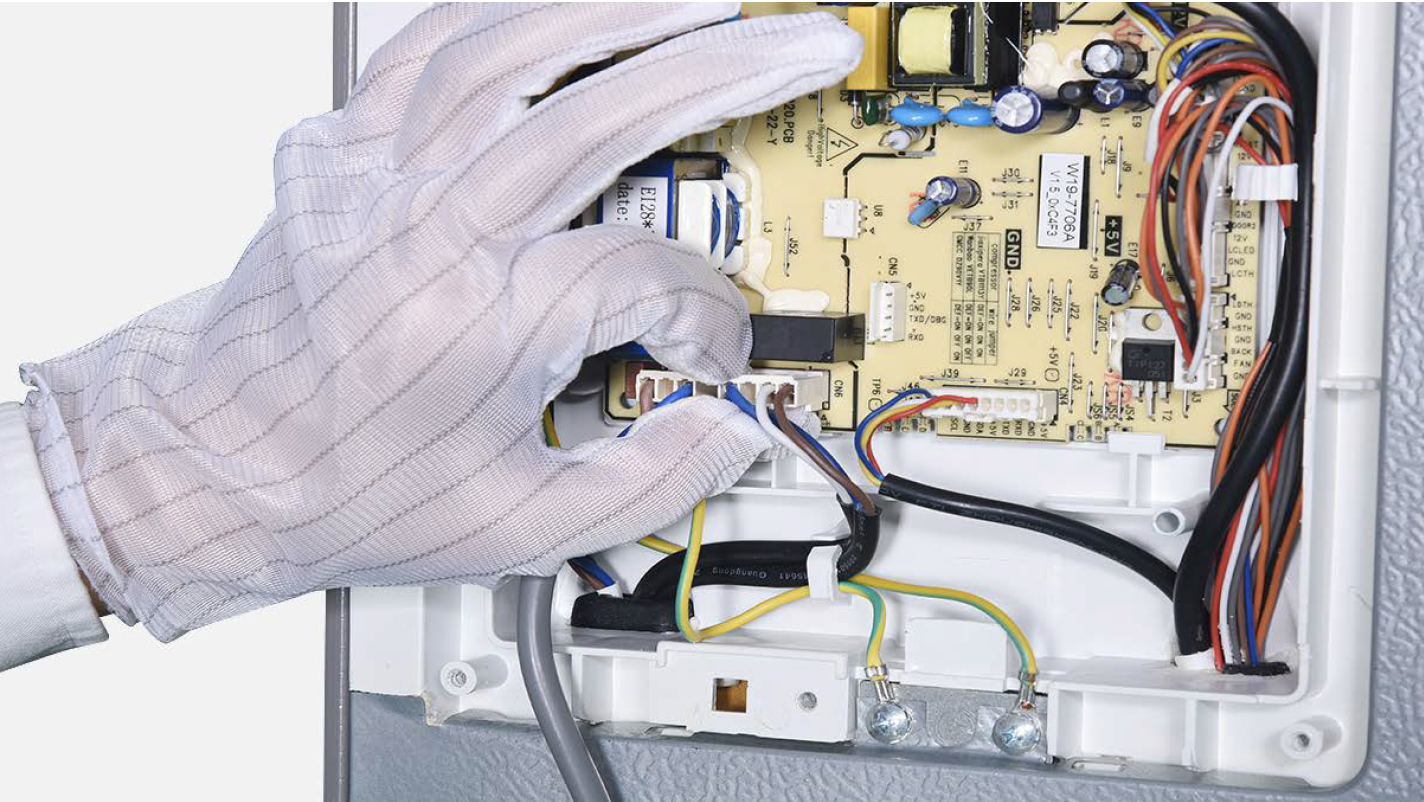
Step 3
Connect terminals with mainboard.
Step 4
Press Freezer Temp. button along with Mode button for 5 sec, “0” flashes in freezer temperature area.

Step 5
Press Freezer Temperature button, 1 and 3 will appear in freezer temperature area.

Step 6
When 3 appears, remove finger and select manual defrost.

DIAGNOSIS 2
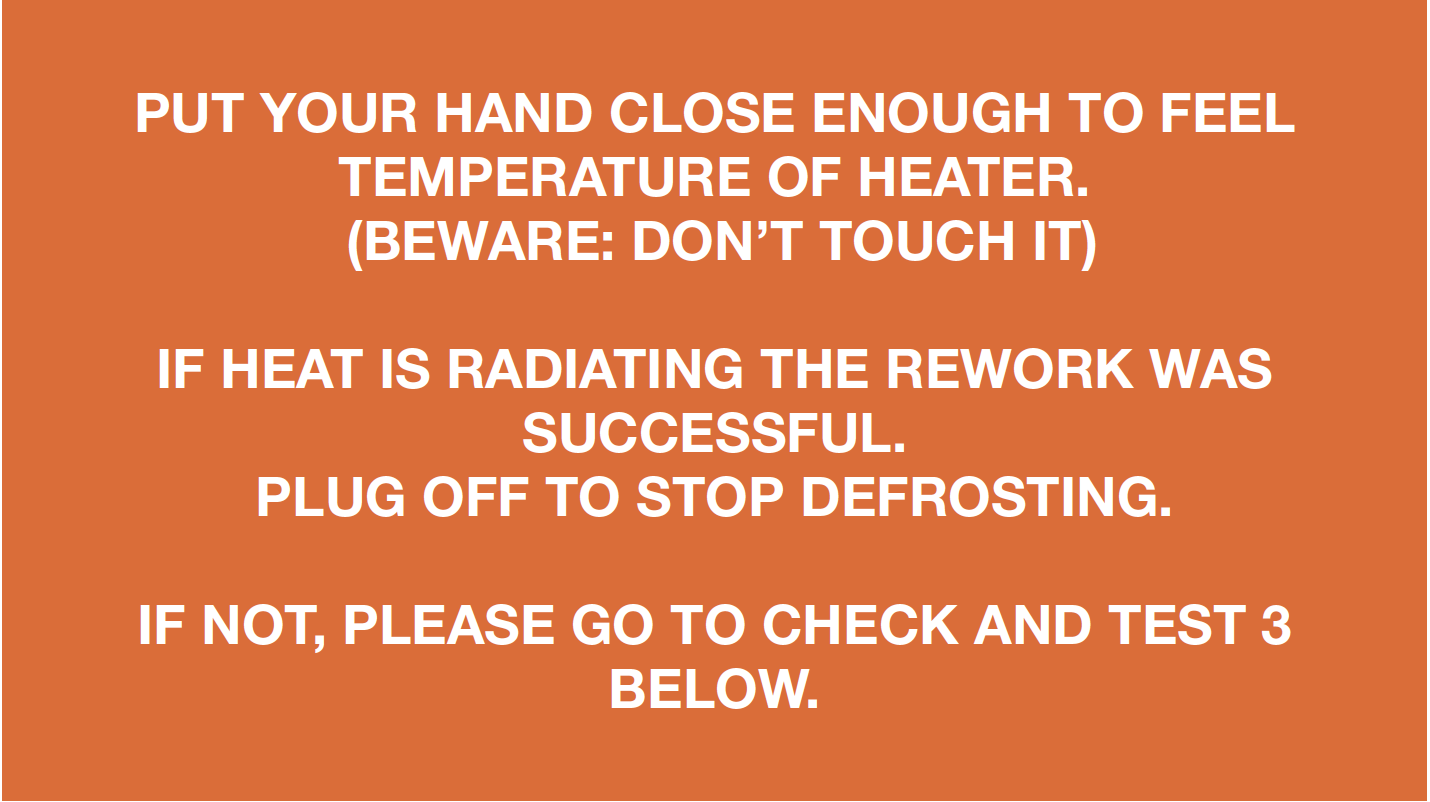

CHECK AND TEST 3
Step 1
Use wire to connect the 2 ends of terminal behind freezer air duct.
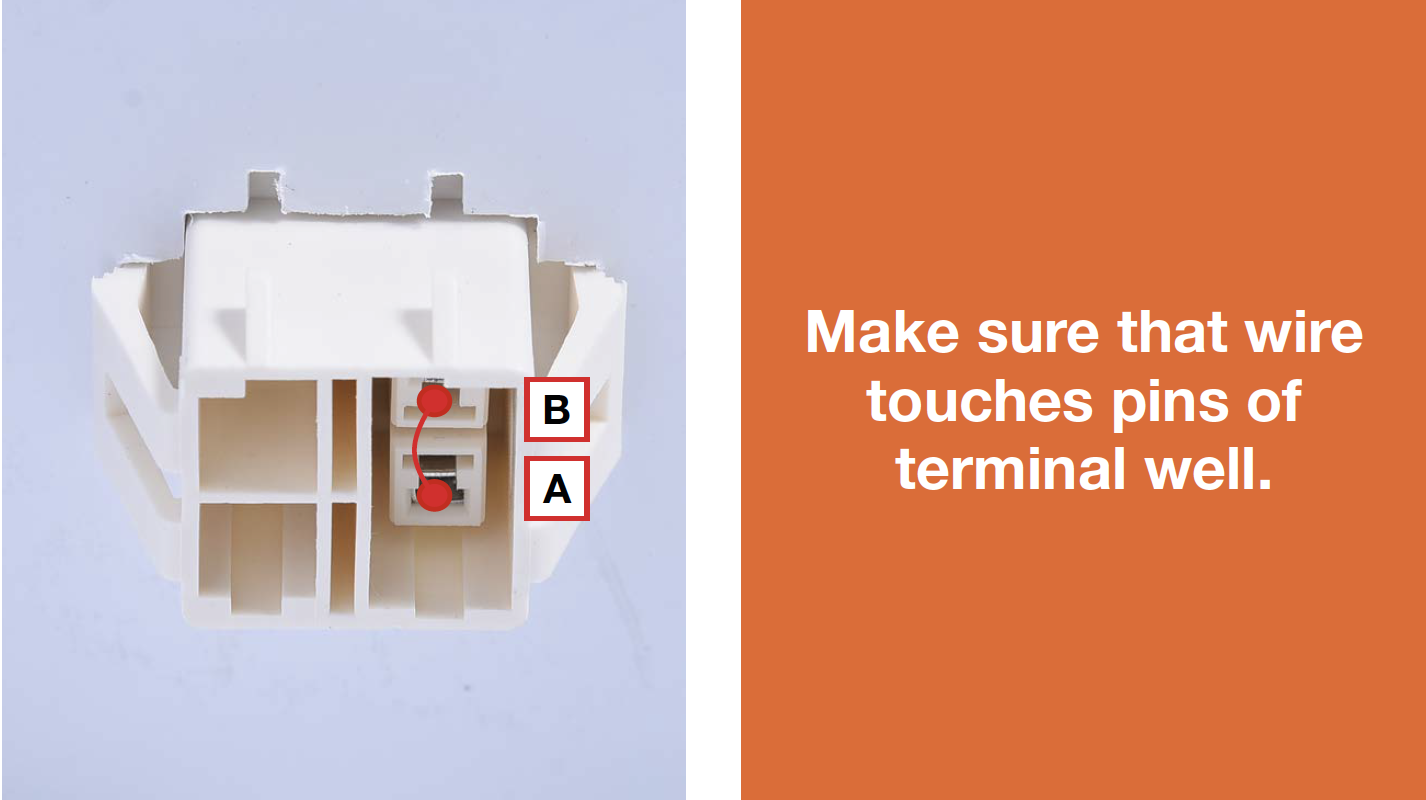
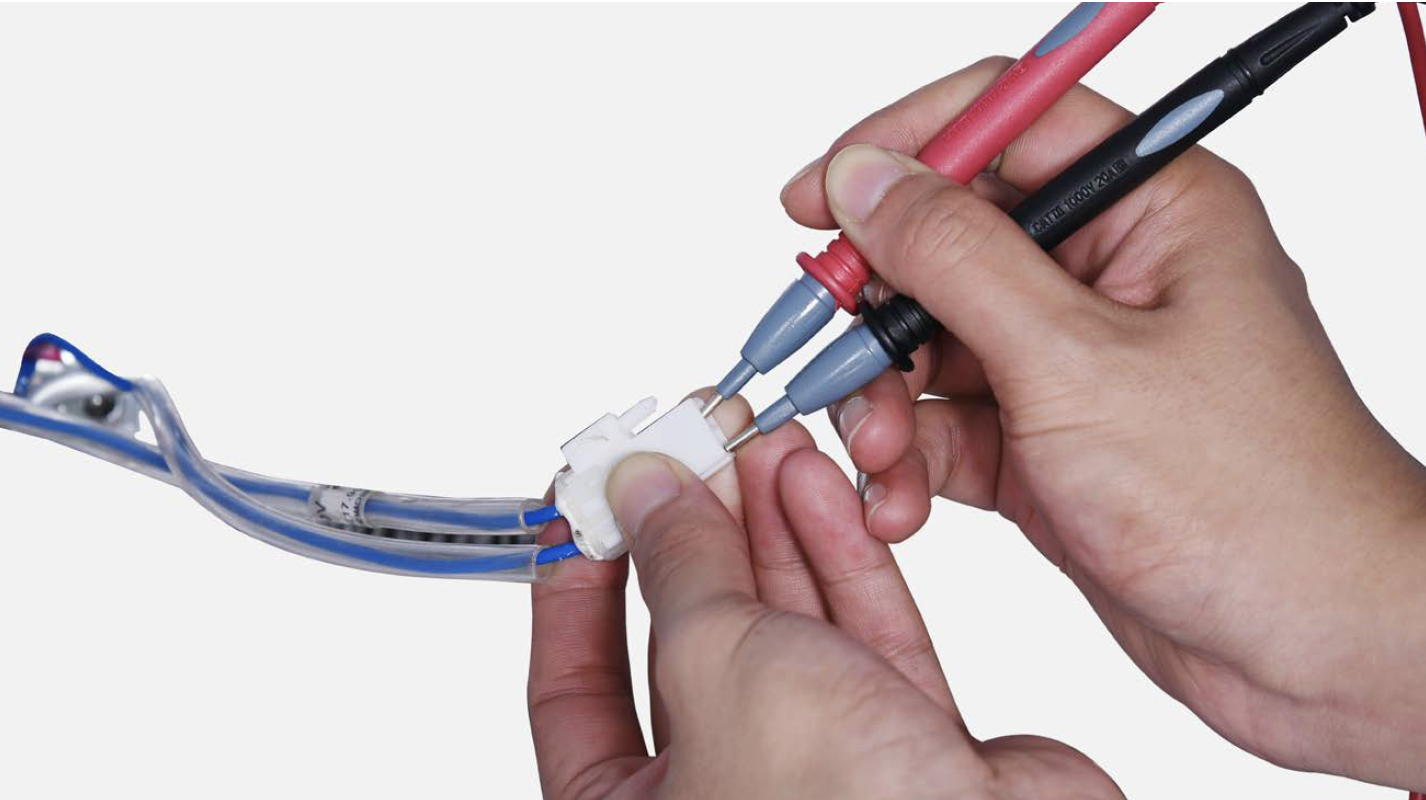
Step 2
Use multimeter to check whether the connection of wires is good or not.

DIAGNOSIS 3


CHECK AND TEST 4
Step 1
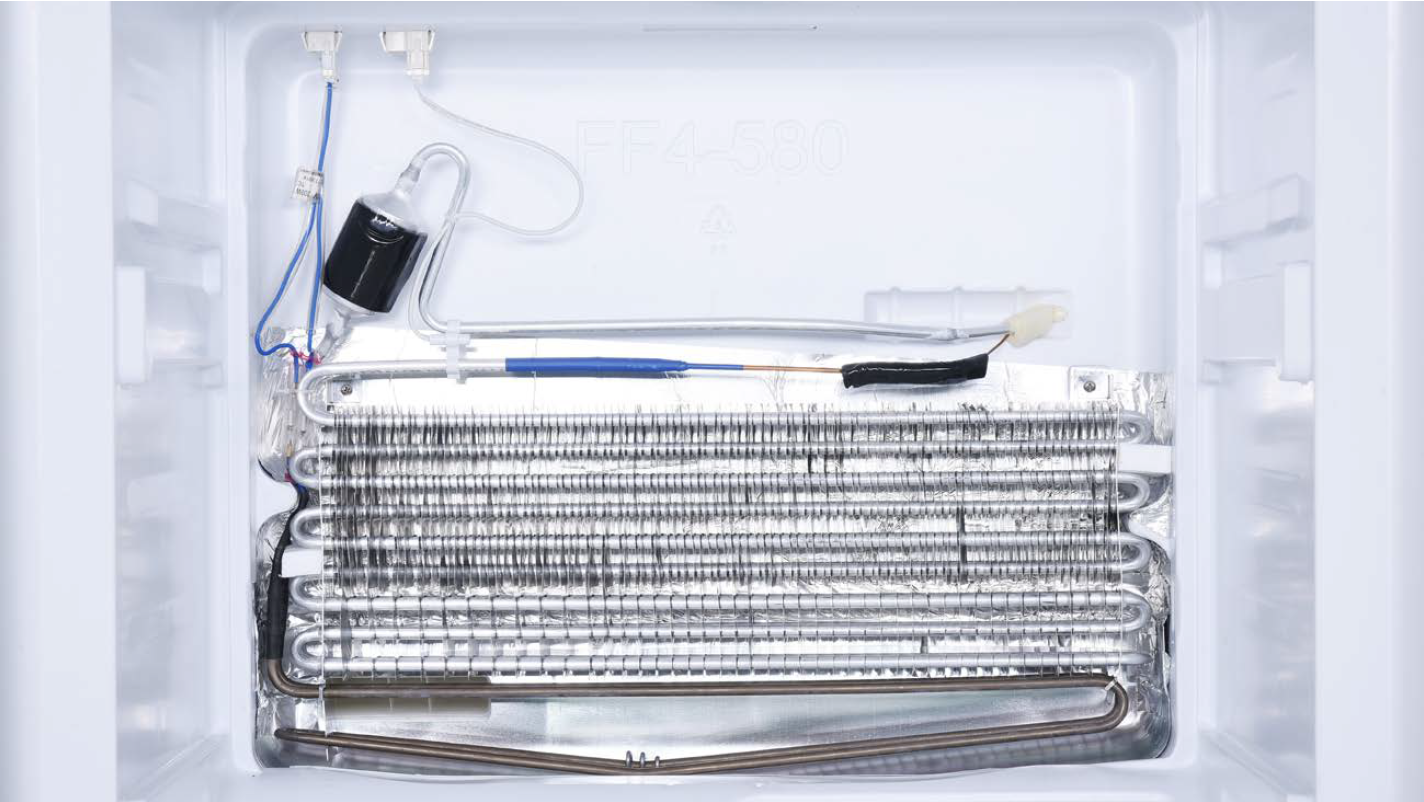
Check if wires for defrost heater are broken or not.
DIAGNOSIS 4
PROCEDURE 2
Step 1
Cut off the wire.

Step 2
Peel off the sleeves.
Step 3
Ensure proper wire order and connect.

Step 4
Tin soldering.

Step 5
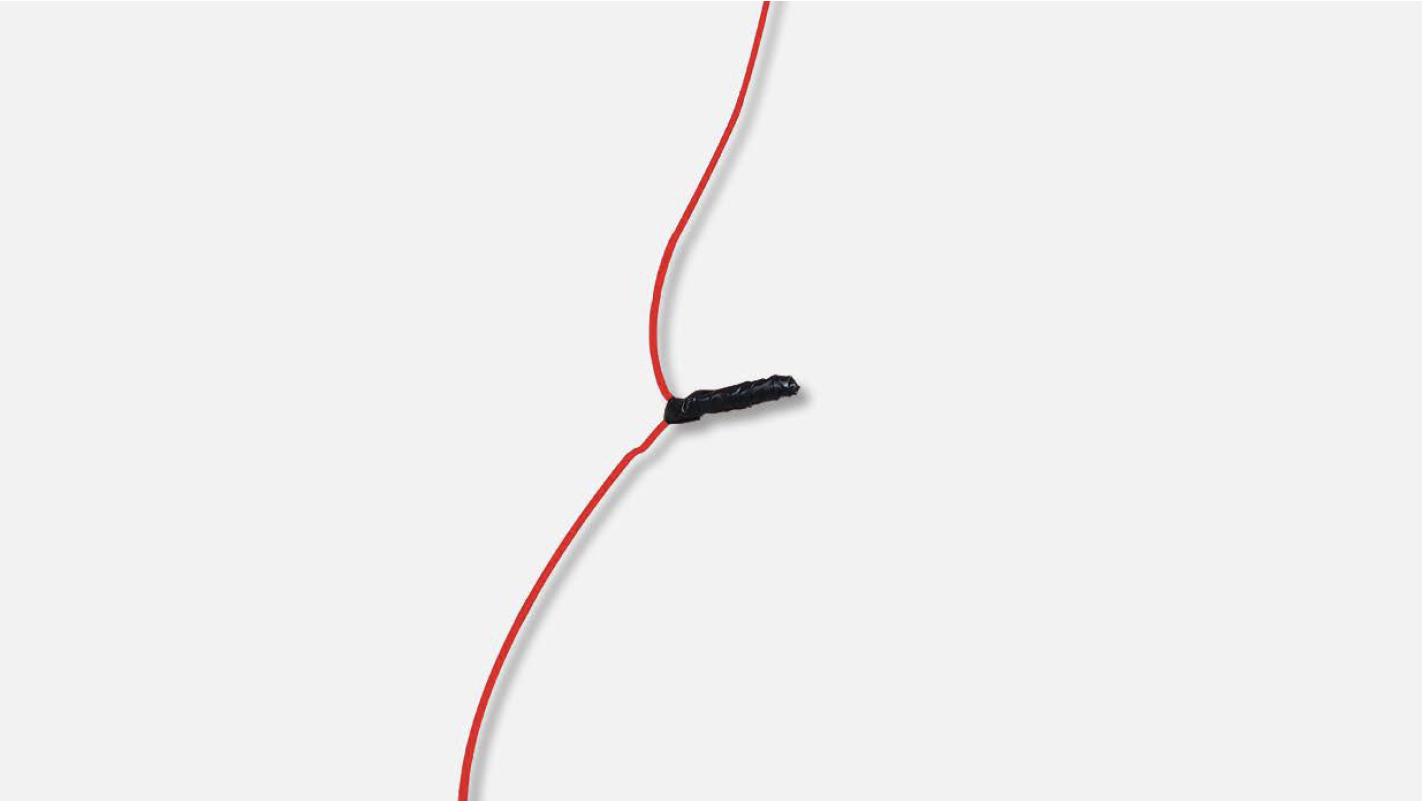
Cover point of connection with electrical tape.
CHECK AND TEST 5
Step 1
Measure the resistance of heater from terminal in freezer.
DIAGNOSIS 5

PROCEDURE 3

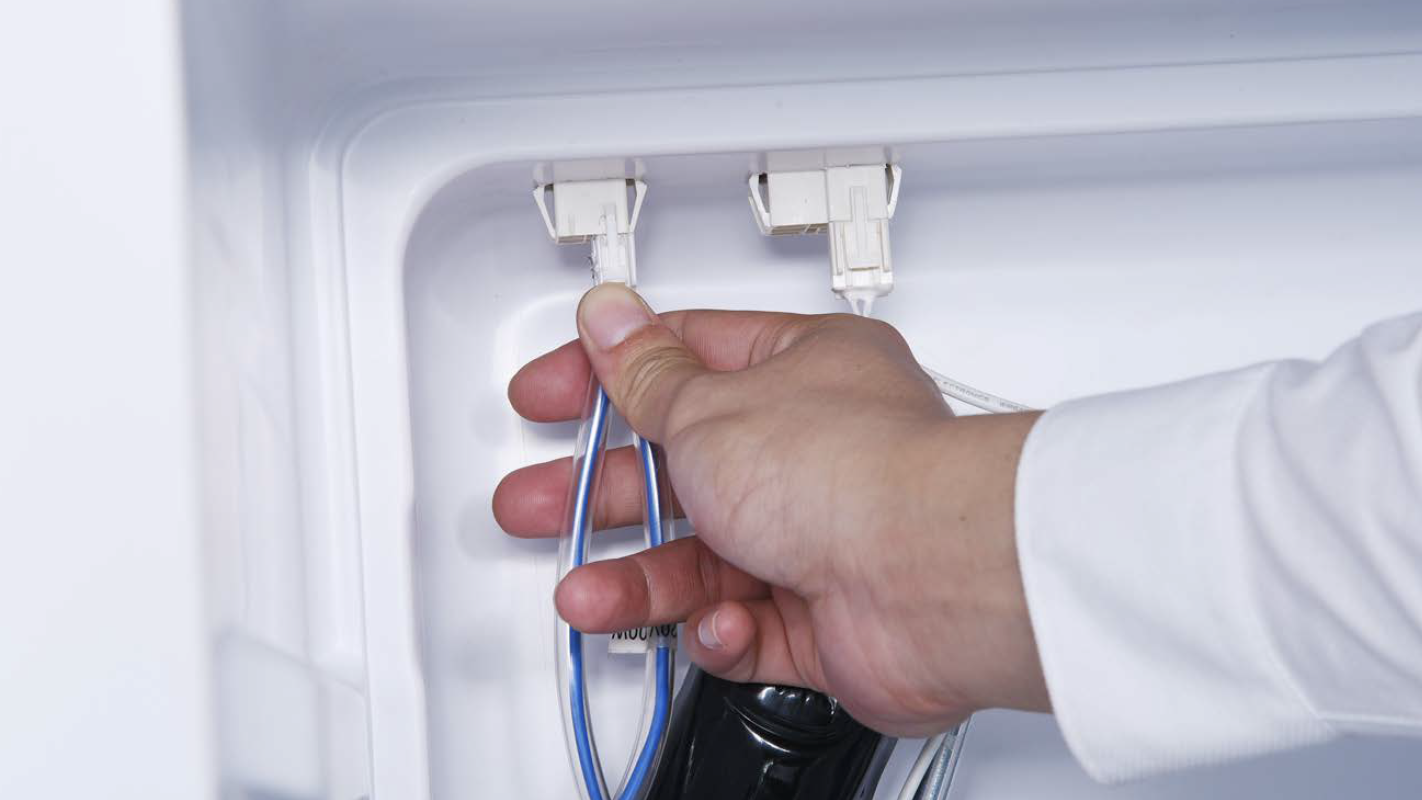
Step 1
Disconnect the terminals of heater.
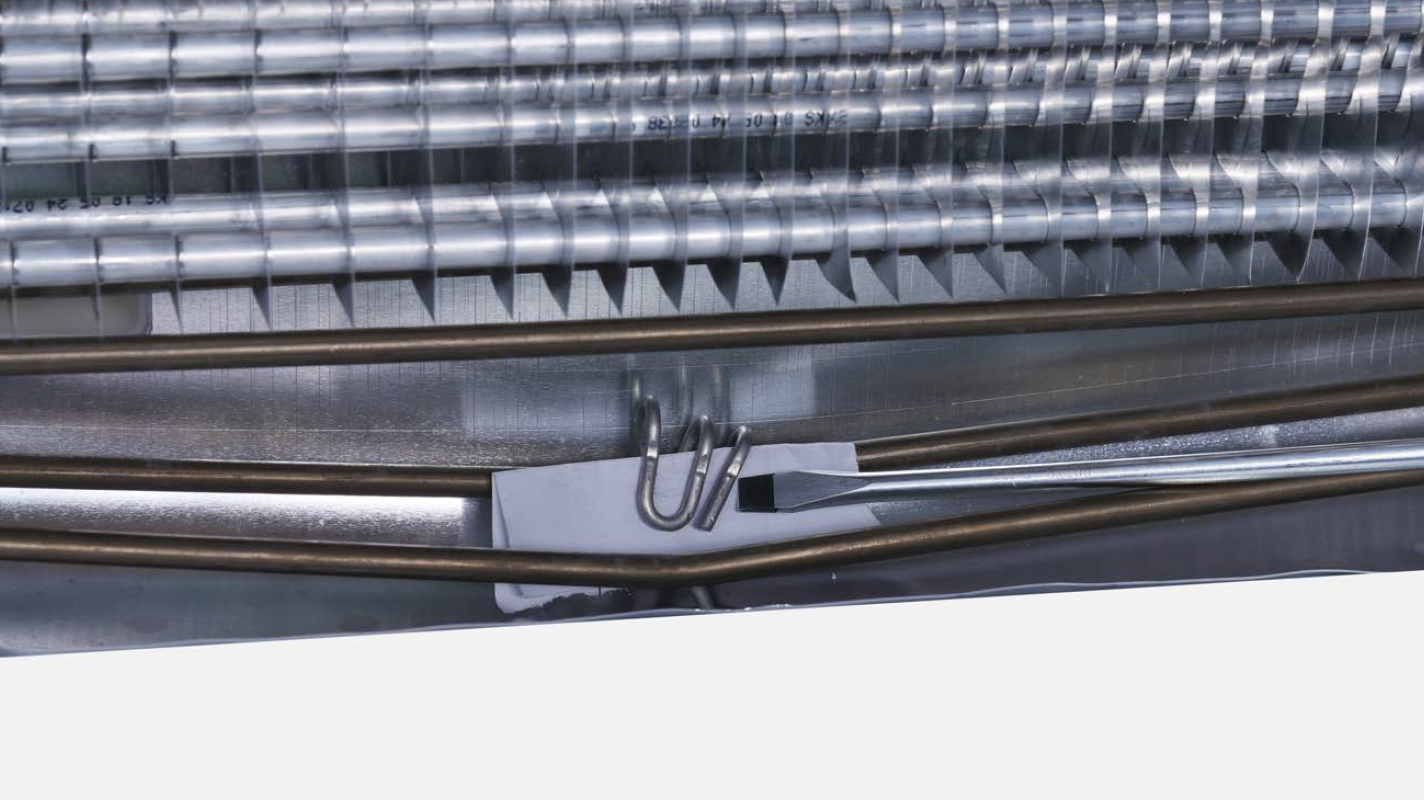
Step 2
Use screwdriver to remove the heat conductor.
Step 3
Use 6mm cross-head screwdriver to unscrew on the right and left sides.

DIAGNOSIS 6
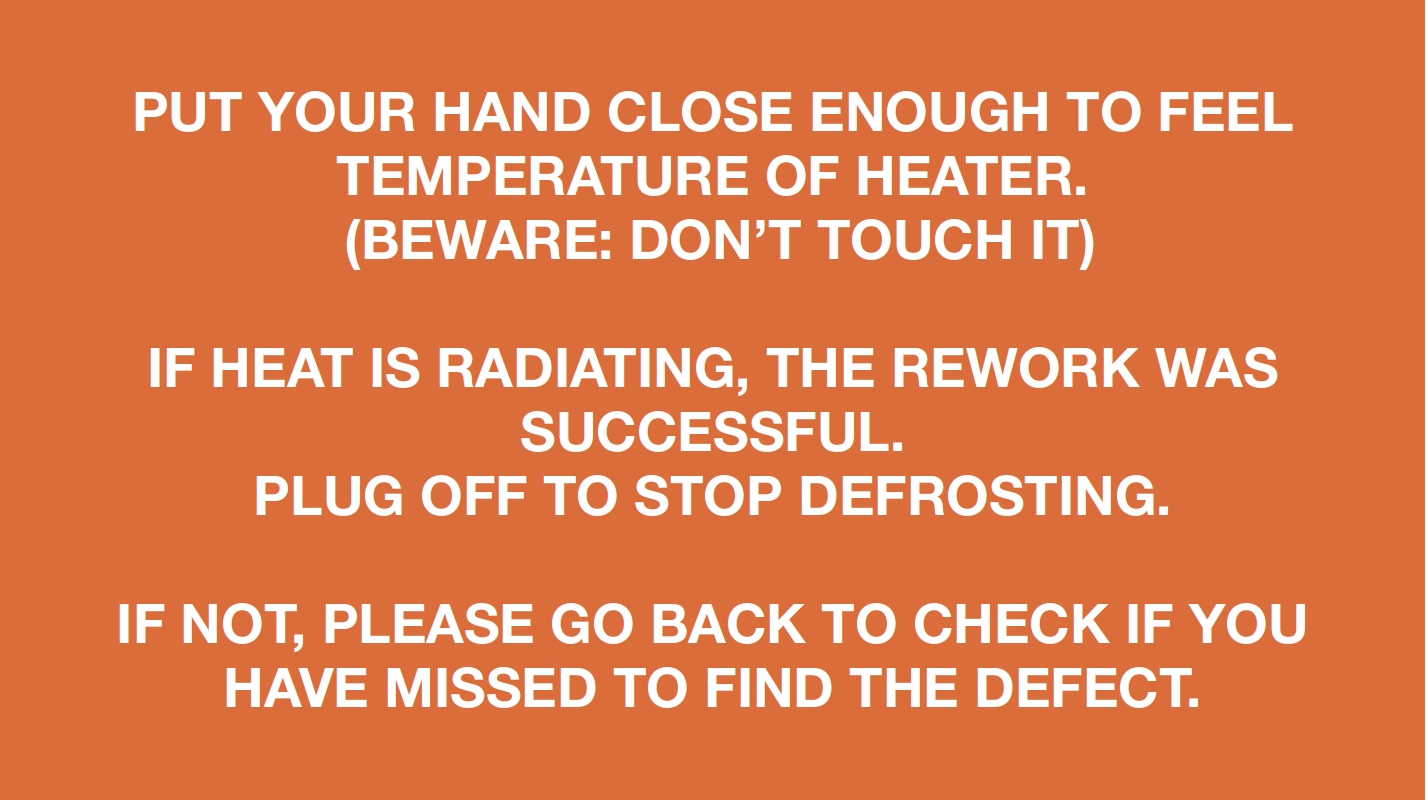
CHECK AND TEST 6
Step 1
Reconnect all terminals behind freezer air duct.

Step 2
Connect terminals with mainboard.

Step 3
Press Freezer Temp. button along with Mode button for 5 sec, “0” flashes in freezer temperature area.

Step 4
Press Freezer Temperature button, 1 and 3 will appear in freezer temperature area.

Step 5
When 3 appears, remove finger and select manual defrost.

DIAGNOSIS 6


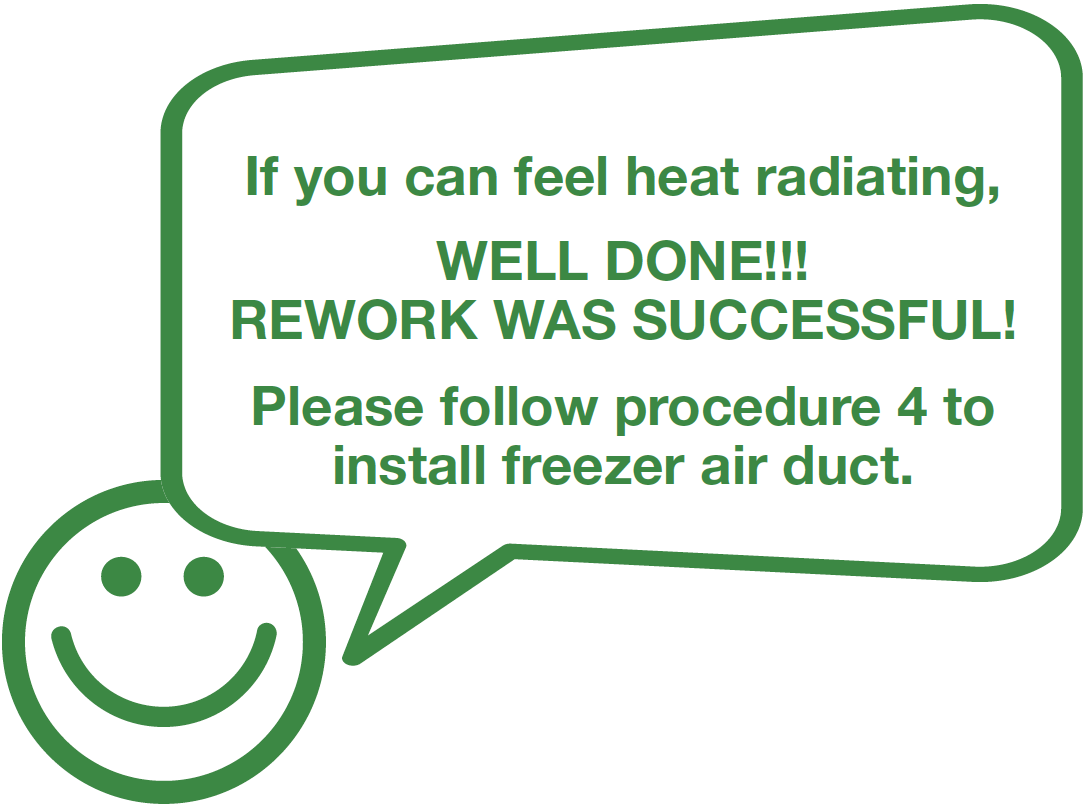
PROCEDURE 4
Tip 1
When re-installing the air duct, move the wires out of the way so that they won’t be crushed by air duct.
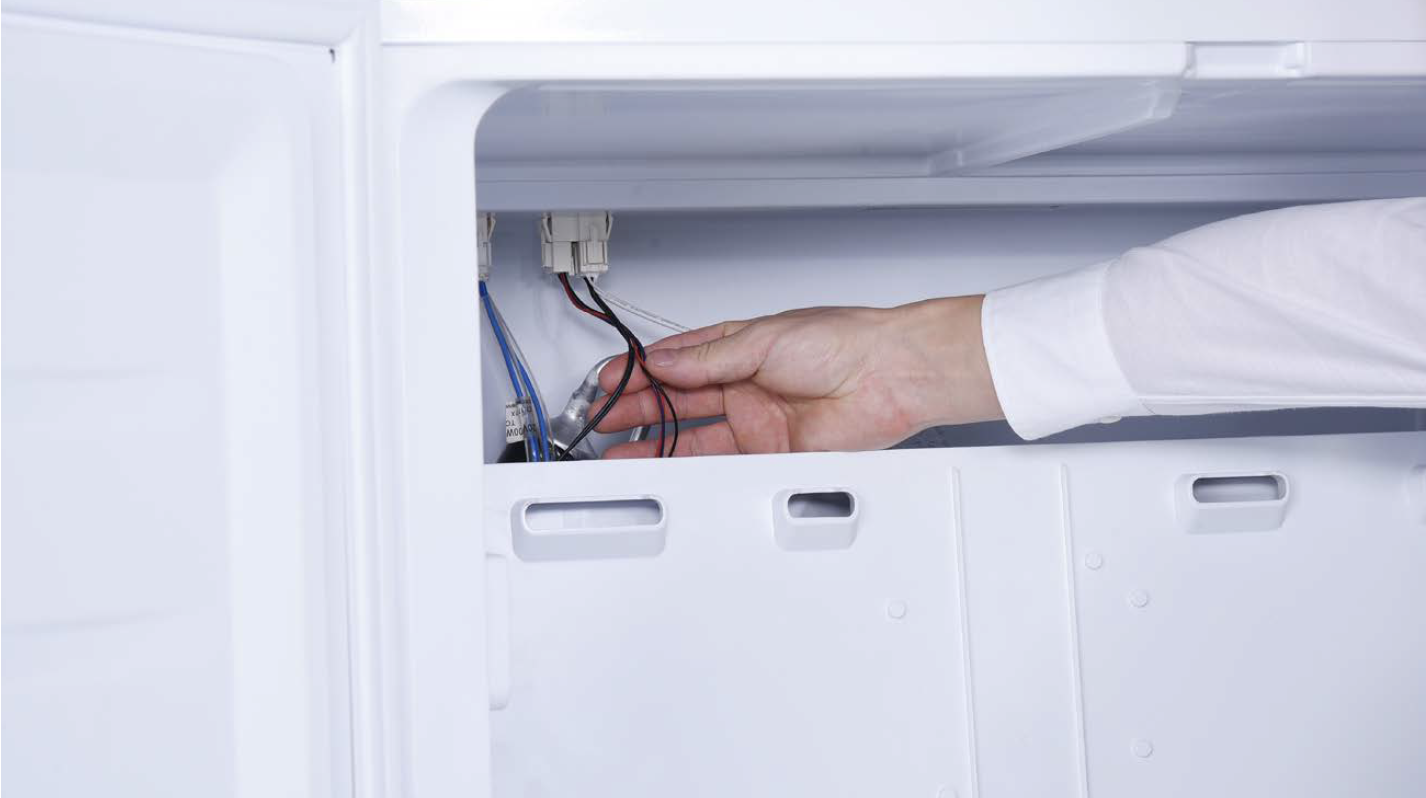
Tip 2
After pushing the air duct into position there should be a clicking sound. If not, install again.
Tip 3
Check to see if there is a wide gap between air duct and cabinet.
IF SO, install air duct again.
Tip 4
Ensure that latches are properly inserted into cavities.

Tip 5
First, insert top of cover plate into the gap. Then, bend plate to insert the bottom. Lastly, snap middle into place.

