

CHECK AND TEST 1
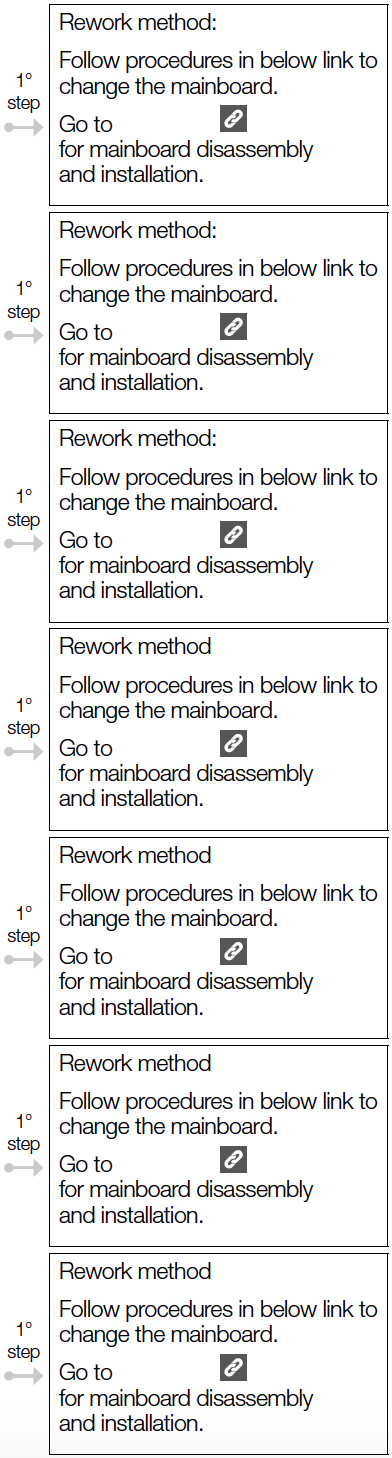
Follow steps in right link to
open mainboard cover.


PROCEDURE 1
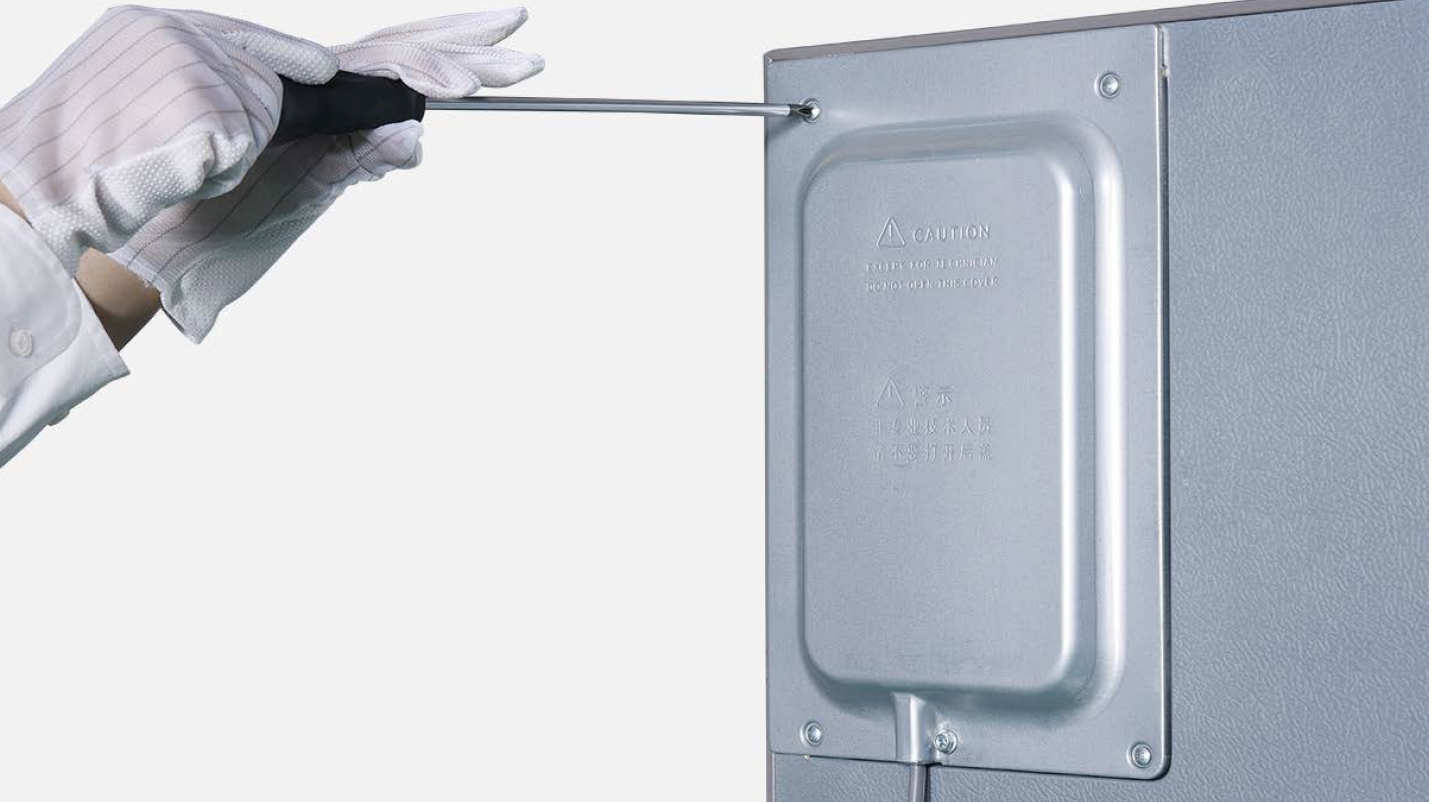
Step 1
Unscrew cover of mainboard with a Cross- head screwdriver.
Step 2
Disconnect terminals.

Step 3
Pull out earthing wires.

Step 4
Unscrew the mainboard.

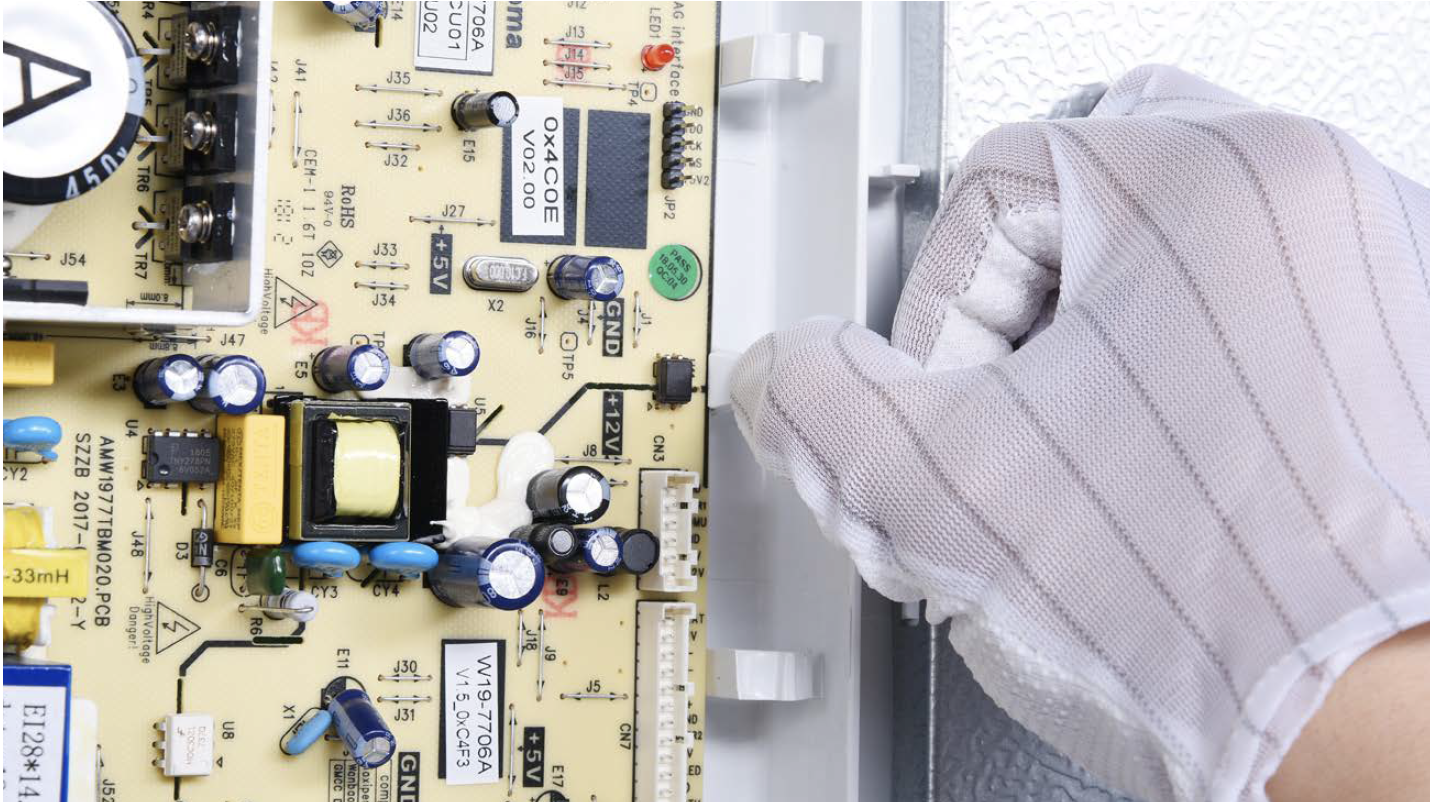
Step 5
Unfasten and remove mainboard.

PROCEDURE 2
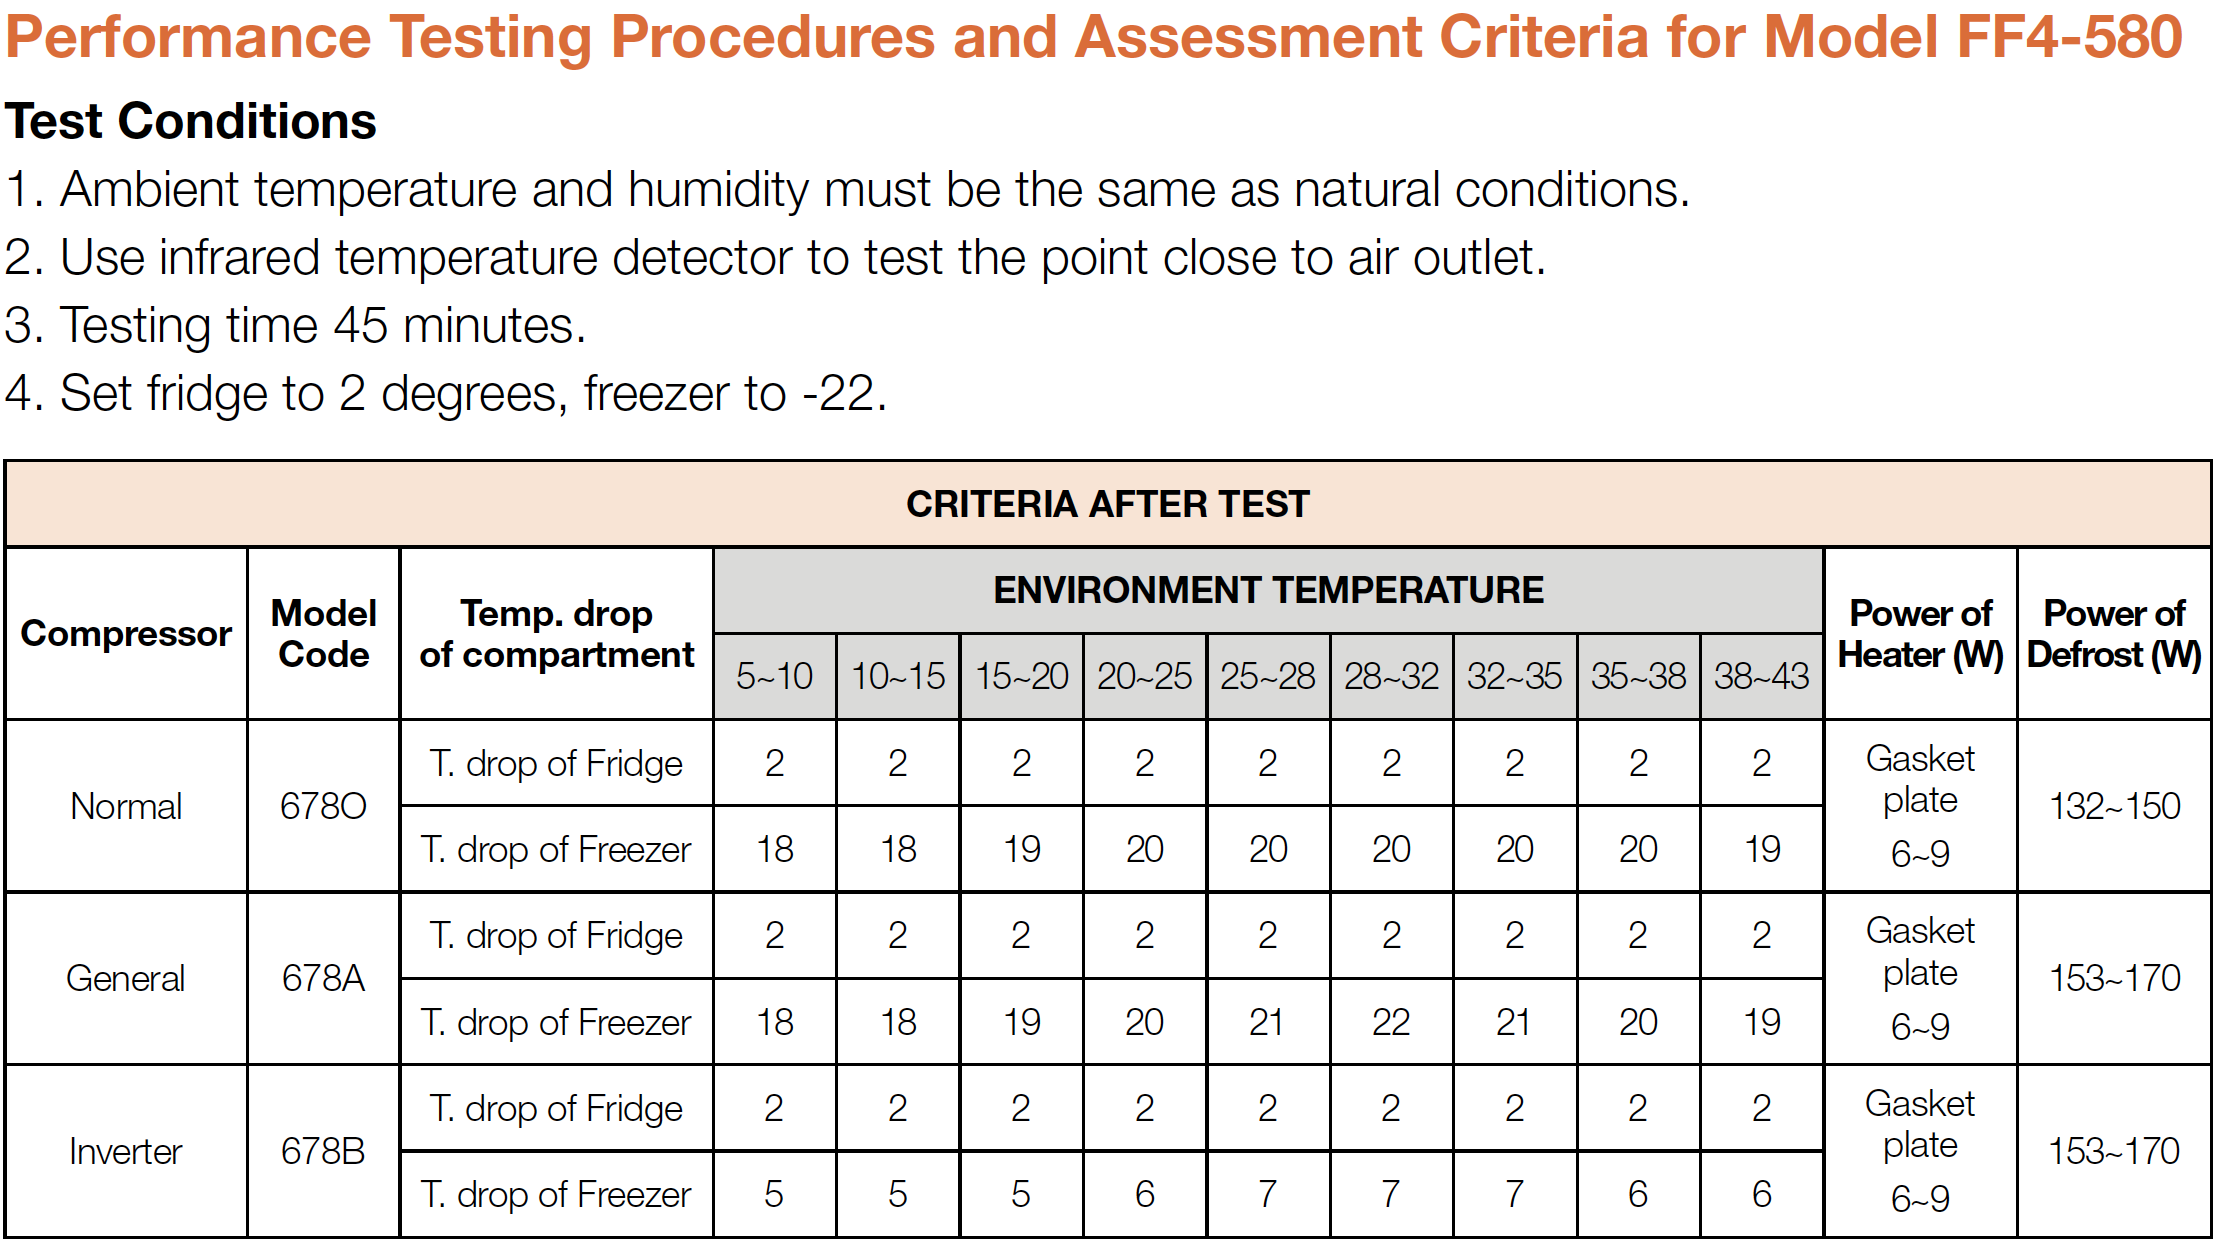
CHECK AND TEST 2

DIAGNOSIS 2


PROCEDURE 3
Step 1
Unscrew terminal cover.

Step 2
Remove terminal cover.

Step 3
Disconnect all terminals.

Step 4
Unscrew earthing wire.

Step 5
Unscrew nut of compressor.

Step 6
Install a new compressor on top.
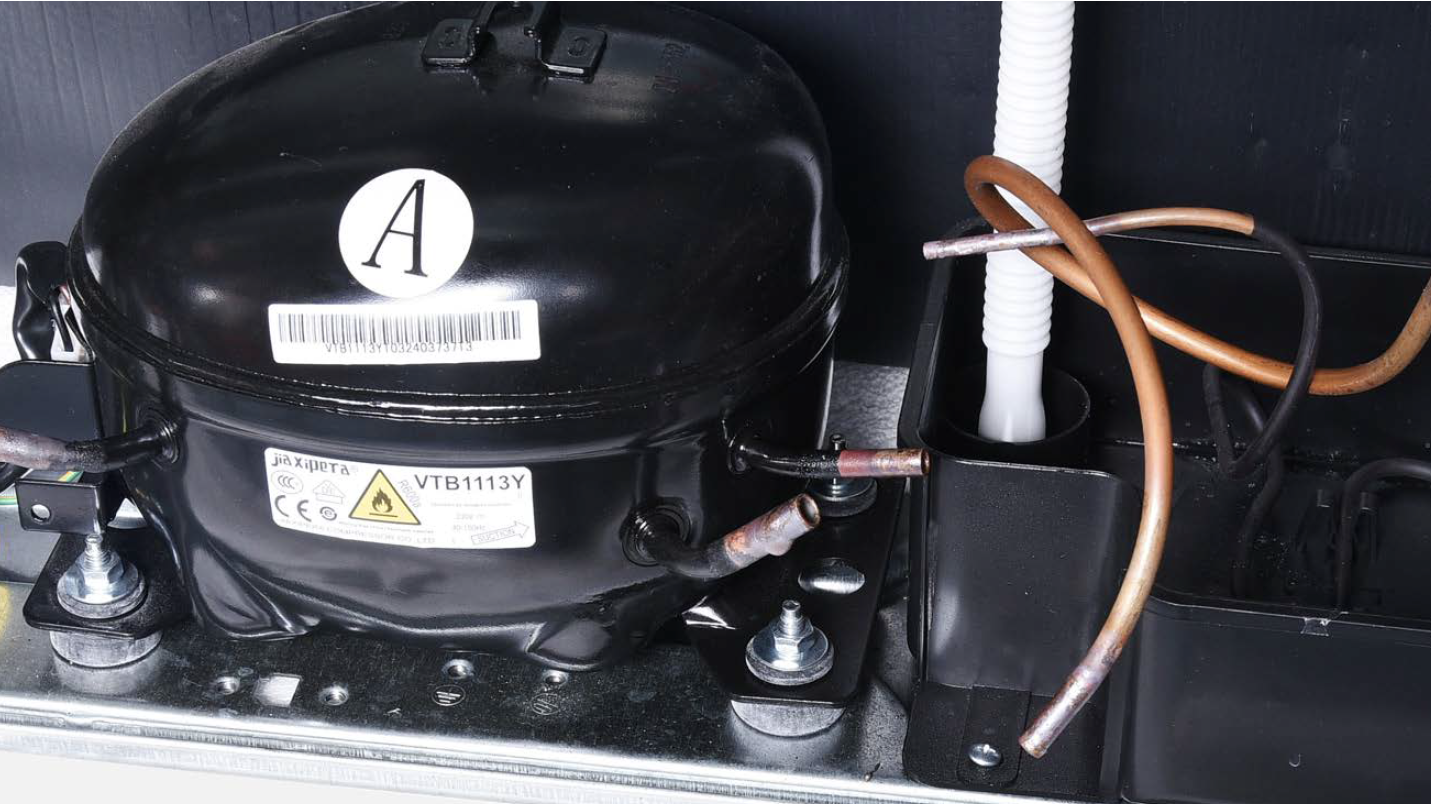
Step 7
Braze the joints of suction and exhaust pipes.

PROCEDURE 4
Step 1
Re-braze a copper
tube onto compressor
processing tube.To get more details on
brazing requirements, please go to Annex B1

Step 2
Install quick connector onto rebrazed pipe.

Step 3
Clean away paint on brazed joint.

Step 4
Cut off the brazed joint of drying filter.
Step 5
Cut off capillary and remove the cut end by shaking.

Step 6
Braze on a new drying-filter.

Step 7
Perform leakage test on brazed joints of drying- filter and processing pipe on compressor.

Step 8
Vacuum and recharge.
Please get more details of vacuuming
and gas charging requirements
on Annex B2

Step 9
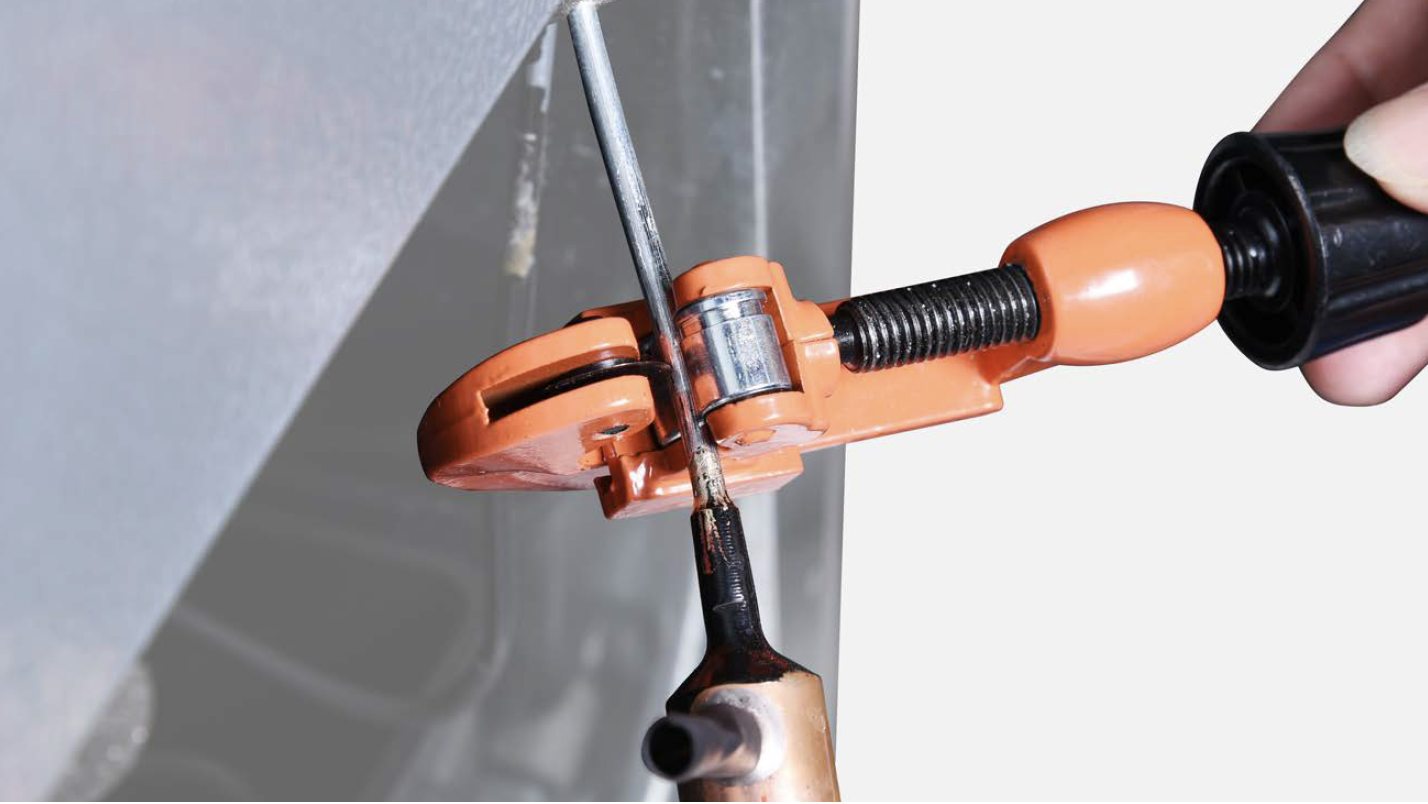
Block processing pipe
twice by locking pliers.
Step 10
Leave locked pliers attached to second block and shake to cut off the remaining pipe.

Step 11
Braze the ends and remove the pliers.

CHECK AND TEST 3
DIAGNOSIS 3


GO BACK TO COMPONENT LIST