


CHECK AND TEST 1
Step 1
Unscrew cover of mainboard with a crosshead screwdriver.
Note
Not actual picture, for reference only, to show the procedure.

Step 2
Disconnect terminals.

Step 3
Check for proper wire positions.

Step 4
Record test result.

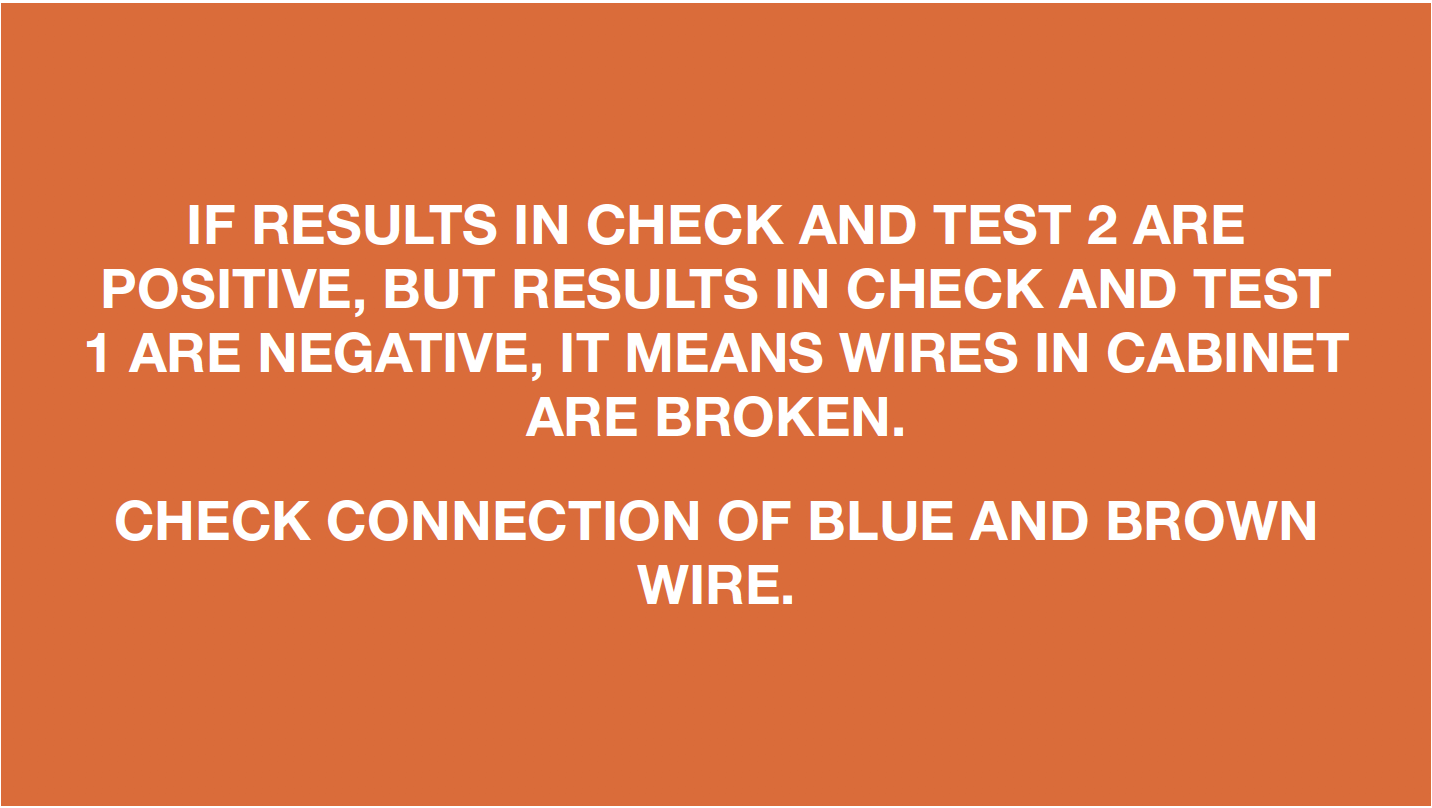
DIAGNOSIS 1
CHECK AND TEST 2
Step 1
Unscrew hinge cover.

Step 2
Remove the cover.
Step 3
Disconnect the terminals.
Step 4
Measure the resistance of heater from terminal under hinge cover.

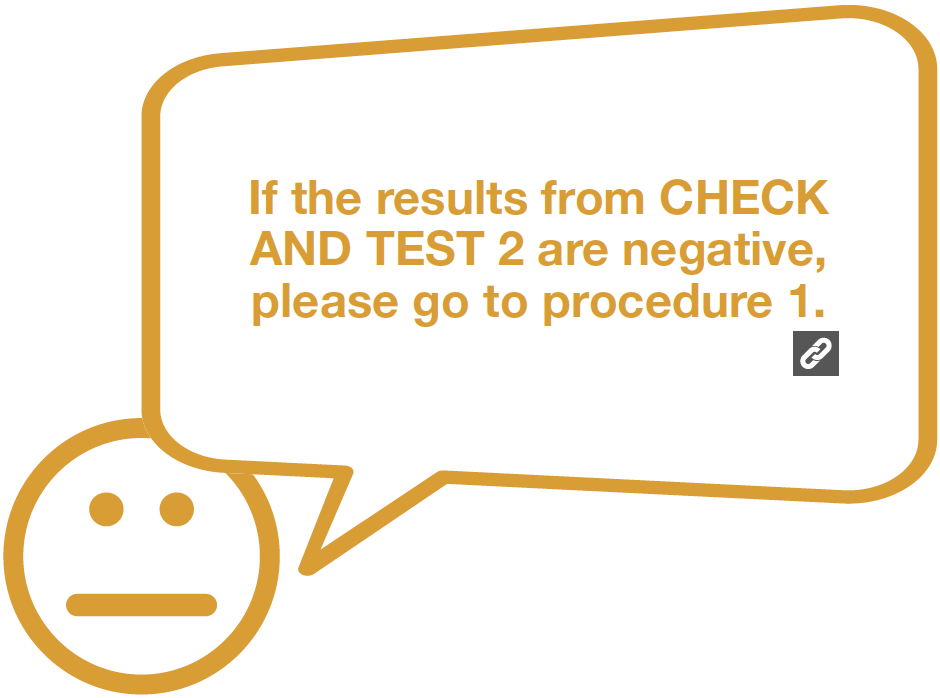
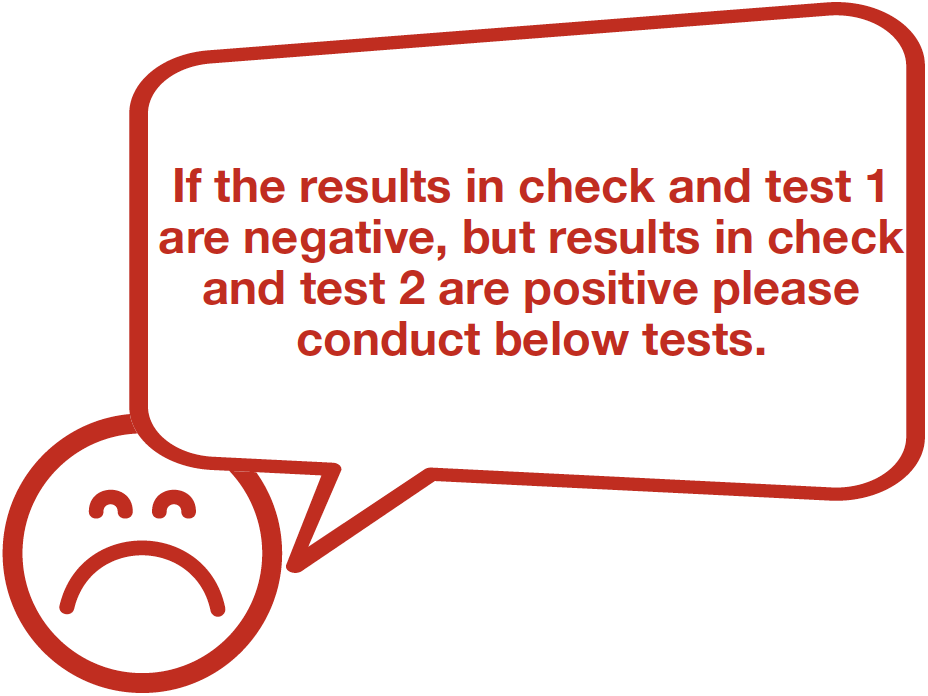
DIAGNOSIS 2
CHECK AND TEST 3
Step 1
Check to see if terminal is full of foam.
IF YES, USE TWEEZERS TO REMOVE FOAM.

Step 2
Connect 2 ends of terminals in PCB area, and test resistance from terminal under hinge cover.

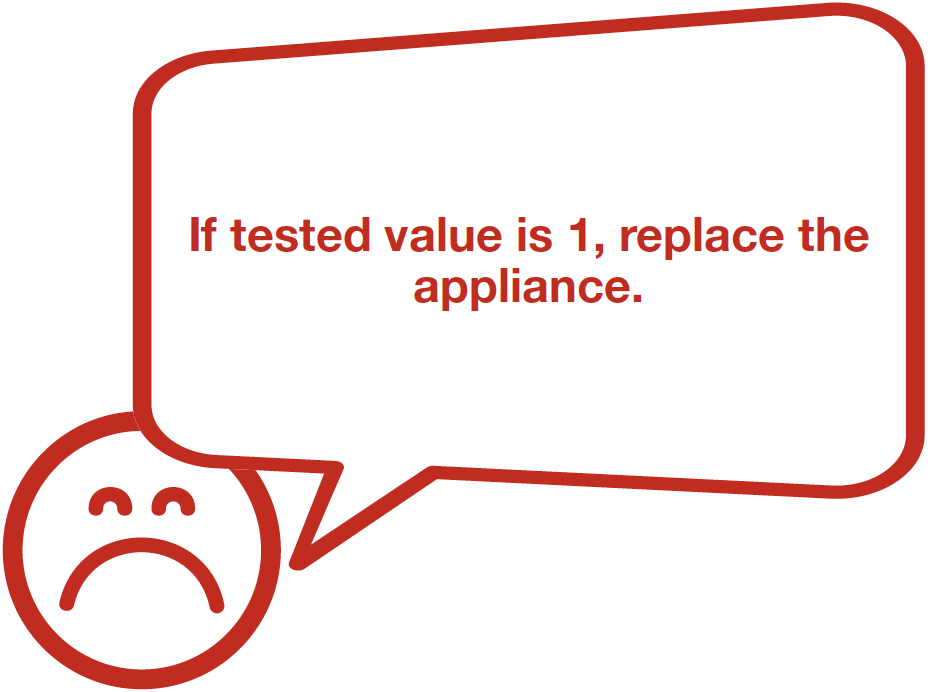
DIAGNOSIS 3


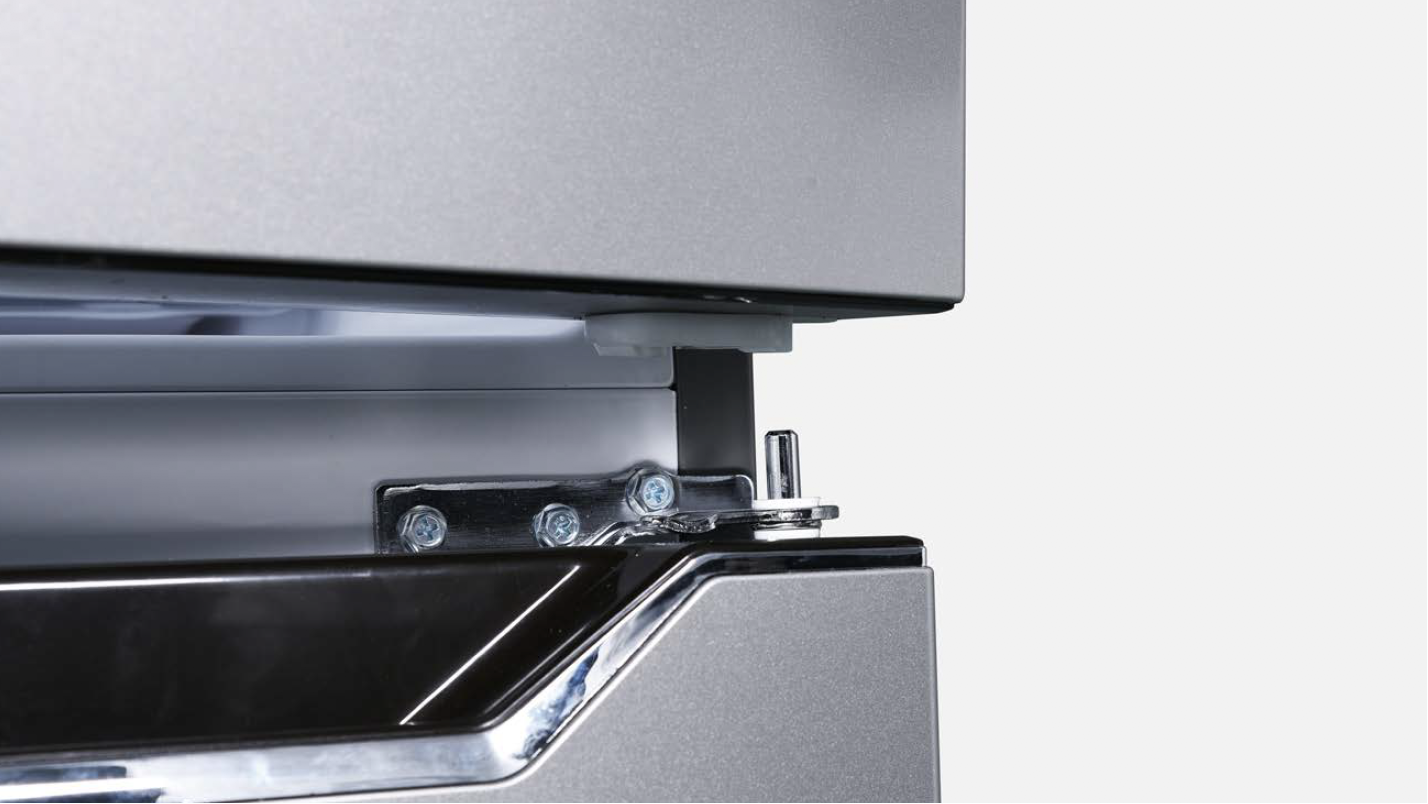
PROCEDURE 1

Step 1
Remove the screw cover in the middle.

Step 2
Loosen 2 screws of terminal cover in anticlockwise direction.

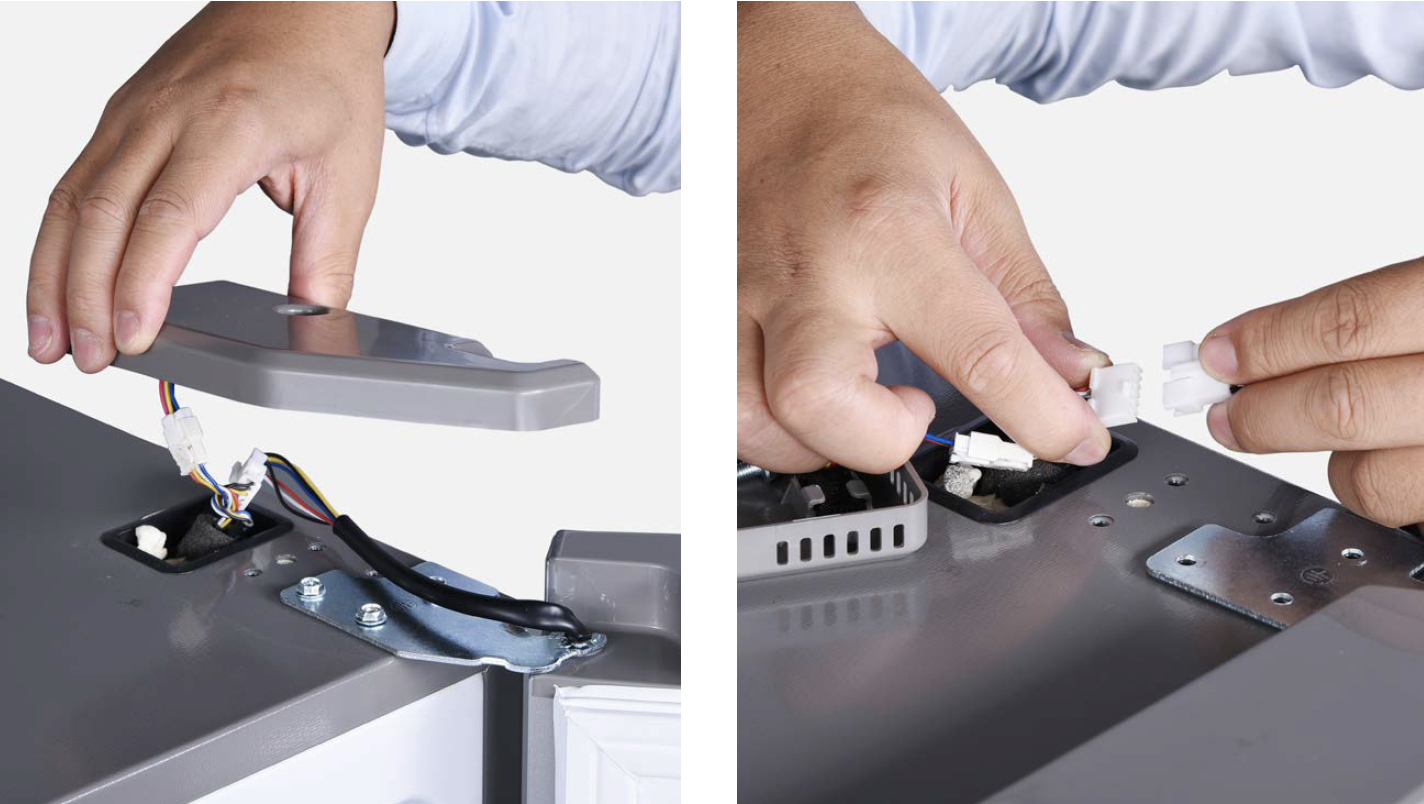
Step 3
Disconnect the terminal.
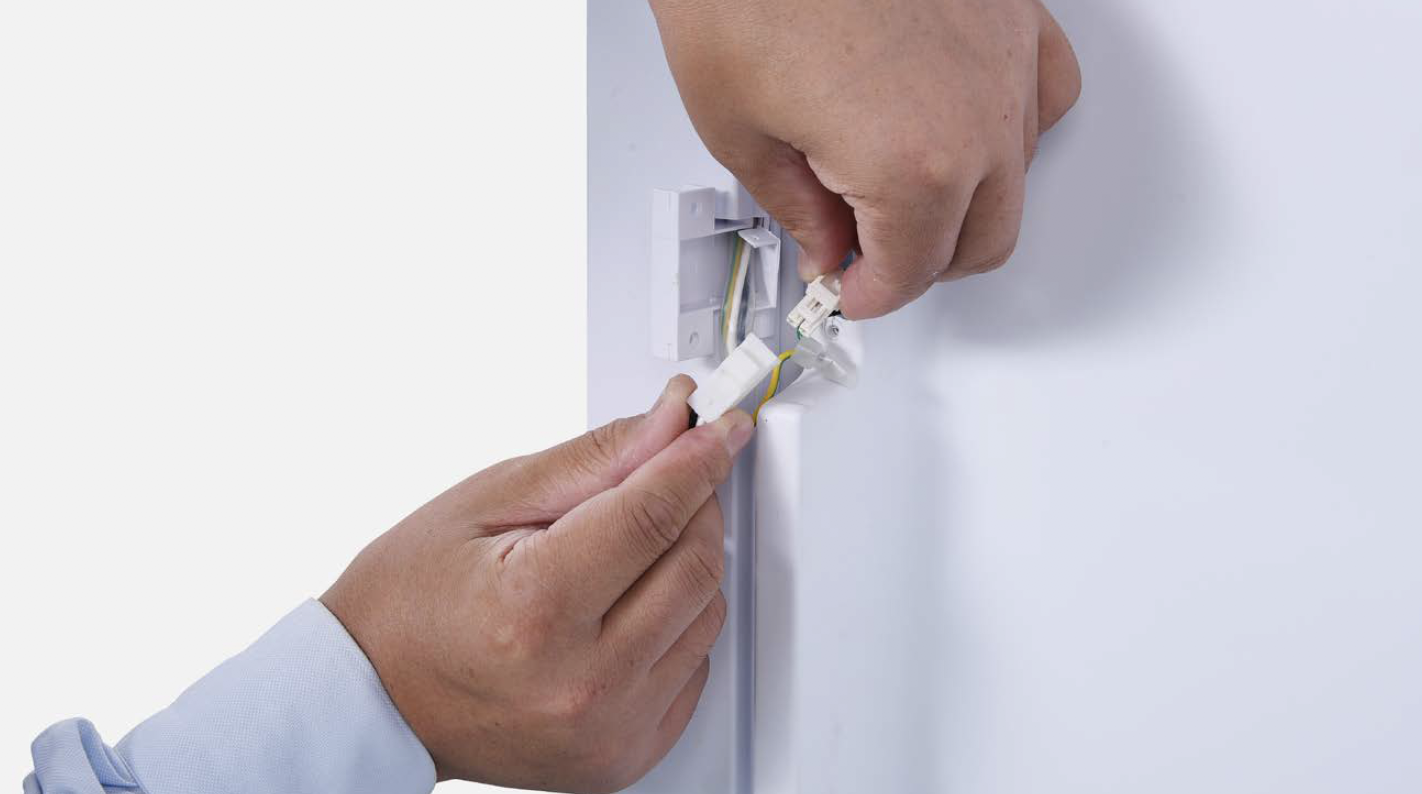
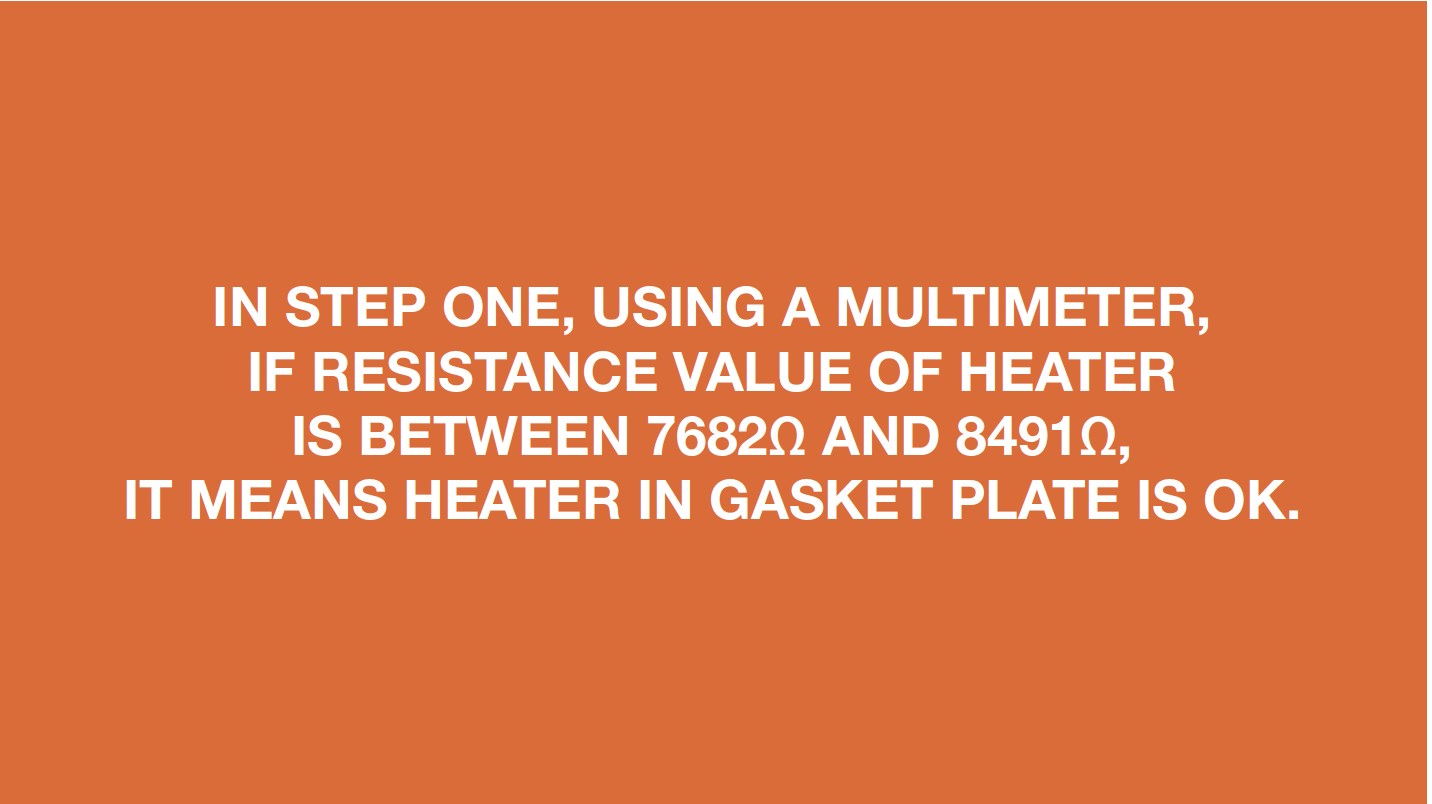
CHECK AND TEST 4
Step 1
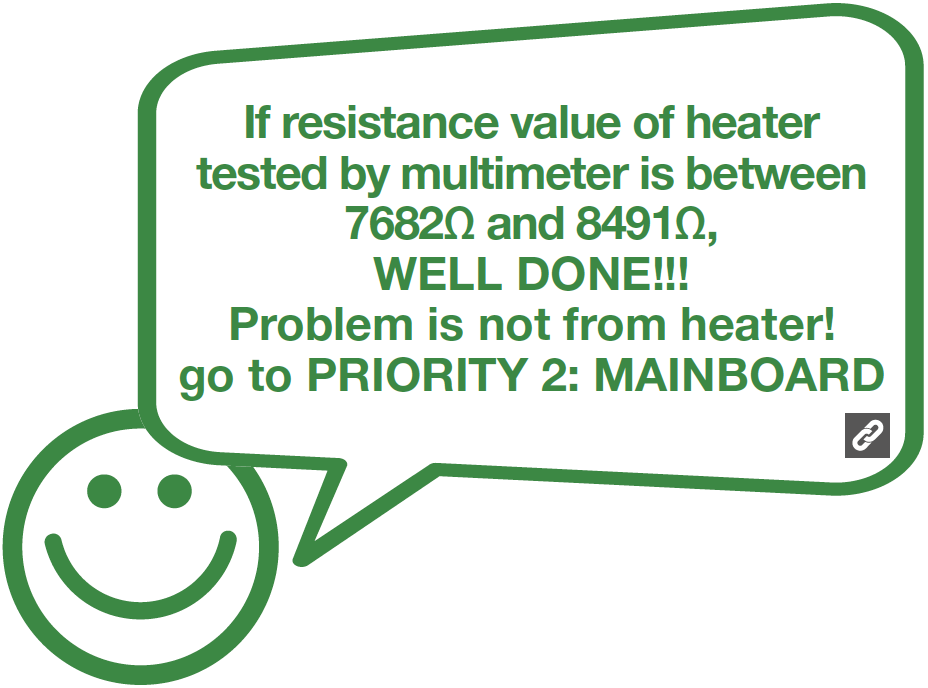
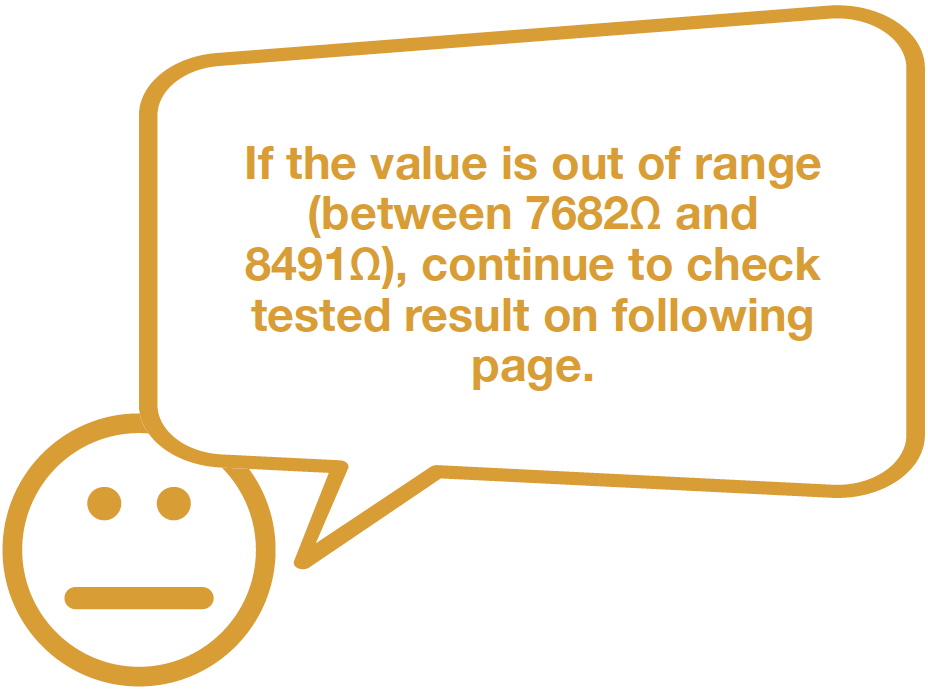
Measure the resistance of heater from terminal in gasket plate.

DIAGNOSIS 4


CHECK AND TEST 5
Step 1
Check to see if terminal is full of foam.IF YES, USE TWEEZERS TO REMOVE FOAM.

Step 2
Connect 2 ends of terminal in cavity of wires on door, and test resistance from terminal under hinge cover.

DIAGNOSIS 5


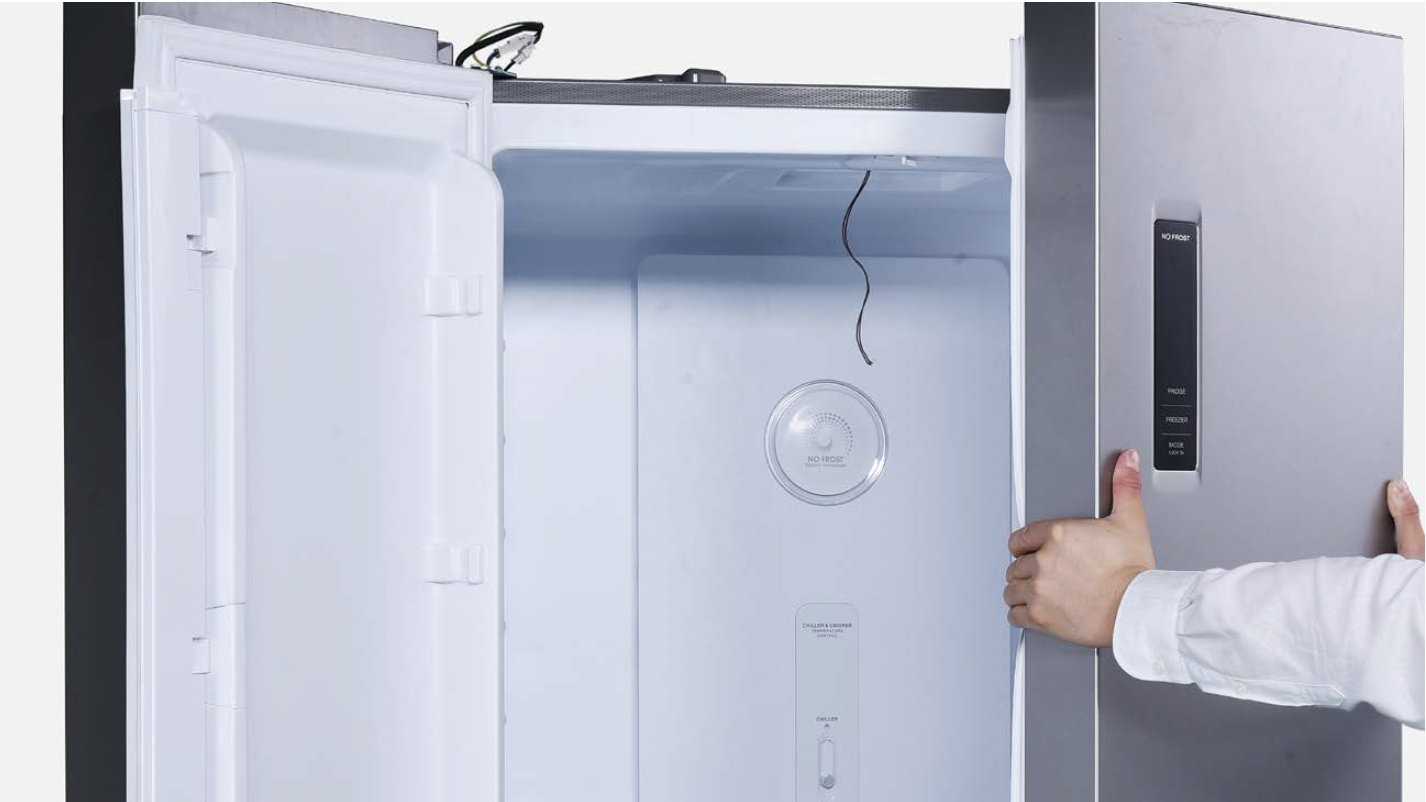
PROCEDURE 2
Step 1
Unscrew hinge cover.
Step 2
Remove the cover.

Step 3
Disconnect the terminals.
Step 4
Unscrew 3 bolts and remove the top hinge.

Step 5
Remove fridge door.
PROCEDURE 3
Tip 1
Don’t forget to add washer onto hinge pin.
Tip 2
When installing door on hinge, please make sure door-stopper and hinge are properly aligned.

Tip 3
Make sure gasket is attached properly.

Tip 4
Make sure gaps between doors are even.
Tip 5
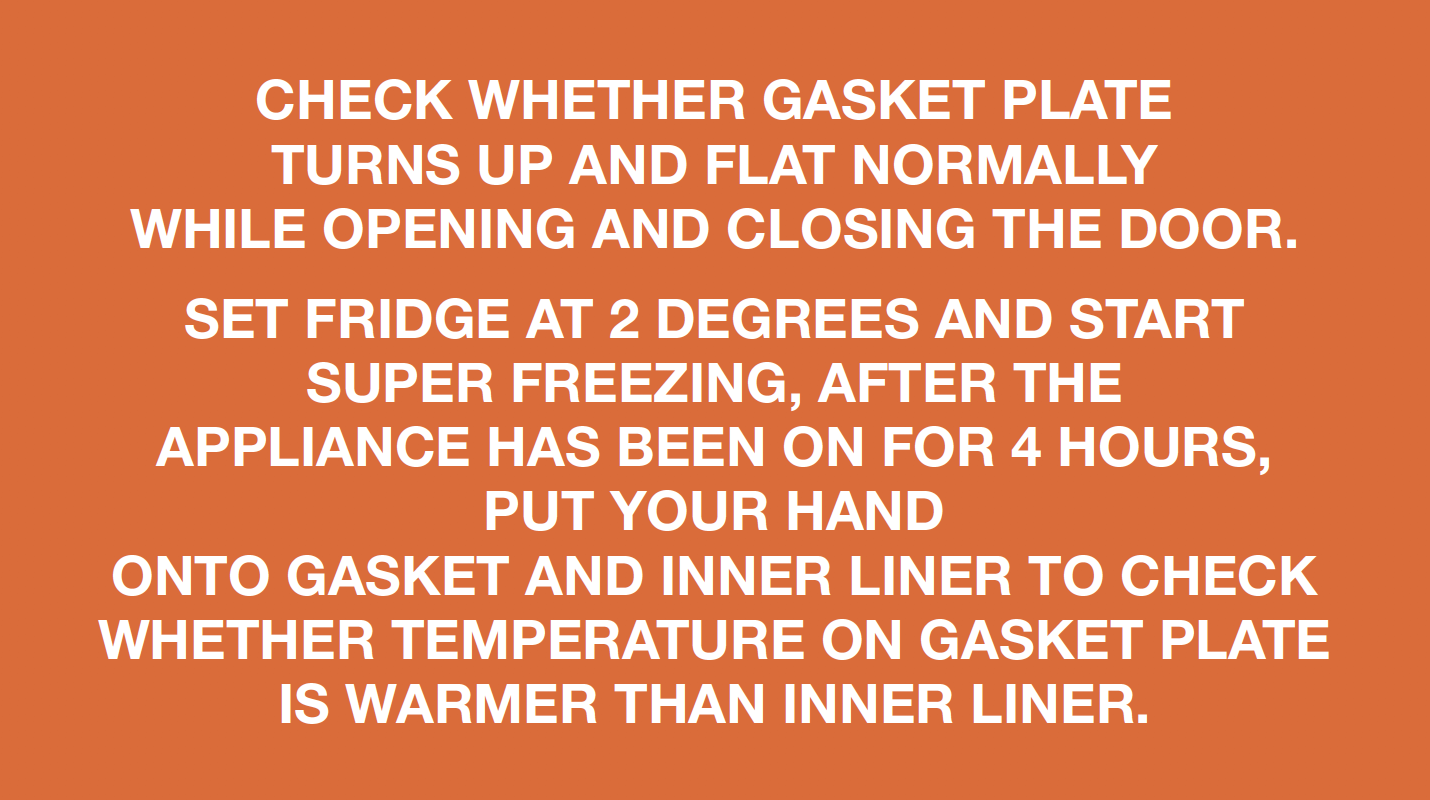
Check to make sure gasket plate turns over properly when door is opened and closed.

PROCEDURE 4

Step 1
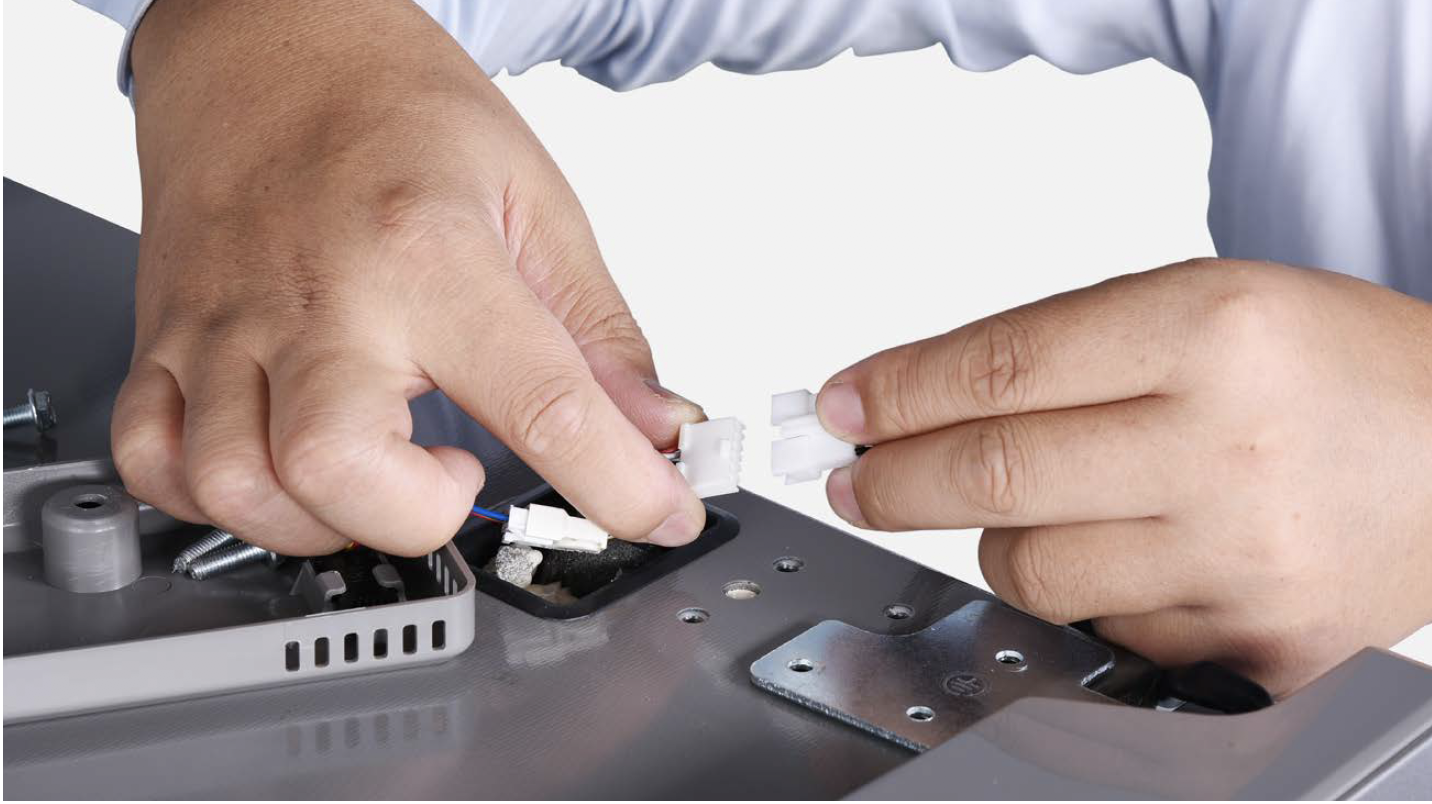
Disconnect the terminal for earthing wire.

Step 2
Use 2 hands to move gasket plate up.

Step 3
Lift gasket plate up until negative end detaches from positive end.

PROCEDURE 3
Tip 1
Connect the terminals then place wires carefully so they will not be crushed by cover.

DIAGNOSIS 6


GO BACK TO COMPONENT LIST