
PROCEDURE 1
Note
Internal wires for defrost heater is covered by freezer air duct, you need to disassemble freezer air duct to check it.
Step 1
Remove all drawers.

Step 2
Remove all drawers.

Step 3
Remove the vertical partition plate:
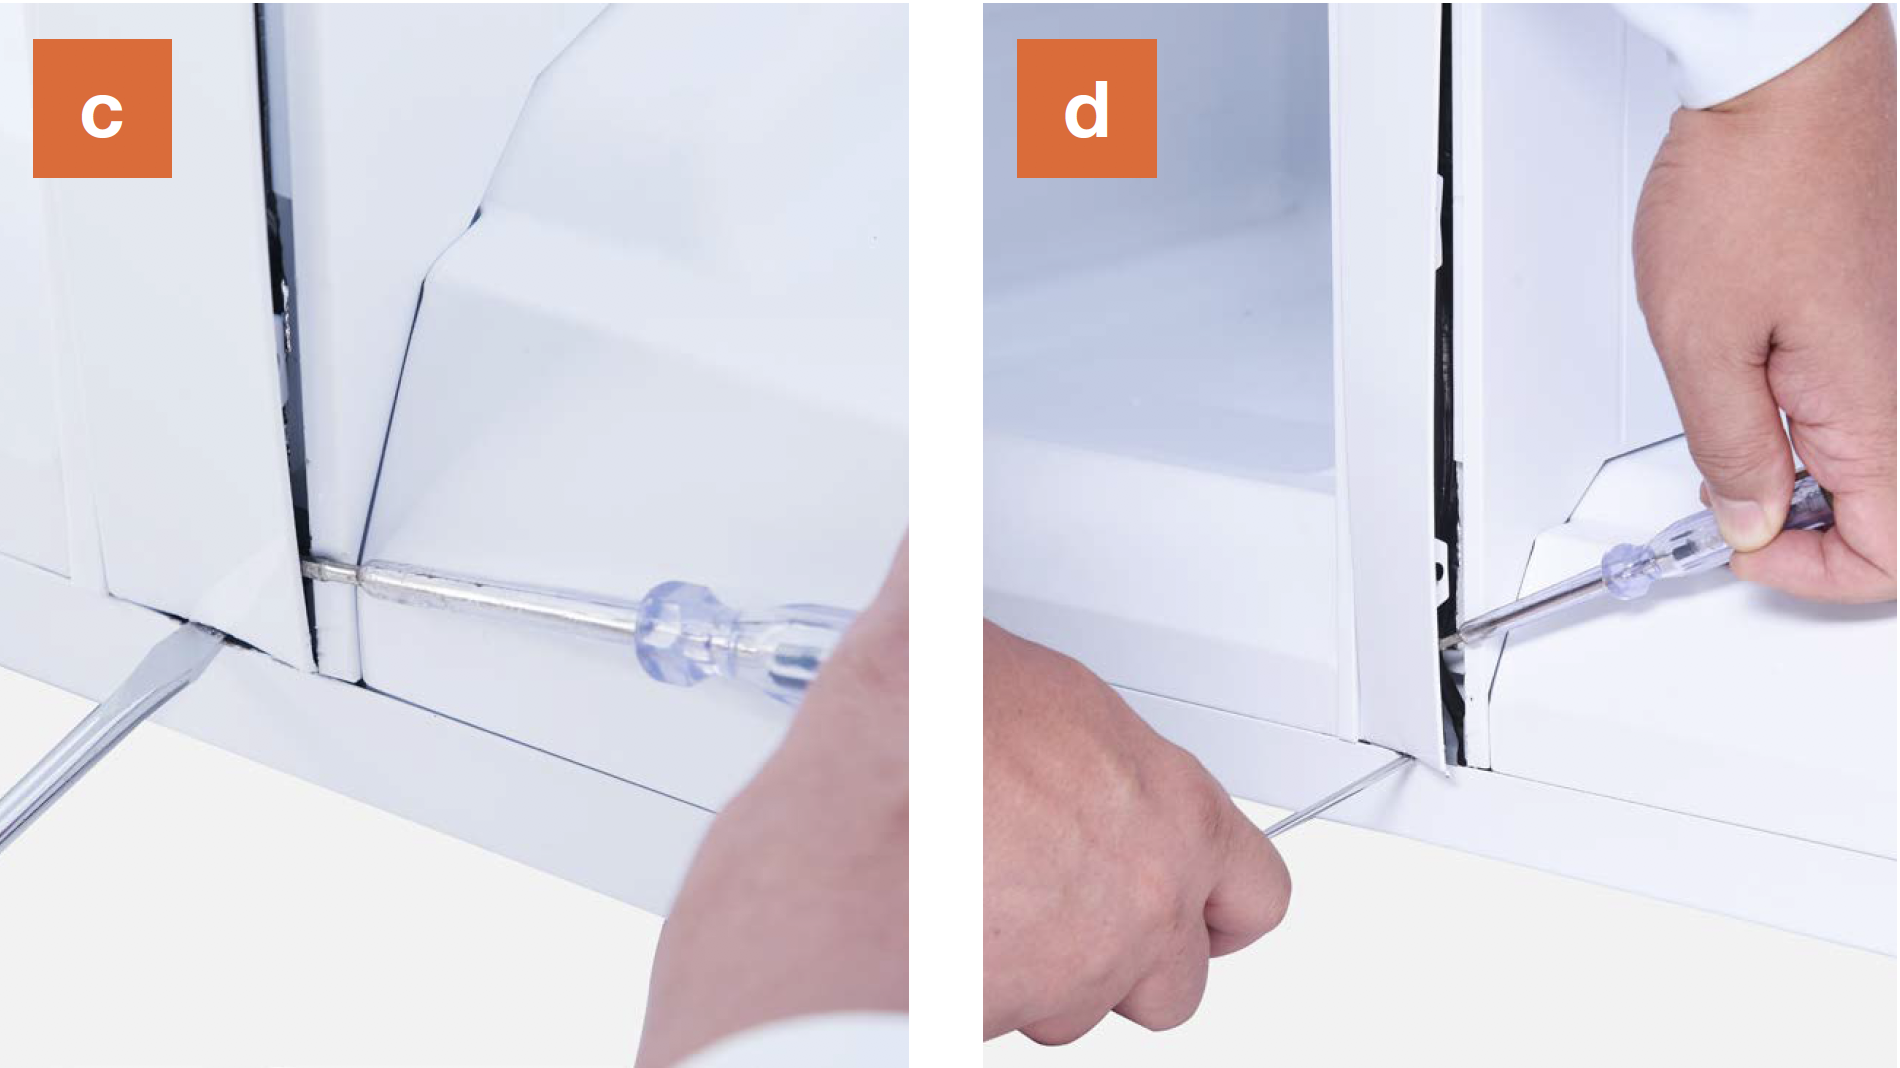
a. Insert 2mm slotted screwdriver into the gap; b. Lever up the cover plate from bottom;

c. Insert 2mm slotted screwdriver into the side gap;
d. Lever up the cover plate from bottom;
e. Pull the bottom end of cover out;
f. Pull the top of the cover out;

g. Take pipes out and pull them into a horizontal position;
h. Push the latch down and lift top out of the cavity;

i. Push the latch up and pull bottom out of the cavity;
j. Pull the partition outward and remove partition;

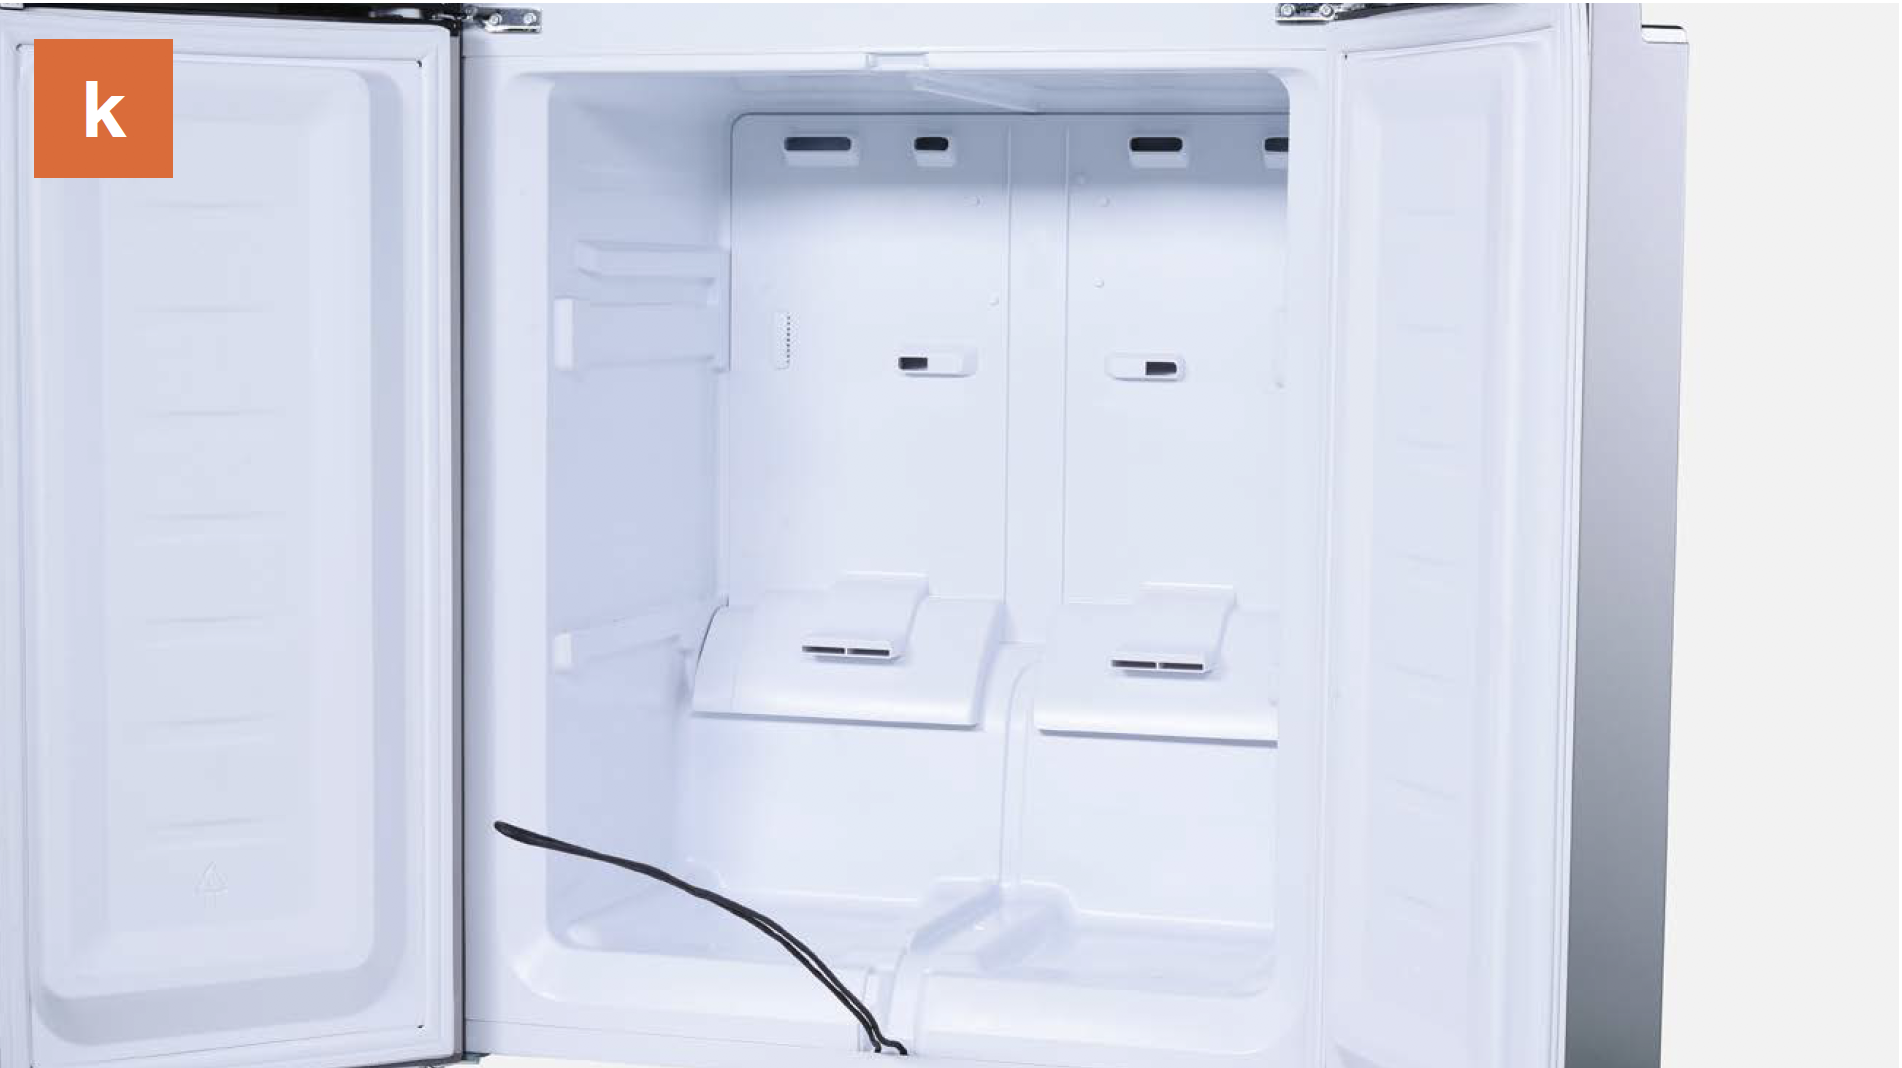
k. View of interior once partition has been removed.
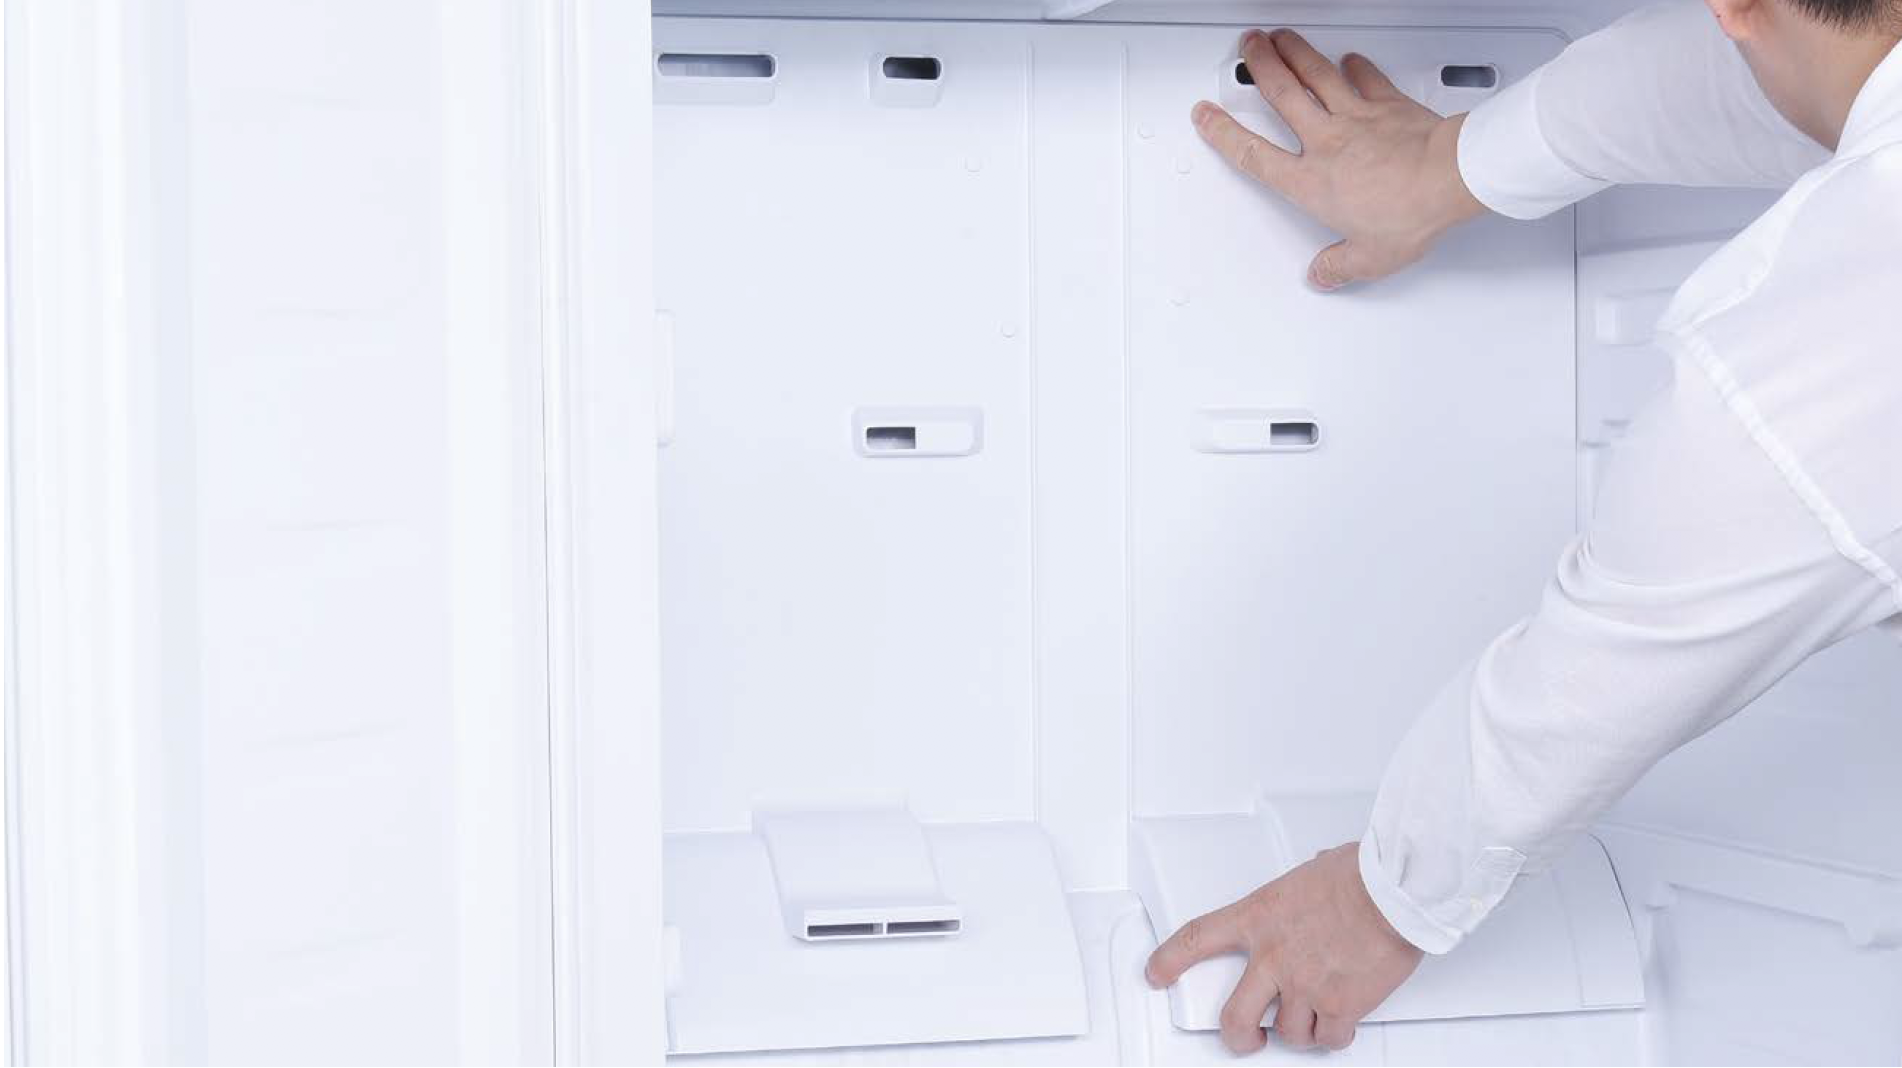
Step 4
Dismantle the air duct.
a. Hold the bottom of air duct;
b. Pull air duct out from below;

c. Disconnect the terminal for fan motor;
d. Disconnect the terminal of freezer temp. sensor;

e. Remove air duct.


CHECK AND TEST 1
Step 1
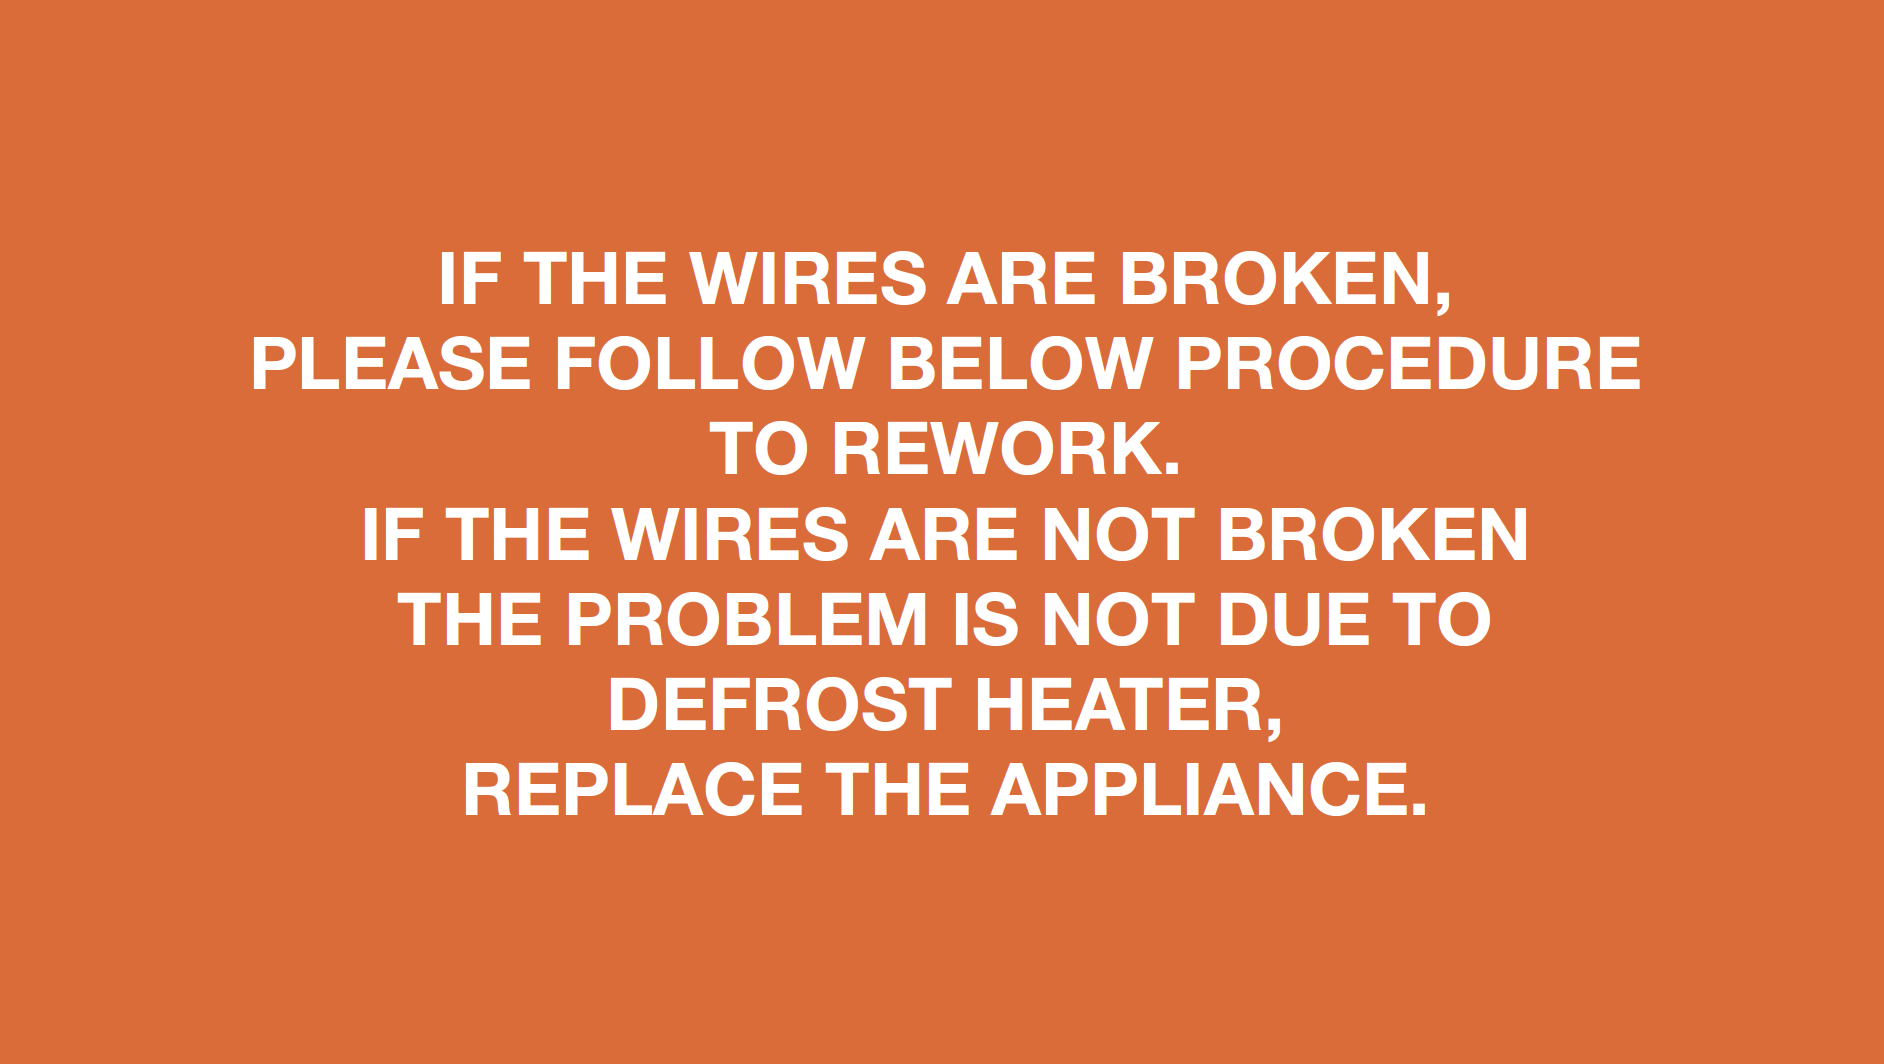
Check to make sure wires for defroster are not broken.

DIAGNOSIS 1
PROCEDURE 2

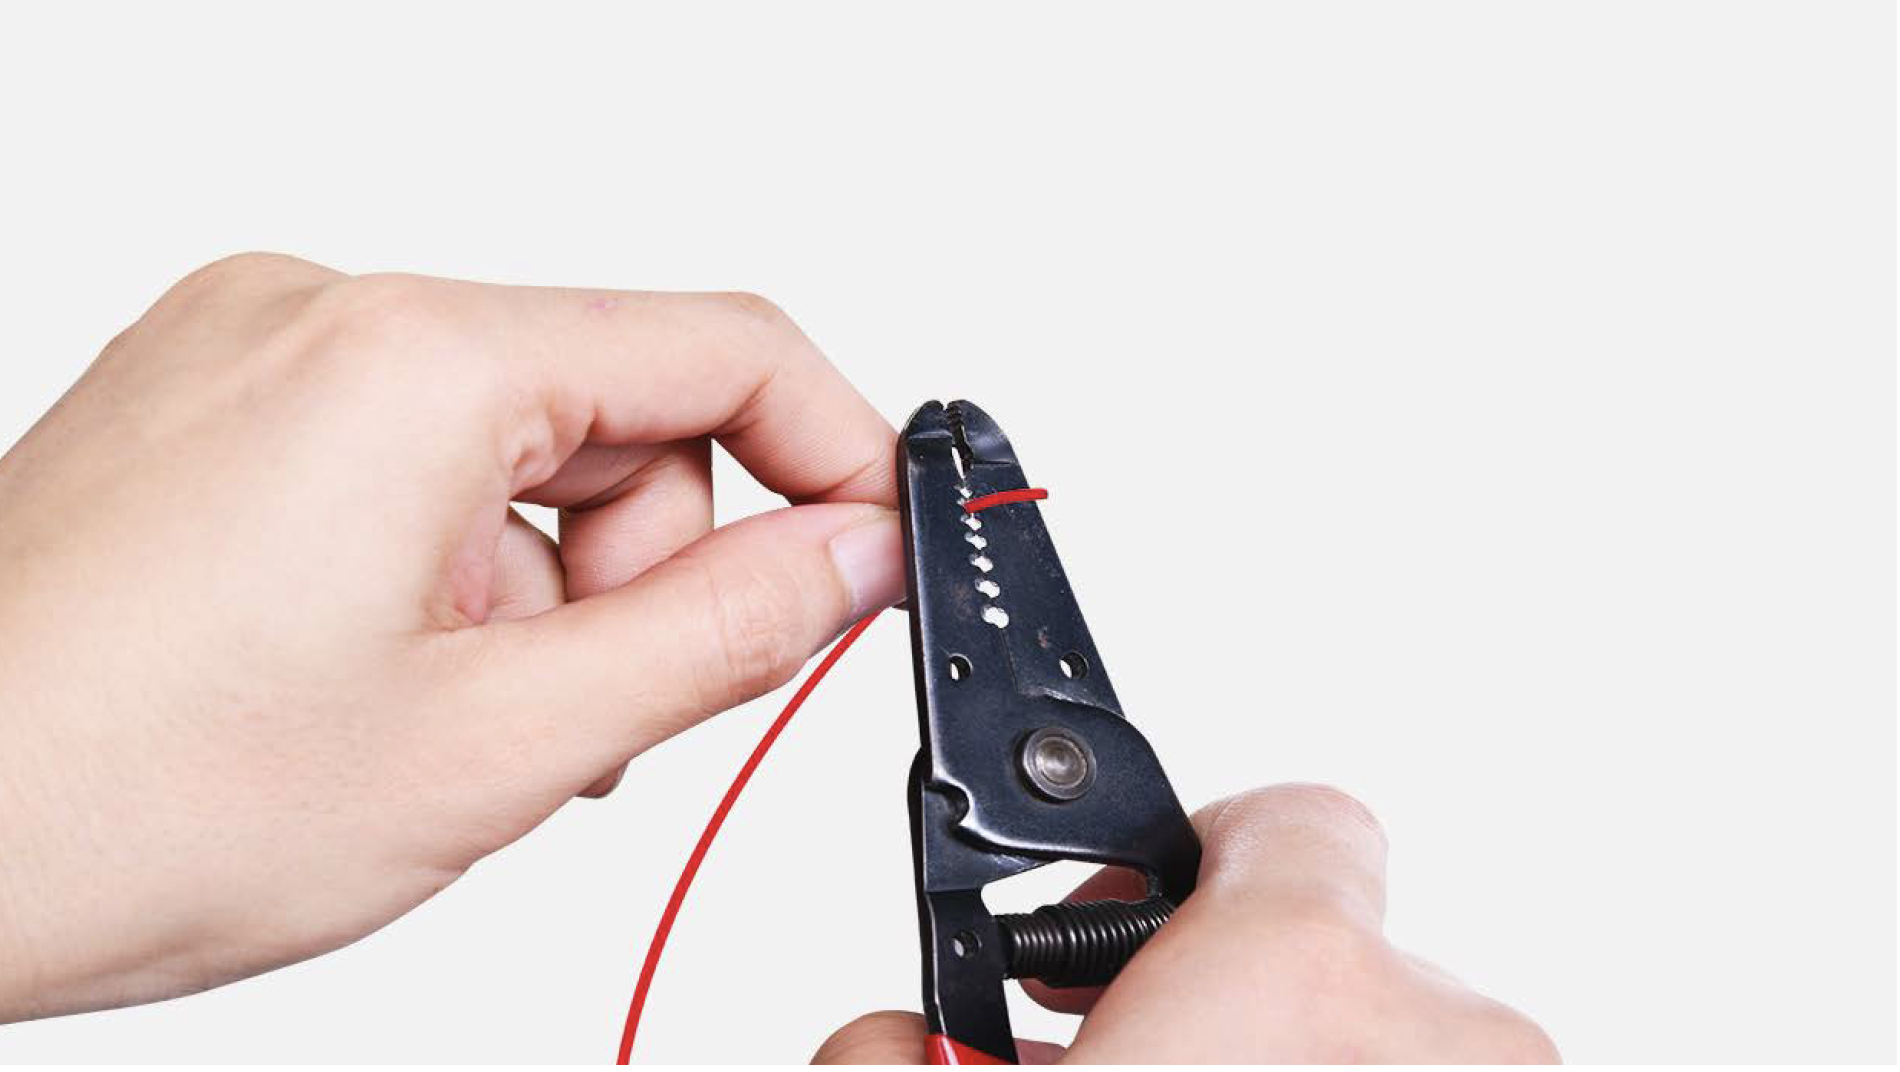
Step 1
Cut off the wire.
Step 2
Peel off the sleeves.
Step 3
Make sure wires are in proper order and connect them.

Step 4
Tin soldering.

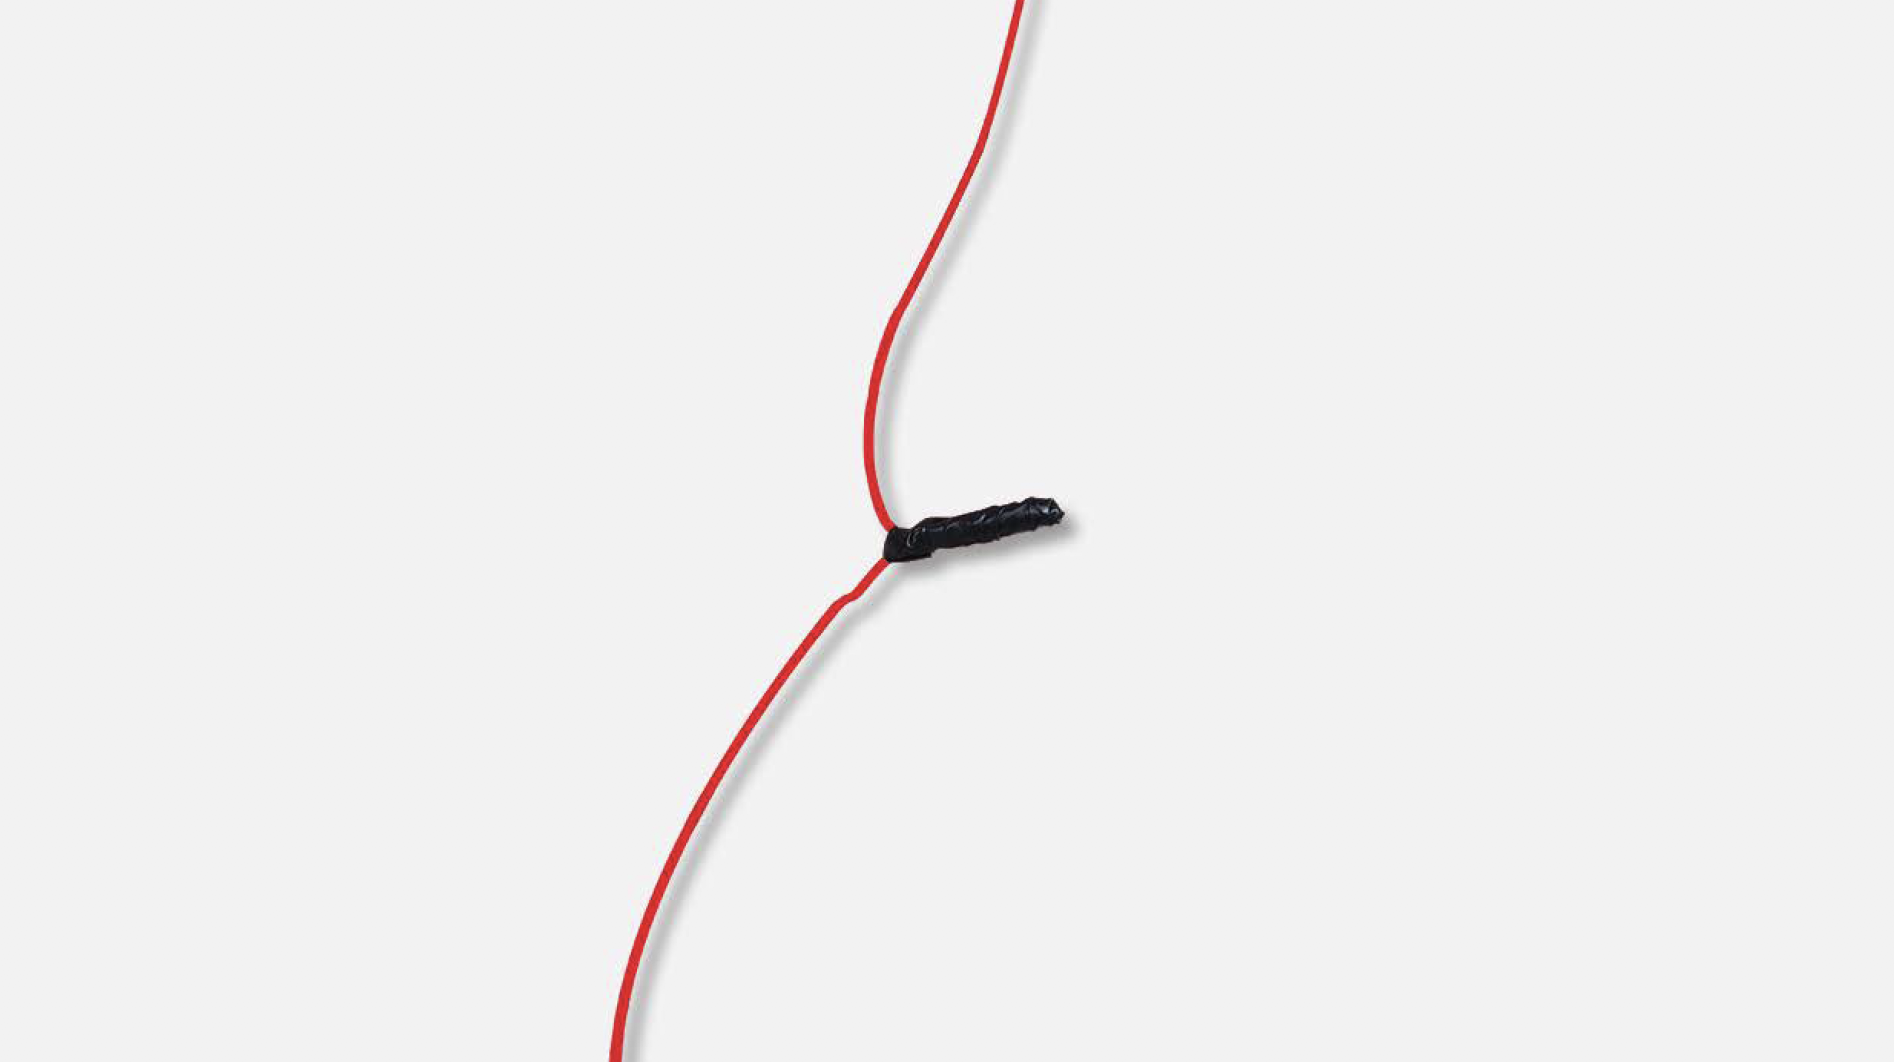
Step 5
Cover connecting point with electrical tape.
CHECK AND TEST 2
Step 1
Power on the appliance and perform a leakage test.

DIAGNOSIS 2

PROCEDURE 2
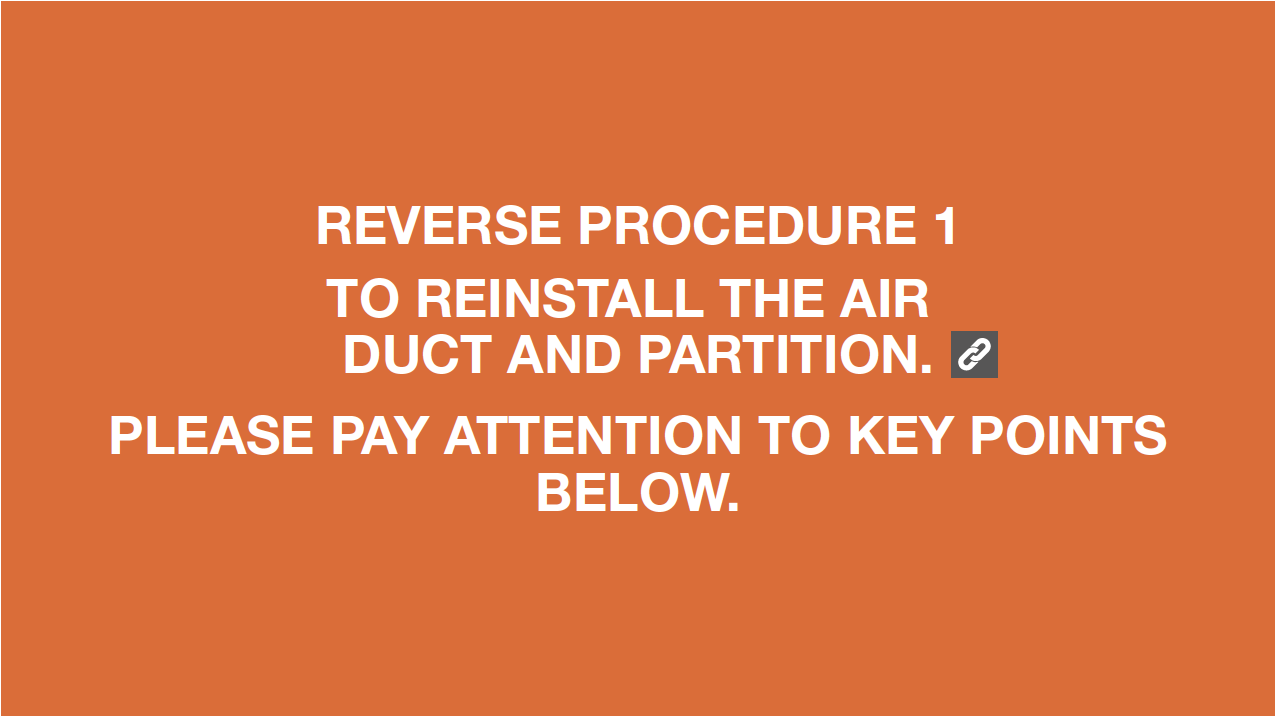
Tip 1
When installing the air duct, make sure to move wires out of the way to prevent crushing by air duct.

Tip 2
After pushing the air duct into position, you should hear a click sound. If not, repeat again.
Tip 3
Check to see if there is a wide gap between air duct and cabinet.
IF SO, install air duct again.

Tip 4
Check to make sure latches are inserted into cavities properly.

Tip 5
First, insert top of cover plate into the gap, then bend plate to insert bottom end. Lastly, push middle into slot.


GO BACK TO COMPONENT LIST