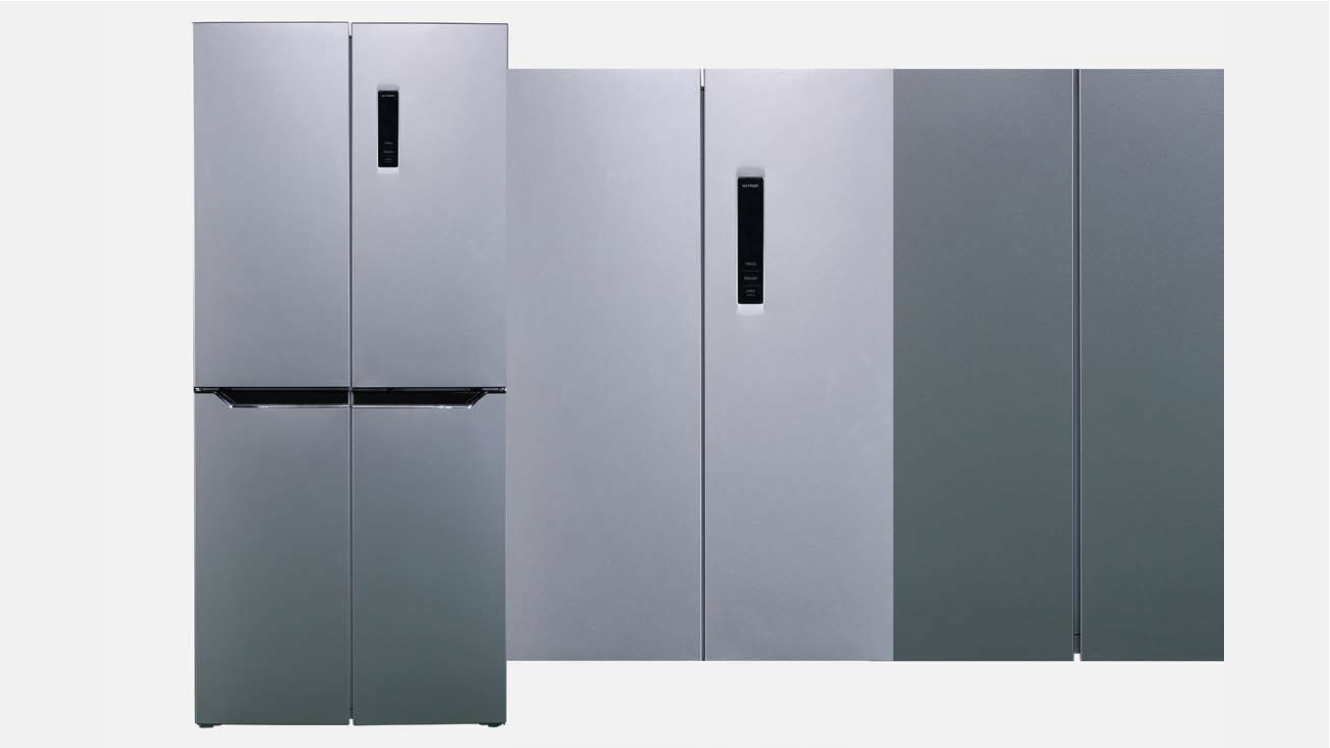
8.7 RELIABILITY FAULT LIST:
DOOR ALLIGNEMENT PROBLEMS


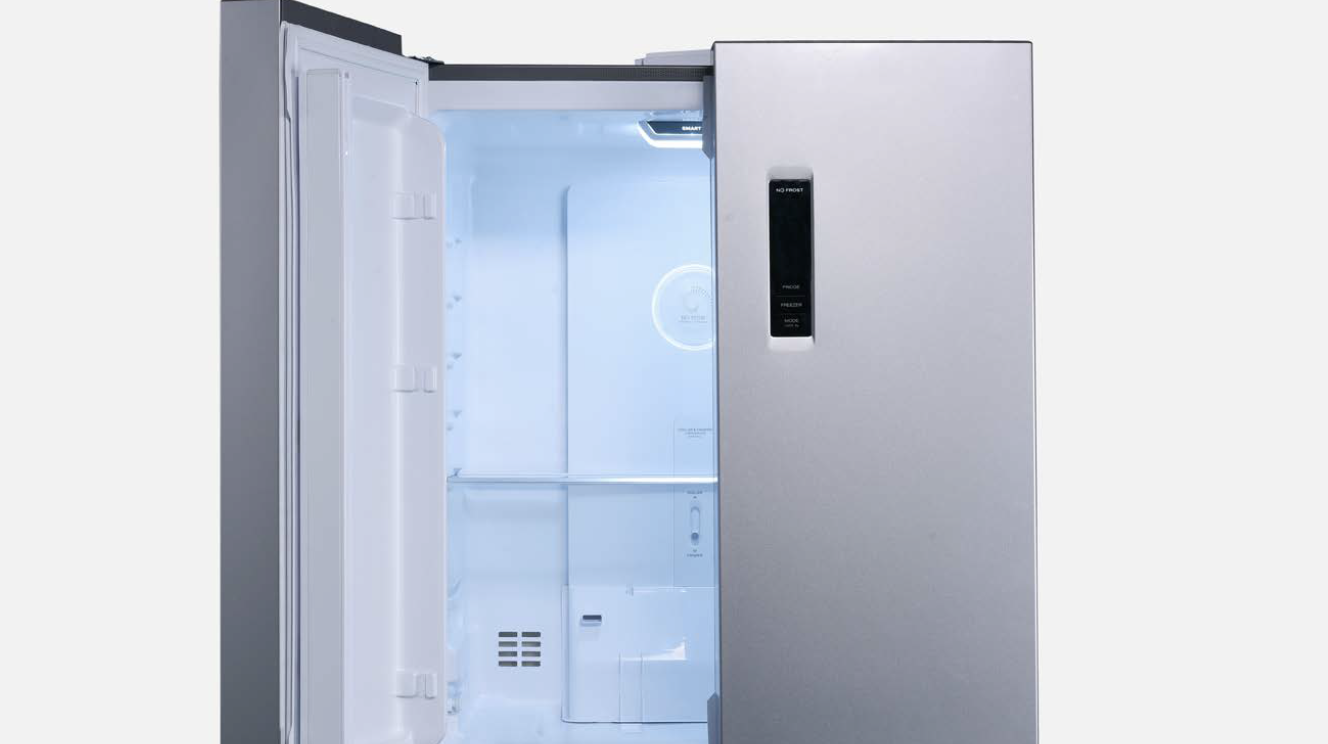
CHECK AND TEST 1
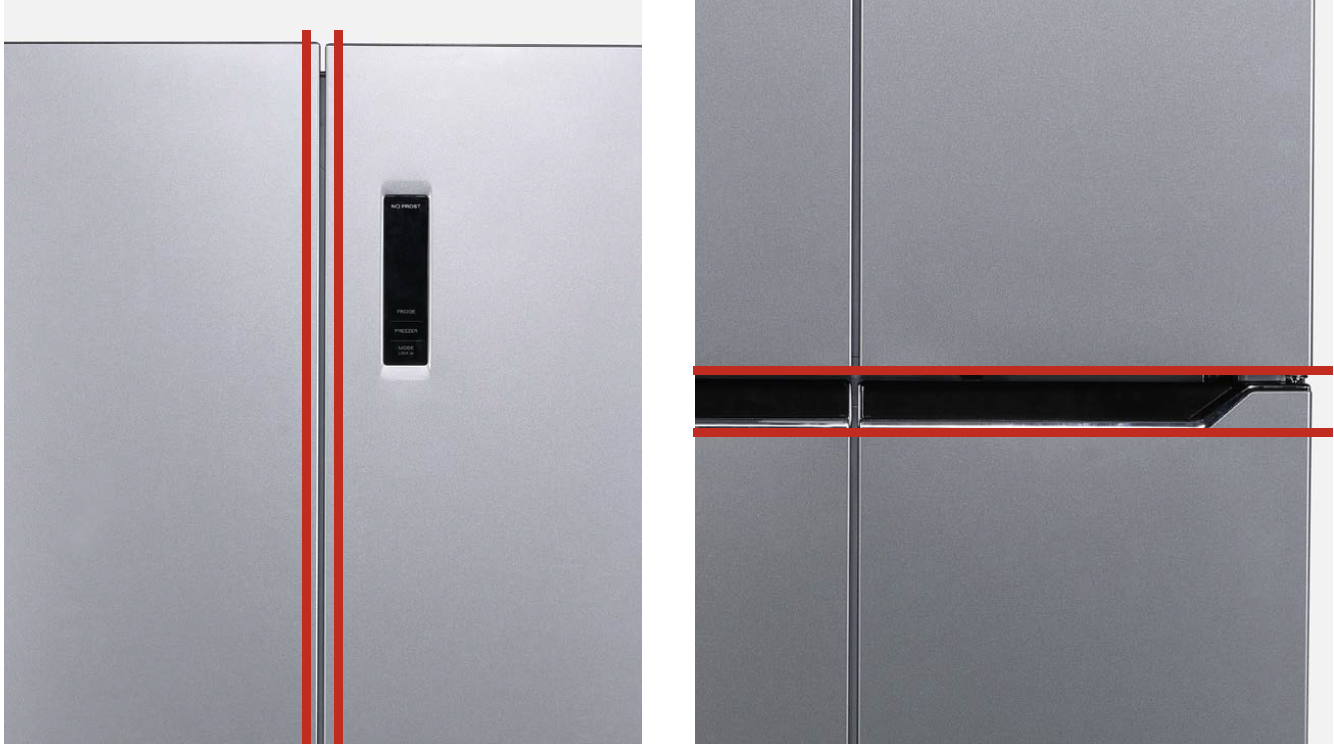
Case 1
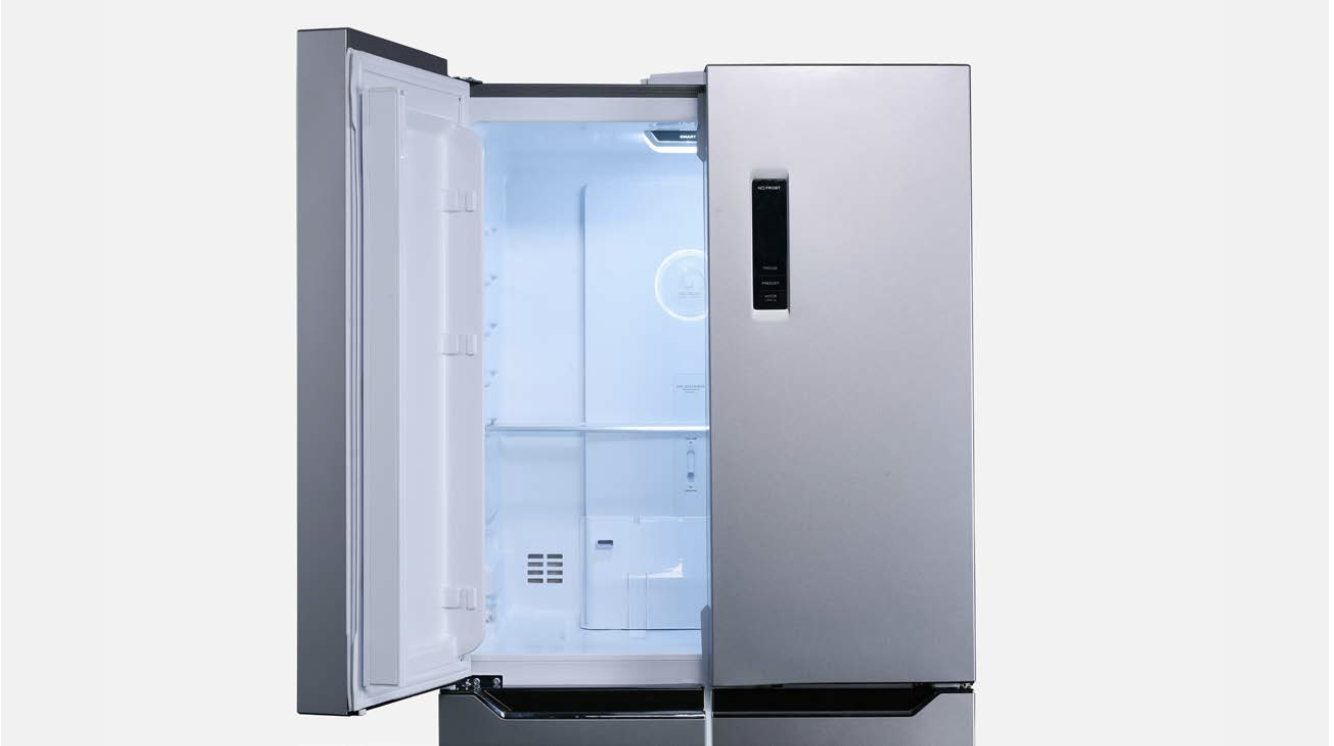
Vertical misalignment between upper doors.


DIAGNOSIS 1


PROCEDURE 1

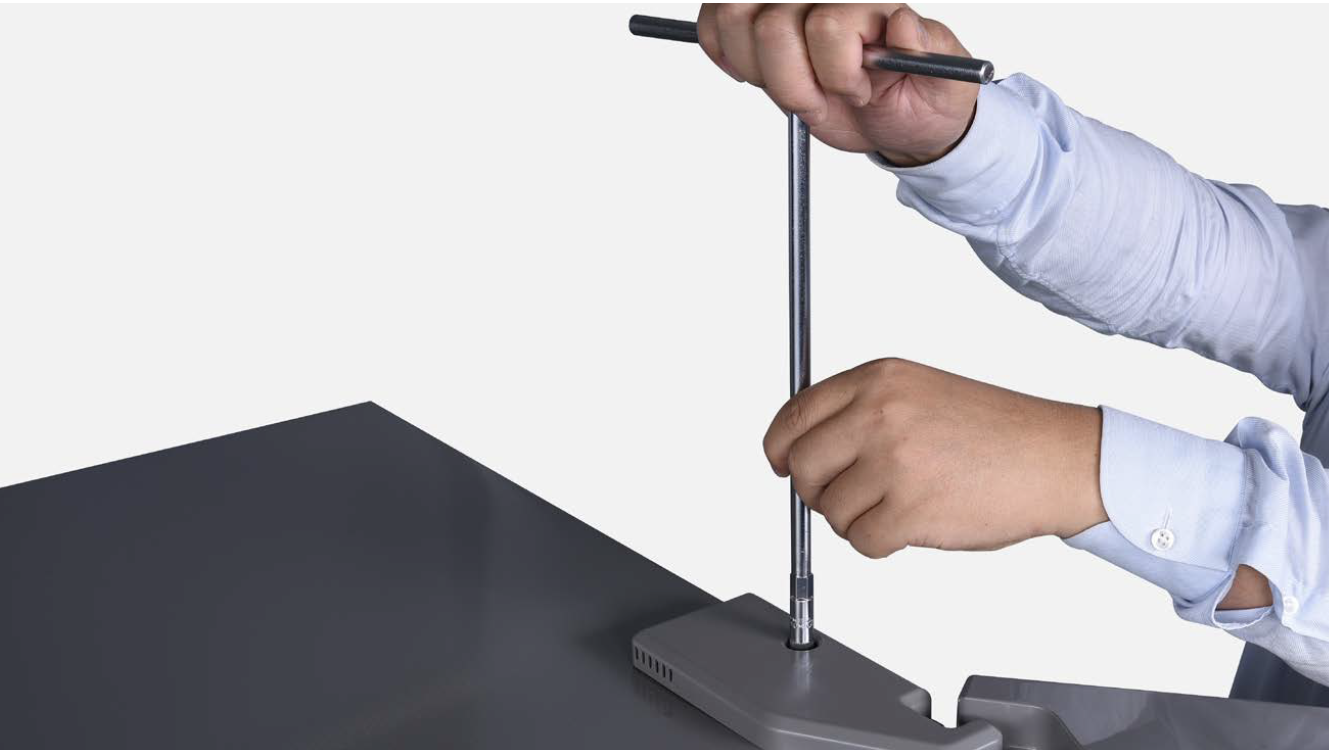
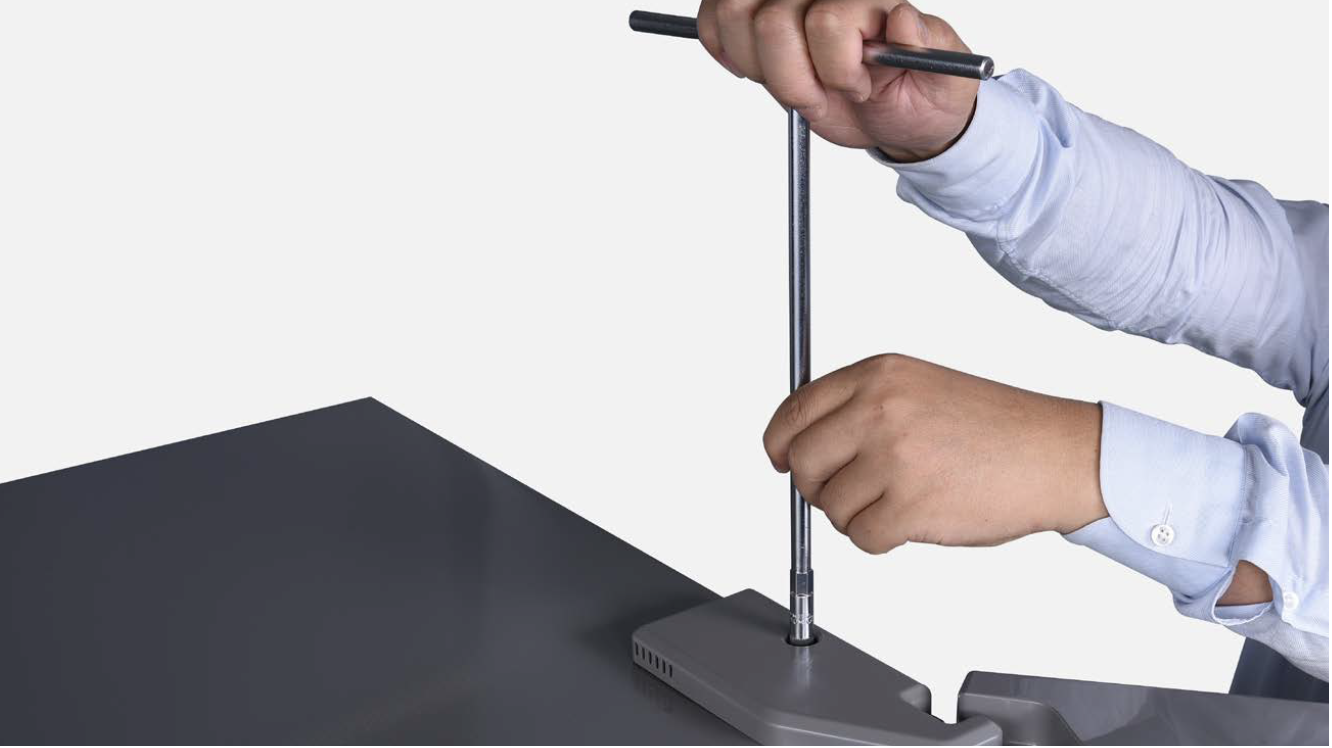
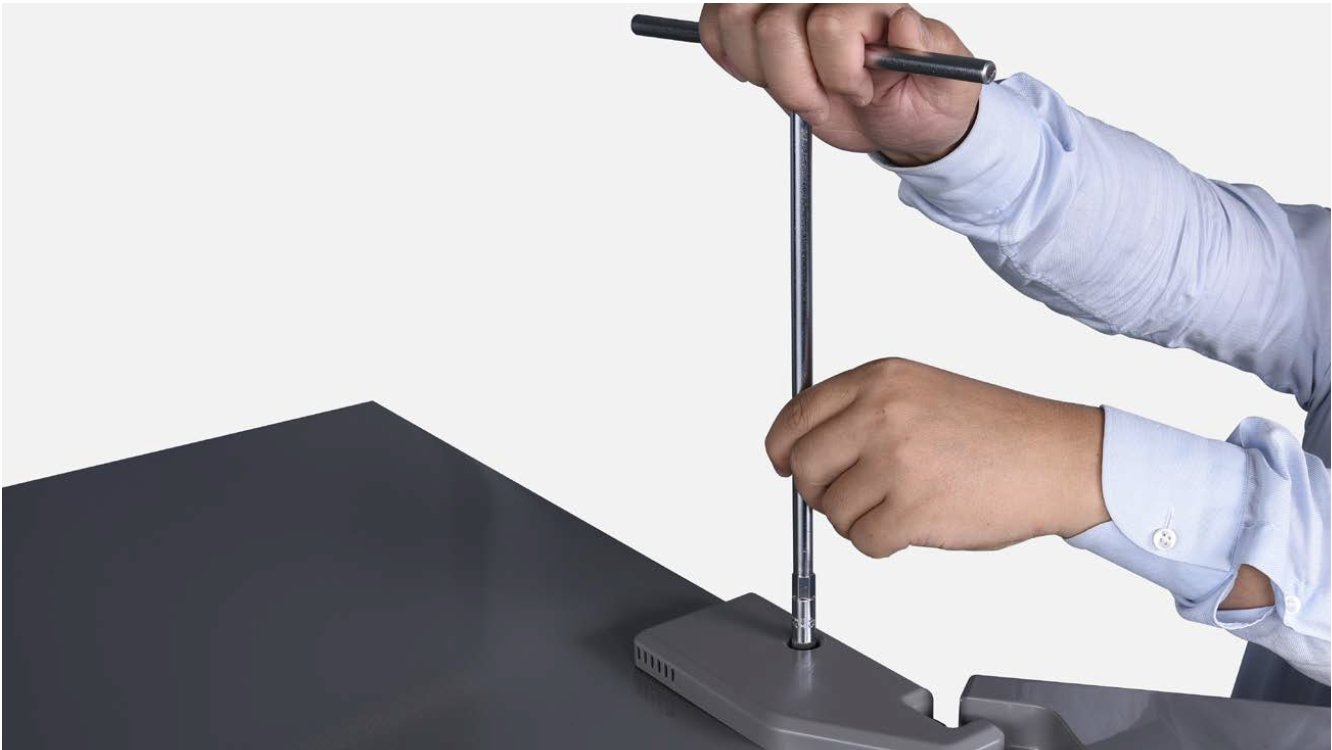
Step 1
Unscrew hinge cover.
Step 2
Remove the cover.
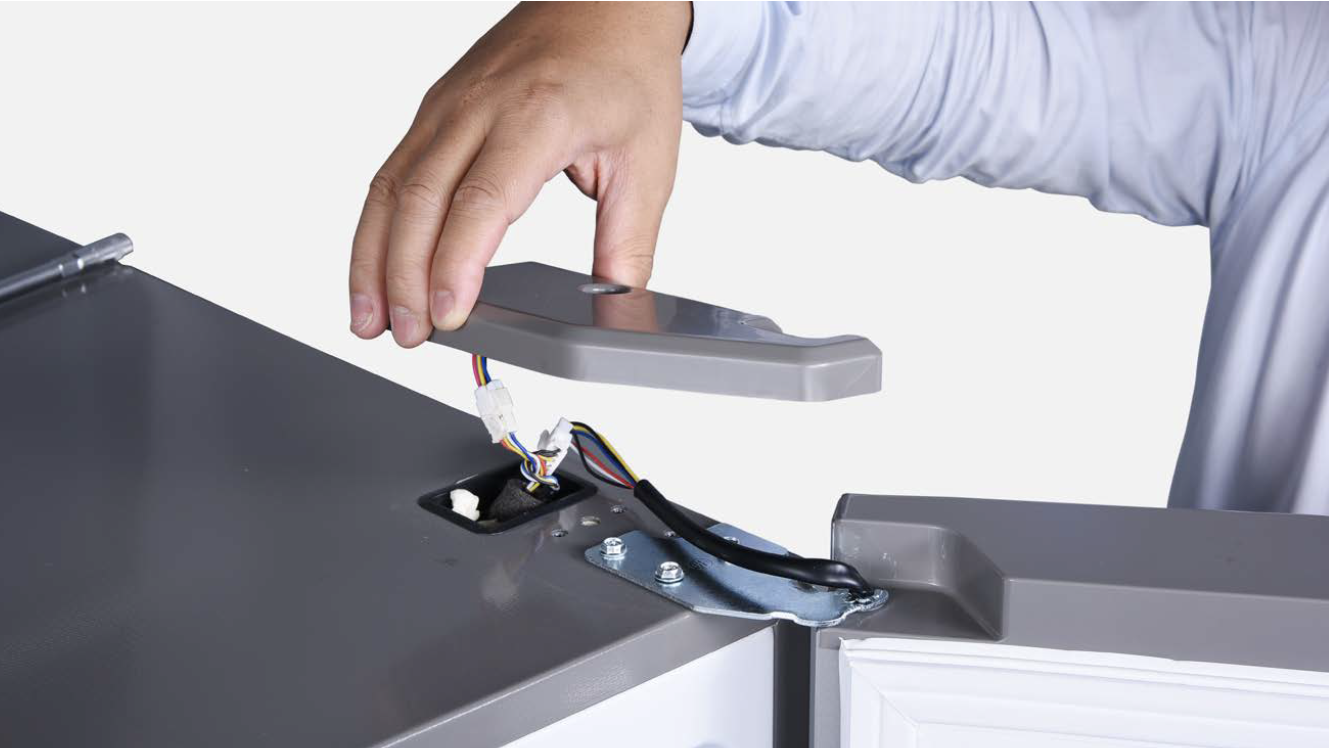
Step 3
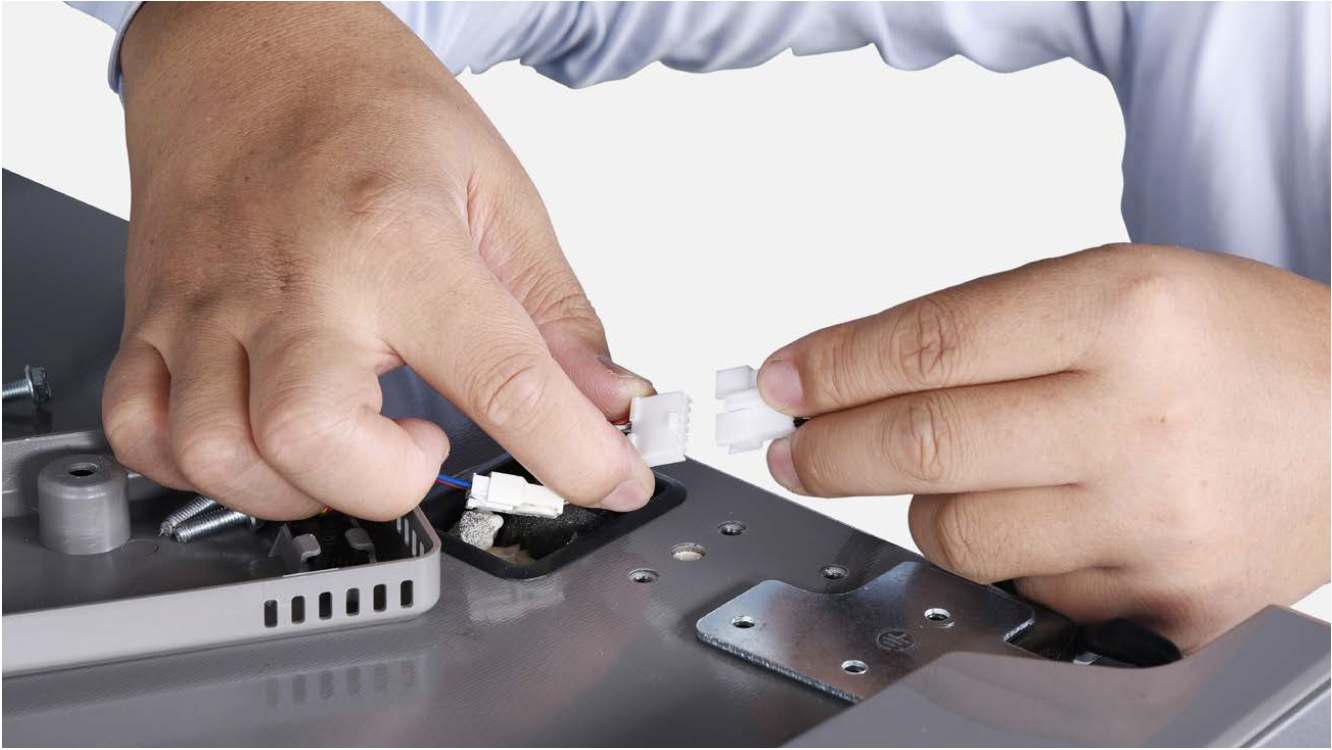
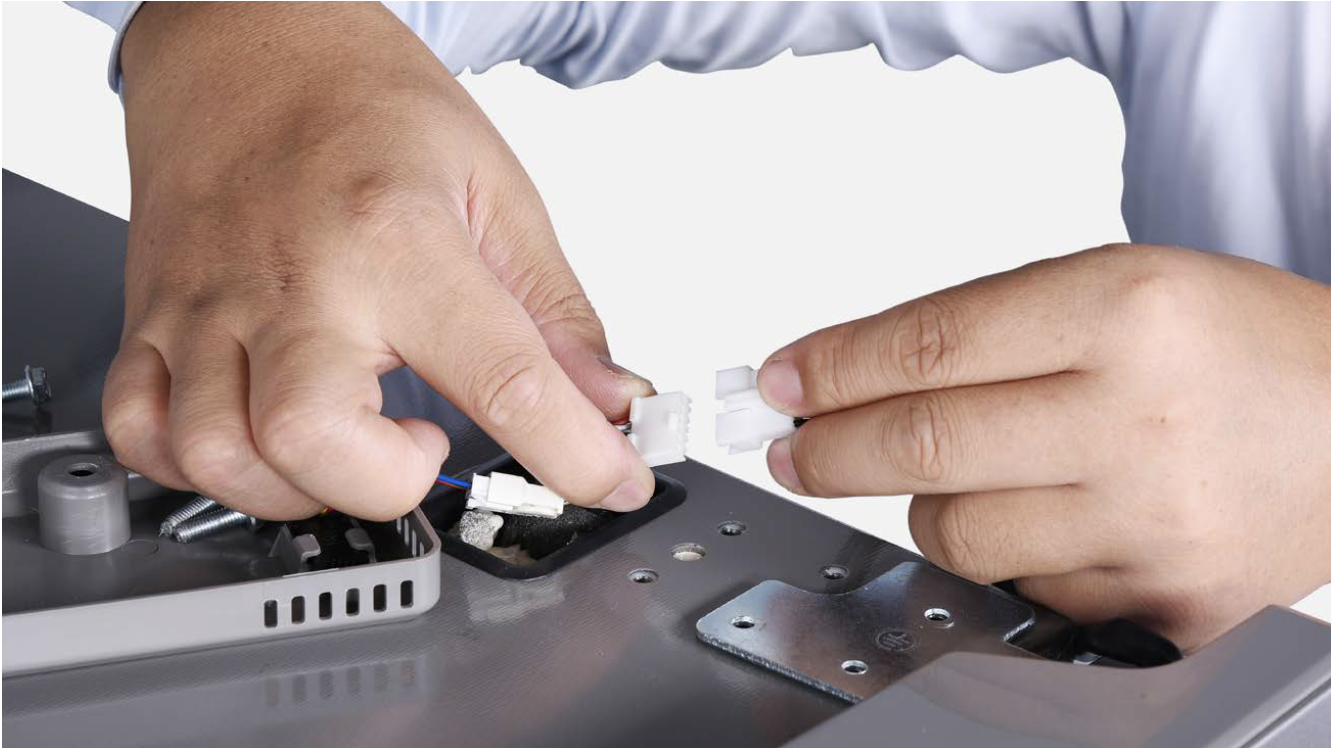
Disconnect the terminals.
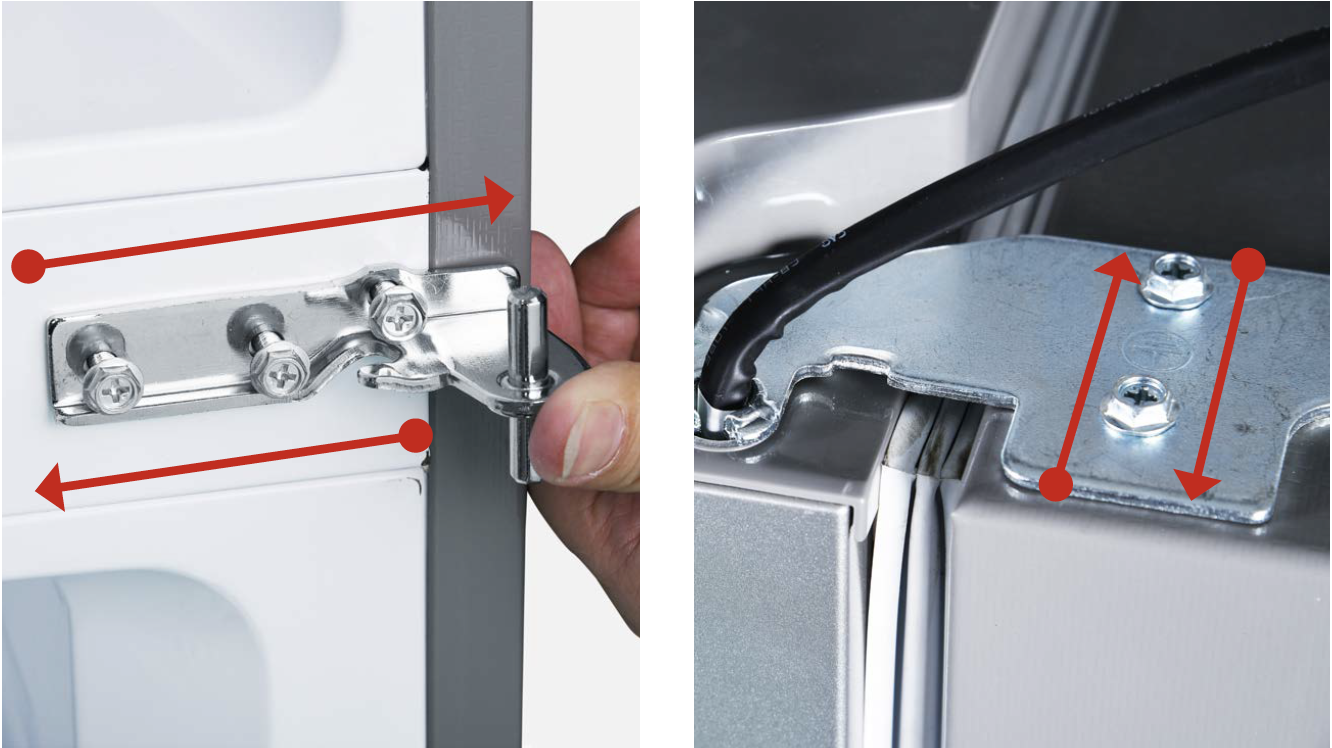
Step 4
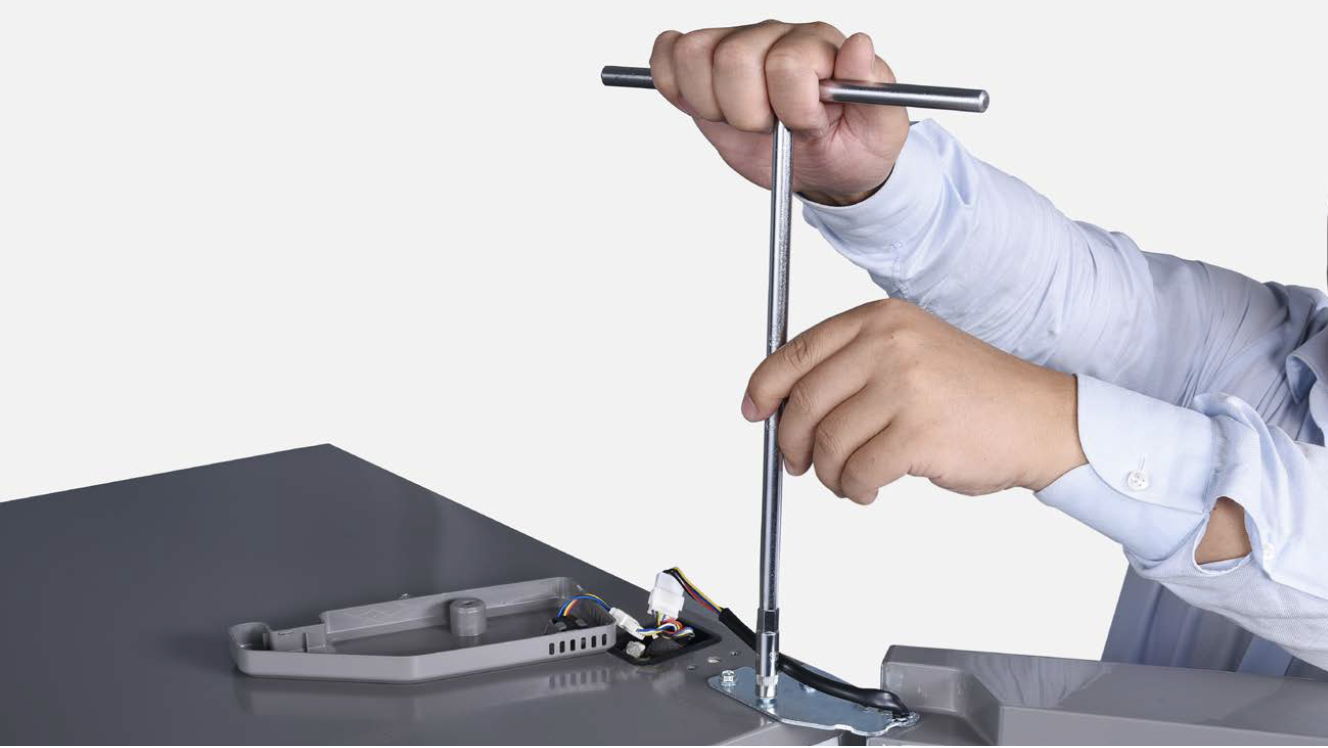
Unscrew 3 bolts and remove the top hinge.
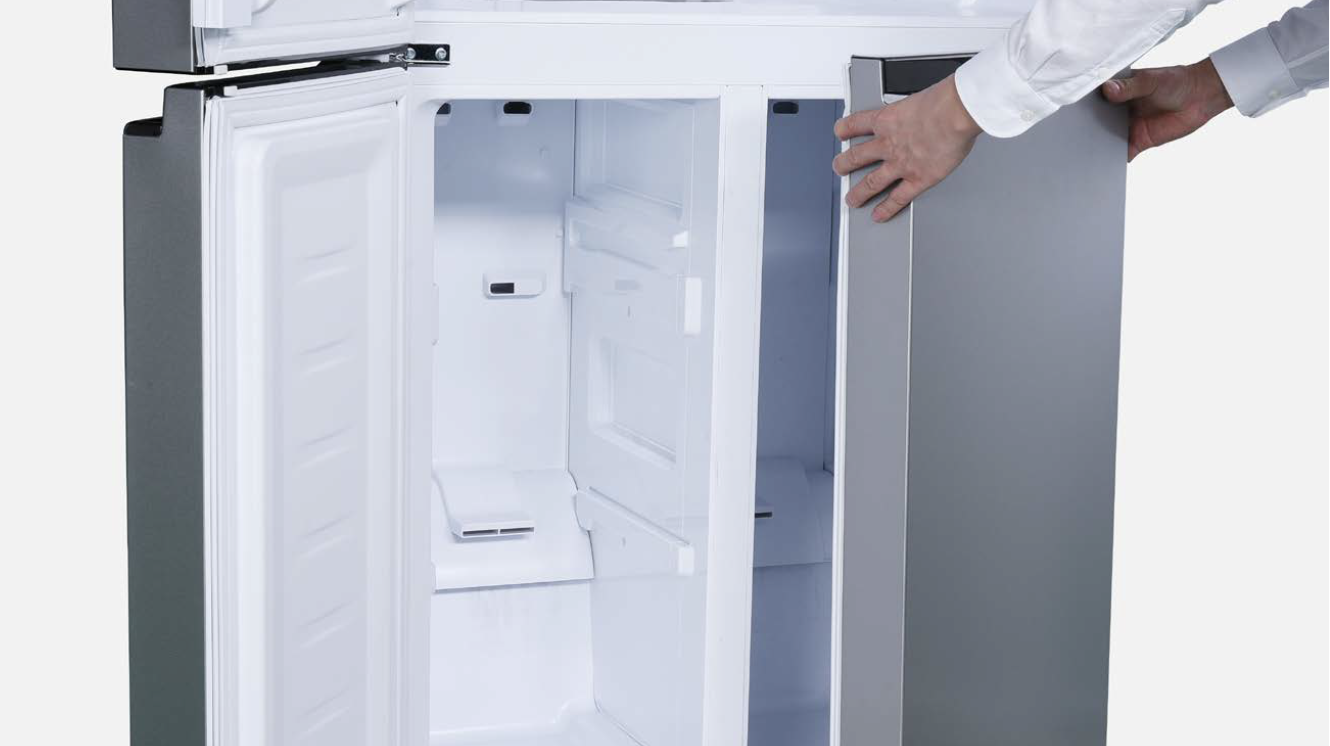
Step 5
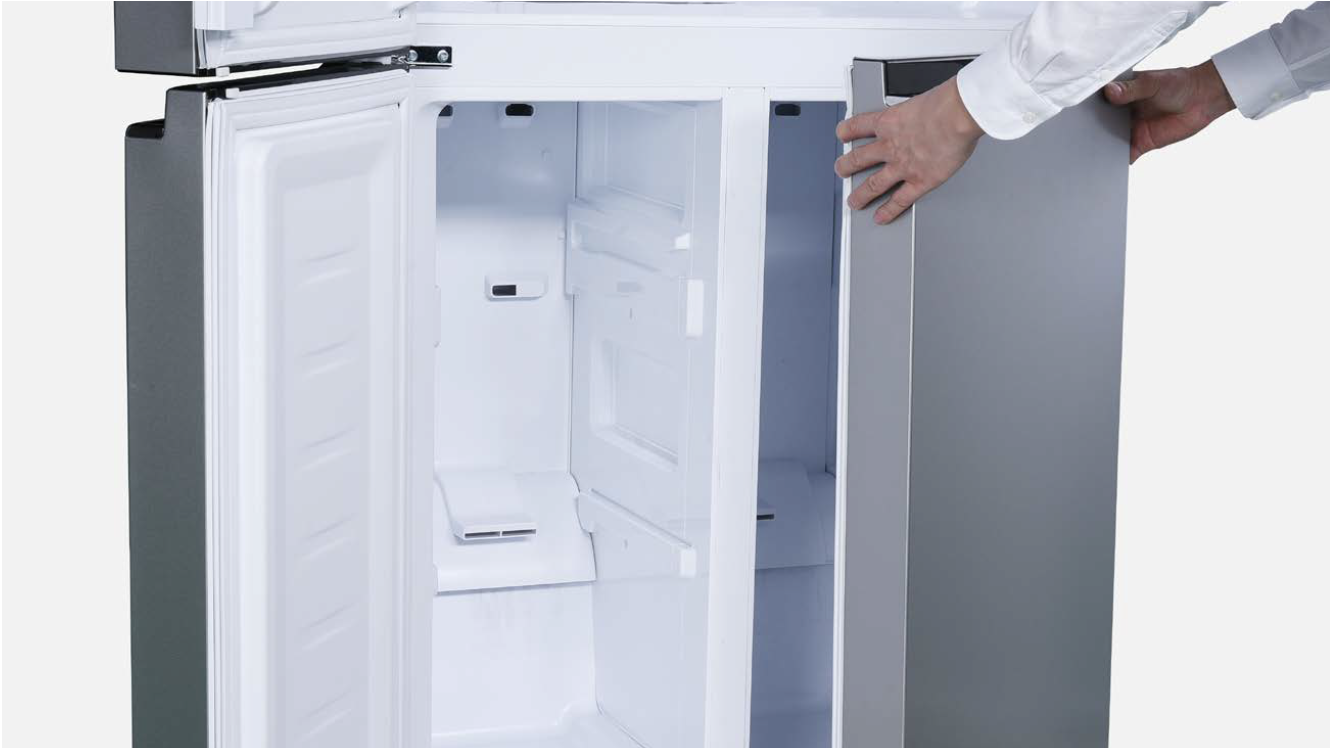
Remove fridge door.

Step 1
Reworking method:
Add or reduce washer
to left or right of middle
hinge.


PROCEDURE 2
Tip 1
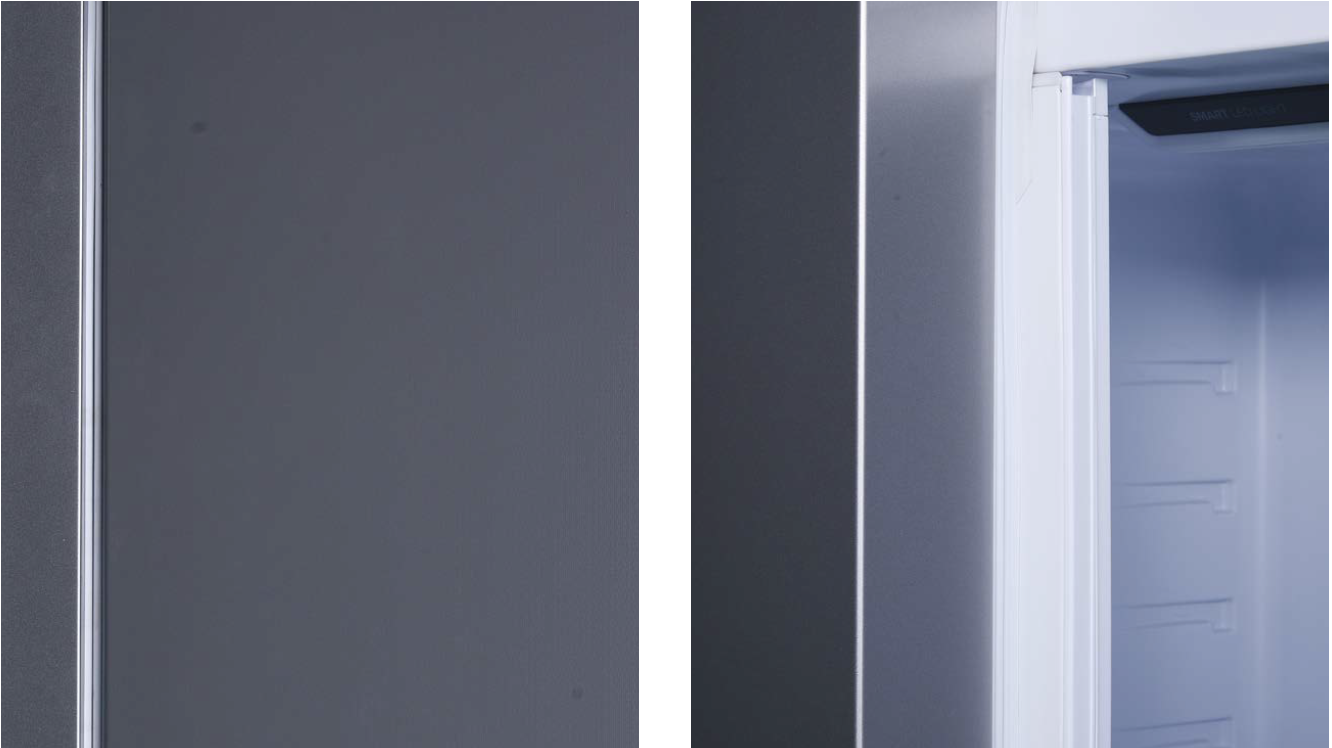
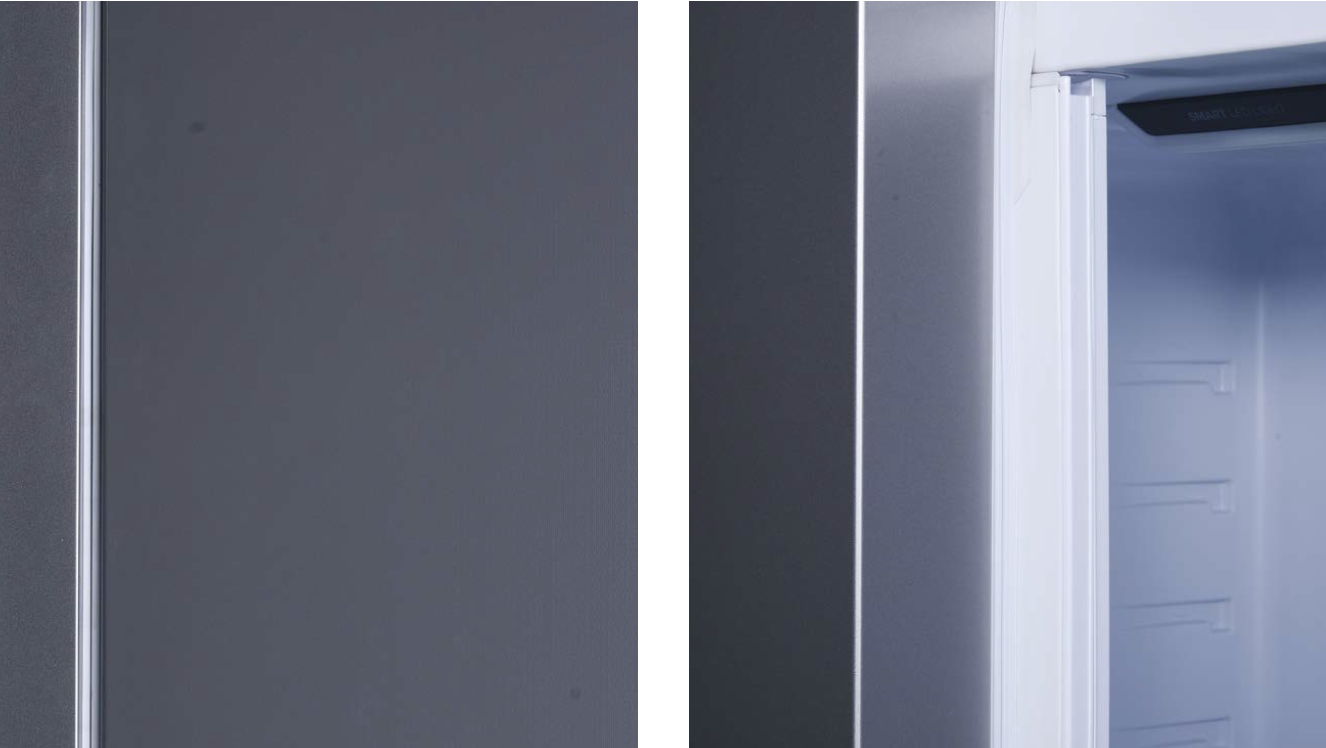
Make sure gasket is attached properly.

Tip 2
Make sure gaps between doors are even.
CHECK AND TEST 2
Step 3
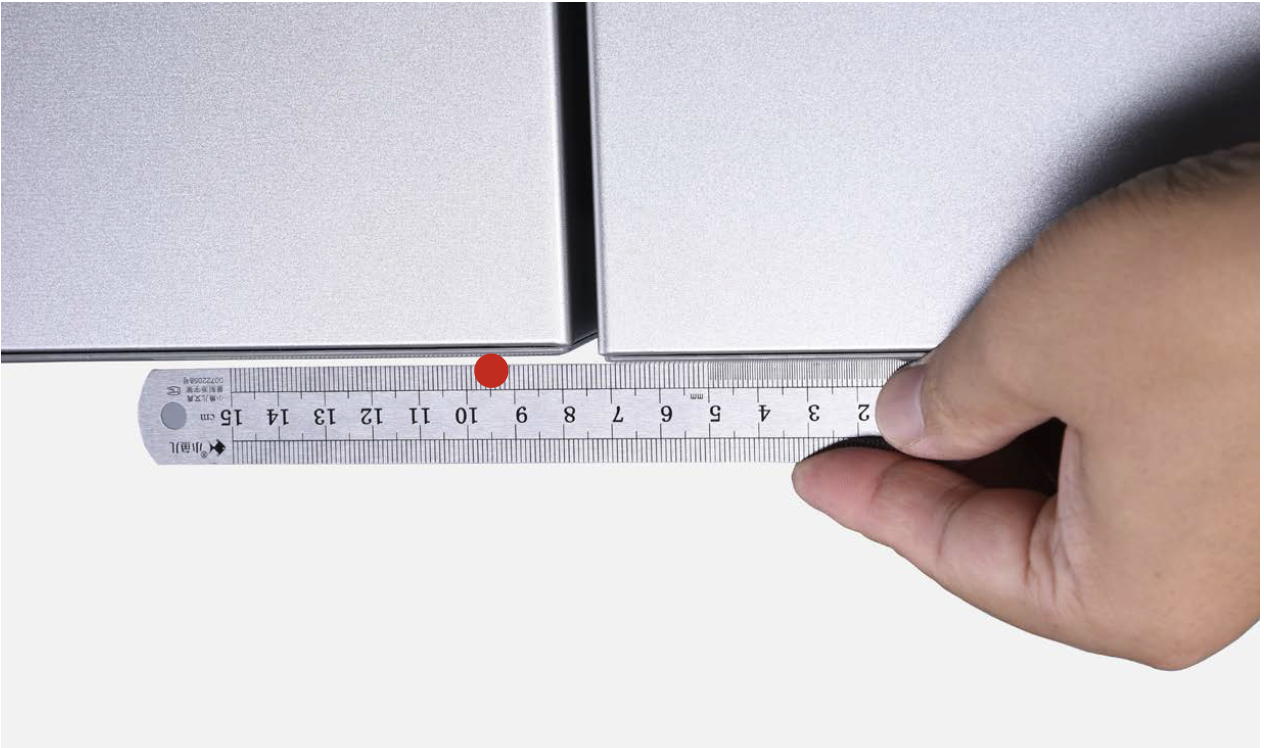
Measure the gap again.

DIAGNOSIS 2

CHECK AND TEST 3
Case 2
Vertical misalignment between bottom doors.

DIAGNOSIS 3
PROCEDURE 3

Step 1
Unscrew hinge cover.
Step 2
Remove the cover.
Step 3
Disconnect the terminals.

Step 4
Unscrew 3 bolts and remove the top hinge.

Step 5
Remove fridge door.

Step 6
Unscrew 3 bolts and remove the middle hinge.

Step 7
Remove bottom door.
Step 1
Rework method.
Add or reduce washer
to left or right of bottom
hinge.
PROCEDURE 4

Note
When adding or reducing washer on left hinge, made sure gasket plates still function properly.
Tip 1
Make sure gasket is attached properly.
Tip 2
Make sure gaps between doors are even.

Tip 3
Check to make sure gasket plate turns over properly when door is opened and closed.
CHECK AND TEST 4
Step 1
Measure vertical misalignment between bottom doors.

DIAGNOSIS 4
CHECK AND TEST 5
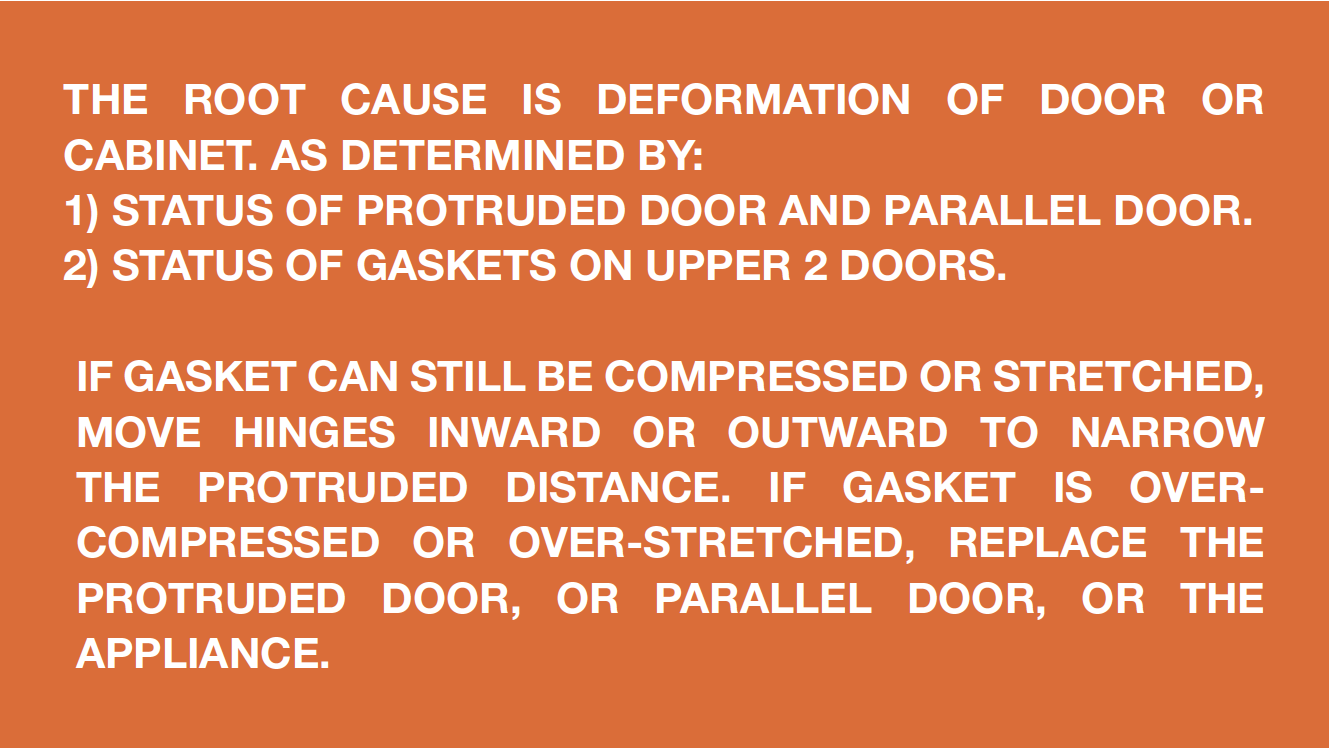
Case 3
Misalignment inwards or outwards.

Step 1
Check status of gasket
on protruded edge.
Depending on gasket
status, decide how to
adjust hinge.
For example, gasket
located near number 1 is stretched, but
gasket near number 2 is
compressed
Below is working
method;

a. Move top hinge outward in right side.

b. Add washer under middle hinge.

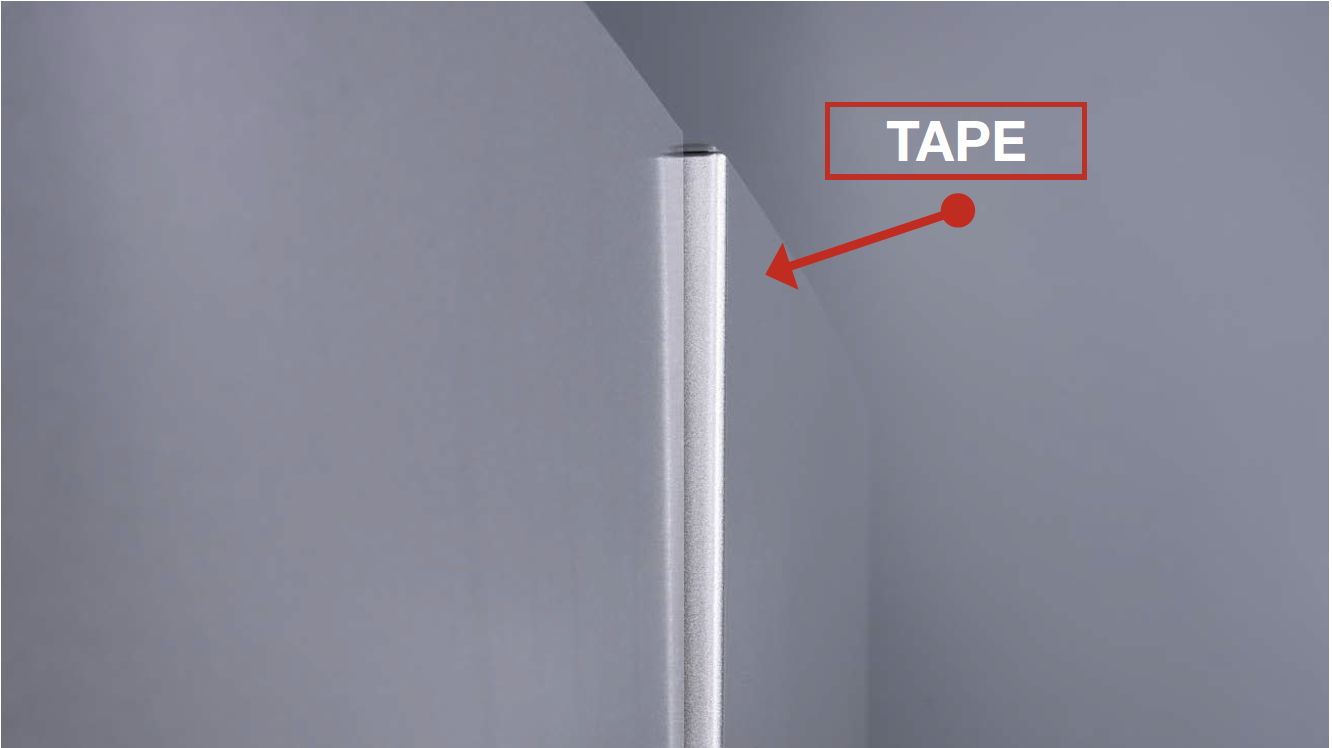
c. Push protruded edge inwards and fasten with tape.
d. Heat the protruded part of gasket to produce permanent compressed deformation. At the same time , heat the hinge side to stretch the gasket so that it can be attached on cabinet.

DIAGNOSIS 5

CHECK AND TEST 6
Case 4
Uneven vertical gap. Uneven horizontal gap.
DIAGNOSIS 6

PROCEDURE 5

Step 1
Unscrew hinge cover.
Step 2
Remove the cover.

Step 3
Disconnect the terminals.
Step 4
Unscrew 3 bolts and remove the top hinge.

Step 5
Remove fridge door.

Step 6
Unscrew 3 bolts and remove the middle hinge.

Step 7
Remove bottom door.
Step 8
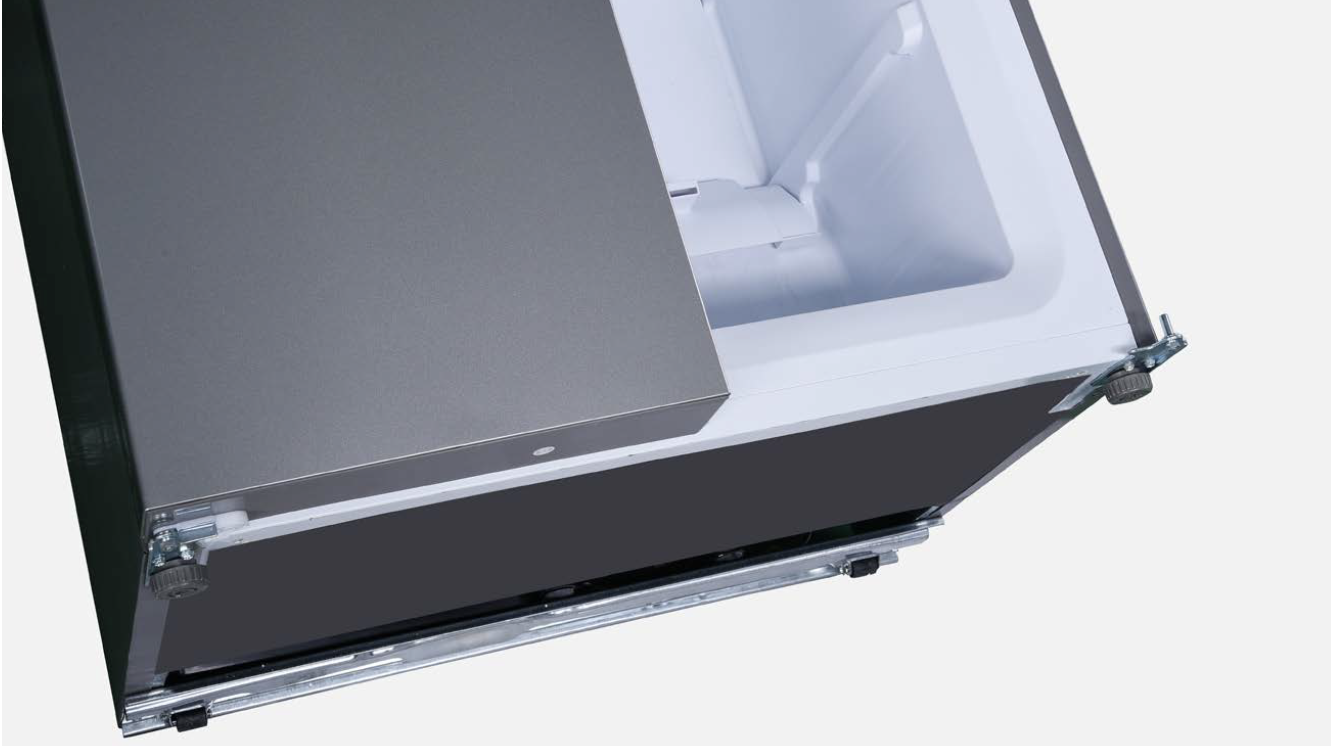
Tilt cabinet 10 degrees.

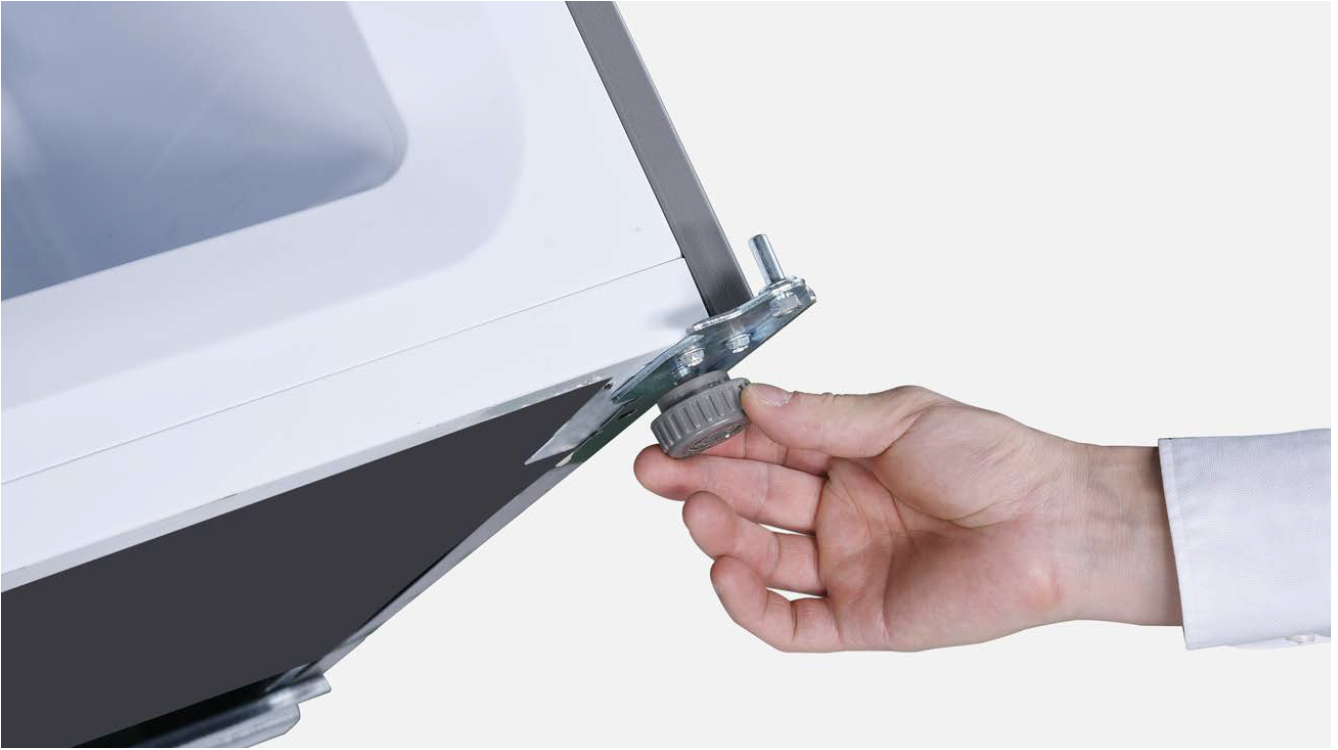
Step 9
Unscrew the adjustable foot.
Step 10
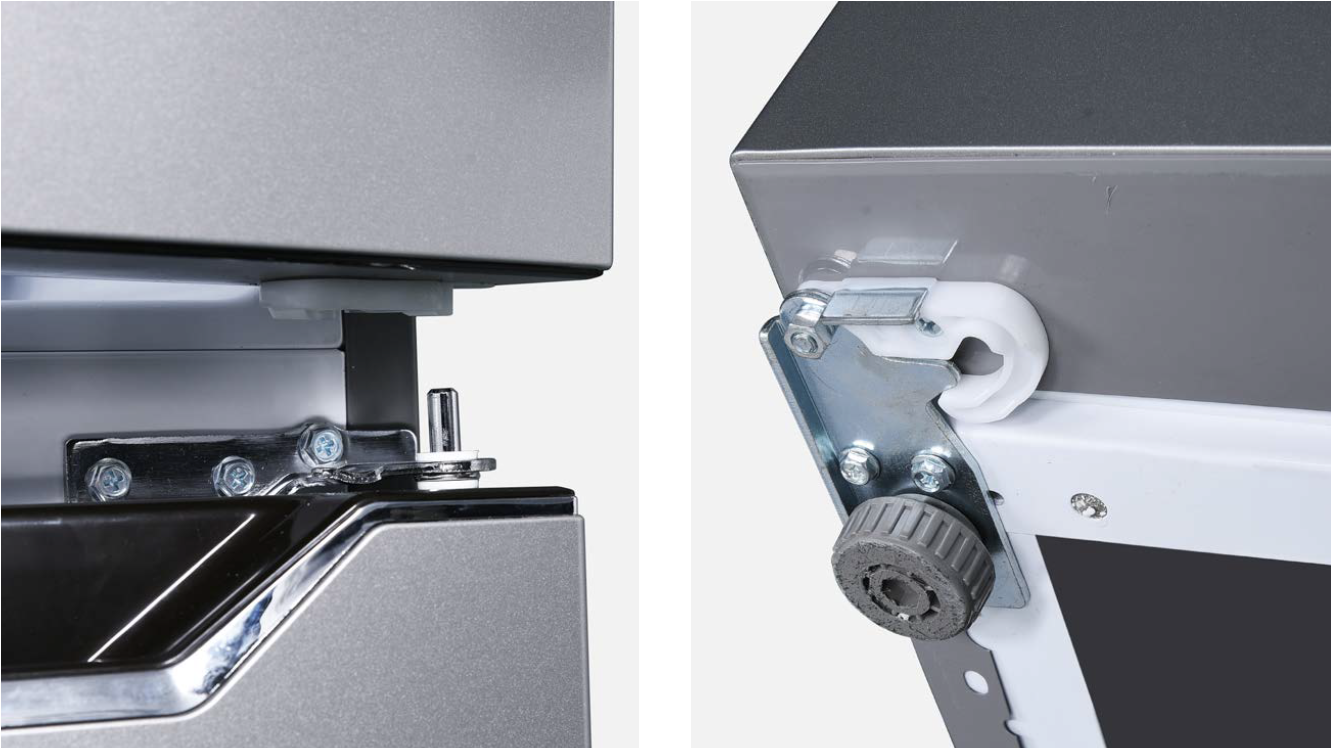
Unscrew 4 bolts and remove bottom hinge.

CHECK AND TEST 7
Step 1
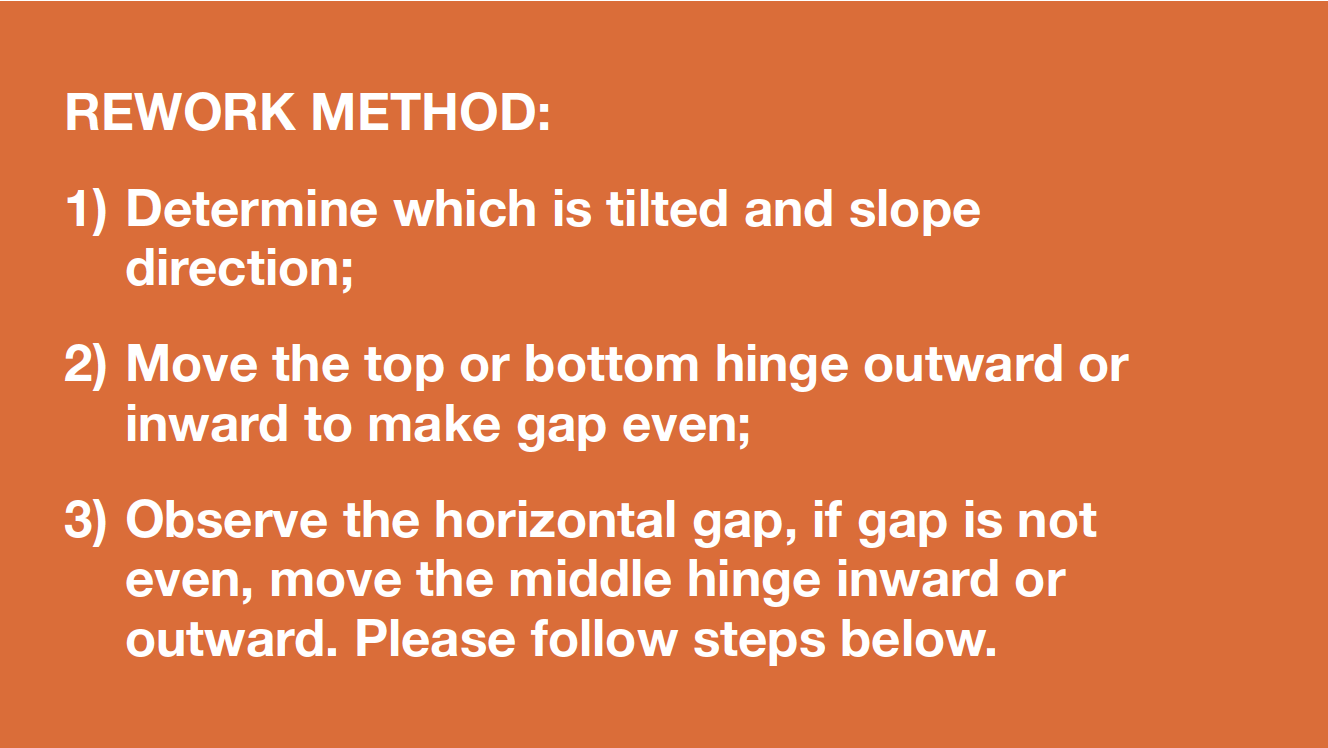
Move the hinges inward or outward.
DIAGNOSIS 7


PROCEDURE 6
Tip 1
Don’t forget to put washer onto hinge pin.

Tip 2
When installing door on hinge, please make sure door-stopper and hinge are properly aligned.

Tip 3
Make sure gasket is attached properly.
Tip 4
Make sure gaps between doors are even.
Tip 5
Check to make sure gasket plate turns over properly when door is opened and closed.

GO BACK TO FAULT LIST - RELIABILITY