


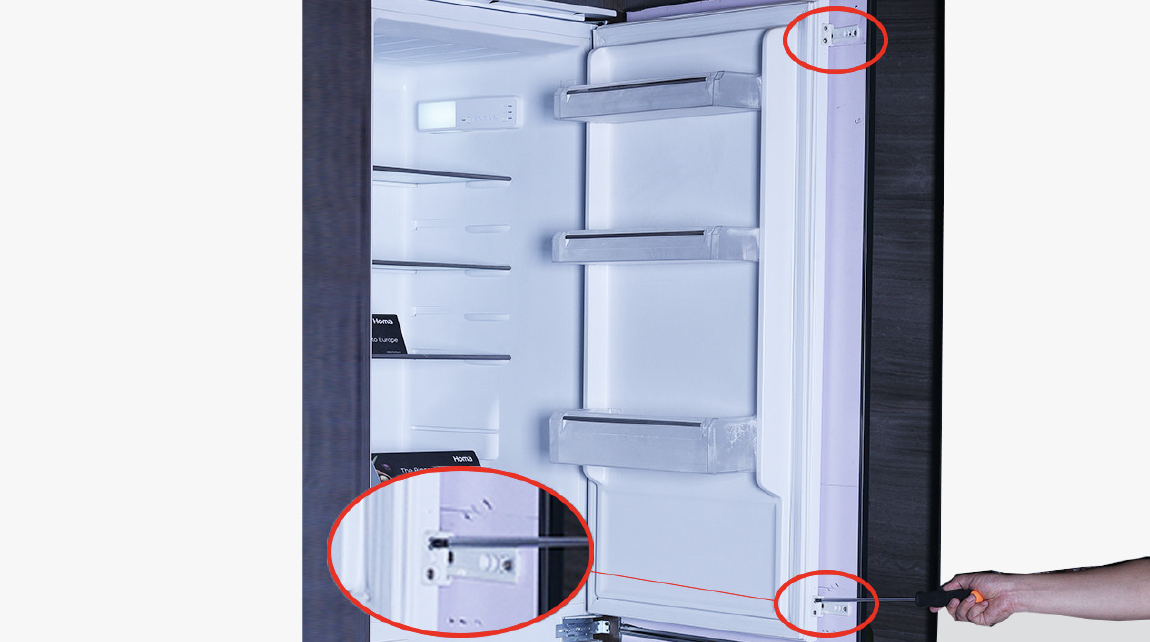
PROCEDURE 1

Step 1
Unscrew bottomattachment.

Step 2
Unscrew topattachment.

Step 3
Remove the plasticcover.
Step 4
Unscrew central
attachment on left and
right side.

Step 5
Unscrew the plasticguider.
Step 6
Hold cabinet and moveit out 3mm.


CHECK AND TEST 1
Step 1
Place a torch in cabinet, then close the door and check to see if light leaks out from gasket.

Step 2
Blow hot air onto gasket with hair dryer to soften, so that gasket can be easily attached onto cabinet.

DIAGNOSIS 1
CHECK AND TEST 2
Step 1
Measure deformation ofdoor.
Measure the deformation
of cabinet.

DIAGNOSIS 3


PROCEDURE 2

Step 1
Unscrew the fixation
plate and remove it.
Step 2
unscrew top hinge and
remove it.

Step 3
Remove fridge door.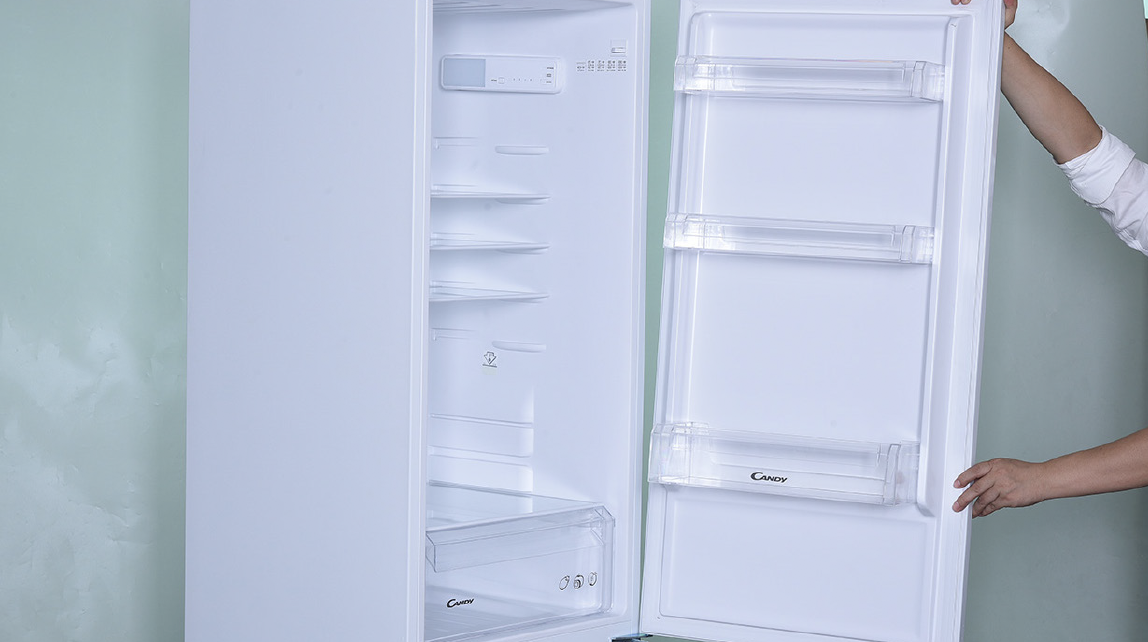
Step 4
Unscrew middle hinge.Reverse above
procedure to replace
door.
Then reverse procedure
1 to install product.

Step 5
Remove freezer door.
Step 6
Reverse aboveprocedure to replace
door.
Then reverse procedure
1 to install product.
CHECK AND TEST 3
Step 1
1 week later, check ifthere is water in fridge.

DIAGNOSIS 4

GO BACK TO COMPONENT LIST