


CHECK AND TEST 1
Step 1
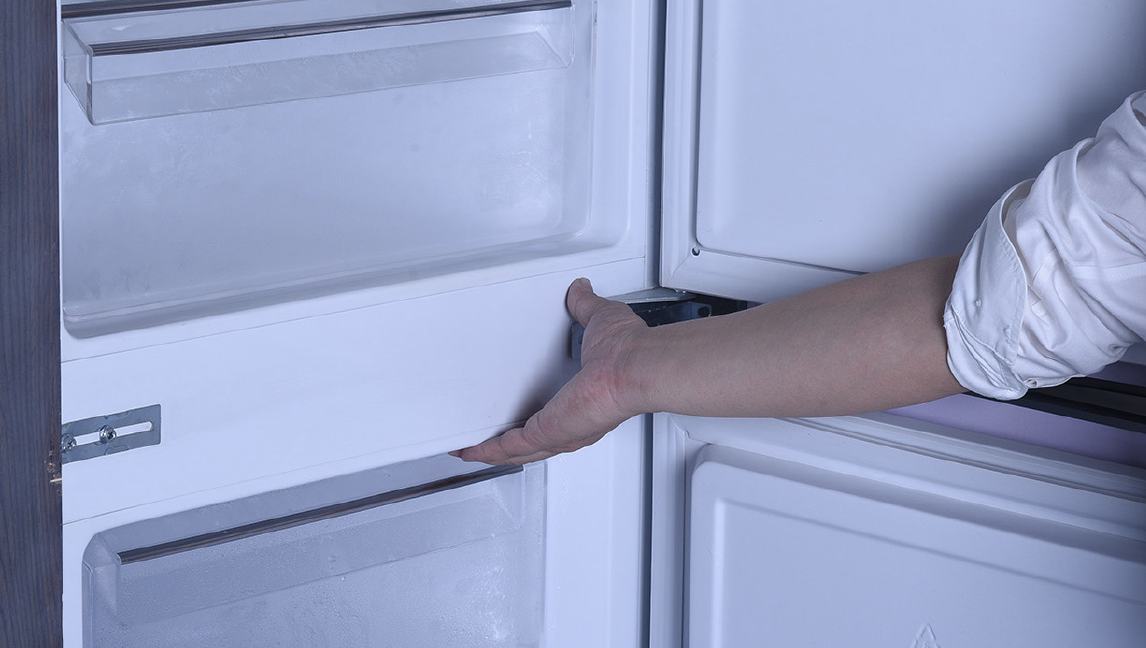
Open the fridge doors to check carefully if gasket is cracked.
Step 2
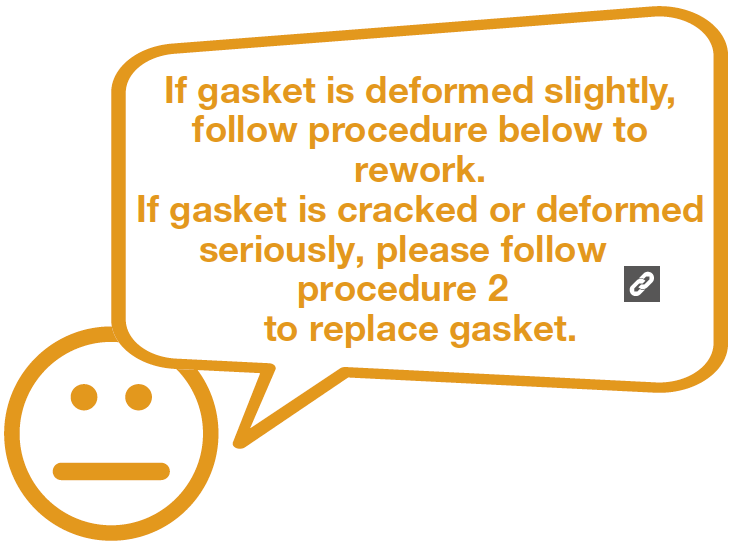
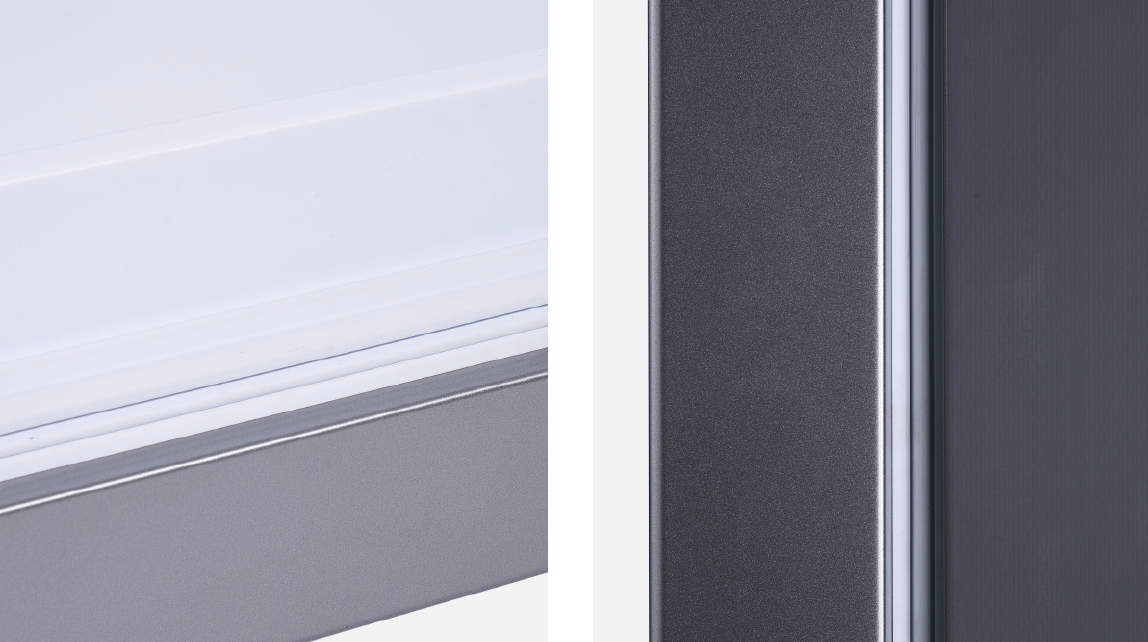
Check carefully to see whether gasket is deformed.
1) Example of slight deformation.

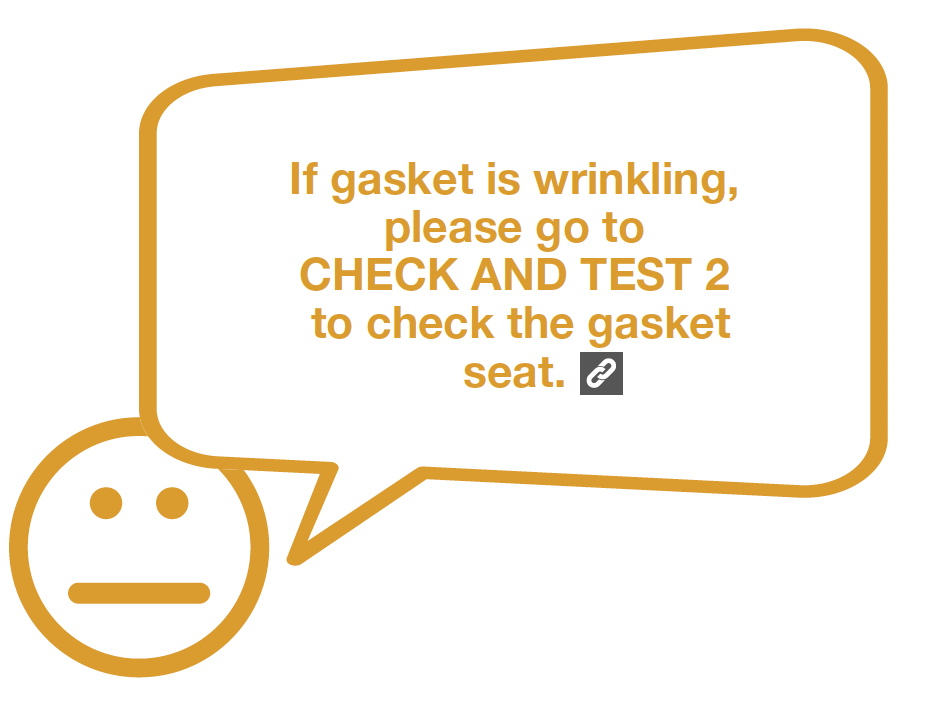
2) Example of gasket wrinkling.

DIAGNOSIS 1

PROCEDURE 1
Step 1
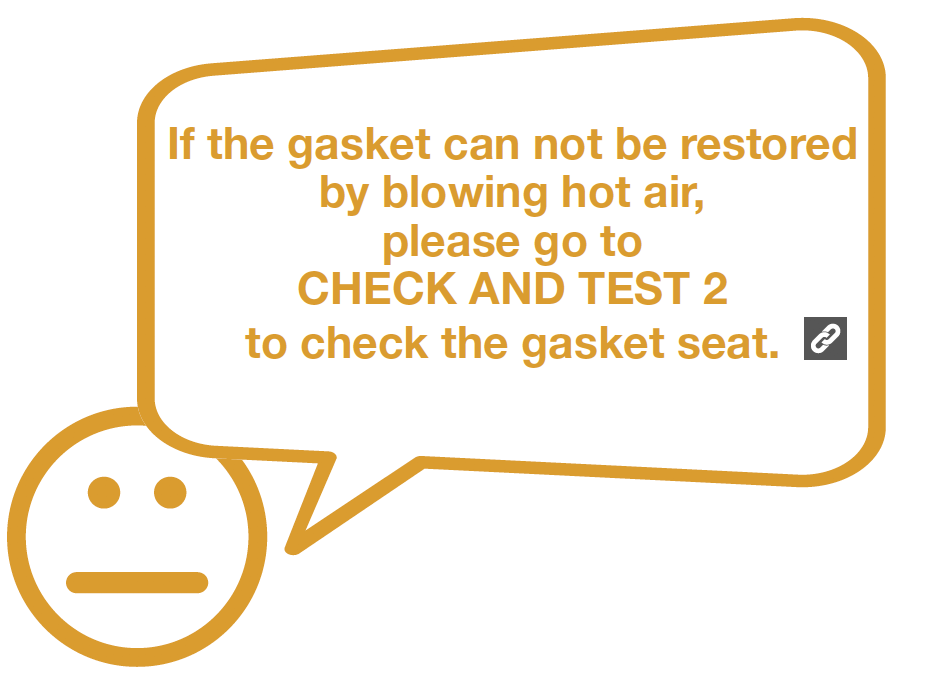
Blow hot air on gasket with a hair dryer to soften gasket, so it can be easily attached to cabinet.

DIAGNOSIS 2
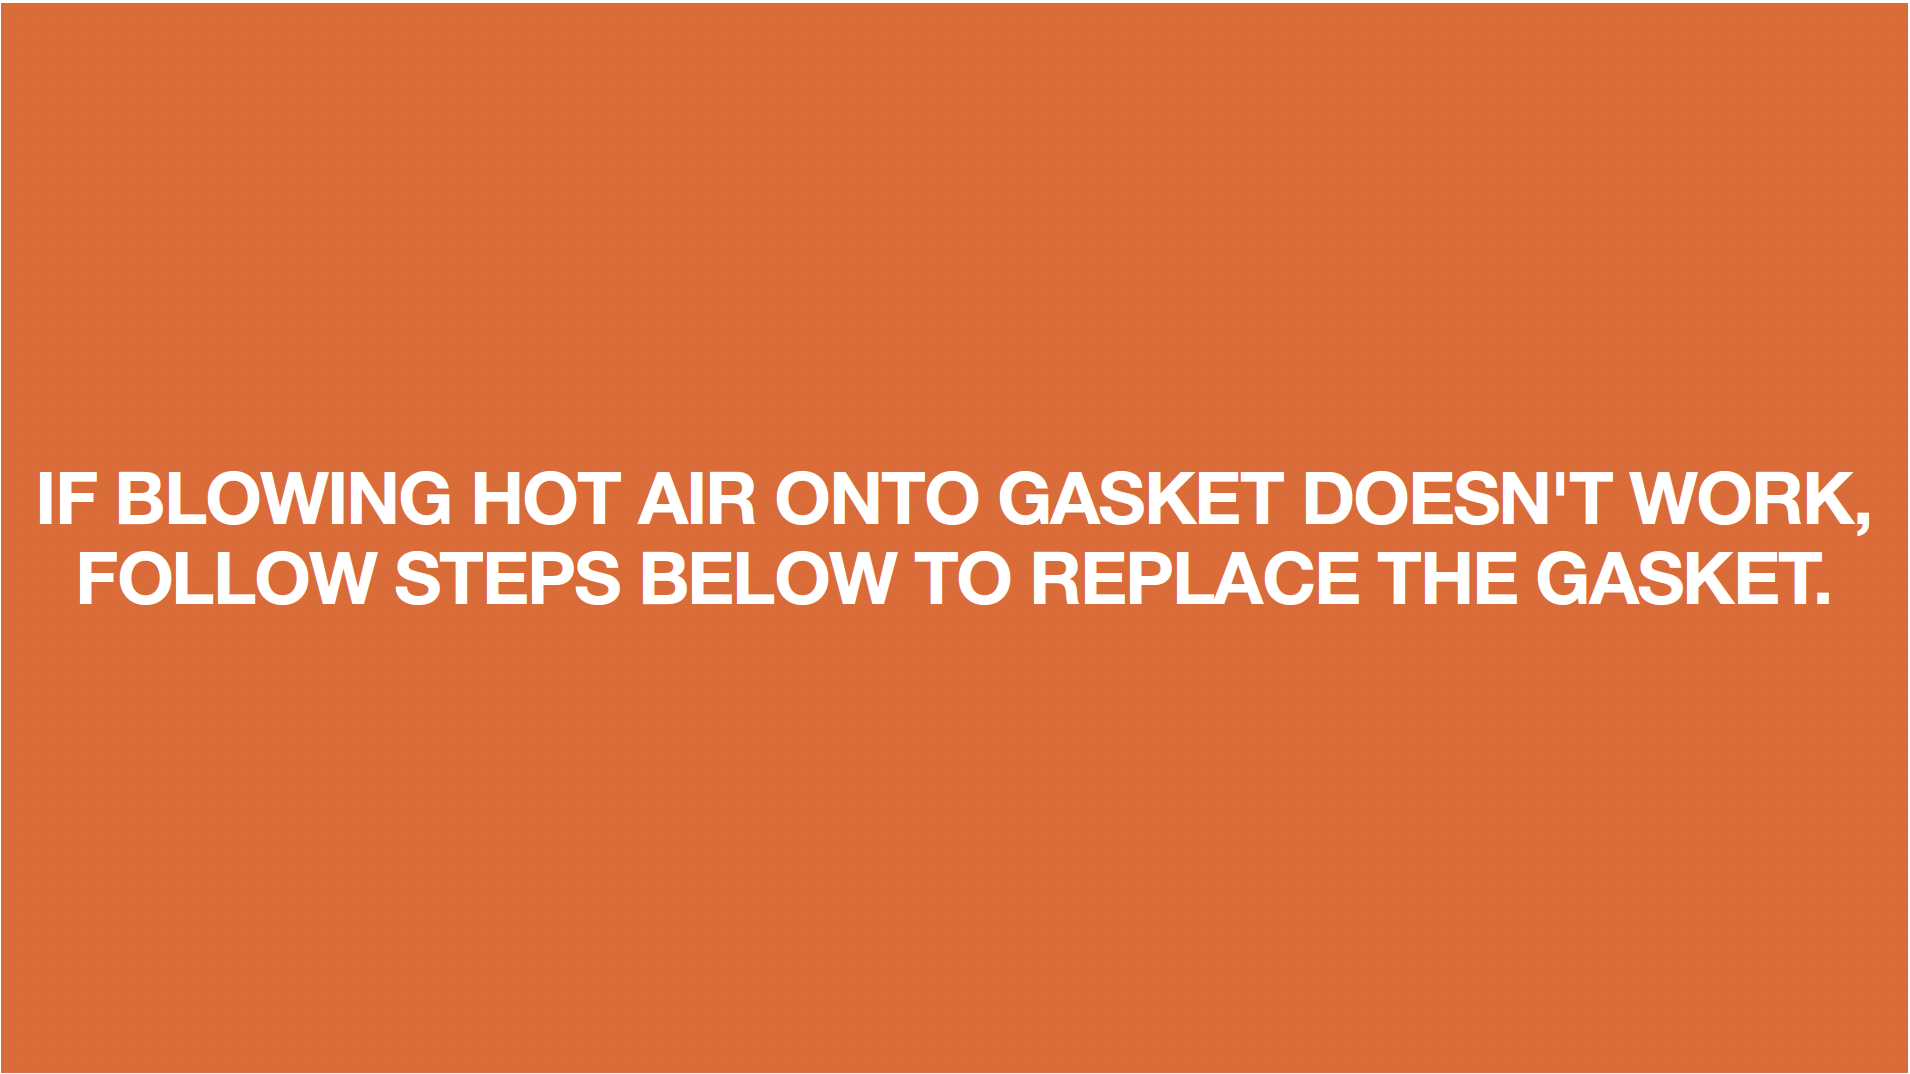


PROCEDURE 2
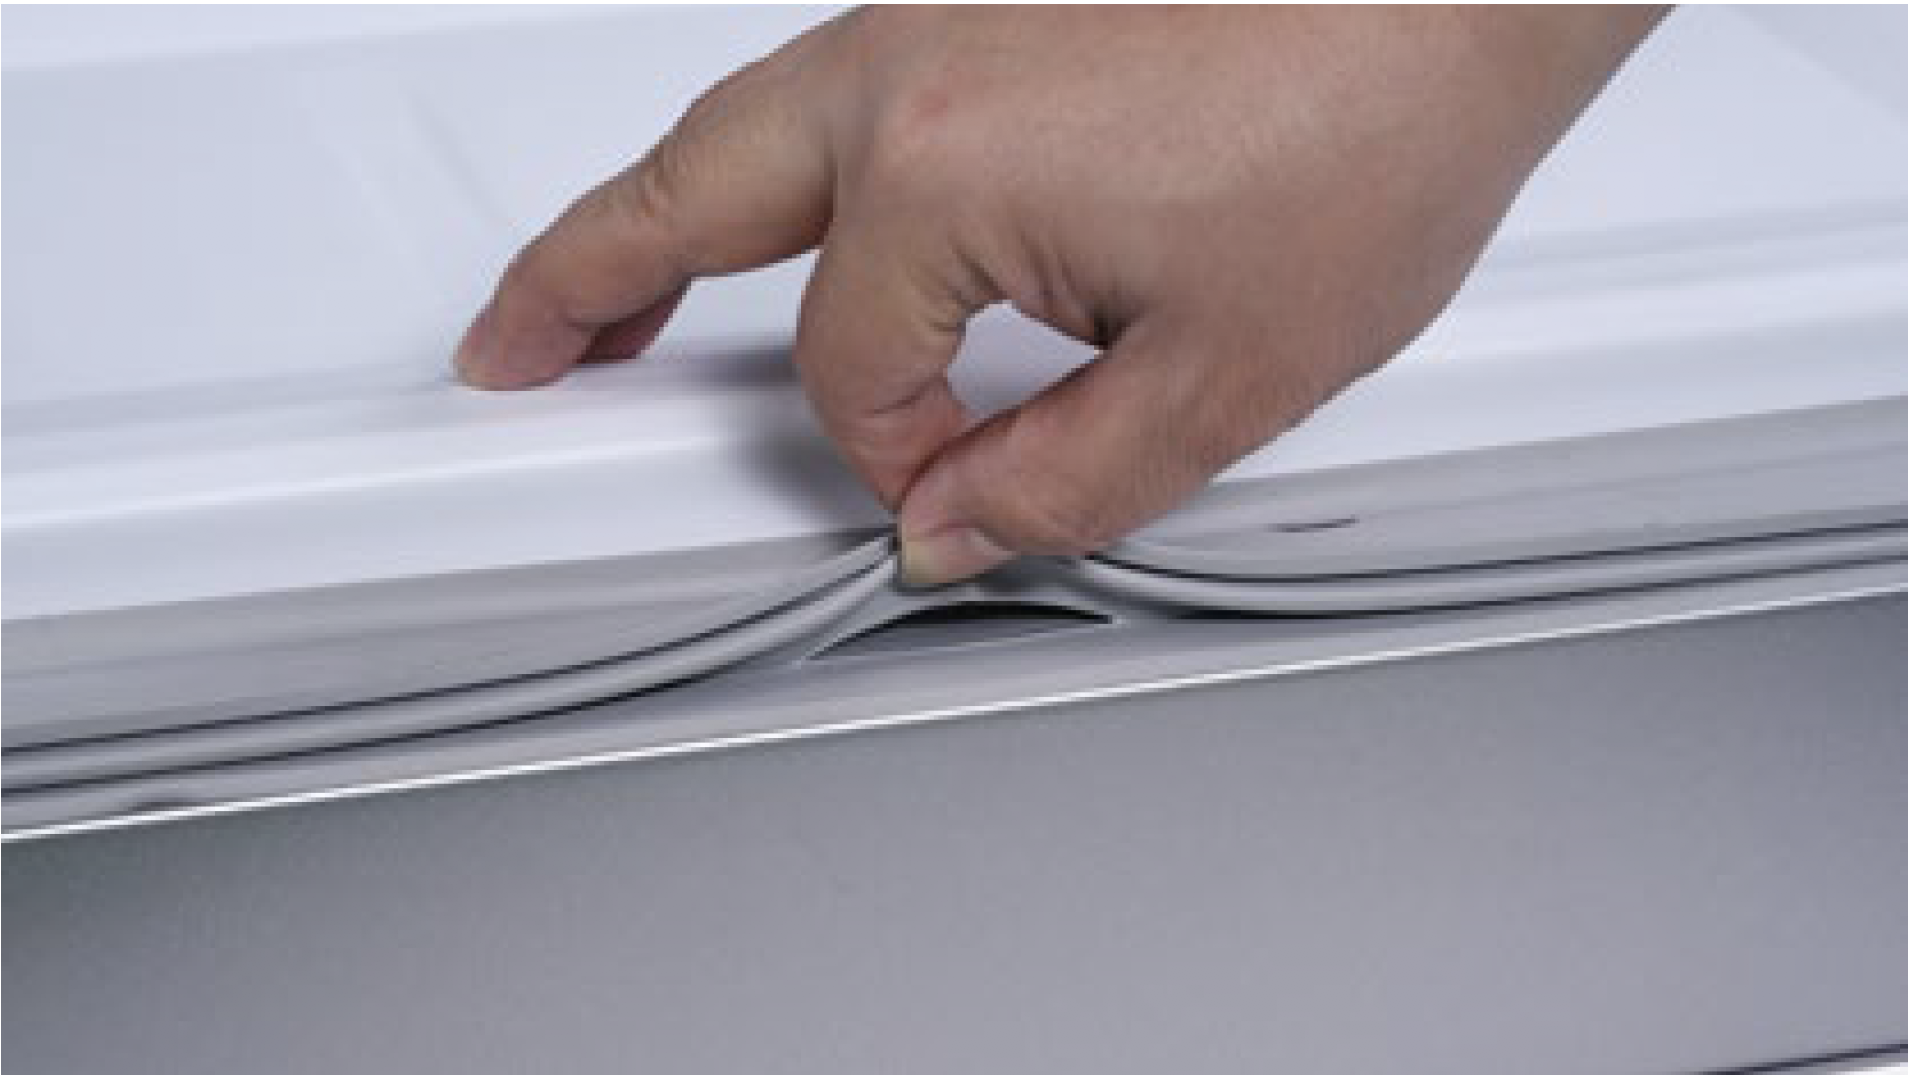
Step 1
Pull gasket out from 4
corners.


Start from corner.
Tip 2
Make sure gasket foot is pressed into gasket seat completely.

Tip 3
Make sure gasket is
well-aligned with gasket
seat.
Tip 4
After closing door, make
sure gasket is wellattached
to door.
CHECK AND TEST 2
Step 1
Measure the width of
gasket seat opening with
Vernier calipers.
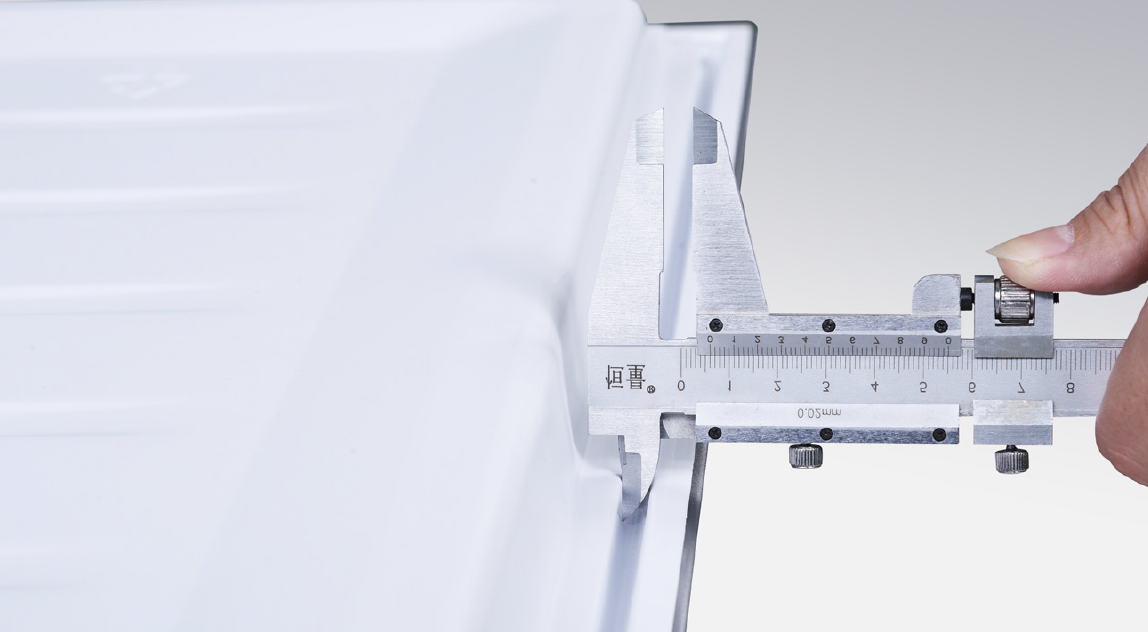
Step 2
Assessment of measuredresults.
PROCEDURE 3
Step 1
Pull gasket out from 4corners.


Tip 1
Start from corner.
Tip 2
Make sure gasket foot is
pressed into gasket seat
completely.

Tip 3
Make sure gasket is
well-aligned with gasket
seat.
Tip 4
After closing door, make
sure gasket is wellattached
to door.

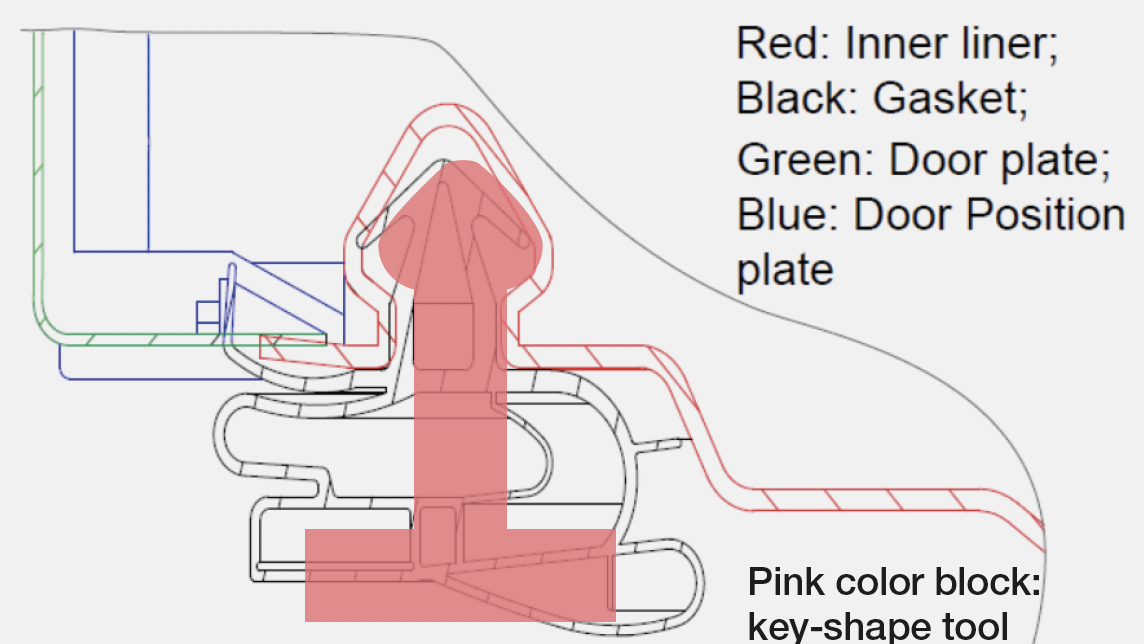
CHECK AND TEST 3
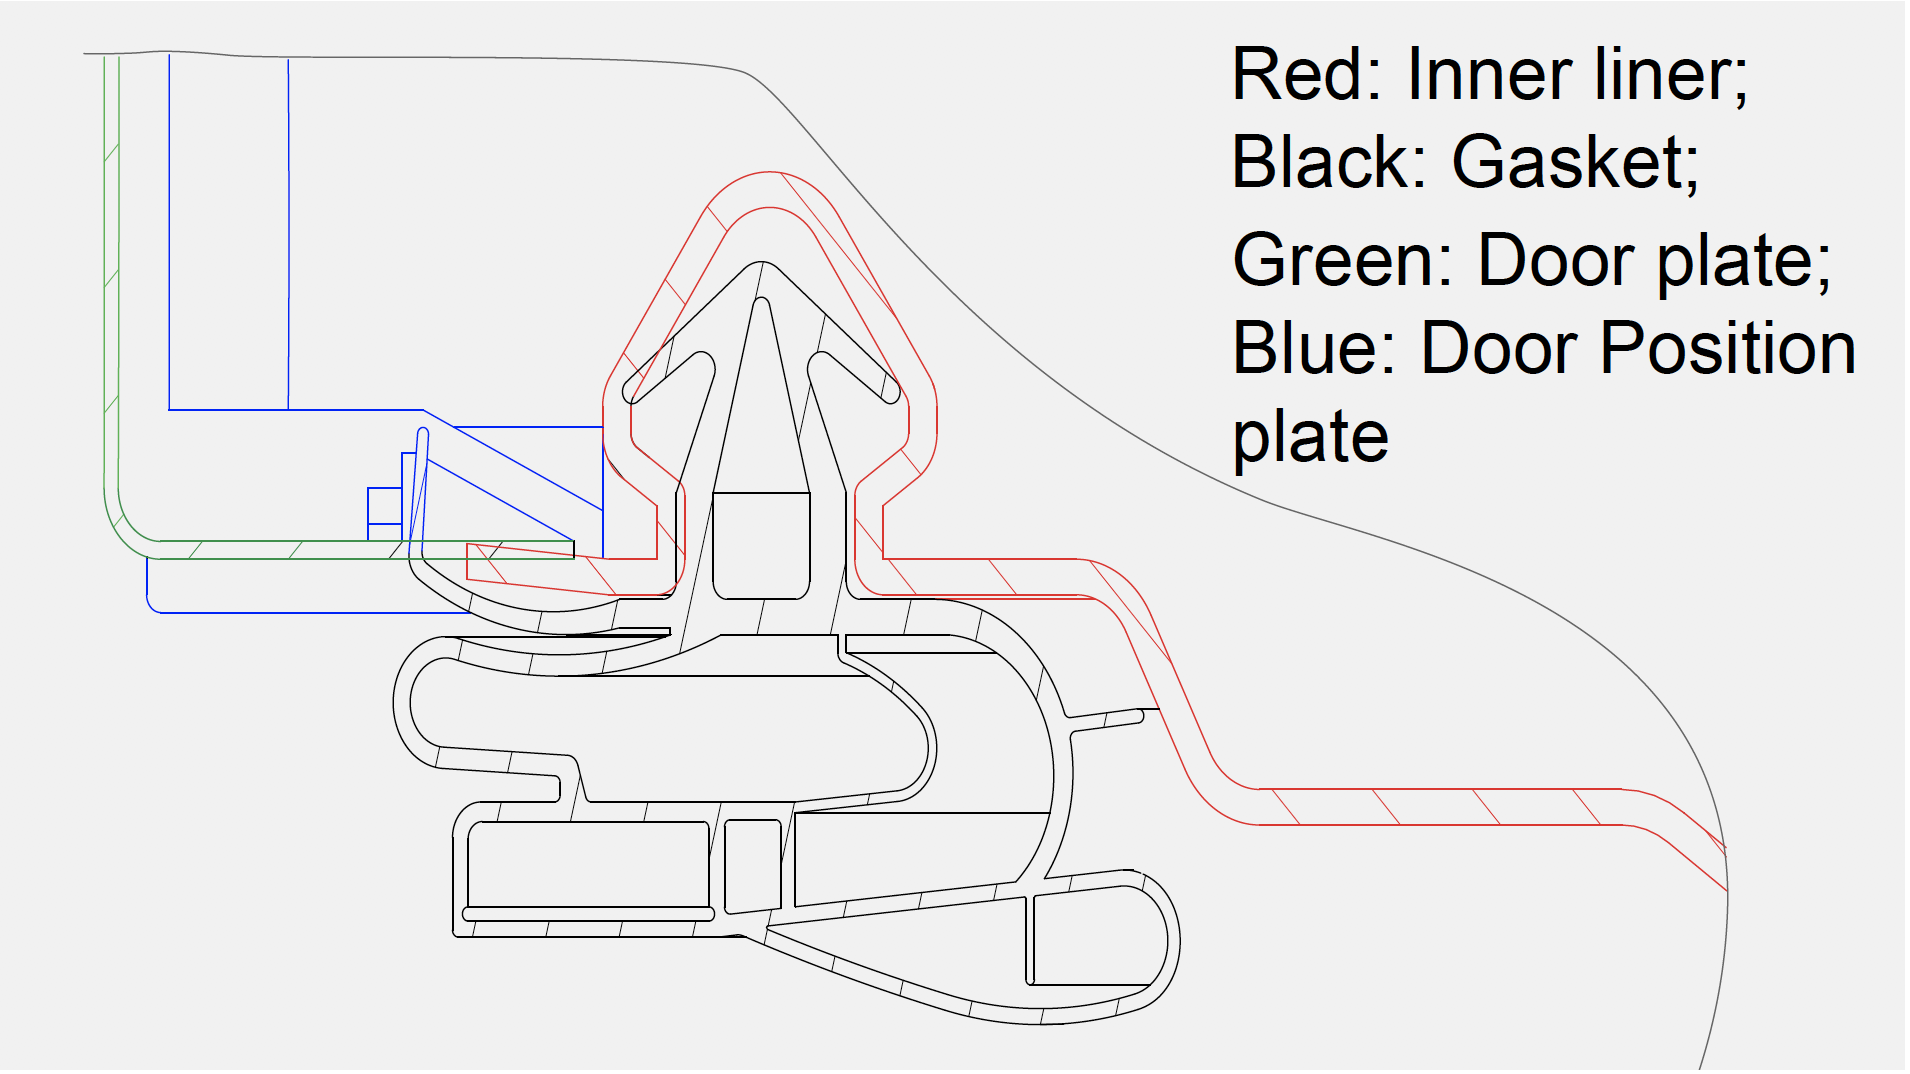
Step 1
Check internal shapeof gasket seat, use tool
with same shape as
gasket seat and insert
into the seat. Then, then
turn the tool around.
DIAGNOSIS 4

PROCEDURE 3

Step 1
Unscrew bottomattachment.

Unscrew top
attachment.

Step 3
Remove the plastic
cover.
Step 4
Unscrew centralattachment on left and
right side.

Step 5
Unscrew the plasticguider.

Step 6
Hold cabinet and pullappliance out.
Step 7
Unscrew the fixationplate and remove it.
Step 8
Unscrew top hinge and
remove it.

Step 9
Remove fridge door.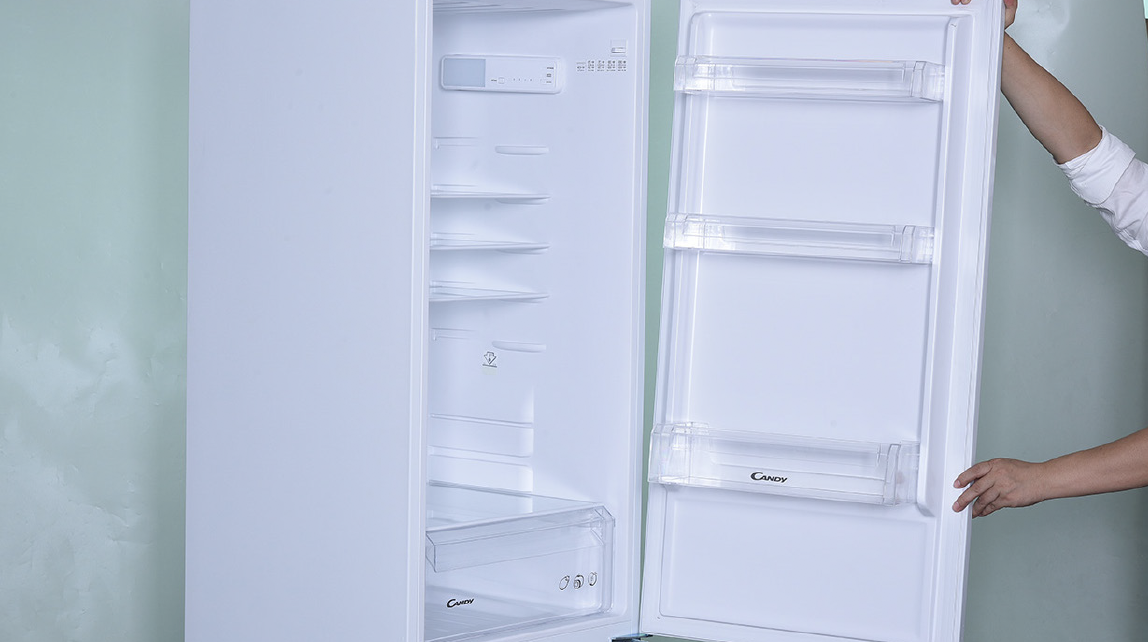
Step 10
Unscrew middle hinge.
Step 11
Remove freezer door.
Reverse procedures
above to replace fridge
door.
Pay attention to
cabinet positioning.

CHECK AND TEST 4
Step 1
Insert the gasket intogasket seat and pull it
with a force of 30N.


DIAGNOSIS 5
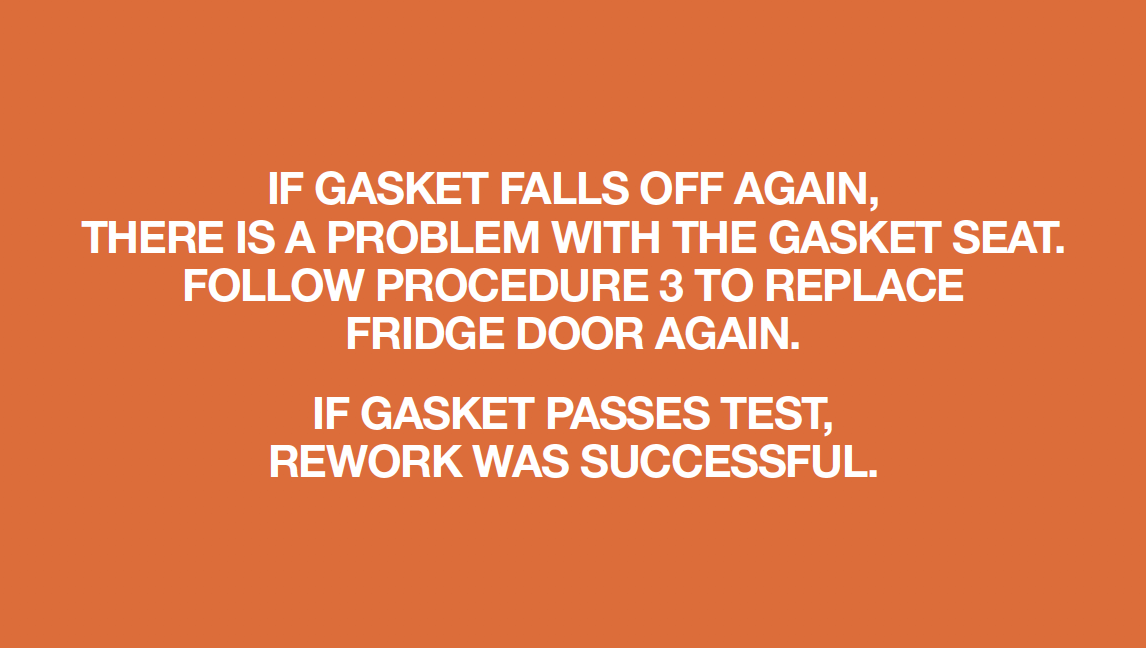

CHECK AND TEST 5
Step 3
1 week later, check ifthere is water in fridge.

DIAGNOSIS 6


GO BACK TO COMPONENT LIST