

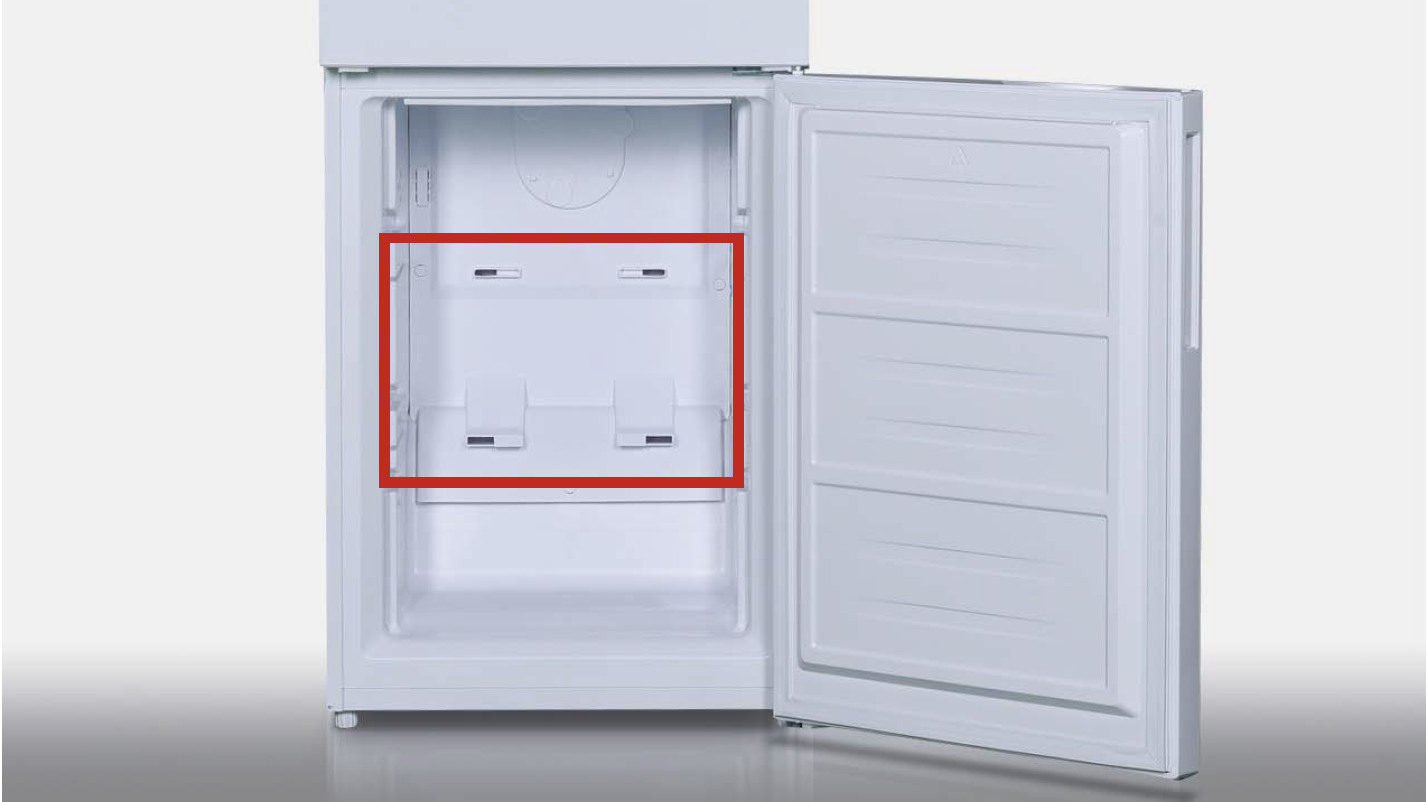
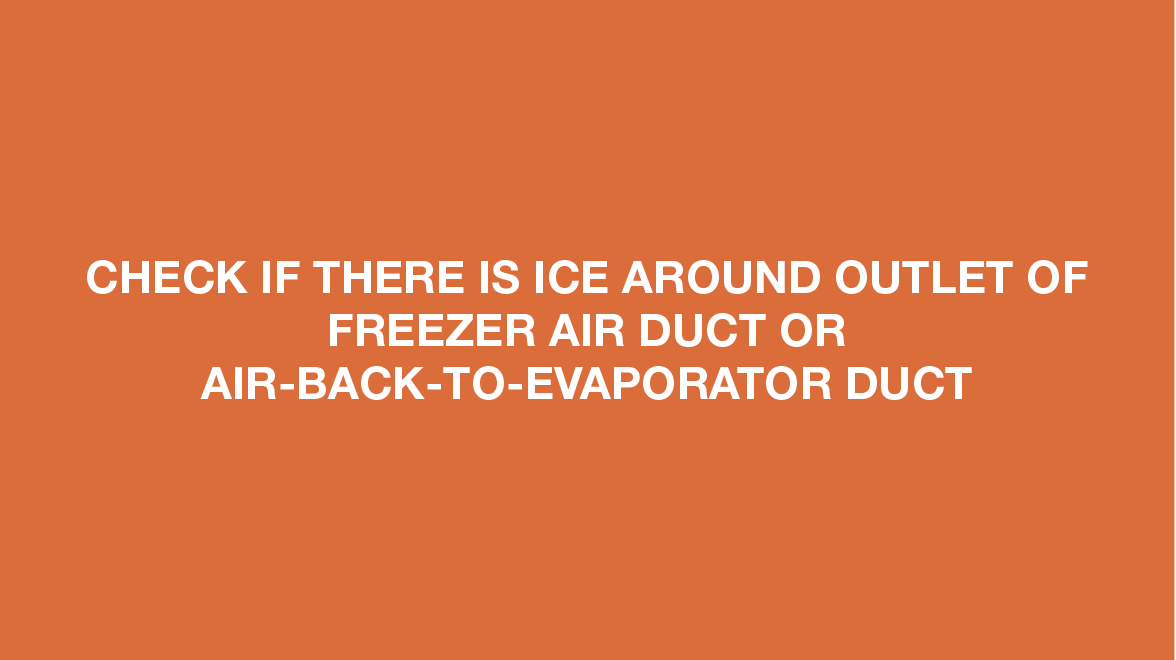
CHECK AND TEST 1
Step 1
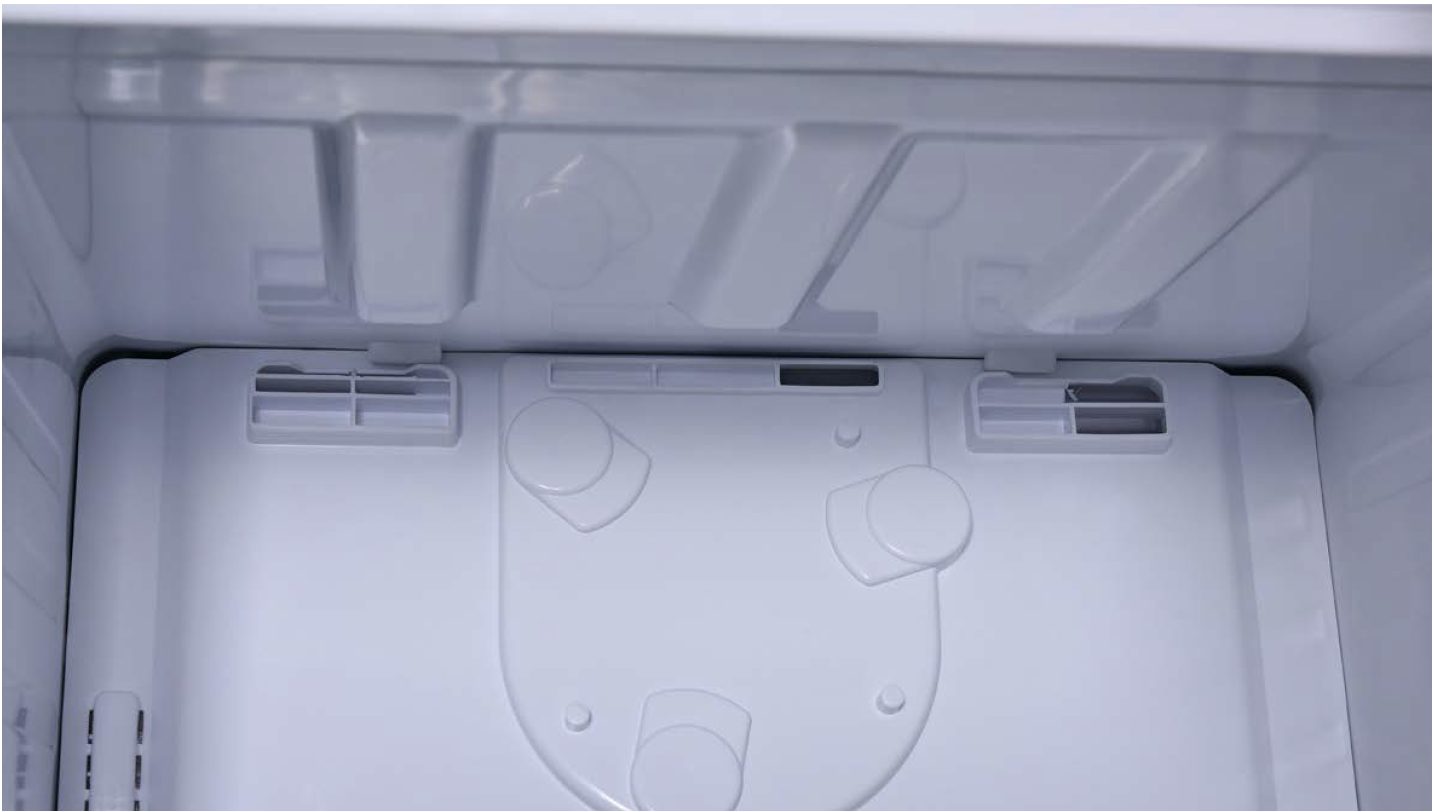
Check if there is any ice blocking outlet of freezer air duct from the top to bottom.
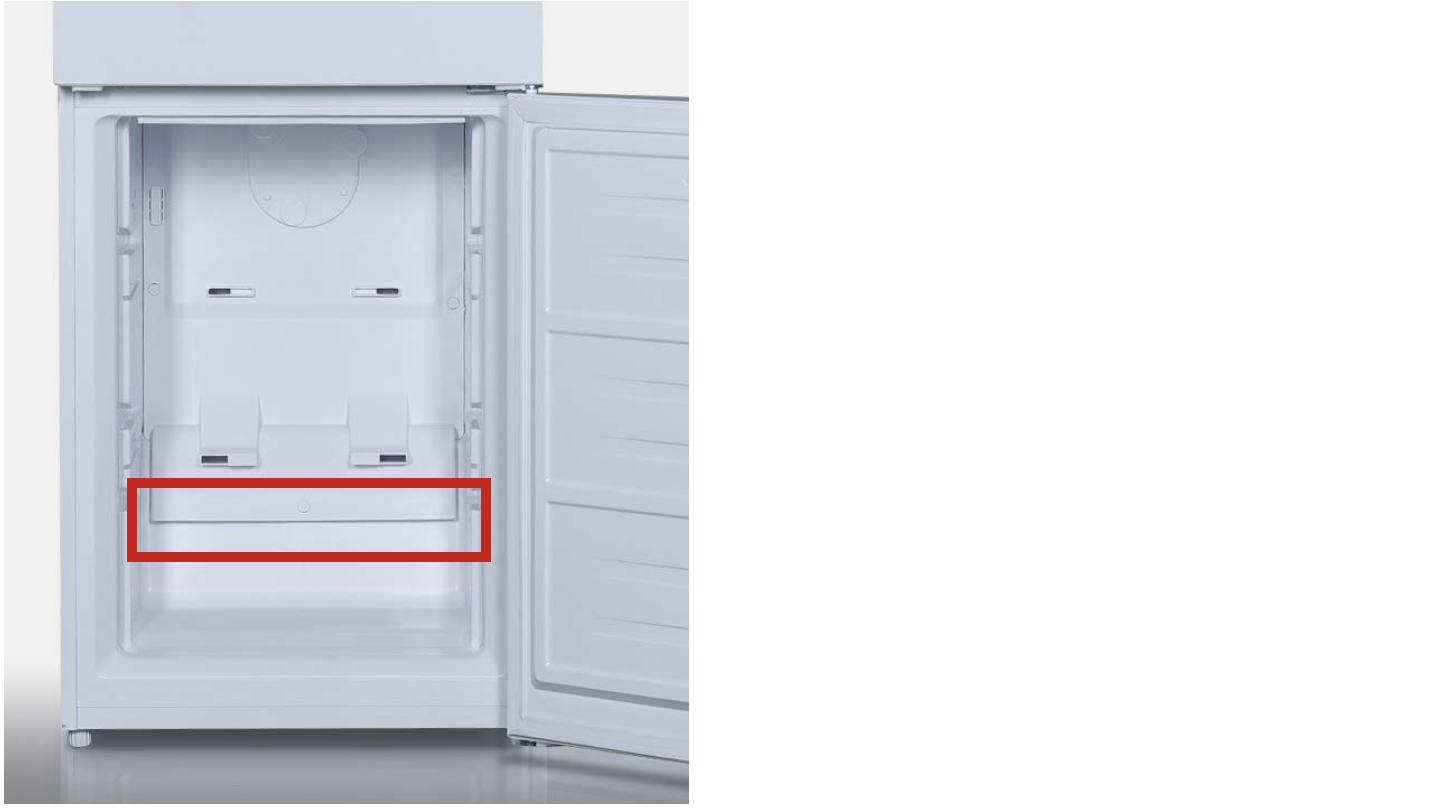
Step 1
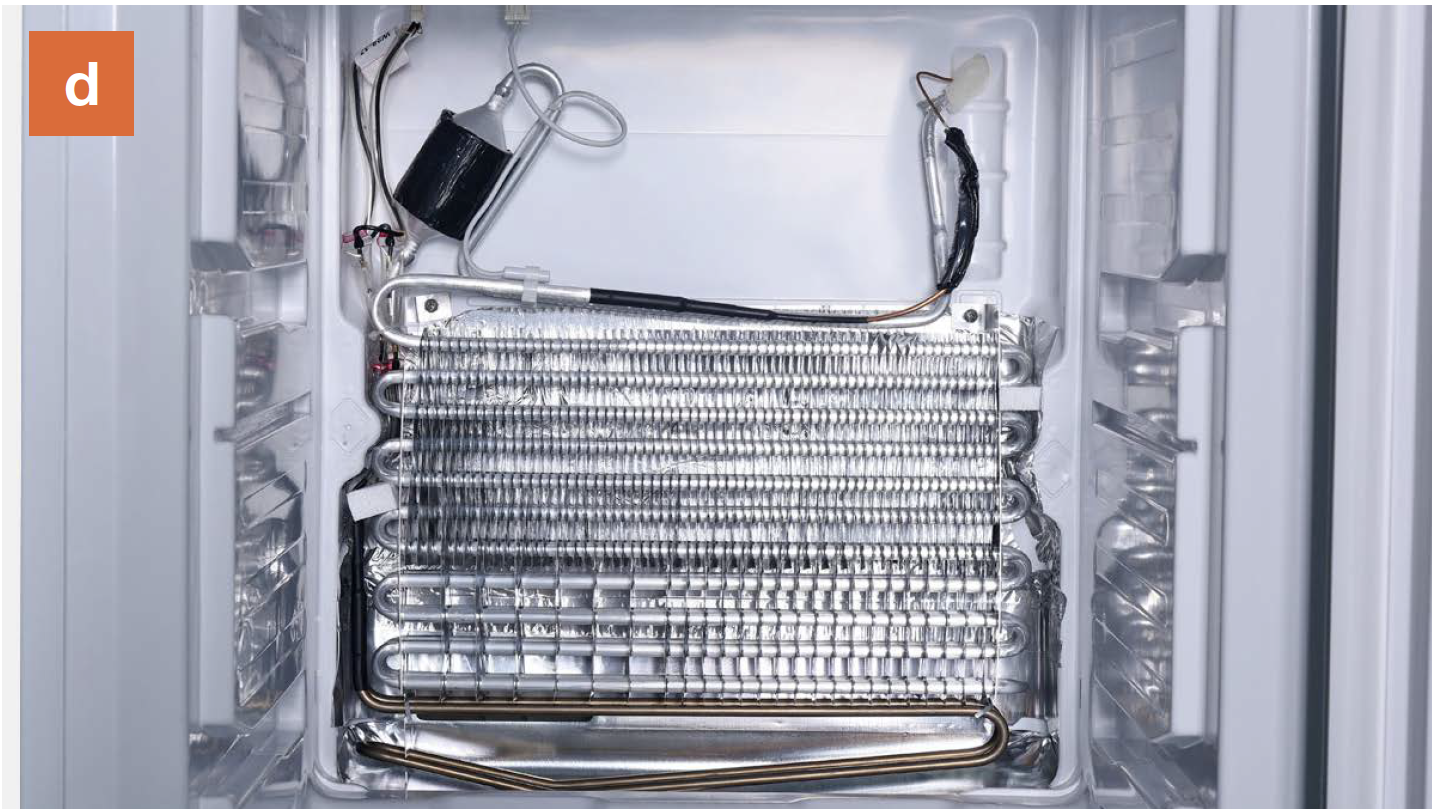
Check if there is any ice blocking the air-back-to- evaporator duct.

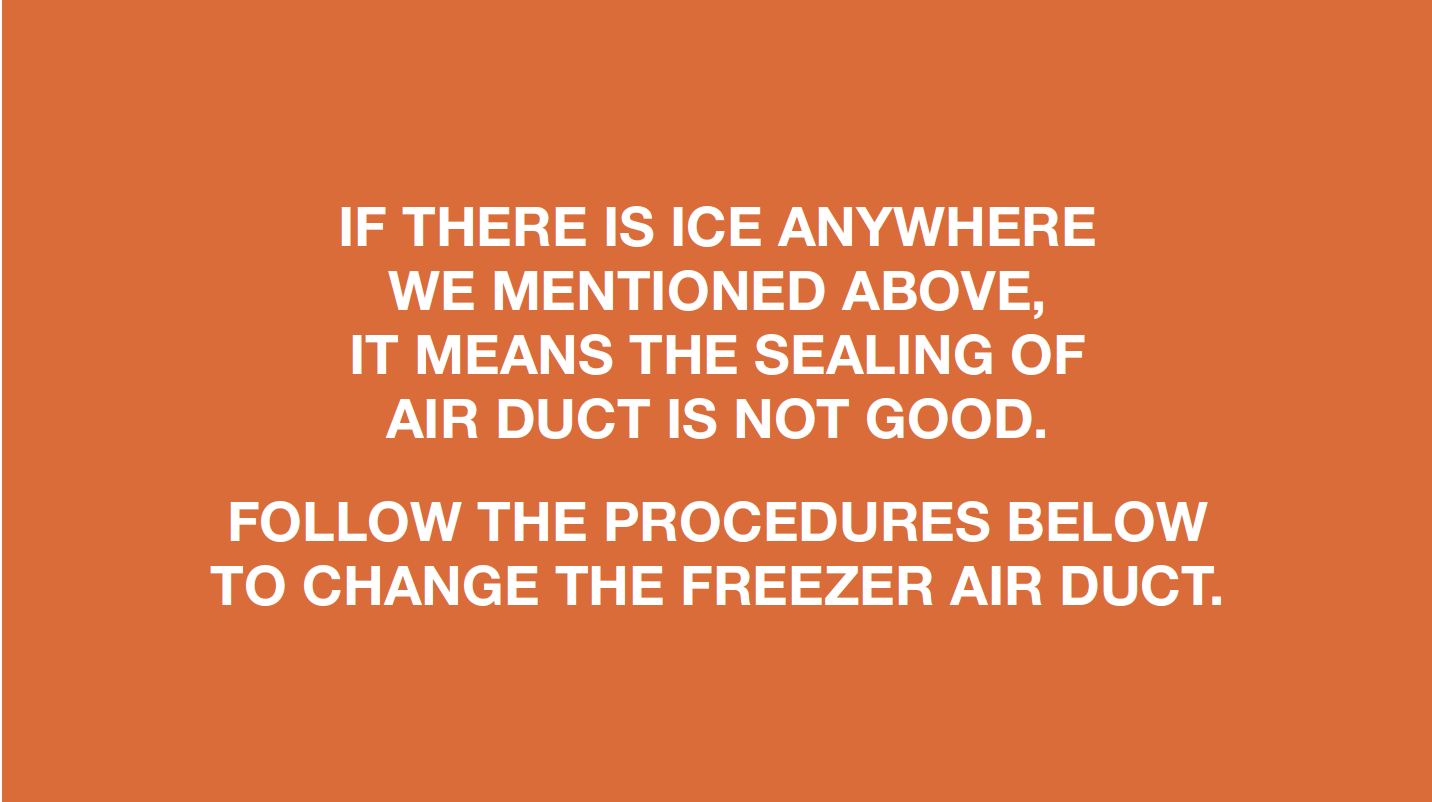
DIAGNOSIS 1


PROCEDURE 1
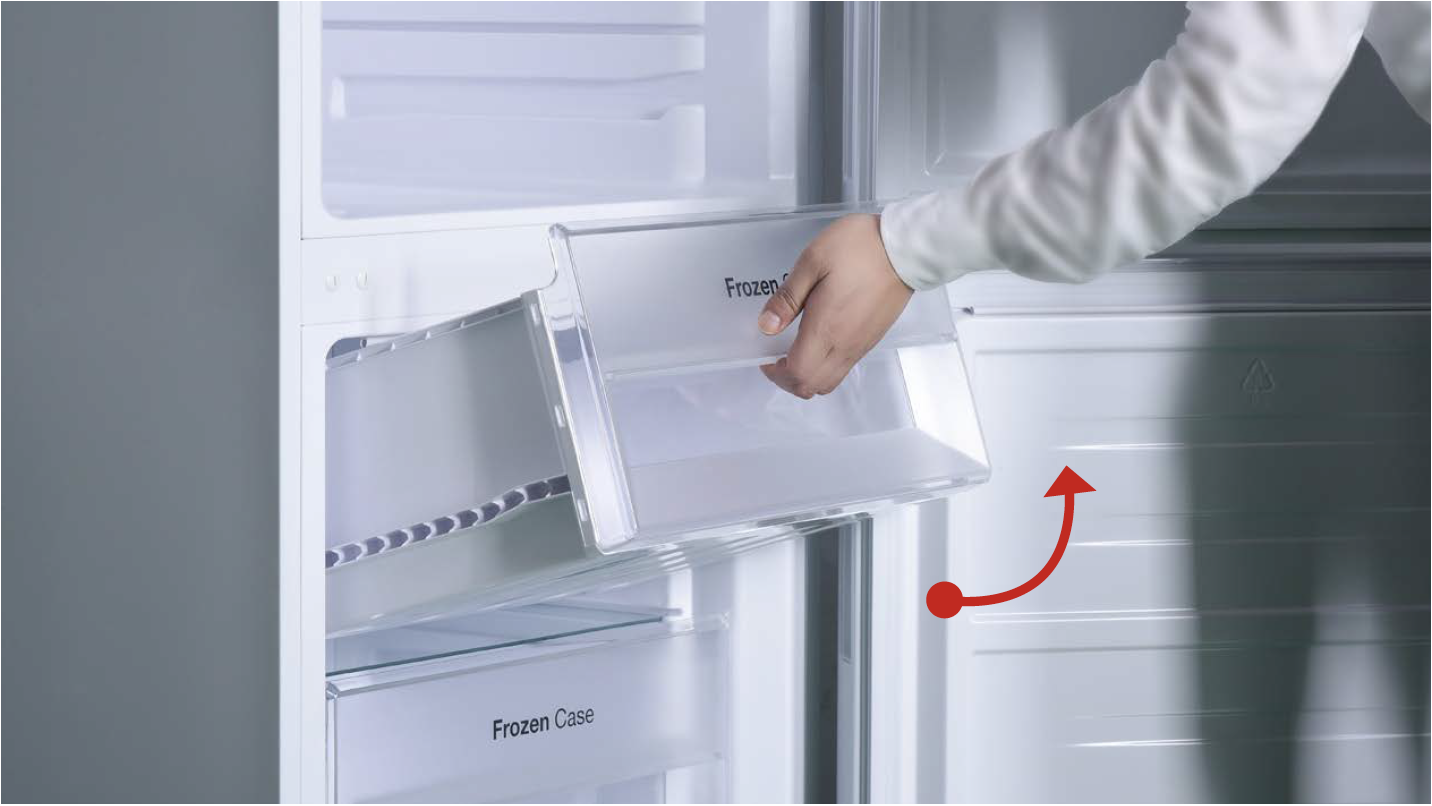
Step 1
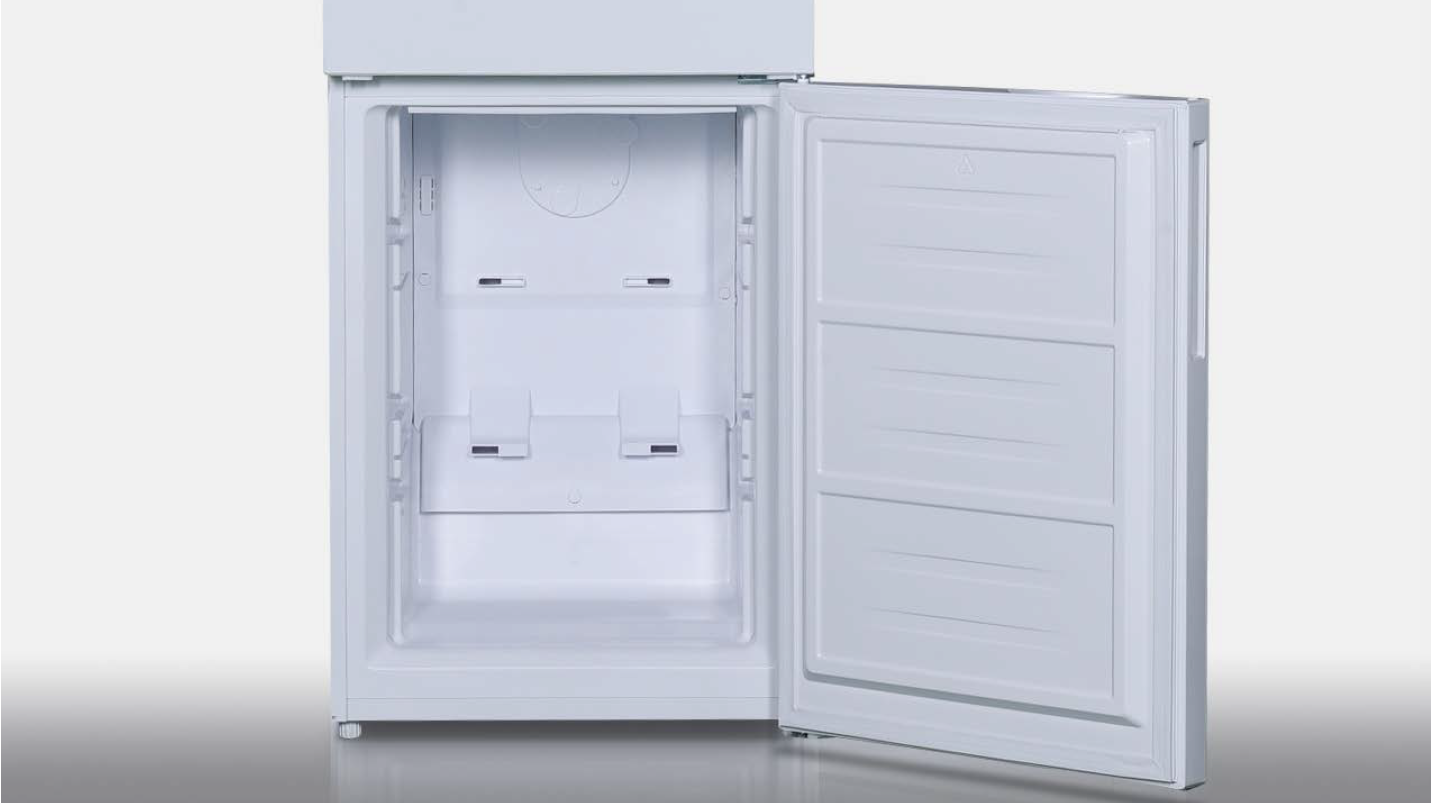
Remove all freezer drawers.
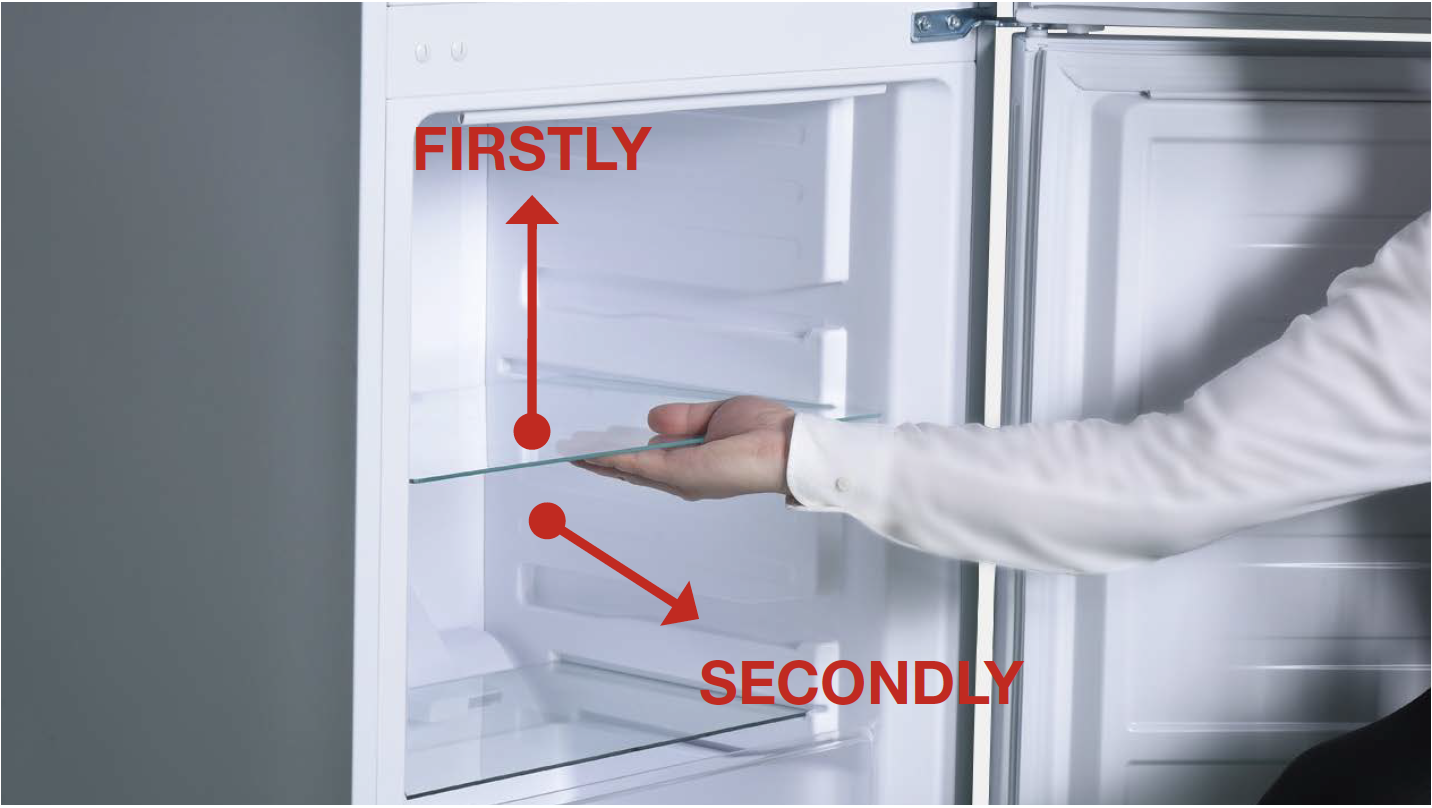
Step 2
Remove all glass shelves.
Step 3
Unscrew the screws on air duct.
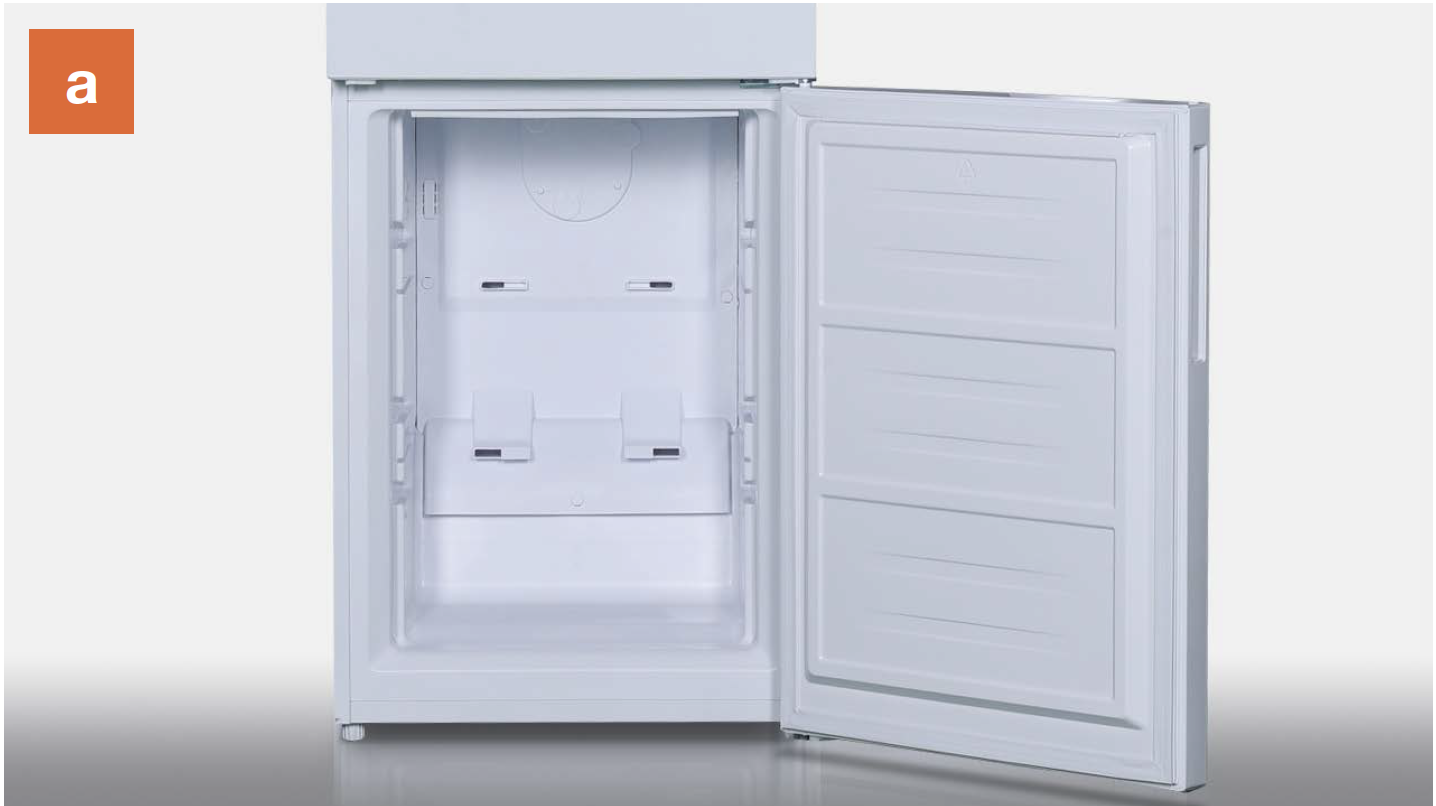
a. Check the freezer air duct to find the three screw covers.
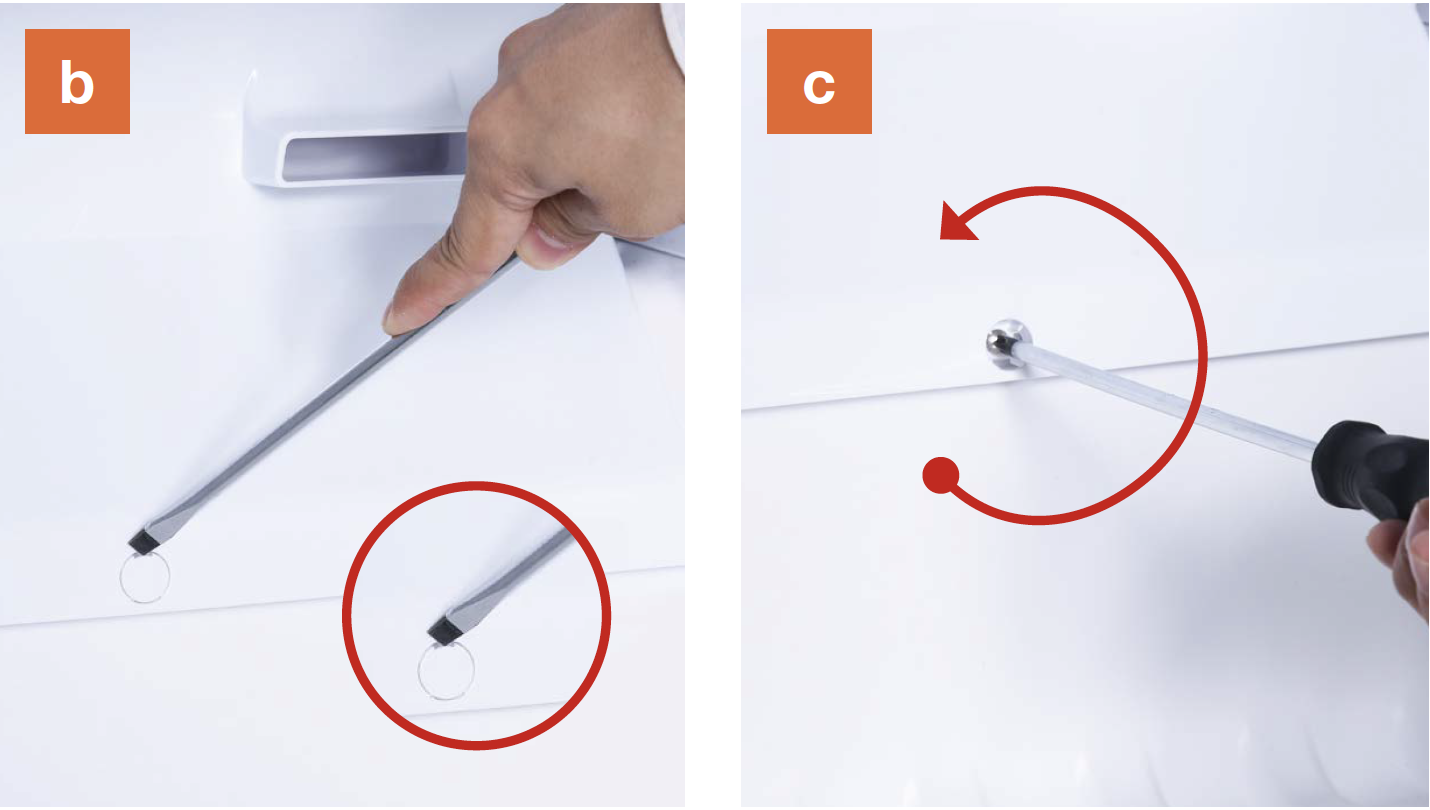
b. Remove the screw
covers (total of three)
on the air duct with
slotted screw driver.
c. Unscrew the screws
(total three) with
Cross-head screw
driver.
Step 4
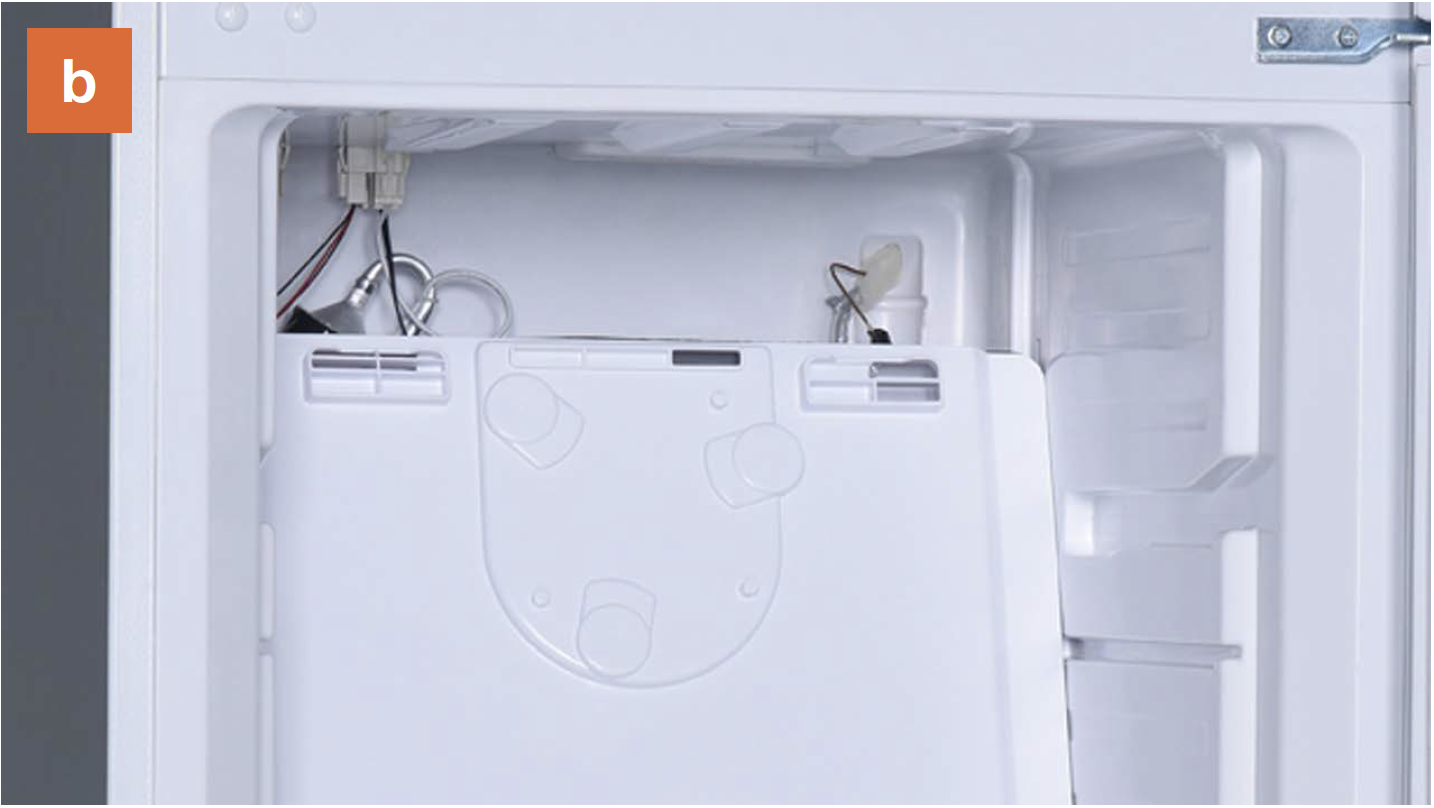
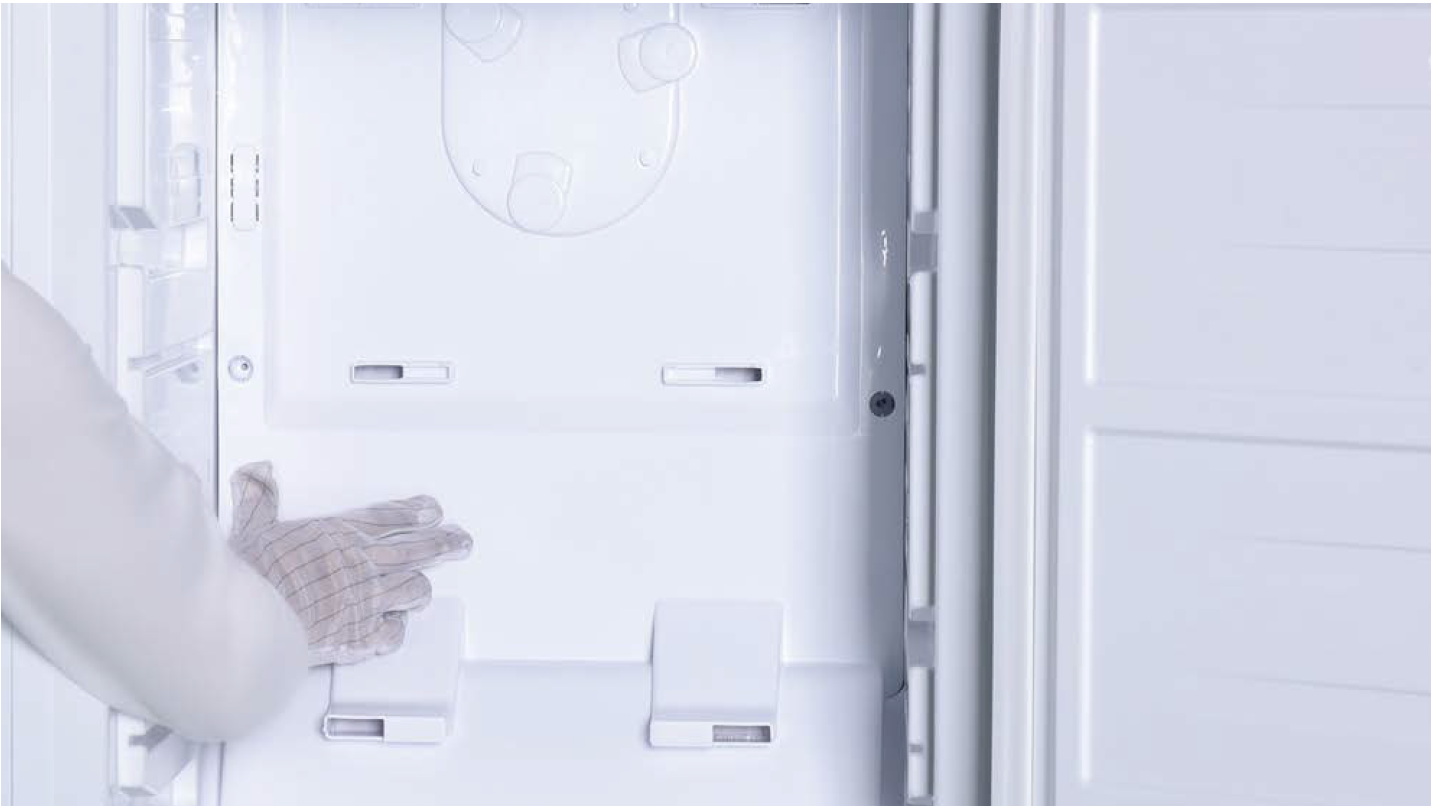
Dismantle the air duct.
a. Catch the bottom of air duct and pull down the air duct.
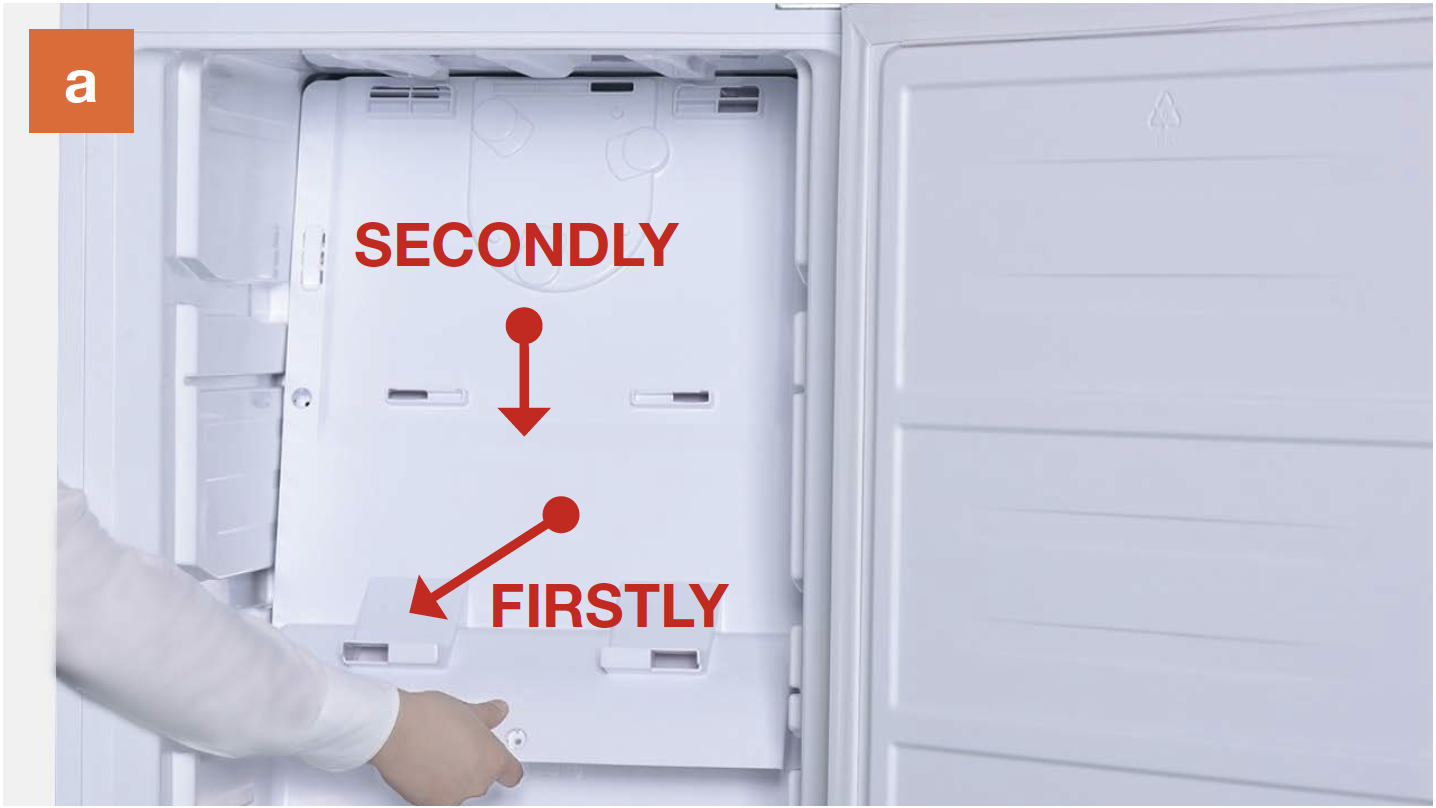
b. Pay attention to the connectors when pulling out the air duct.
c. Disconnect the
terminal for fan motor.
Disconnect the
terminal for freezer
temp. sensor.

d. Move the air duct out of the freezer compartment.

PROCEDURE 2
Tip 1
Make sure the sealing sponges are in good condition.

Tip 2
When reinstalling the air duct, fasten the wires to avoid crushing with air duct.

Tip 3
Install the top side first when installing the air duct.
Tip 4
After pushing air duct into place, you should hear a clicking sound. If not, repeat again.
Tip 5
Check to see if there is
a wide gap between air
duct and cabinet. If there
is, reinstall air duct.
CHECK AND TEST 2
DIAGNOSIS 2


GO BACK TO COMPONENT LIST