

CHECK AND TEST 1
Step 1
Unscrew the locking
plastic.

Step 2
Remove the blue plastic.
Step 3
Lever off the terminalbox.

Step 4
Pull out integratedprotector and starter.

Step 5
Disconnect terminals.
Step 6
Put the pin into thestarter hole connected
with compressor to do
the test.

Step 7
Put the pin into thestarter hole connected
with compressor to do
the test.


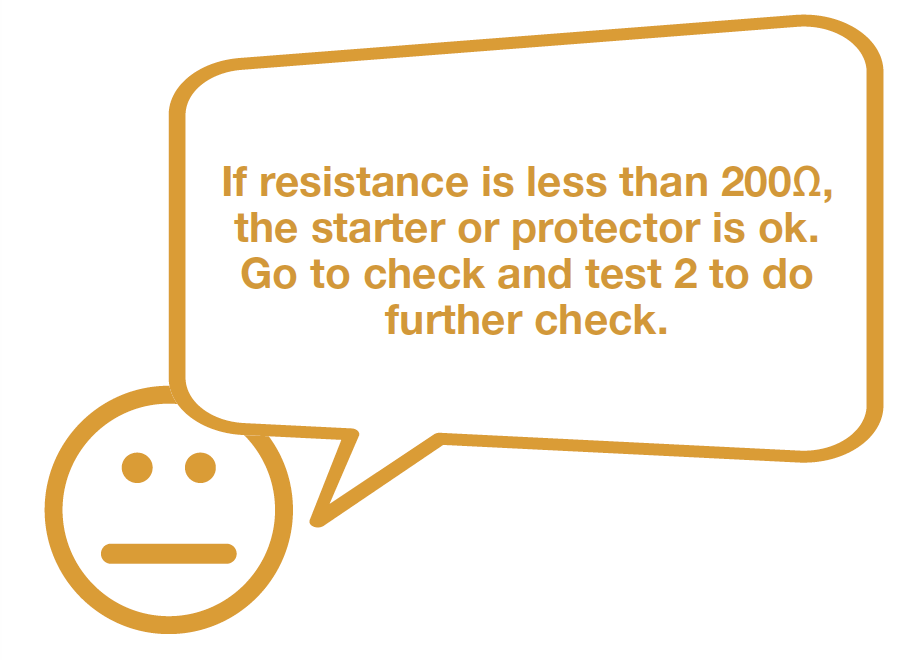
DIAGNOSIS 1

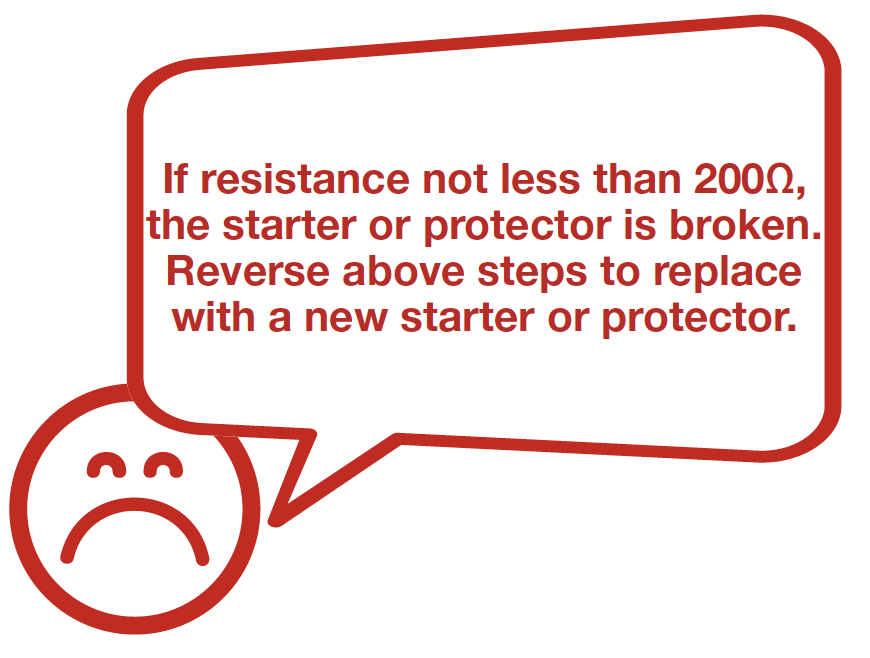
DIAGNOSIS 2

CHECK AND TEST 2

Step 1
Unscrew cover of
mainboard with a Crosshead
screwdriver.

Step 2
Remove the clips (if any).

Step 3
Power on and measure
the output of mainboard
for compressor.
WARNING:
make sure not to
touch live parts with
hands, don’t let pins
of multimeter touch
each other, otherwise,
it can cause fire.


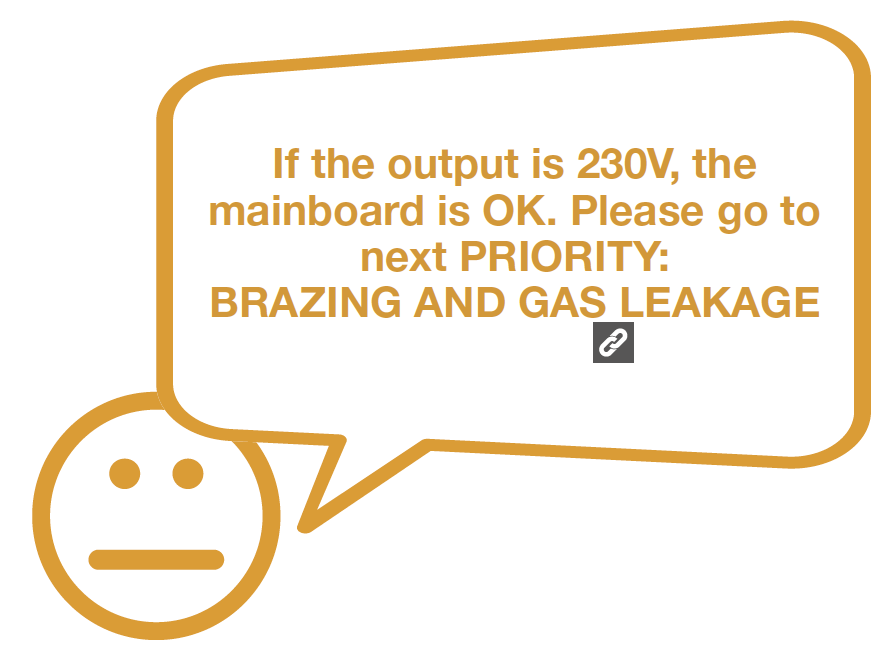
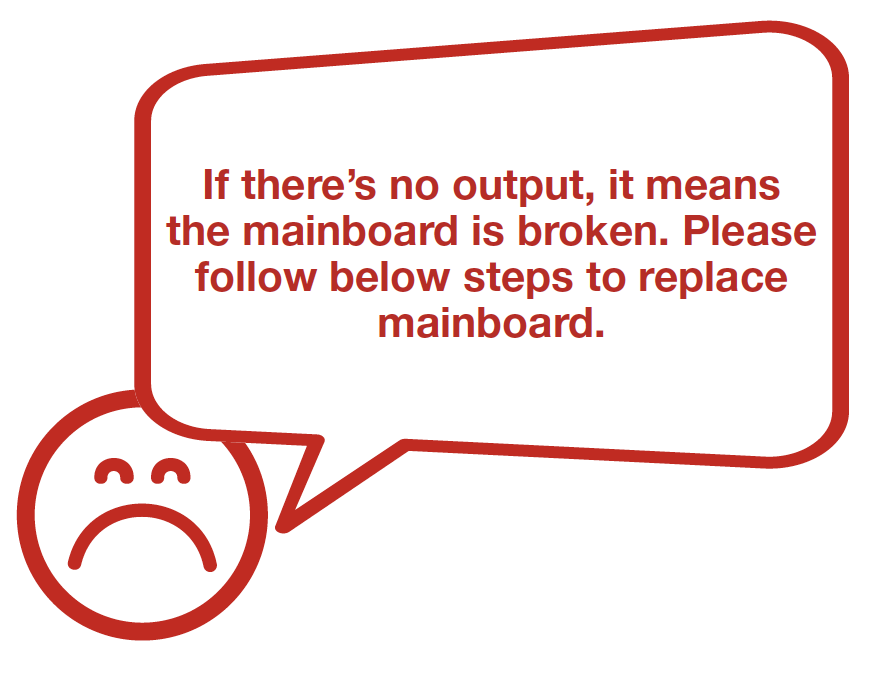
DIAGNOSIS 3

PROCEDURE 1
Step 1
Disconnect the terminals.

Step 2
Unscrew the mainboard.
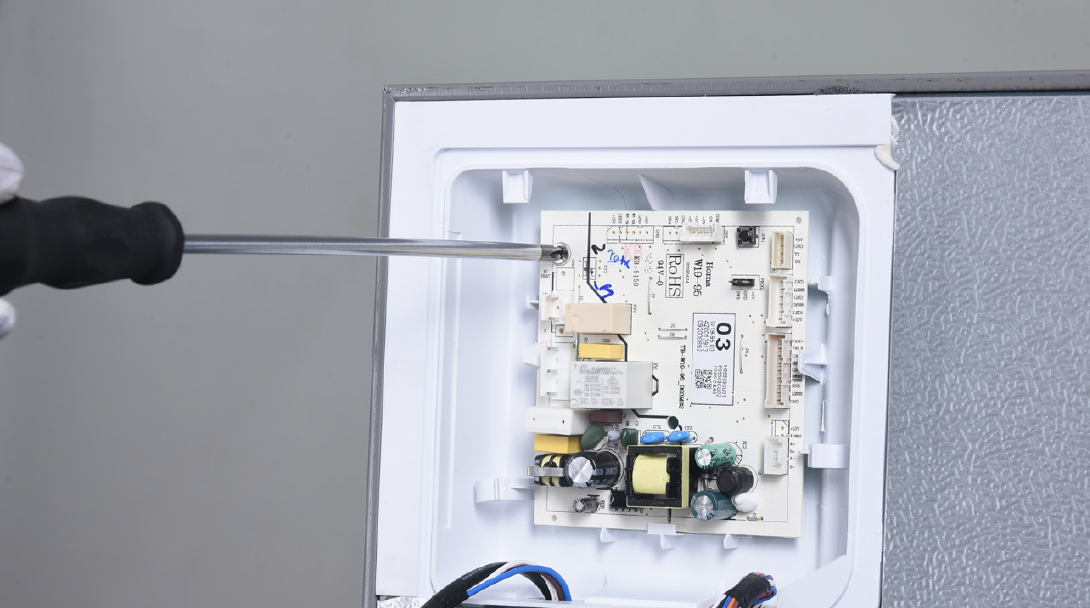
Step 3
Unscrew the mainboard.Reverse steps above
to install a new
mainboard.

DIAGNOSIS 4


GO BACK TO COMPONENT LIST