
CHECK AND TEST 1
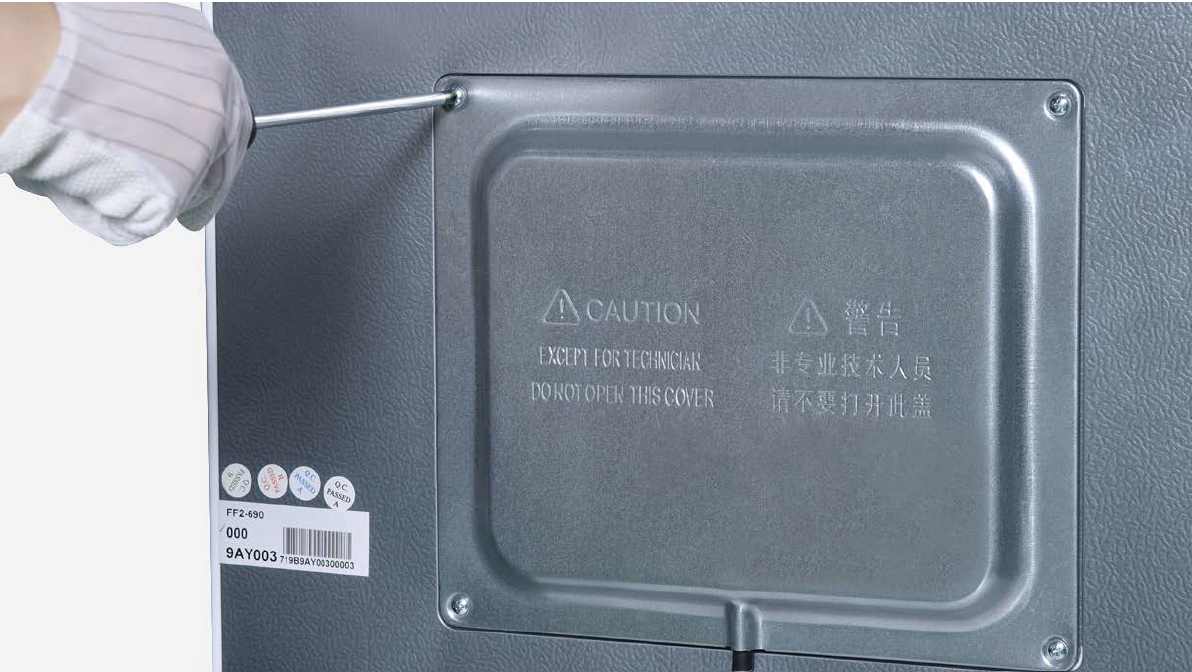
Step 1
Unscrew cover of mainboard with a Cross-head screwdriver.
Step 2
Check if terminal is not insert final position.
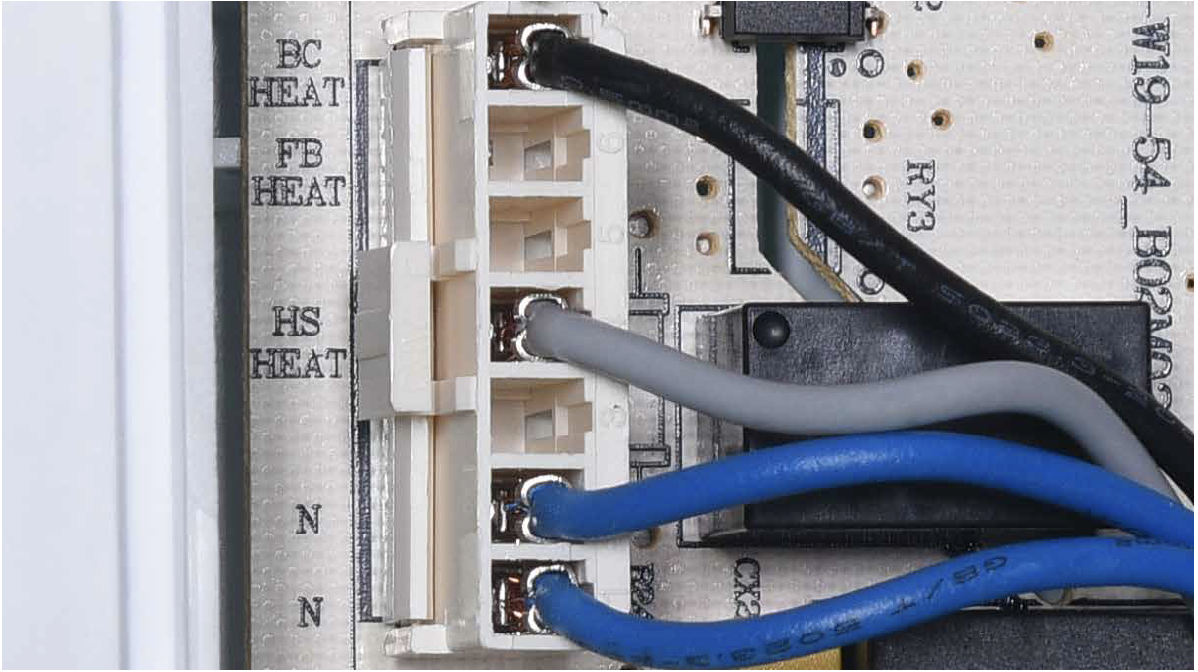
Step 3
In mainboard area, check if terminal is stuffed with foam.

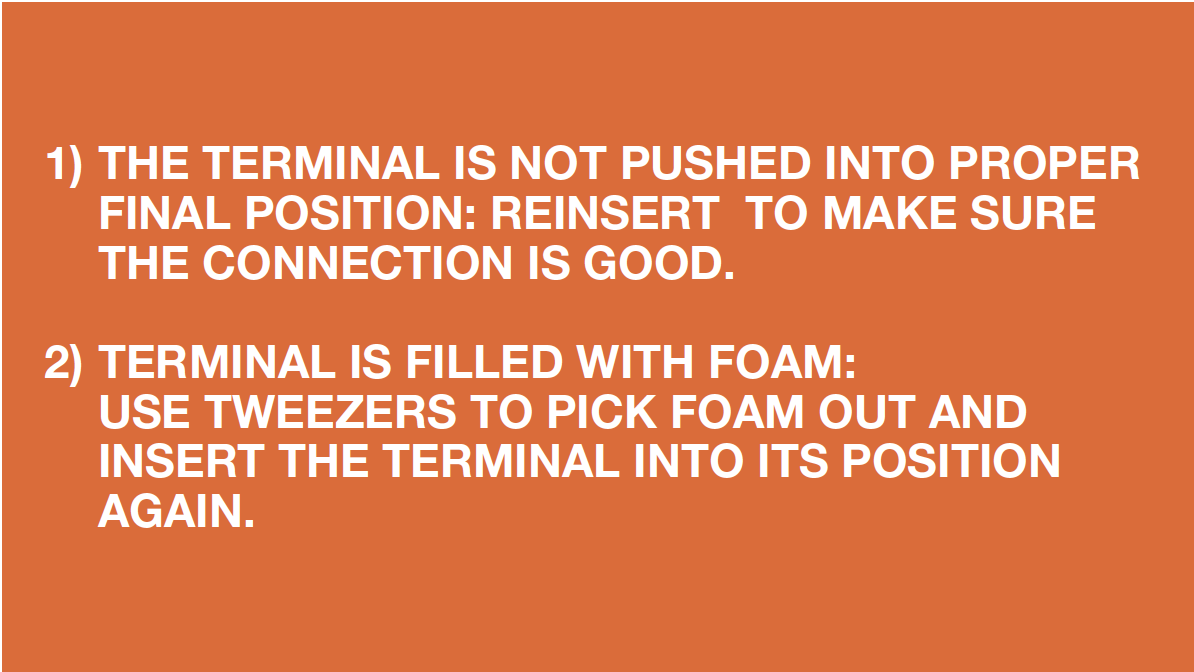
Step 4
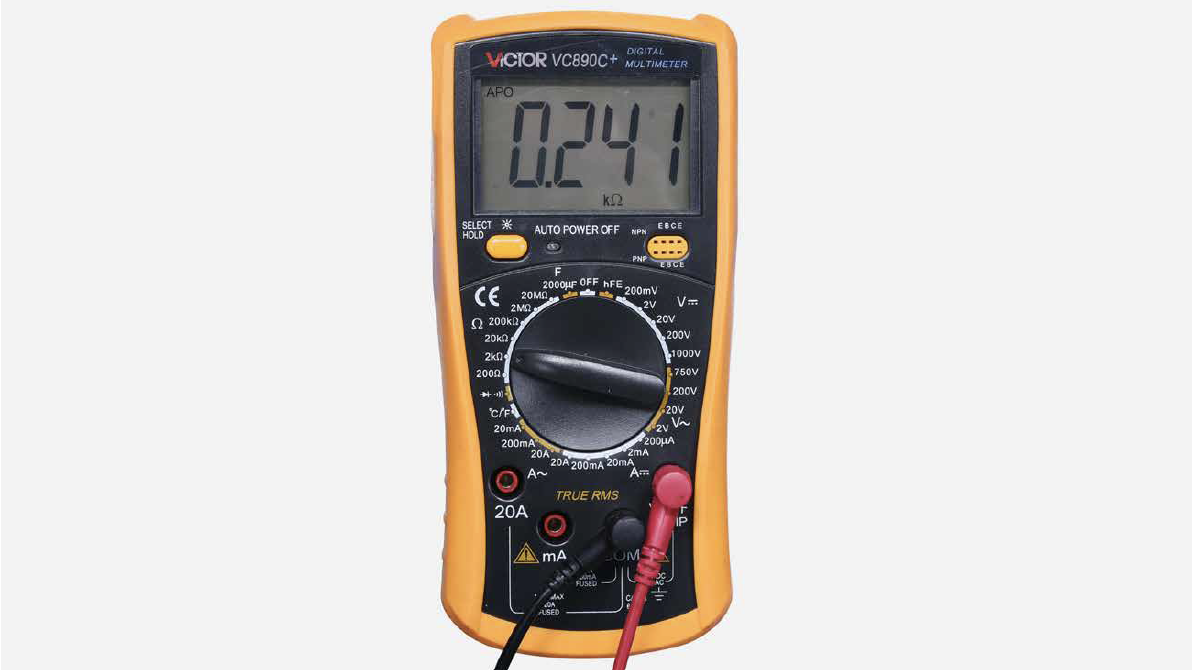
Measure resistance of heater from terminal in PCB area.

Step 5
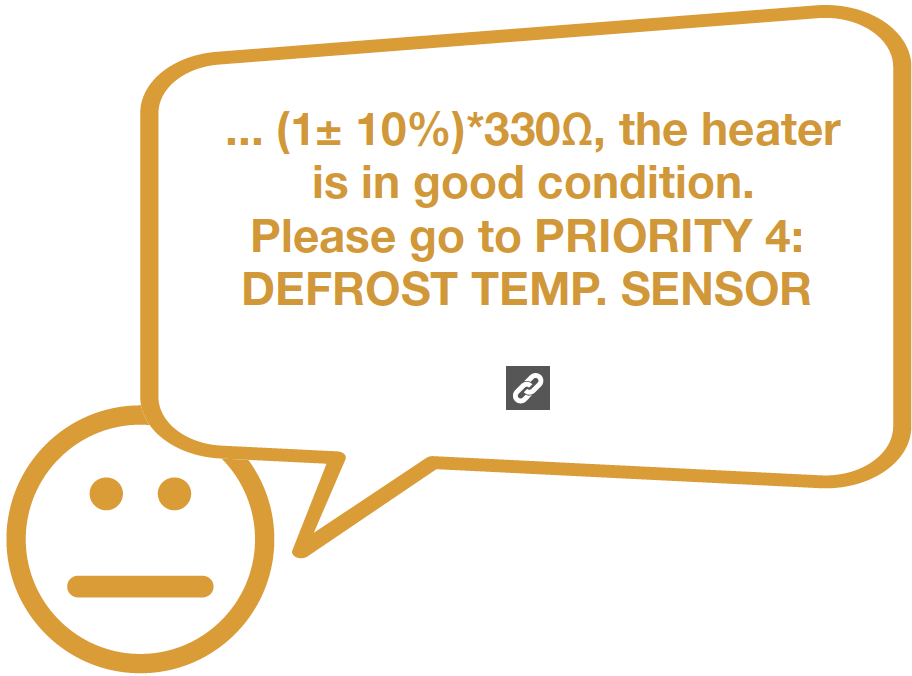
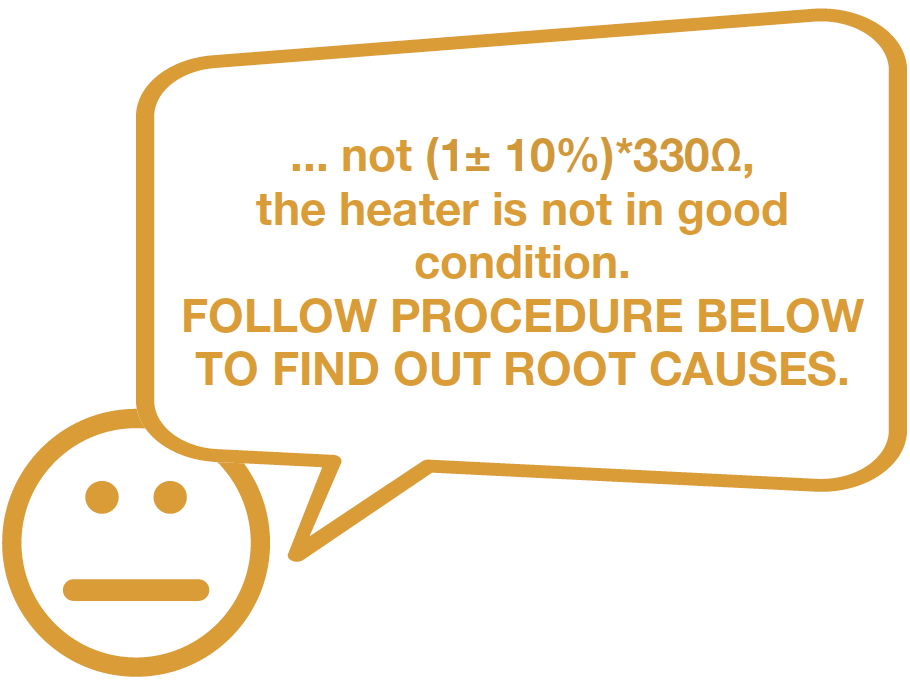
Check the result.

DIAGNOSIS 1


PROCEDURE 1
Step 1
Remove the drawers

Step 2
Remove the glass partition.

Step 3
Remove the 3 screw covers.

Step 4
Remove the 3 screws.
Step 5 Pull air duct out.

Step 6
Disconnect the terminal of fan motor.

Step 7
Remove the air duct.


CHECK AND TEST 2
Step 1
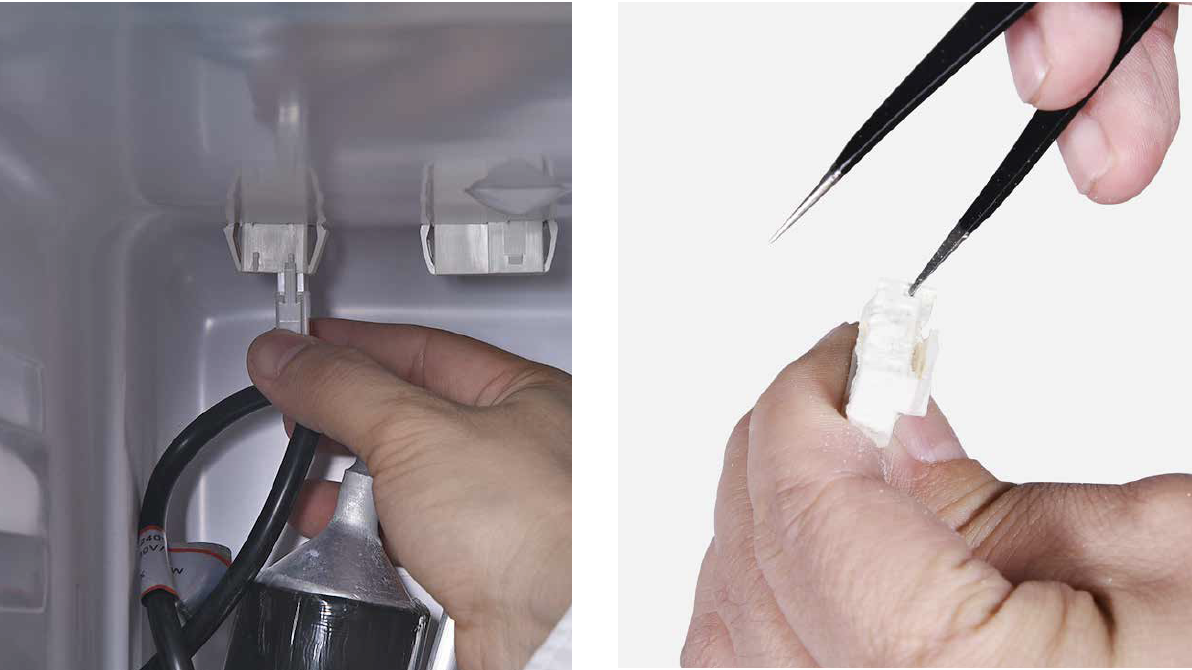
Check to see if terminal is full of foam.
If yes, use tweezers to remove foam.
Step 2
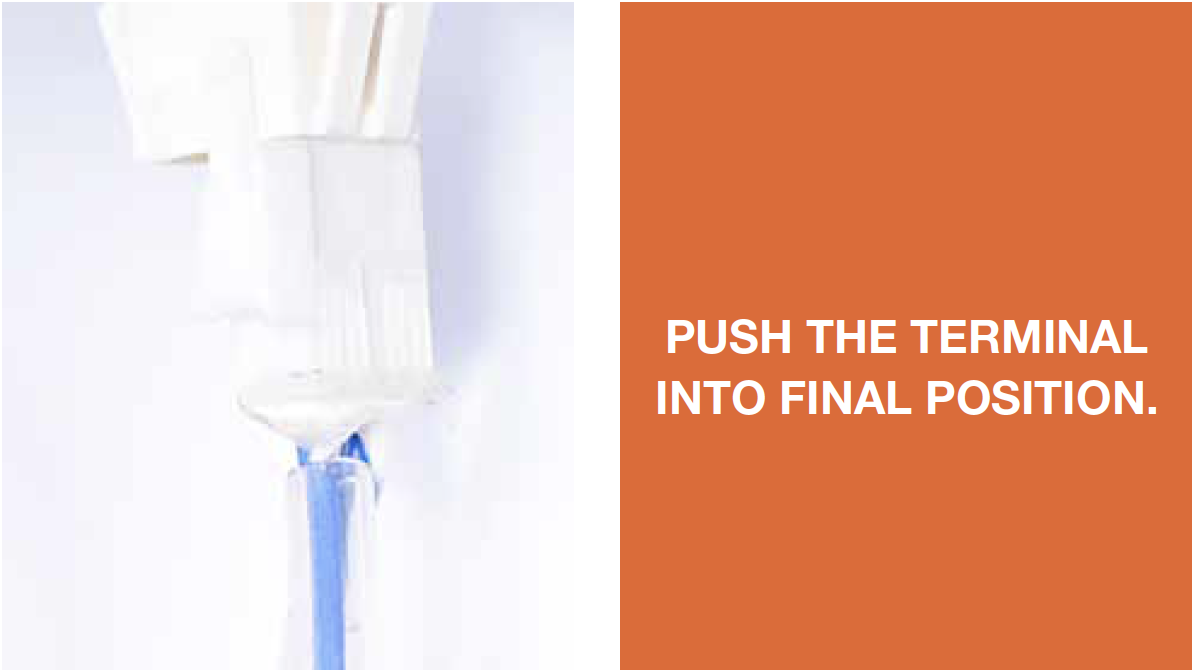
freezer air duct are
properly inserted.
Step 3
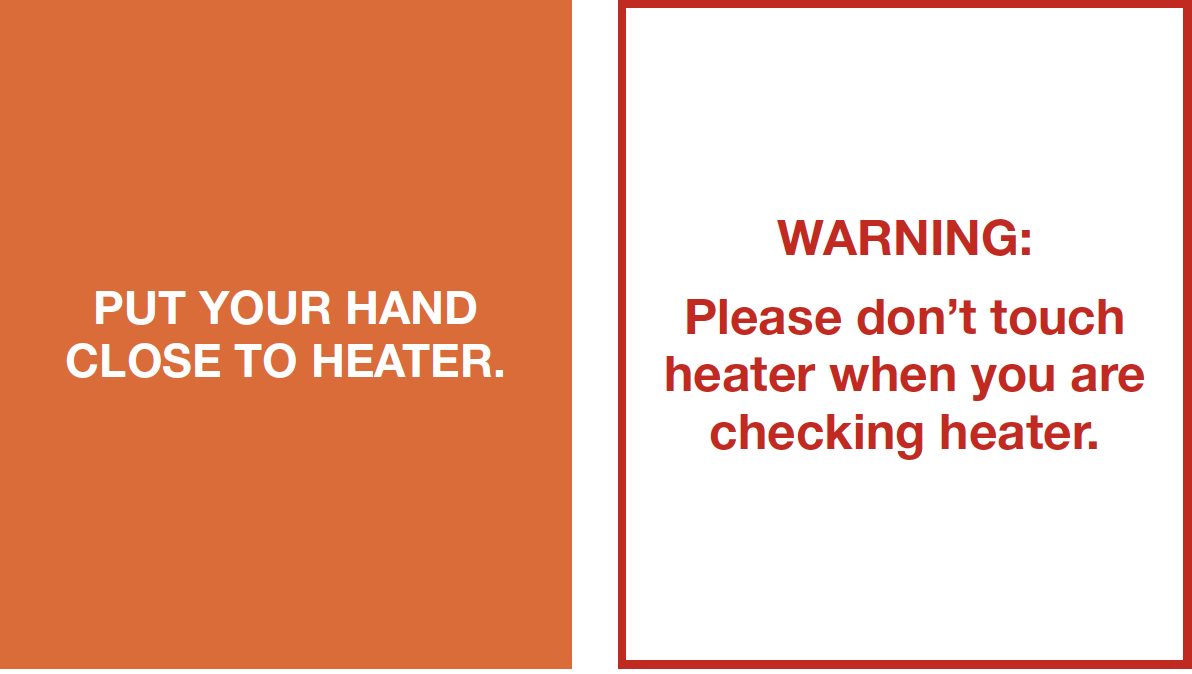
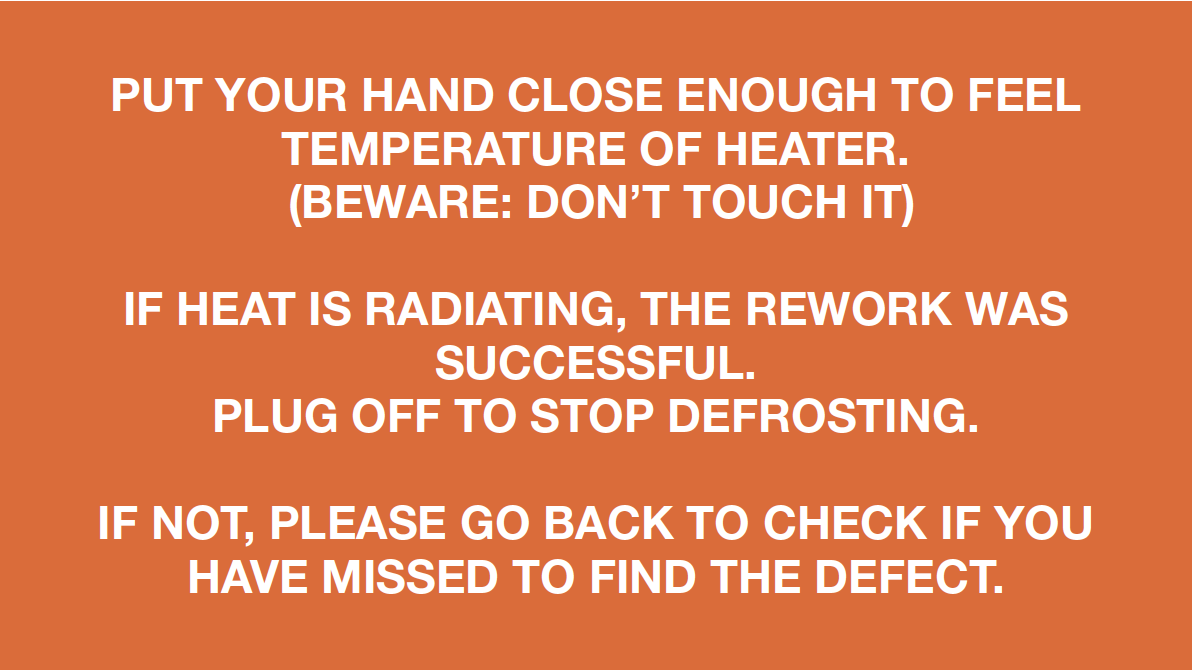
Please press the button SW1 on mainboard (within 1 minute after powering on the appliance) to start manual defrost.


DIAGNOSIS 2
CHECK AND TEST 3
Step 1
Connect 2 ends on terminal in PCB area.

Step 2
Check the connection of wires in foam with
multimeter.


DIAGNOSIS 3


CHECK AND TEST 4
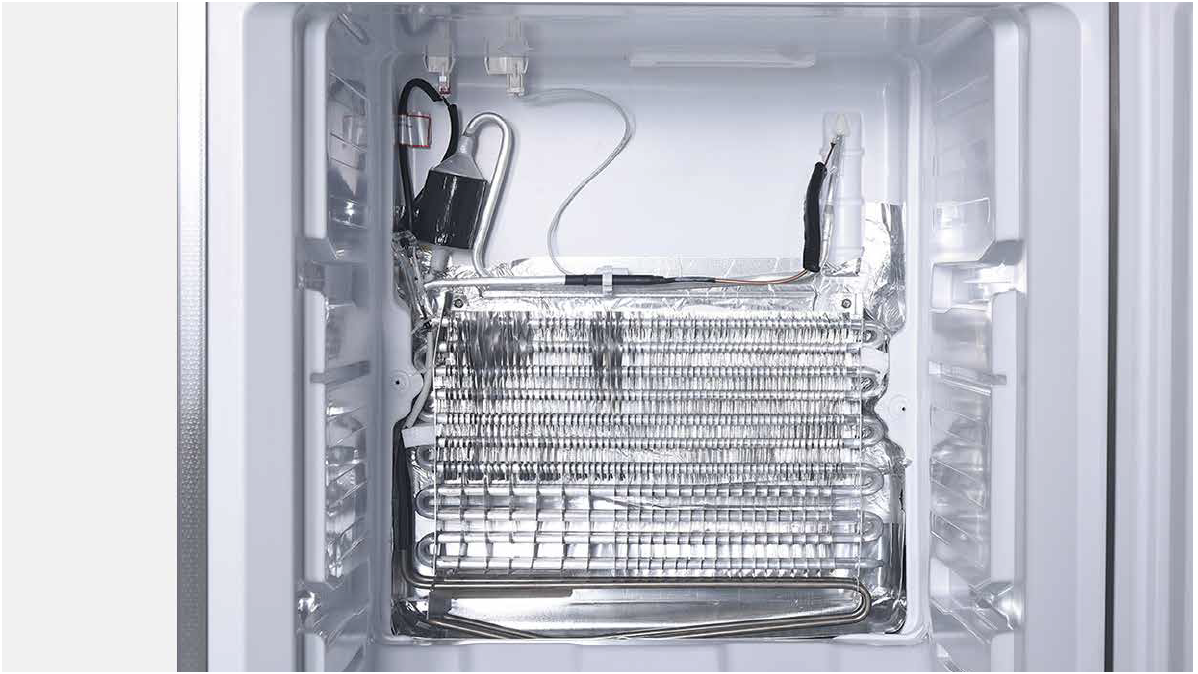
Step 1
Check if wires for defrost heater are broken or not.

DIAGNOSIS 4
PROCEDURE 2

Step 1
Cut off the wire. 
Step 2
Peel off the sleeves. Step 3
Ensure proper wire order and connect.

Step 4
Tin soldering.
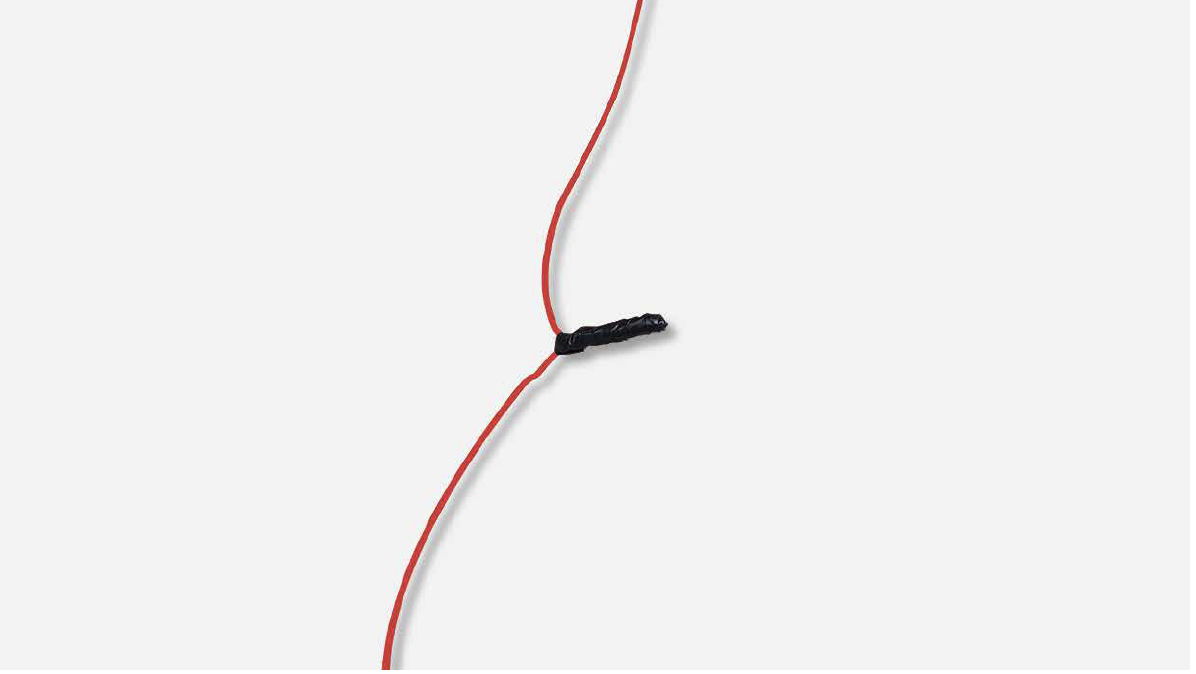
Step 5
Cover point of connection withelectrical tape.
CHECK AND TEST 5
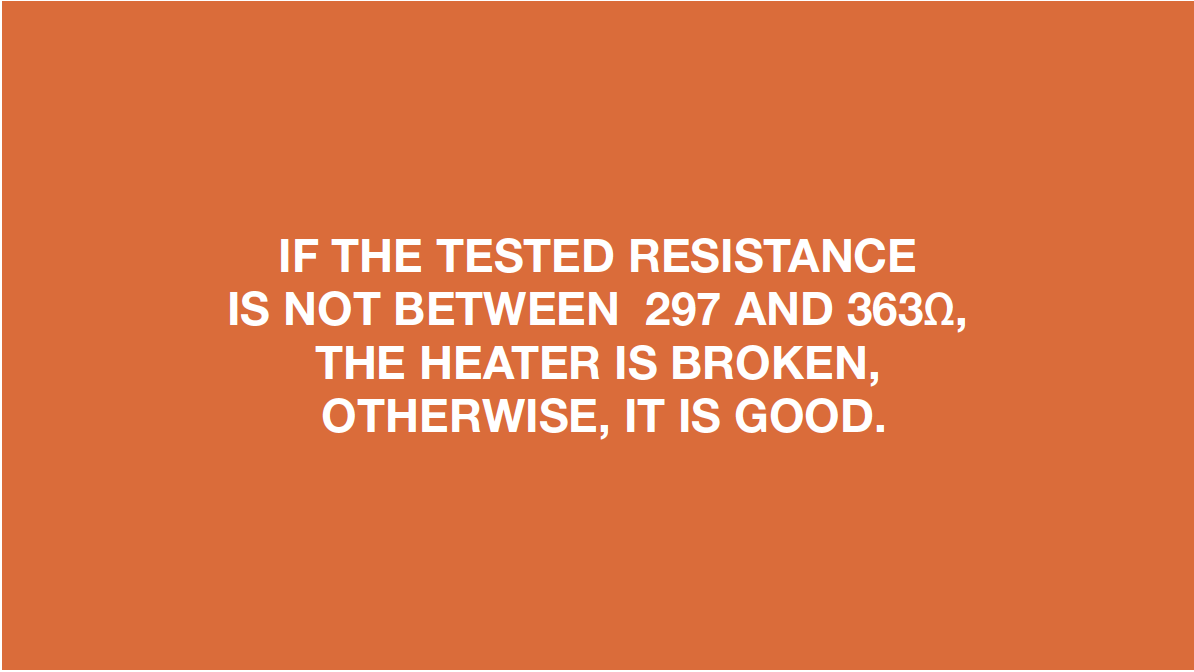
Step 1
Measure the resistance of heater from terminal in freezer.

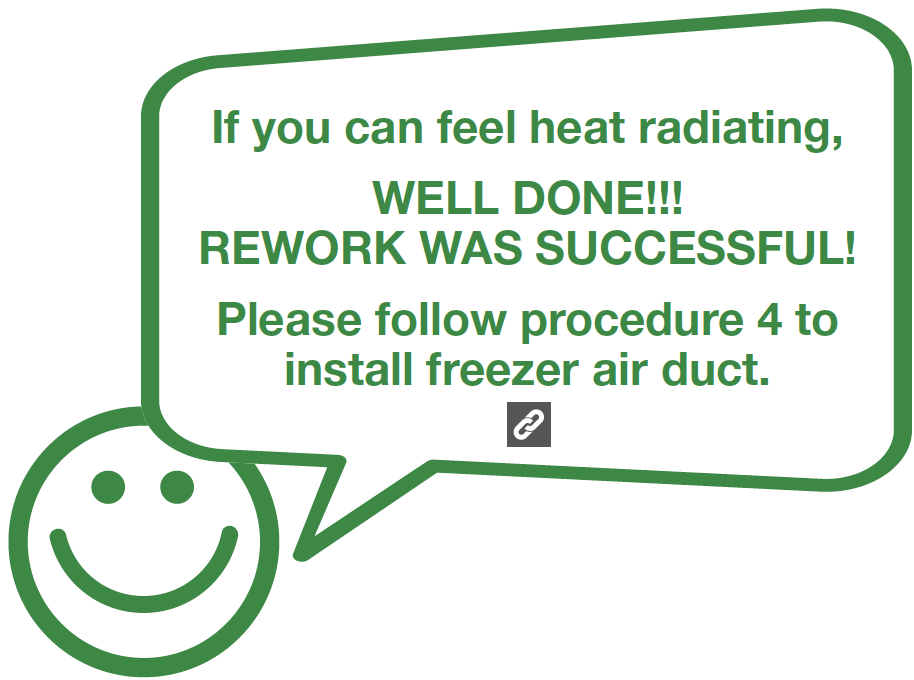
DIAGNOSIS 5

PROCEDURE 3
Step 1
Disconnect the terminal of heater.
Step 2
Use screwdriver to remove the heatconductor (if any).
Step 3
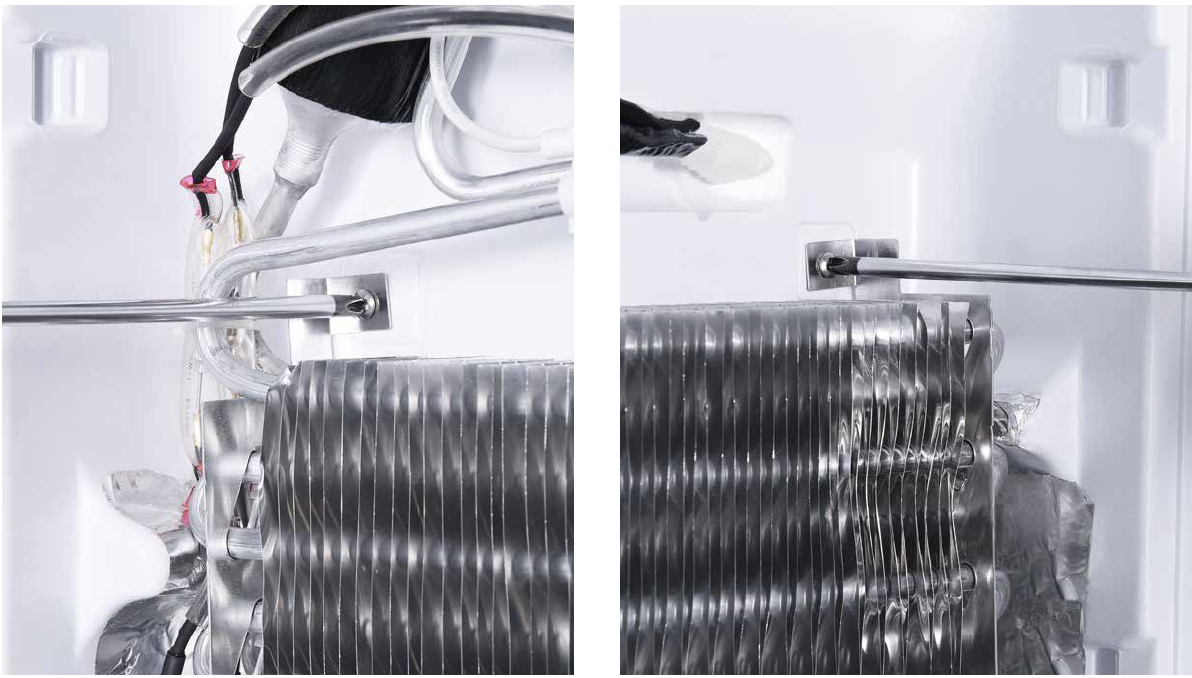
Use 6mm cross-head driver to unscrew on leftand right.
Step 4
Lift evaporator and heater 20mm, thebottom must be higher than the edge of the
trough.

WARNING:
Be careful not to deform pipes in red squareduring steps 4.

Step 5
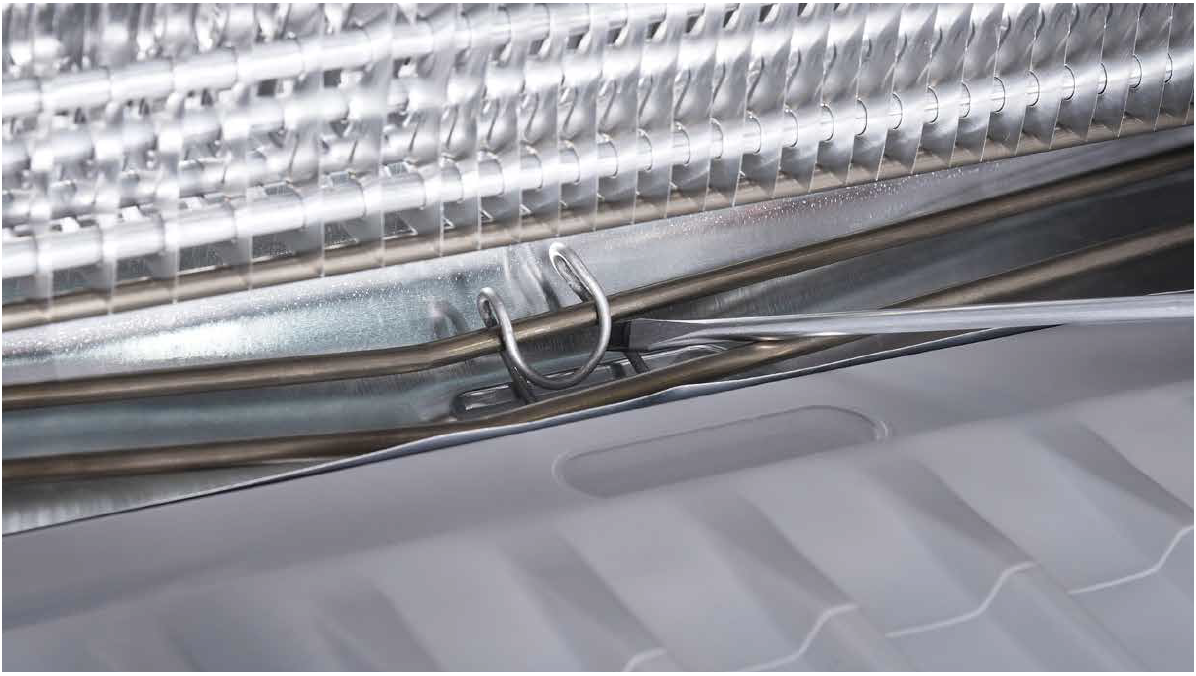
Loosen the clips for fastening heater. Thereare 8 clips in total.

Step 6
Remove the heater.Reverse above procedures to reinstall
the heater.

CHECK AND TEST 6
Step 1
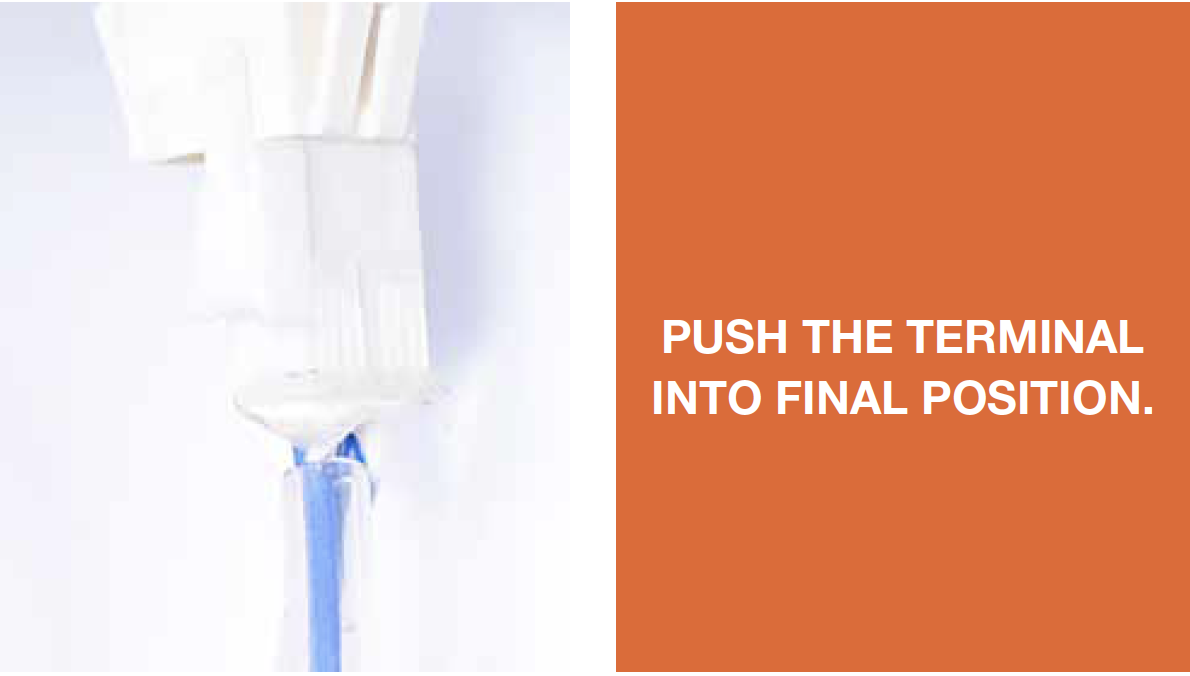
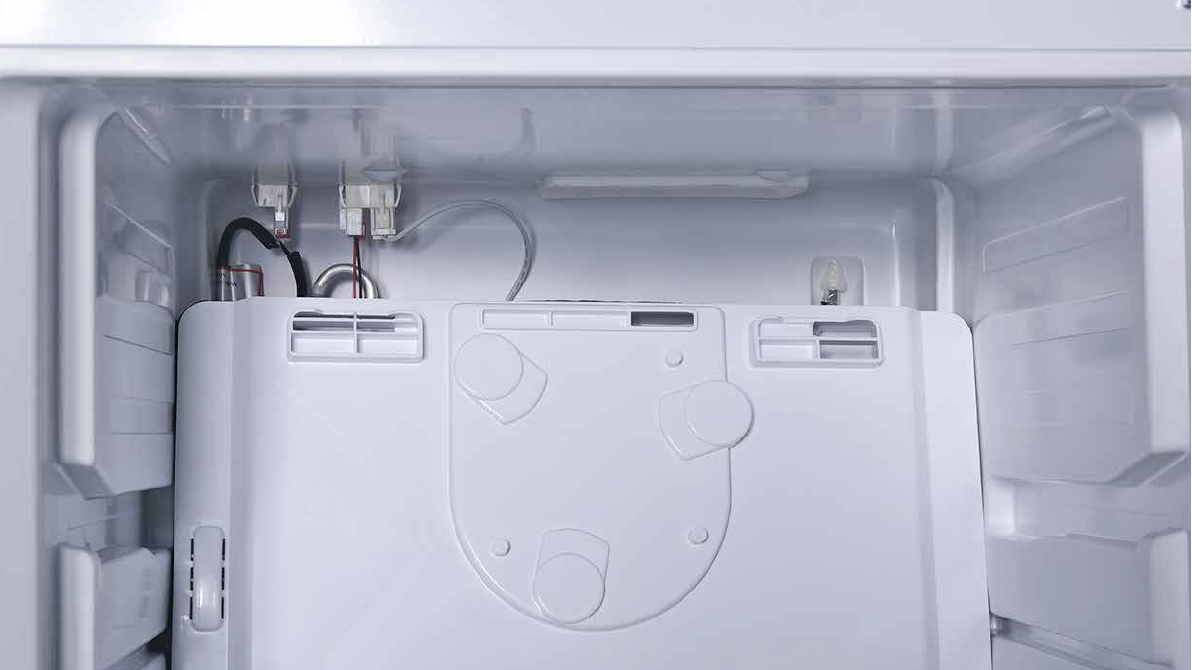
Ensure terminals behind freezer air duct areproperly inserted.
Step 2
Power on and press the button SW1 onmainboard (within 1 minute after powering
on the appliance) to start manual defrost.


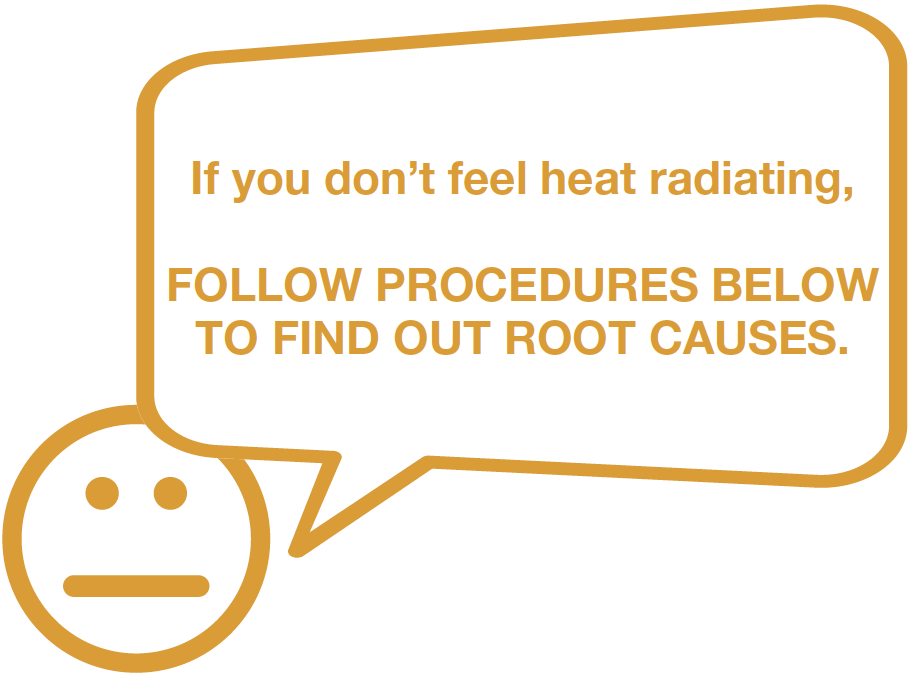
DIAGNOSIS 6
Tip 1
When reassembling the air duct, move wires toprevent crushing with edge of air duct.
Tip 2
After pushing air duct into position, it should
Tip 3
Check to see if there is a large gap between air
duct and cabinet.
If there is, re-install air duct again.

