

CHECK AND TEST 1
Step 1
Unscrew cover of mainboard with a Cross-head screwdriver.

Step 2
In mainboard area, check if terminal is pushed into proper final position.
If not, please reinsert to make sure the connection is good.

Step 3
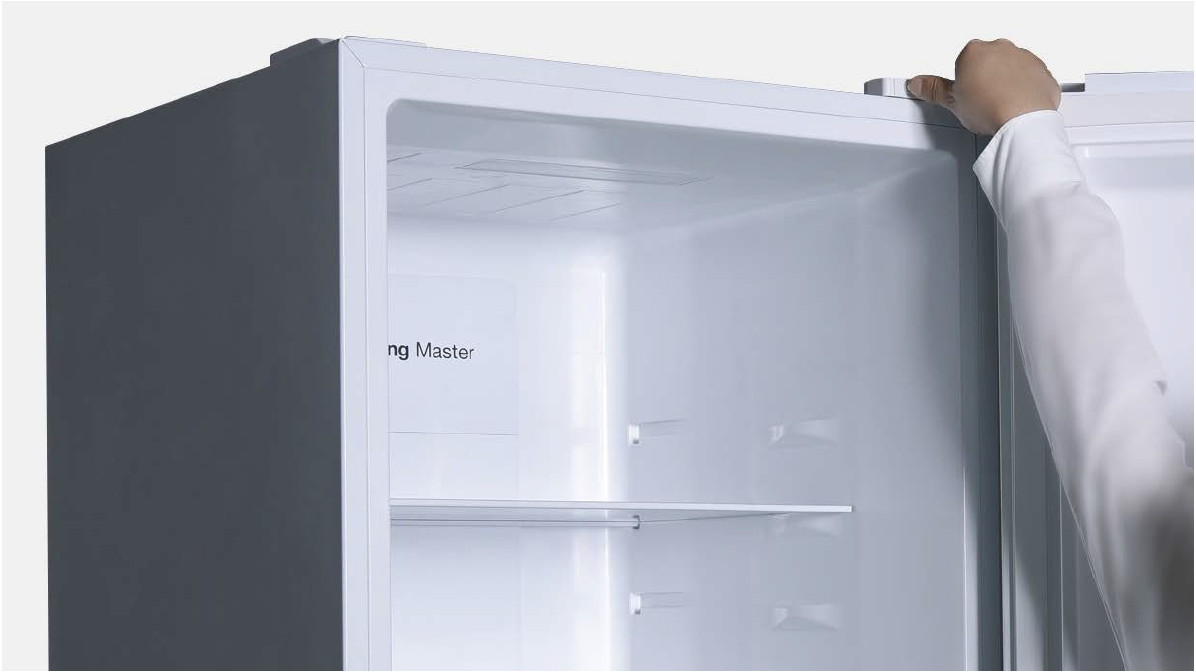
Power on the appliance, open fridge door, press down the mechanical switch, and put your hand near outlet of fridge air duct to feel if fan is blowing or not.

DIAGNOSIS 1


PROCEDURE 1
Step 1
Remove crispers.

Step 2
Remove shelves.

Step 3
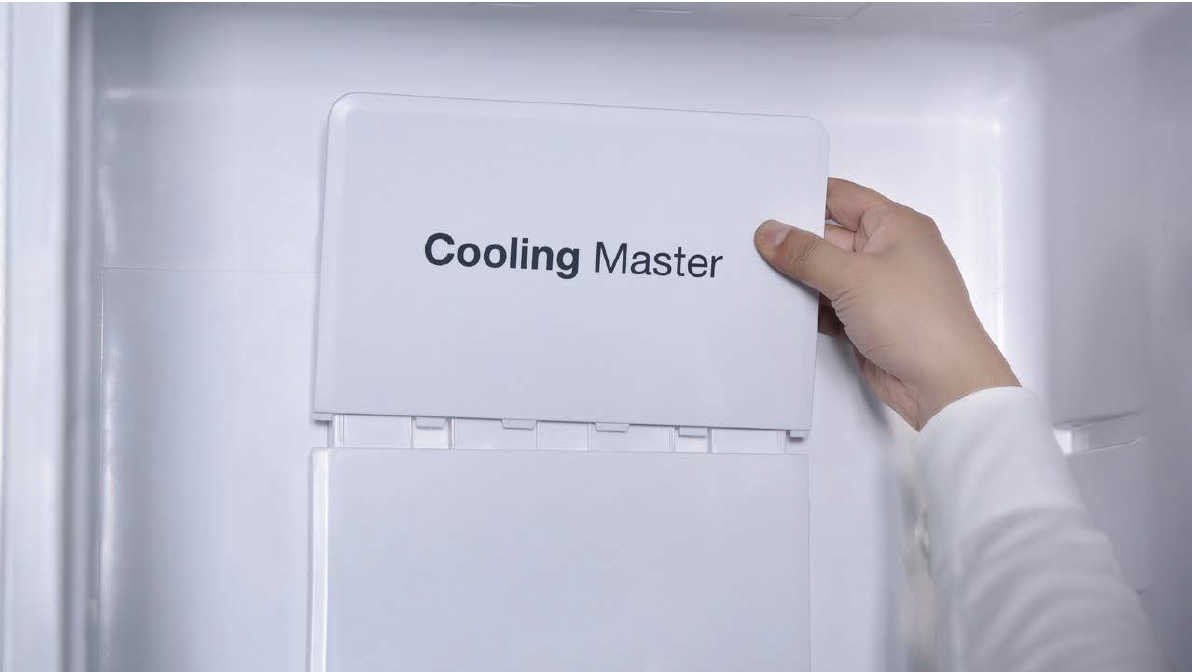
Loosen decorative plate and remove.
Step 4
Remove screw
covers on fridge air duct
with slotted screw driver.
Step 5
Unscrew the screws (total of three) with Cross-head screw driver.

Step 6
Lift the air duct up slightly and pull it out.

Step 7
Disconnect terminal of fridge temp. sensor.

CHECK AND TEST 2
Step 1
Check if terminal is
properly inserted to final
position.
If not, reinsert it.

Step 2
Check if wires of damper are damaged or not.

PROCEDURE 2
Step 1
Cut wire off.
Step 2
Peel off the sleeves.

Step 3
Check to ensure proper wire order and reconnect them.
Step 4
Tin soldering.

Step 5
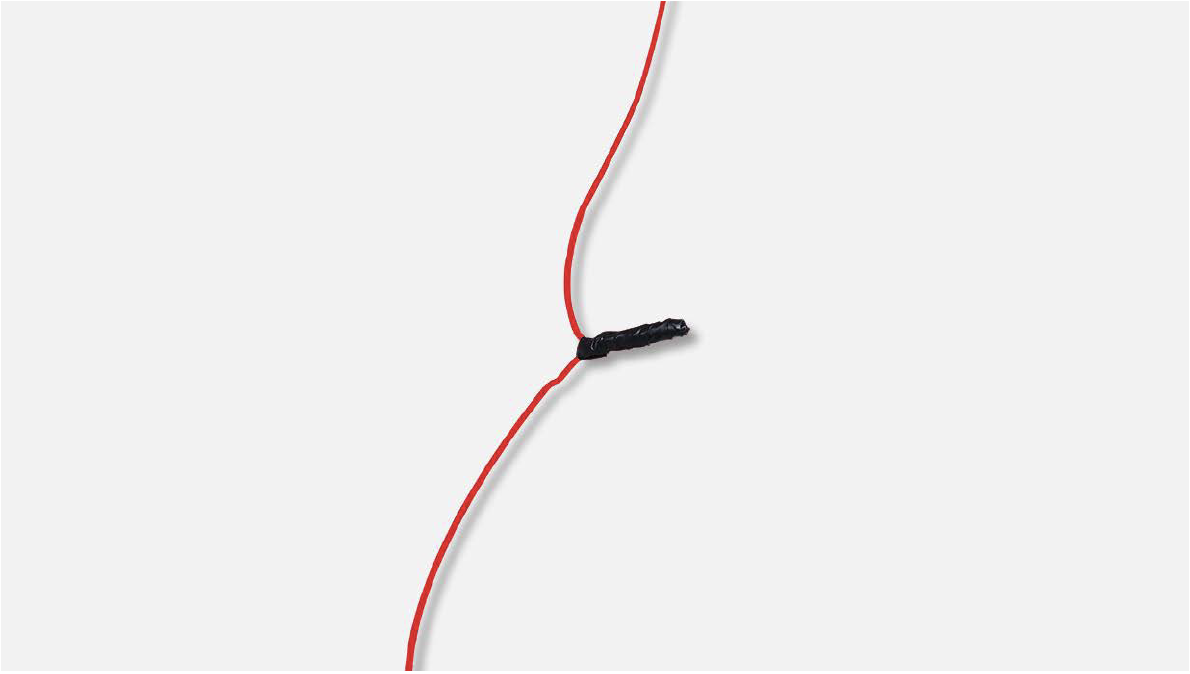
Cover connecting point with electrical tape.
CHECK AND TEST 3
Step 1
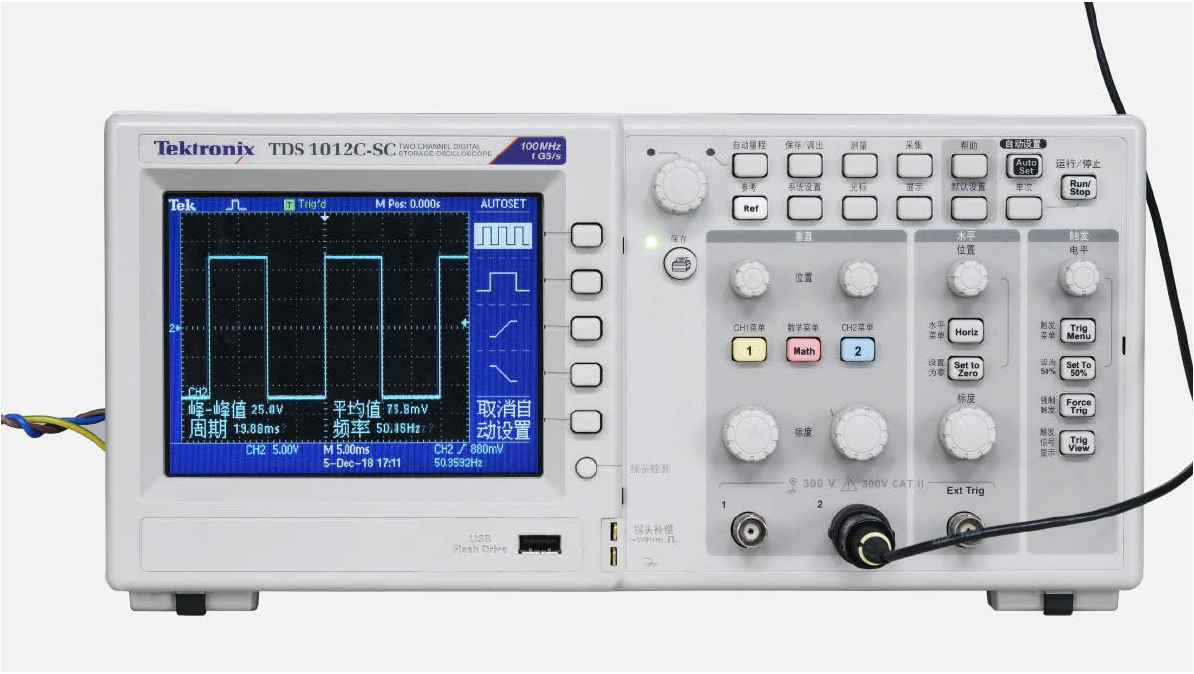
Use signal producer to create signal(watch wave form of signal in oscilloscope).

Step 2
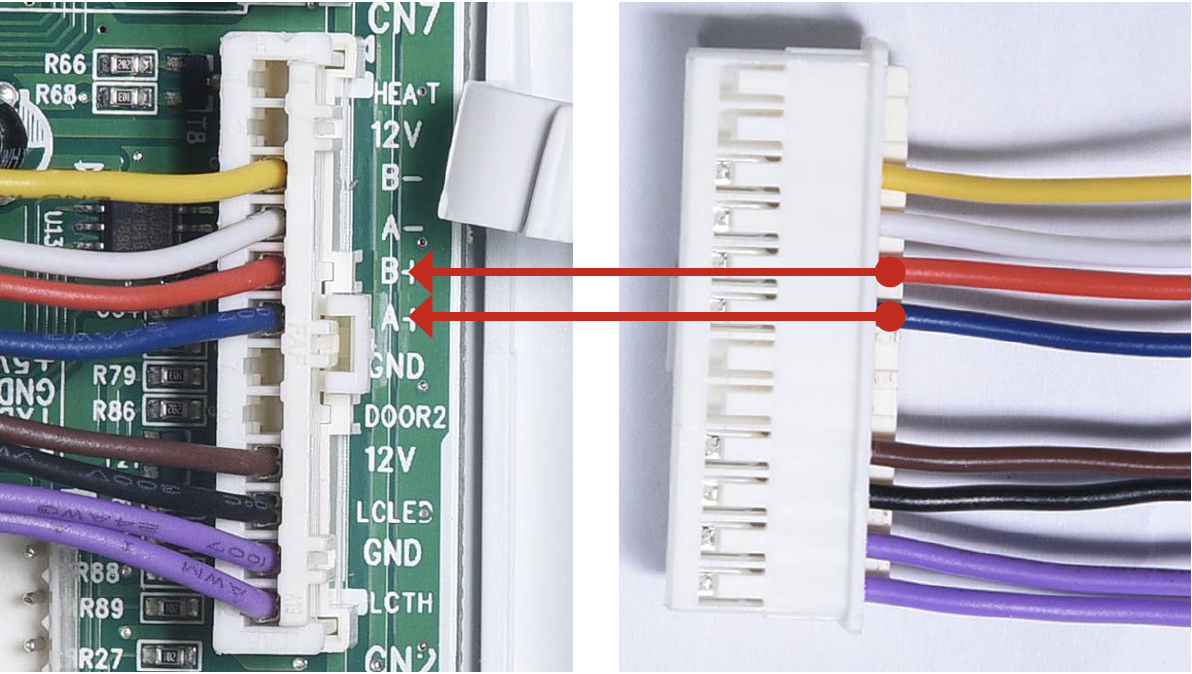
Offer signal to dampers from terminal in PCB area (between “A+” & “B+” or “A-” & “B-”).
Check if damper works correctly or not.
PROCEDURE 3

Step 1
Disconnect the terminal.

Step 2
Unscrew with 6mm Cross-head screwdriver.

Step 3
Remove the plastic damper cover.

Step 4
Take damper out of air
duct in foam.
Reverse procedures above to reinstall the damper.

CHECK AND TEST 4
Step 1
Use signal producer to create signal(watch wave form of signal in oscilloscope).
Step 2
Use a standard signal
producer to supply
square wave to damper
from terminal of the
damper.
Check damper works
correctly or not.


CHECK AND TEST 5
Step 1
Set multimeter to resistance gear.

Step 2
Put one detector into end of wires in PCB area, and another detector into end of wires behind air duct.

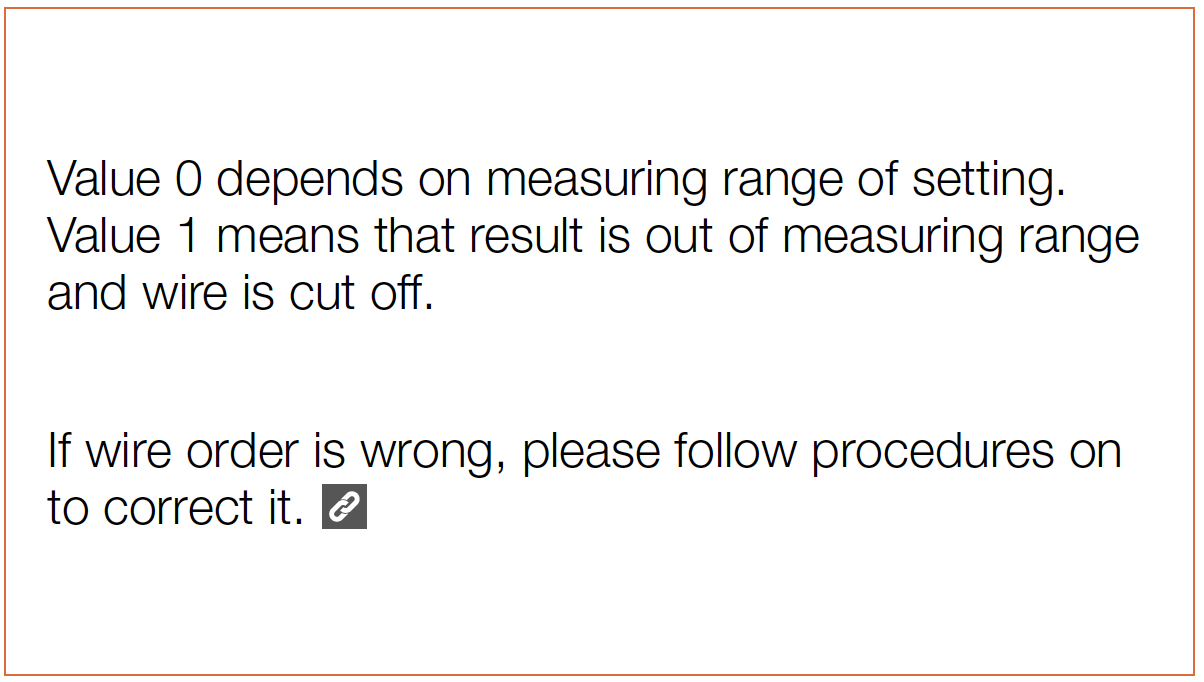
DIAGNOSIS 5
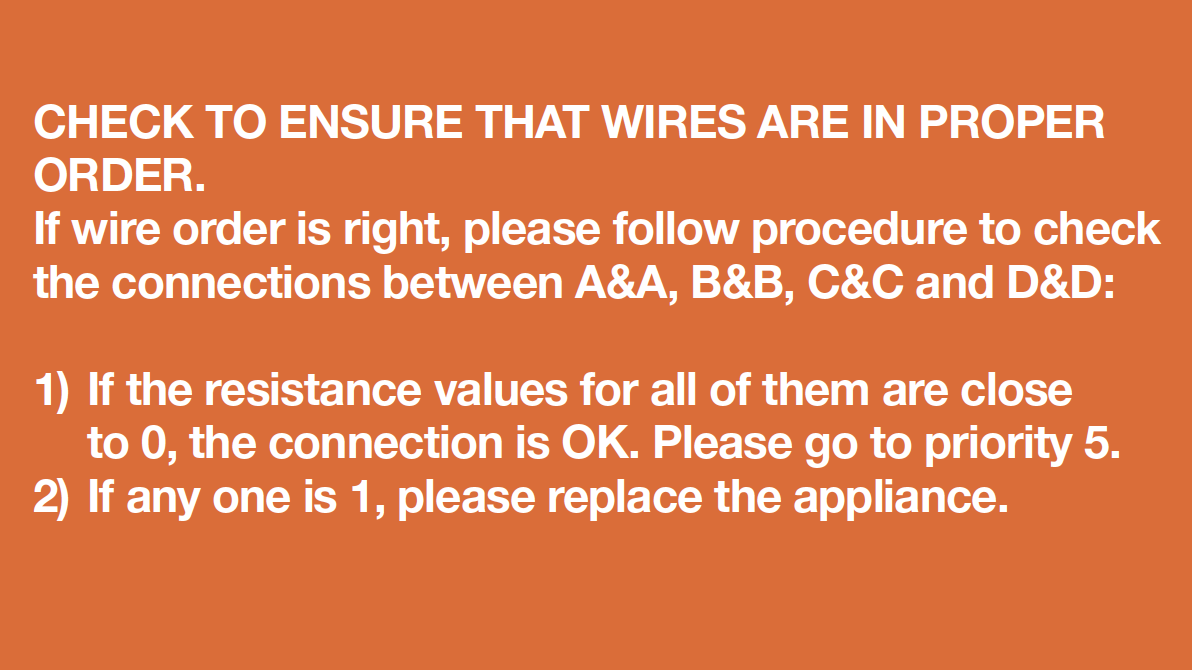
Note
PROCEDURE 4
Tip 1
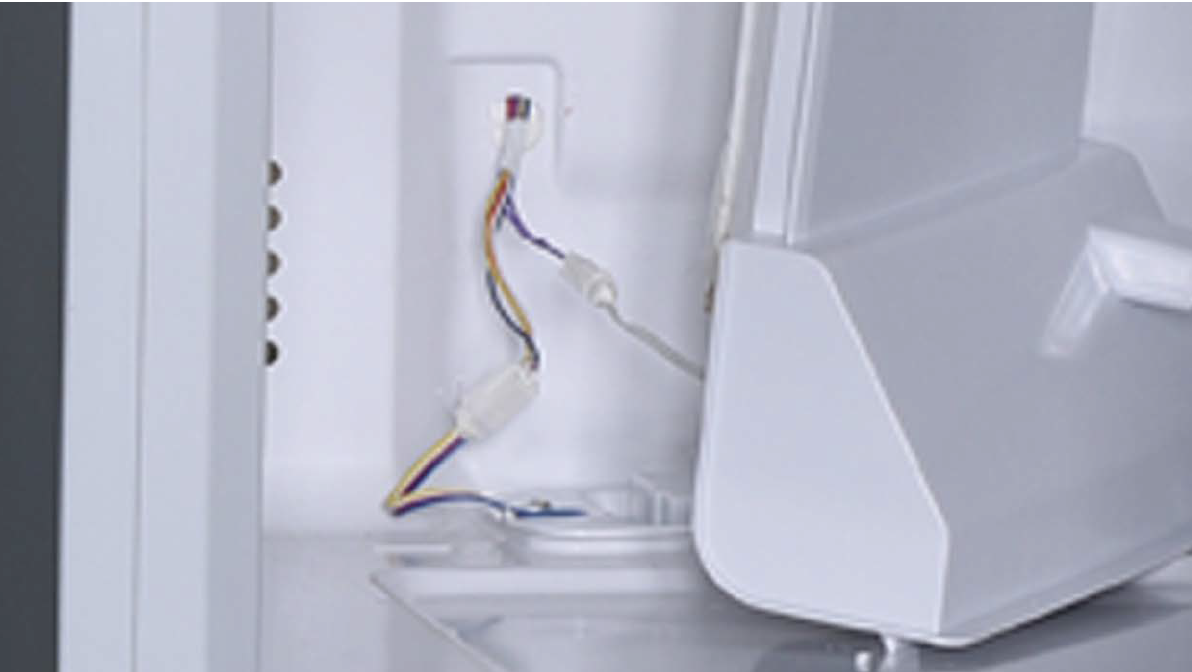
Push terminals into final position, and then move wires onto cavity to avoid crushing wires with edge of air duct.
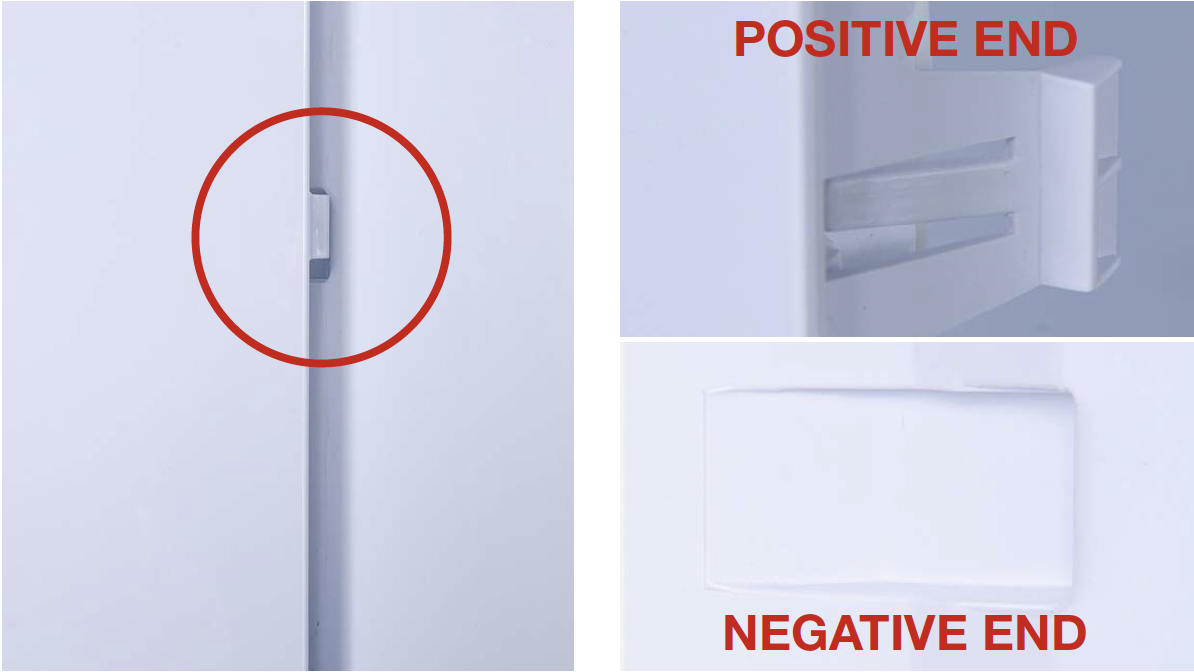
Tip 2
When reinstalling the air duct, first put the positive end of buckle (on the bottom) into the negative end.
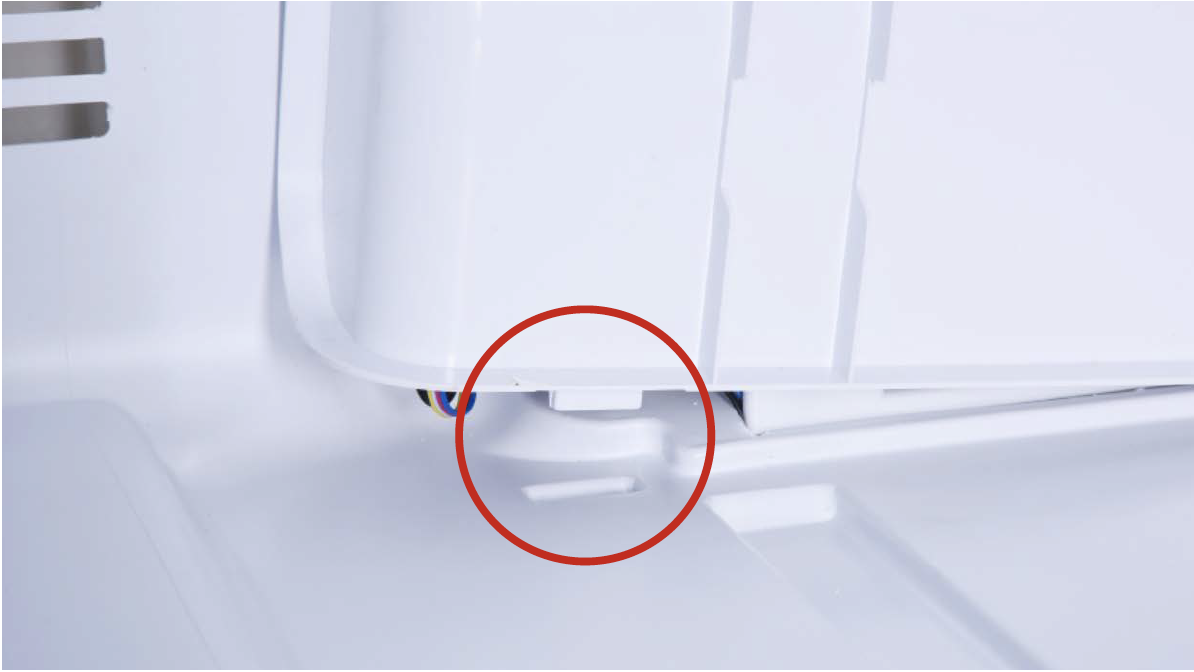
Tip 3
Later, fasten the buckles on the top with same procedures.

GO BACK TO COMPONENT LIST