CHECK AND TEST 1
Step 1
Place a torch on shelf and point light towards gasket.

Step 2
Close freezer door to check if there is any light leaking out.

Step 3
Blow hot air to gasket by hair dryer to soften gasket so that gasket can be attached onto cabinet easily.


DIAGNOSIS 1


PROCEDURE 1
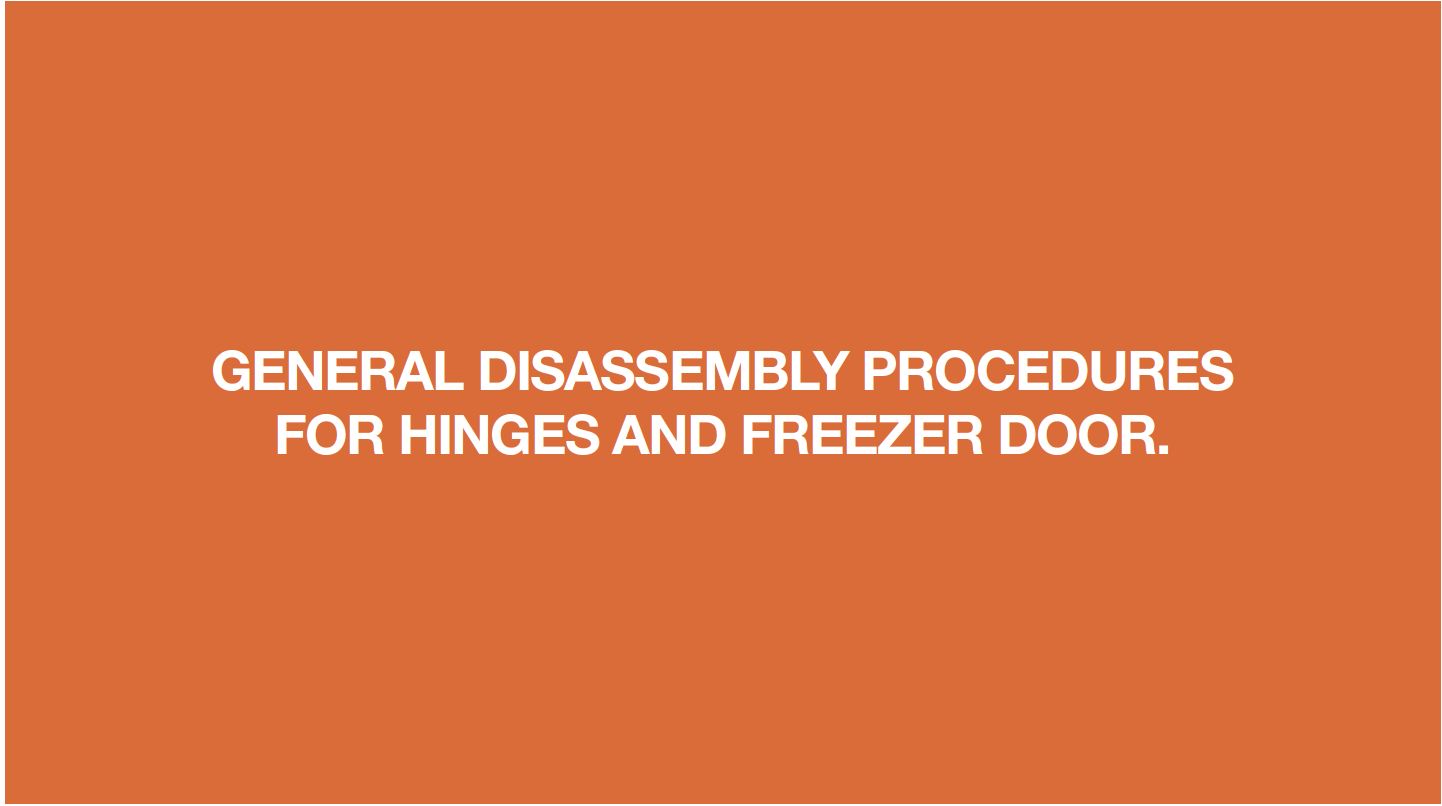
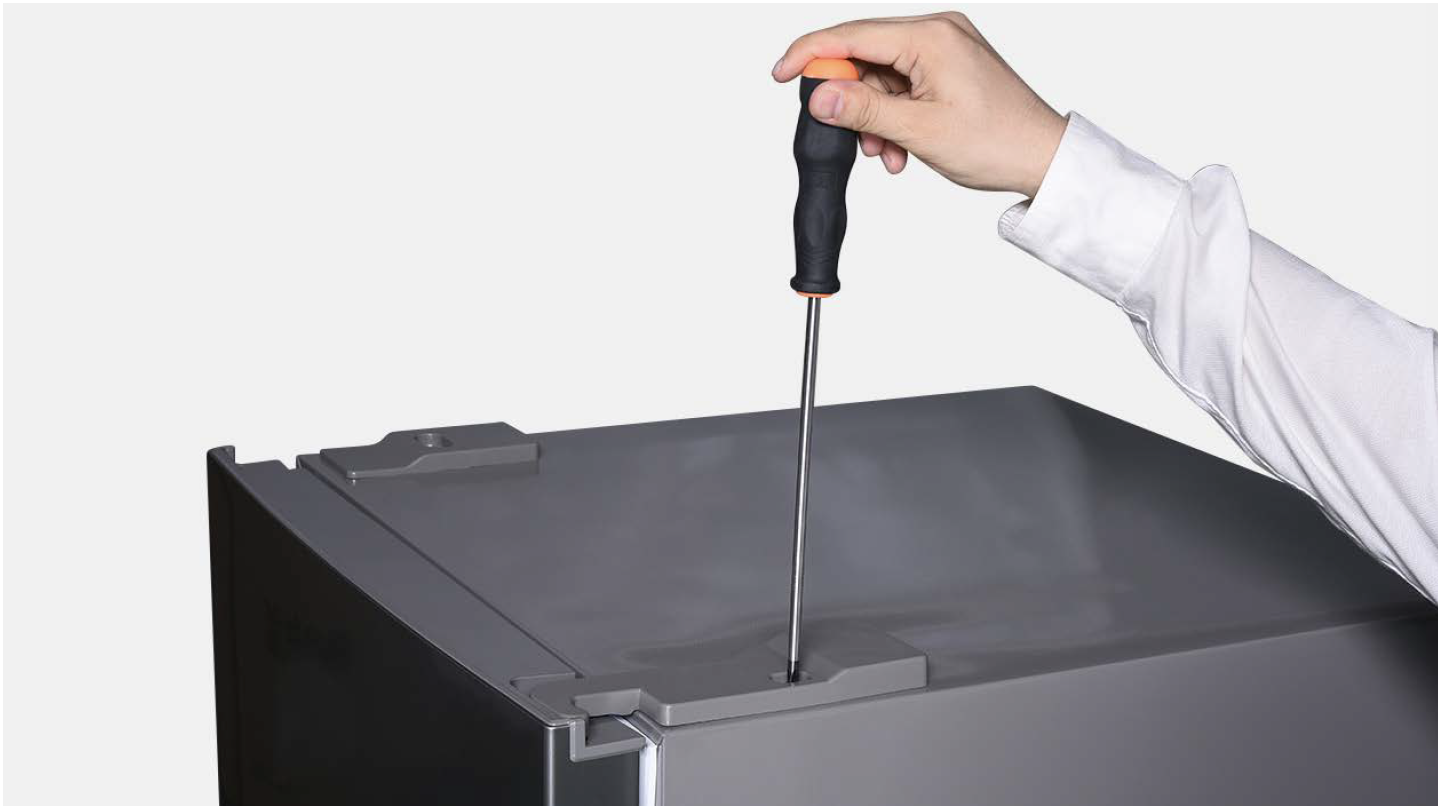
Step 1
Unscrew hinge cover.
Step 2
Remove the cover.

Step 3
Disconnect the terminals.

Step 4
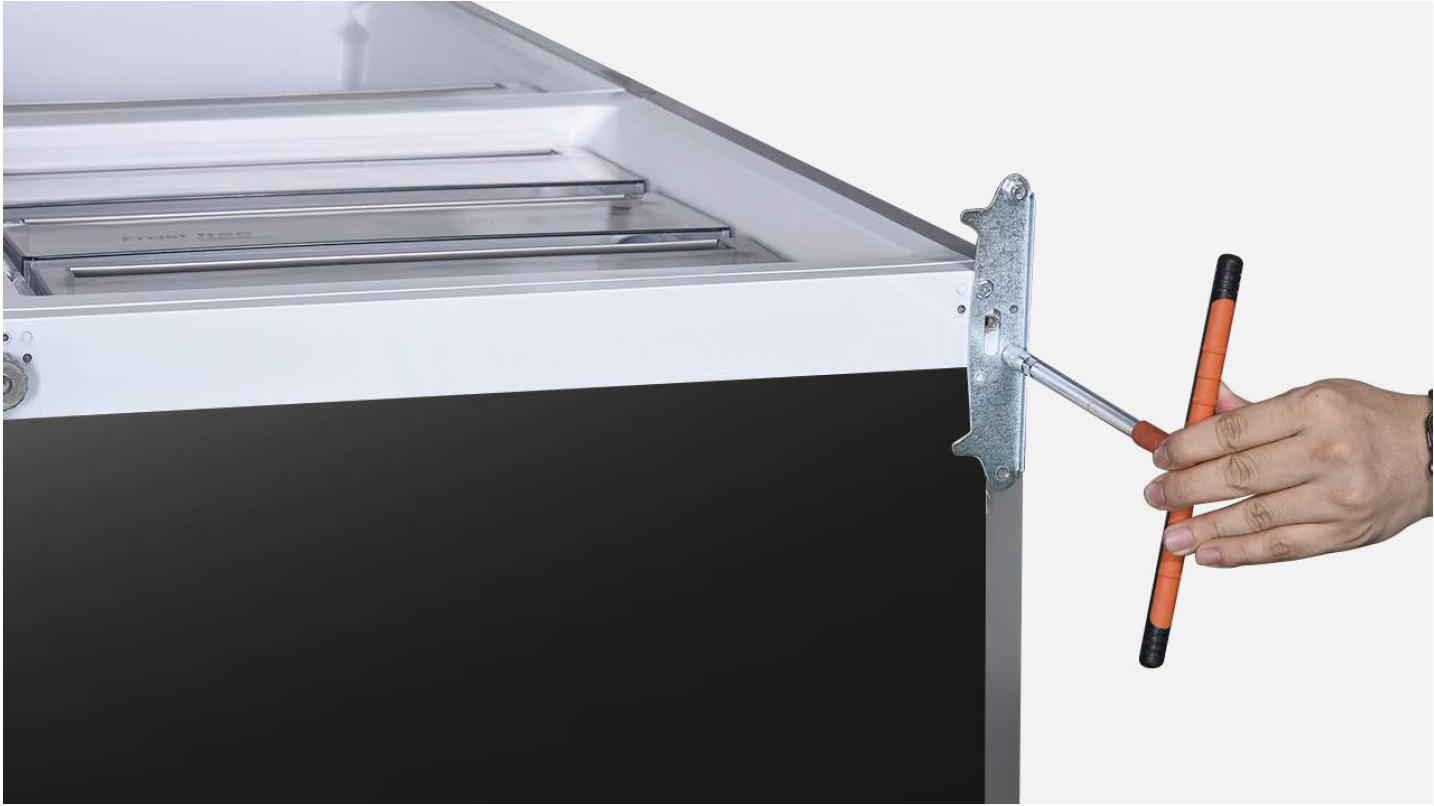
Unscrew 3 bolts and remove the top hinge.

Step 5
Remove upper door.

Step 6
Unscrew 3 bolts and remove the middle hinge.

Step 7
Remove freezer door.

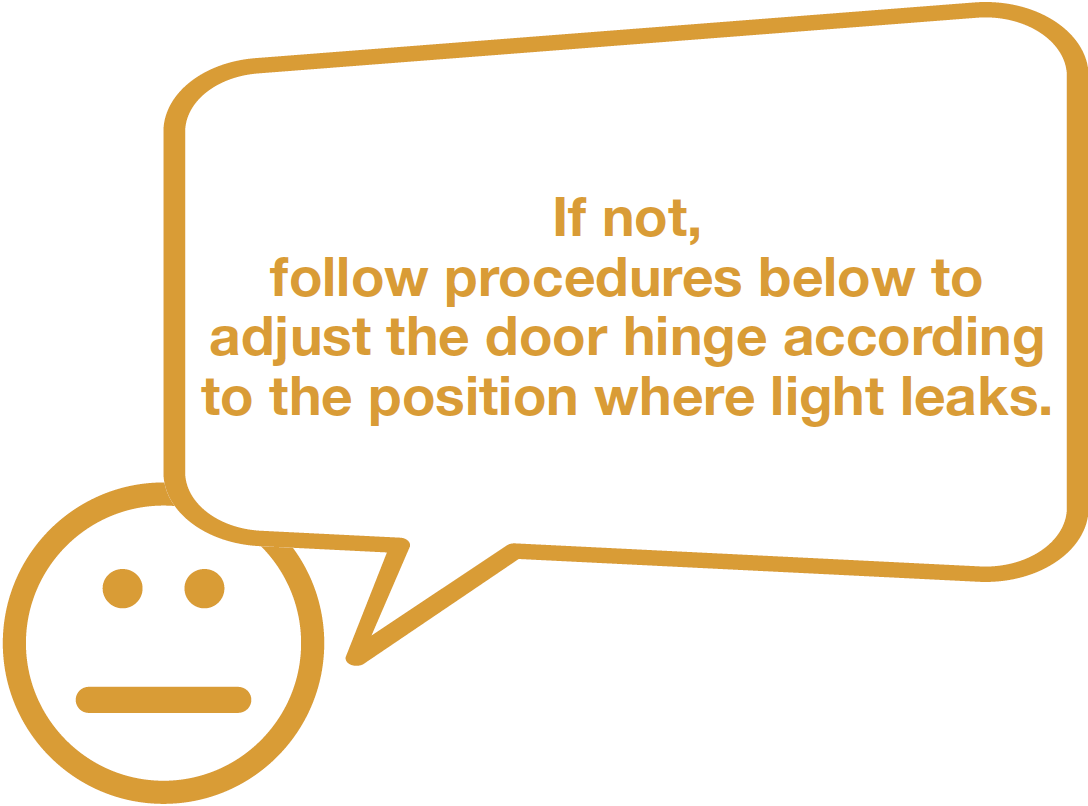
PROCEDURE 2
Case 1:
Light leaks out from the corner of opening side.
Step 1
Unscrew the adjustable foot.

Step 2
Unscrew 4 bolts and remove bottom hinge.
Step 3
Use hinge with large hole and push outwards.

Step 4
Install freezer door.
Step 5
Add washer to make middle hinge move outward.
Case 2:
Light leaks out from the corner of hinge side.
Step 1
Unscrew the adjustable foot.

Step 2
Unscrew 4 bolts and remove bottom hinge.

Step 3
Use hinge with large hole and push inwards.

Step 4
Install freezer door.

Step 5
Remove washer to make middle hinge move inward, and then screw the middle hinge.

Case 3:
Light leaks out from the middle of opening side or hinge side.
Step 1
Use steel ruler to measure the deformation of fridge door.
If deformation is more than 3mm, replace the fridge door.

Step 2
Use steel ruler to measure the deformation of cabinet.
If deformation is more than 3mm, replace the appliance.

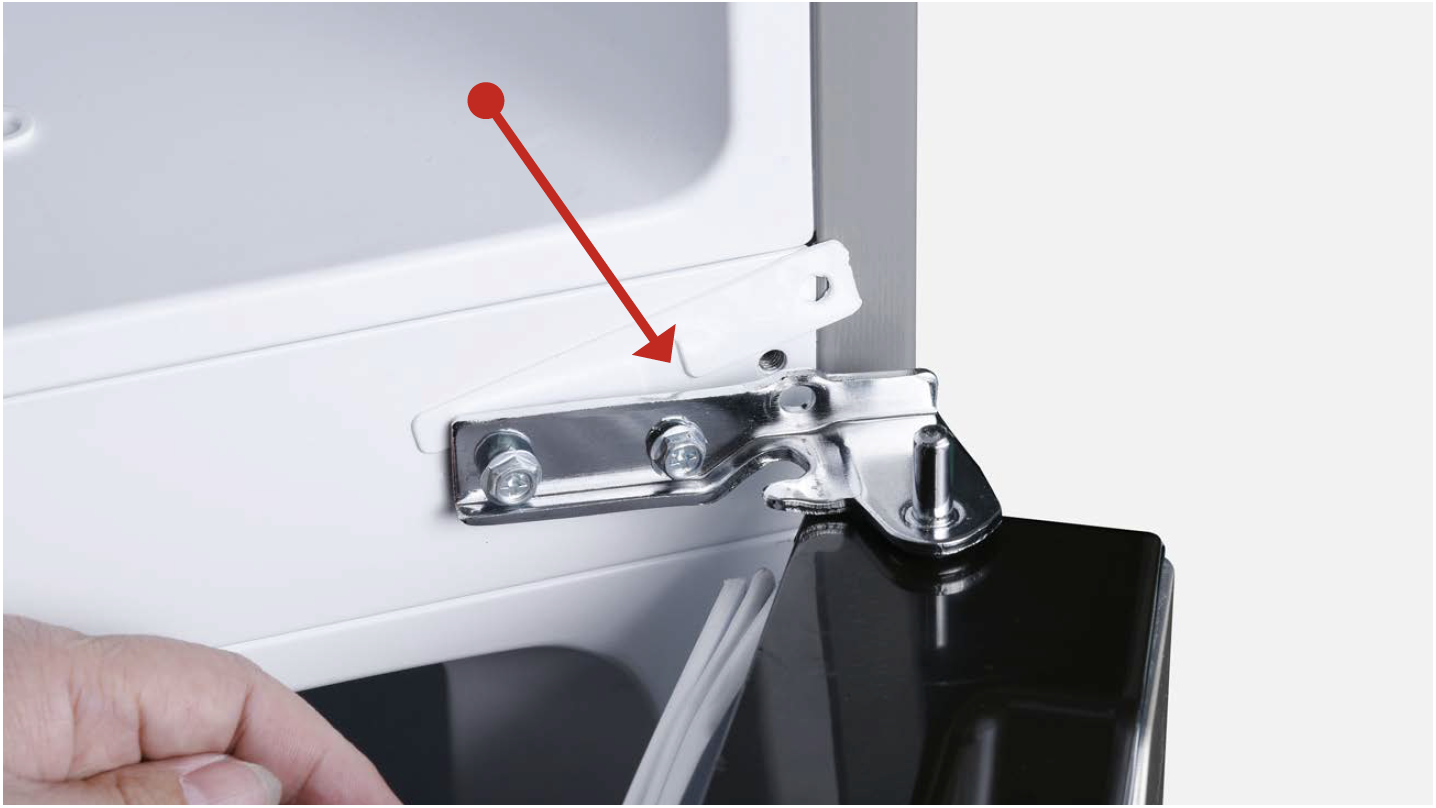
NOTE
Tip 1
Don’t forget to add washer onto hinge pin.

Tip 2
When installing door onto hinge, please check the alignment between door-stopper and hinge.

Tip 3
Make sure gasket is attached well.
Tip 4
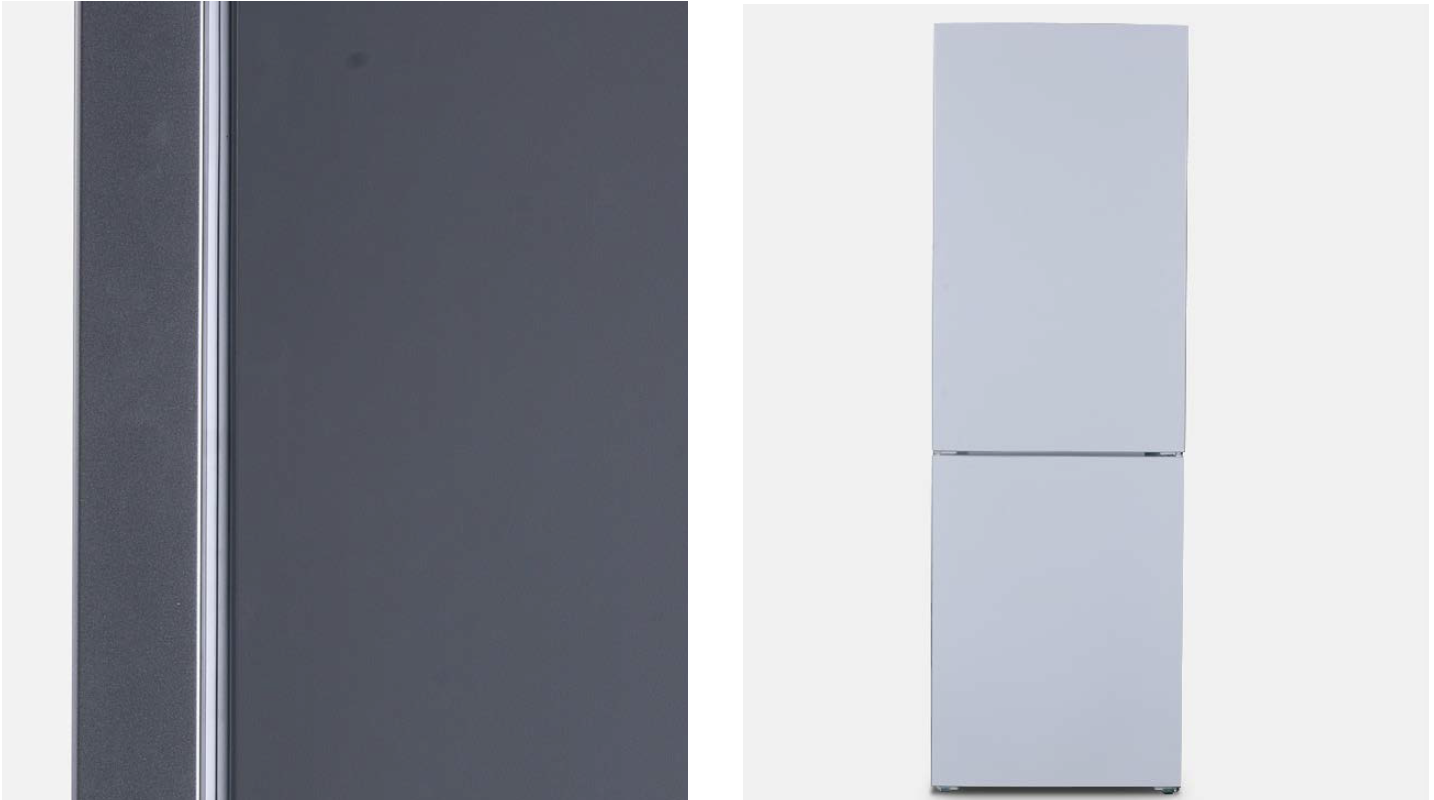
Make sure gaps between doors are even.
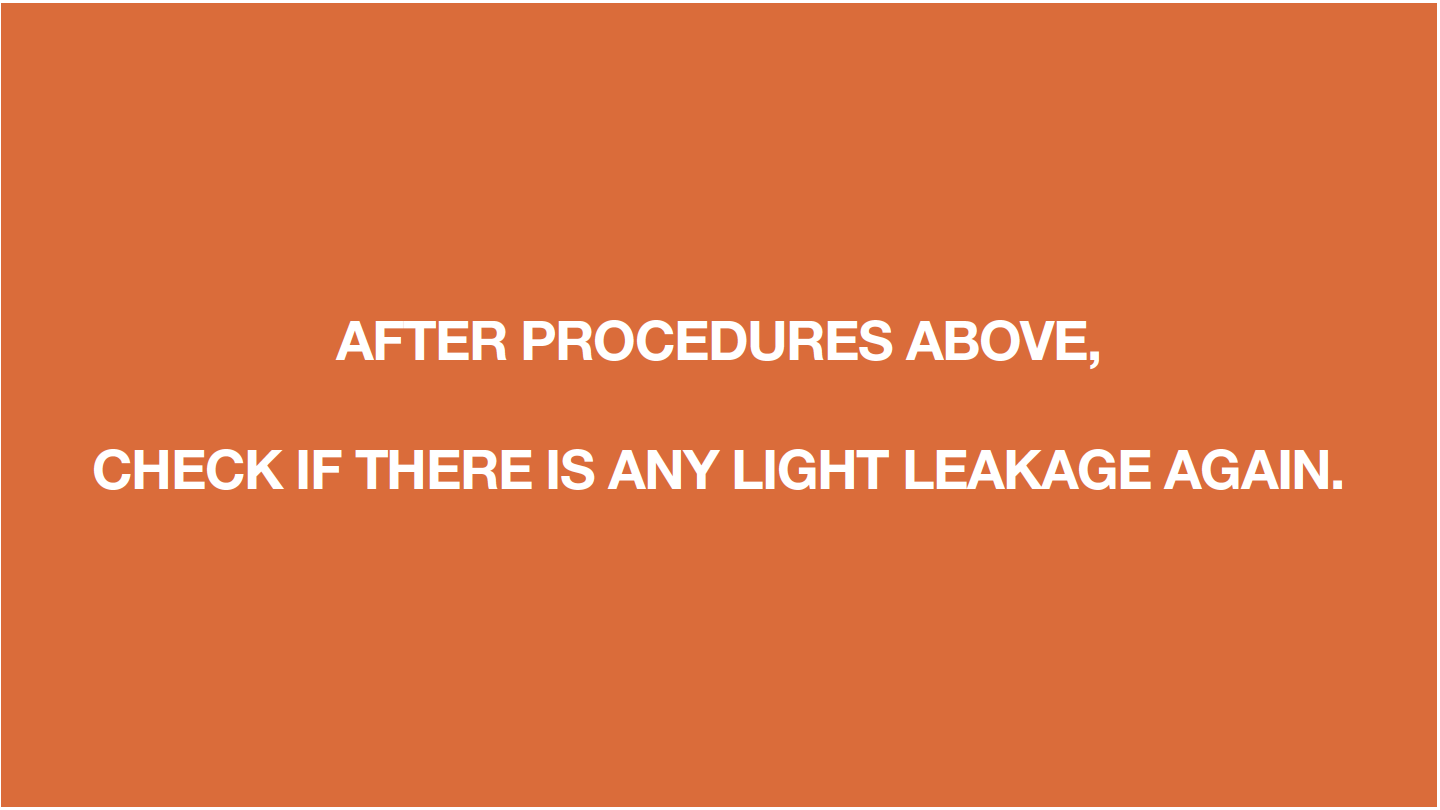
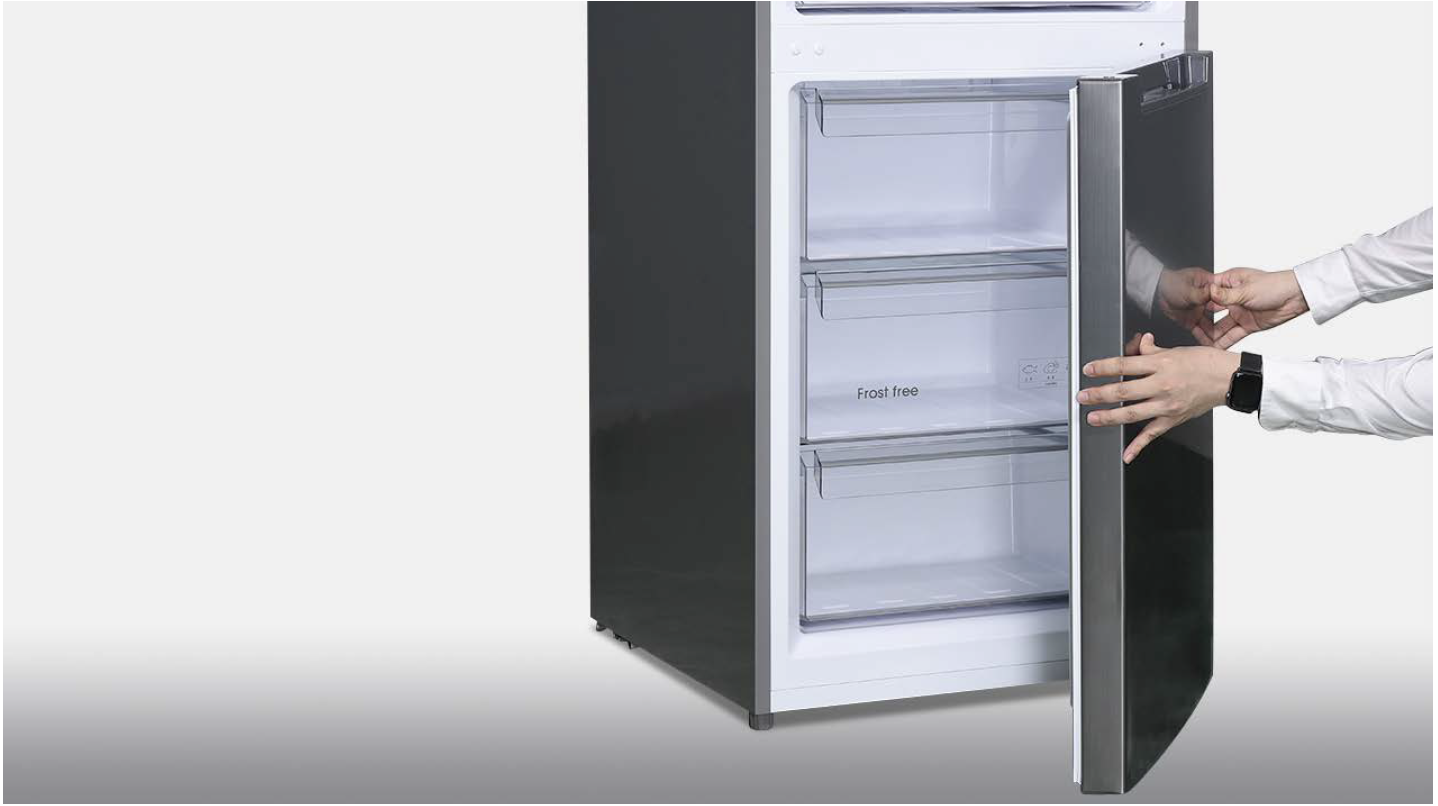
CHECK AND TEST 2
Step 1
Place a torch on shelf and point light towards gasket.

Step 2
Close freezer door to see if there is any light leaking out.

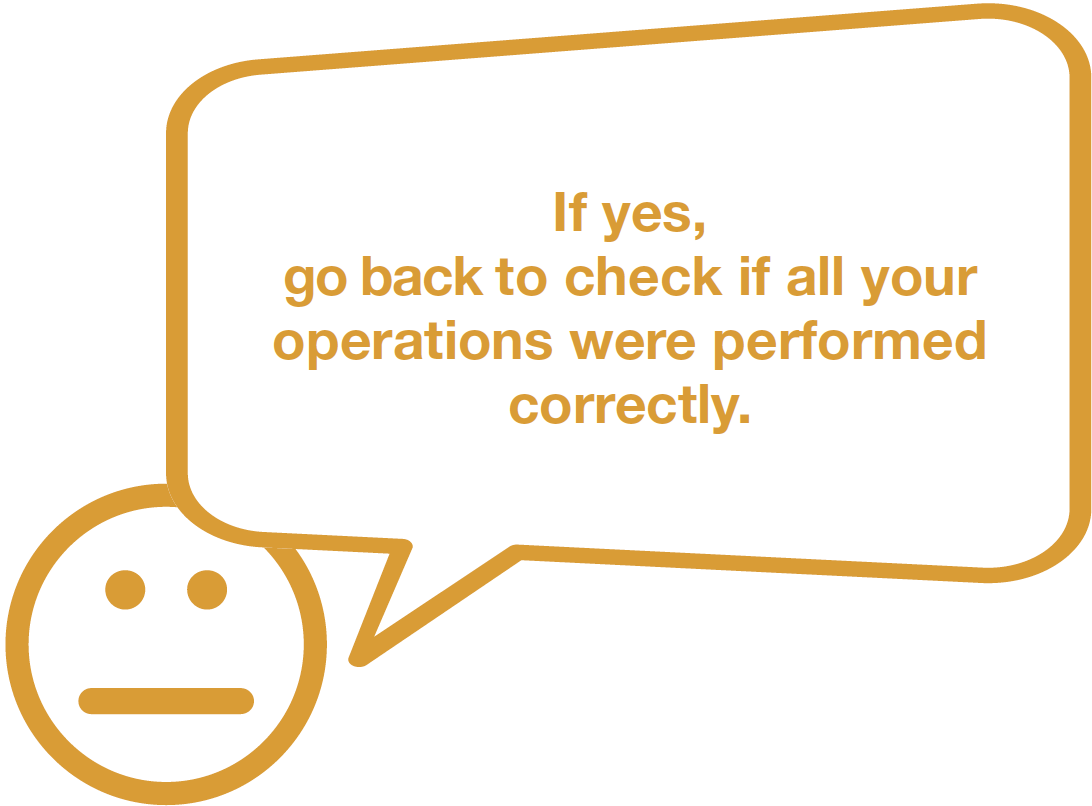
DIAGNOSIS 2