CHECK AND TEST 1

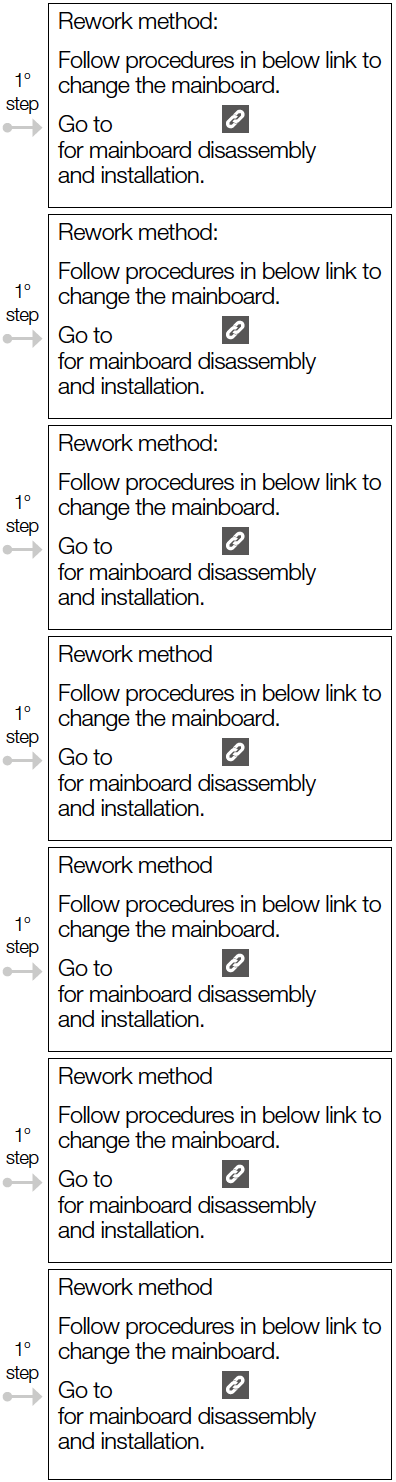

PROCEDURE 1
Step 1
Unscrew cover of mainboard with a Cross-head screwdriver.

Step 2
Disconnect terminals.
Step 3
Prize off earthing wires.

Step 4
Unscrew the mainboard.
Step 5
Prize off the buckle to remove mainboard.
Reverse steps above to install a new mainboard.


DIAGNOSIS 1


PROCEDURE 1
Step 1
Discharge refrigerant:
1) Use pliers to cut off
charging tube.
2) Discharge all refrigerant toward the exhaust vent.

Step 2
Unscrew terminal cover.
Step 3
Remove terminal cover.

Step 4
Disconnect all terminals.
Step 5
Unscrew earthing wire.

Step 6
Unscrew nut of compressor.

Step 7
Reverse steps above to install a new compressor.

Step 8
Braze the joints of suction and exhaust pipes.

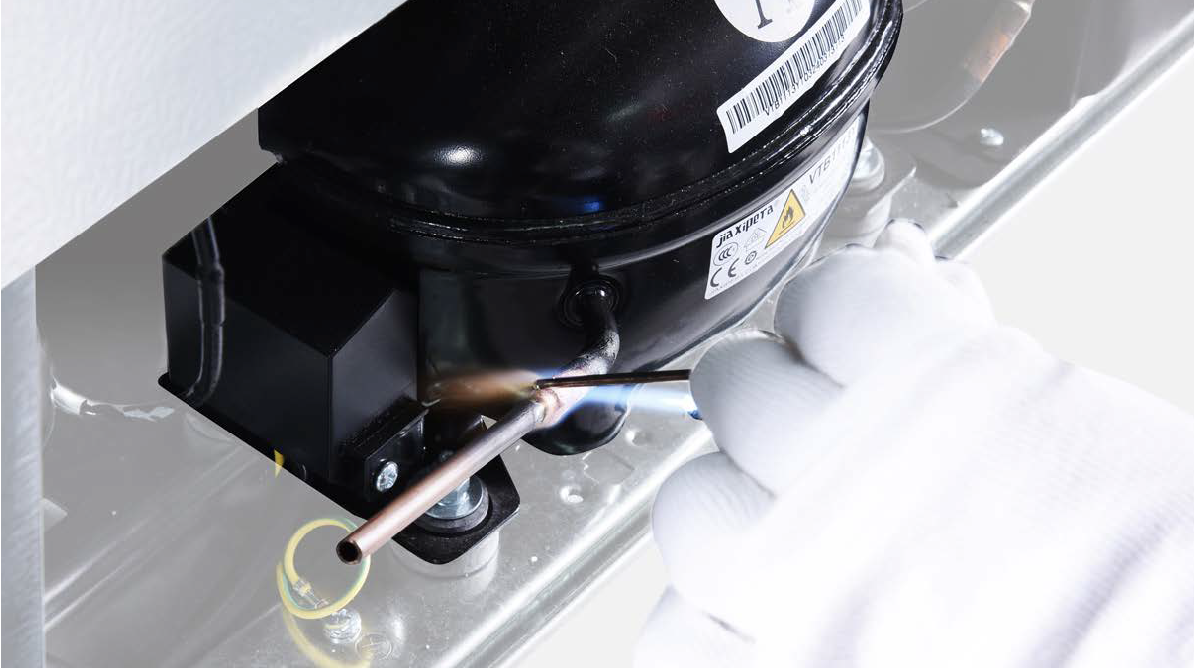
Step 9
Re-braze a copper tube onto compressor processing tube.
Please get more details of
brazing requirements on Annex B1
PROCEDURE 2
Step 1
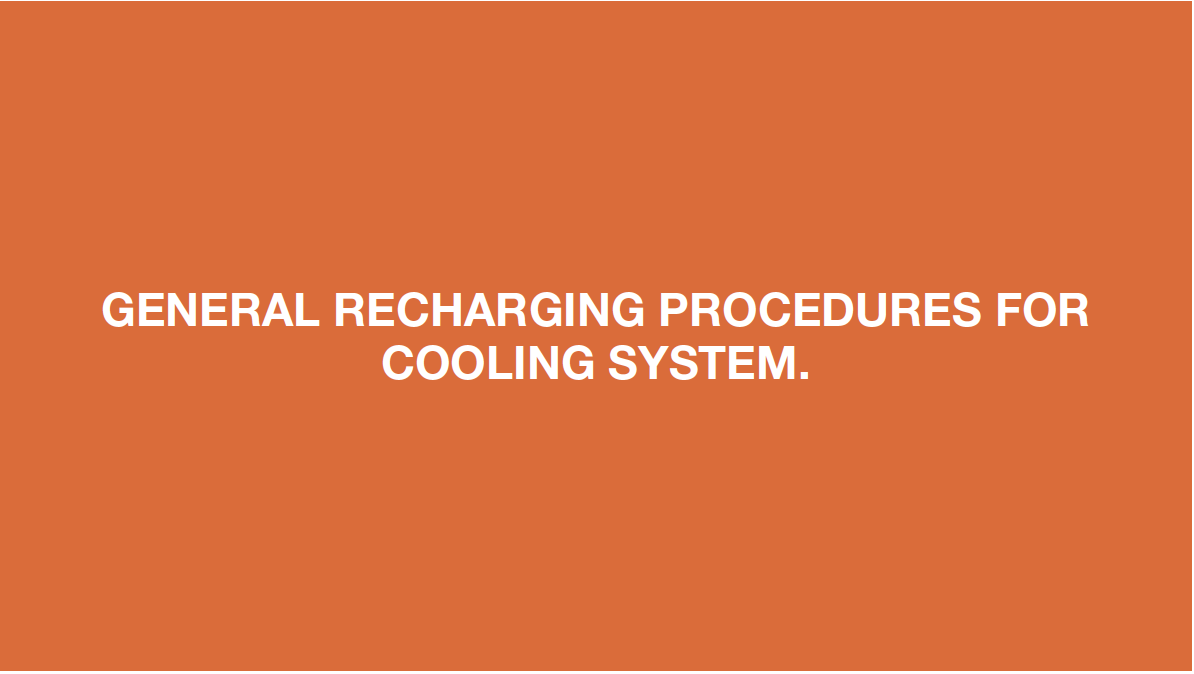
Clean paint off brazed joint of drying-filter.
Step 2
Cut off drying-filter.
Step 3
Cut off capillary and shake to remove the cut end.

Step 4
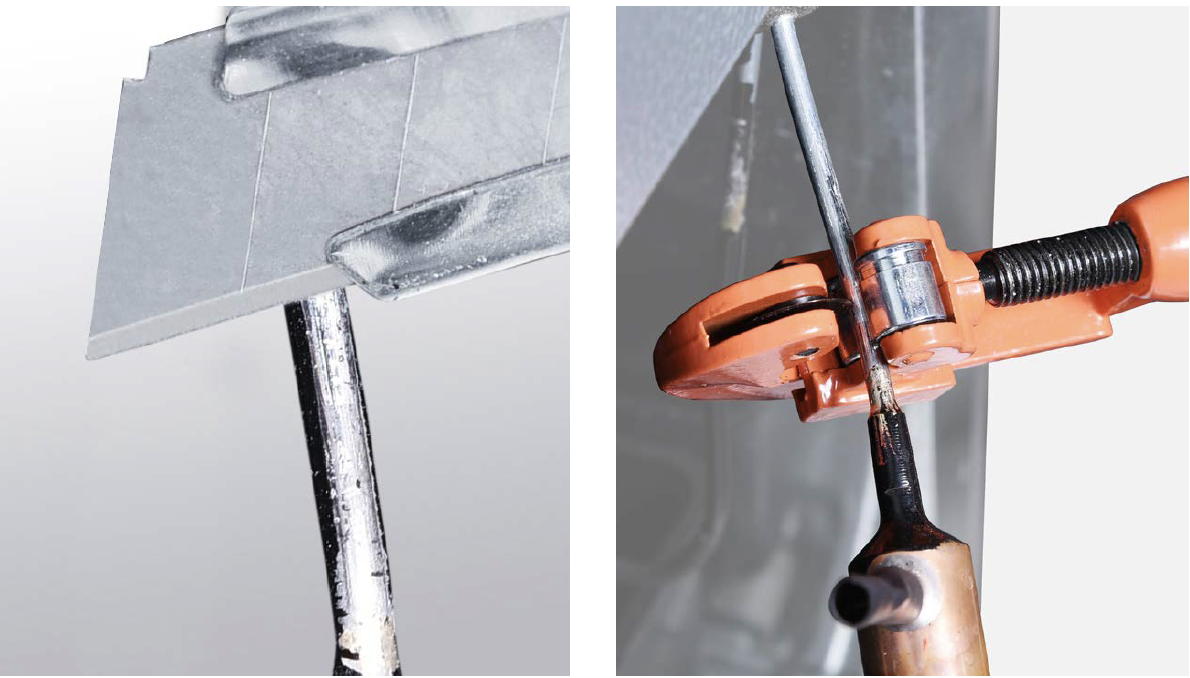
Braze on a new drying- filter.

Step 5
Inject nitrogen (1.57Mpa) through quick connector into pipe for at least 3 min to blow remaining refrigerant away.

Step 6
Add quick connector onto processing pipe of drying-filter.

Step 7
Do leakage test on brazed joints of drying- filter and processing pipe on compressor.

Step 8
Vacuum and recharge.

Step 9
Block processing pipe twice by locking pliers.
Step 10
Leave locking pliers on the second block and shake to cut off the rest of the pipe.
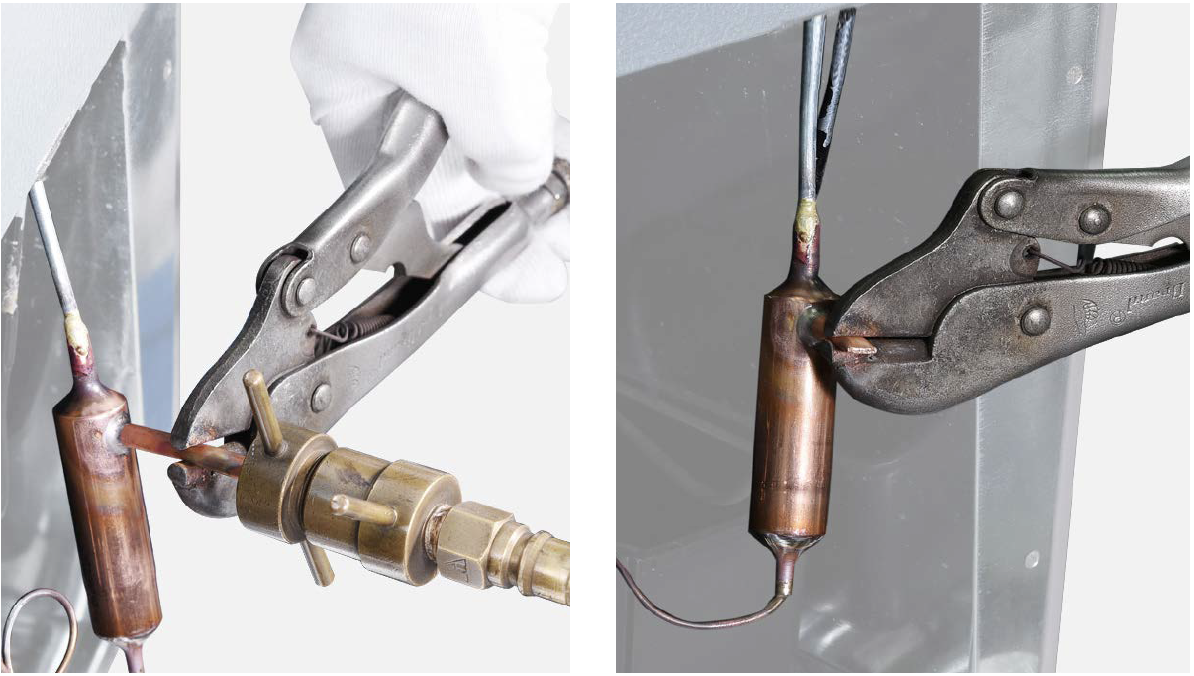
Step 11
Braze the ends and remove the pliers.

CHECK AND TEST 2