
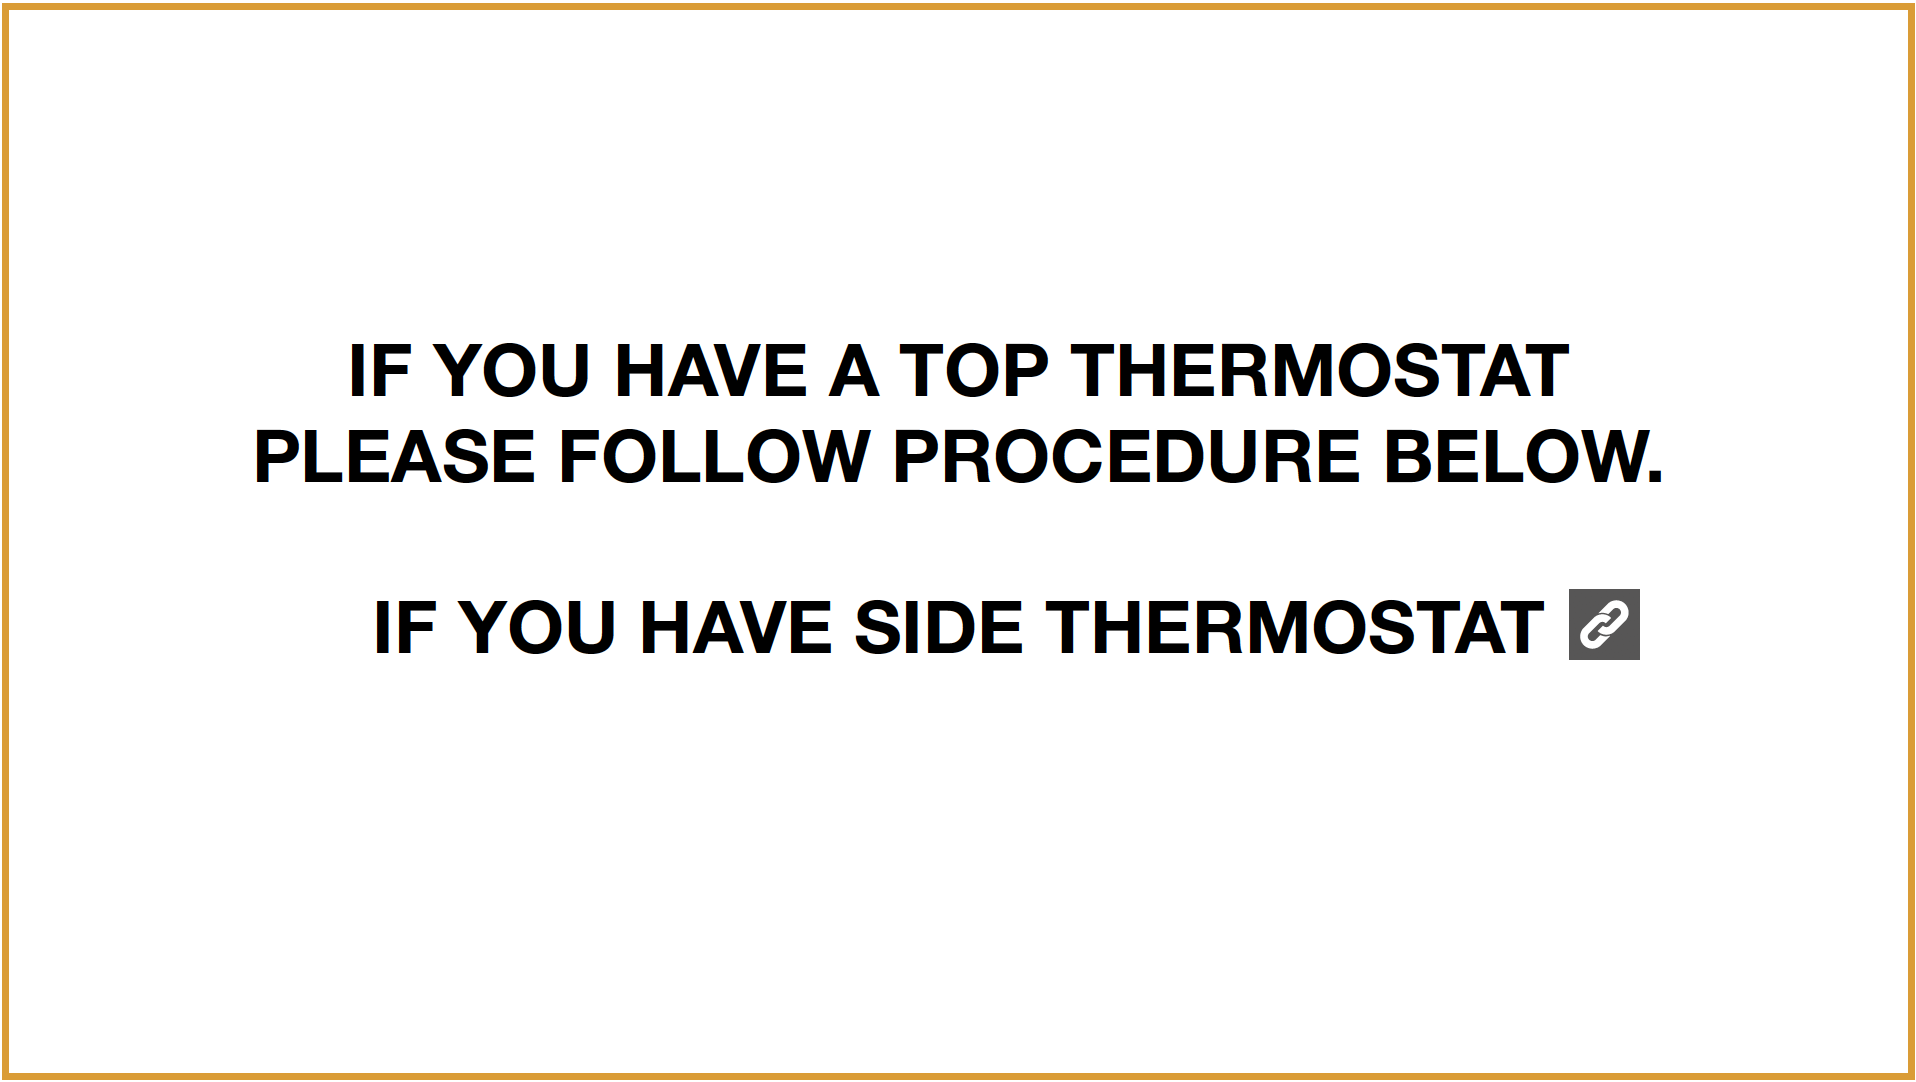
NOTE
CHECK AND TEST 1
Step 1
Plug off the product and open the door to let internal temperature warm up to ambient temperature.

Step 2
Set thermostat to max-1, and plug in to switch on the appliance.
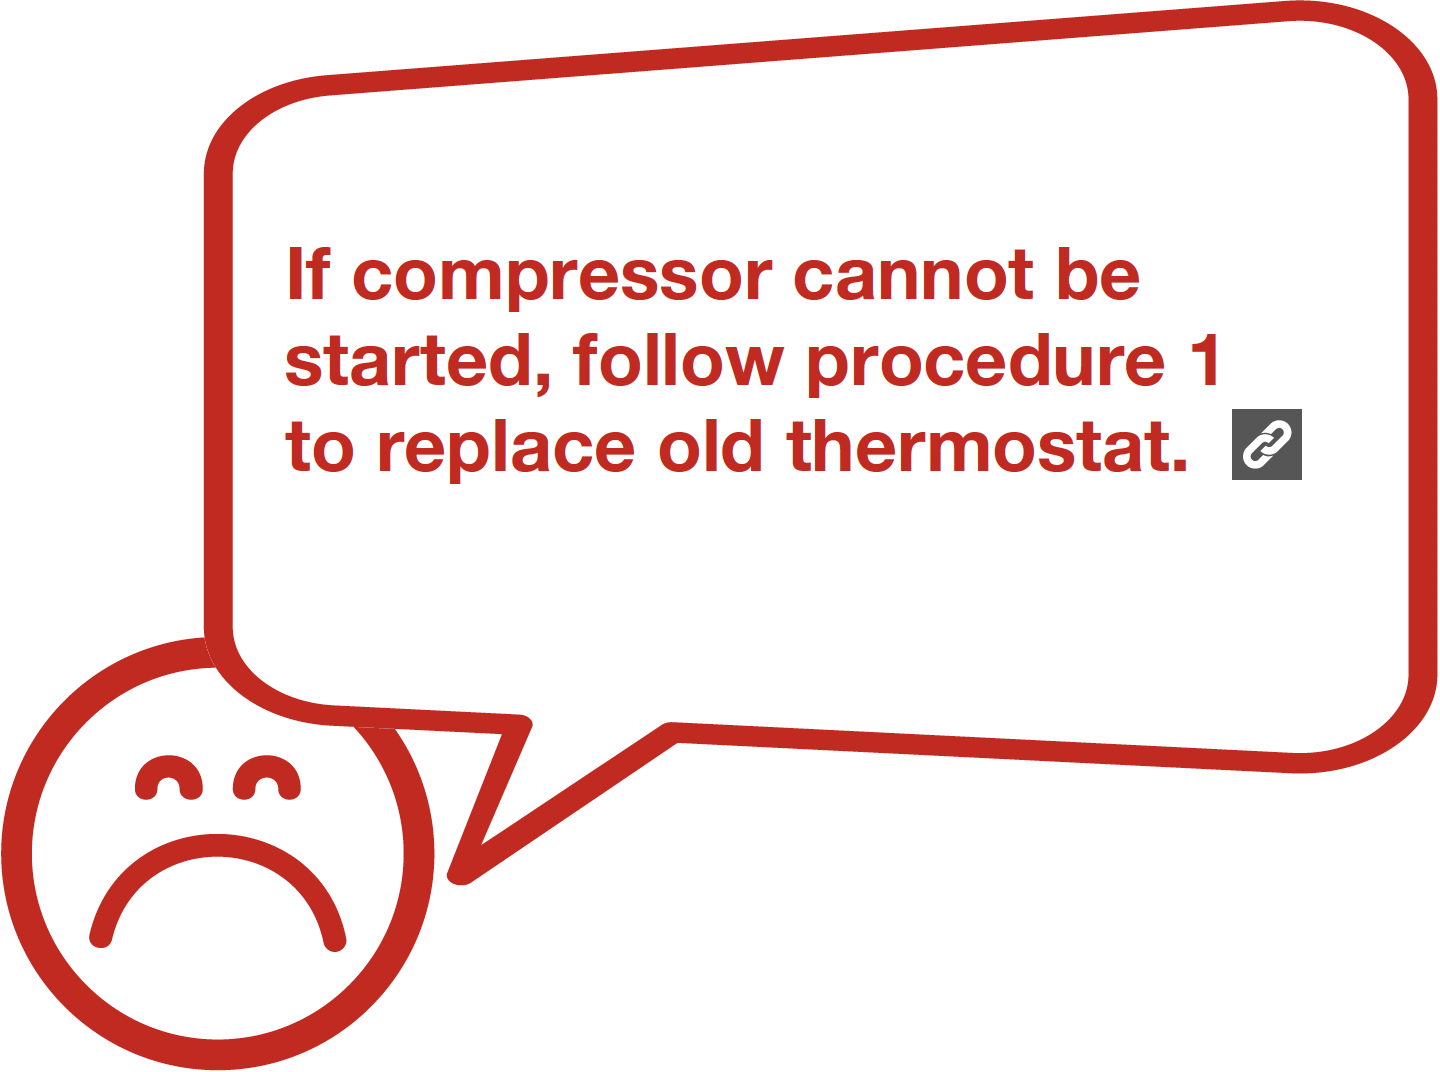
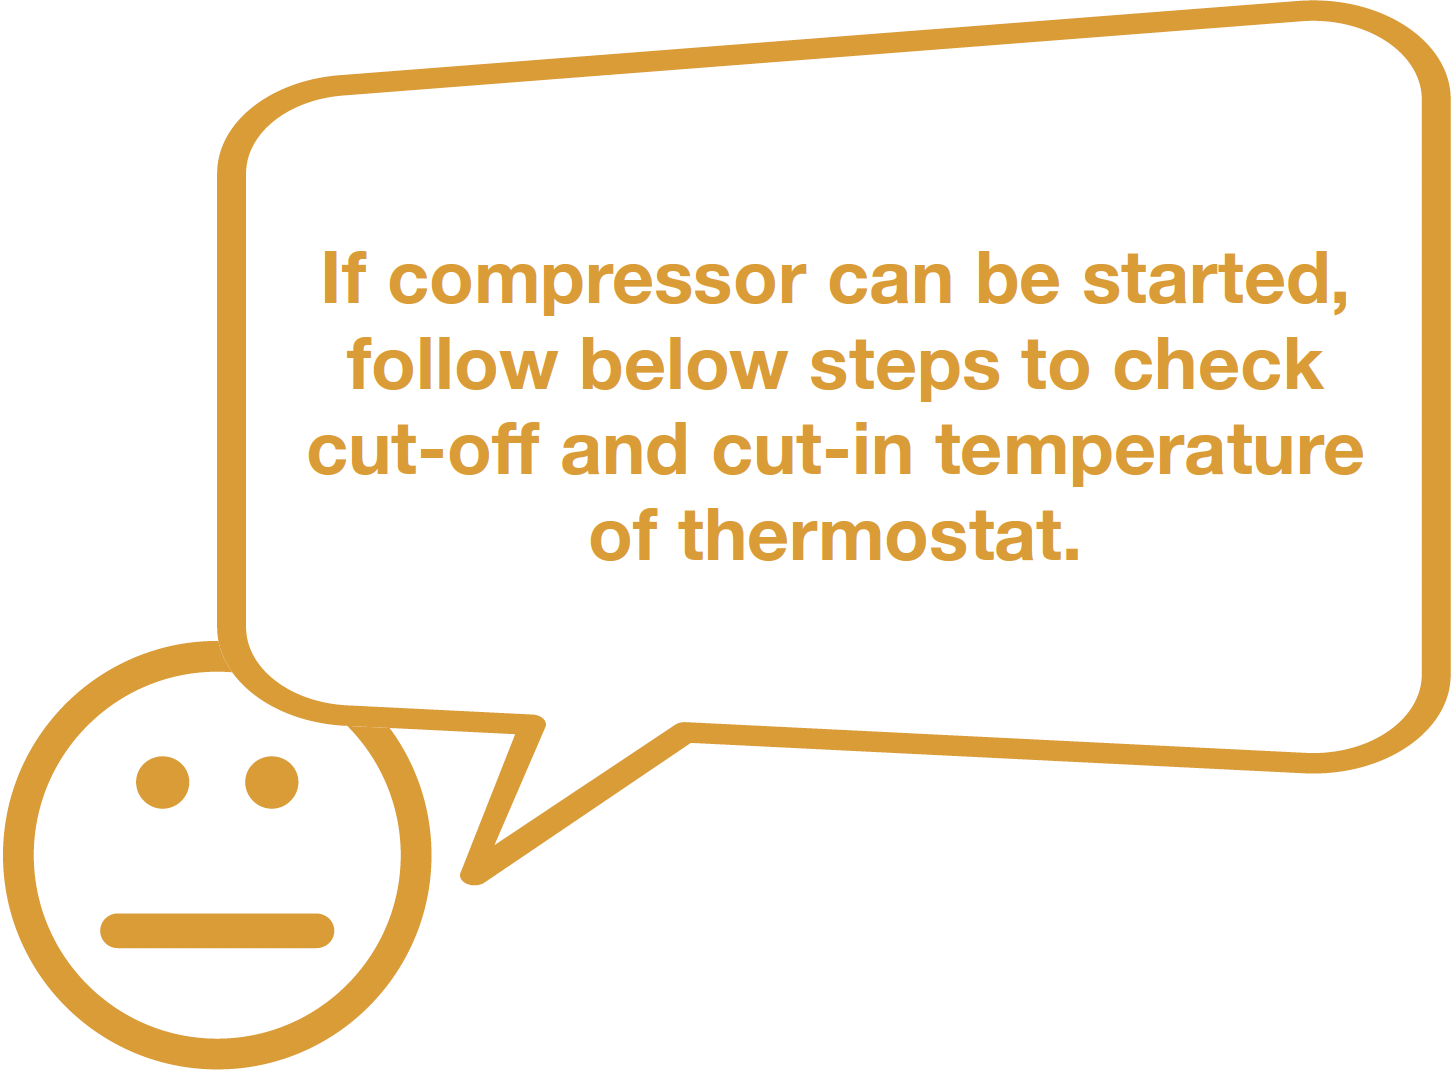
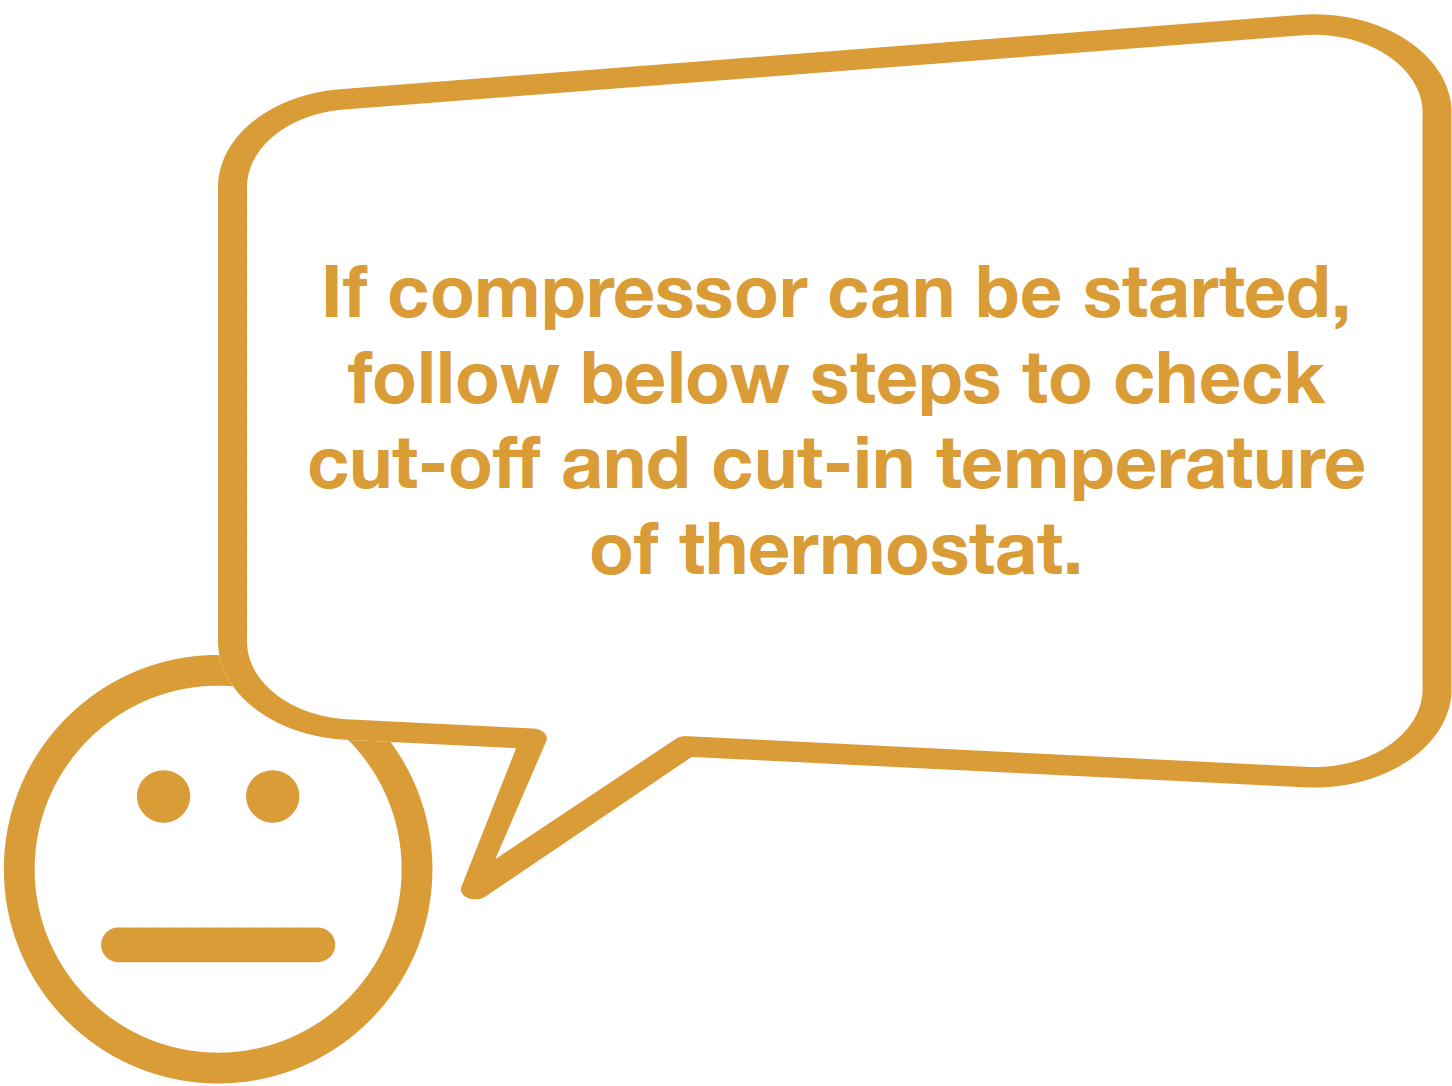
DIAGNOSIS 1

CHECK AND TEST 2
Step 1
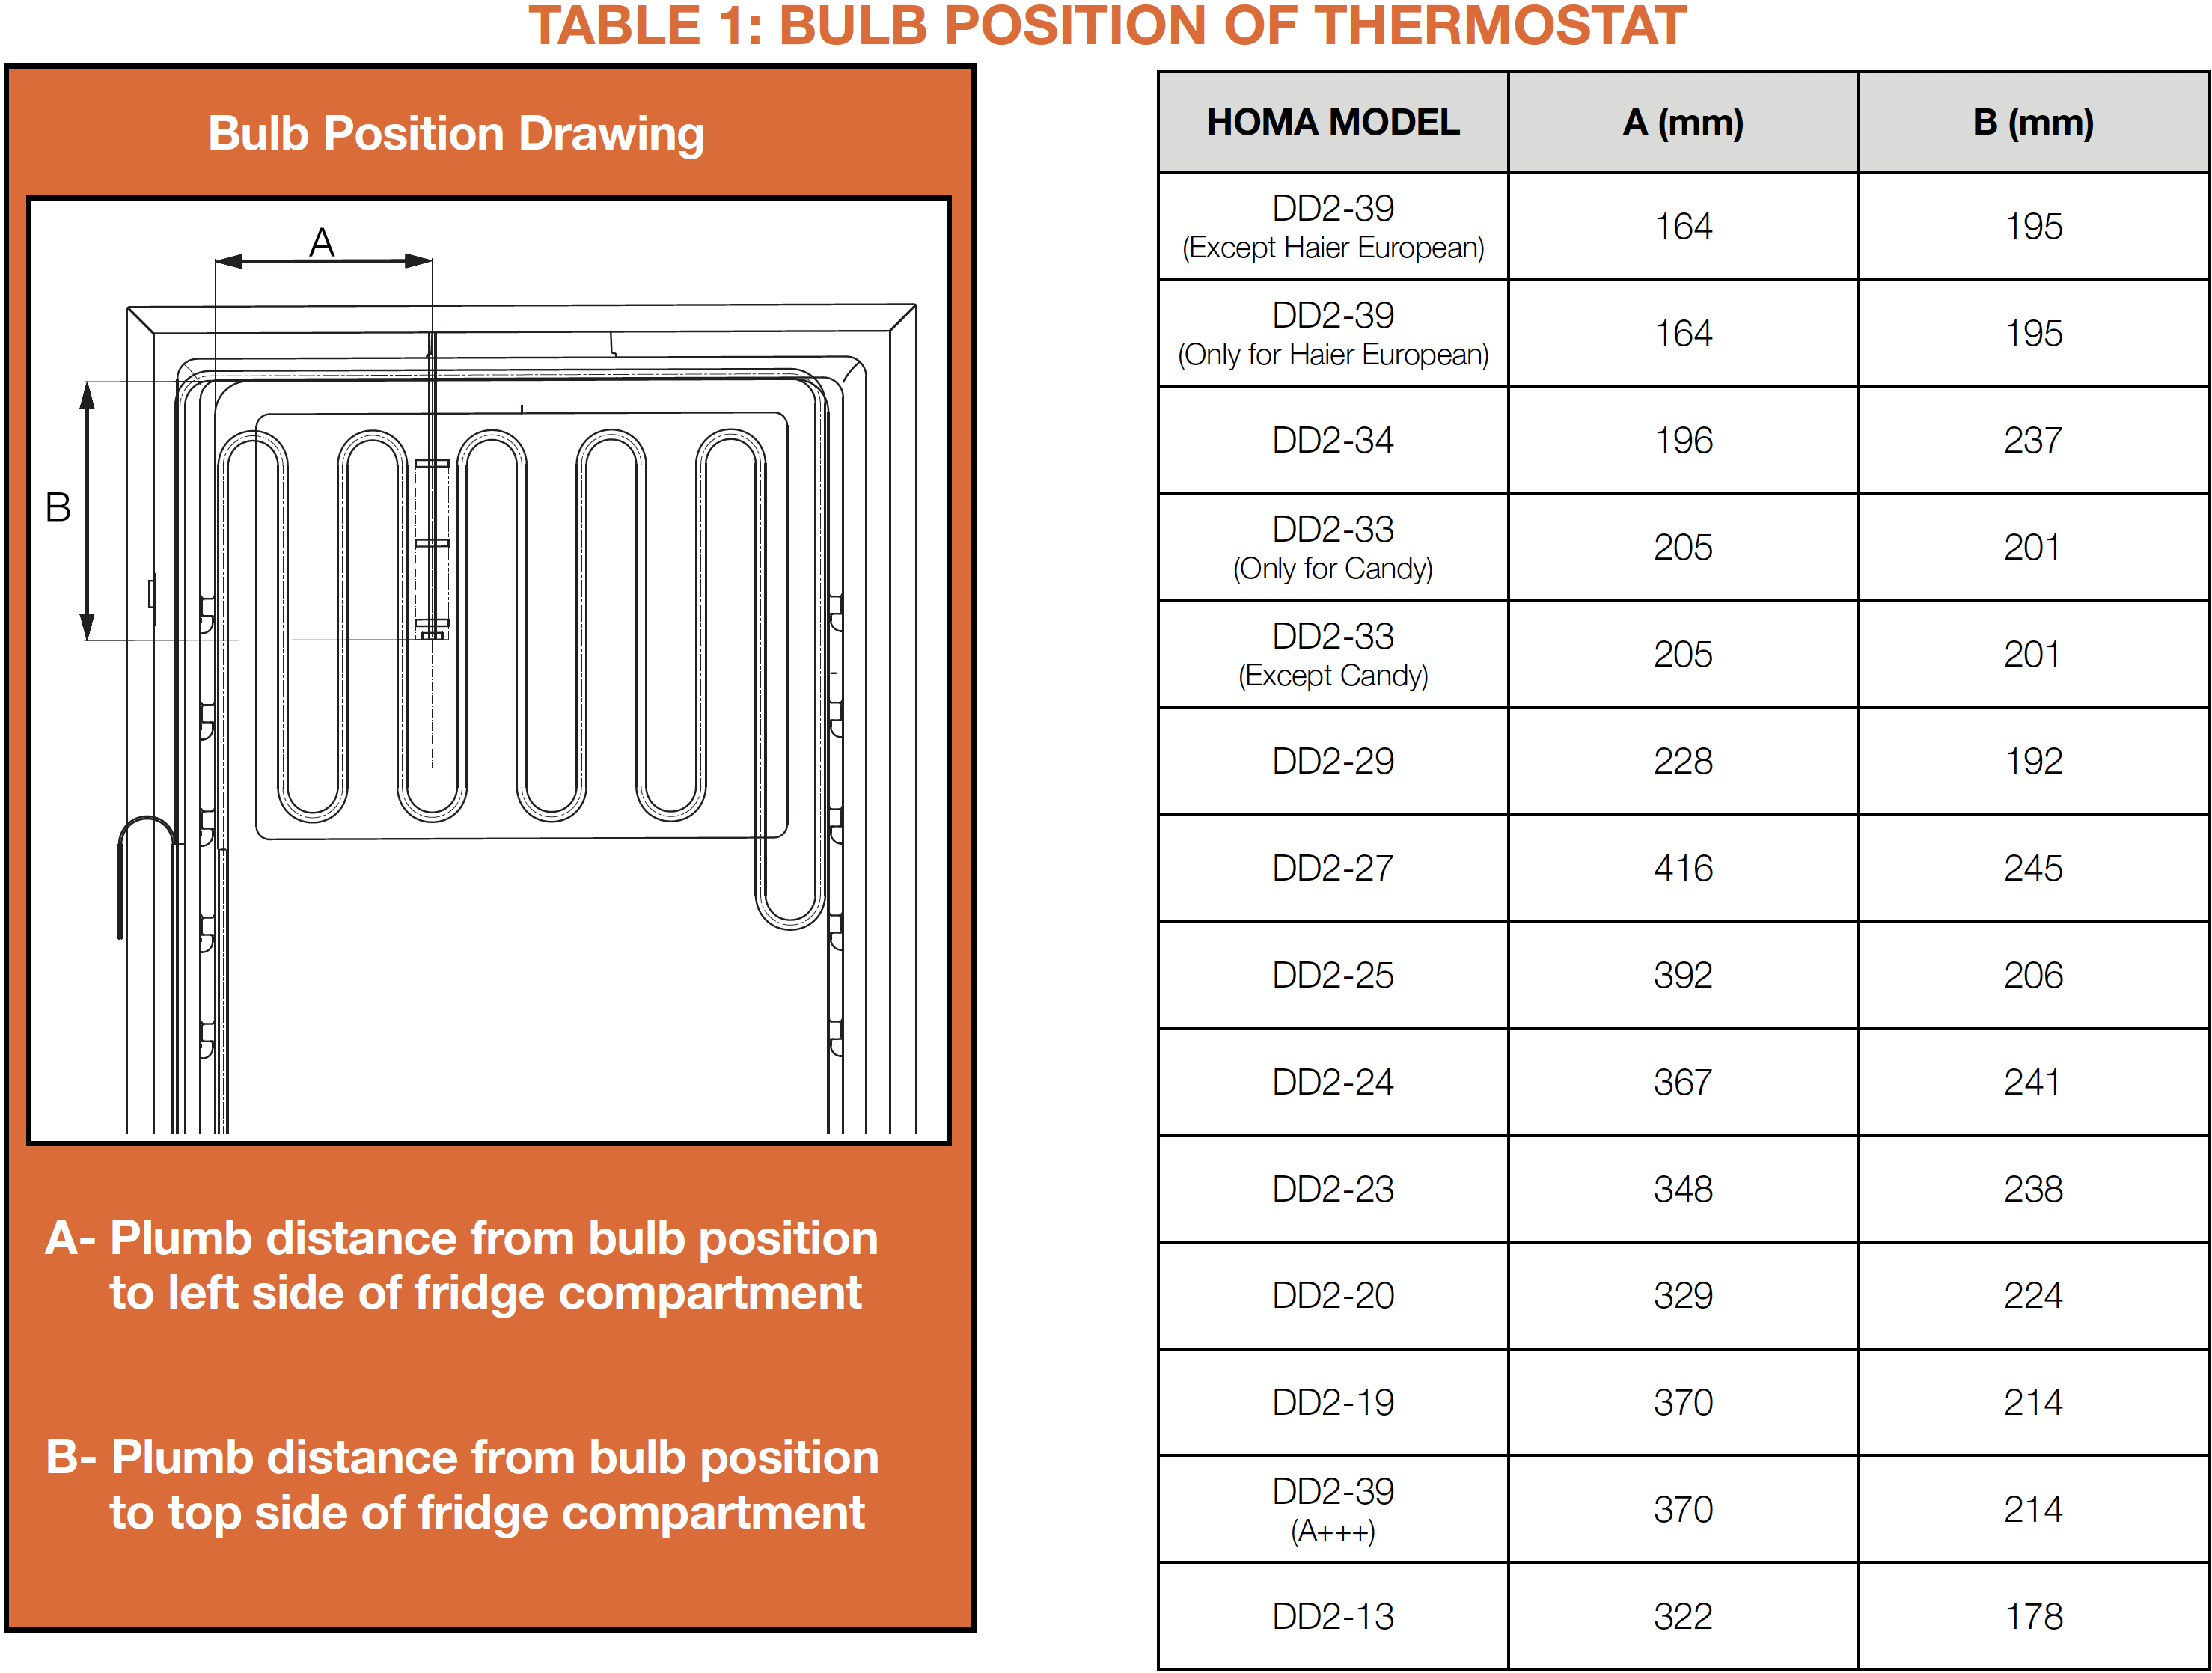
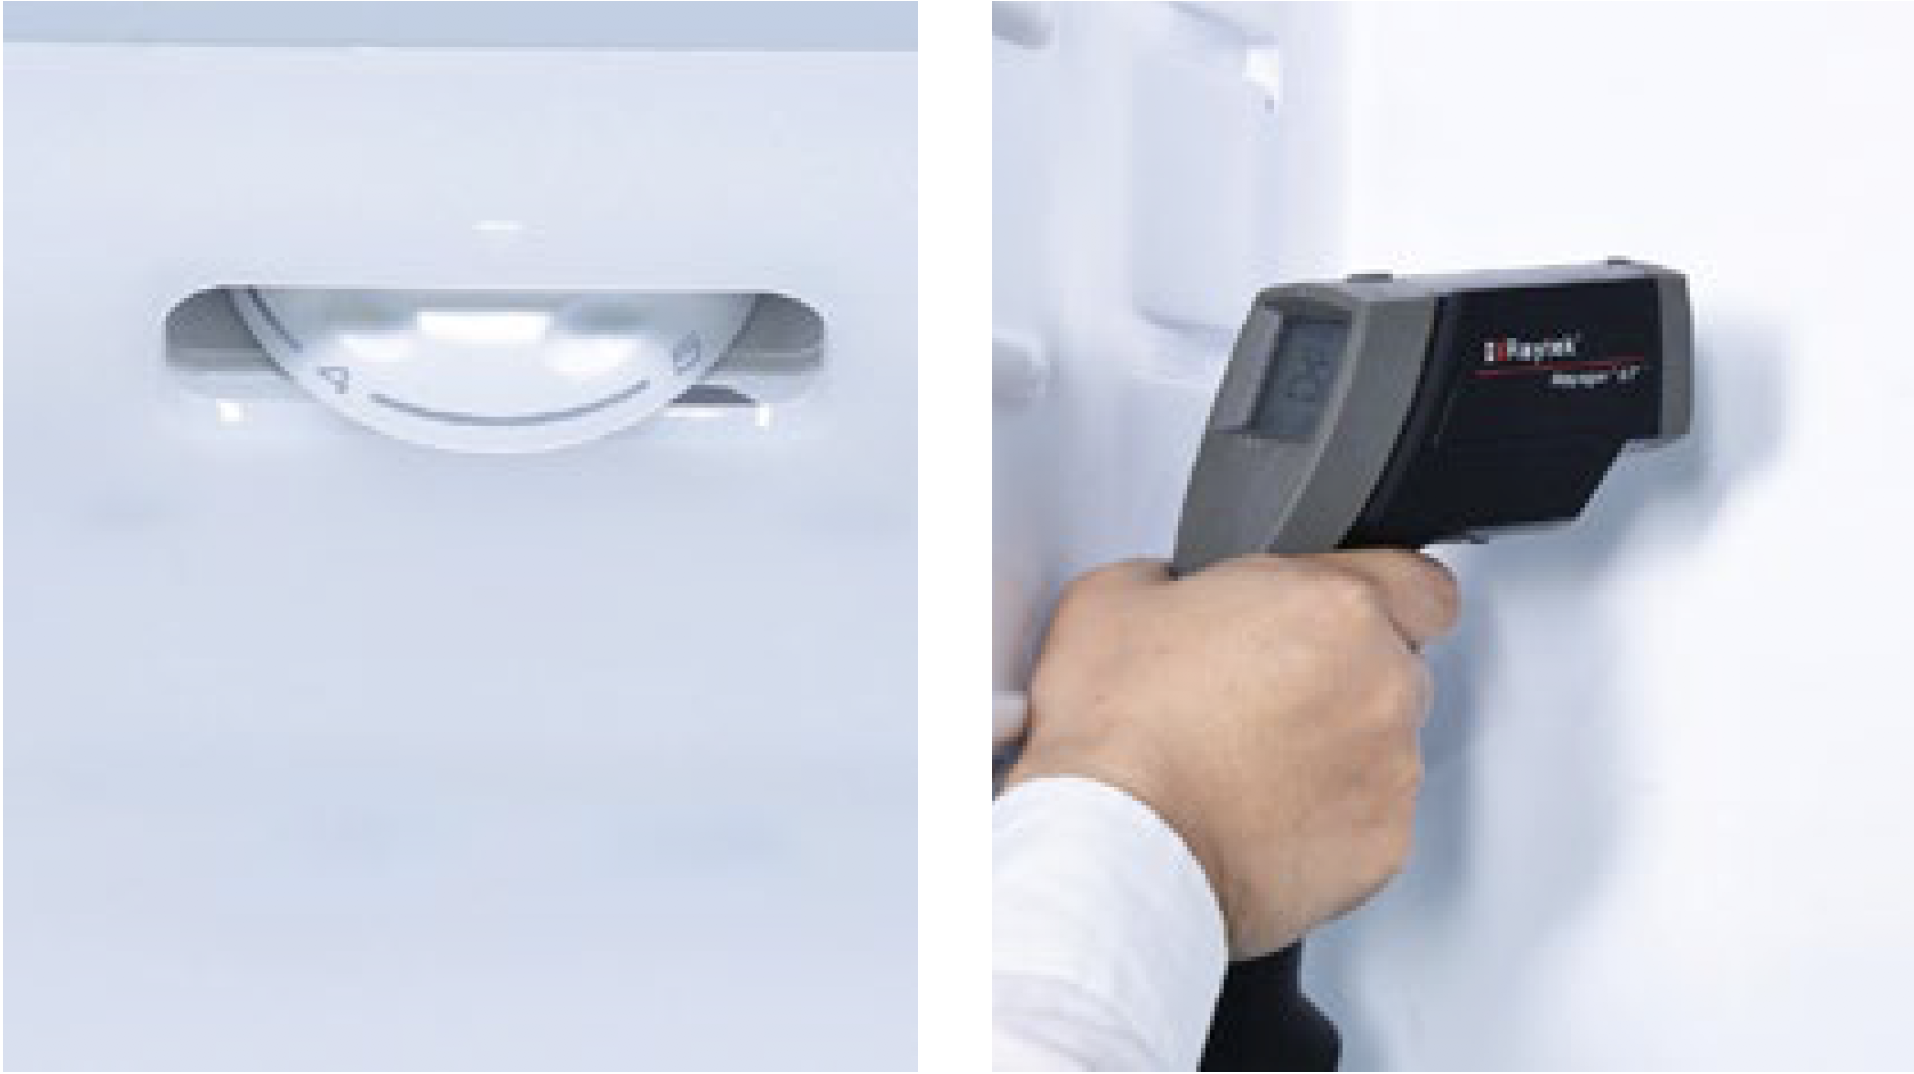
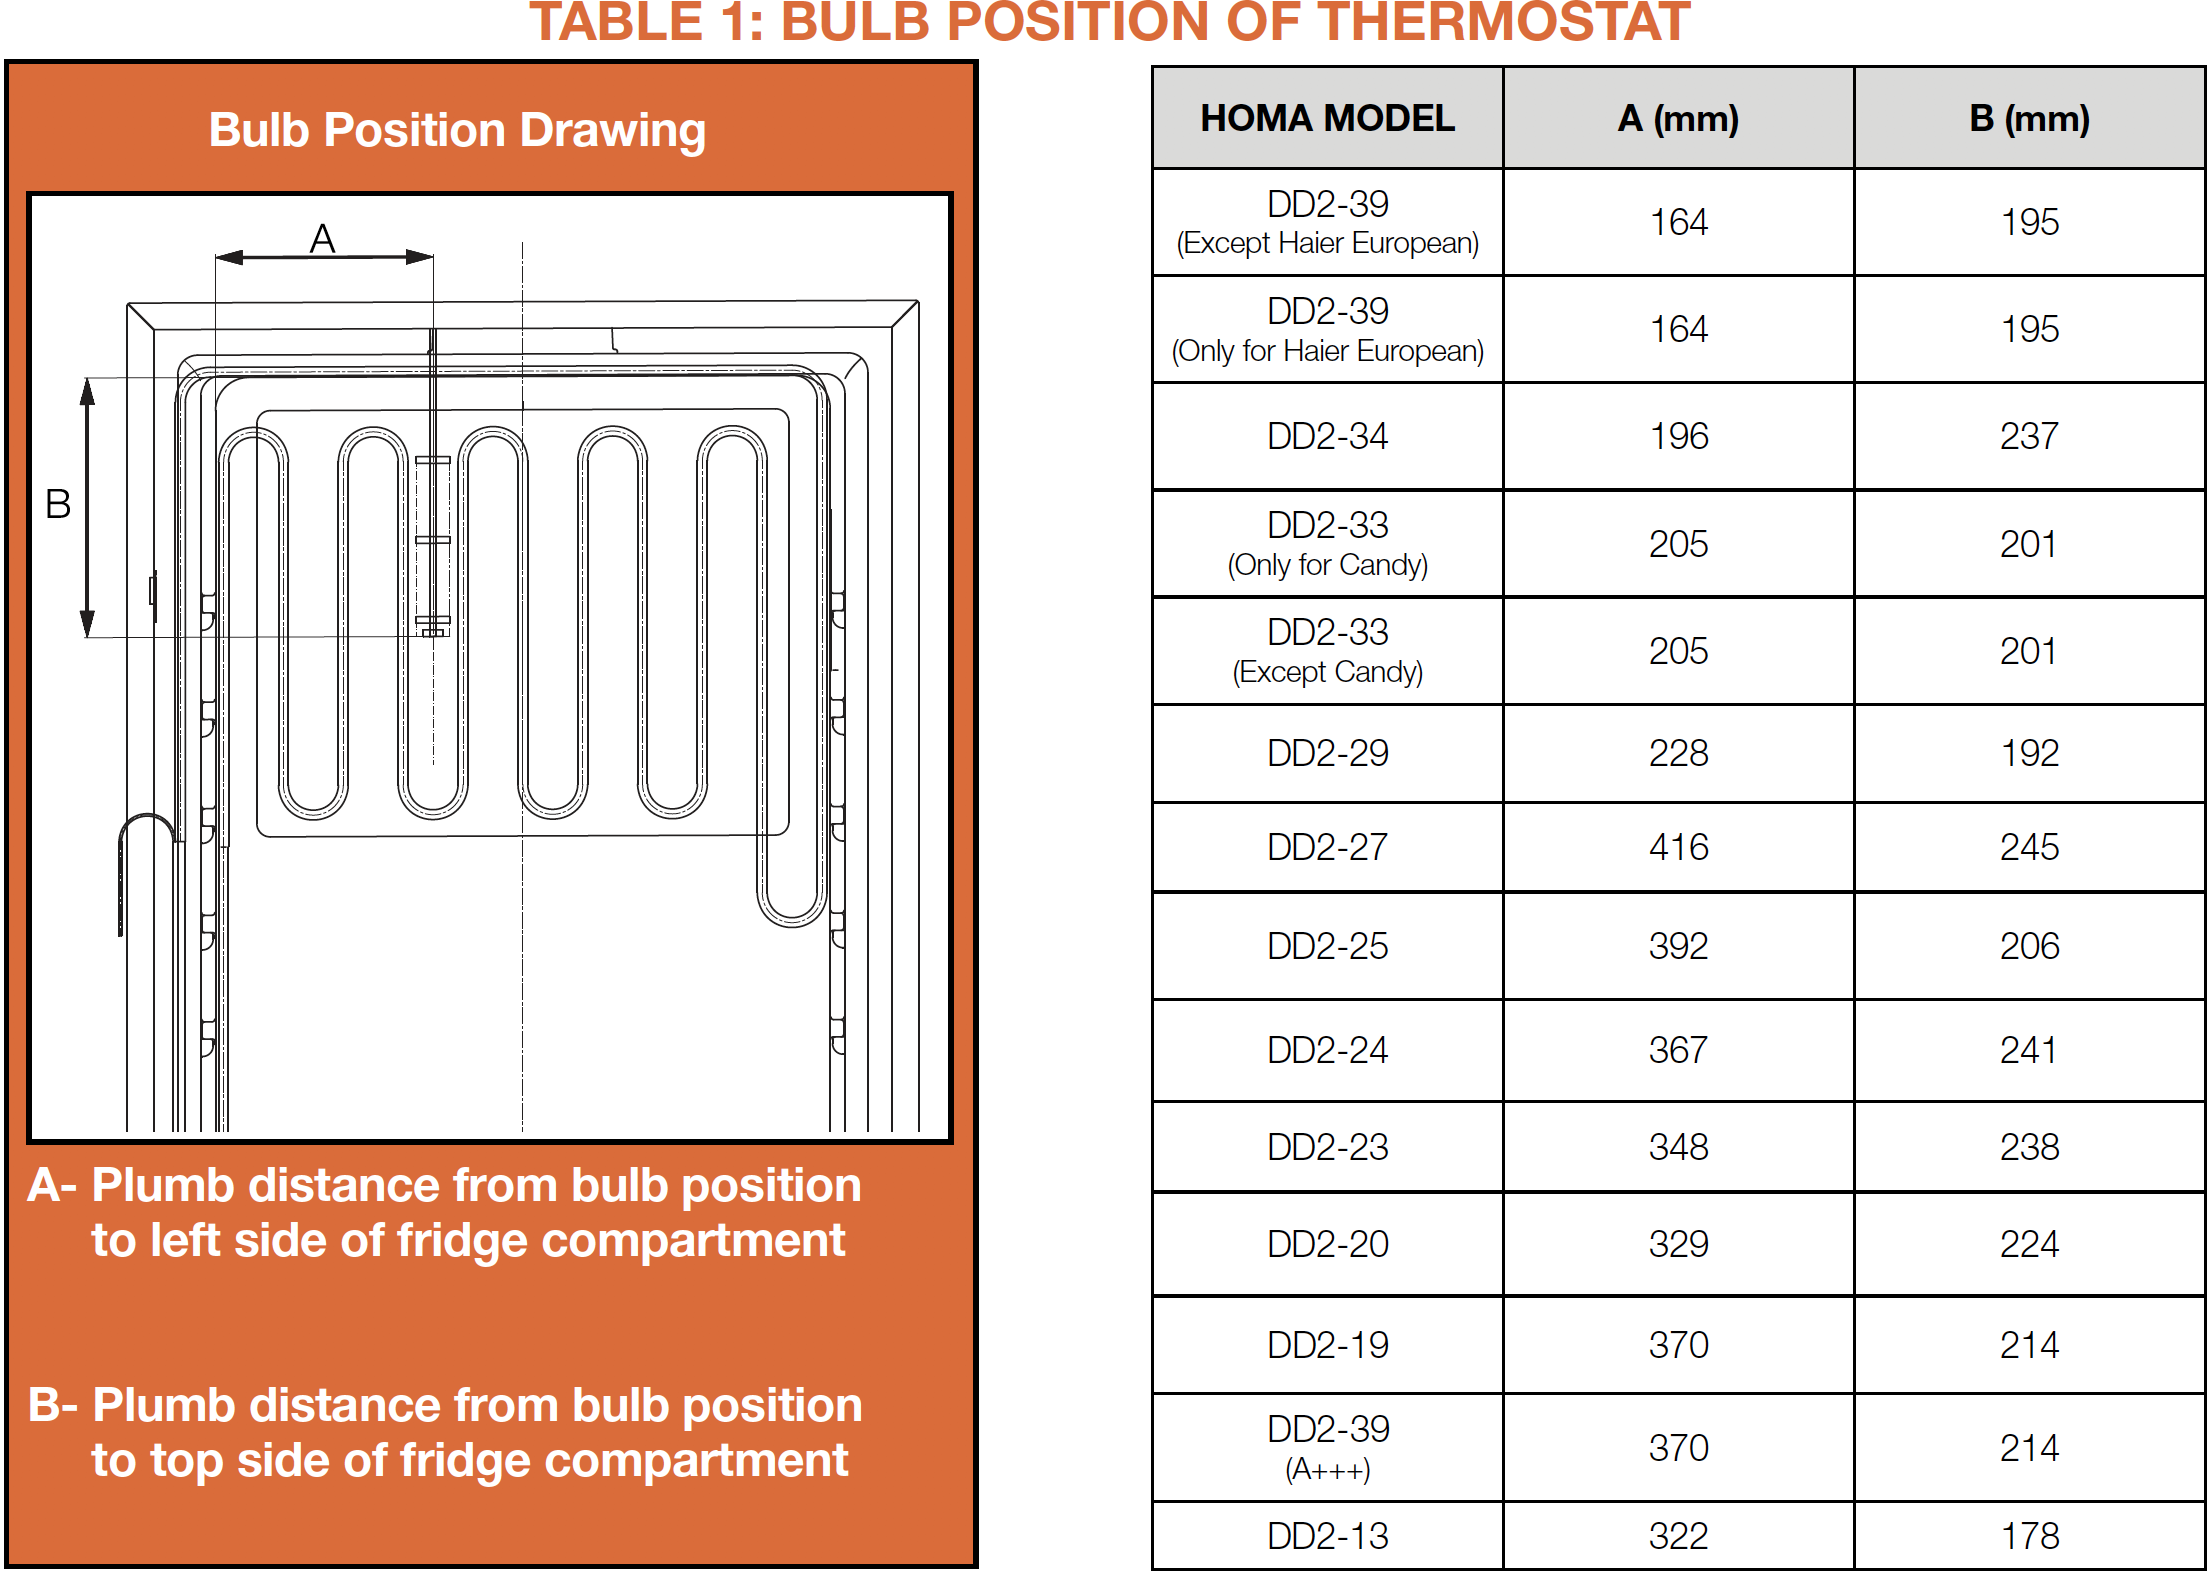
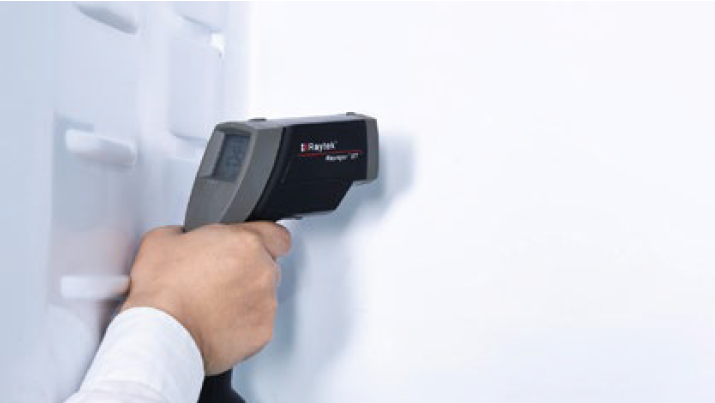
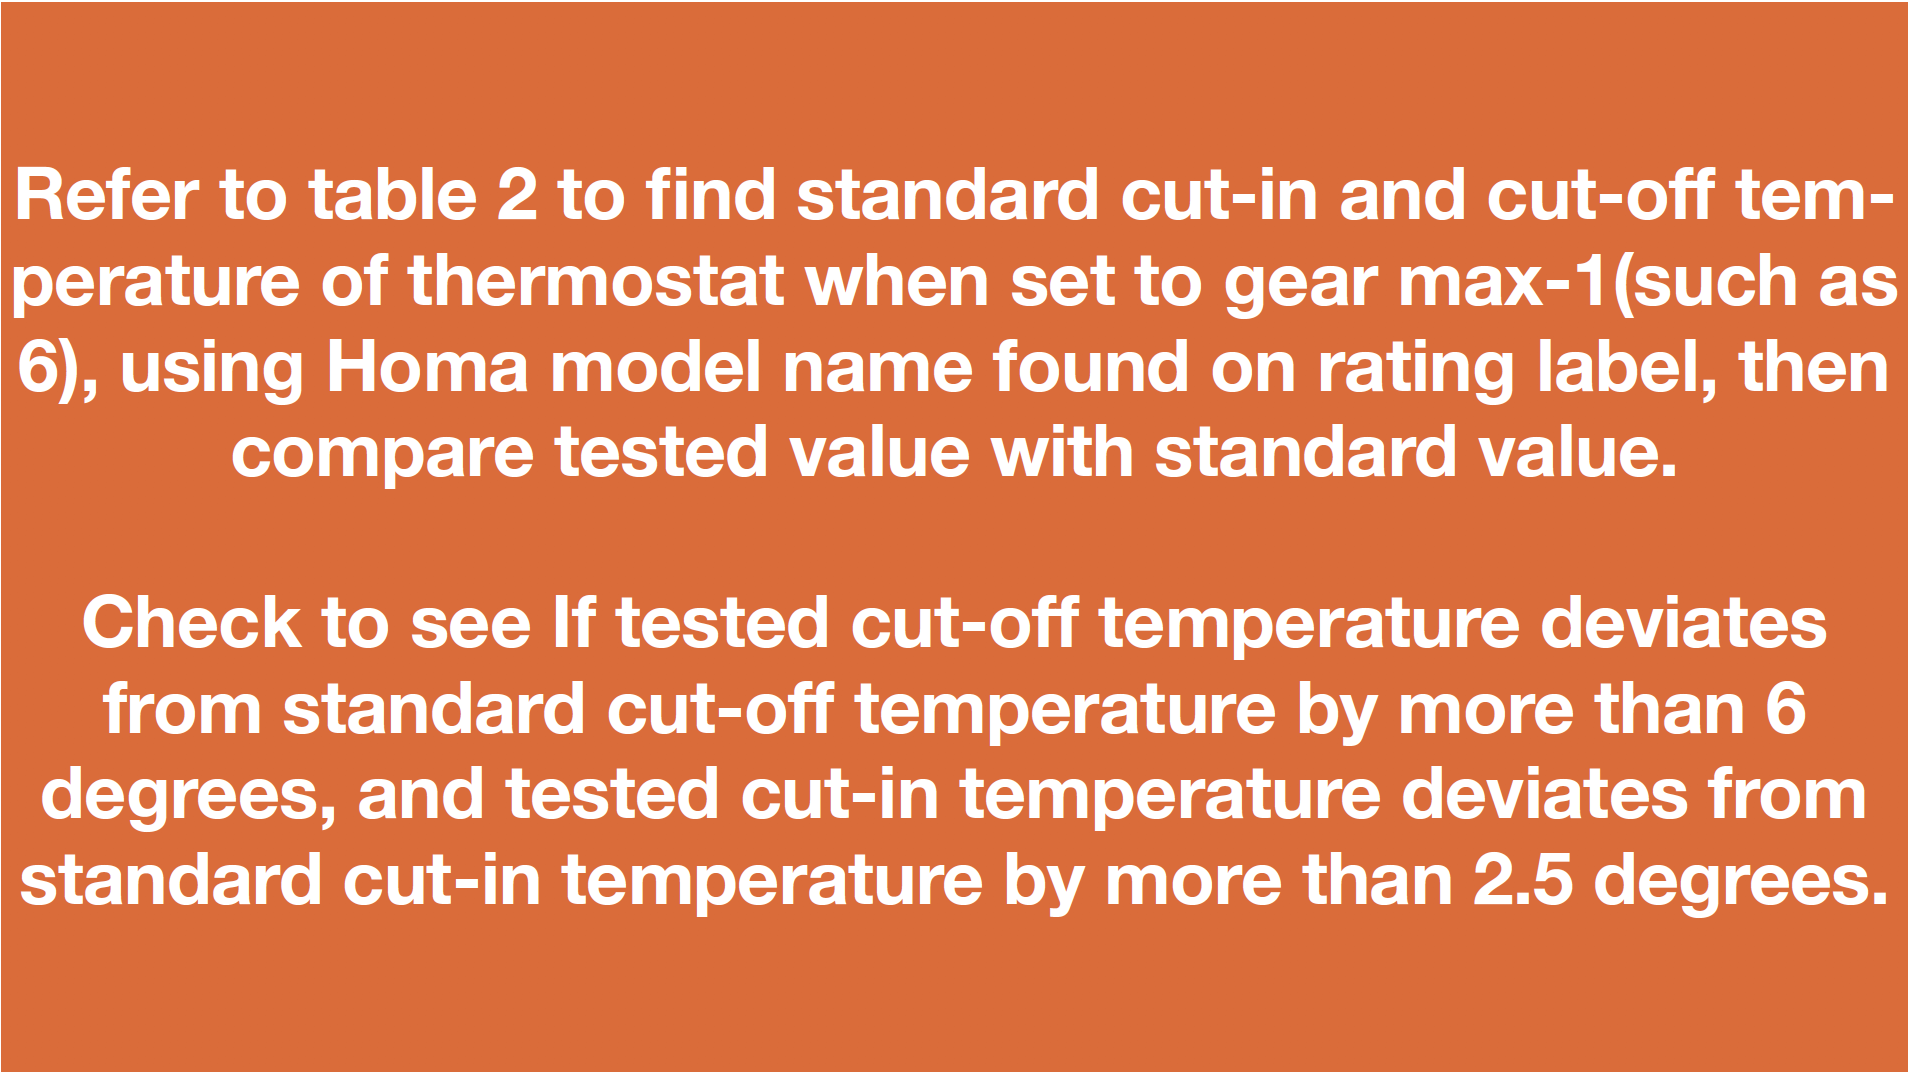
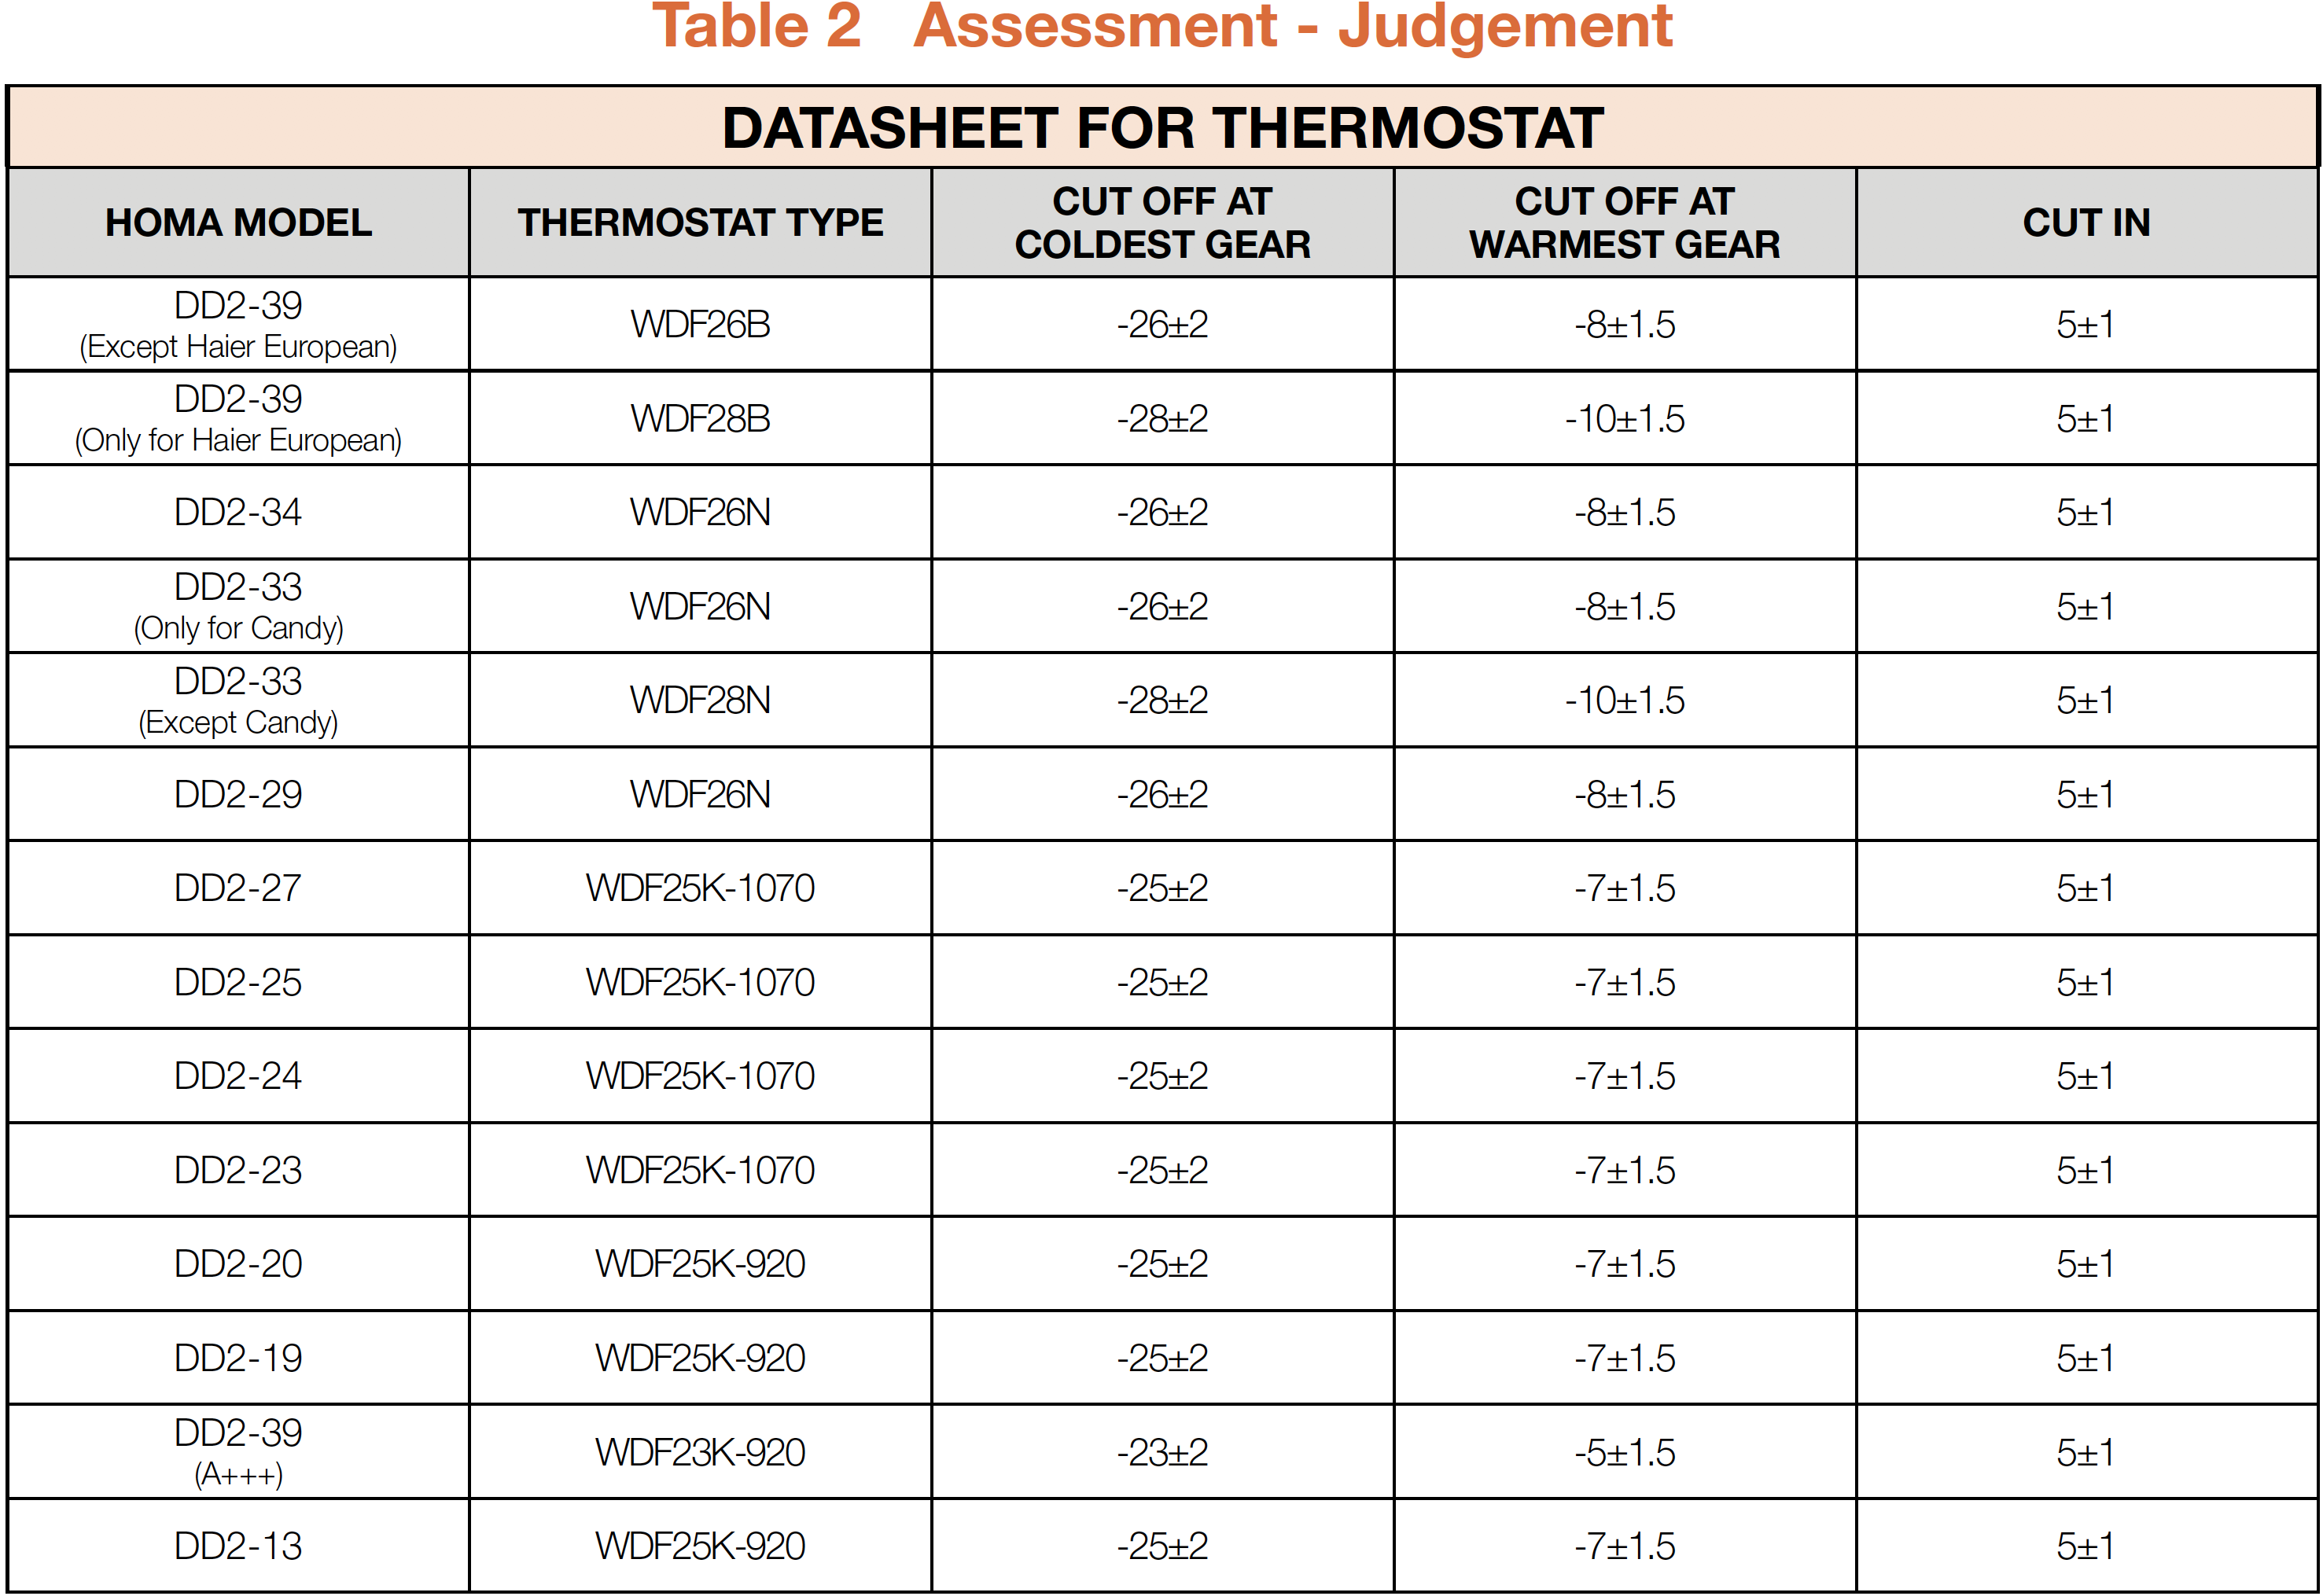
After first stop, please consult table 1 to find out bulb position, then measure temperature in the area of thermostat’s bulb.


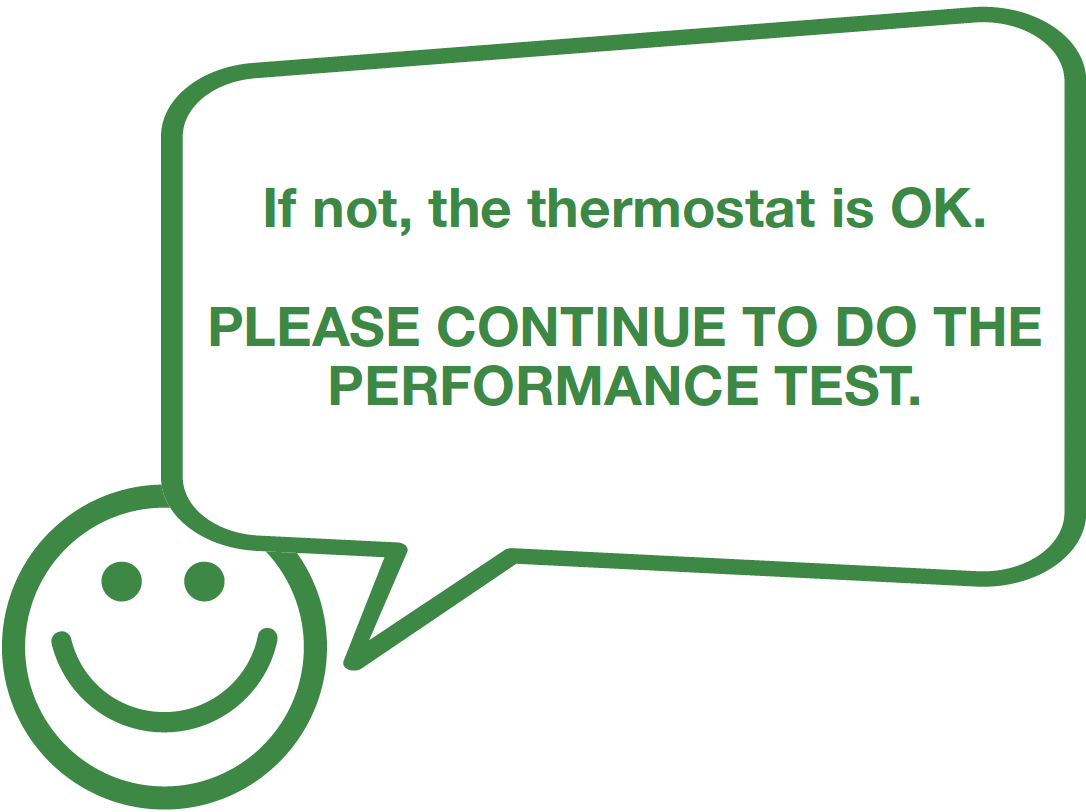
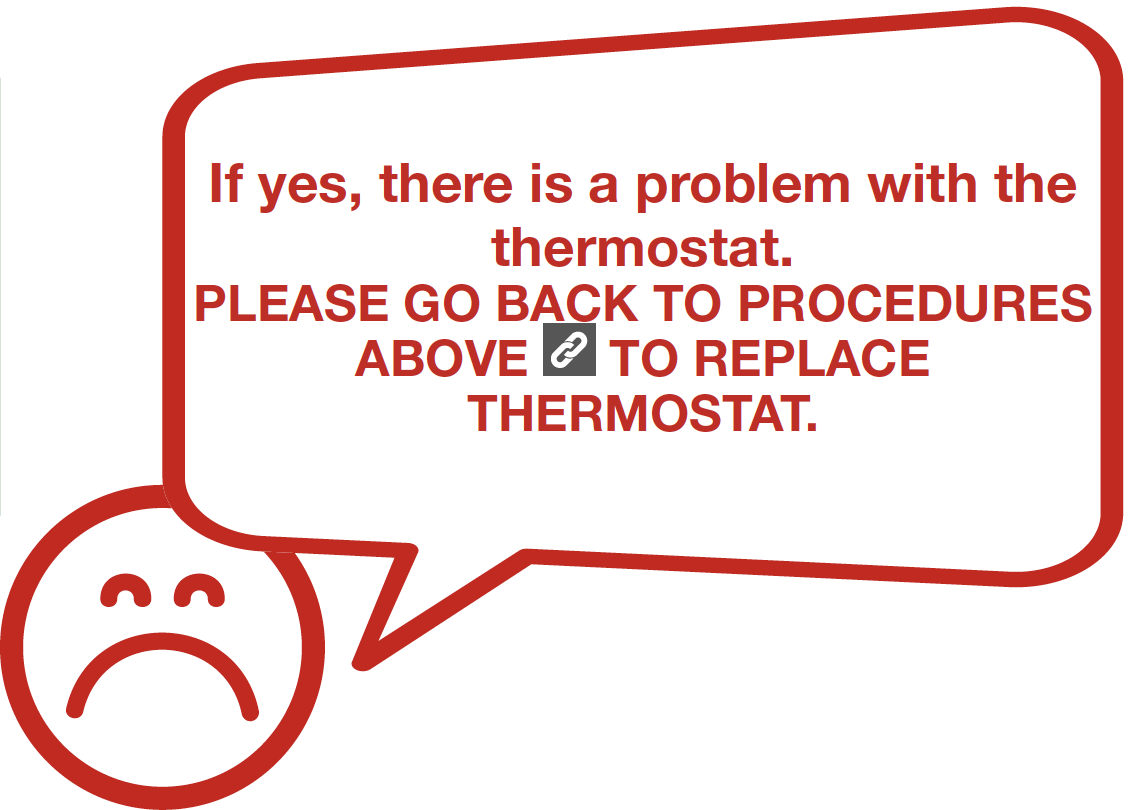
DIAGNOSIS 2


PROCEDURE 1

Step 1
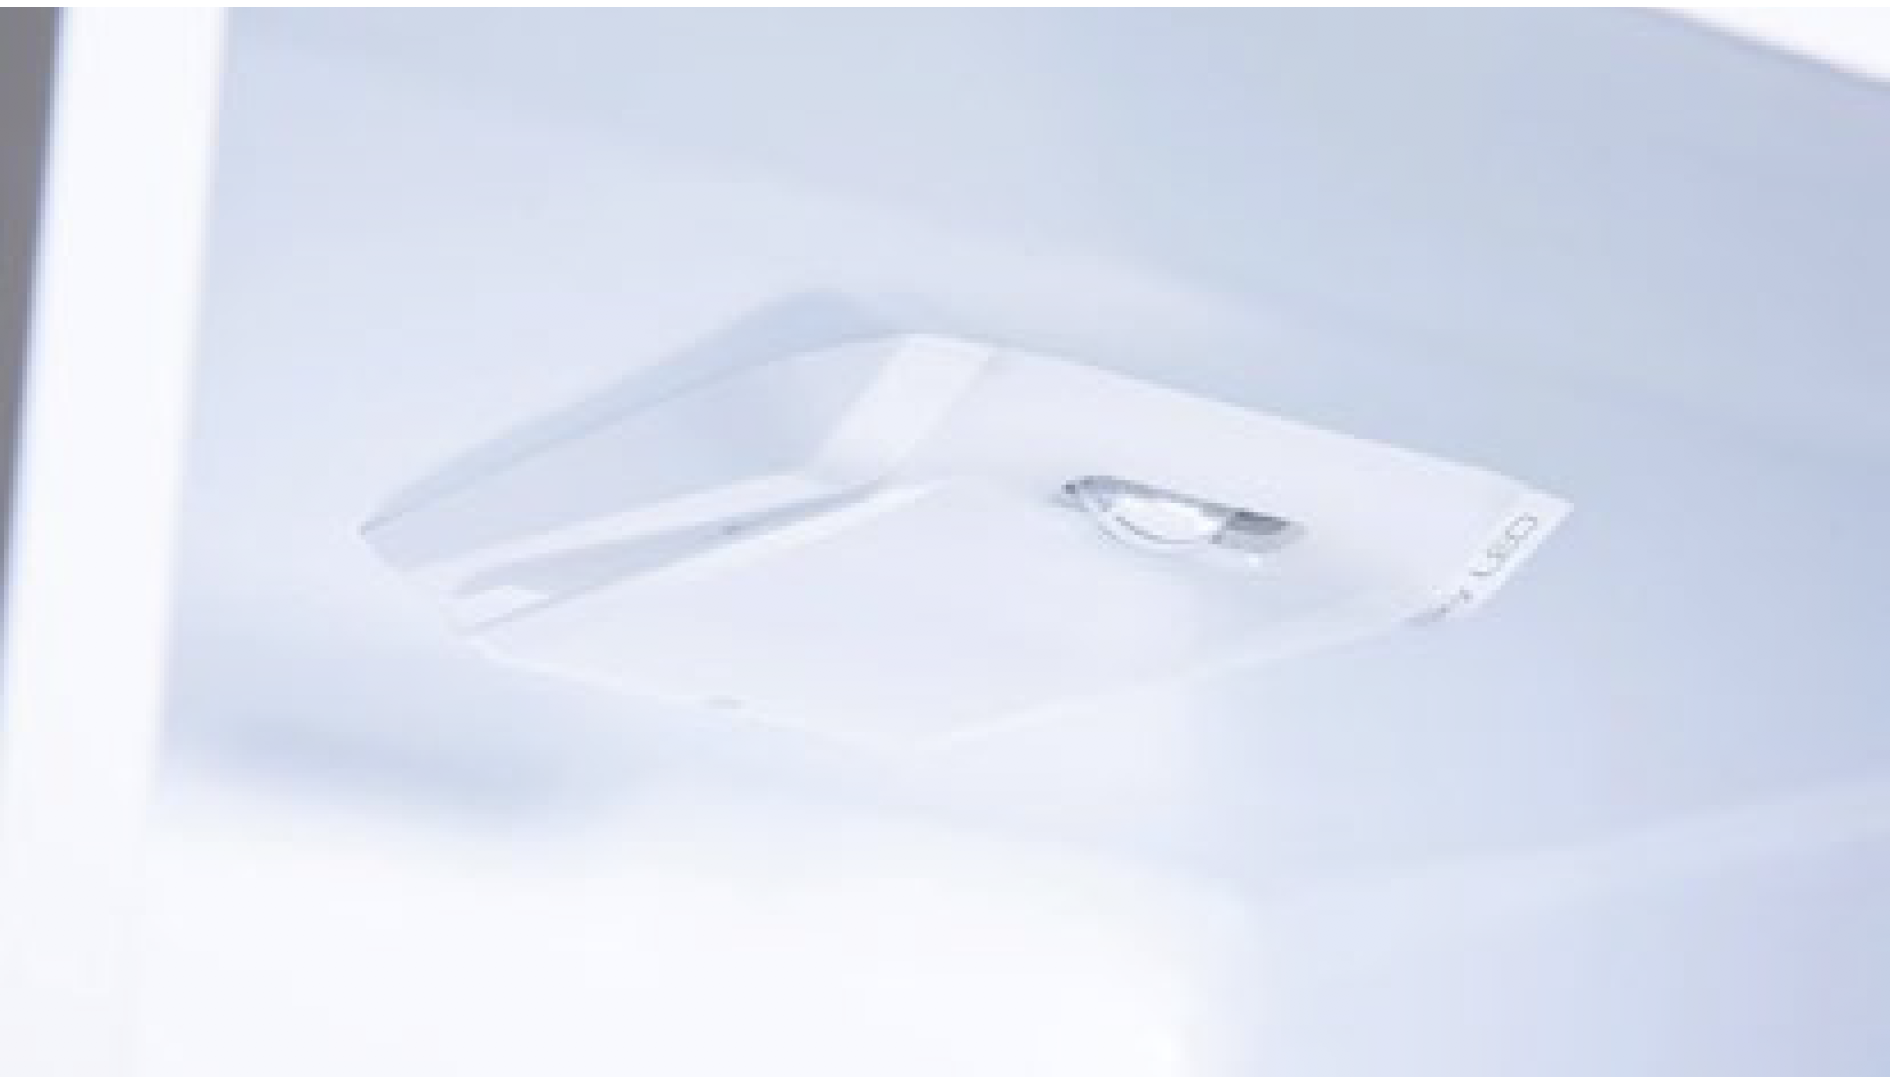
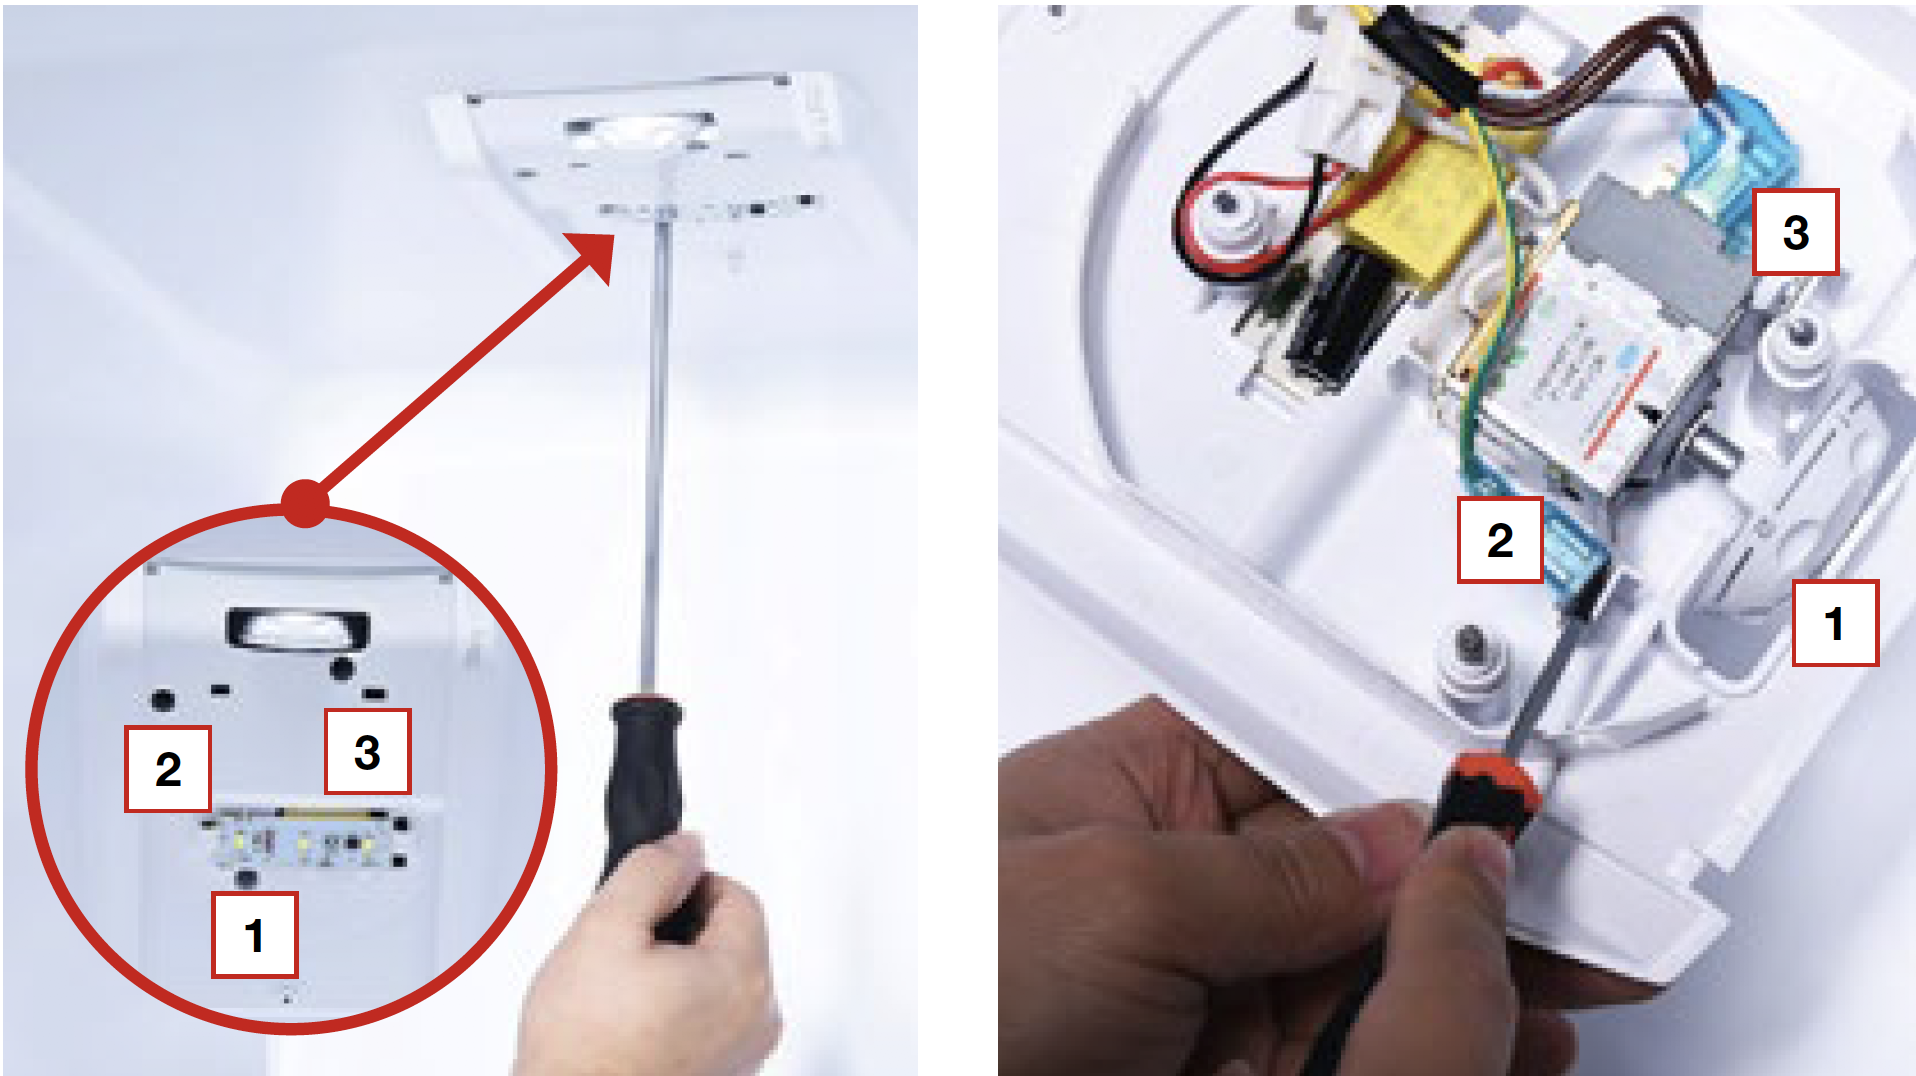
Unscrew LED cover.

Step 2
Remove LED cover.
Step 3
Unscrew thermostat cover.
Step 4
Lever off the buckle and push the thermostat out.
Step 5
Disconnect terminal for LED.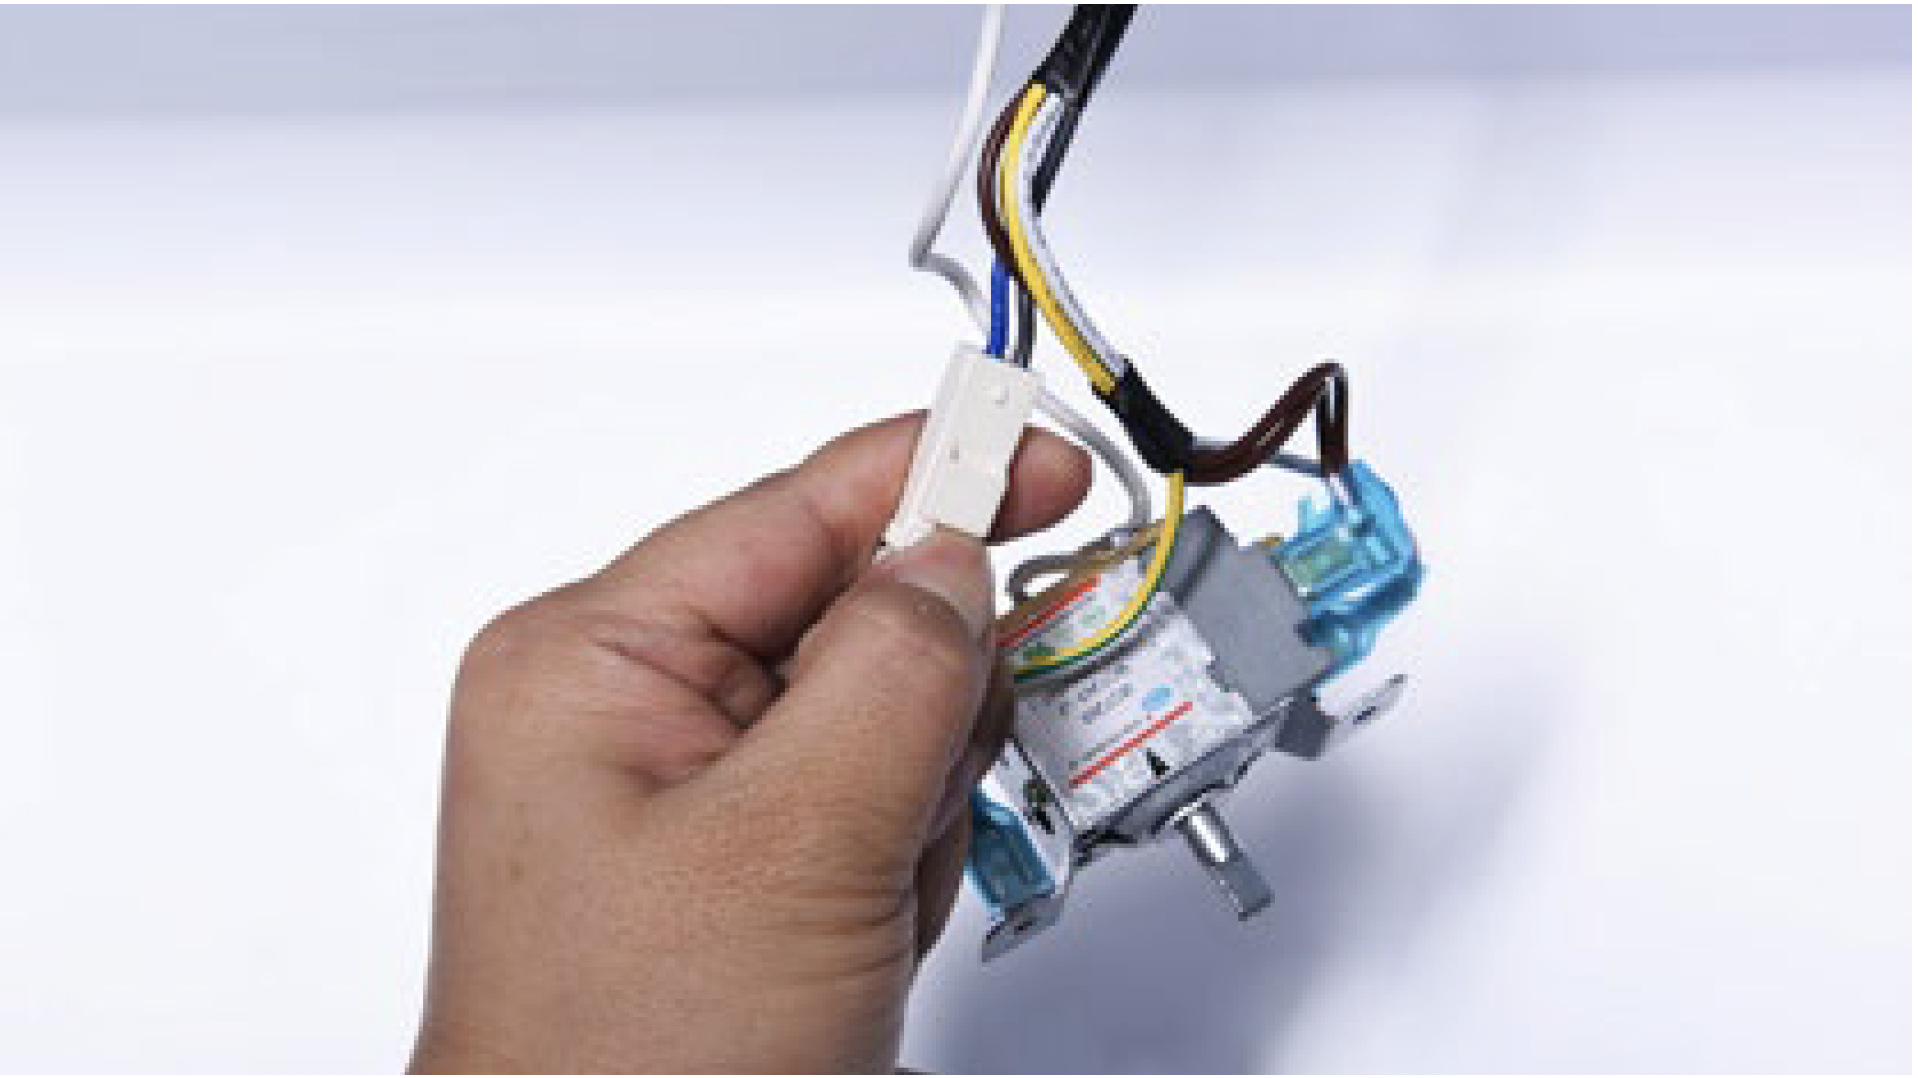
Step 6
Disconnect terminal for thermostat.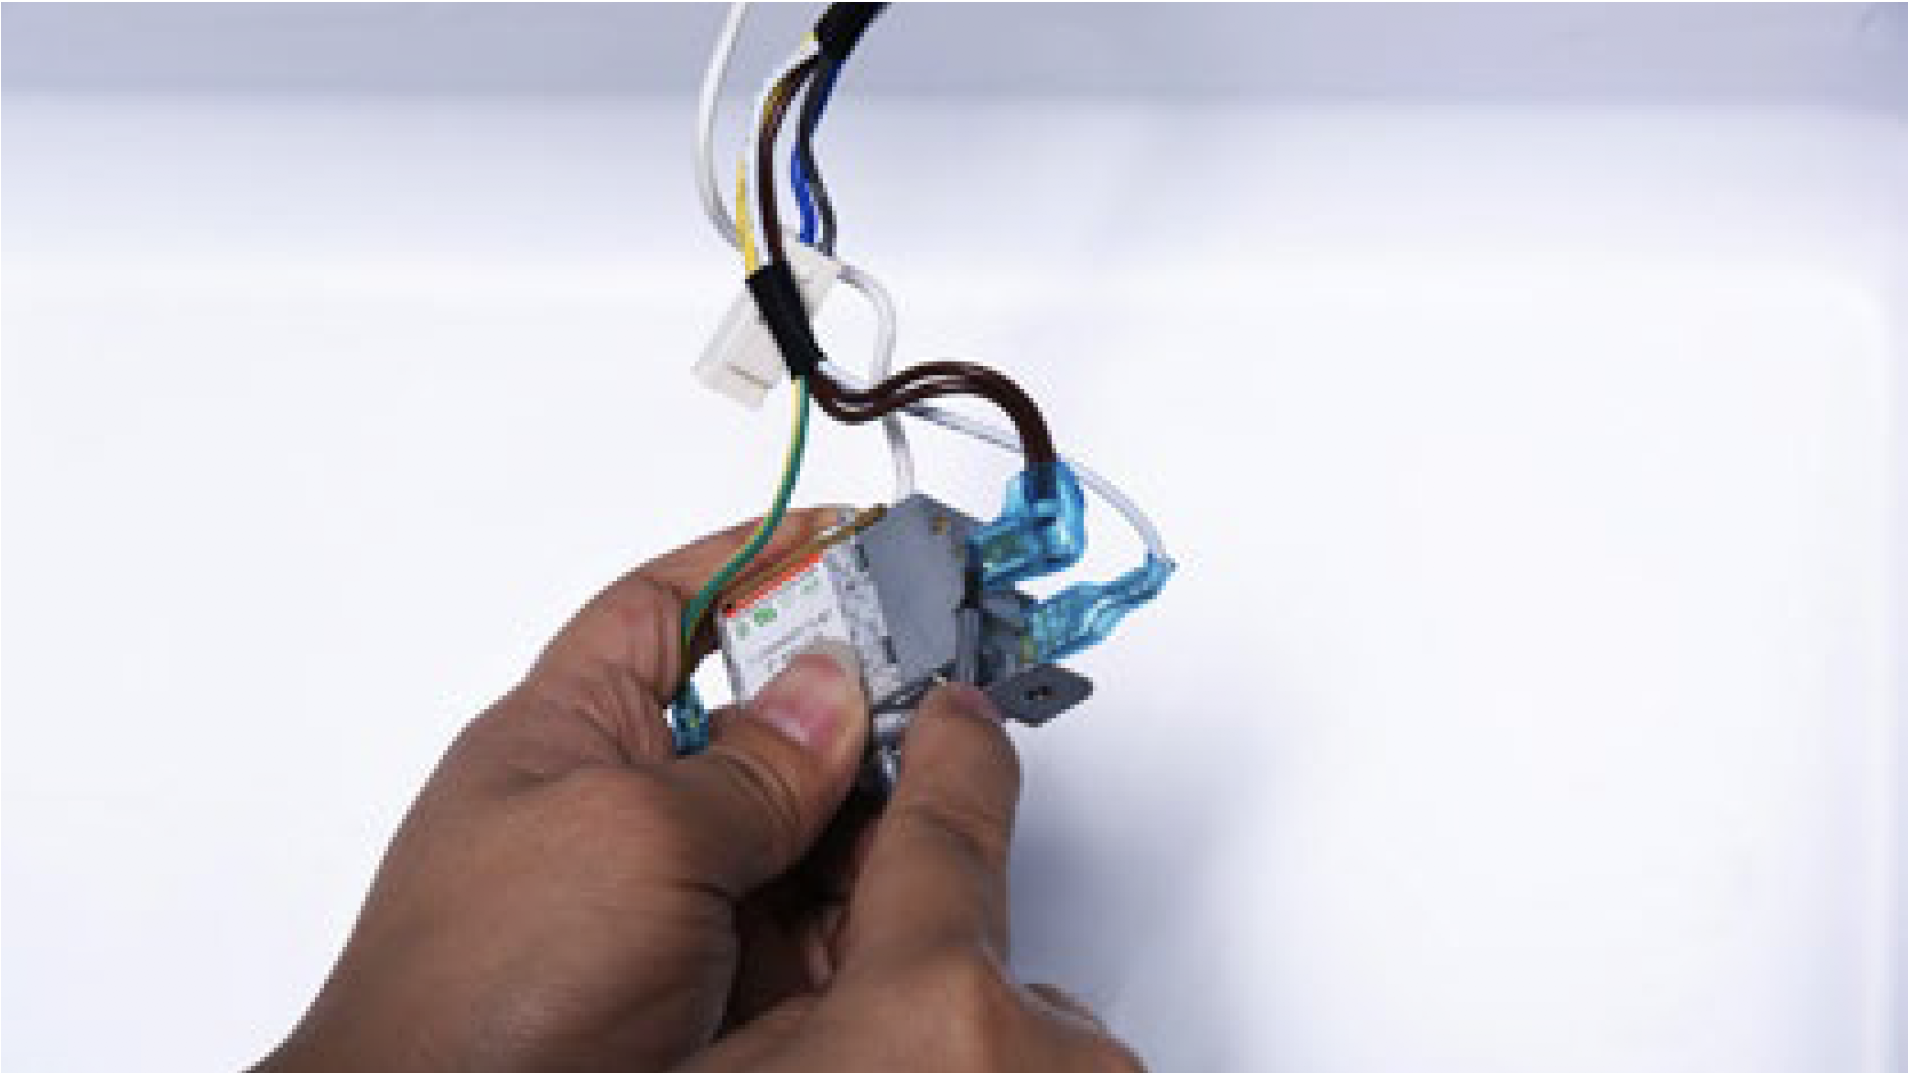
Step 6
Pull capillary out from hole.
PROCEDURE 2
Tips 1:
When inserting capillary into the hole, make sure the first red mark goes in the hole, but second one remains outside of the hole.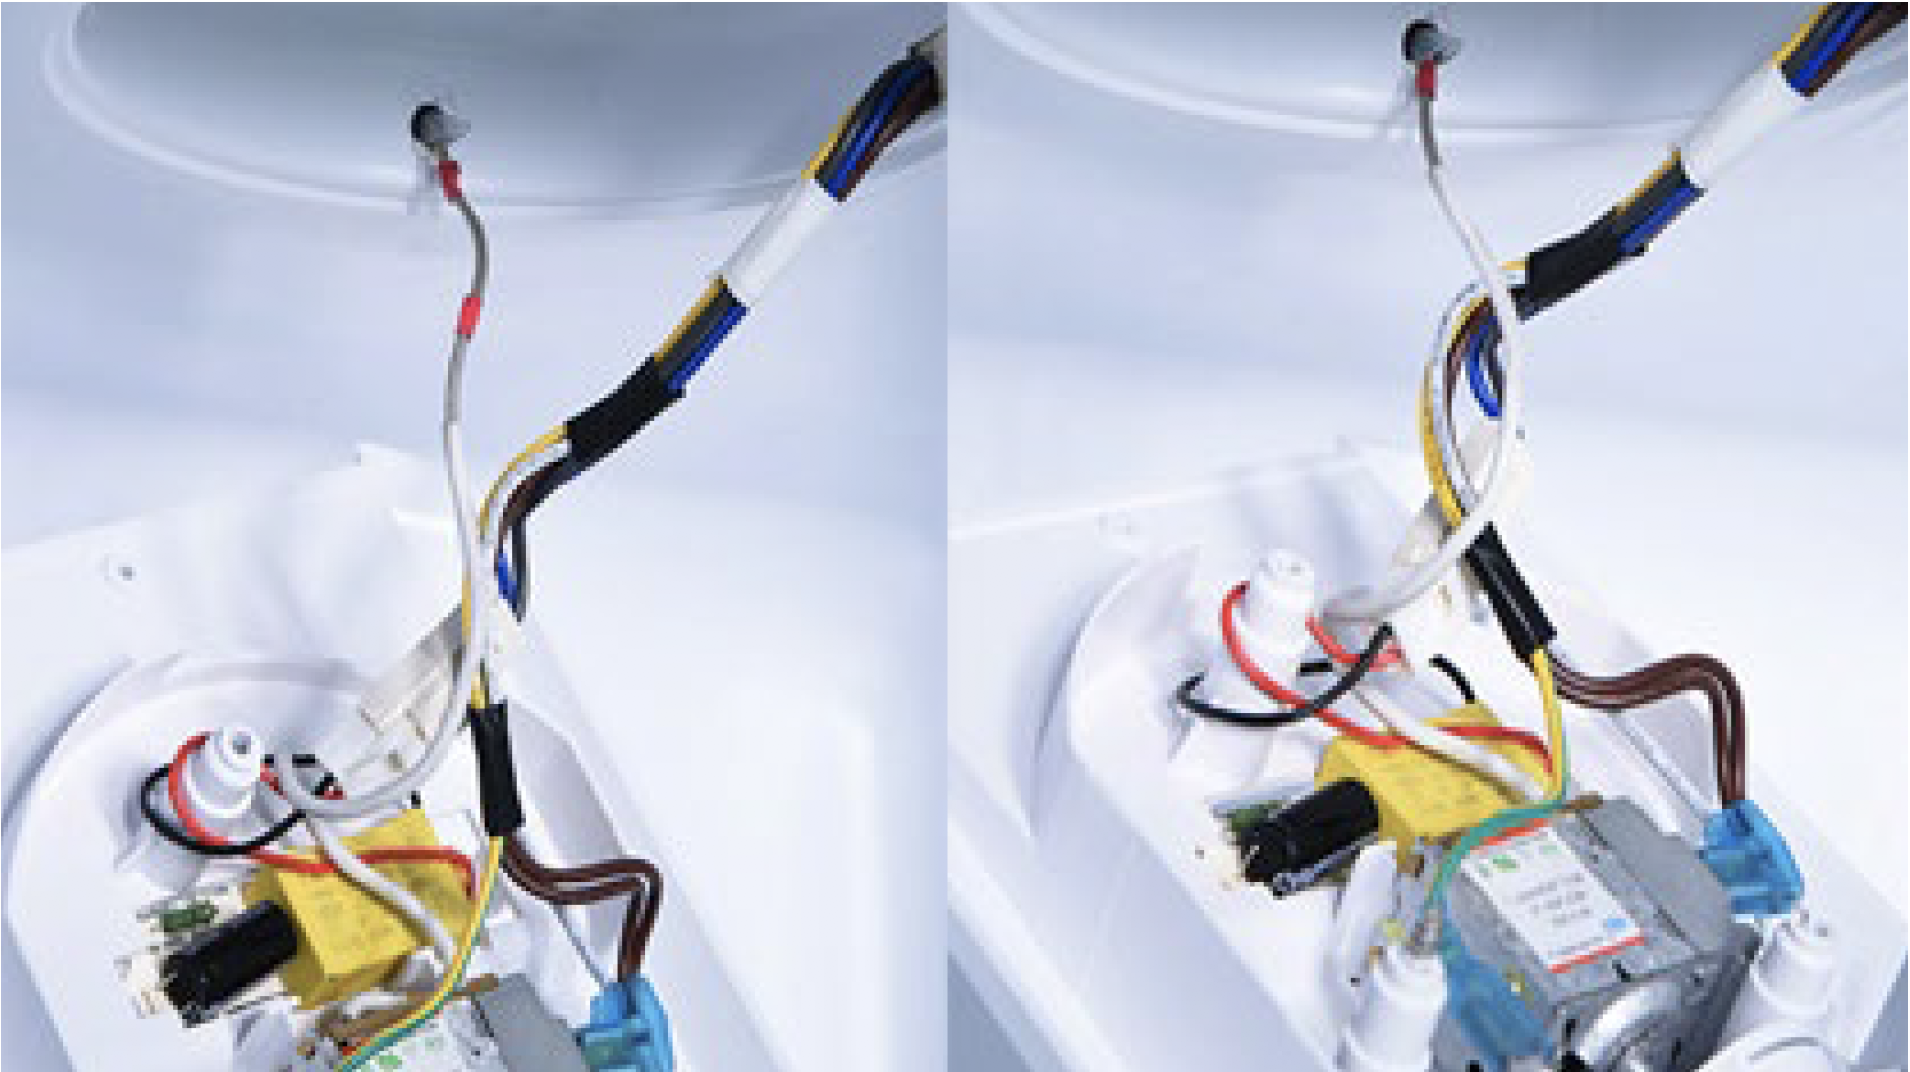
Tips 2:
When inserting thermostat into the buckle, please push the control knob into the buckle first.
Tips 3:
Make sure wires are twisted around screw pole to avoid damaging wires with screw.

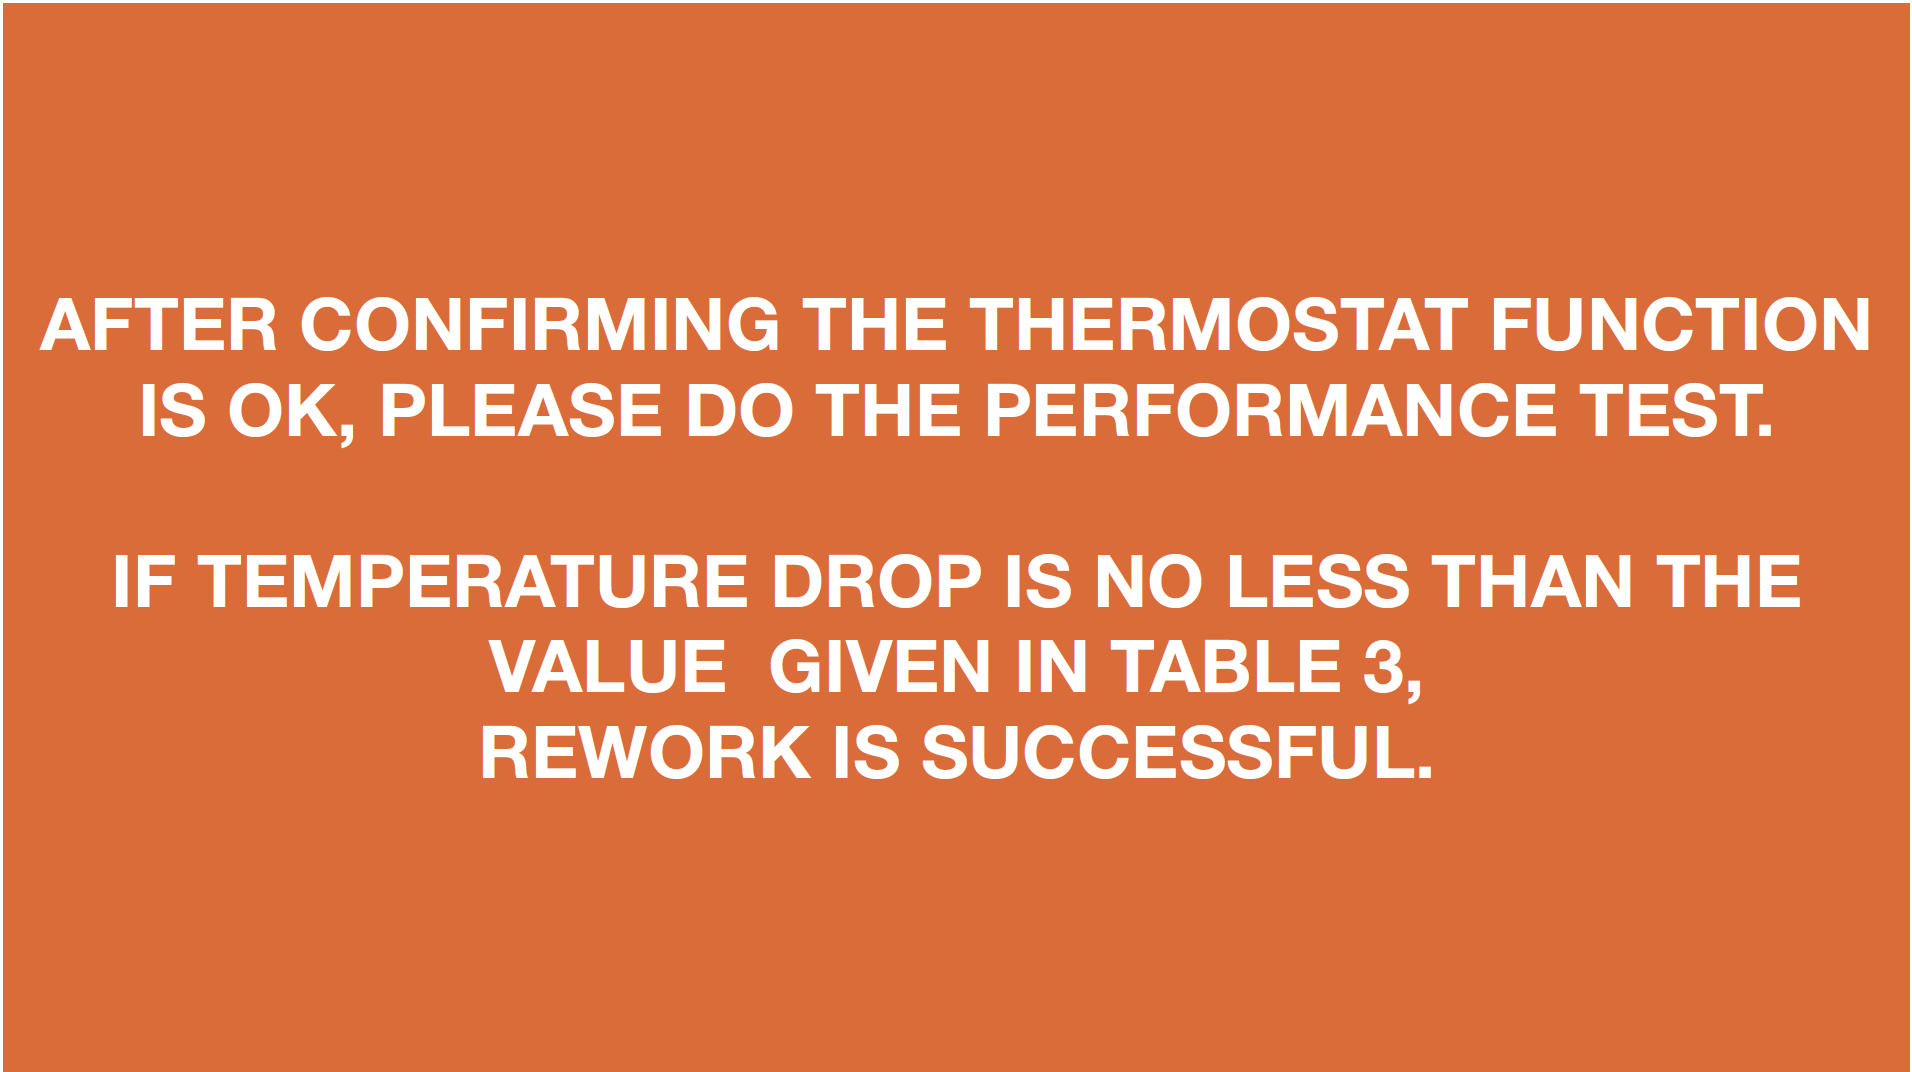
CHECK AND TEST 3

Step 1
Set thermostat to max-1, and plug in to switch on the appliance.
Step 2
After first stop, please consult table 1 to find out bulb position, then measure temperature in the area of thermostat’s bulb.
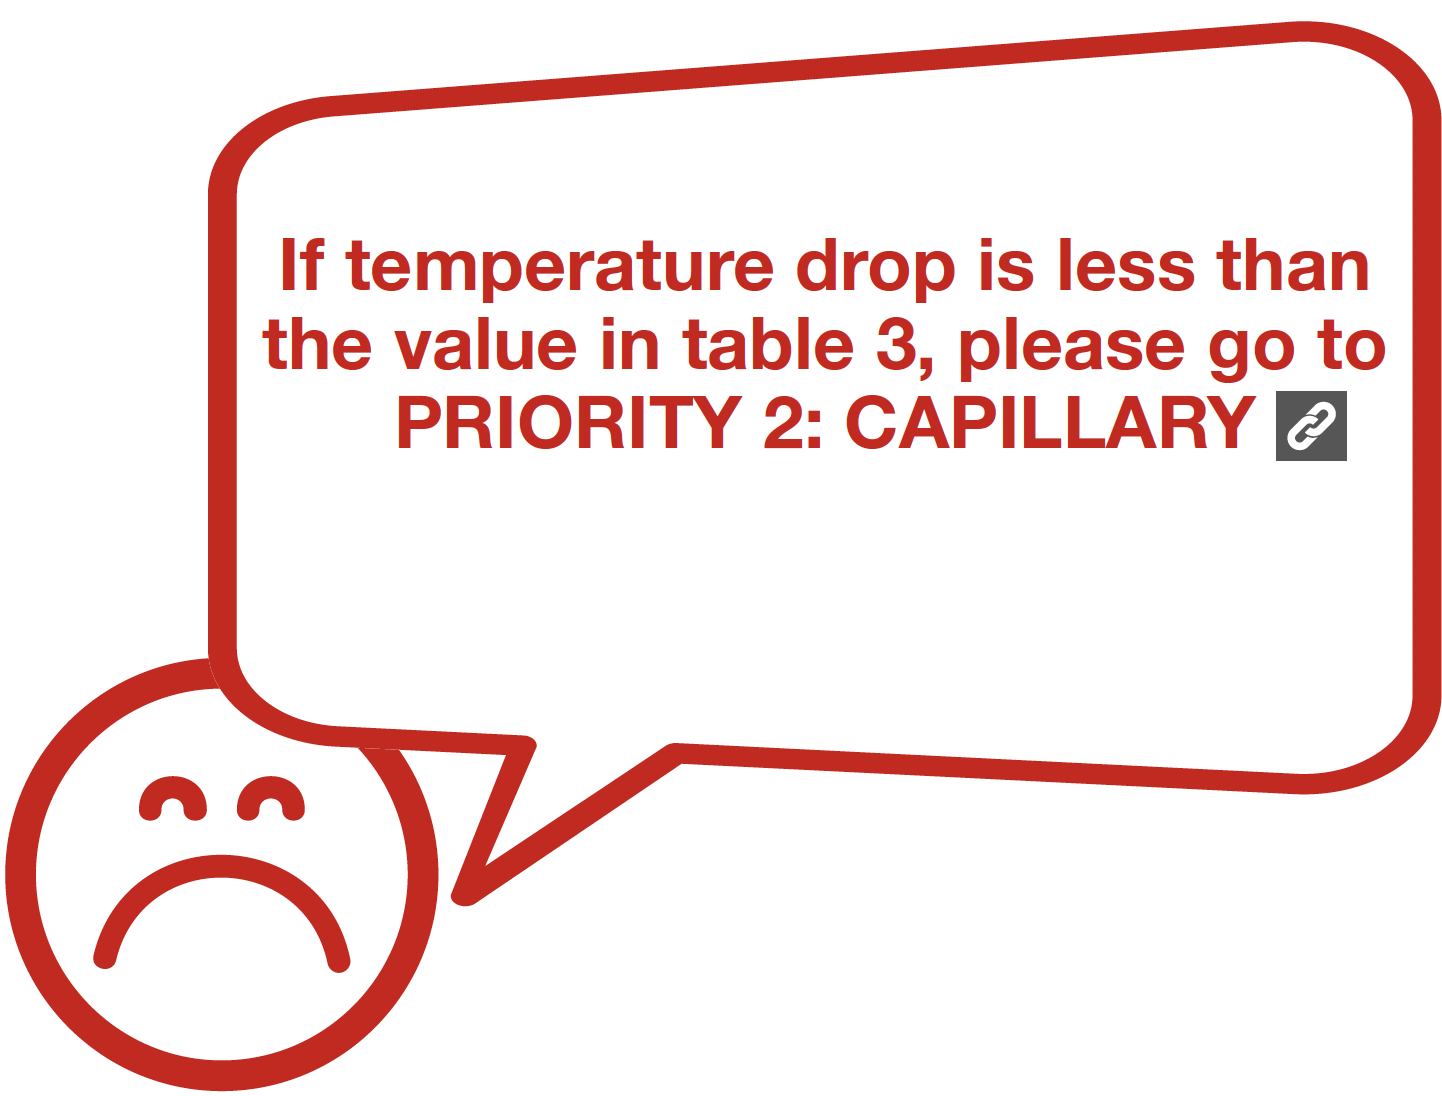
DIAGNOSIS 3
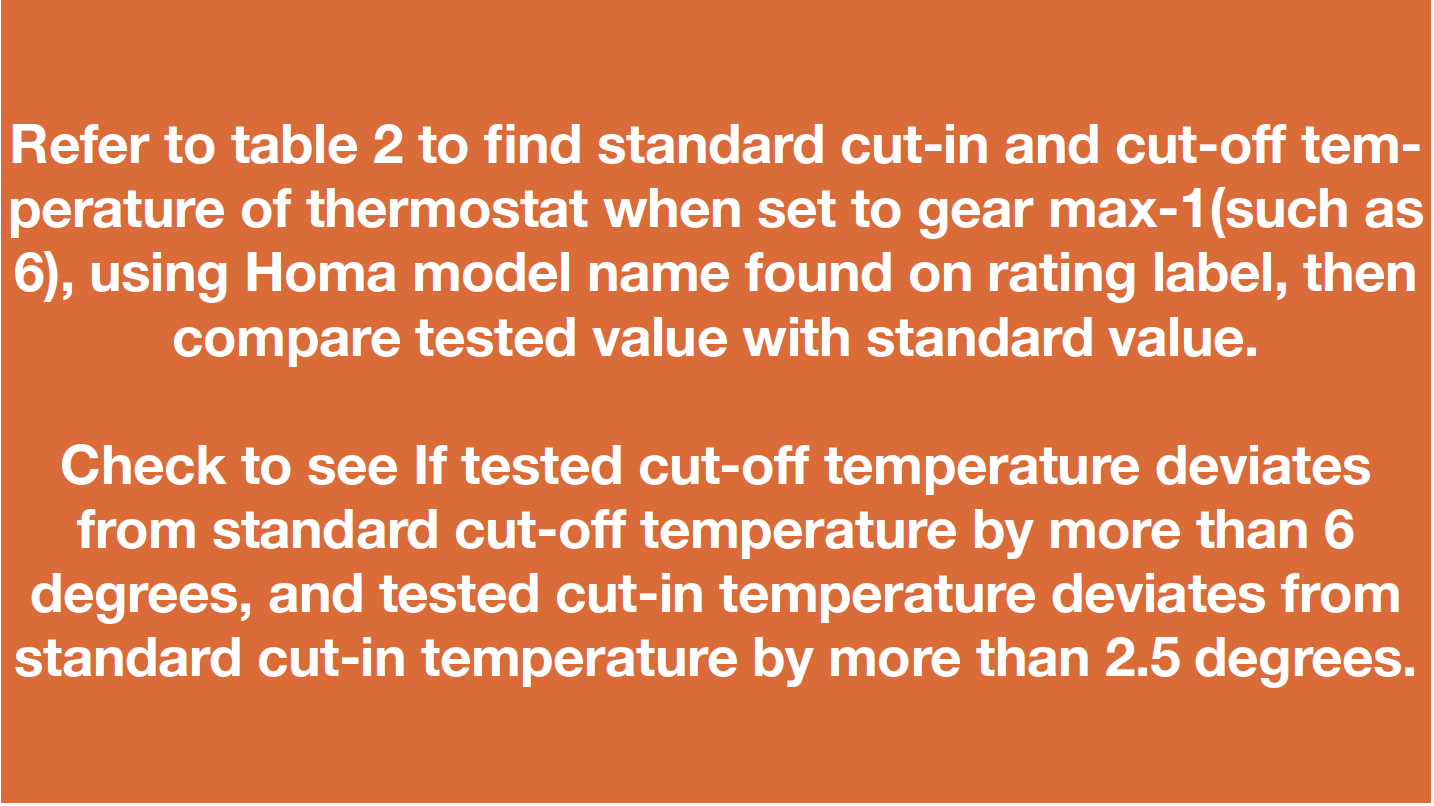

DIAGNOSIS 4


NOTE

CHECK AND TEST 1
Step 1
Plug off the product and open the door to let internal temp warm up to ambient temperature.
Step 2
Set the knob of thermostat at gear max-1, and plug in to switch on the appliance.

DIAGNOSIS 1


CHECK AND TEST 2
Step 1
After first stop, pleaseconsult table 1 to find
out bulb position, then
measure temperature in
the area of thermostat’s
bulb.

DIAGNOSIS 2


PROCEDURE 1

Step 1
Lever off the screw cover.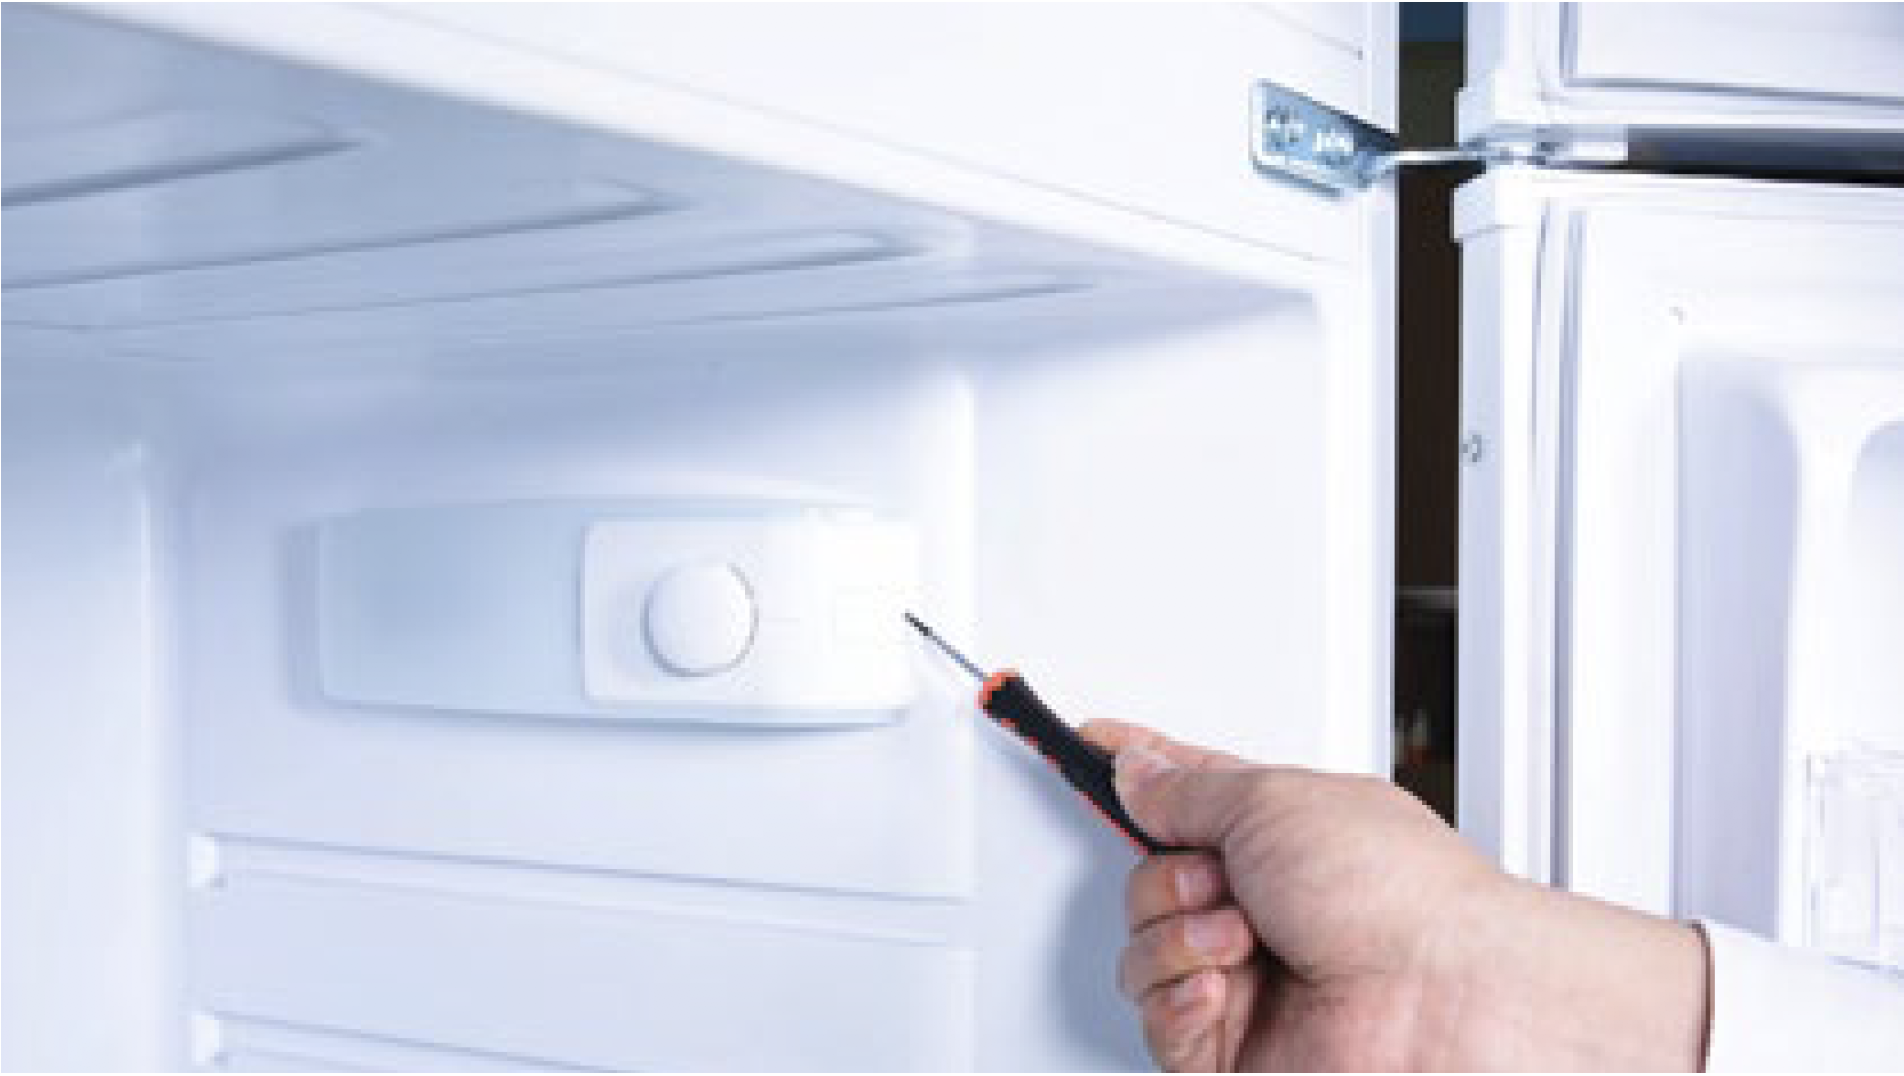
Step 2
Unscrew.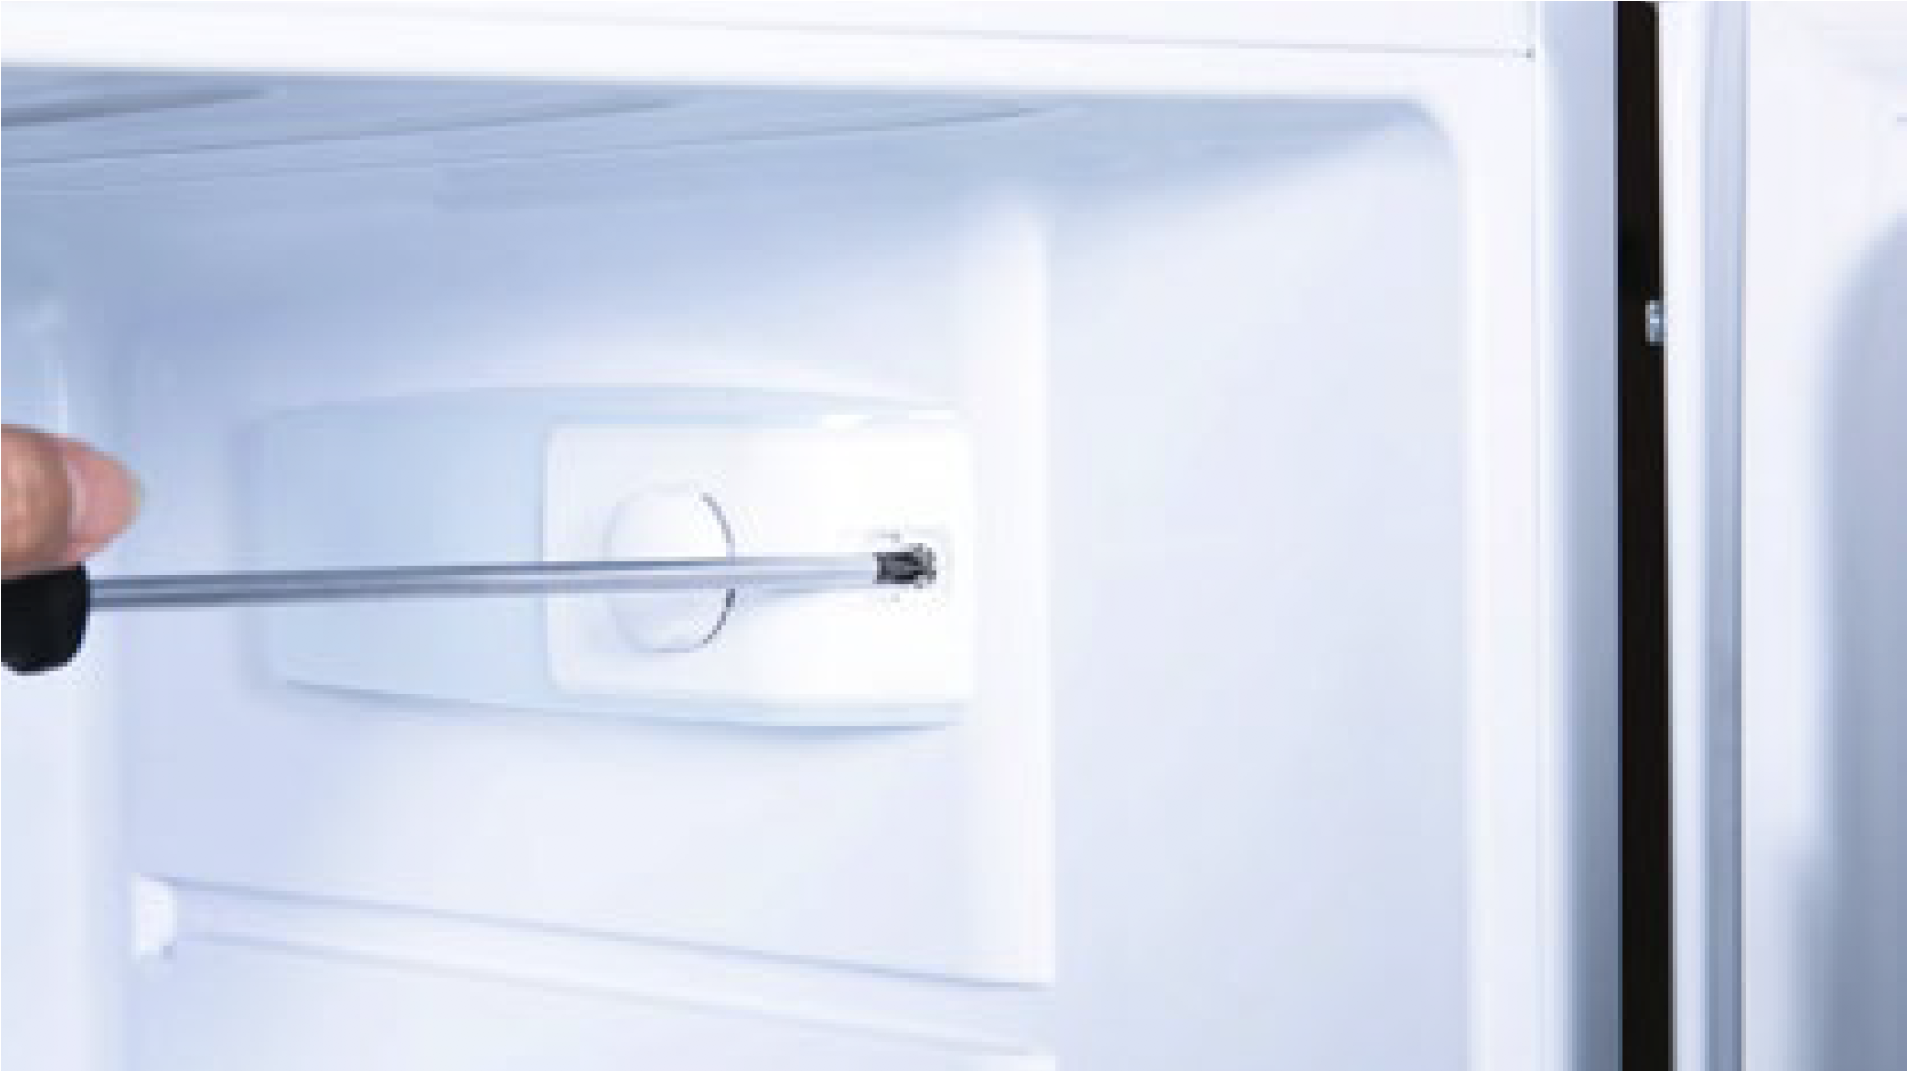
Step 3
Remove thermostat cover.
Step 4
Pull capillary from the hole.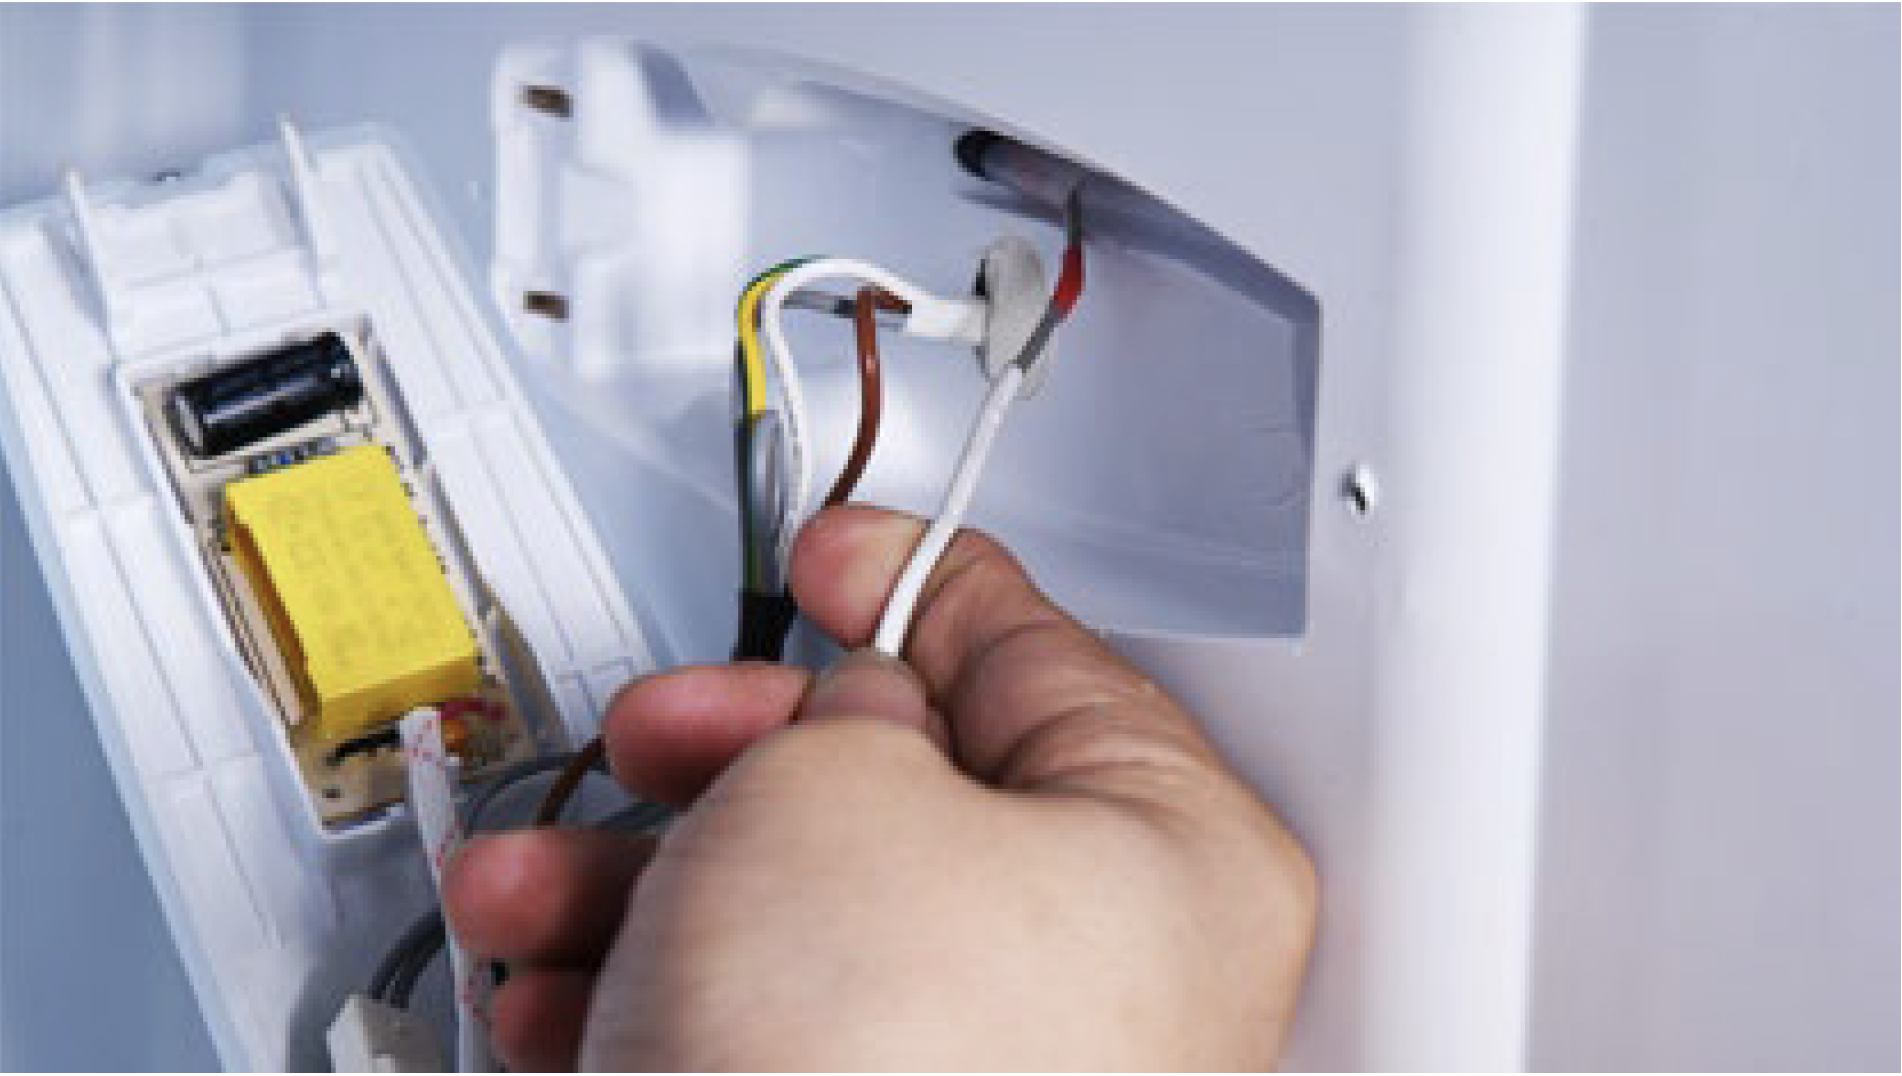
Step 5
Disconnect terminal for LED.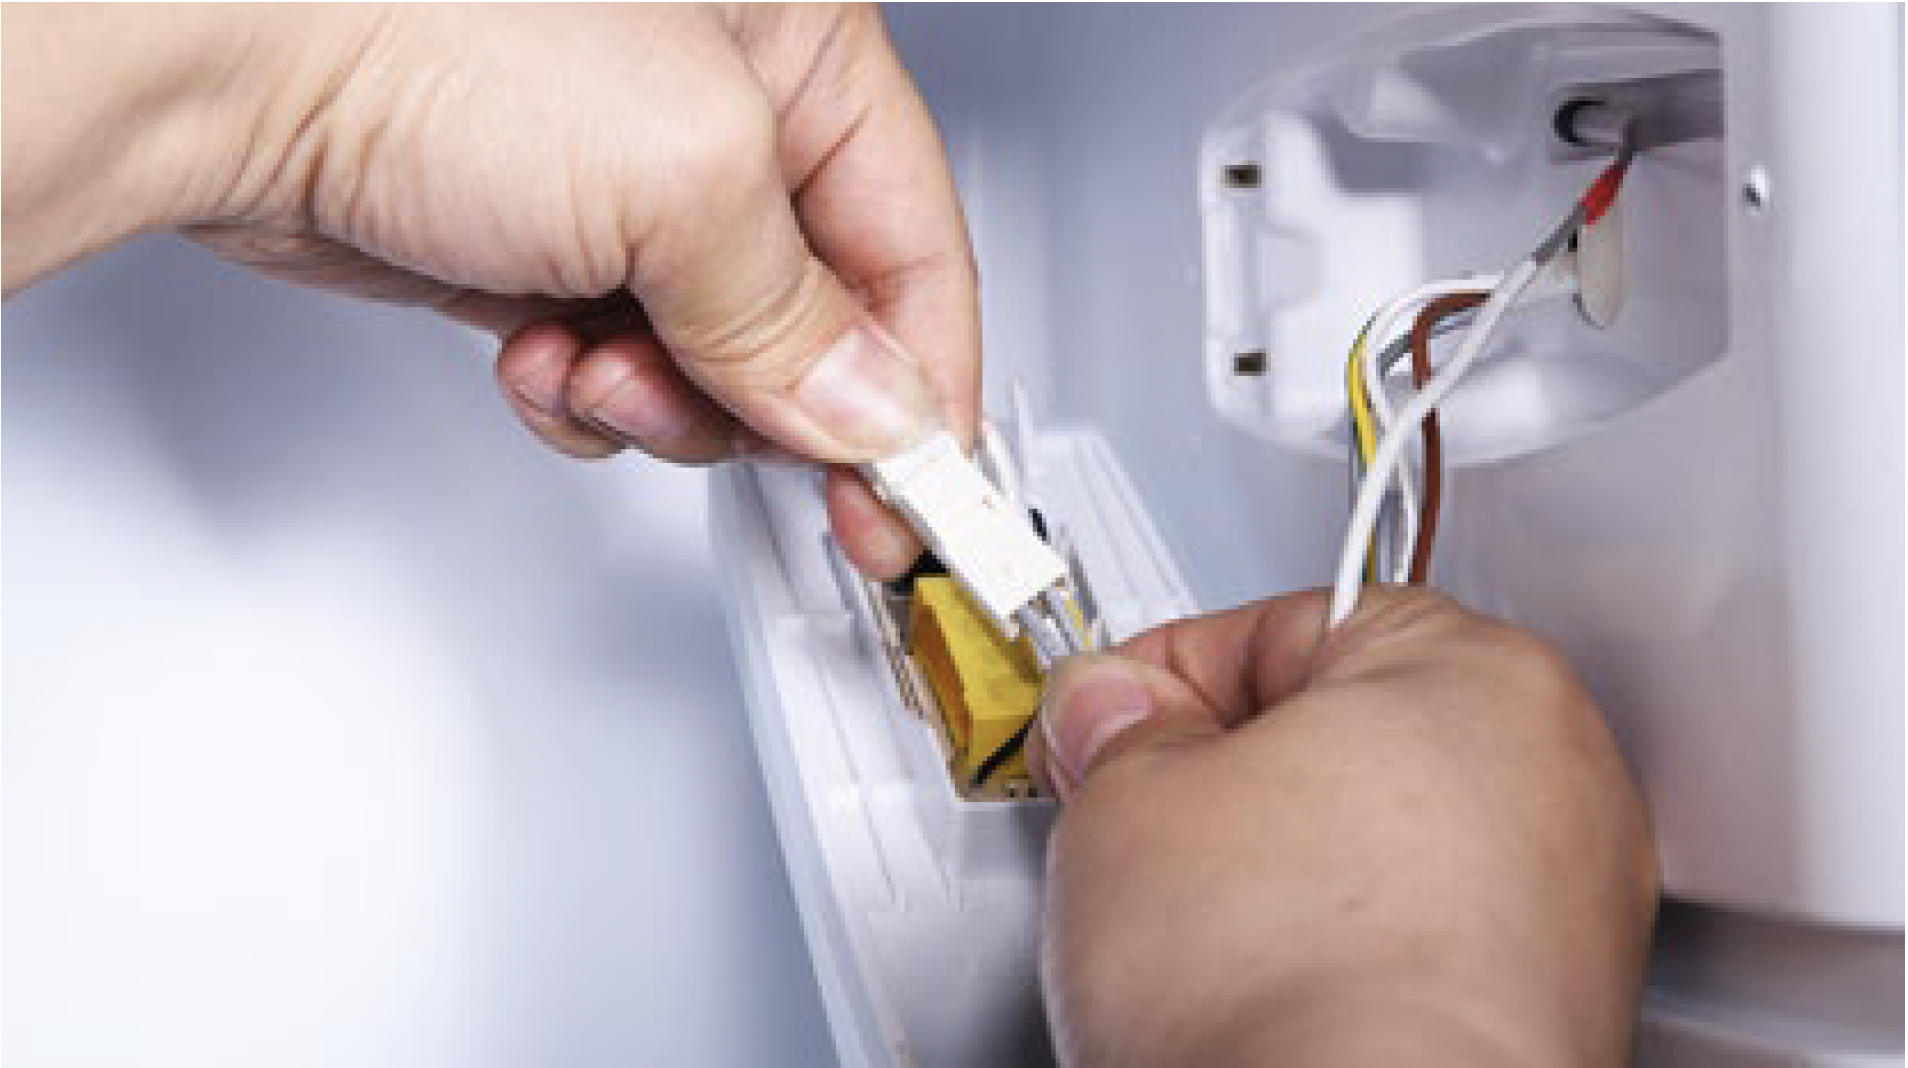
Step 6
Disconnect terminal for thermostat.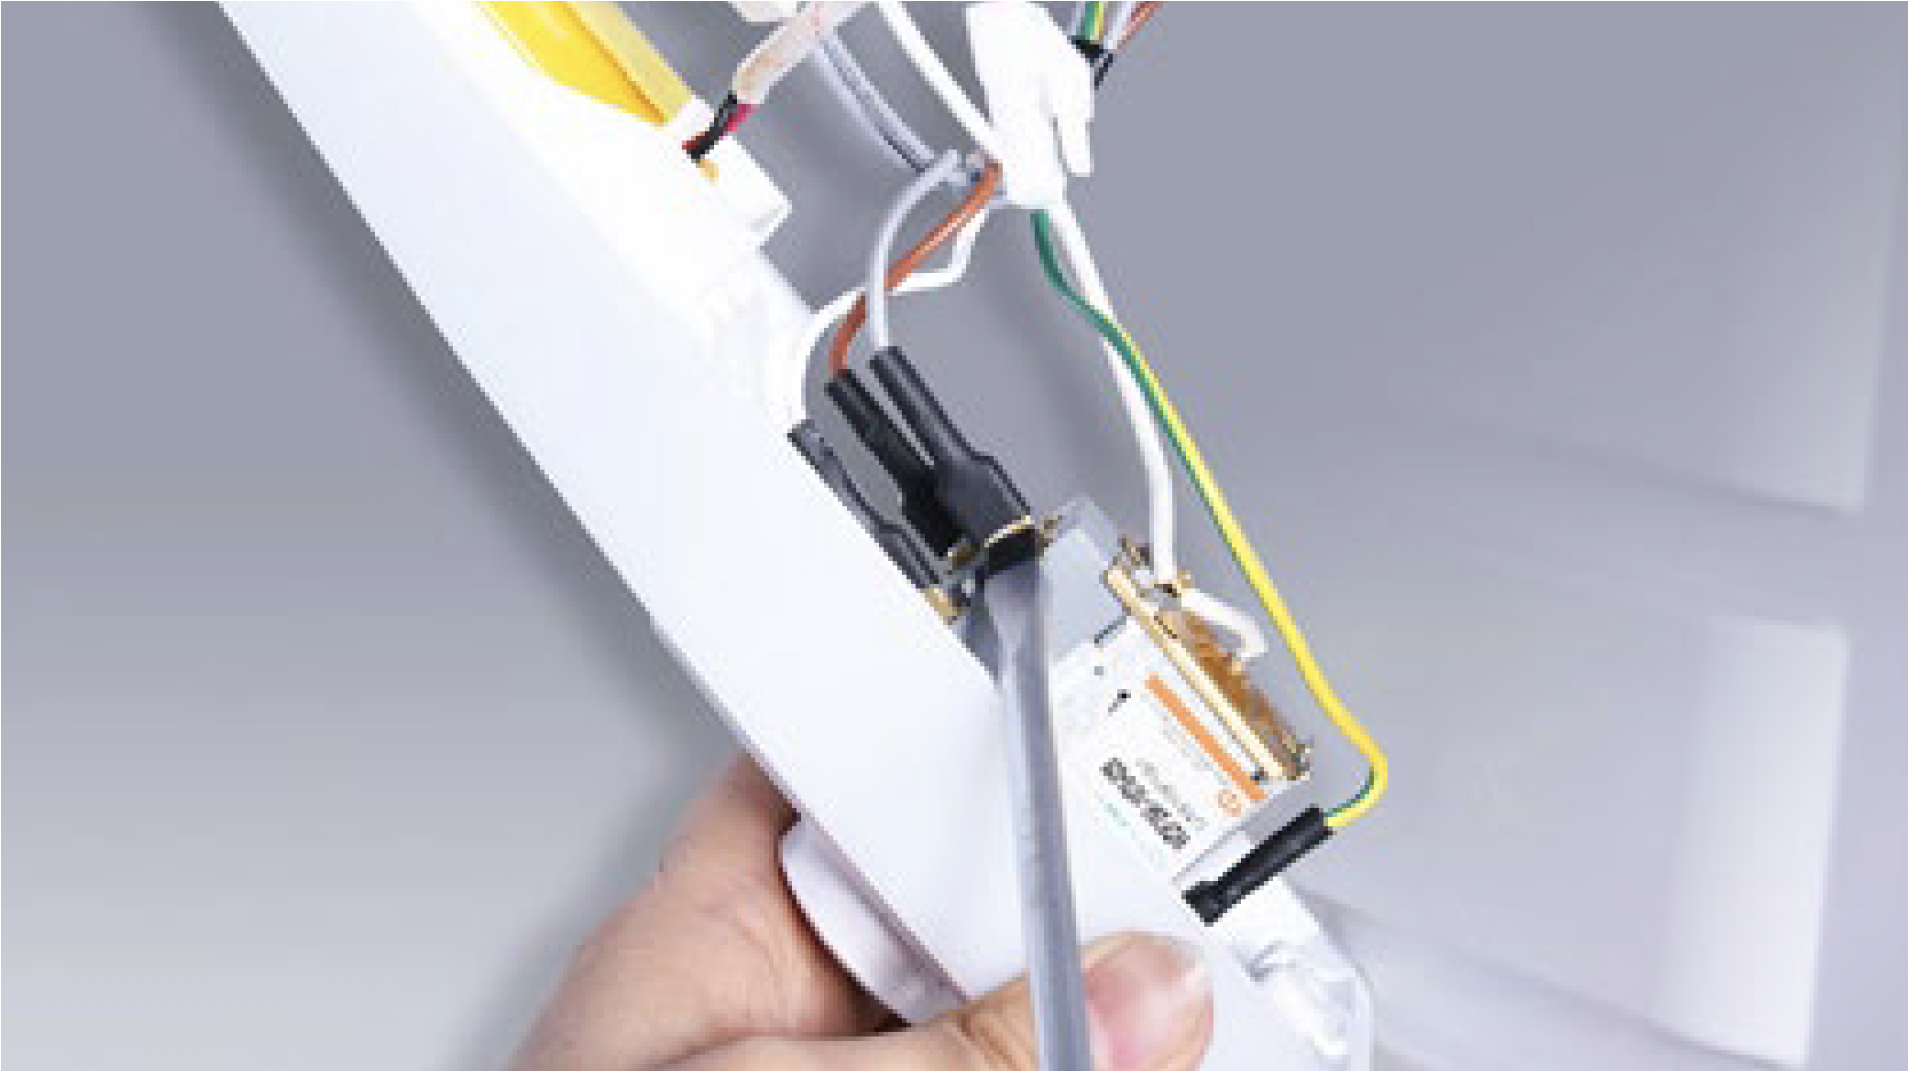
Step 7
Lever off the knob.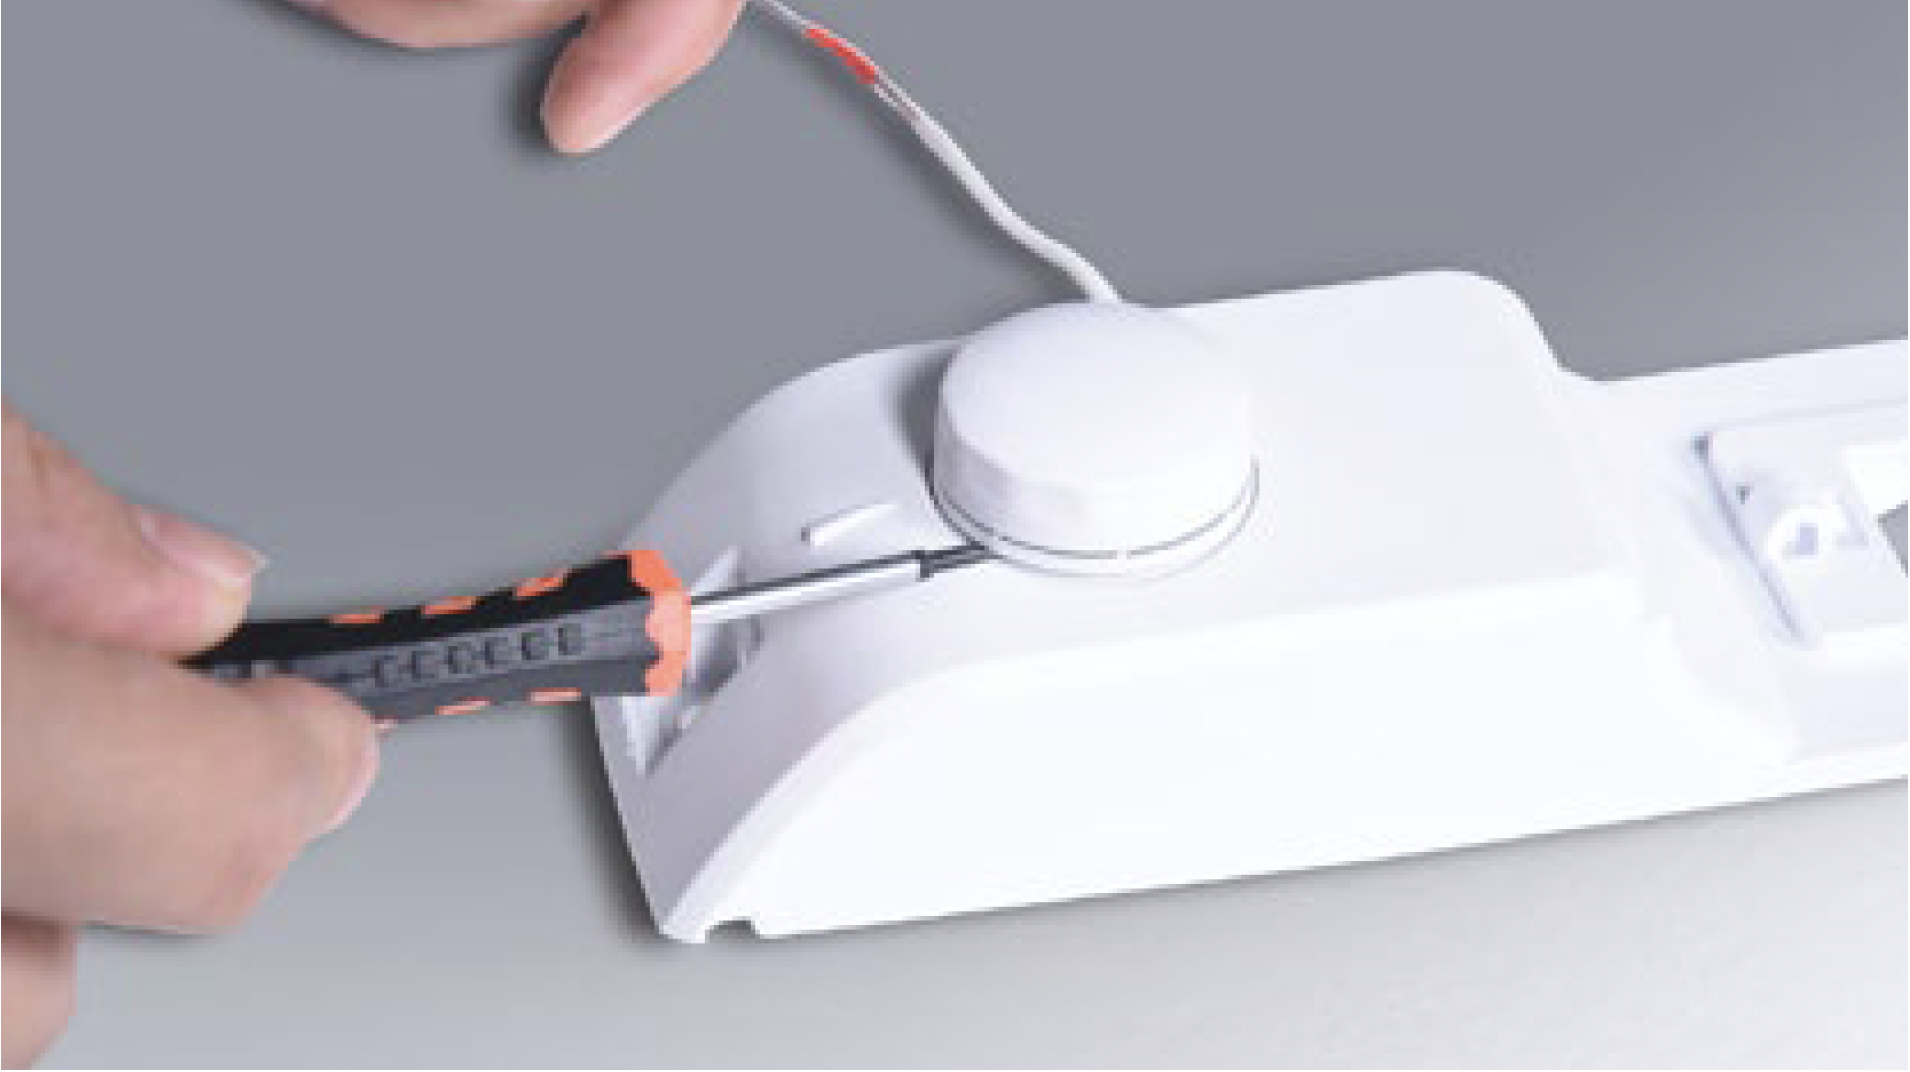
Step 8
Unscrew the nut.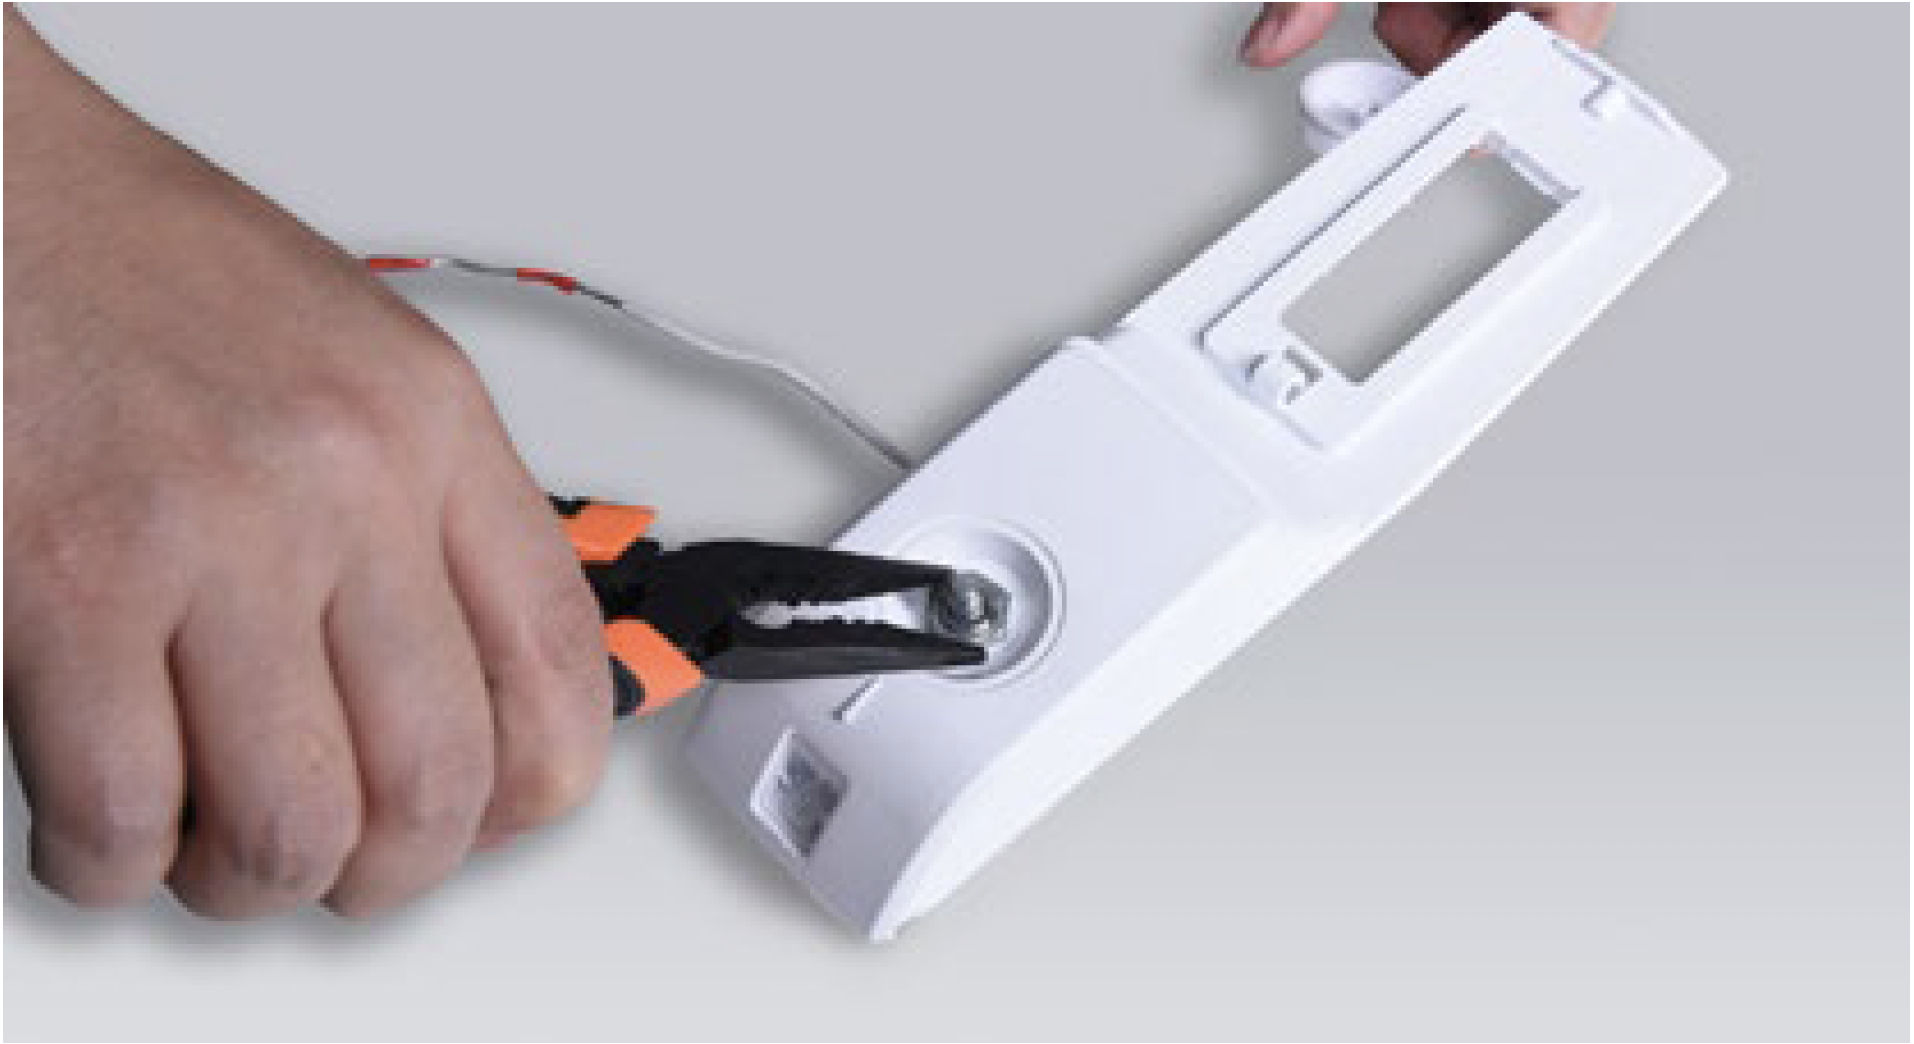
Step 9
Remove the thermostat.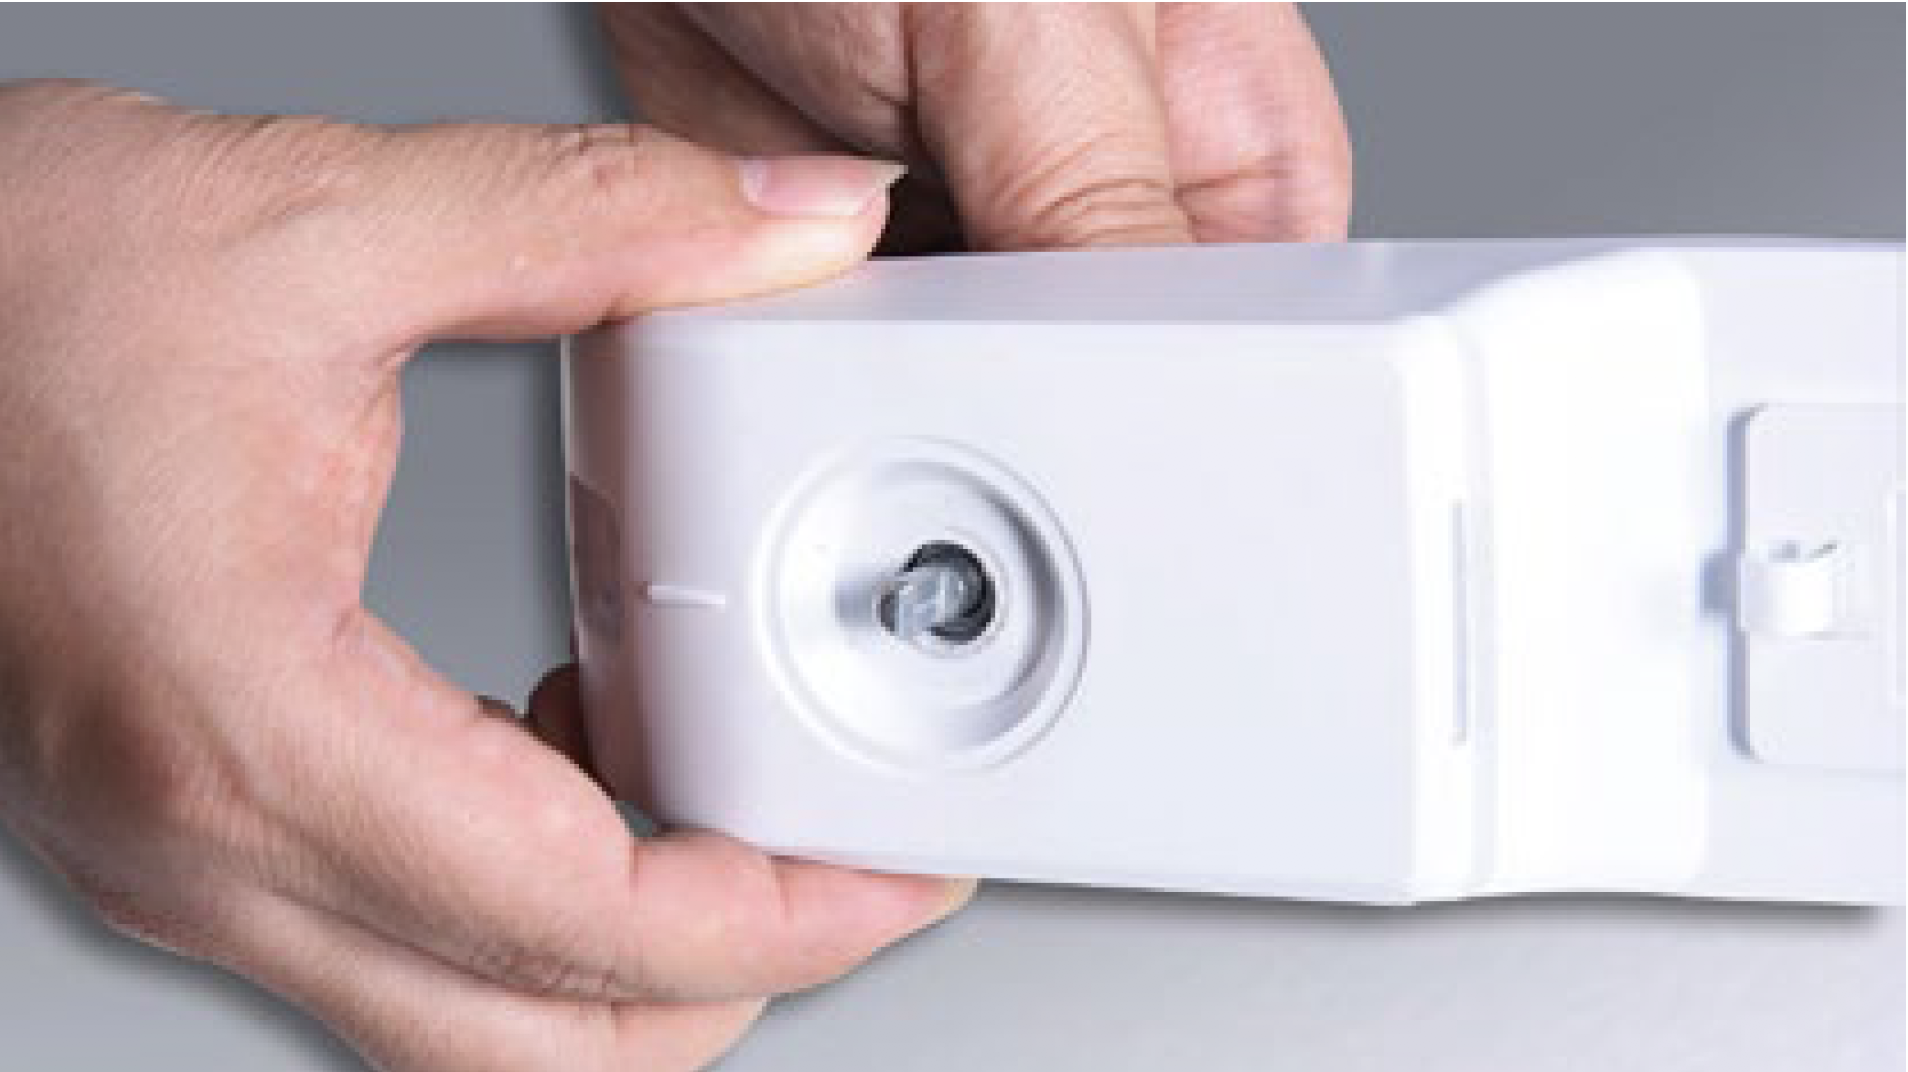
PROCEDURE 2
Tips 1:
When inserting capillary into the hole, make sure the first red mark goes into the hole, but second one remains outside of the hole.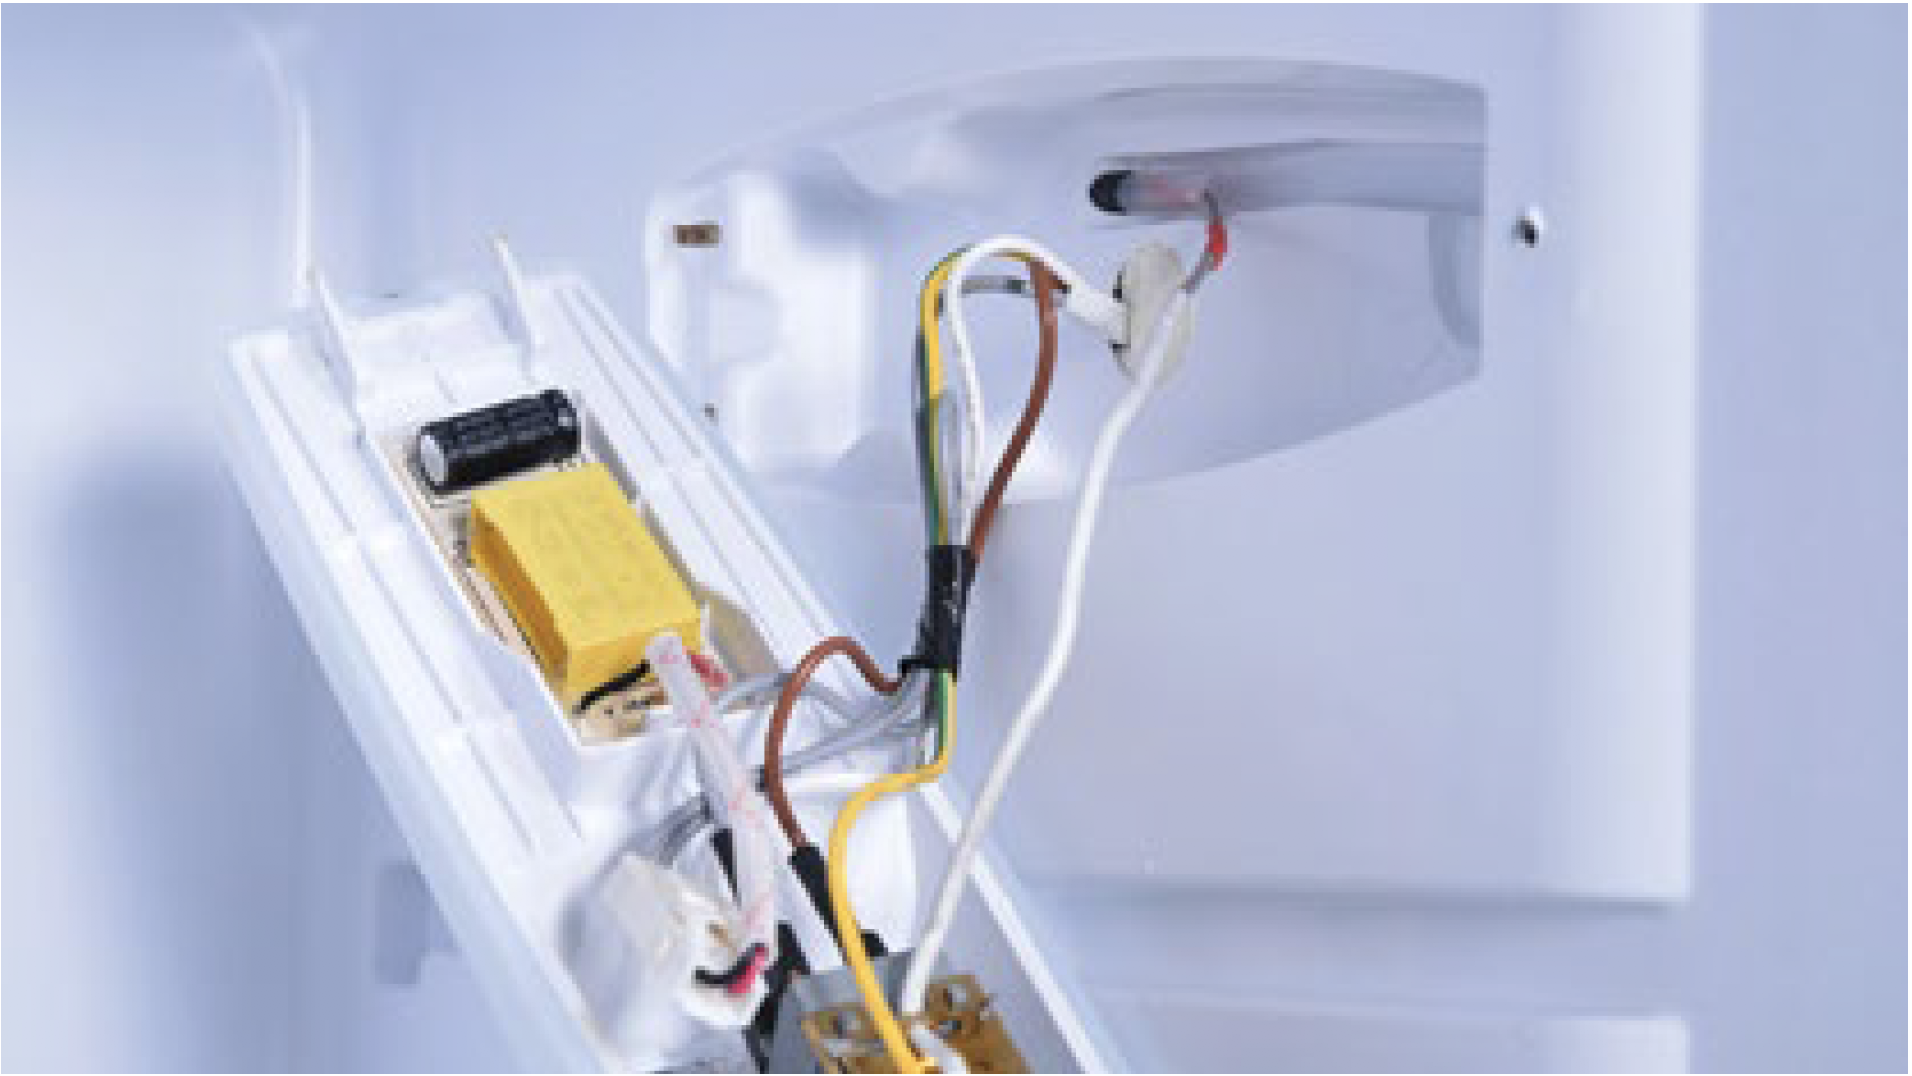
Tips 2:
Make sure the pins of thermostat cover are inserted into the holes.
Tips 3:
Make sure wires are placed into cavity of thermostat.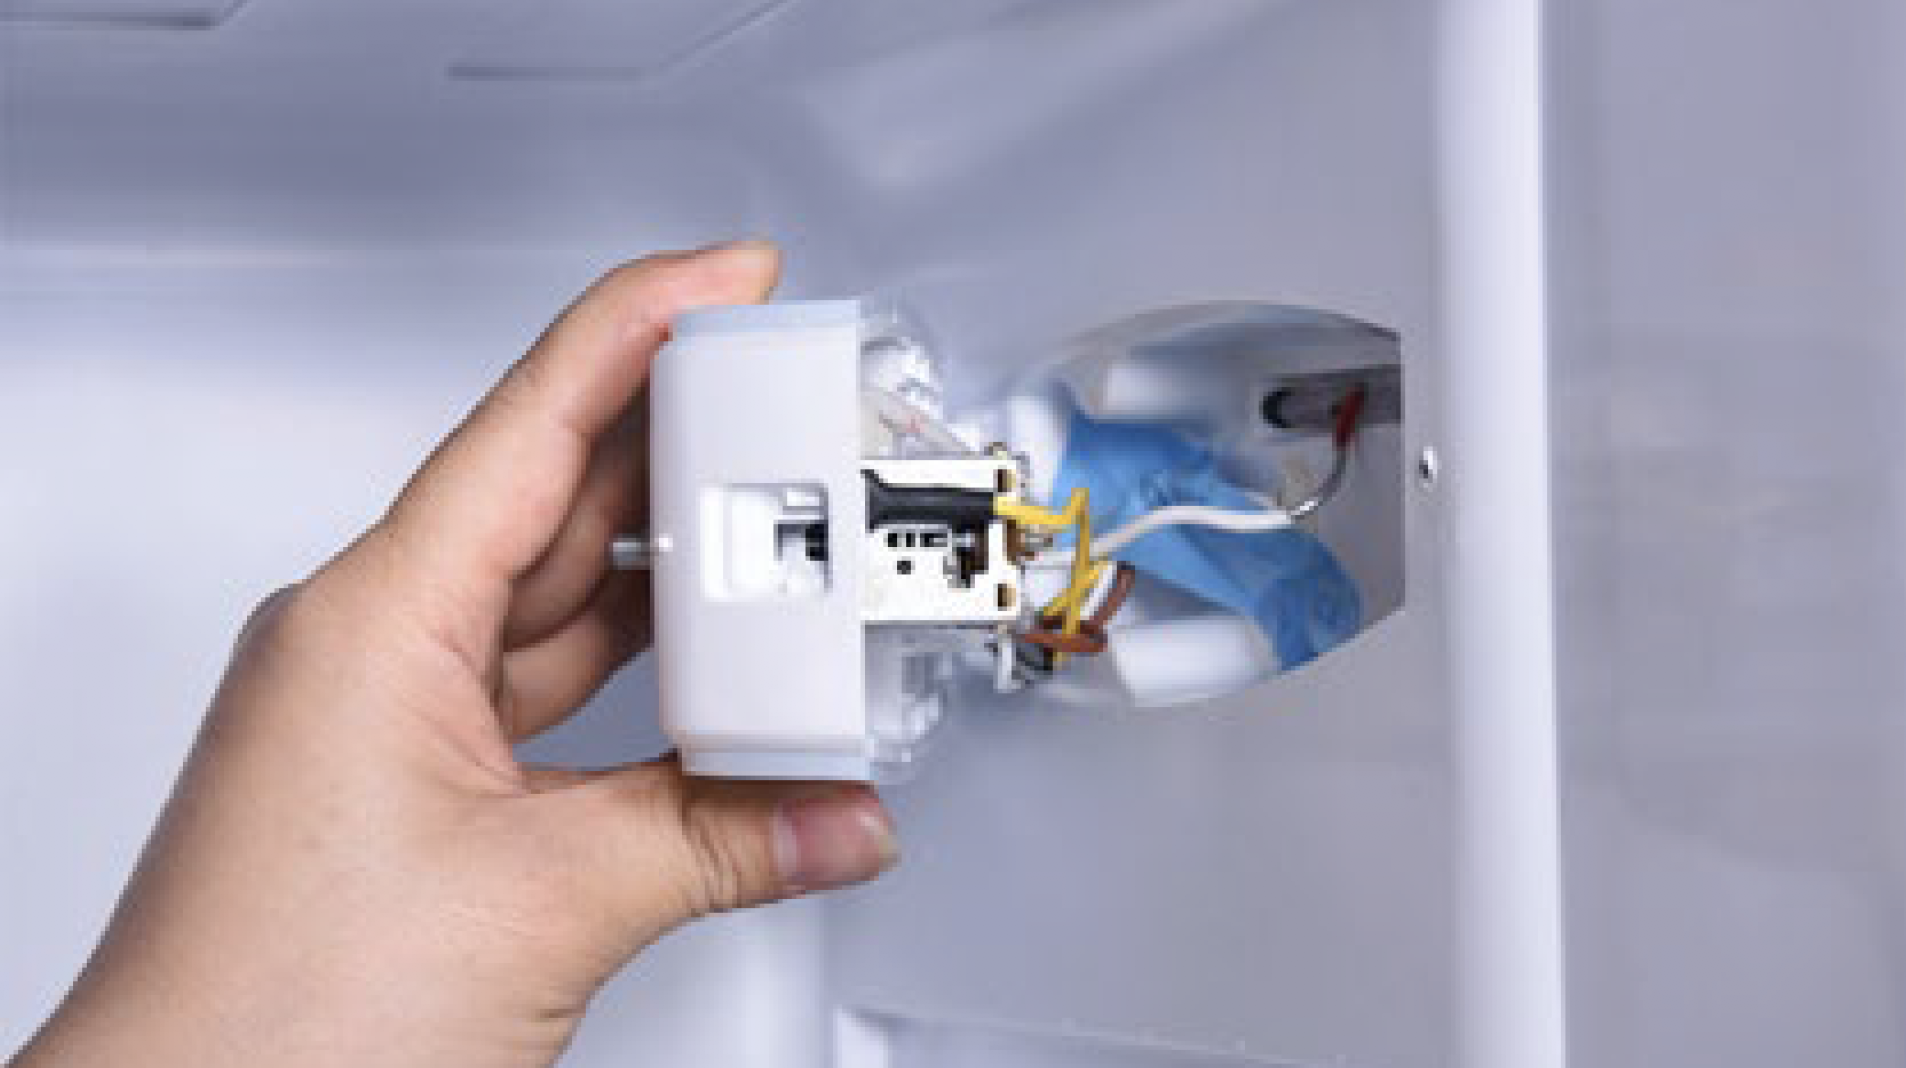
CHECK AND TEST 3

Step 1
After first stop, please consult table 1 to find out bulb position, then measure temperature in the area of thermostat’s bulb.

DIAGNOSIS 3

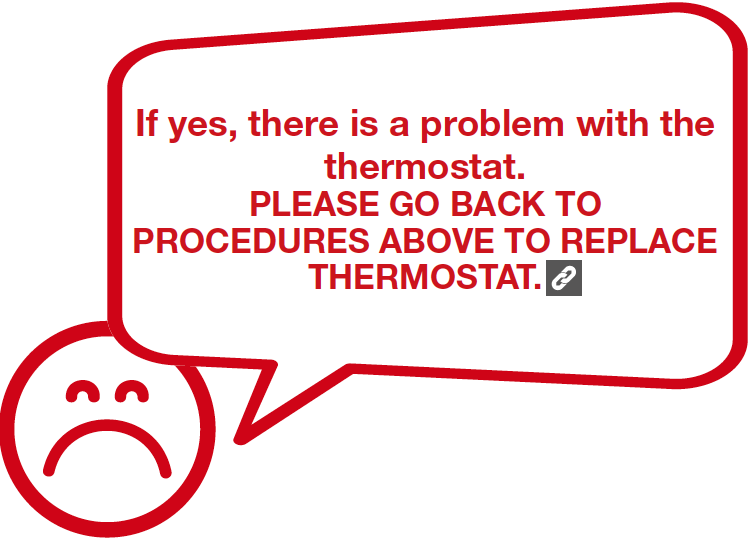
DIAGNOSIS 4


GO BACK TO COMPONENT LIST