


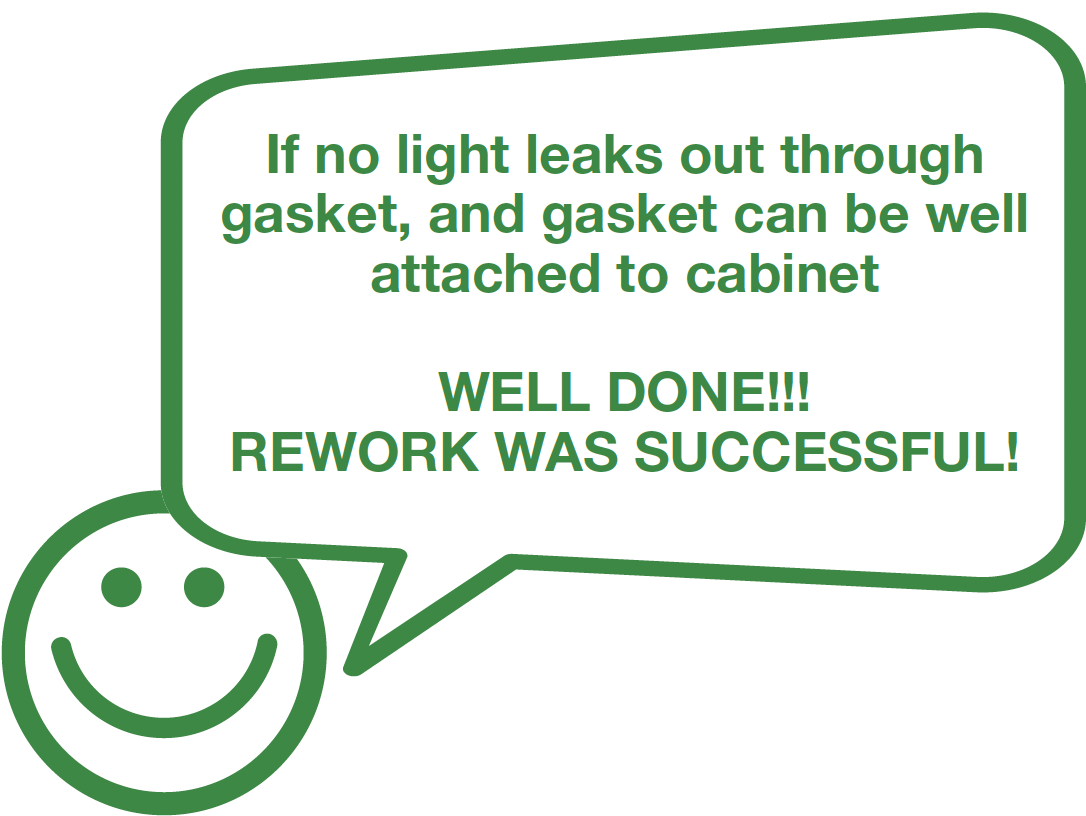
CHECK AND TEST 1
Step 1
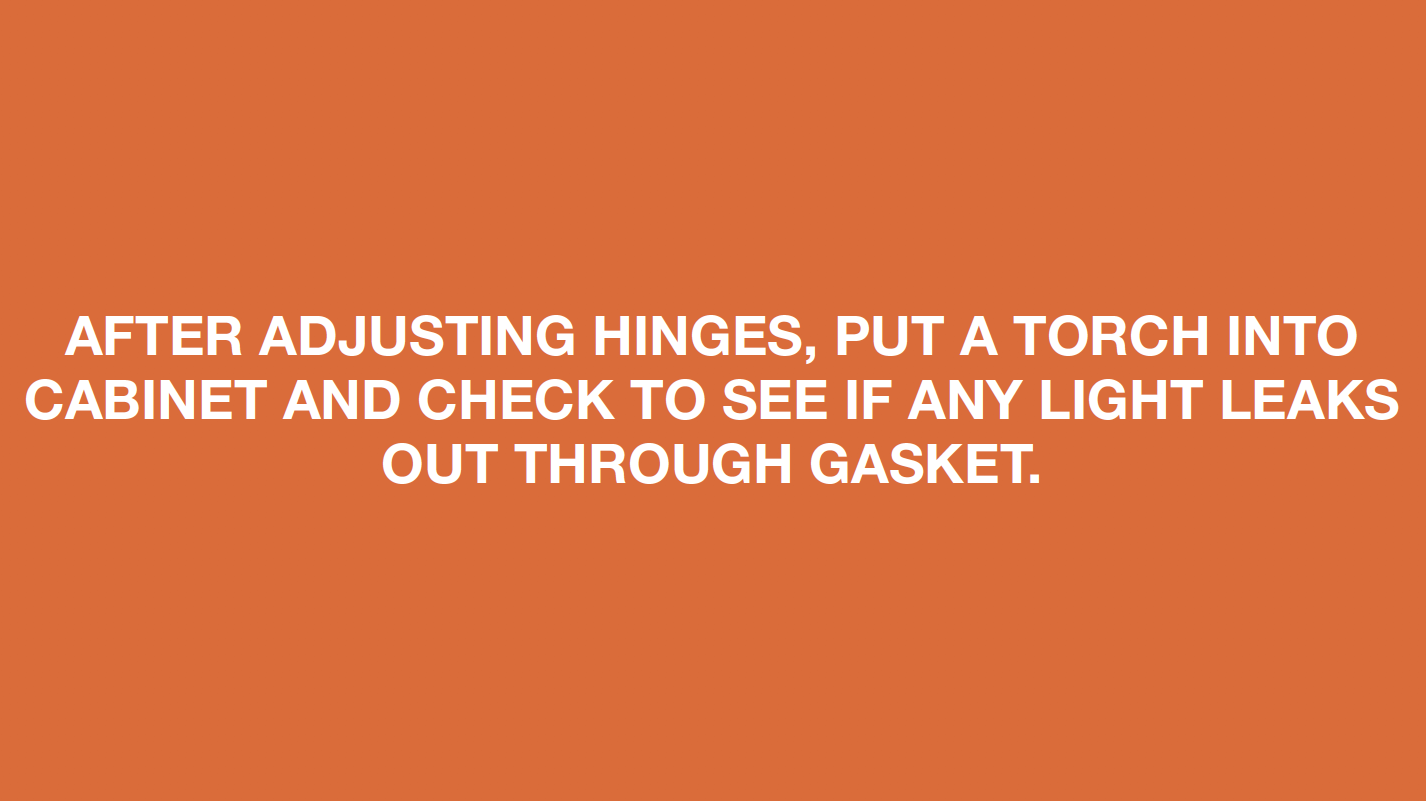
Place a torch in cabinet, then close the door and check to see if light leaks out from gasket.

Step 2
Blow hot air onto gasket with hair dryer to soften, so that gasket can be easily attached onto cabinet.

DIAGNOSIS 1

PROCEDURE 1
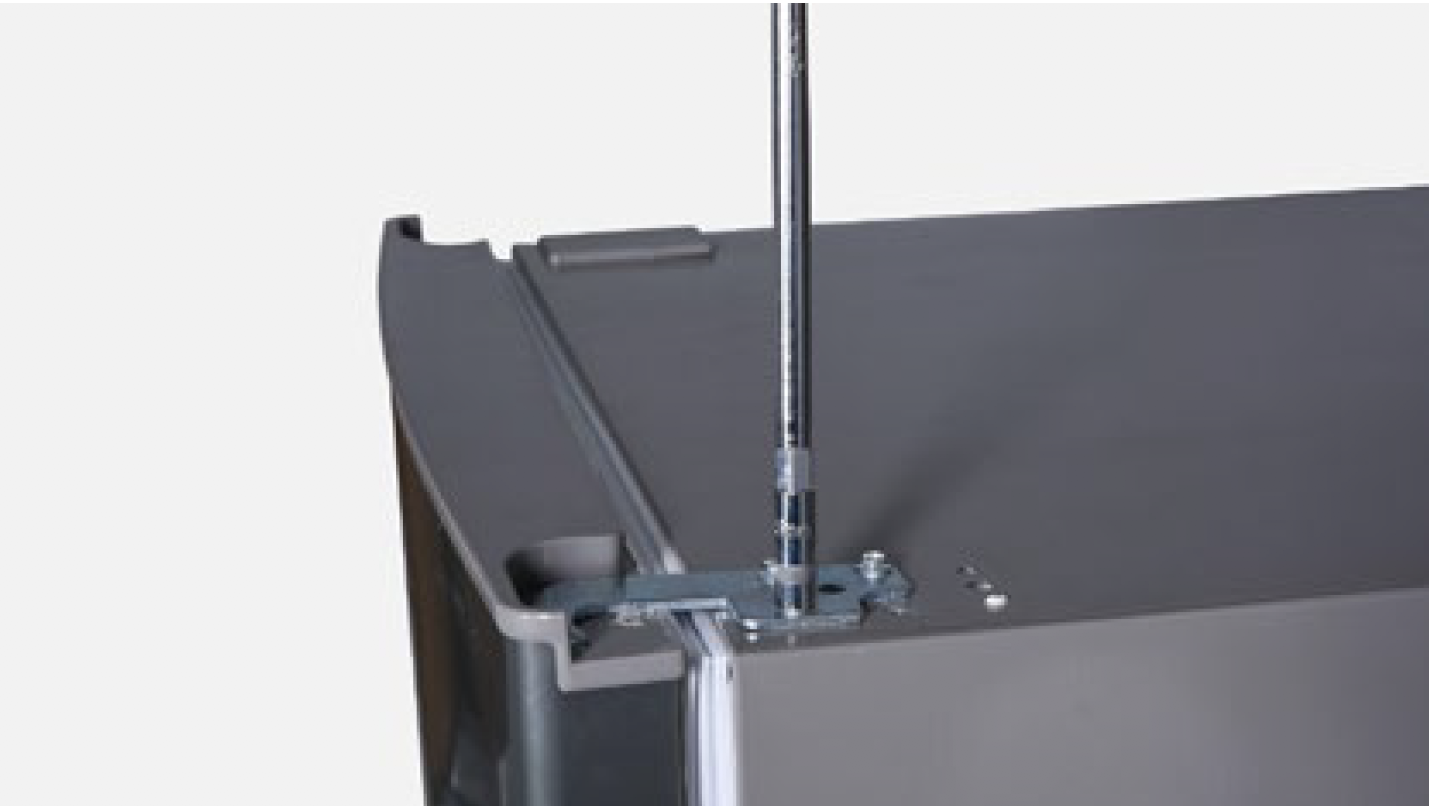
Step 1
Unscrew hinge cover.
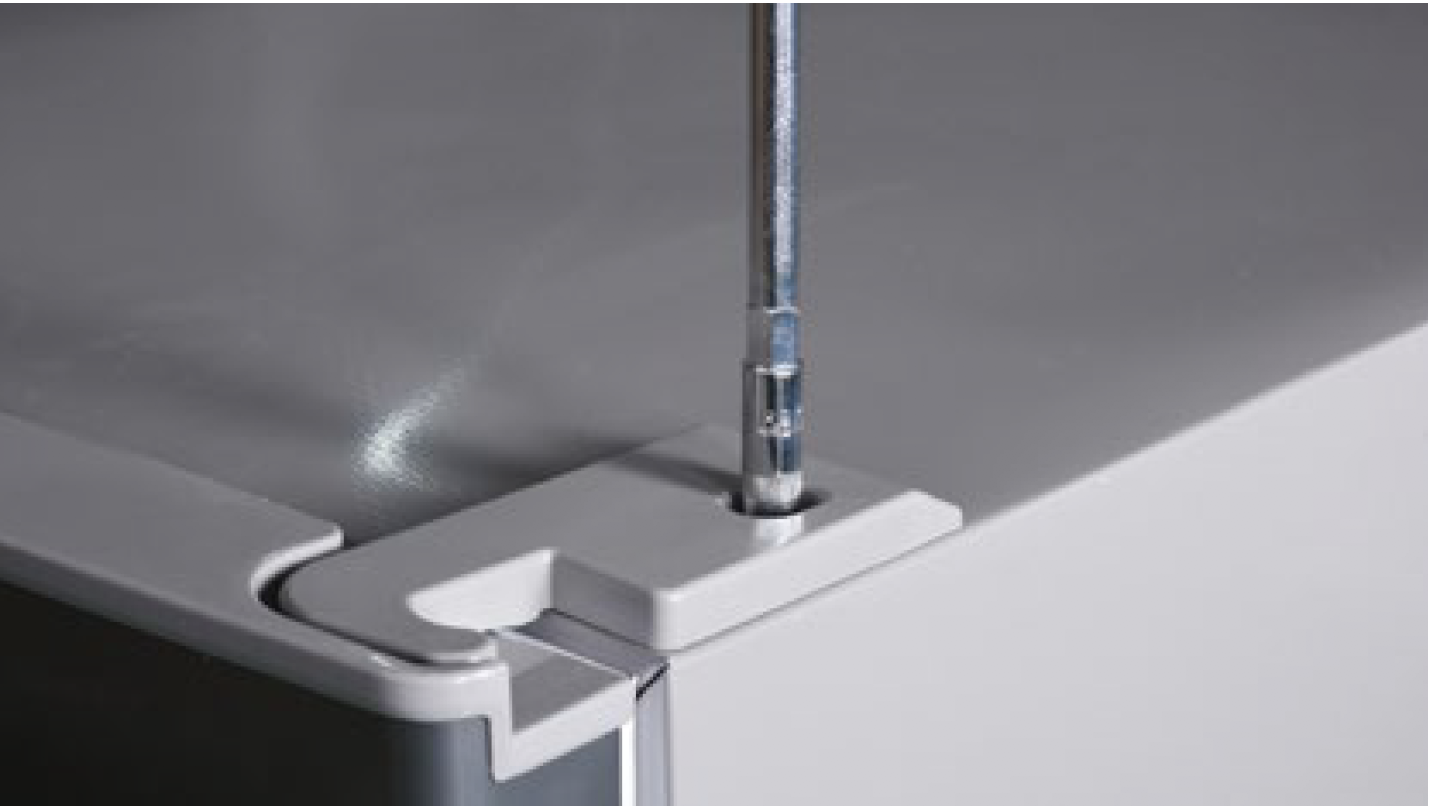
Step 2
Remove the cover.
Step 3
Unscrew 3 bolts and remove the top hinge.
Step 4
Remove upper door.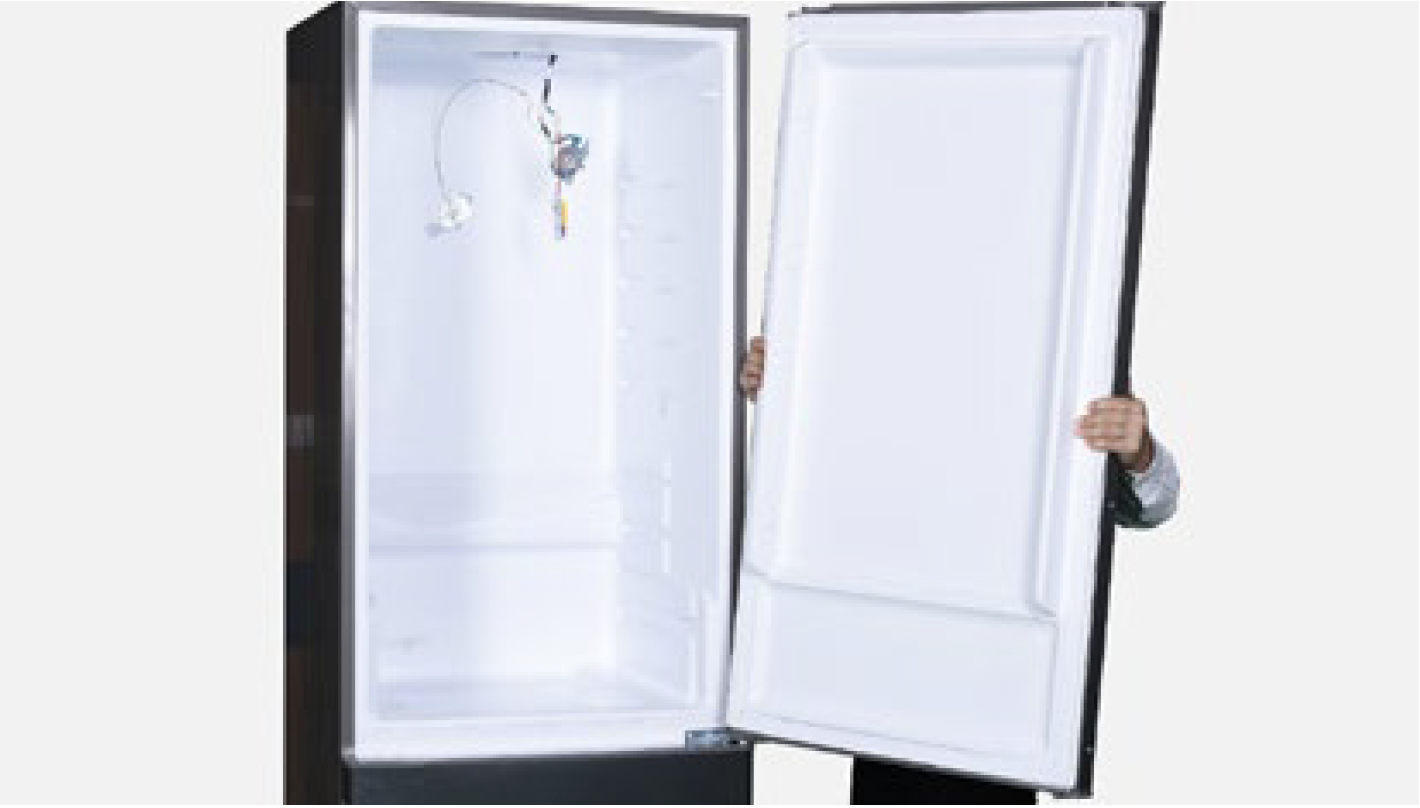
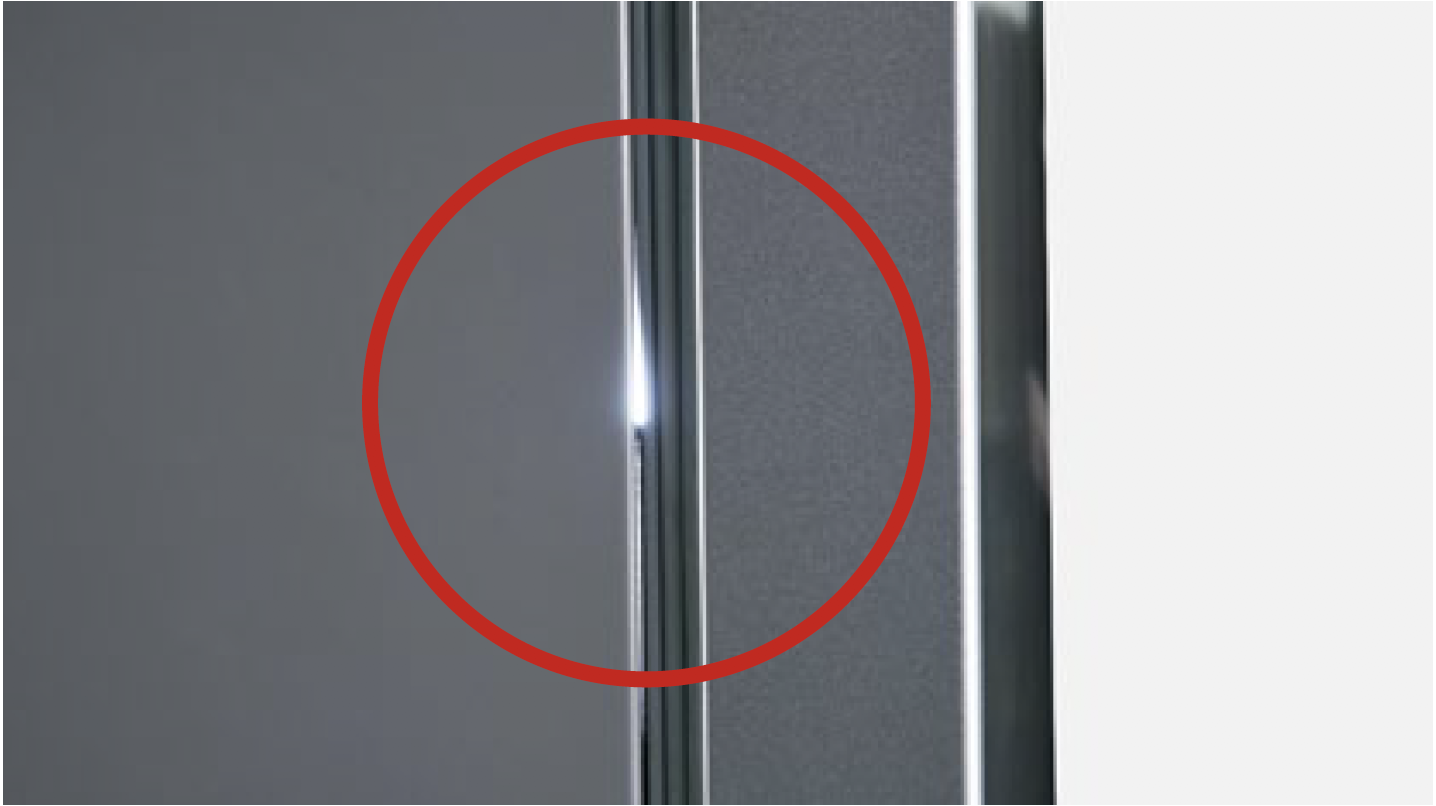
DIAGNOSIS 2
Case 1:
Light leaks from the corner on opening side.
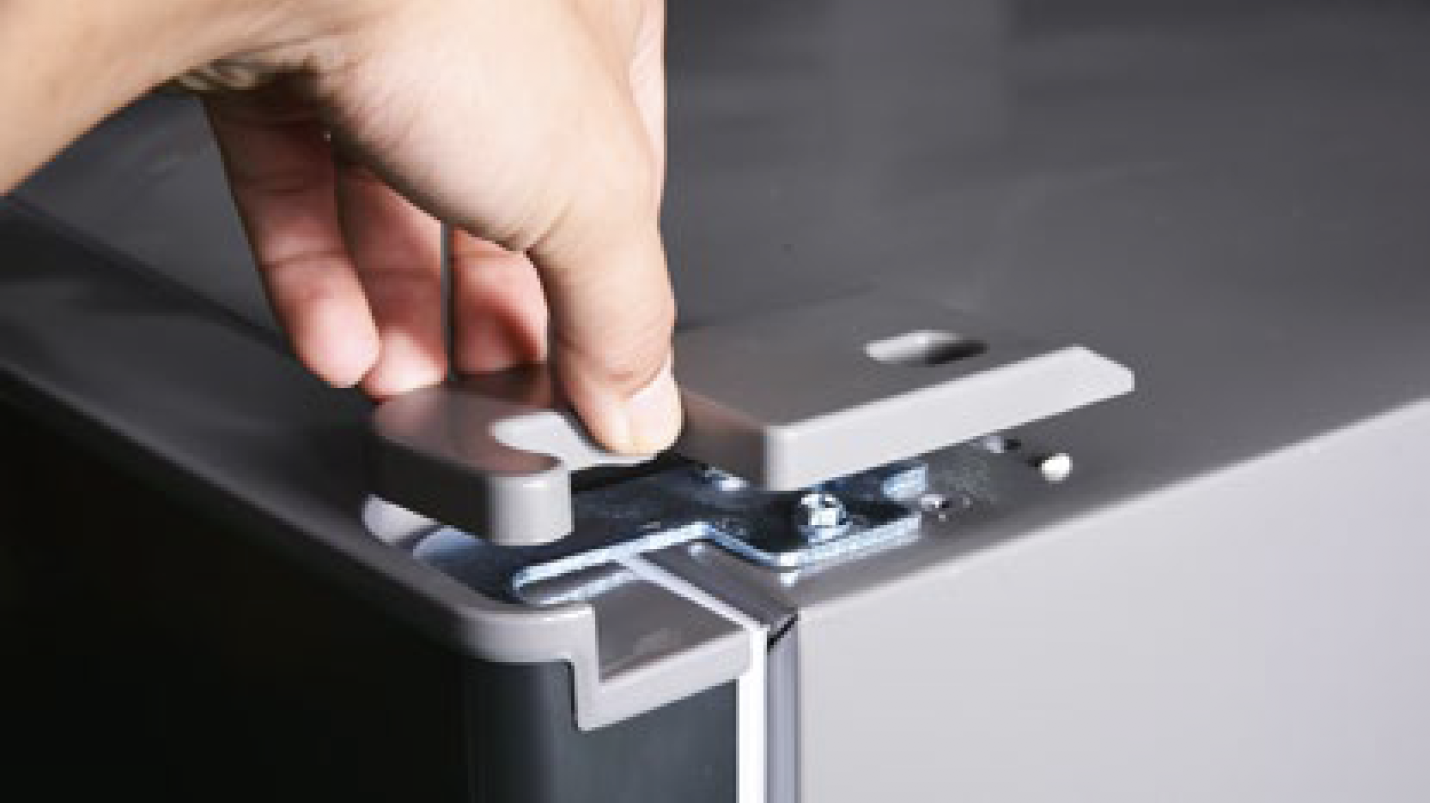
PROCEDURE 2
Step 1
Add washer to make middle hinge move outward.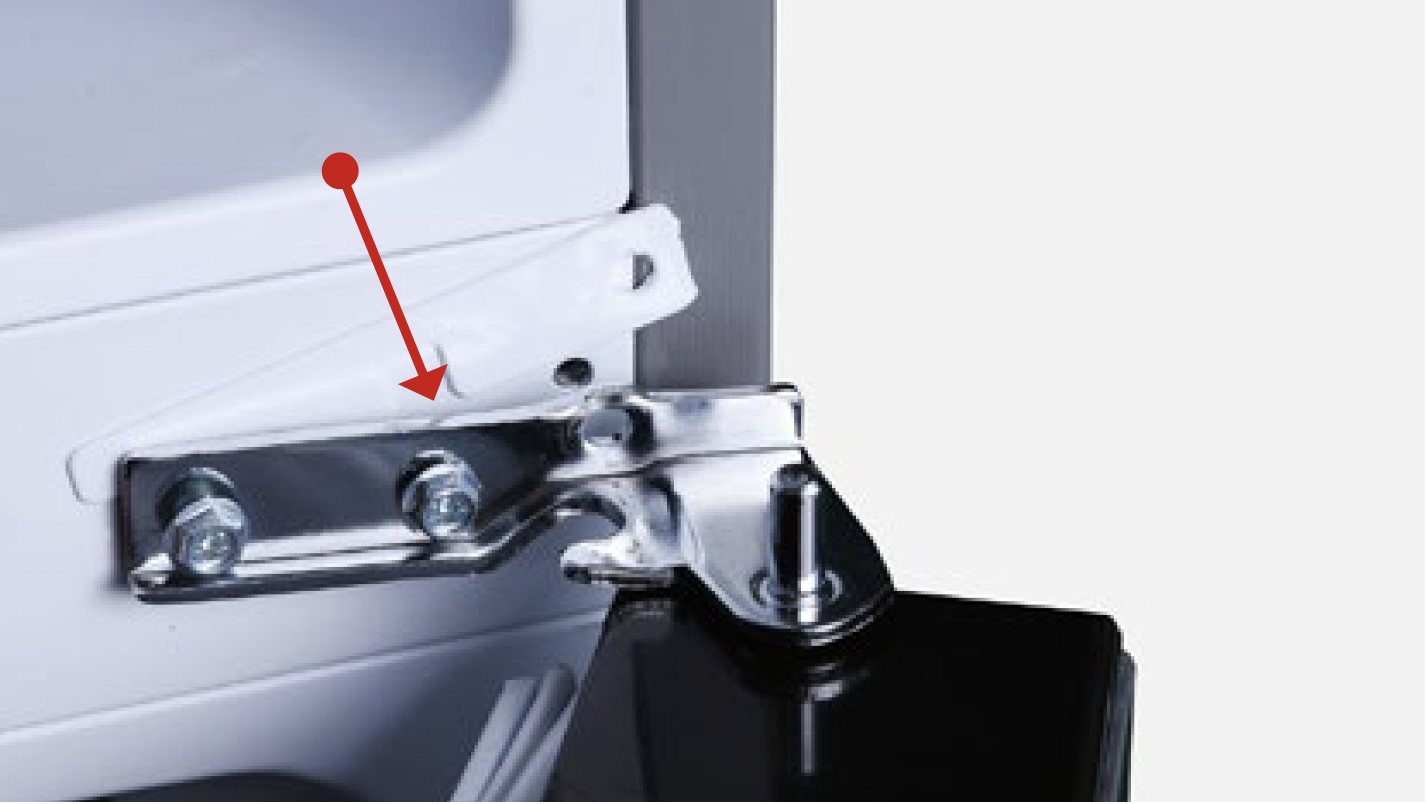
Step 2
Use hinge with large hole and push outward.
Step 3
Use hair dryer to blow hot air onto gasket on hinge side to soften so that gasket can easily attach onto cabinet.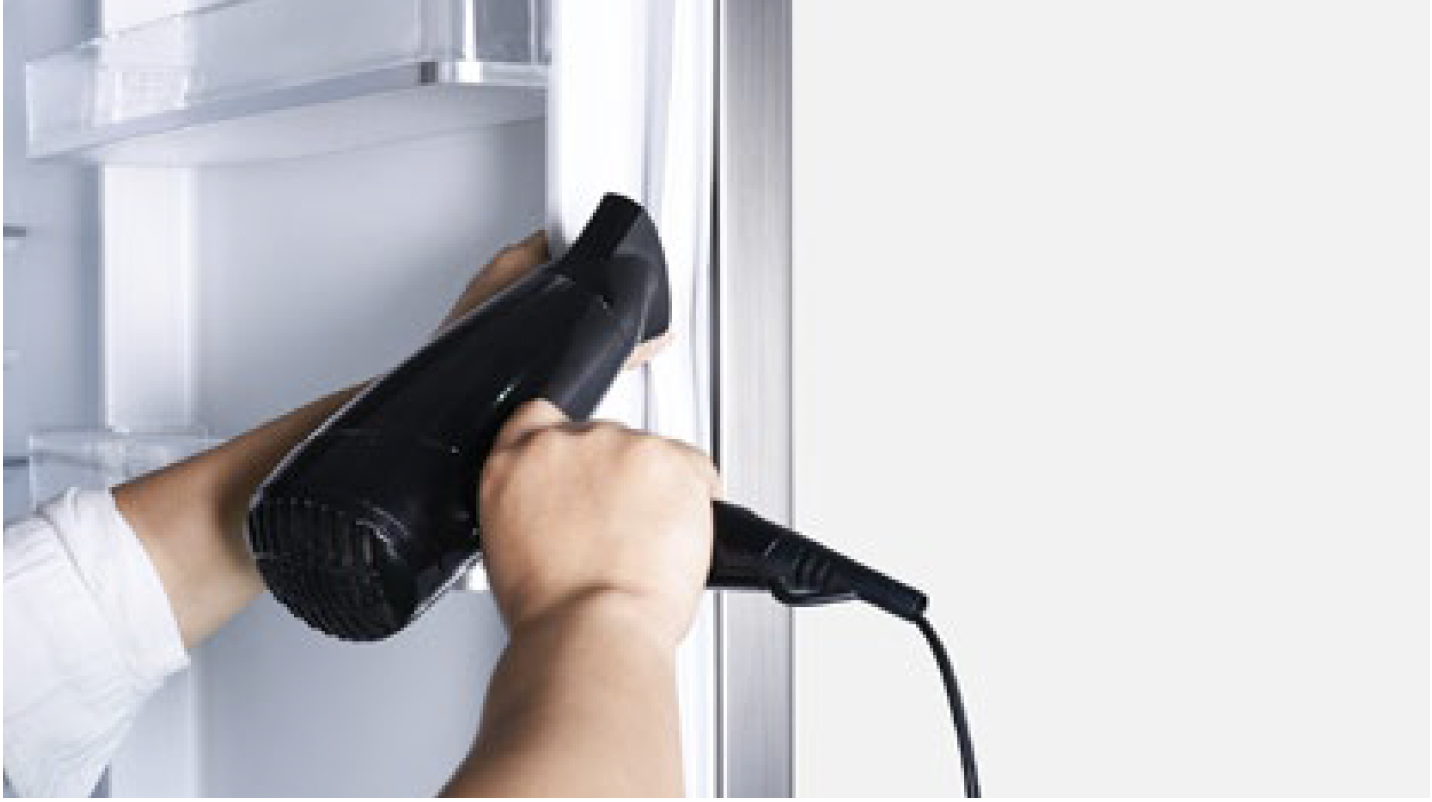
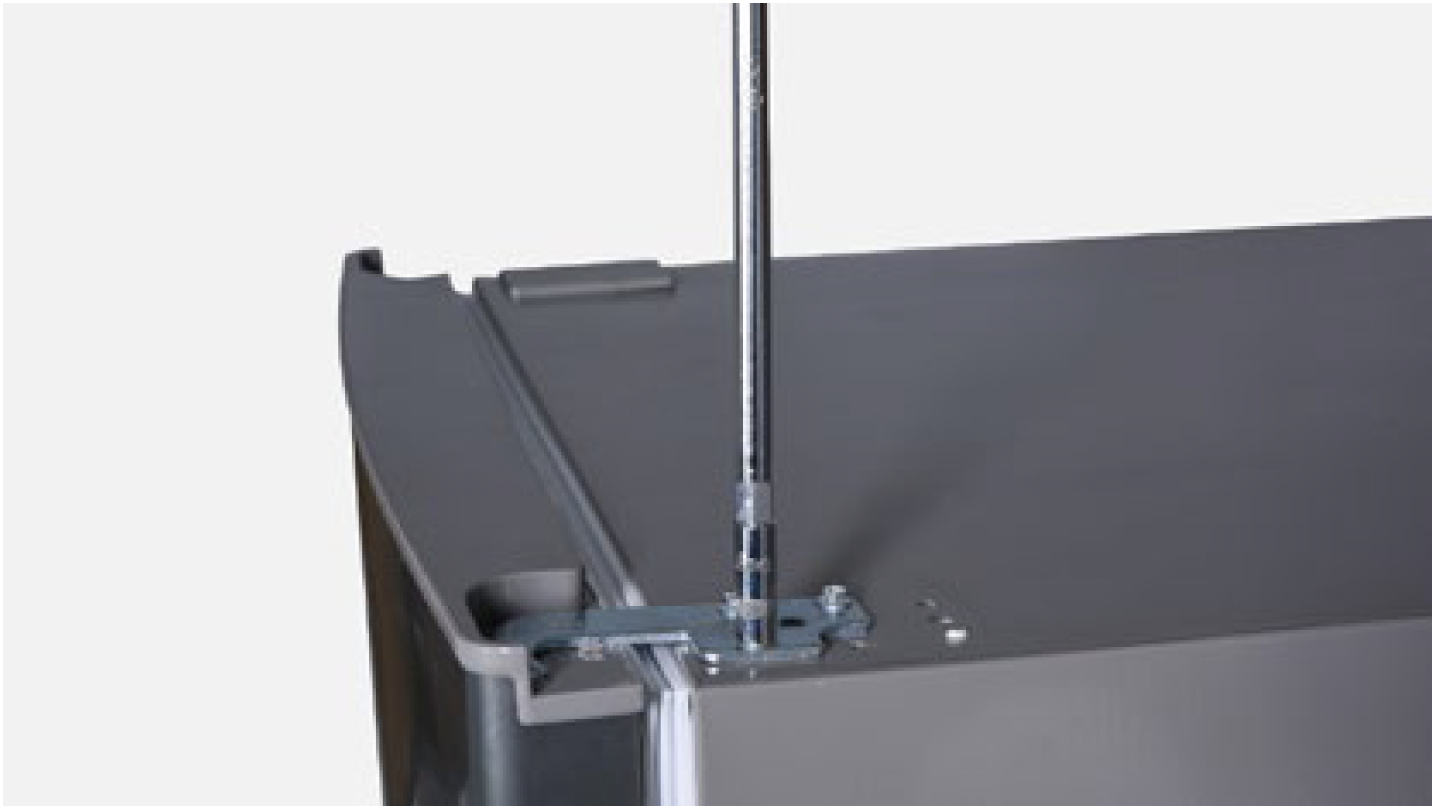
Case 2:
Light leaks from the corner on hinge side.
Step 1
Remove washer to make middle hinge move inward
Step 2
Push top hinge inward.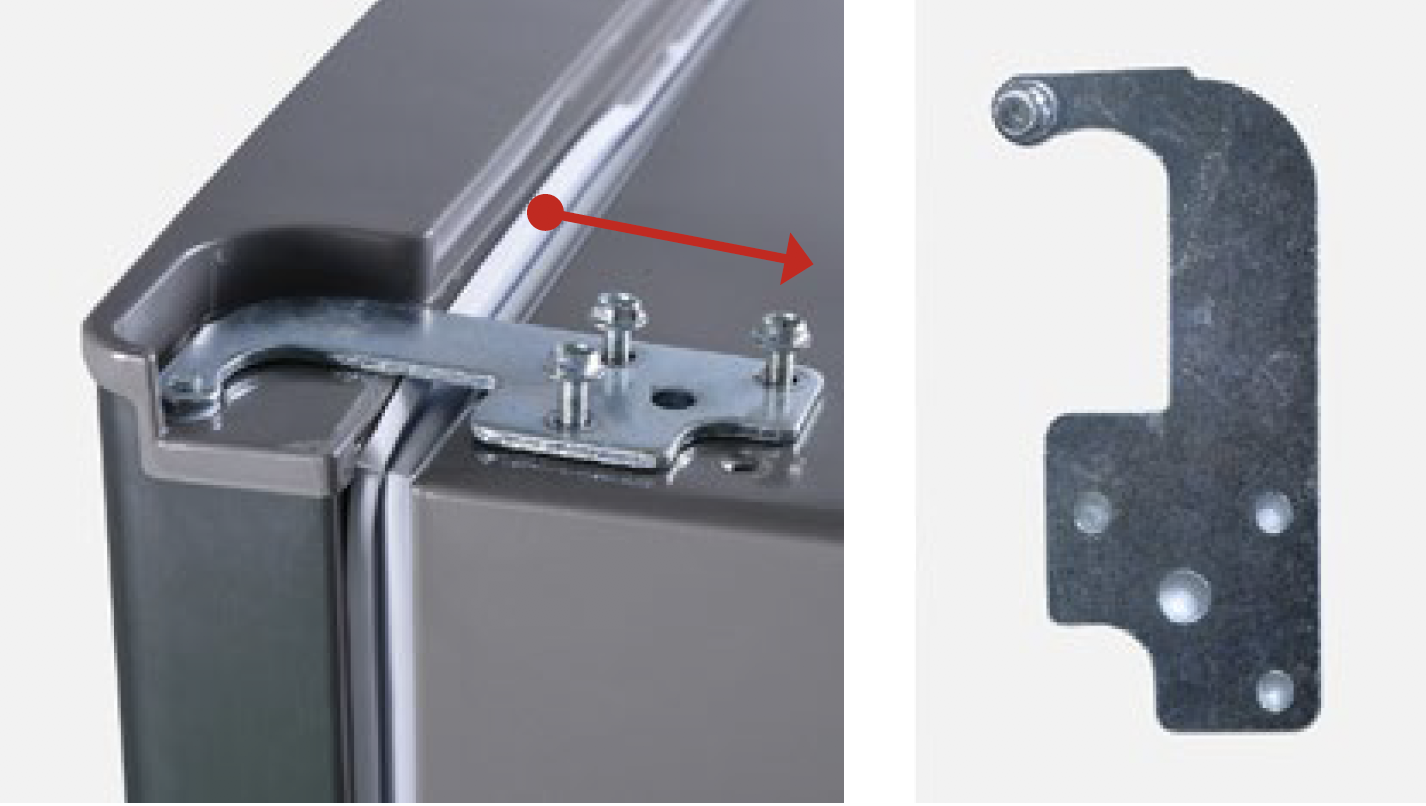
Step 3
Use hair dryer to blow hot air onto gasket on hinge side to soften so that gasket can easily attach onto cabinet.
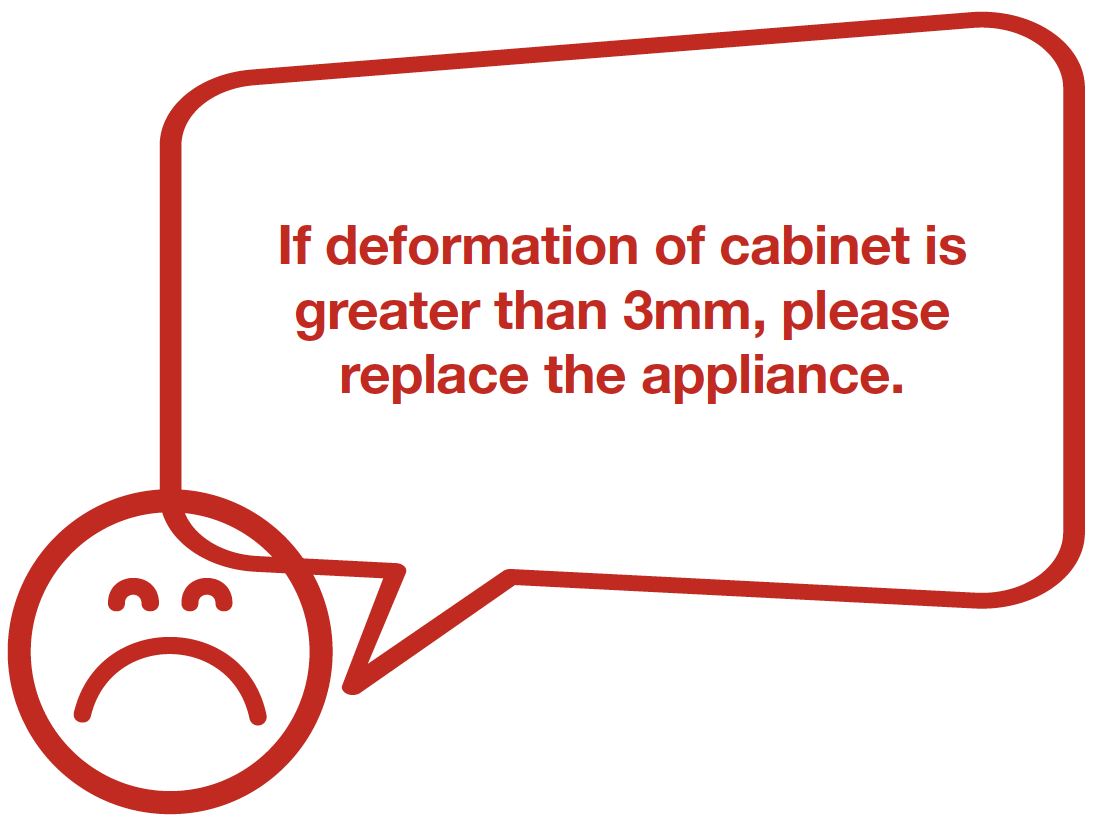
DIAGNOSIS 3
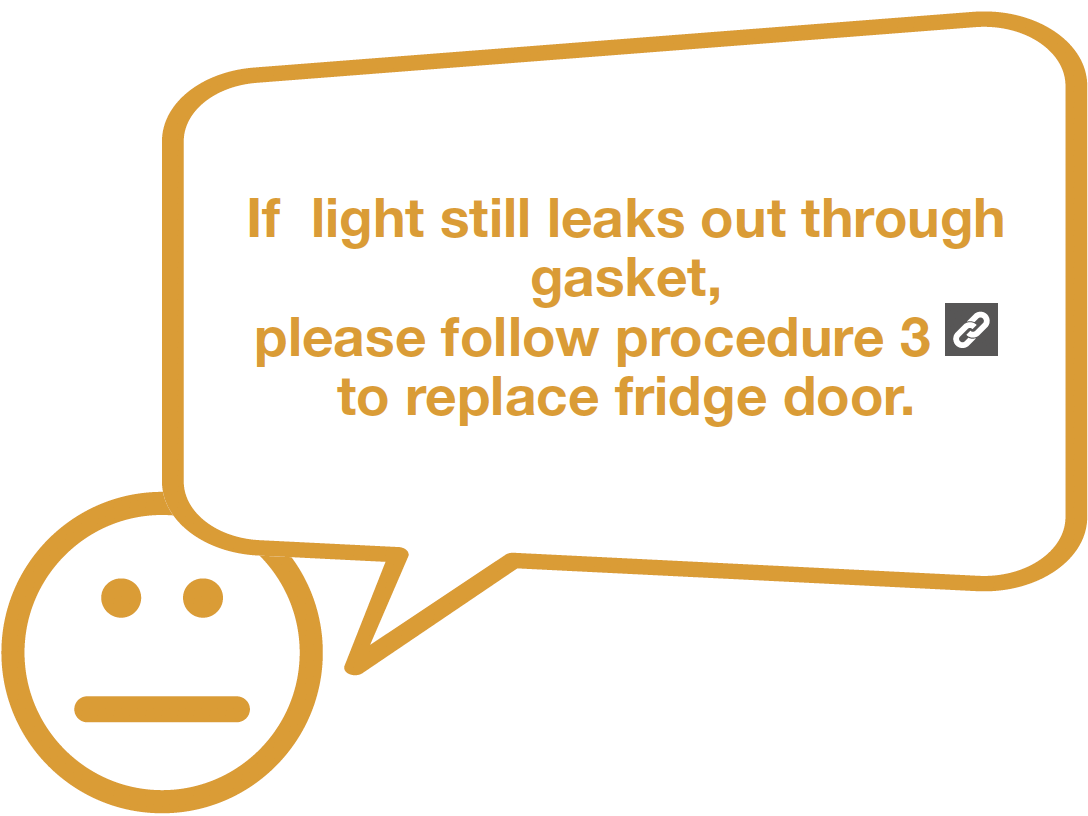
Case 3:
Light leakage can be seen from the middle.
Step 1
Use steel ruler to measure the deformation of cabinet.

Step 2
Use steel ruler to measure the deformation of door.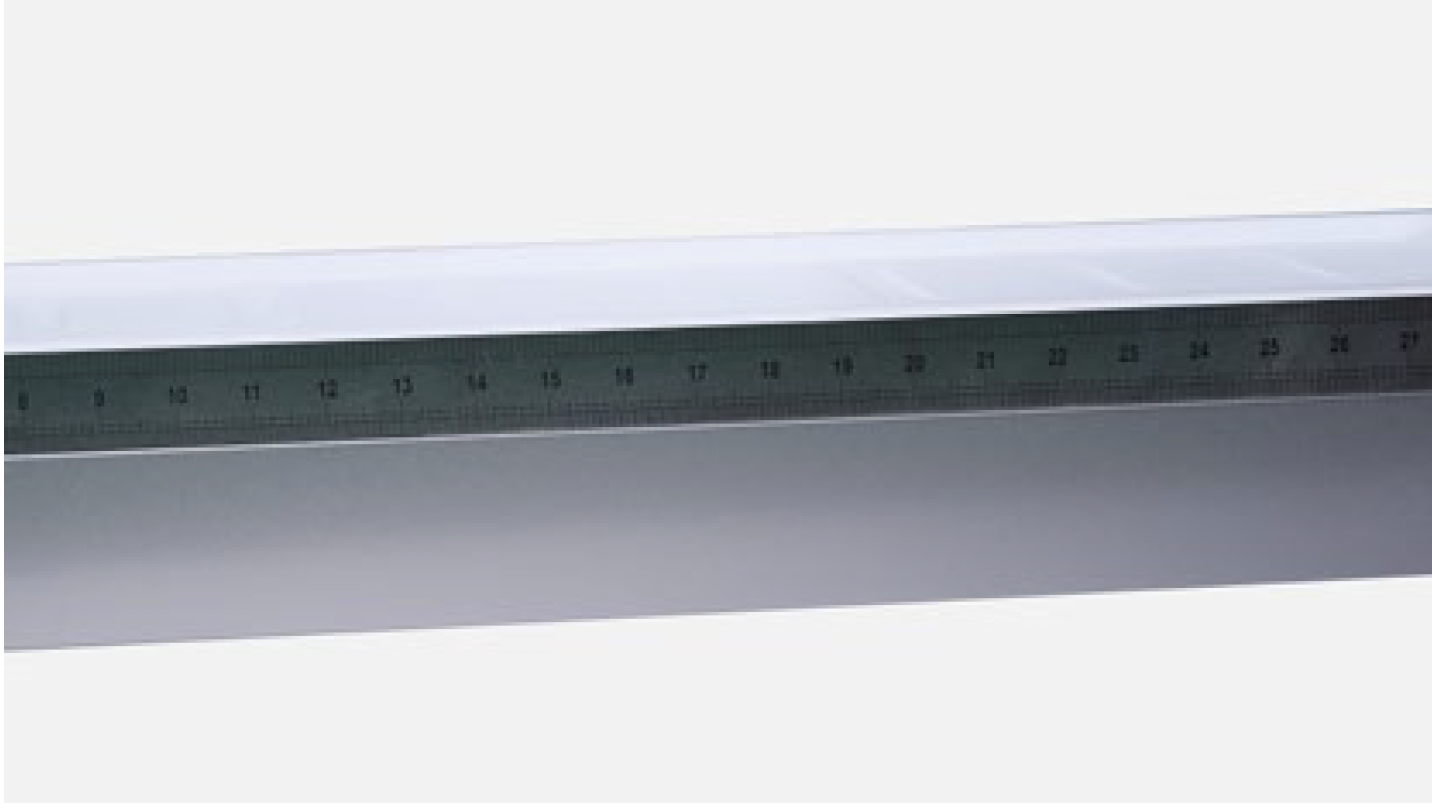
DIAGNOSIS 4


PROCEDURE 3
Step 1
Unscrew hinge cover. Step 2
Remove the cover.
Step 3
Unscrew 3 bolts and remove the top hinge.
Step 4
Remove upper door.
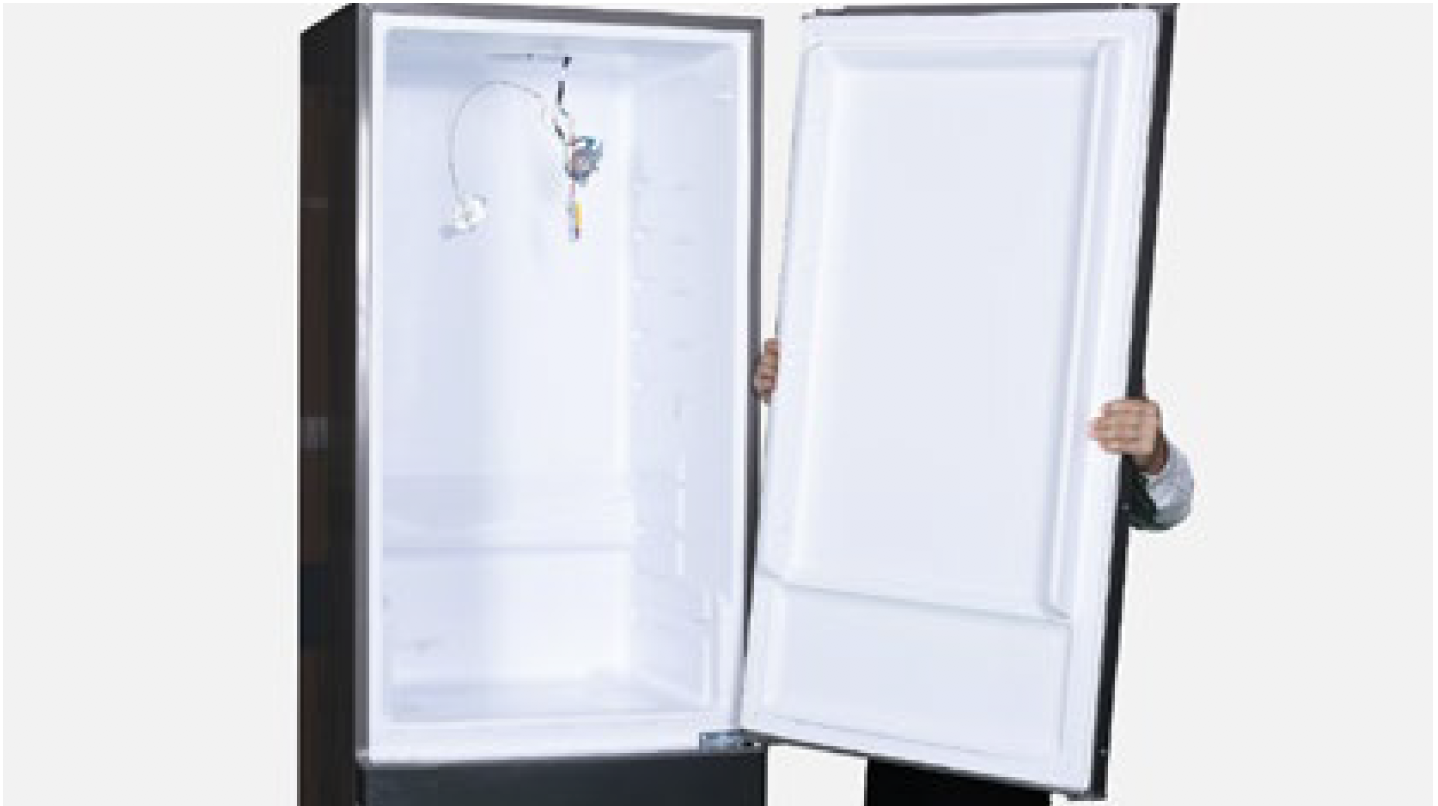
PROCEDURE 4
Step 1
After replacing the gasket, blow hot air onto gasket with Hair Dryer to soften, so that gasket can be easily attached onto cabinet.

Tip 1
Don’t forget to add washer onto hinge pin.
Tip 2
When installing door onto hinge, please check the alignment of doorstopper and hinge.
Tip 3
Make sure gasket is properly attached.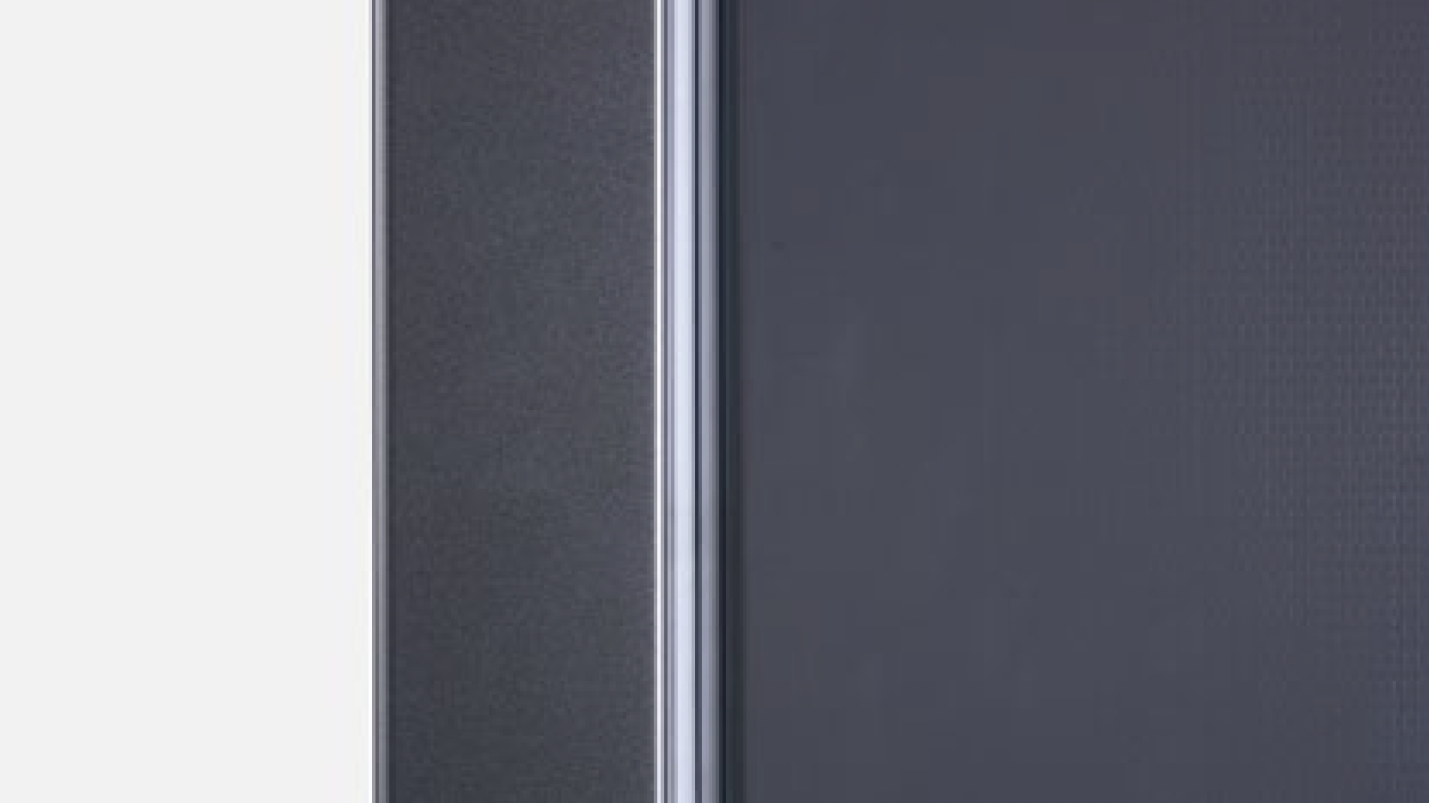
Tip 4
Make sure gaps between doors are even.

GO BACK TO COMPONENT LIST