

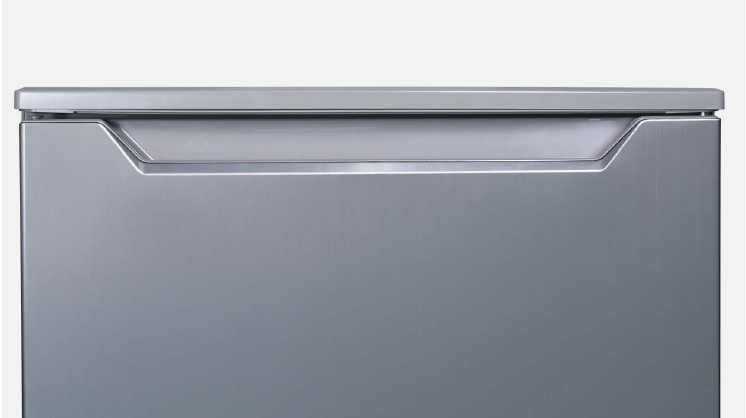
CHECK AND TEST 1
Step 1
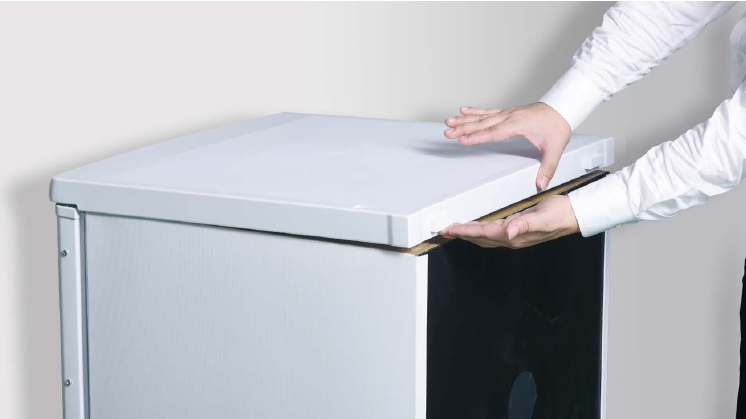
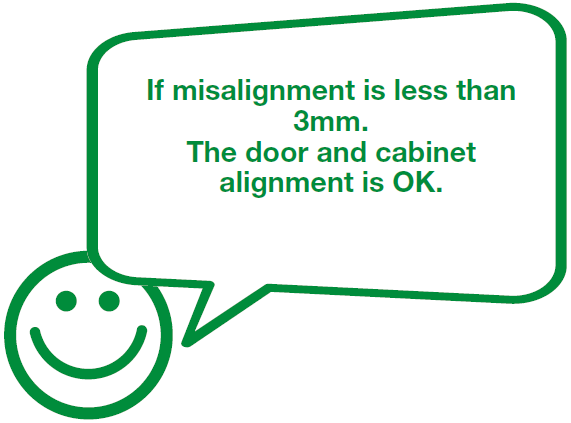
Use steel ruler to measure the gap and misalignment.
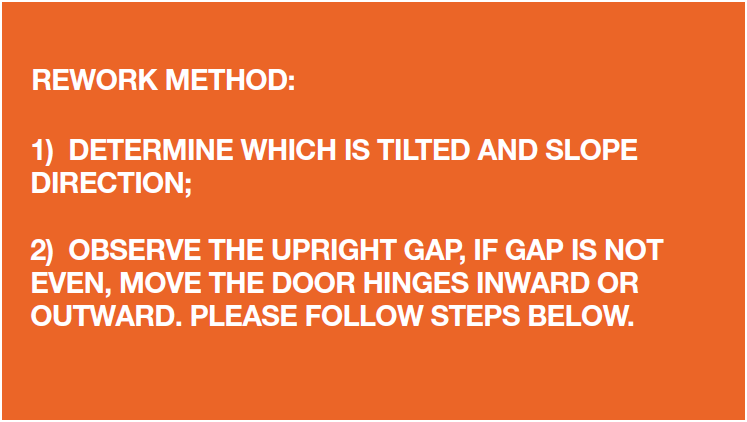
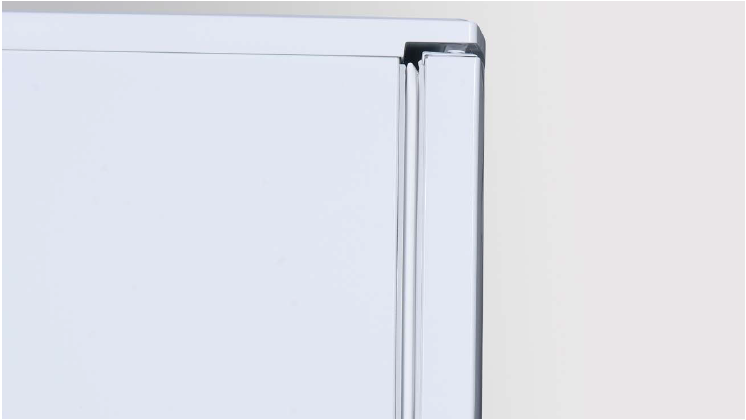
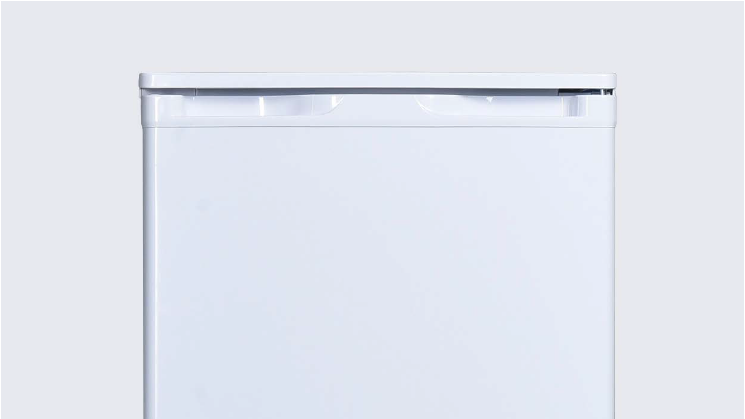
Case 1
Upright gap is not even.


Step 1
Prize up screw cover.
Step 2
Unscrew.
Step 3
Push the top cover forward.
Step 4
Take away the top cover.
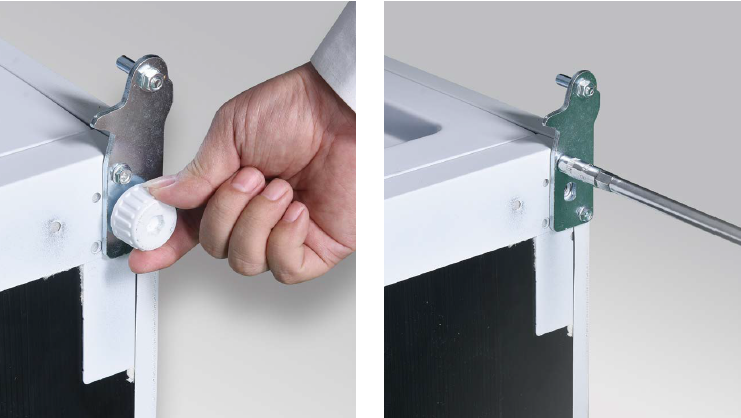
Step 5
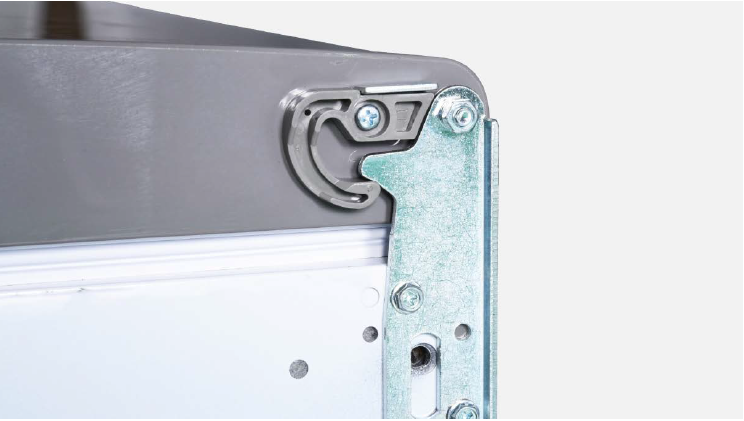
Unscrew 3 bolts and remove door hinge.

Step 6
Remove the door.

Step 7
Lay down the cabinet and unscrew the adjustable foot.

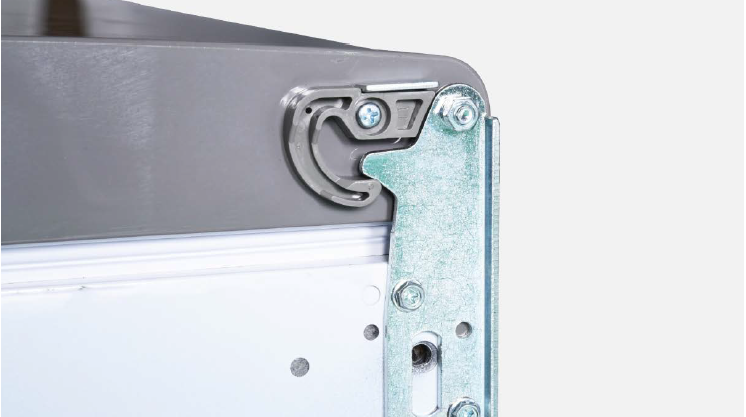
Step 1
Move bottom hinge inward or outward.

Step 2
Move top hinge inward or outward.


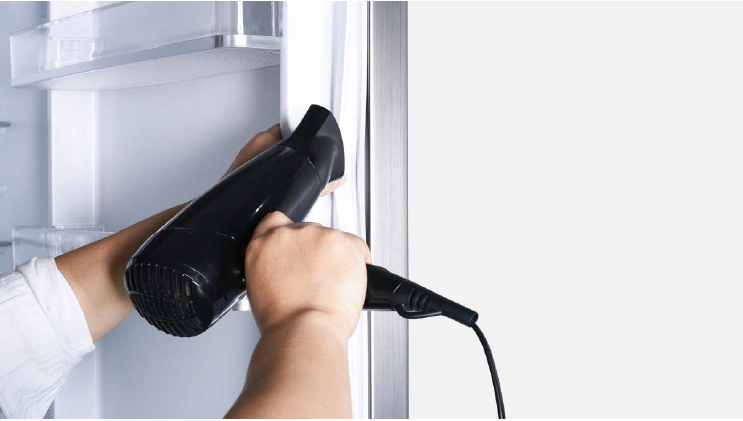
Step 1
After installing the door, blow hot air onto gasket with Hair Dryer to soften, so that gasket can be easily attached onto cabinet.
Tip 1
If there is a washer on hinge, please don’t
forget to add washer onto hinge pin.
Tip 2
When installing door onto hinge, please check
the alignment of doorstopper and hinge.
Tip 3
Make sure gasket is properly attached.
Tip 4
Make sure the door is parallel to the cabinet.


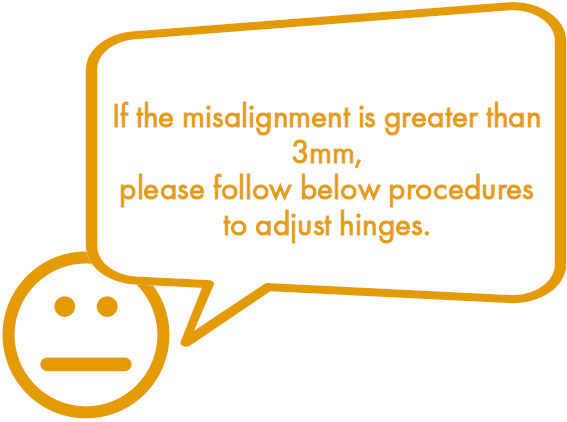
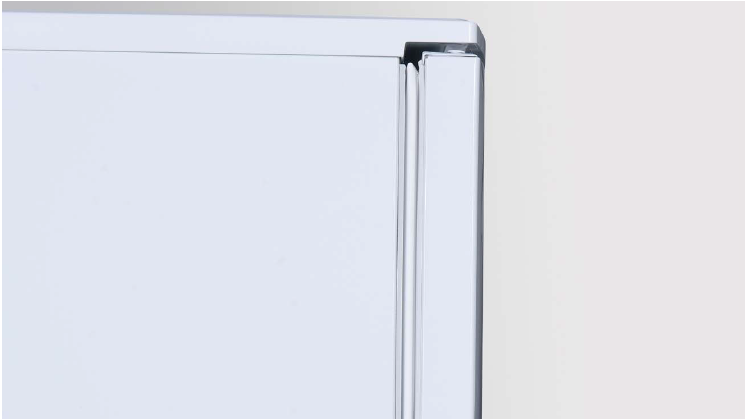
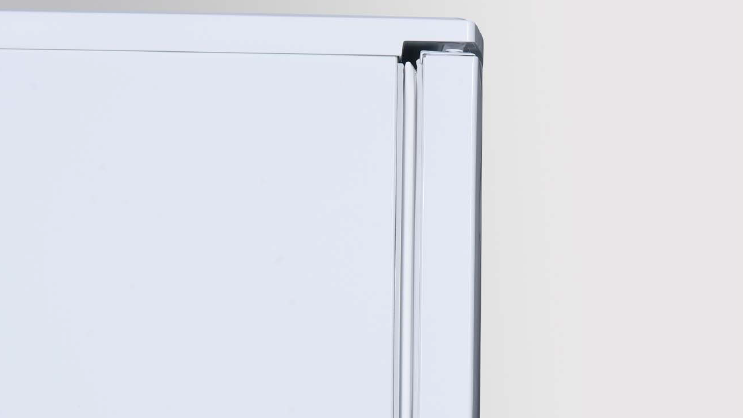
Case 2
Door and side panel is misaligned.


Step 1
Prize up screw cover.
Step 2
Unscrew.

Step 3
Push the top cover forward.

Step 4
Take away the top cover.
Step 5
Unscrew 3 bolts and remove door hinge.

Step 6
Remove the door.

Step 7
Lay down the cabinet and unscrew the
adjustable foot.


Step 1
Move bottom hinge toward left or right.
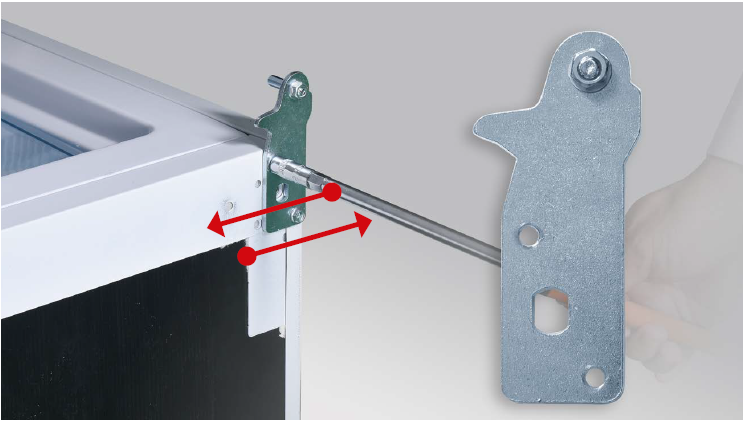
Step 2
Move top hinge toward left or right.

Step 1
After installing the door, blow hot air onto gasket with Hair Dryer to soften, so that gasket can be easily attached onto cabinet.

Tip 1
If there is a washer on hinge, please don’t
forget to add washer onto hinge pin.
Tip 2
When installing door onto hinge, please check
the alignment of doorstopper and hinge.

Tip 3
Make sure gasket is properly attached.
Tip 4
Make sure the door is parallel to the cabinet.


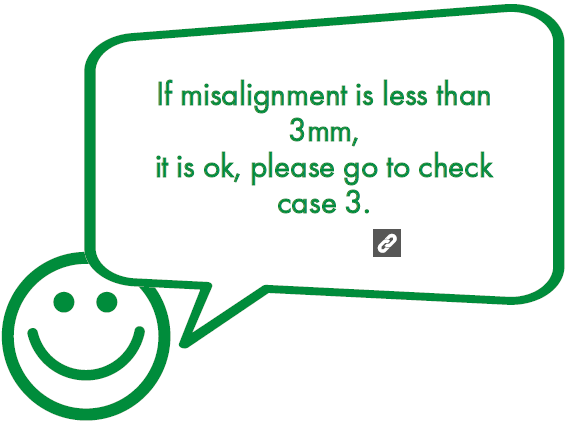
Case 3
Horizontal gap between door and top cover is not even.

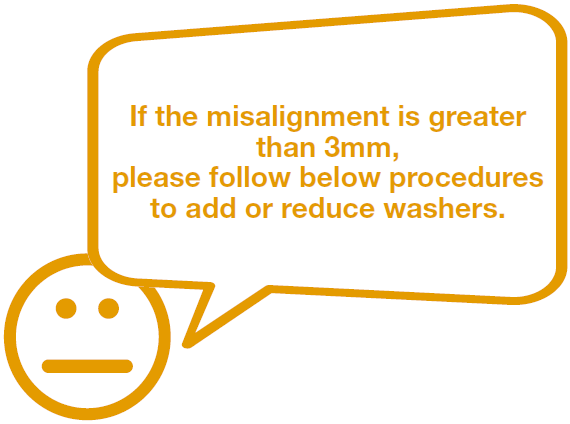
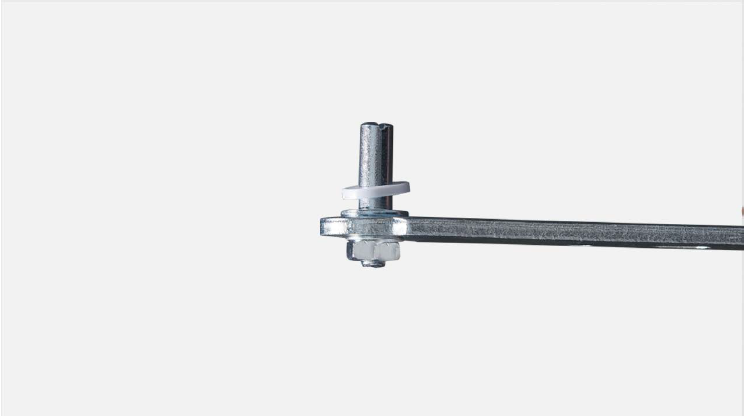
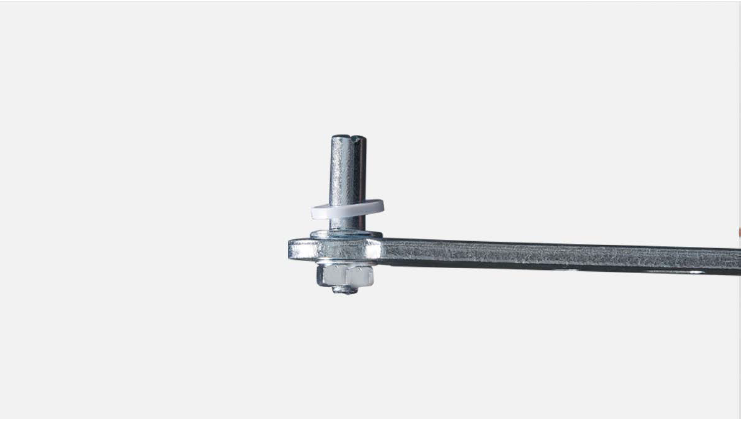
PROCEDURE 1
Step 1
Add or reduce washers to adjust misalignment in fore-and-aft direction.

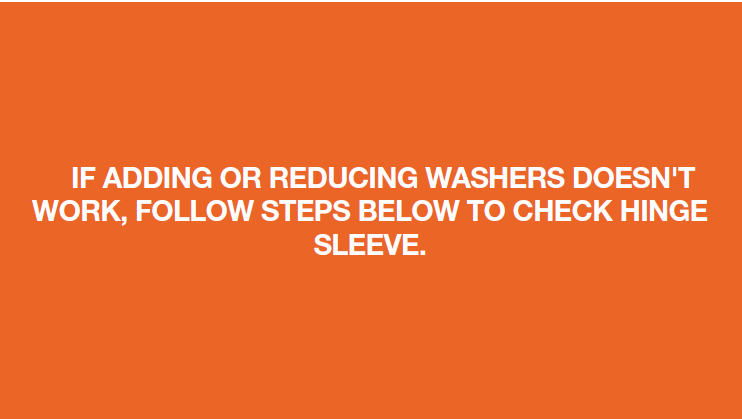

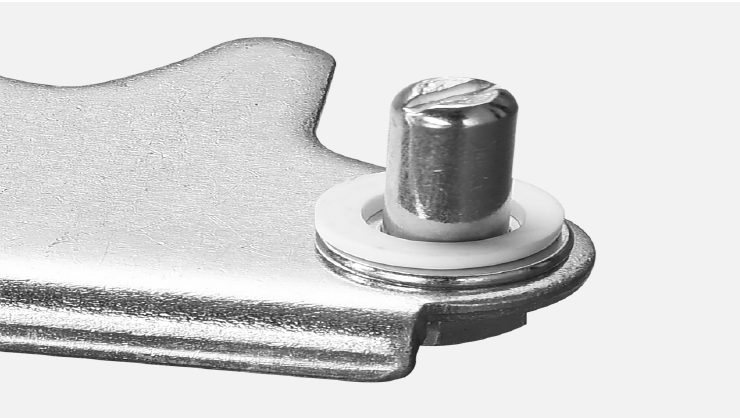
CHECK AND TEST 2
Step 1
Check if hinge sleeve is worn.
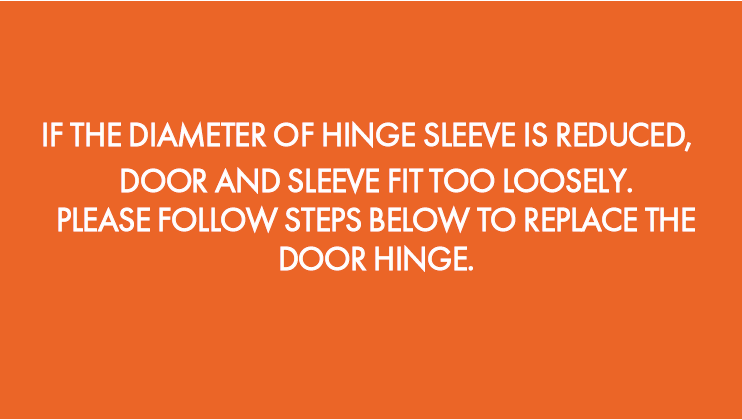
PROCEDURE 1
Step 1
Prize up screw cover.
Step 2
Unscrew.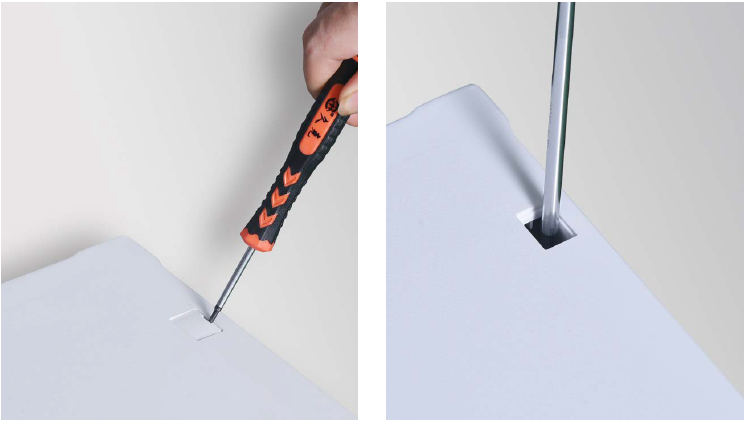
Step 3
Push the top cover forward.

Step 4
Take away the top cover.
Step 5
Unscrew 3 bolts and remove door hinge.

Step 6
Remove the door.
Step 7
This text is set by default and is suitable for edit in real time. By default the drag and drop core feature will allow you to position it anywhere on the site. Get creative, Make Web.
Step 8
Move bottom hinge toward left or right.
Step 1
After installing the door, blow hot air onto gasket with Hair Dryer to soften, so that gasket can be easily attached onto cabinet.

Tip 1
If there is a washer on hinge, please don’t
forget to add washer onto hinge pin.

Tip 2
When installing door onto hinge, please check
the alignment of doorstopper and hinge.
Tip 3
Make sure gasket is properly attached.
Tip 4
Make sure the door is parallel to the cabinet.


GO BACK TO FAULT LIST RELIABILITY