Step 1
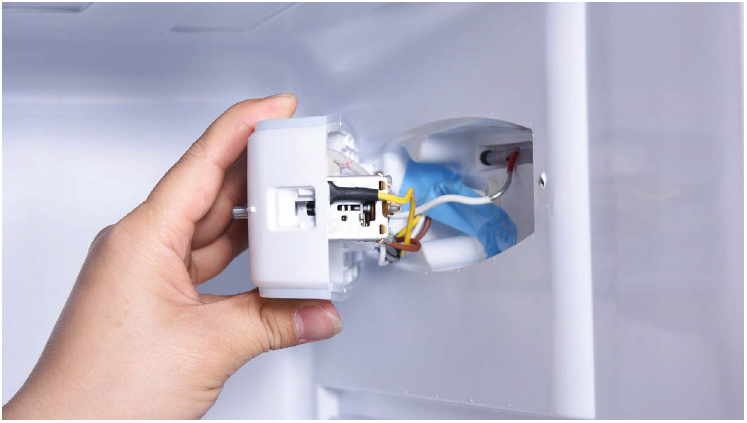
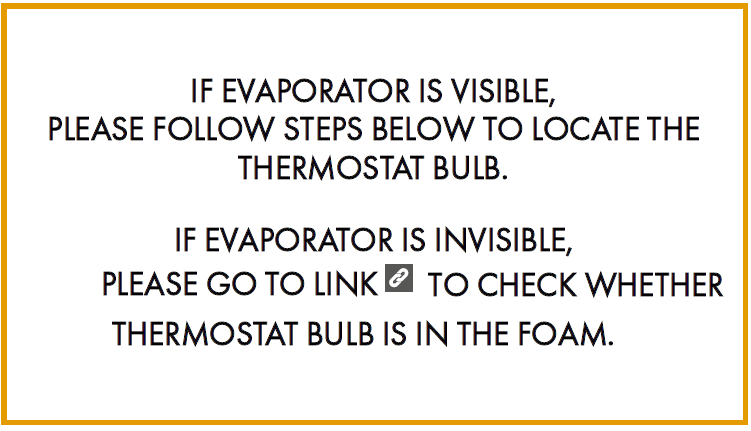
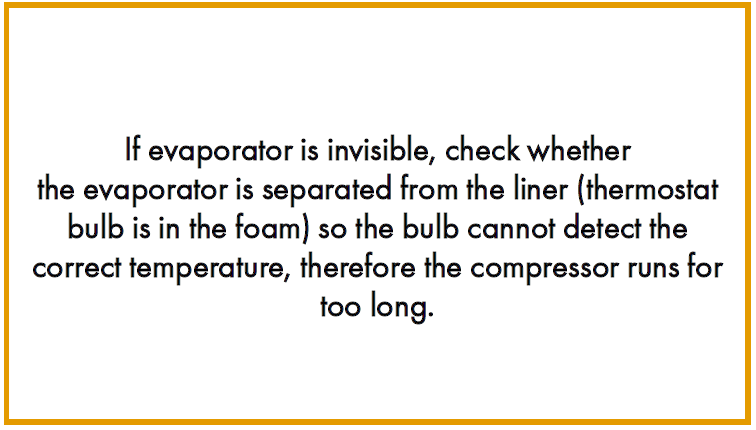
If you have confirmed the temperature setting is not Max or close to Max, and thermostat function is good in previous priorities, please check the bulb position of thermostat.

Step 1
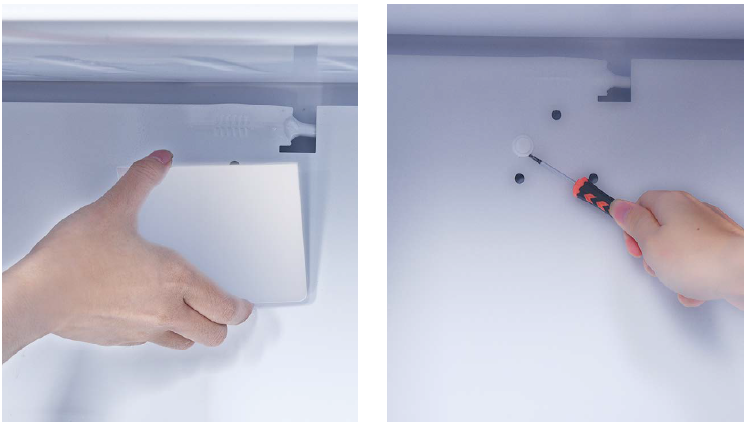
Remove the decorative cover.
Step 2
Prize up 2 buckles.
Step 3
Move the evaporator up, and pull it outward
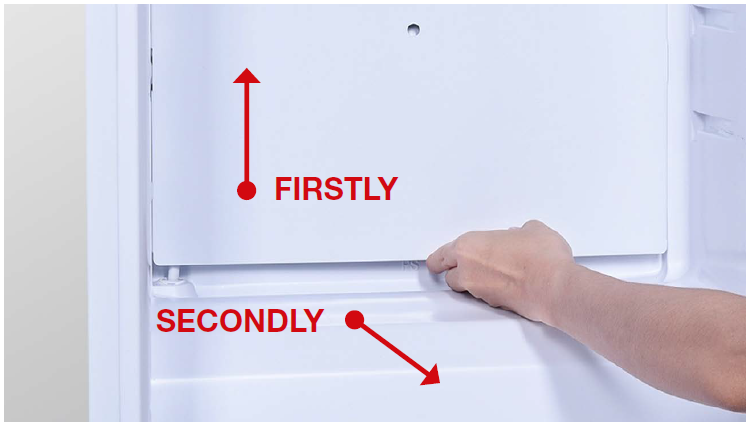
Step 4
Remove the evaporator.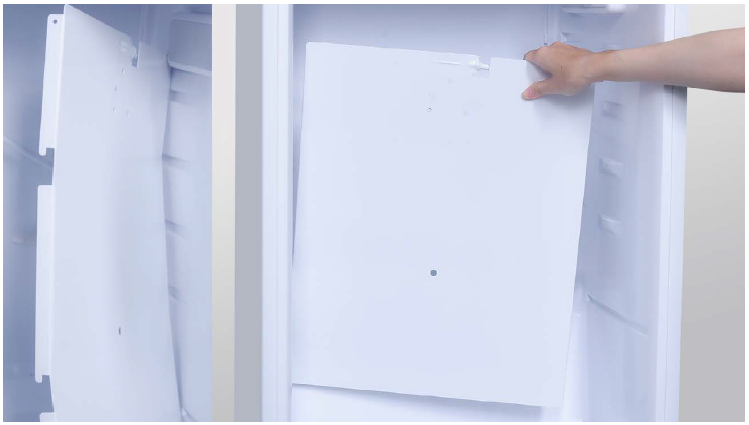
Step 5
Please check the bulb of thermostat.
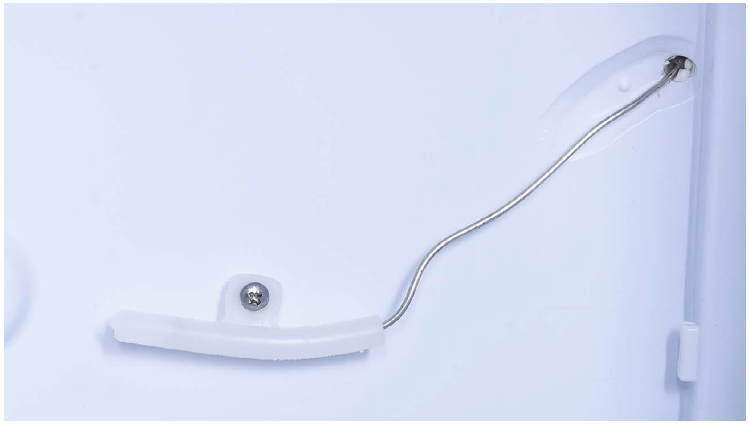

Tip 1
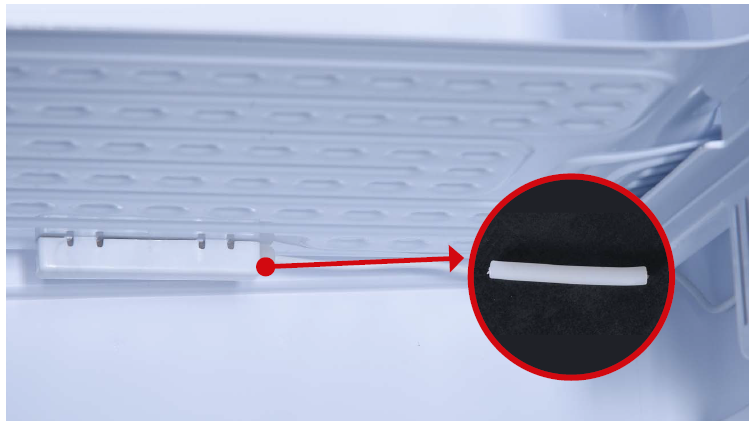
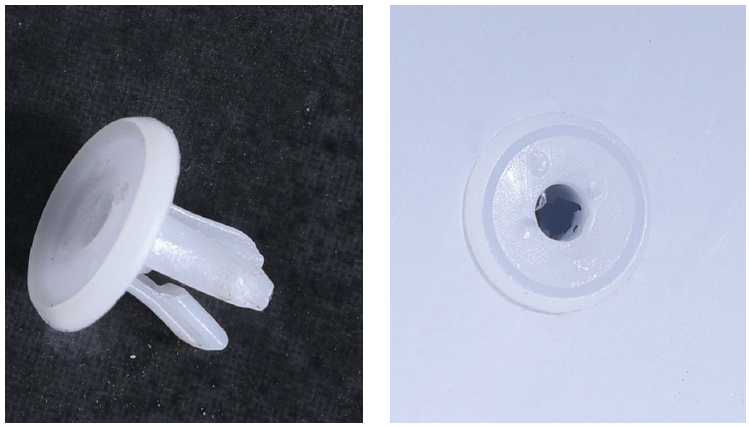
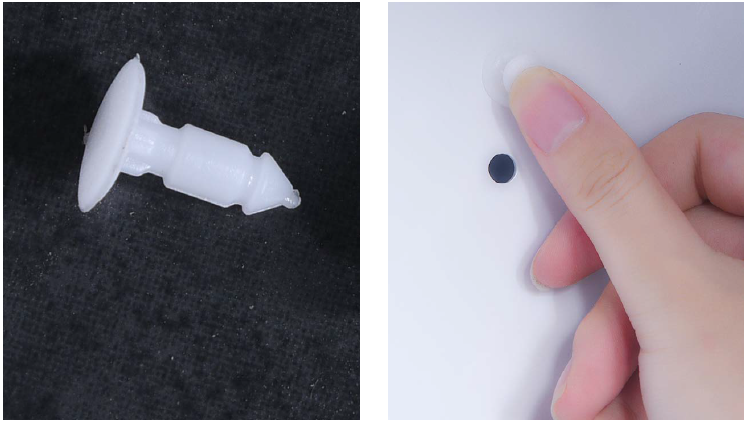
When you insert the buckle into the evaporator, please put the buckle in first, then insert the plastic nail.
Tip 2
Then insert the plastic nail.
NOTE


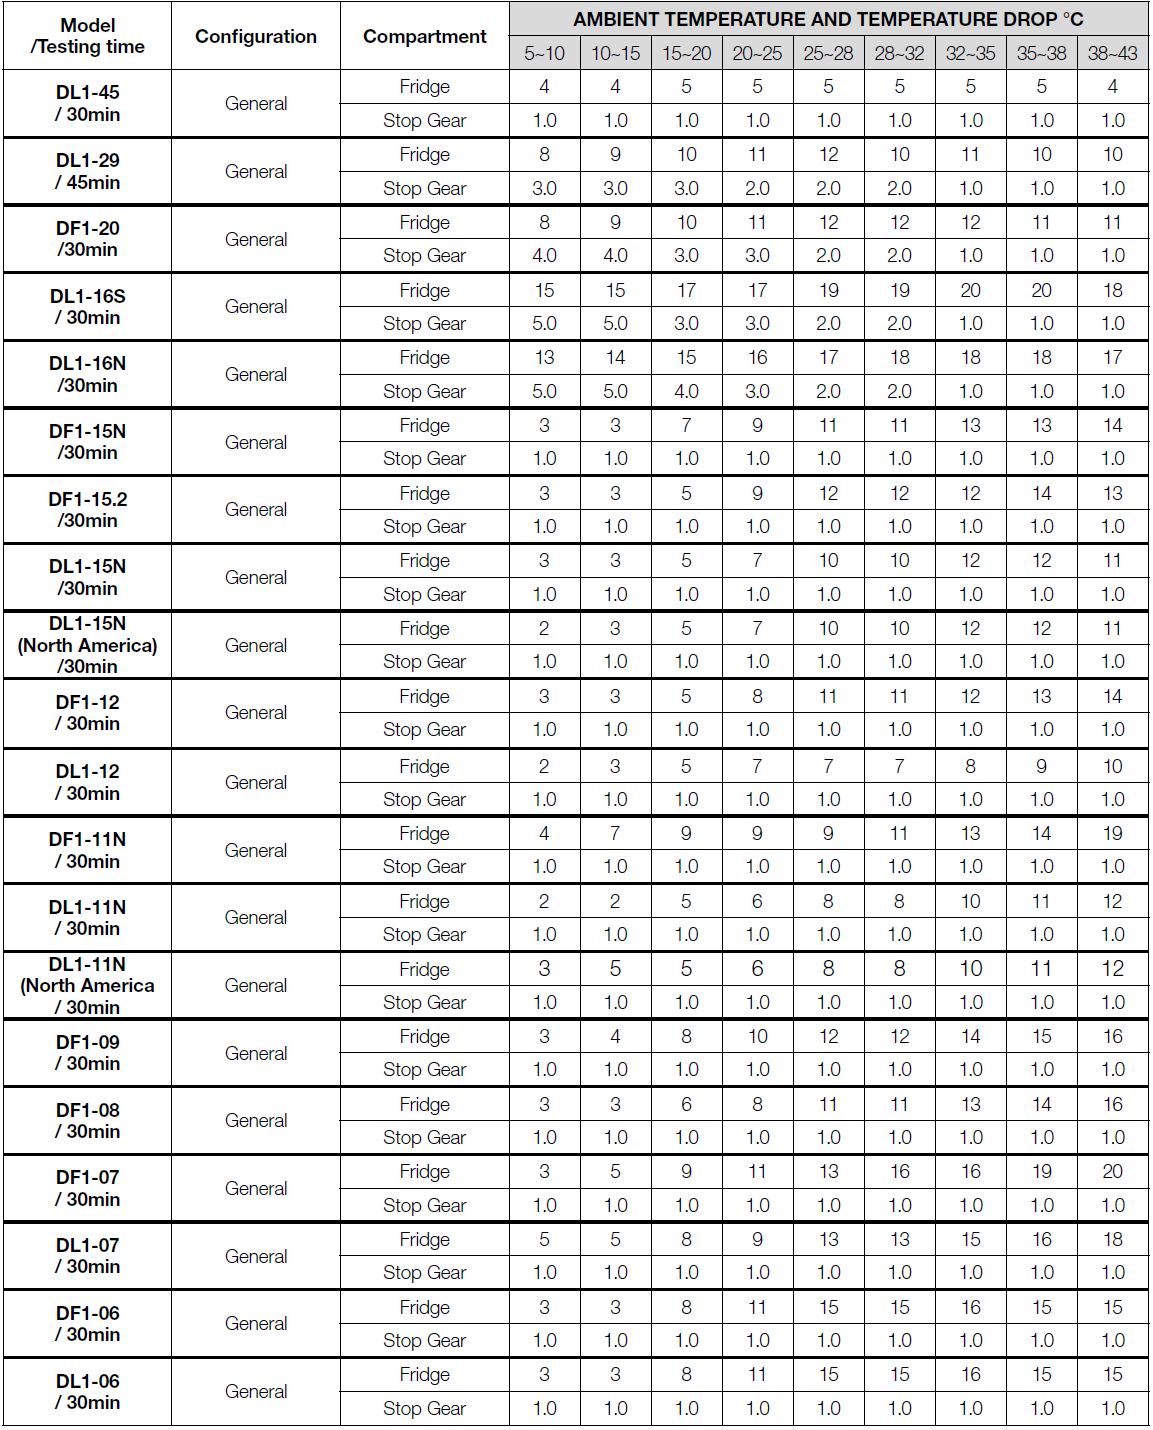


CHECK AND TEST 1
Step 1
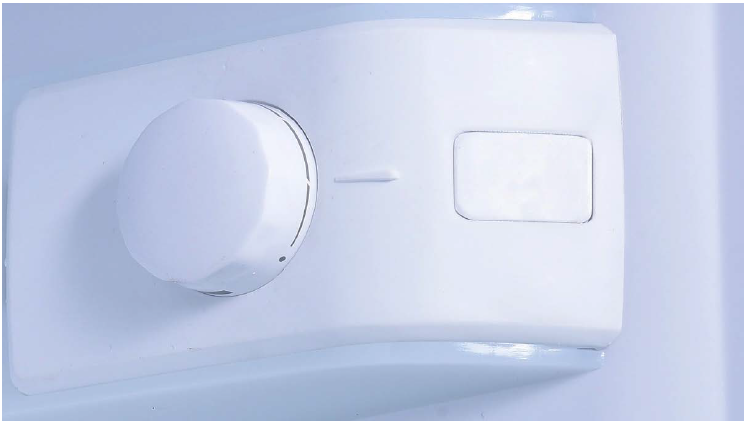
Set the knob of thermostat at gear Min., and switch on the appliance.
Step 2
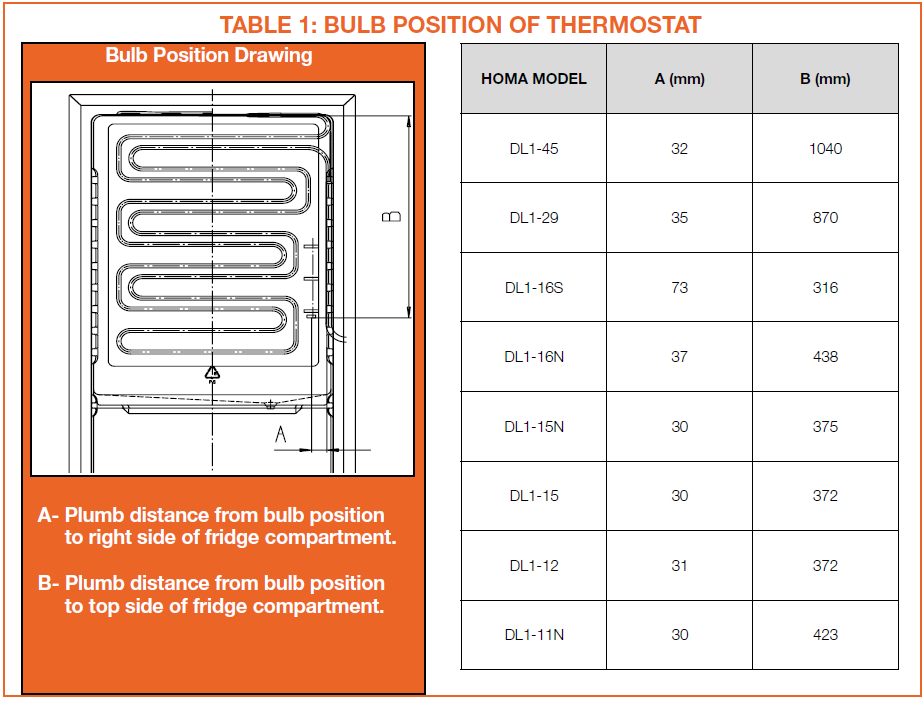
Study table 1 to findthermostat bulb position.
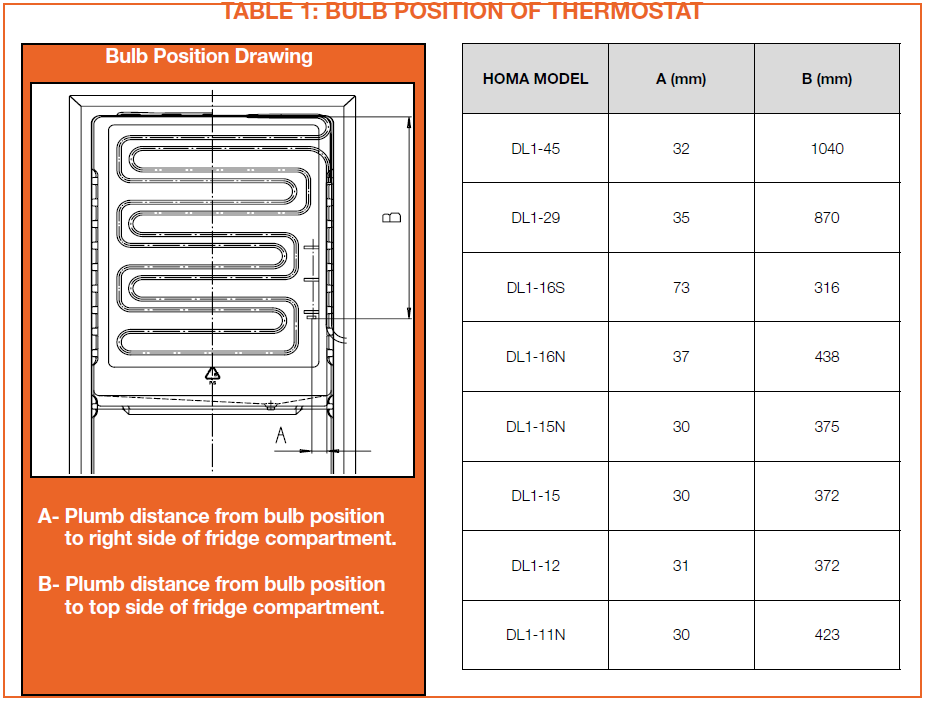
Step 3
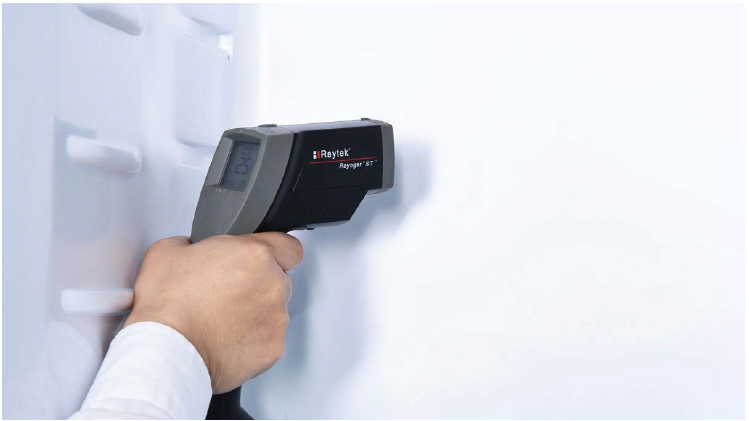
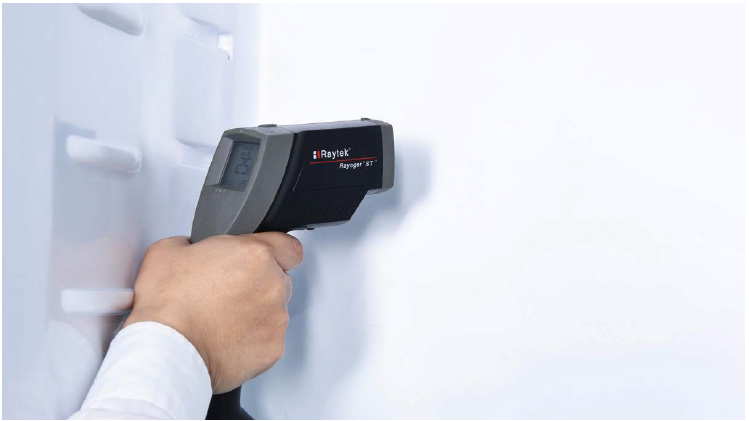
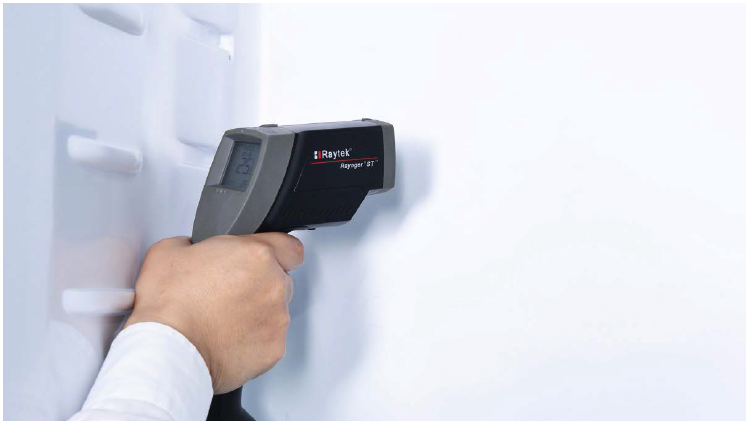
Perform following 2 tests:1 When compressor stops for second time, measure temp in the area near thermostat bulb.
2 When compressor starts again, measure
temperature in the area near thermostat bulb.
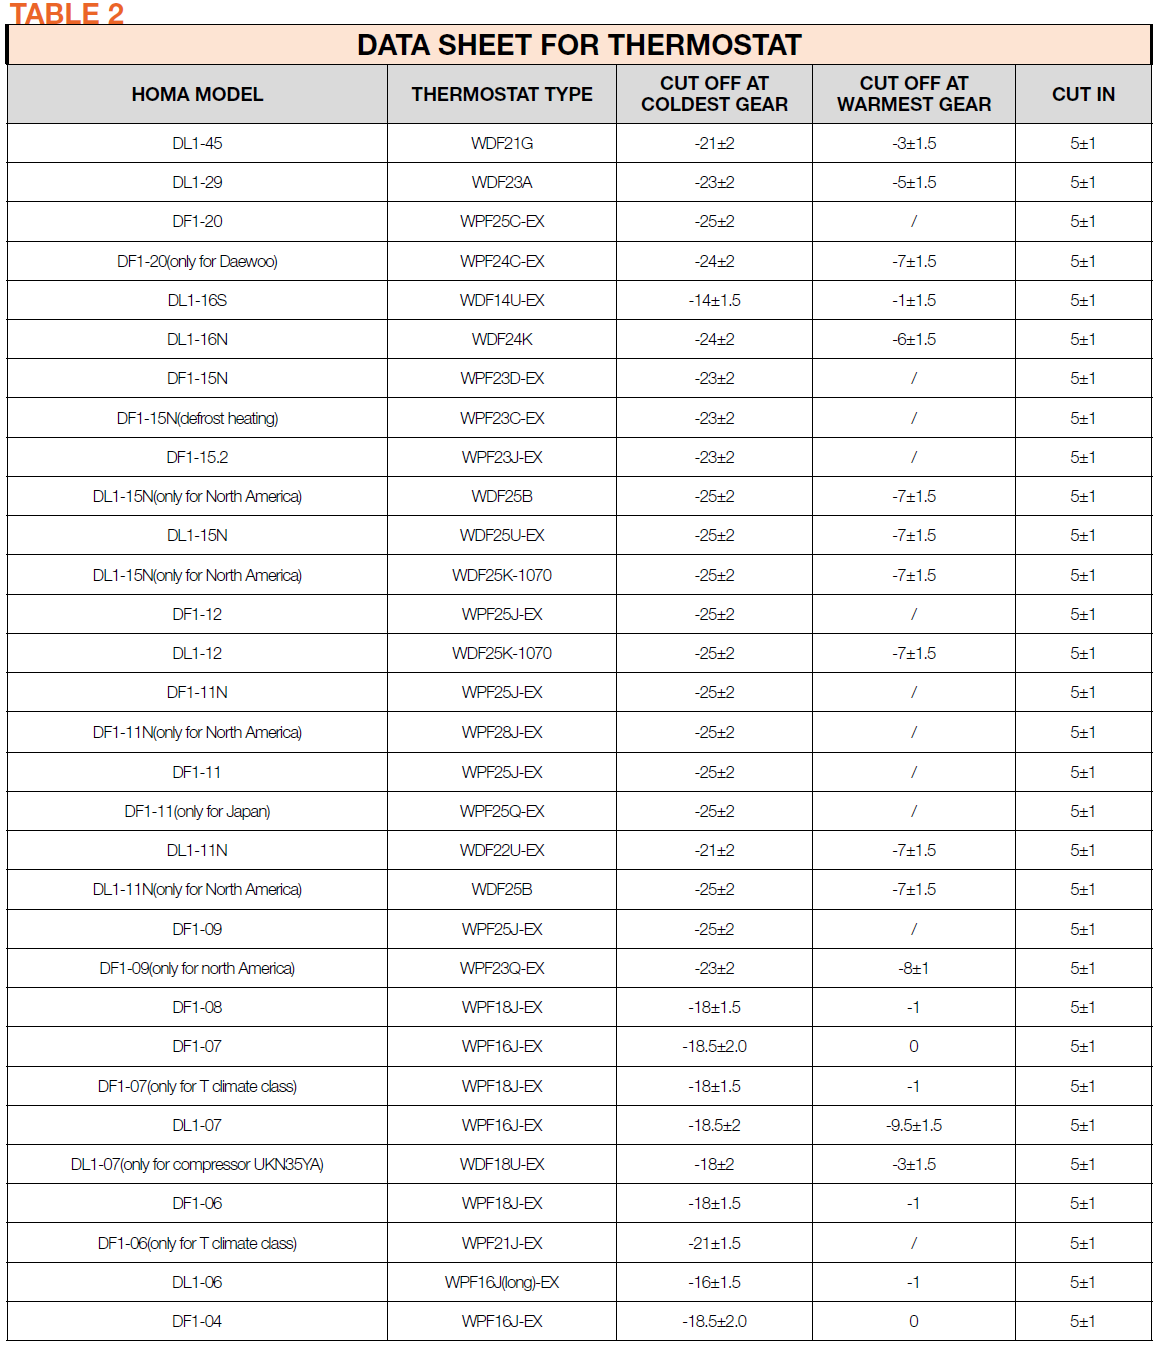

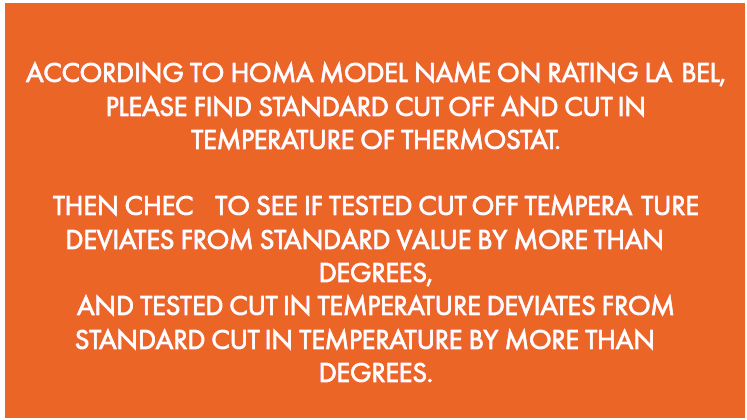

PROCEDURE 1
Step 1
Lever off the screw cover.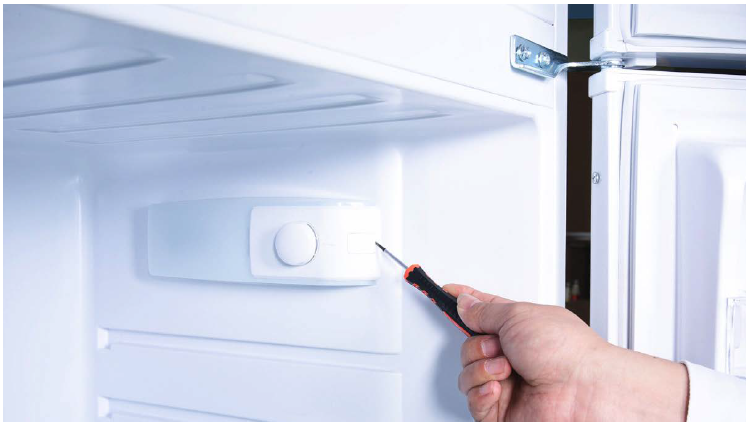
Step 2
Unscrew.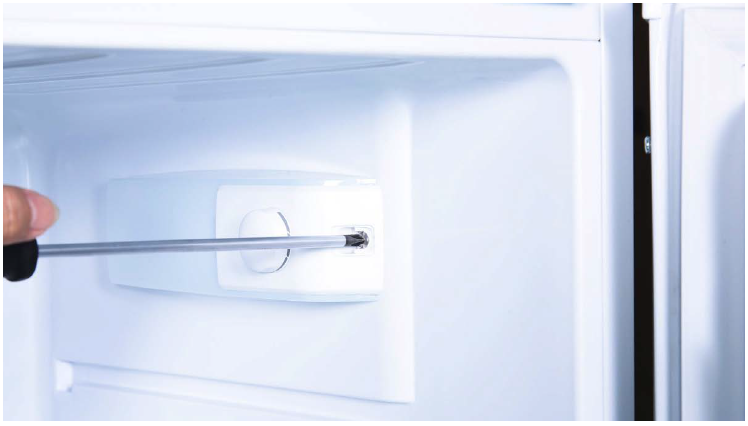
Step 3
Remove thermostat cover.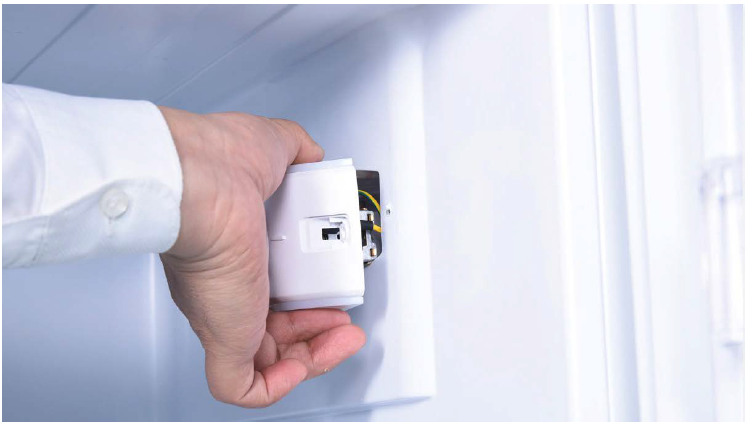
DIAGNOSIS 3
Step 1
Check to see if the first red mark goes in the hole, but second one remains outside of the hole.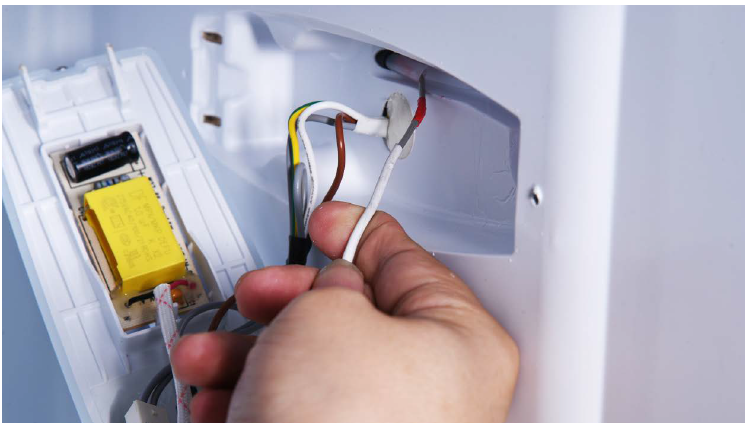

CHECK AND TEST 2
Step 1
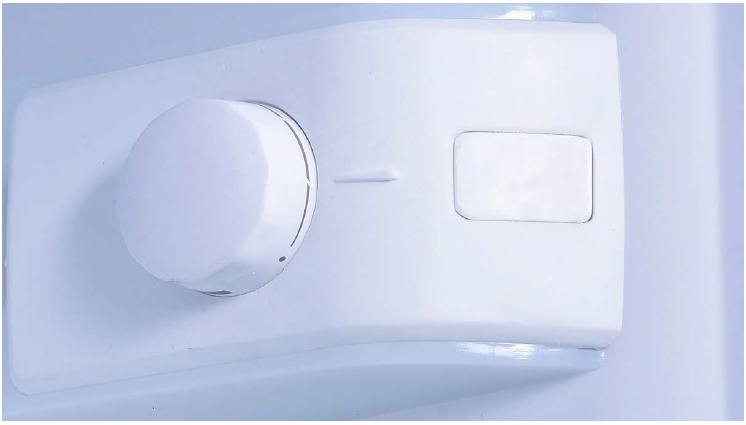
Set the knob of thermostat
at gear Min., and switch on
the appliance.
Step 2
Study table 1 to find
thermostat bulb position.
Step 3
Perform following 2 tests:
1 ) When compressor stops
for second time, measure
temp in the area near
thermostat bulb.
2) When compressor
starts again, measure
temperature in the area
near thermostat bulb.

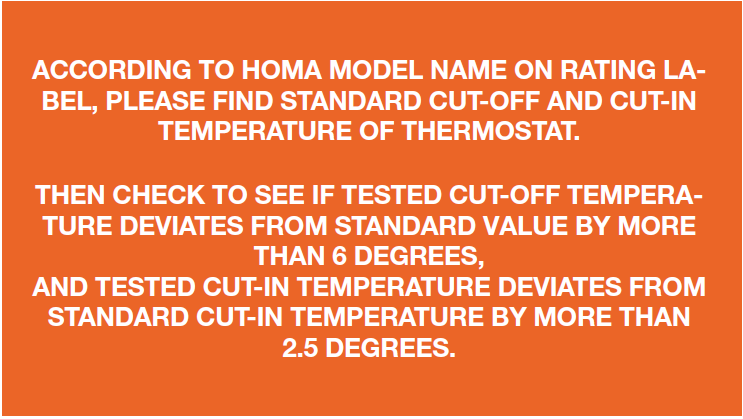
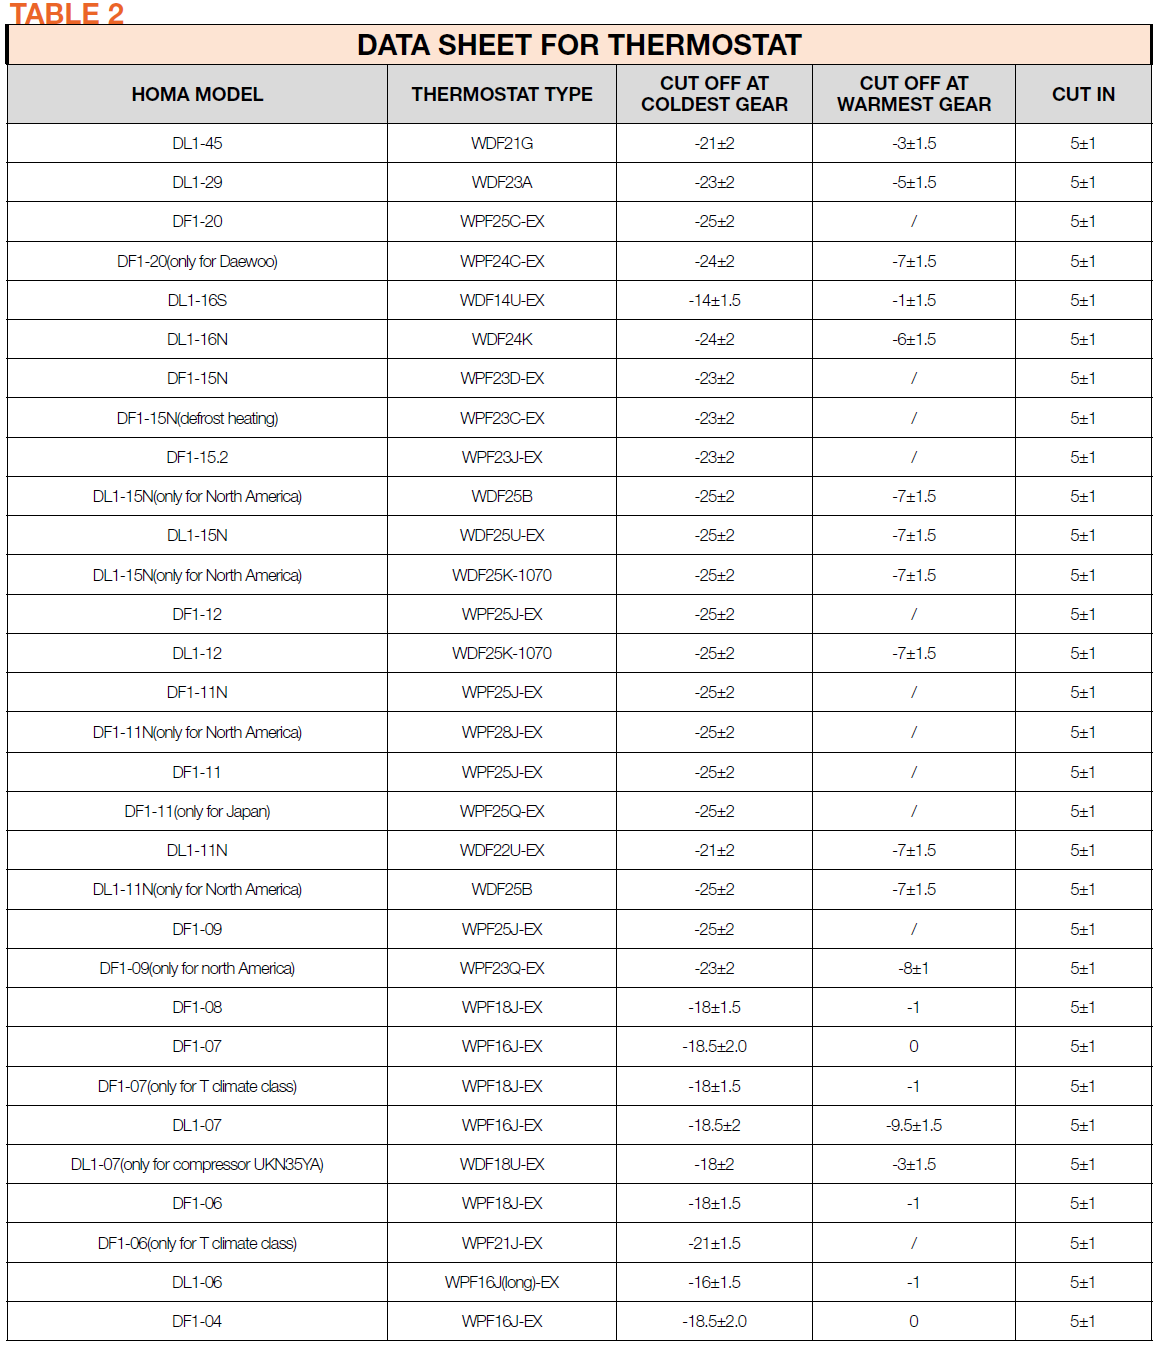

PROCEDURE 2
Step 1
Lever off the screw cover.
Step 2
Unscrew.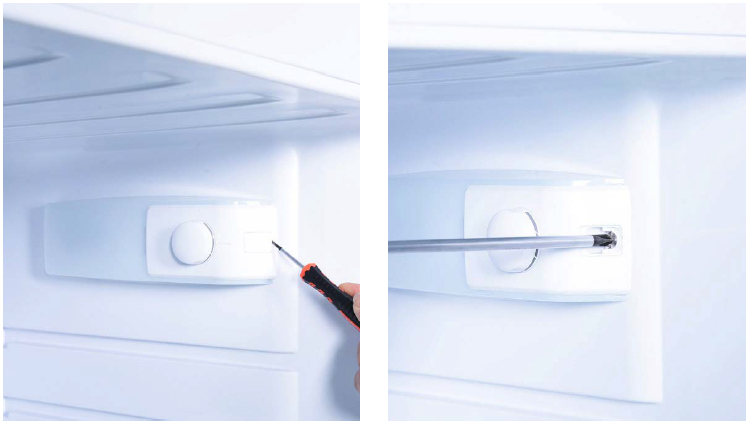
Step 3
Remove thermostat cover.
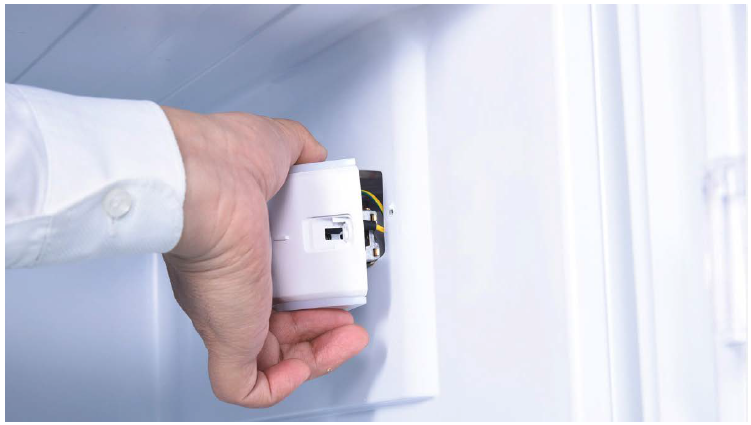
Step 4
Pull capillary from the hole.
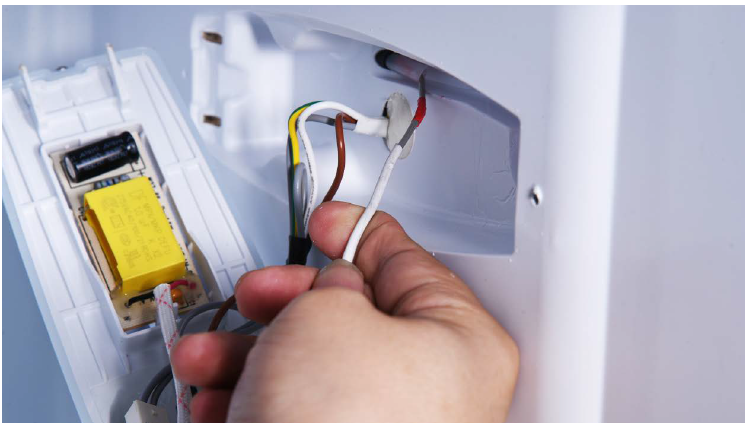

CHECK AND TEST 3
Step 1
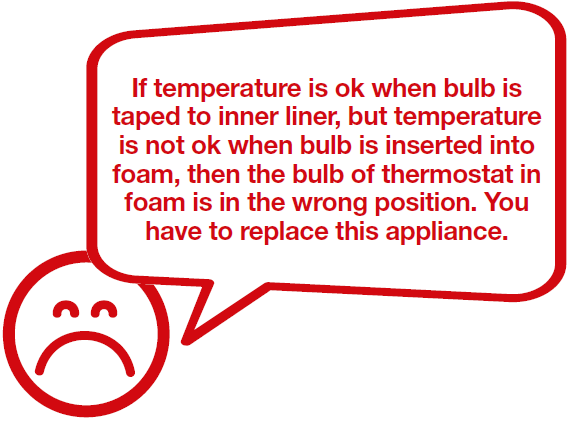
Tape capillary bulb onto inner liner where bulb is located in foam.
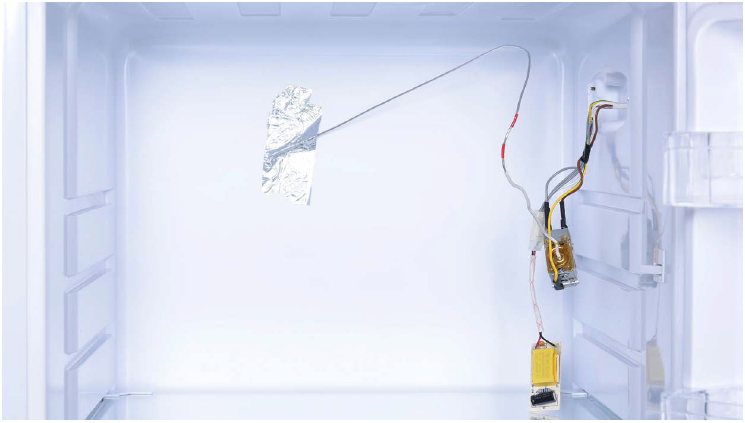
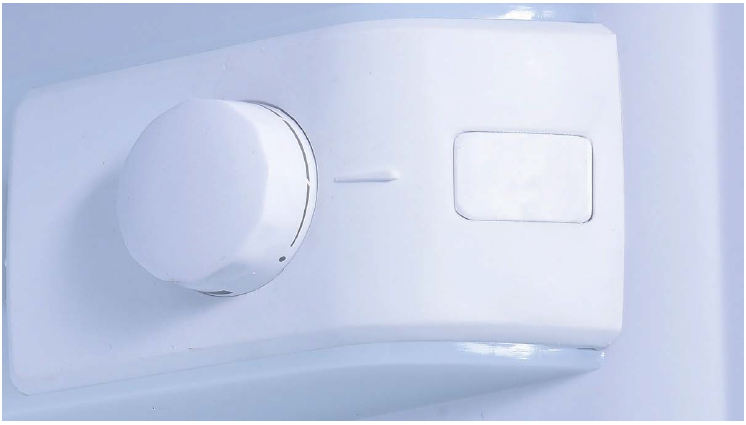
Step 2
Keep the gear at 1 and check whether compressor can be stopped.
Step 3
When compressor stops, measure the temperature.

Tips 1:
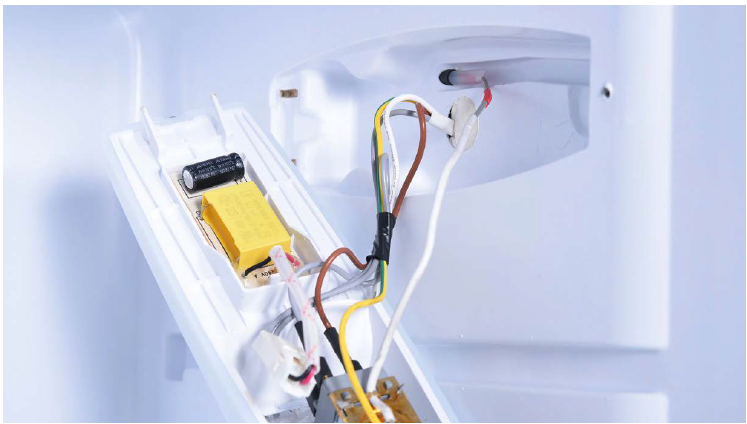
When inserting capillary into the hole, make sure the first red mark goes in the hole, but second one remains outside of the hole.
Tips 2:
Make sure the pins of thermostat cover are
properly inserted into the holes.
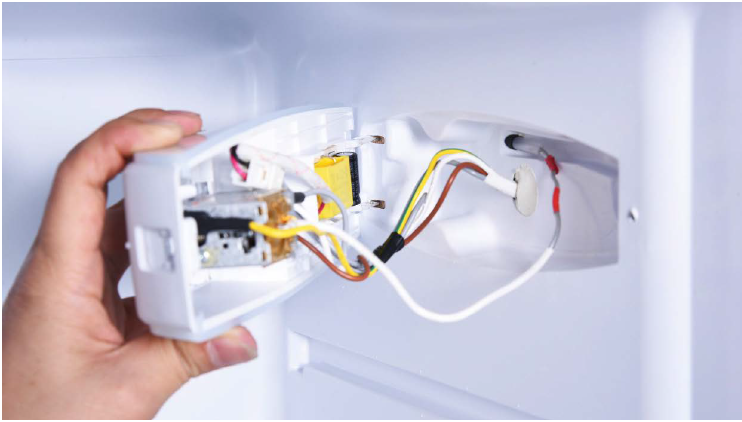
Tips 3:
Make sure wires are placed into cavity of thermostat.
