NOTE


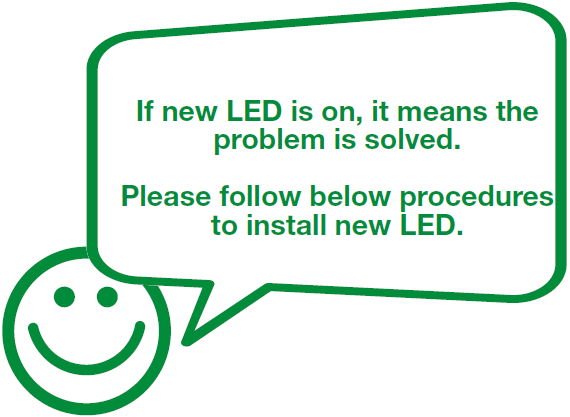
PROCEDURE 1
NOTE
Before testing LED light, please follow procedure 1 to disassemble LED first.

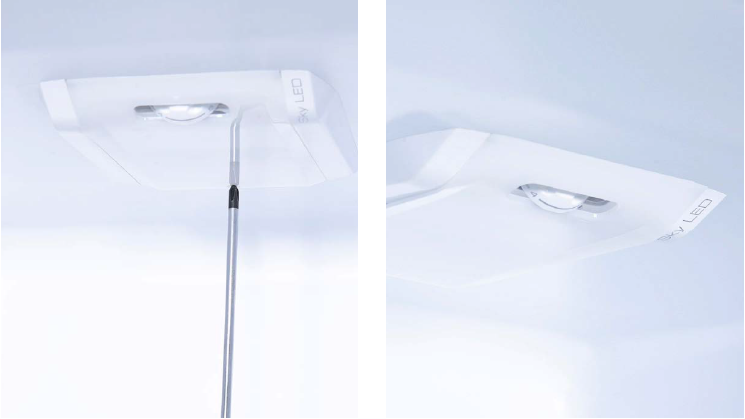
Step 1
Unscrew LED cover.
Step 1
Step 3
Unscrew thermostat cover.
Step 4
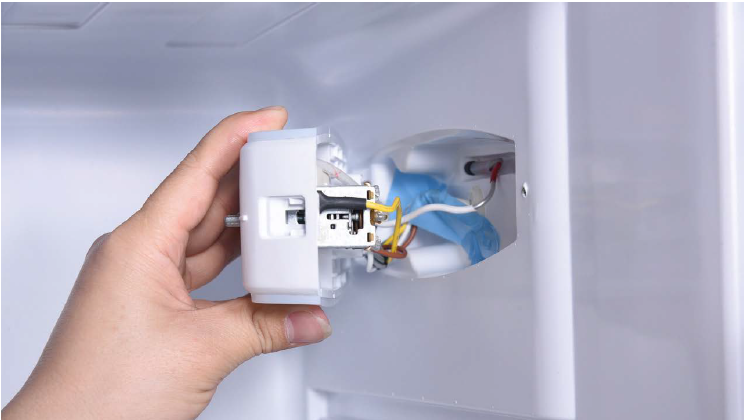
Lever off the buckle and push the thermostat out.

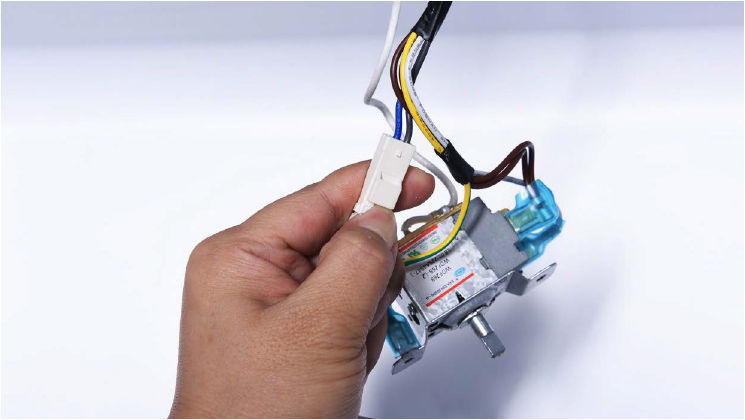
Step 5
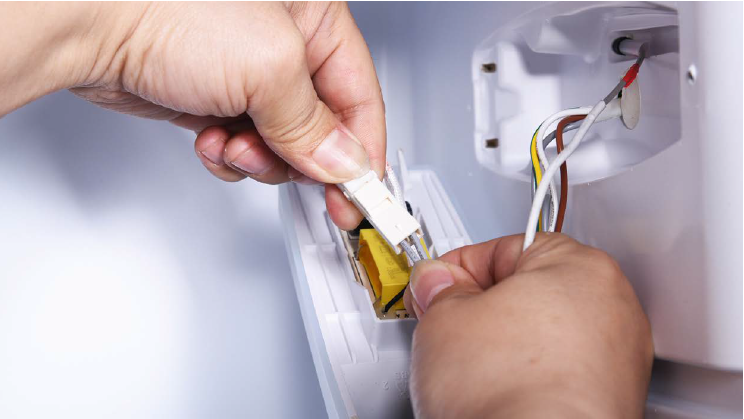
Disconnect terminal for LED.
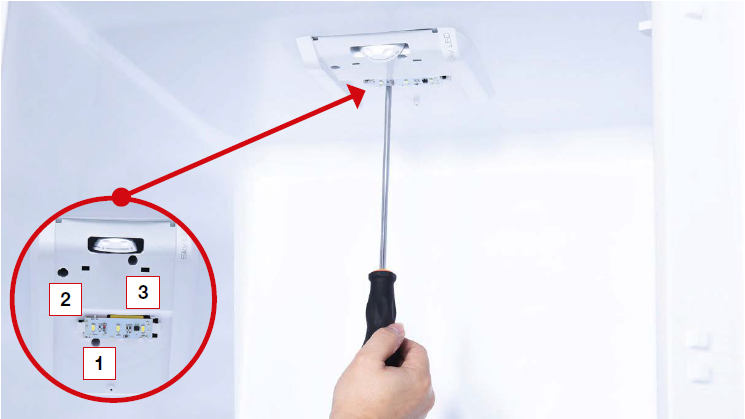
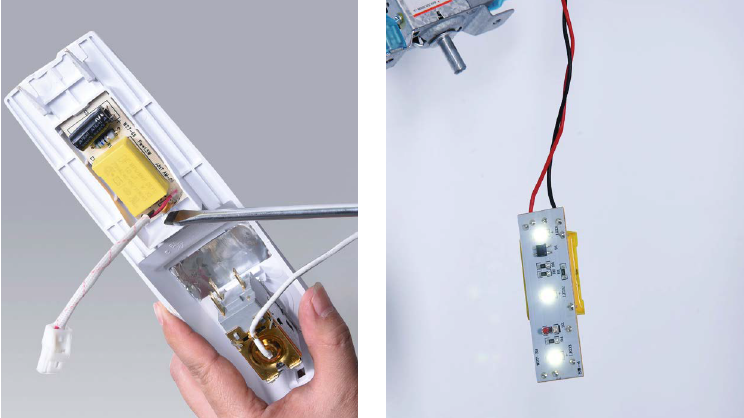
Step 6
Lever off LED plate.
Step 7
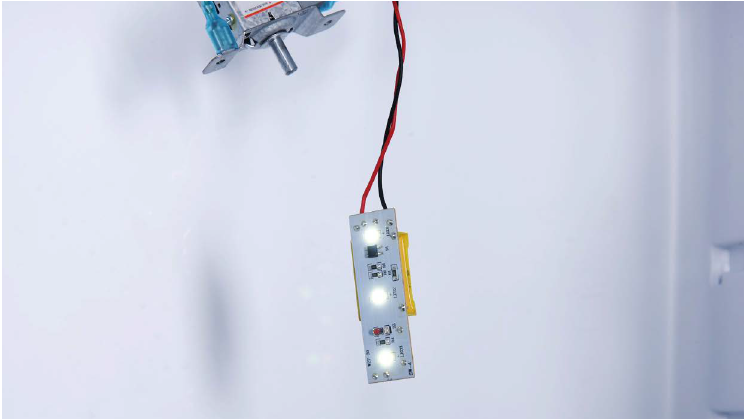
Connect new LED onto terminal and plug in to
switch on the appliance.


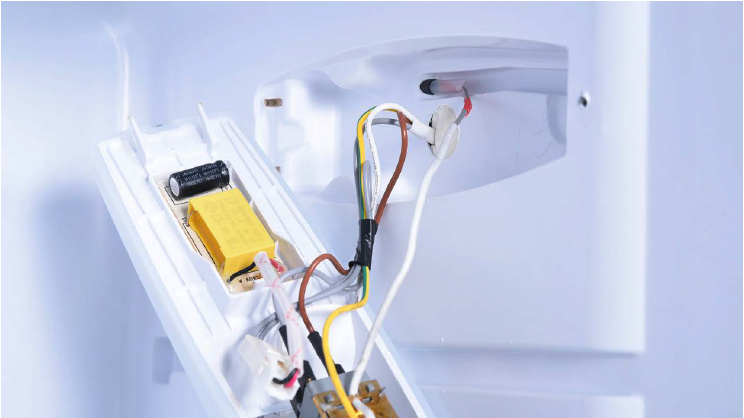
Tips 1:
When inserting capillary into the hole, make sure the first red mark goes in the hole, but second one remains outside of the hole.
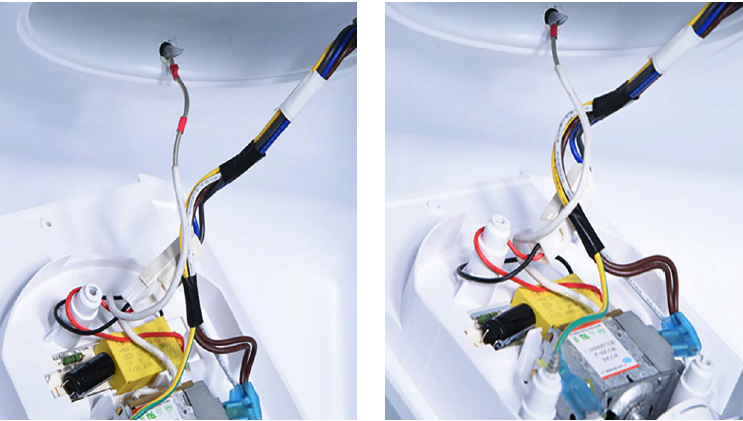
Tips 2:
When inserting thermostat into the buckle, please push the control knob into the buckle first.
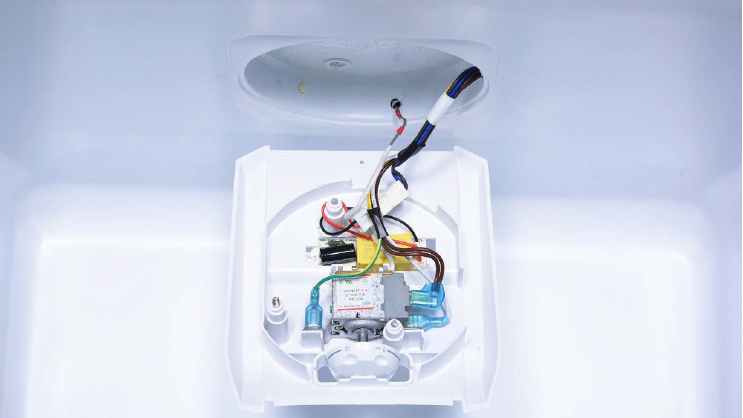
Tips 3:
Make sure wires are twisted around screw
hole to avoid damaging wires with screw.

PROCEDURE 1
NOTE
Before testing LED light, please follow procedure 1 to disassemble LED first.
Step 1
Lever off screw cover.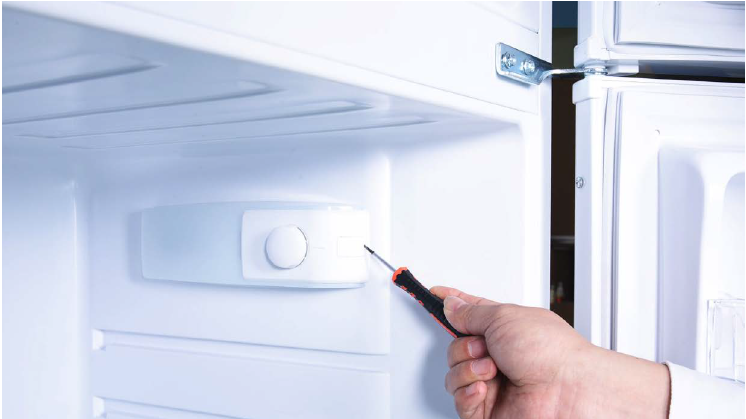
Step 2
Unscrew.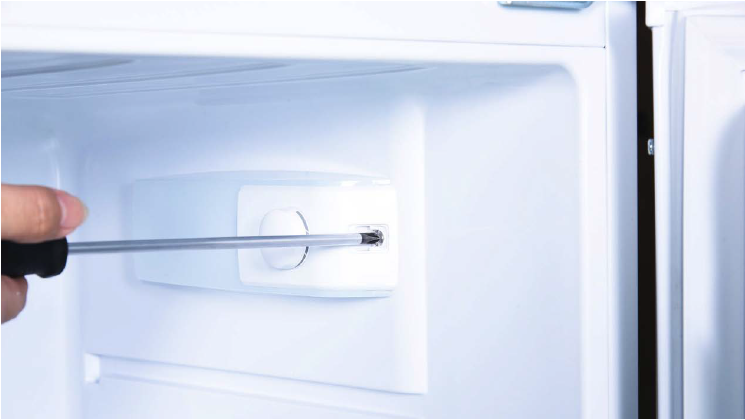
Step 3
Remove thermostat box.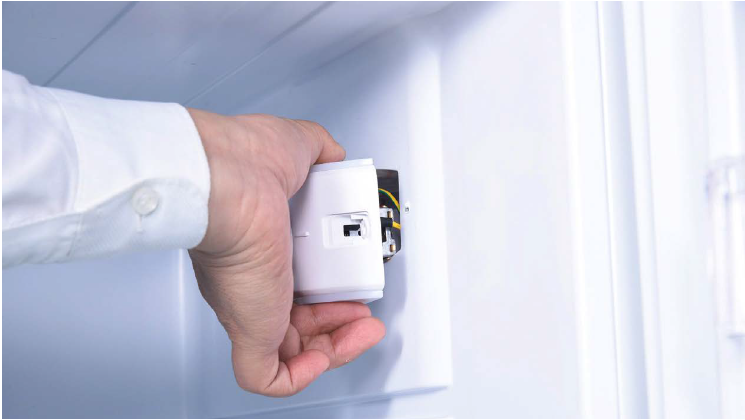
Step 4
Disconnect terminal for LED.
Step 5
Lever off LED plate.
Step 6
Connect new LED onto terminal and plug in to
switch on the appliance.

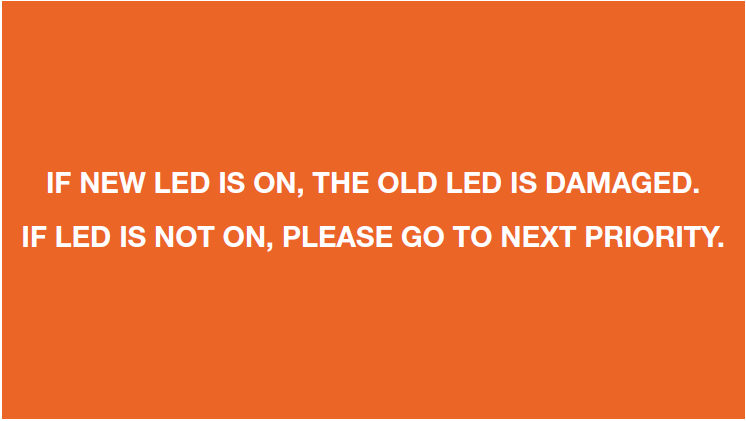
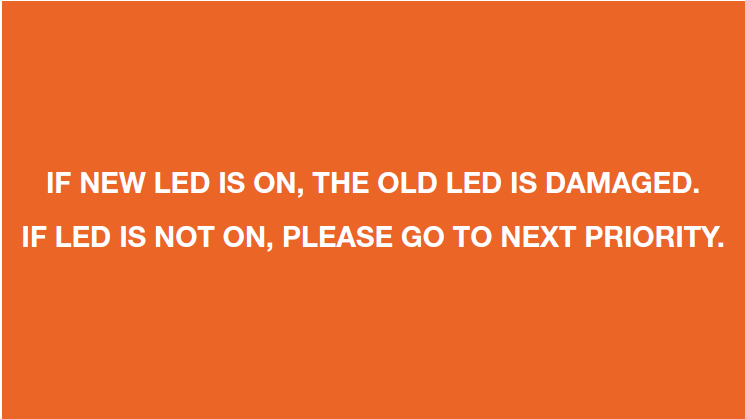
DIAGNOSIS 1

Tips 1:
When inserting capillary into the hole, make sure the first red mark goes in the hole, but second one remains outside of the hole.
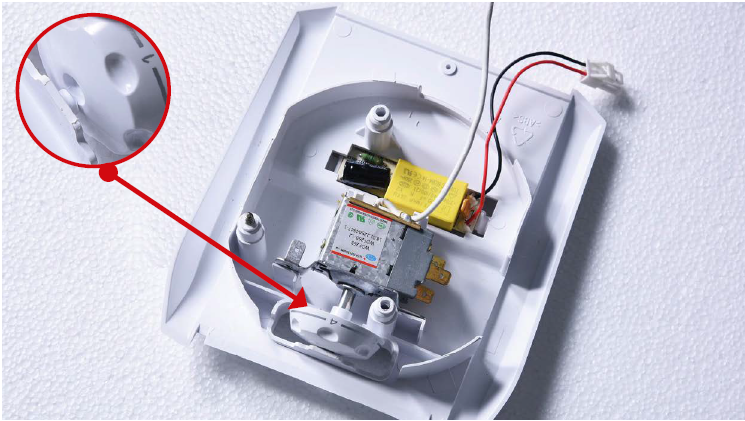
Tips 2:
Make sure the pins of thermostat cover are
inserted into the holes.

Tips 3:
Make sure wires are placed into cavity of
thermostat.