
PROCEDURE 1
Step 1
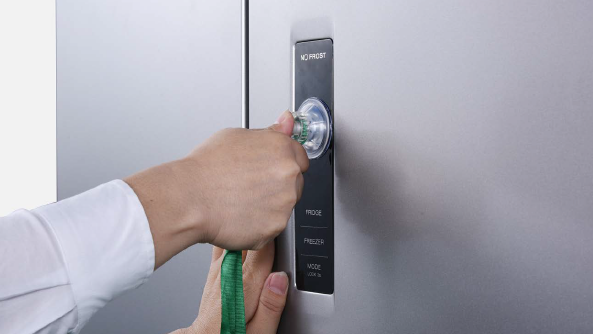
Push a 6mm sucker onto display and turn the knob to strengthen suction force.

Step 2
Attach strap to knob to facilitate pulling out display board.

PROCEDURE 2
Step 1
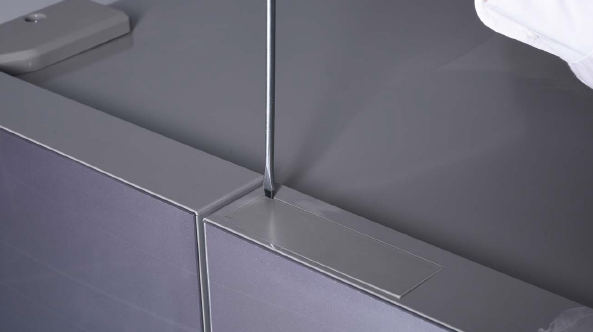
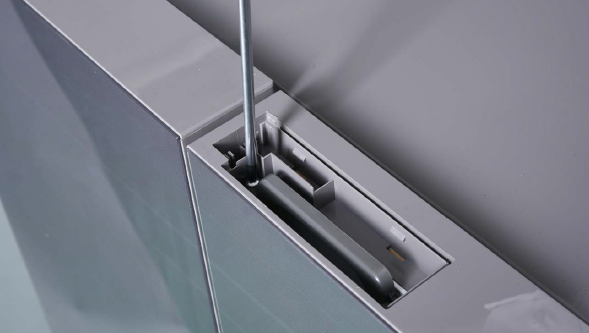
Lever off the cover on door cap.
Step 2
Remove the screws (in total 2).
Step 3
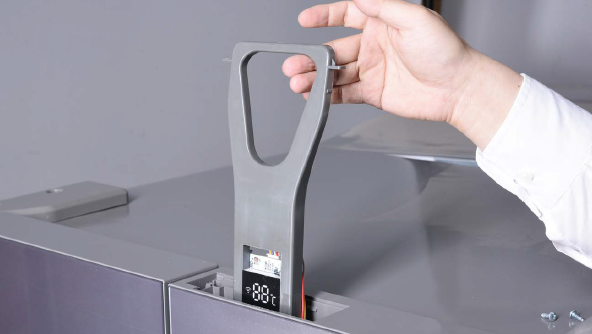
Pull out the plastic.

PROCEDURE 3

Step 1
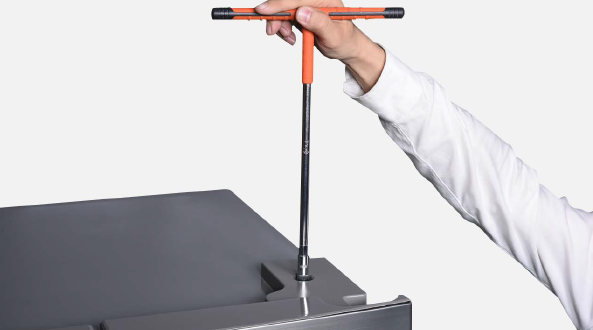
Unscrew hinge cover.
Step 2
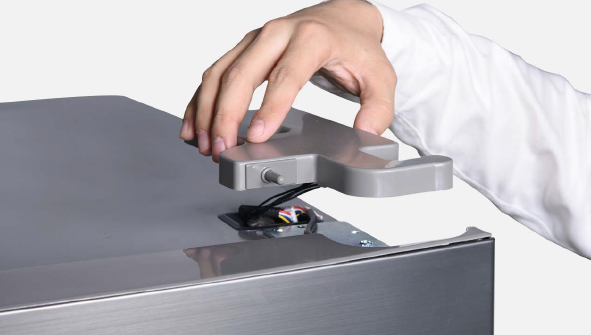
Remove the cover.

PROCEDURE 4

Step 1
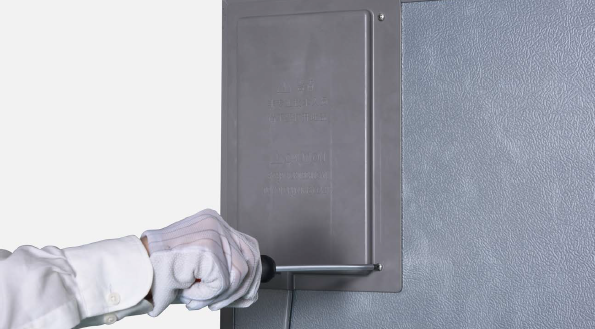
Unscrew cover of mainboard with a cross-head screwdriver.

CHECK AND TEST 1
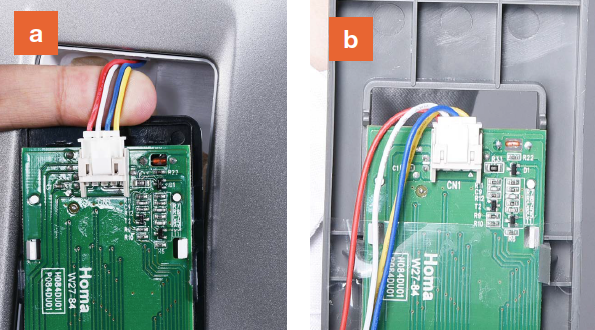
Step 1
Check whether the
display terminal is
properly plugged in.
a) Metal door;
b) Glass door.
Step 2
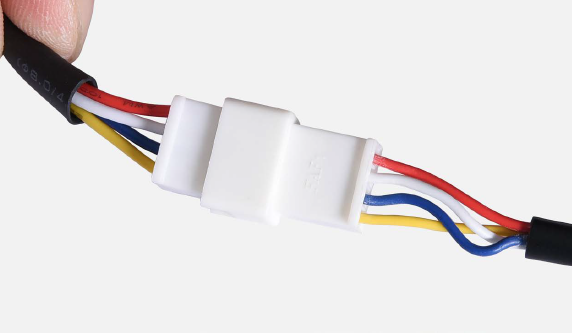
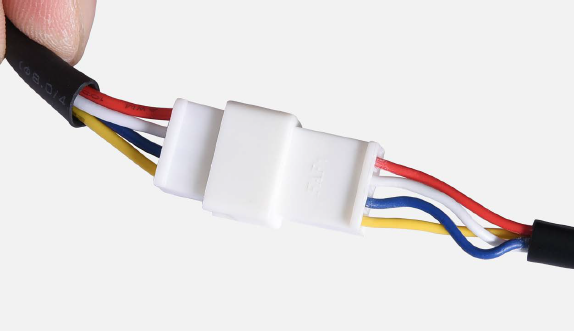
Check whether terminal in hinge cover is properly plugged in.
Step 3
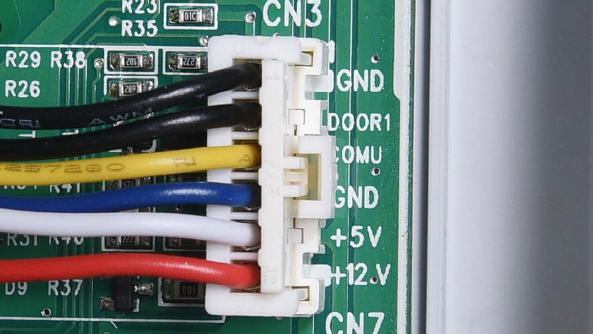
Check to see if terminal in Mainboard cover is properly plugged in.

DIAGNOSIS 1


CHECK AND TEST 2
Step 1
Check to make sure the
wire order for display is correct.
a) Metal door;
b) Glass door
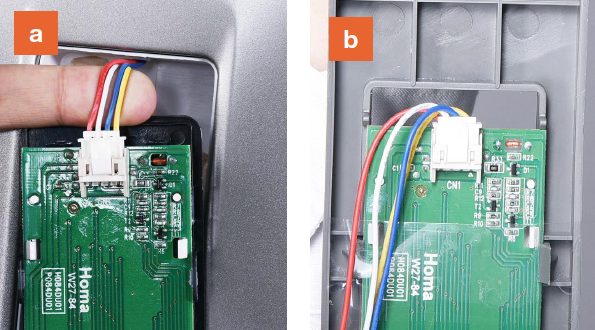
Note
If wire order in customer’s product is not identical to pictures, the wire order is incorrect.
Step 2
Check to make sure the wire order in hinge cover is correct.
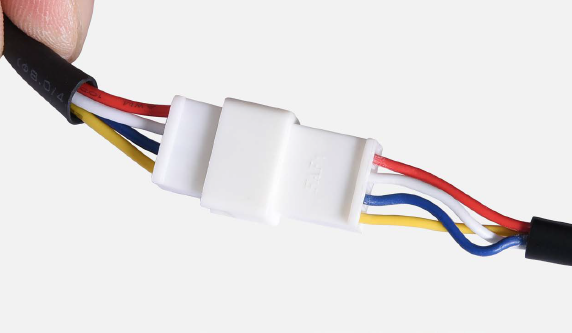
Step 3
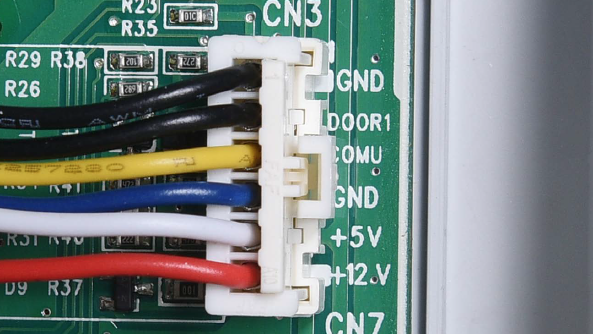
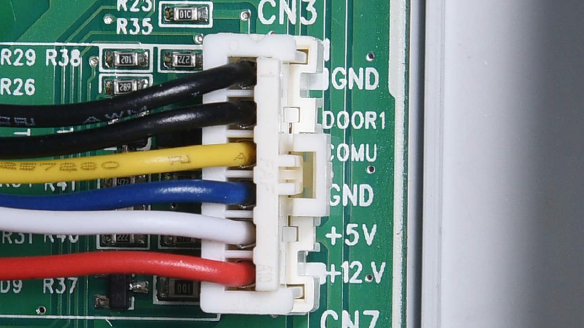
Check to make sure the wire order on mainboard is correct.
Note
If wire order in customer’s product is not identical to pictures, the wire order is incorrect.

DIAGNOSIS 2

PROCEDURE 5

Step 1
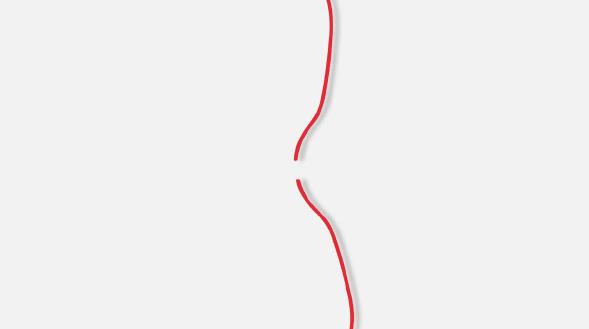
Cut off the wire.
Step 2
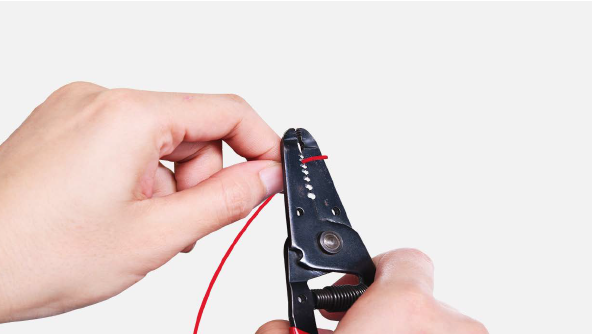
Peel off the sleeves.
Step 3
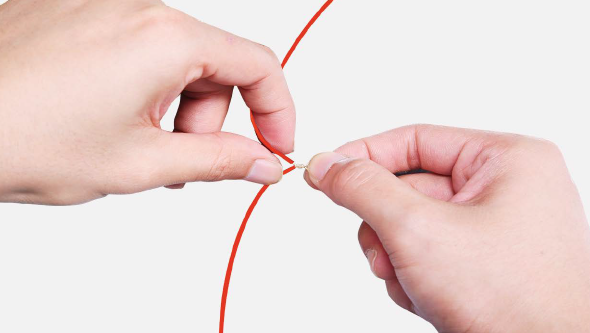
Make sure wires are in proper order and connect them.
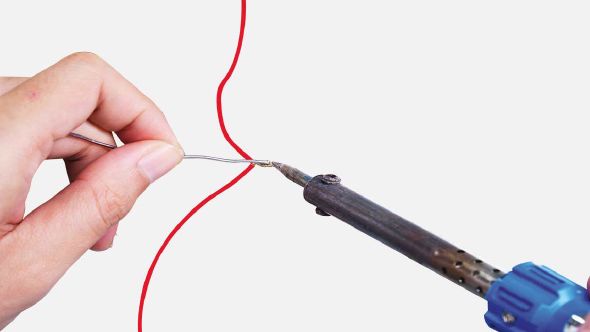
Step 4
Tin soldering.
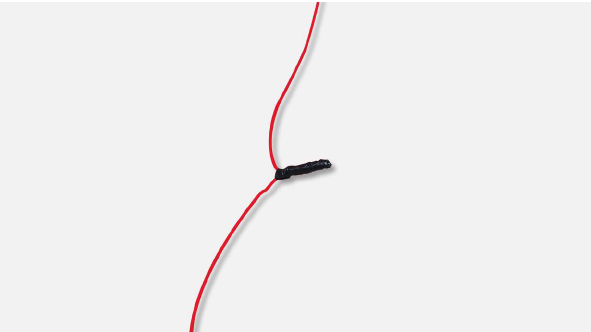
Step 5
Cover connecting point with electrical tape.

CHECK AND TEST 3
Step 1
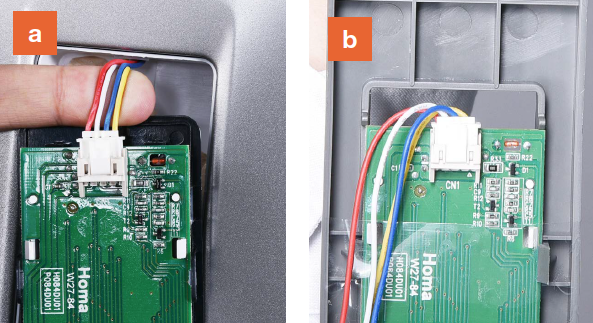
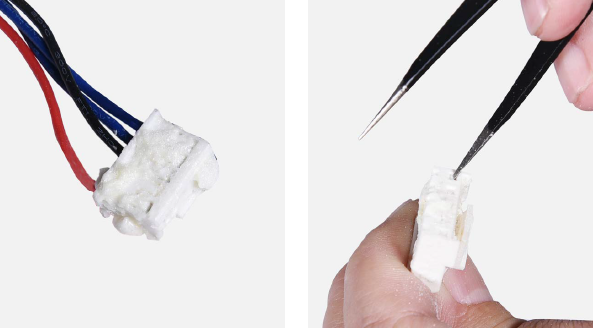
Check to see if terminals
for display board are
dirtied by foam.
a) Metal door;
b) Glass door;
Step 2
Check to see if terminals under hinge cover are filled with foam.
Step 3
Check to see if terminal in Mainboard cover filled with foam.

DIAGNOSIS 3

Step 1
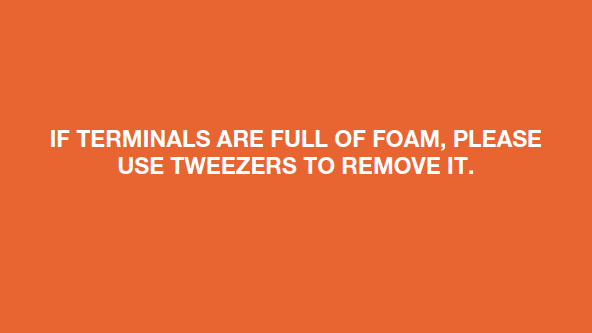
Use tweezers to remove visible foam.

CHECK AND TEST 4
Step 1
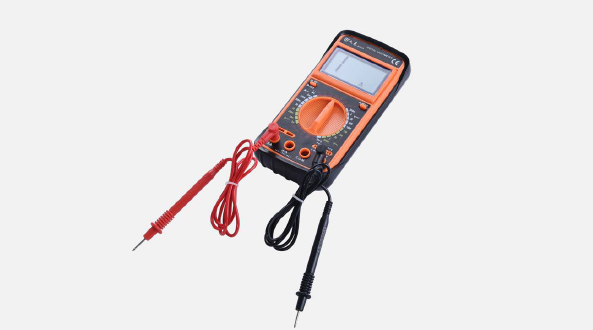
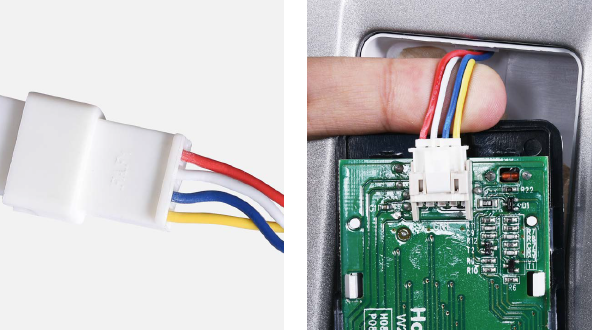
Use multimeter to test connection of wires in foam.
Step 2
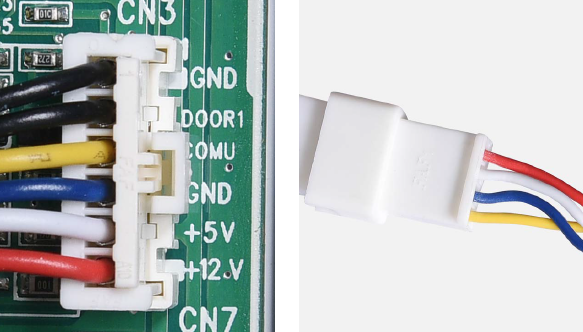
Check the connection between terminals in mainboard cover and hinge cover.
Step 3
Check the connection between terminals in display cover and hinge cover.

DIAGNOSIS 4


PROCEDURE 6

Step 1
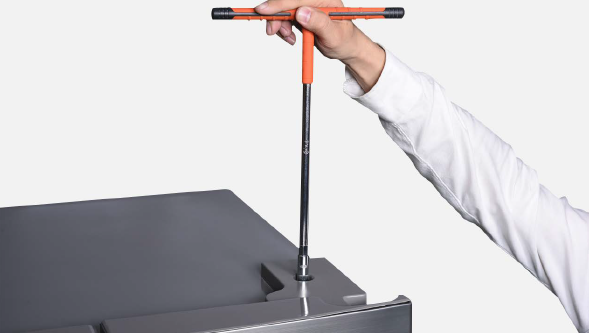
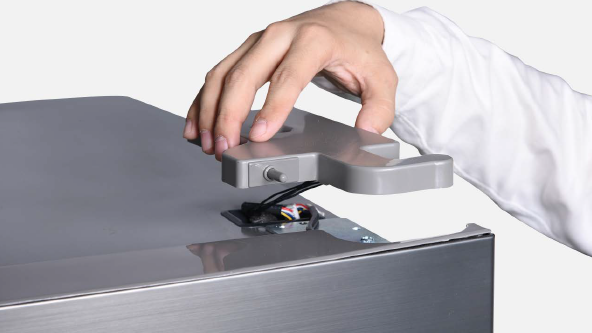
Unscrew hinge cover.
Step 2
Remove the cover.
Step 3
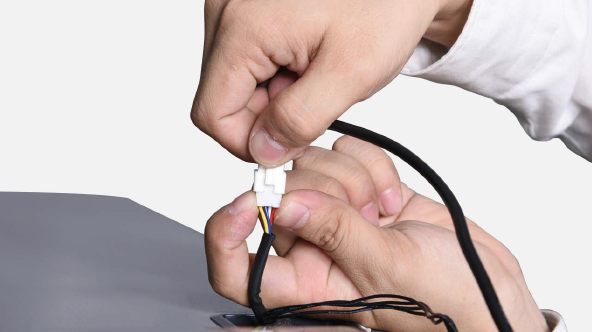
Disconnect the terminals.
Step 4
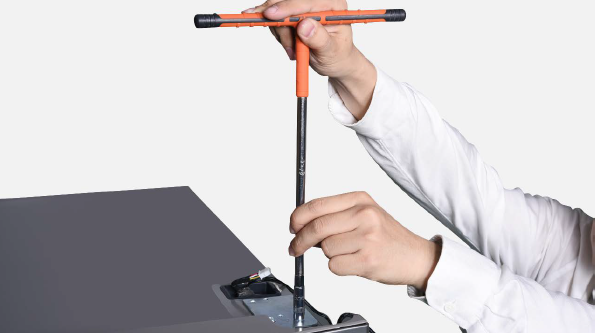
Unscrew 3 bolts and remove the top hinge.
Step 5
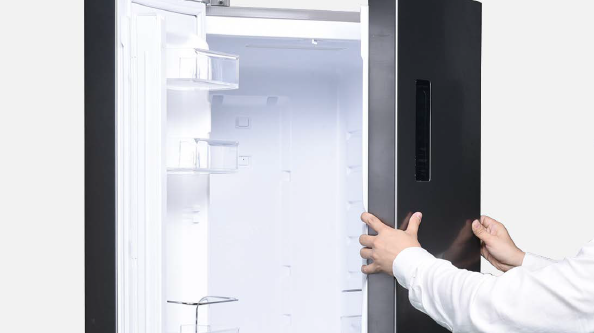
Remove fridge door.
Reverse procedures above to reinstall hinges and door, but please pay attention to points below.

DIAGNOSIS 5



PROCEDURE 7
Step 1
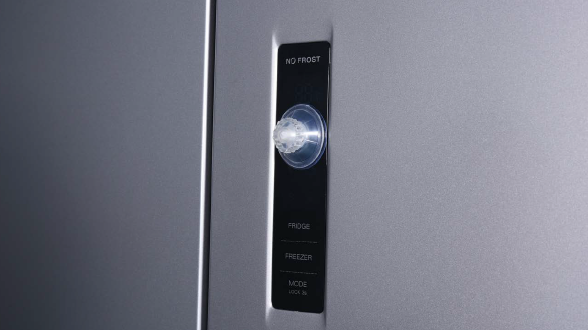
Push a 6mm sucker onto display and turn the knob to strengthen suction force.
Step 2
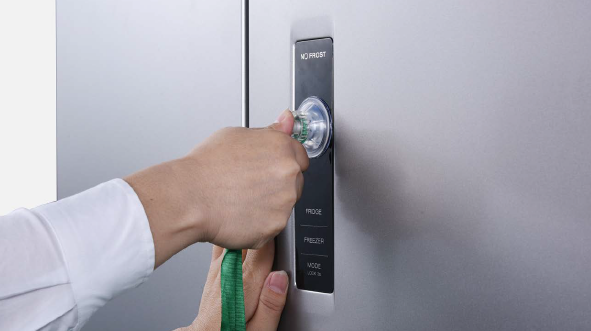
Attach strap to knob to facilitate pulling out display board.
Tips for proper installation of display:
Tip 1
After connecting terminal, please tape wires in place to prevent crushing by the cover.
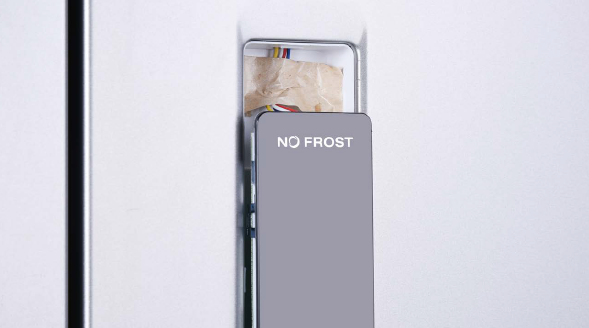
Tip 2
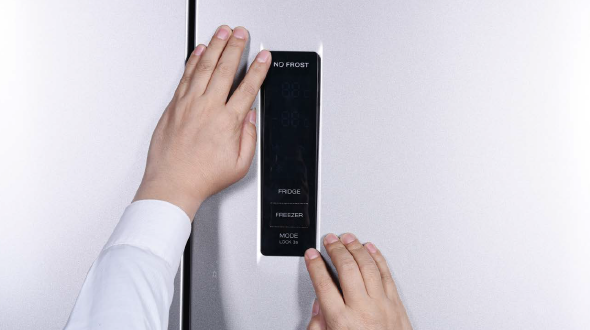
After inserting display into cavity, press edge until you hear a clicking sound, this means the board is pushed properly into final position.
Please press all buttons on display board to make sure display functions properly.

PROCEDURE 8
Step 1
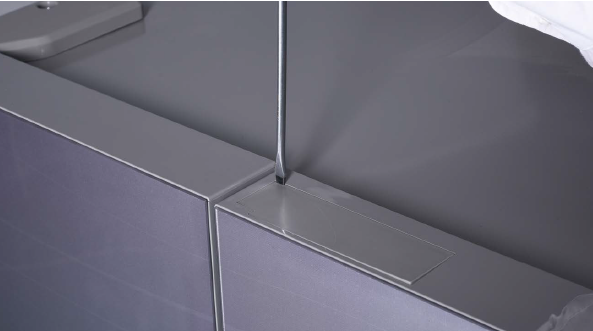
Lever off the cover on door cap.
Step 2
Remove the screws (in total 2).
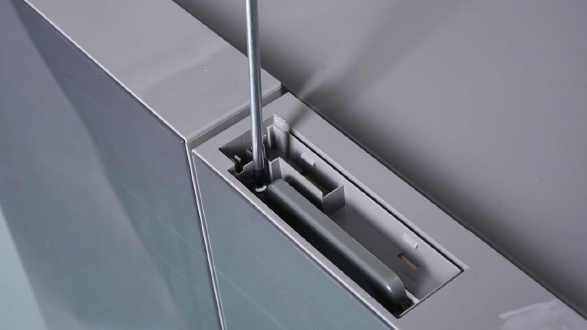
Step 3
Pull out the plastic;
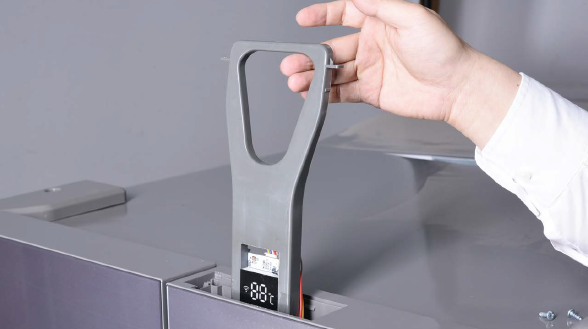
Step 4
Disconnect the terminal for display panel.
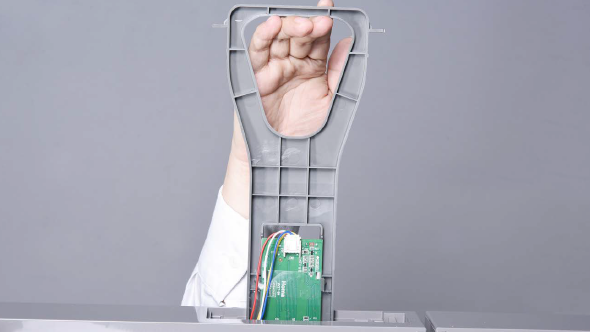

PROCEDURE 9

Step 1
Unscrew cover of mainboard with a Cross- head screwdriver.
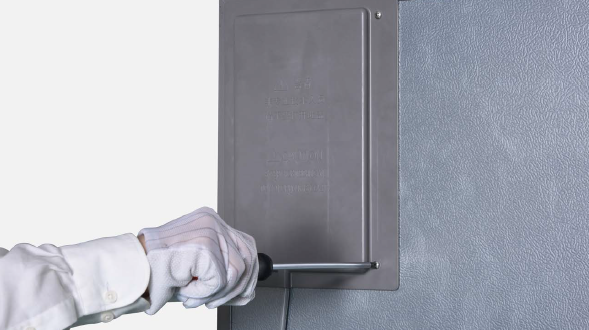
Step 2
Disconnect terminals.

Step 3
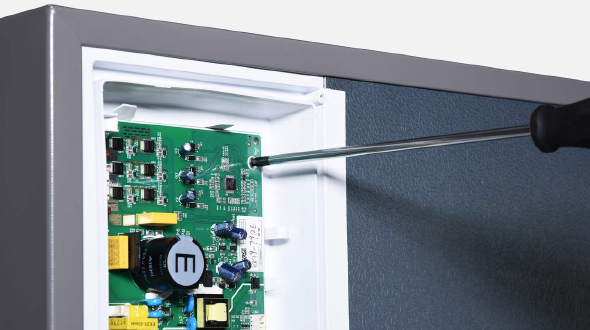
Unscrew the mainboard.
Step 4
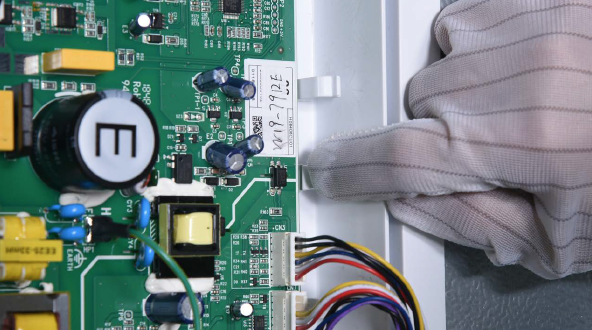
Unfasten and remove mainboard.

DIAGNOSIS 7

