
CHECK AND TEST 1
Step 1
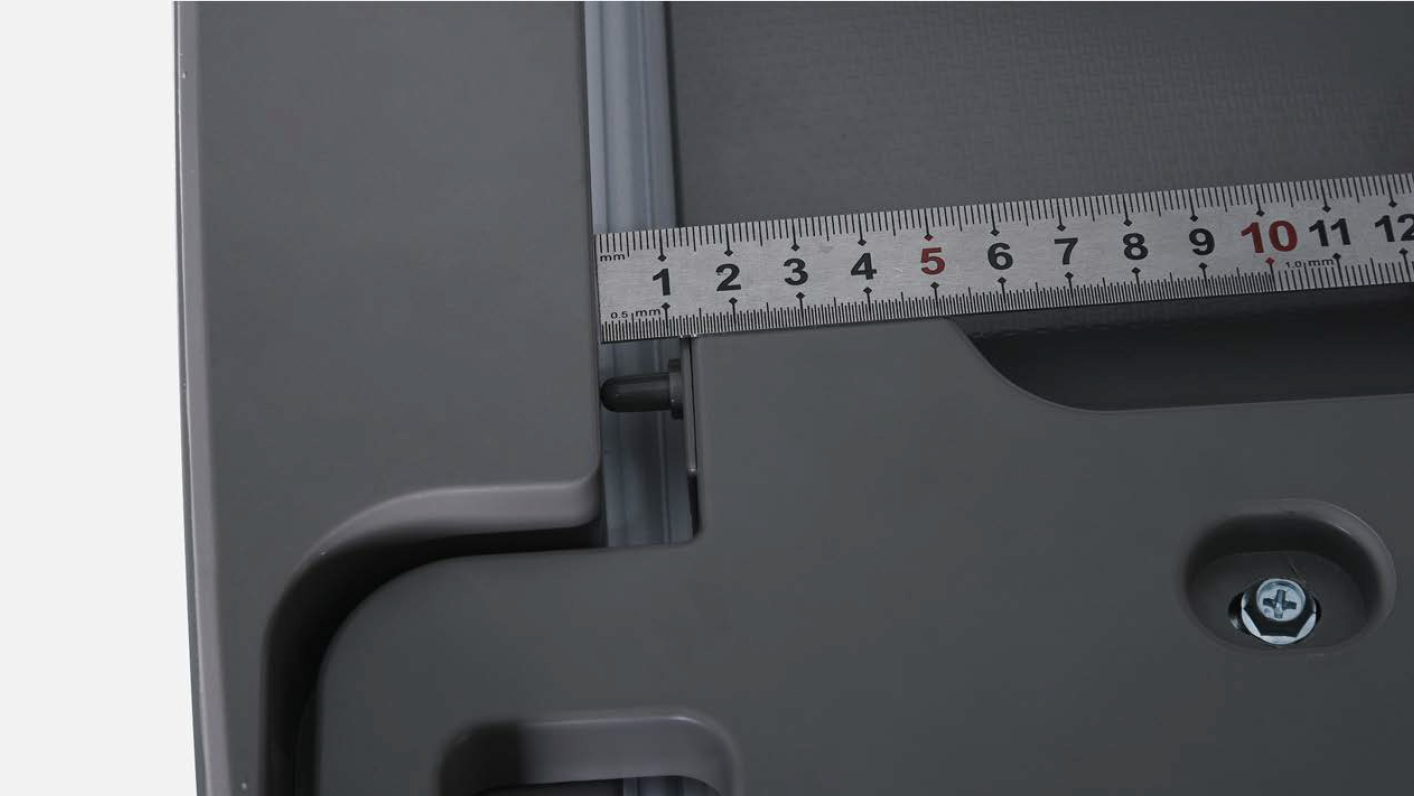
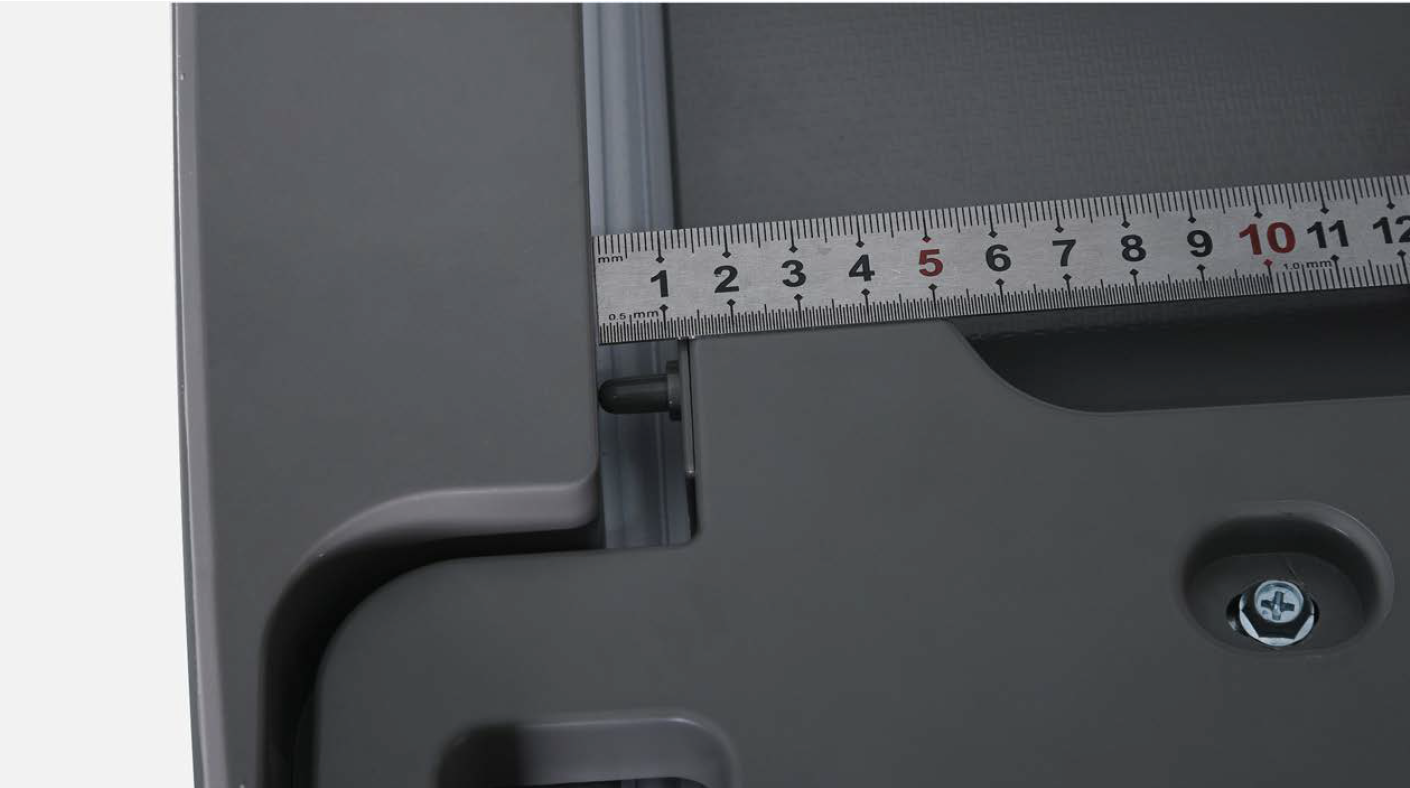
Take note of the distance between door and mechanical switch pin when door is closed.
Step 2
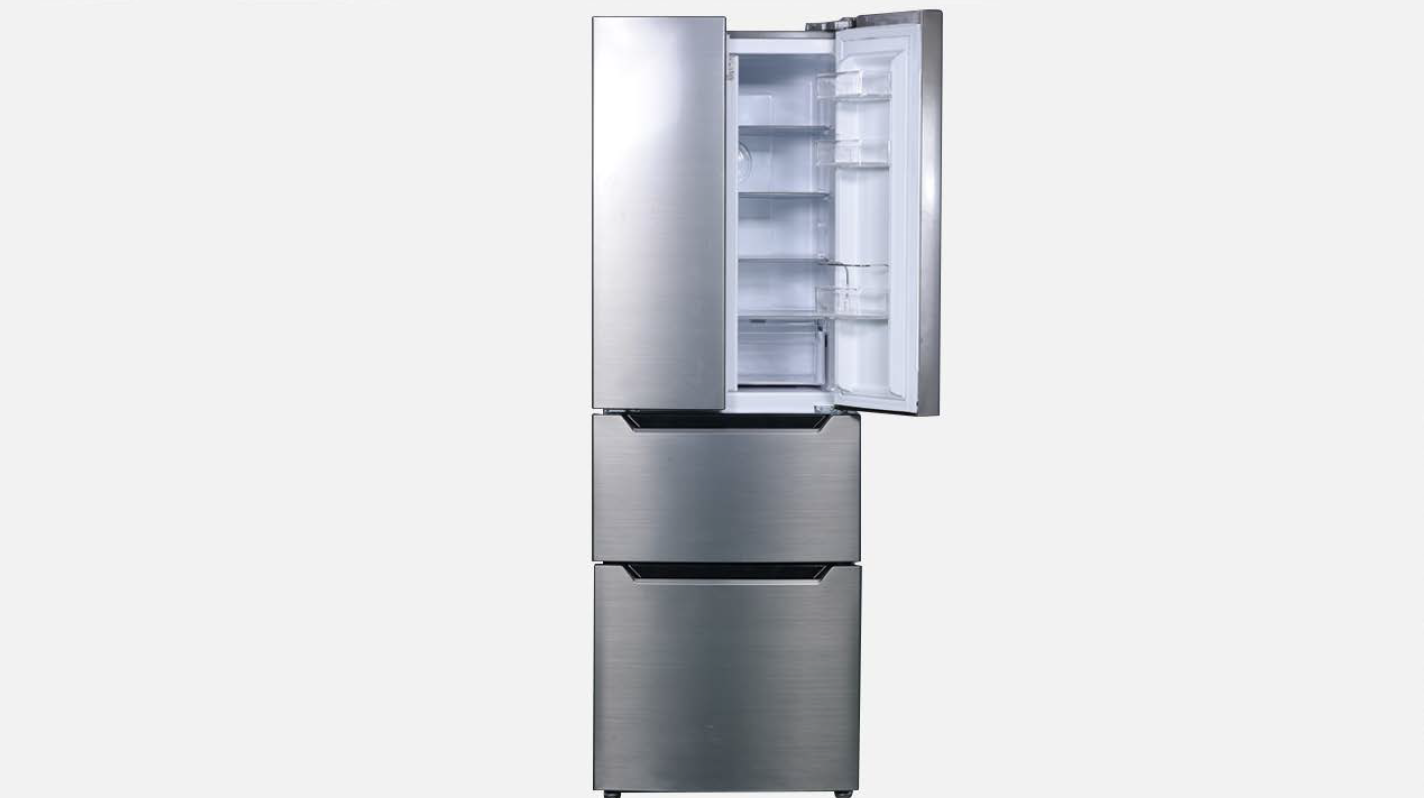
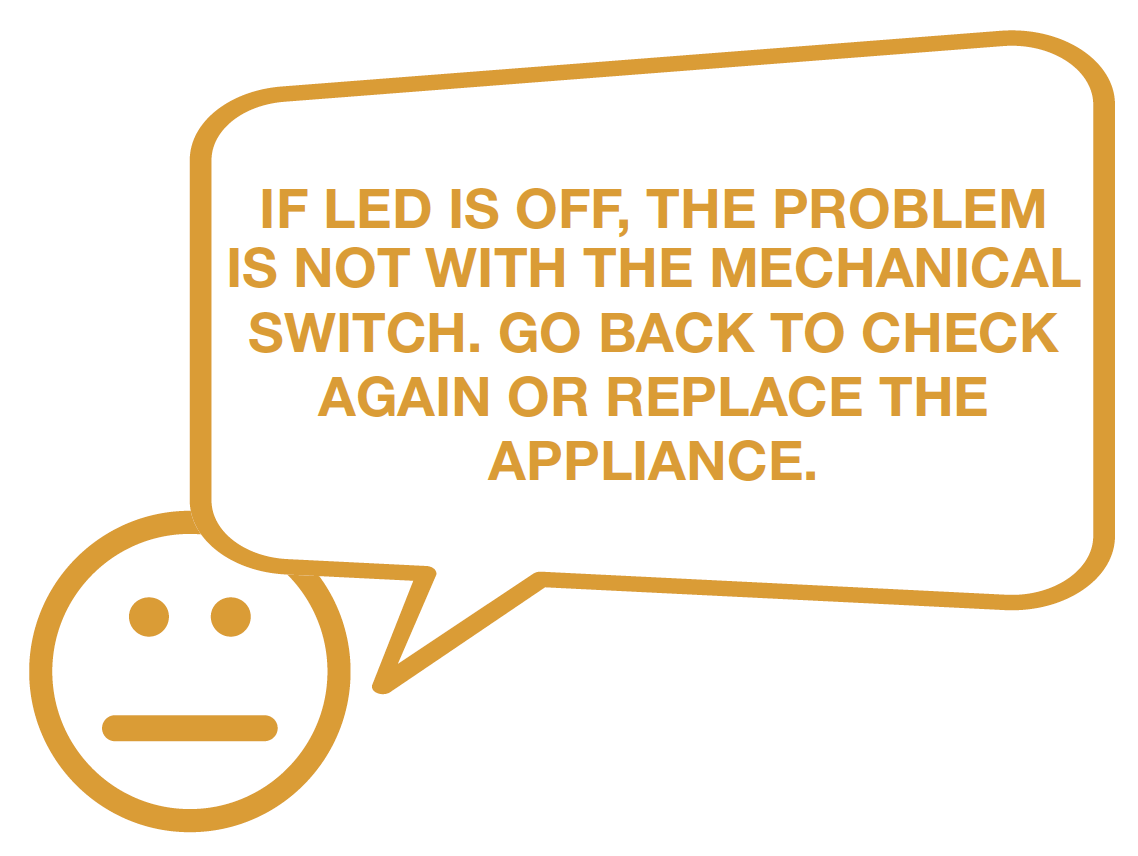
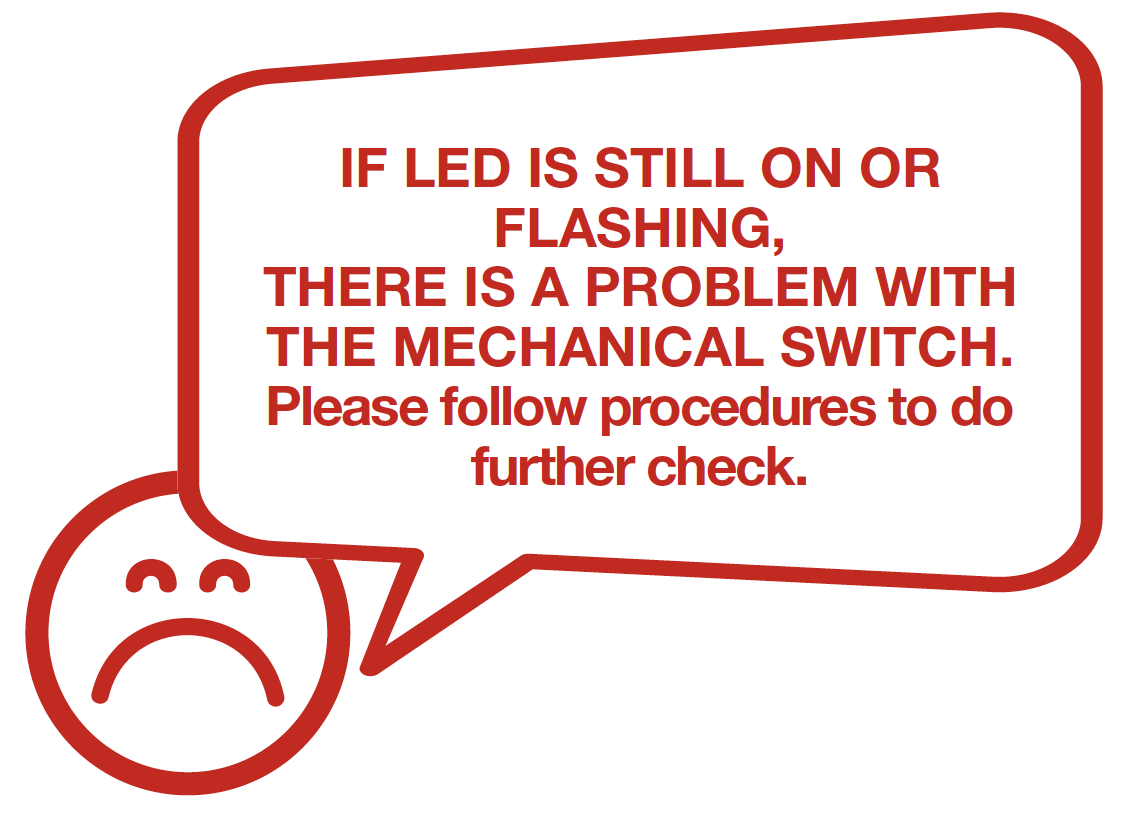
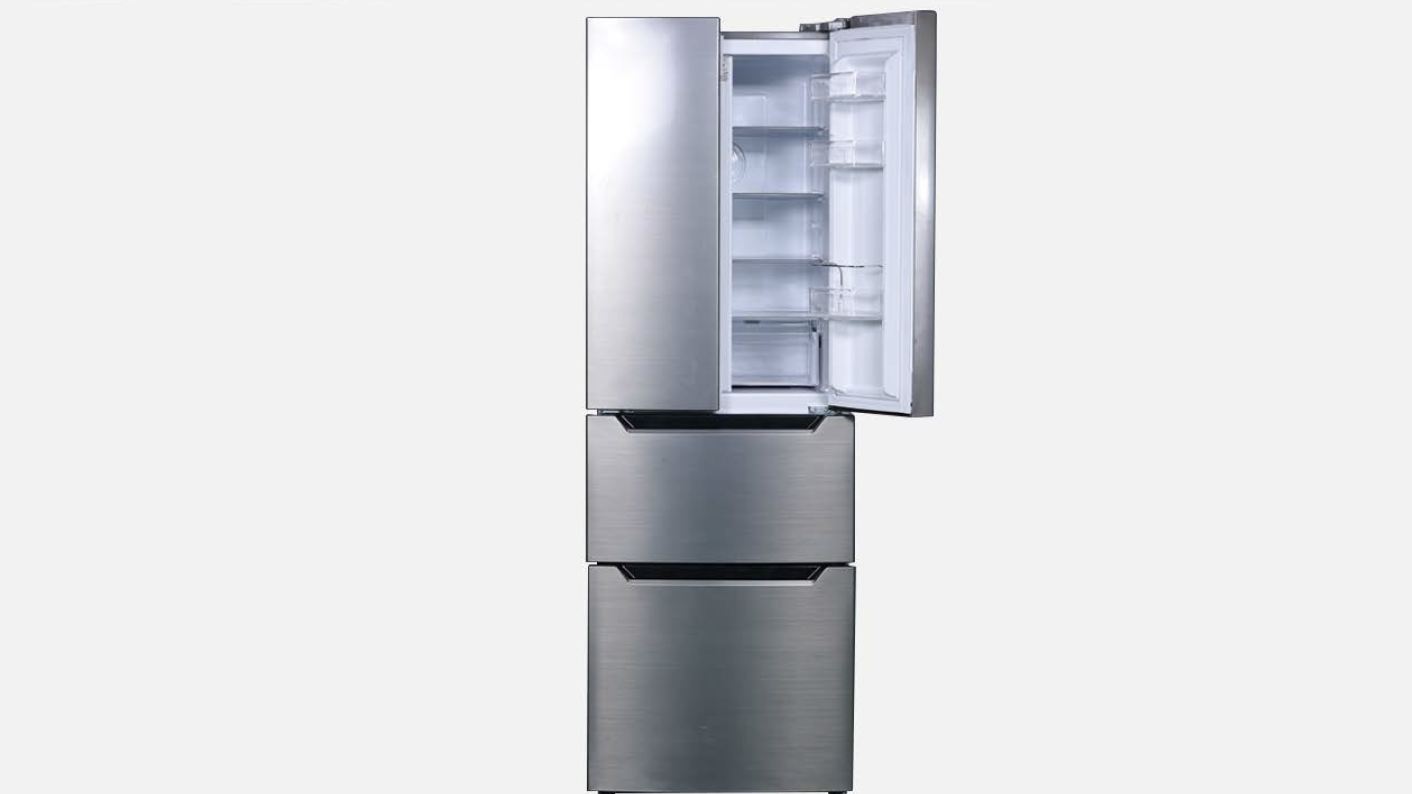
After powering on the appliance, open the fridge door to check if LED is on or off.
Step 3
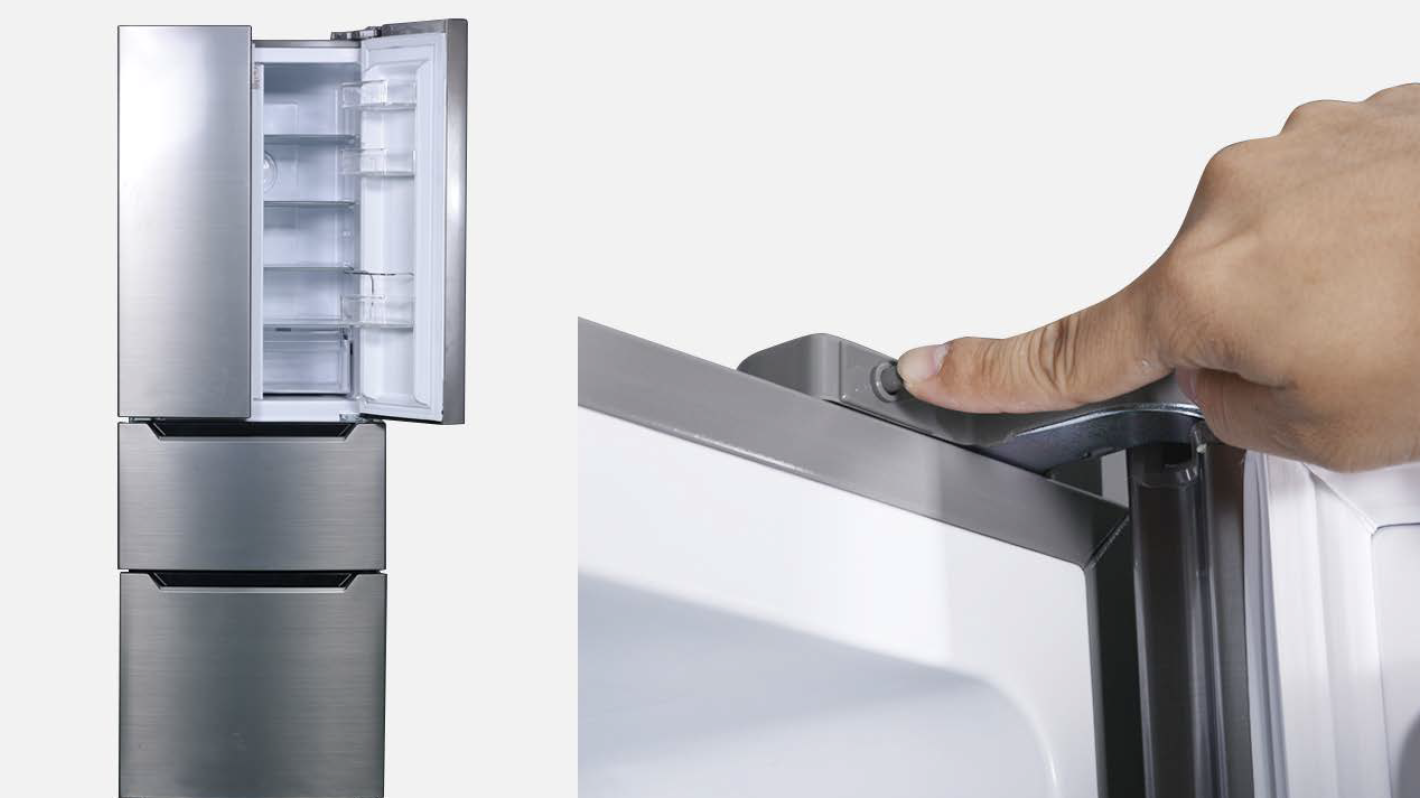
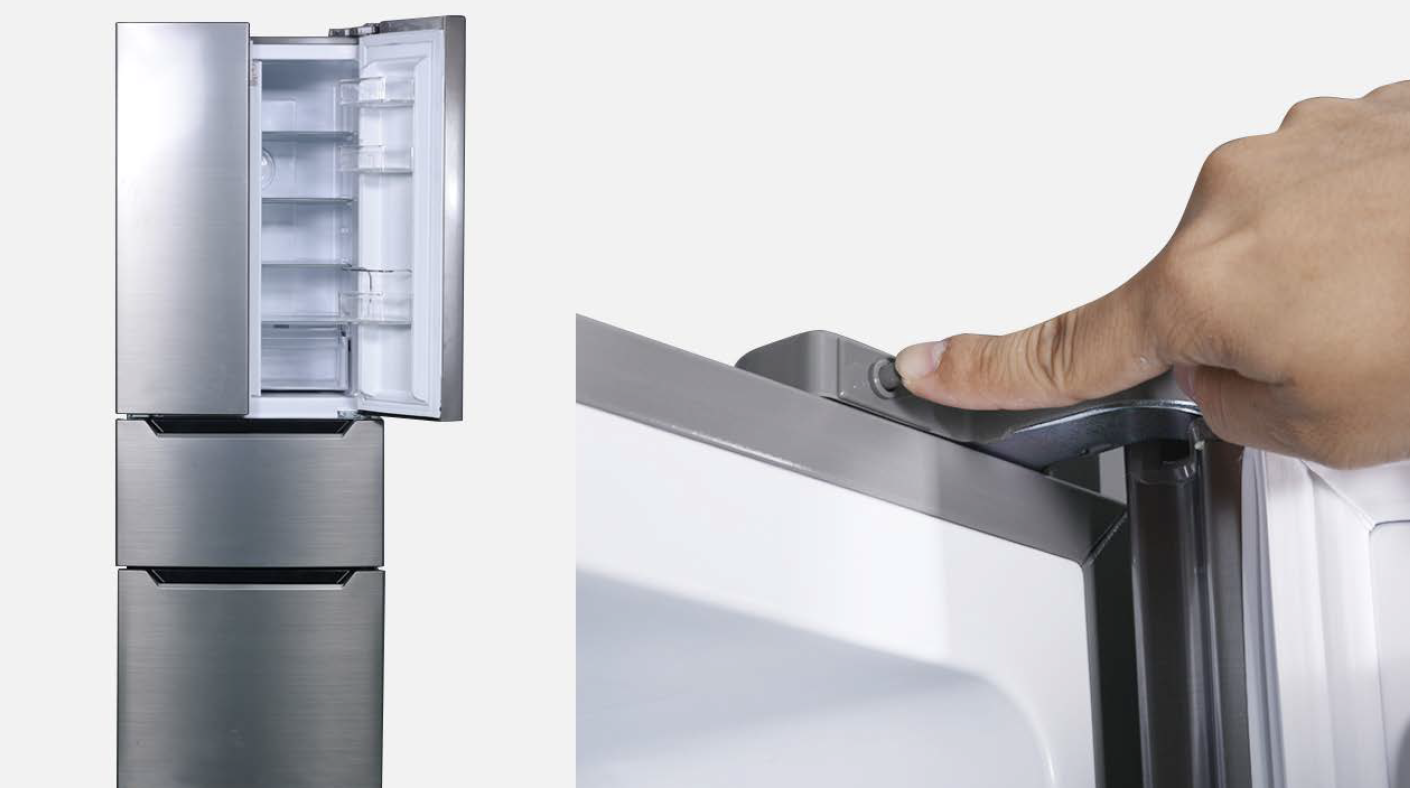
Push the mechanical switch pin to the same distance as step 1 for 5 seconds.

DIAGNOSIS 1
Note
Please make sure to check mechanical switches on both sides.


CHECK AND TEST 2
Step 1
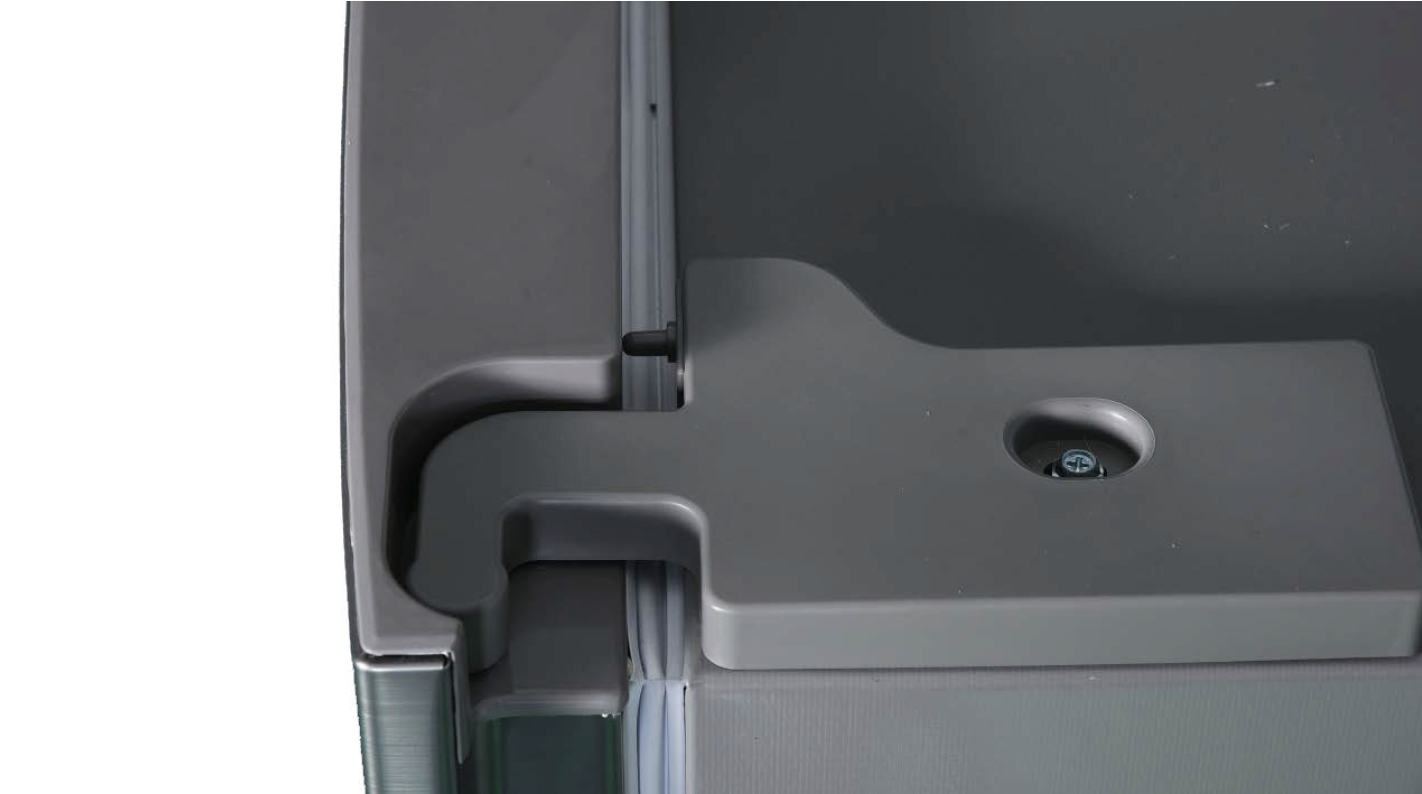
Check the top hinge cover to see whether it is assembled properly.
Step 2
If it is not assembled correctly, please reassemble it.
On the right is an example.

Step 3
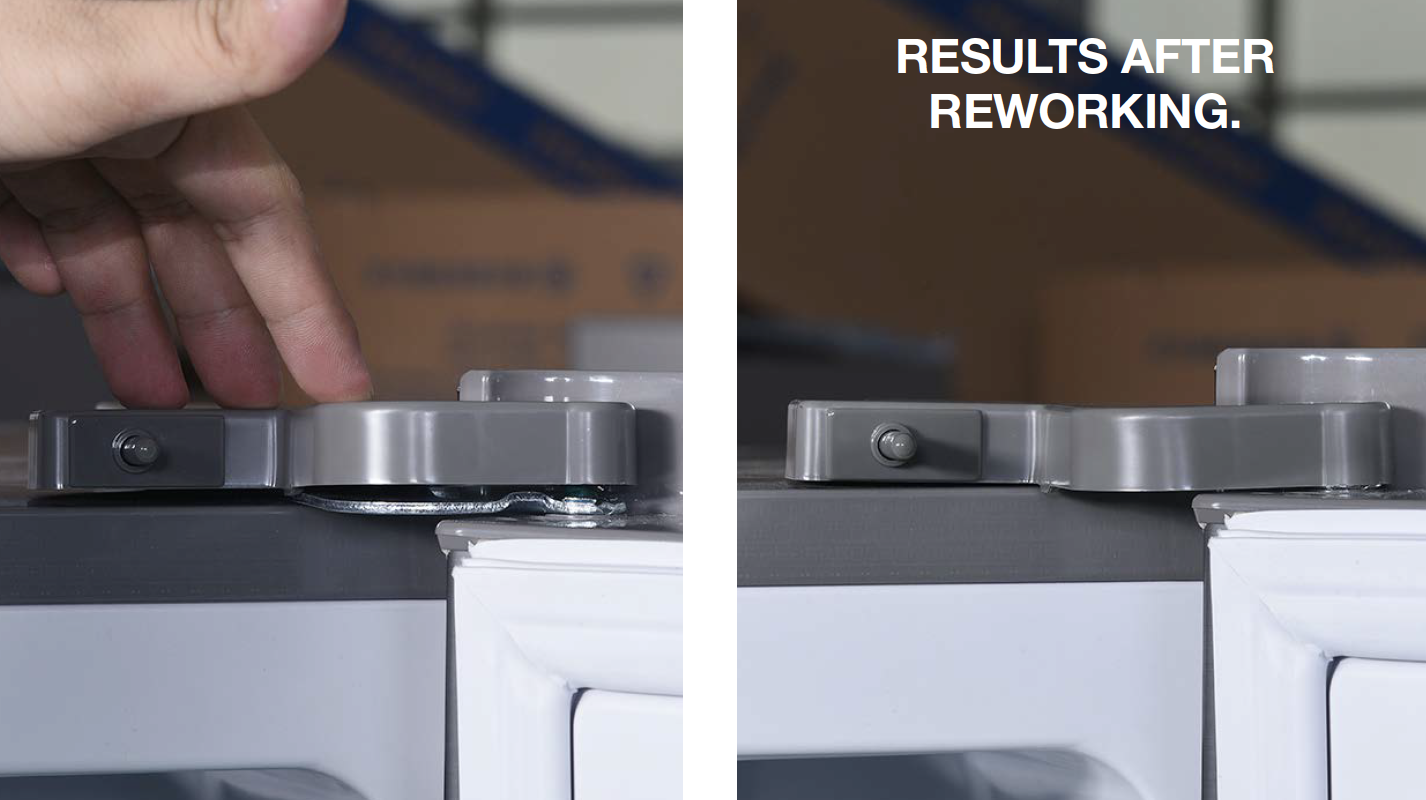
Action: Reassemble the hinge cover to correct position.

DIAGNOSIS 2
Method for assessing successful rework.


CHECK AND TEST 3
Step 1
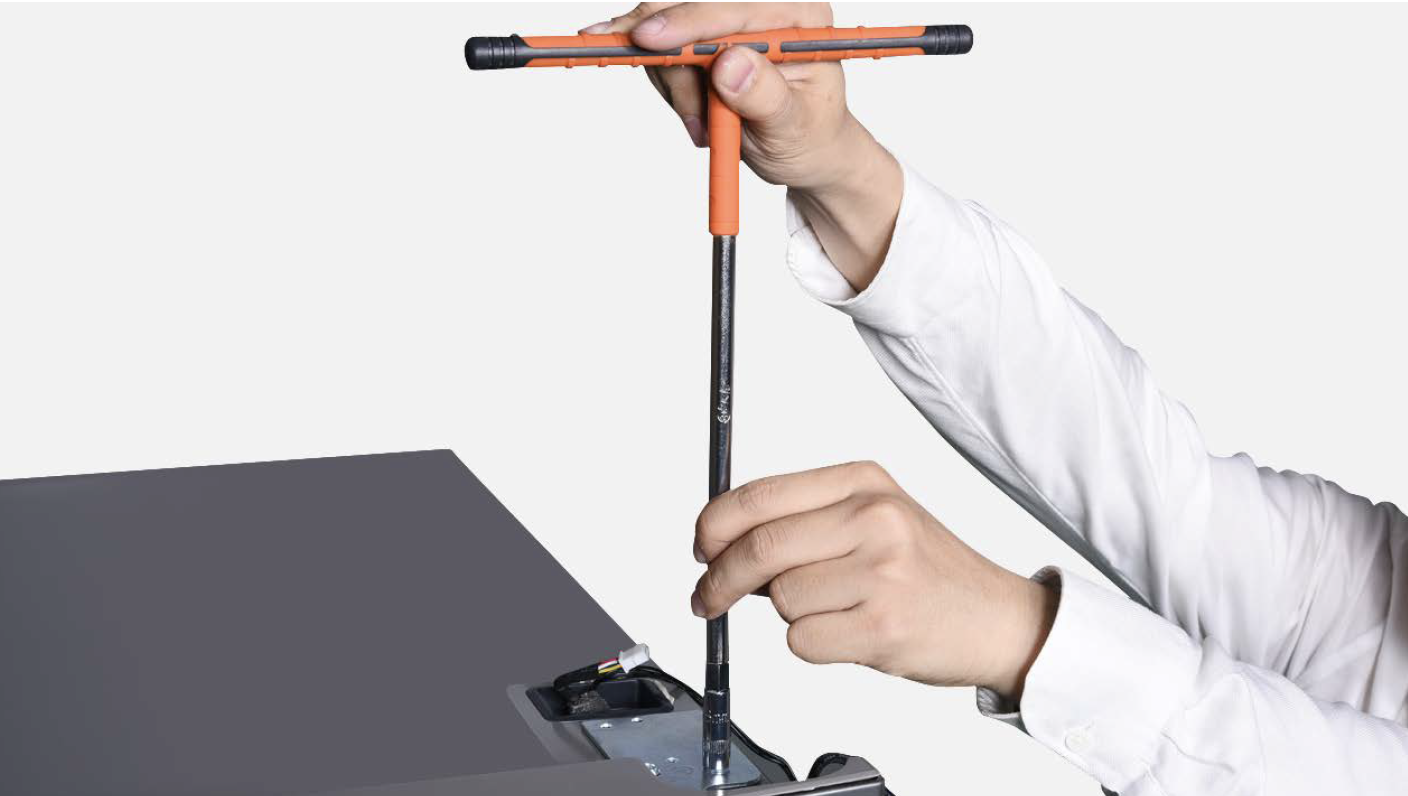
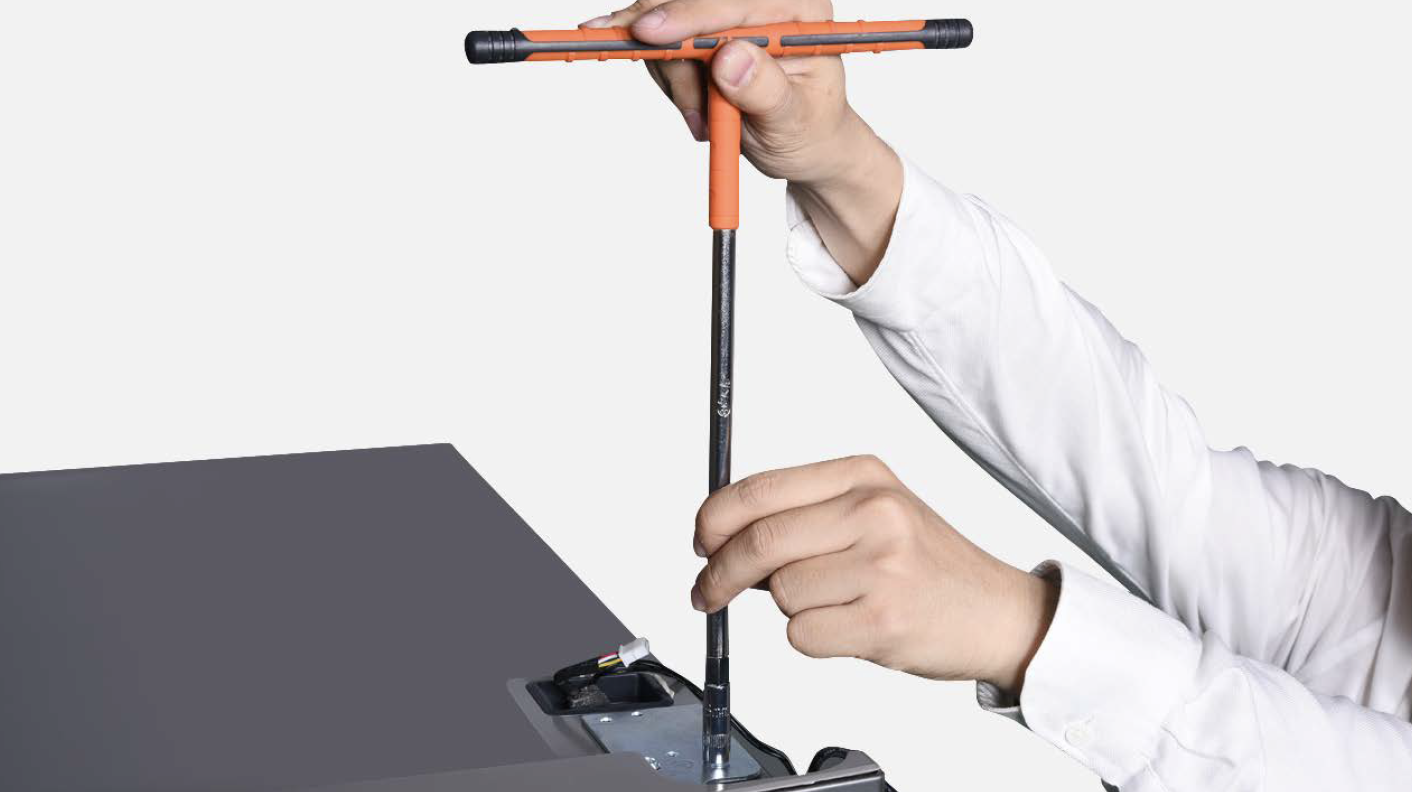
Unscrew hinge cover.
Step 2
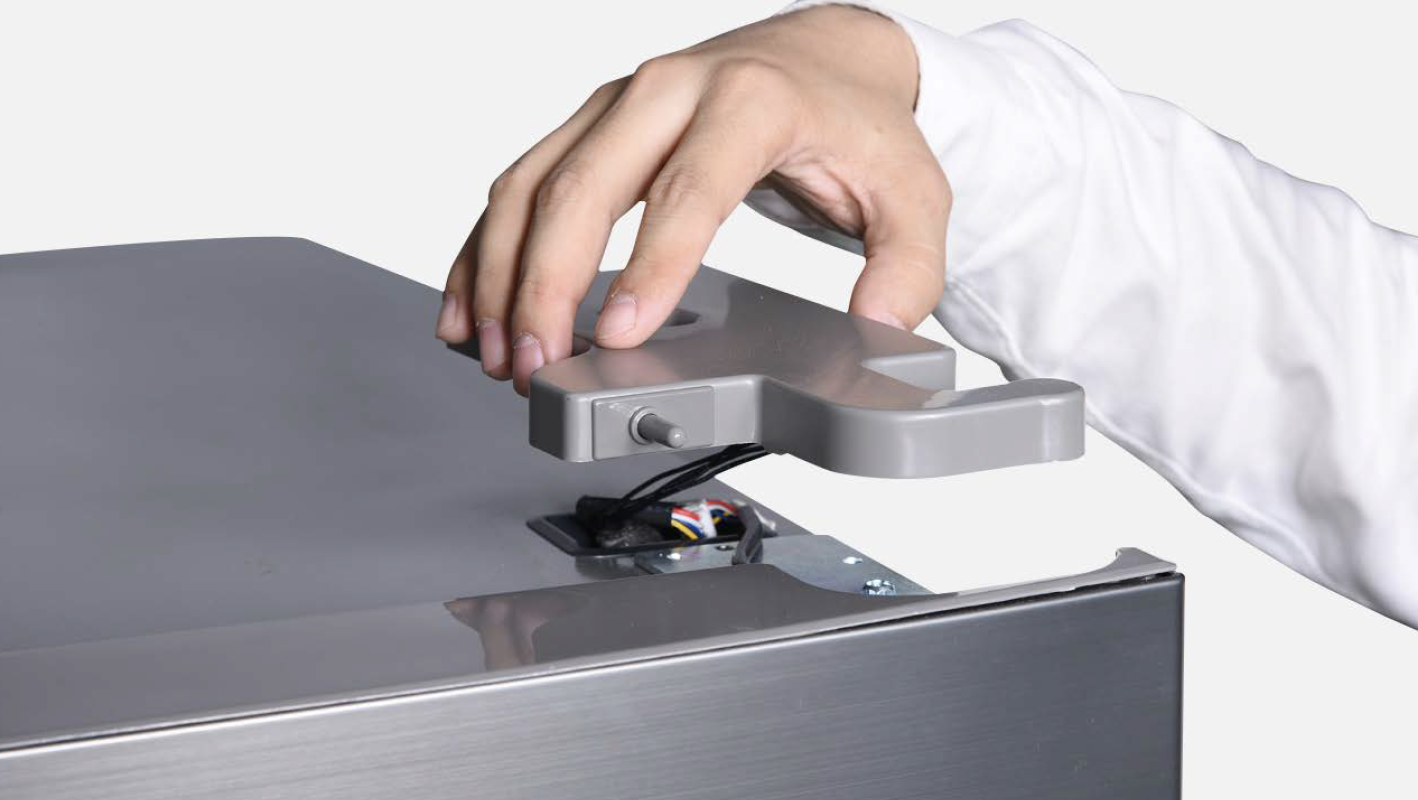
Remove the cover.
Step 3
Disconnect the connector.

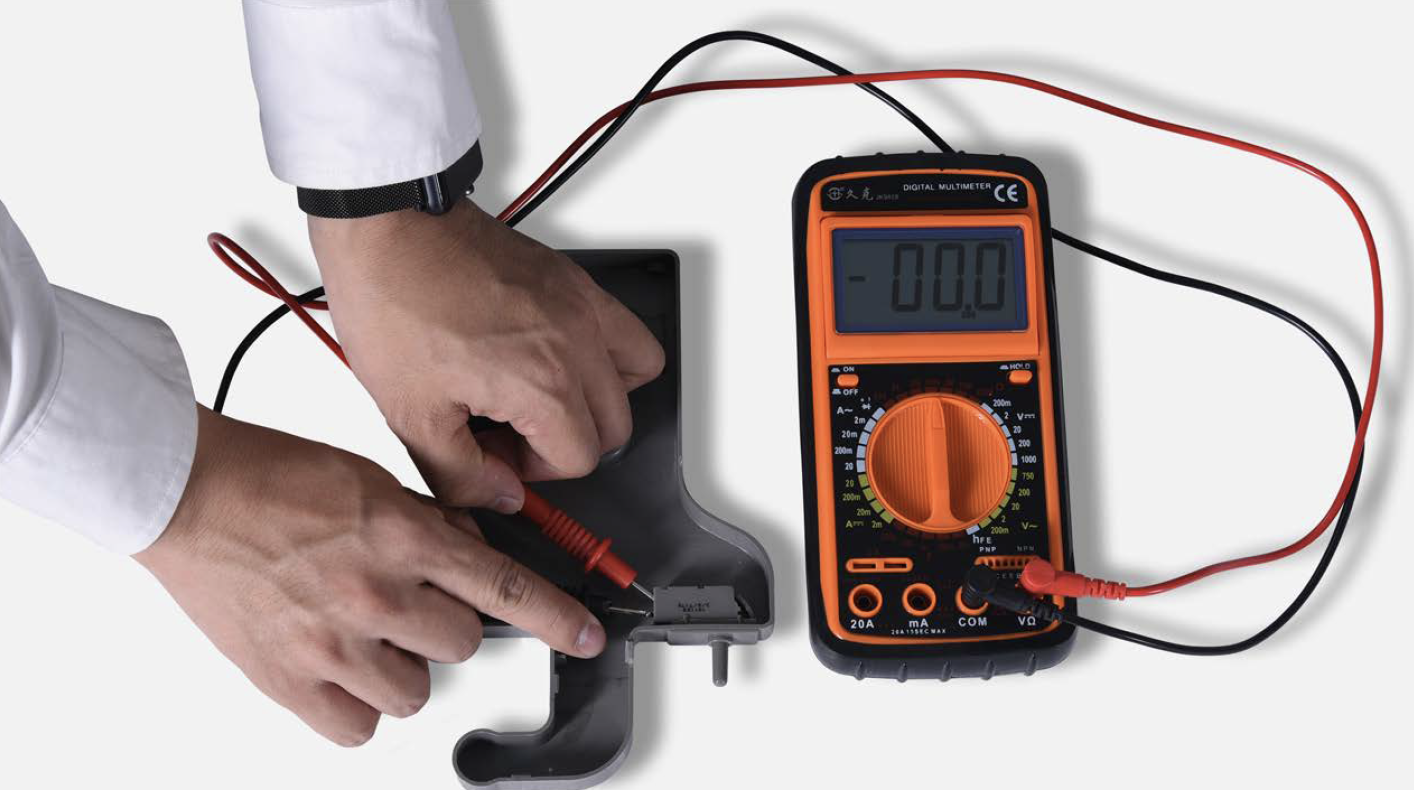
Step 4
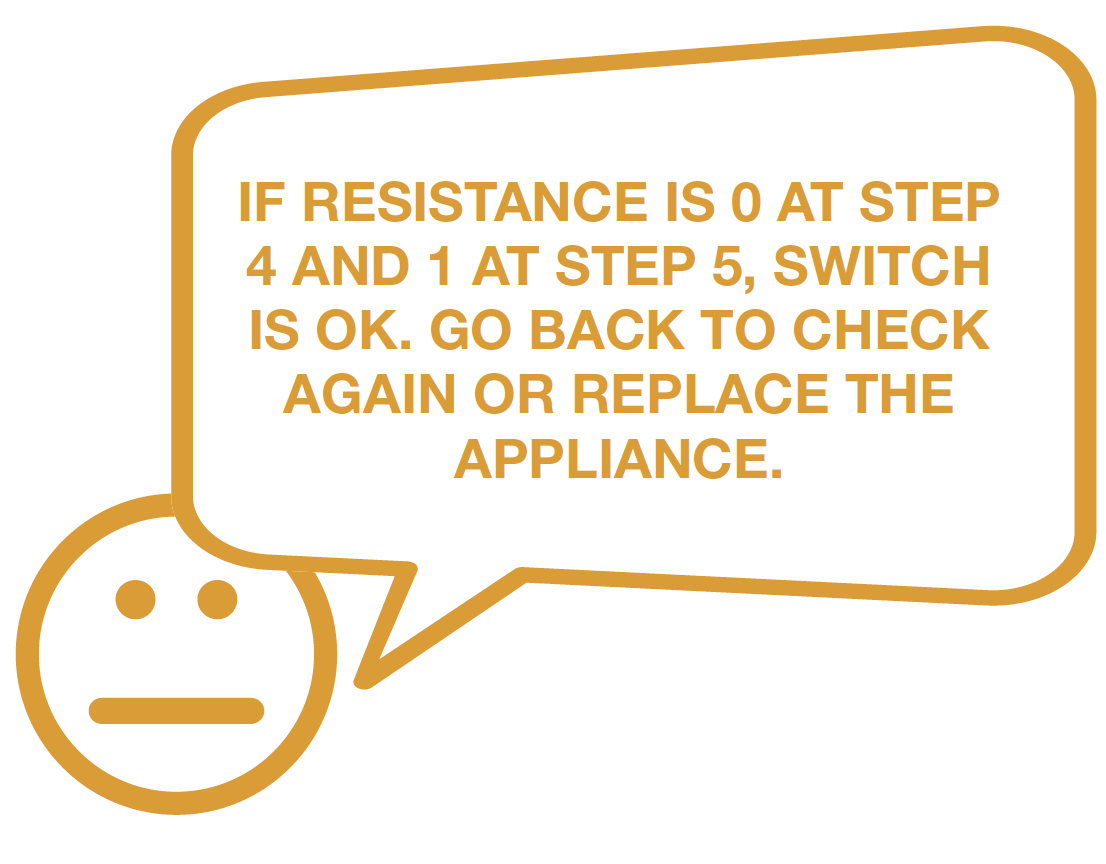
Use multimeter to test the resistance value when switch button is detached.
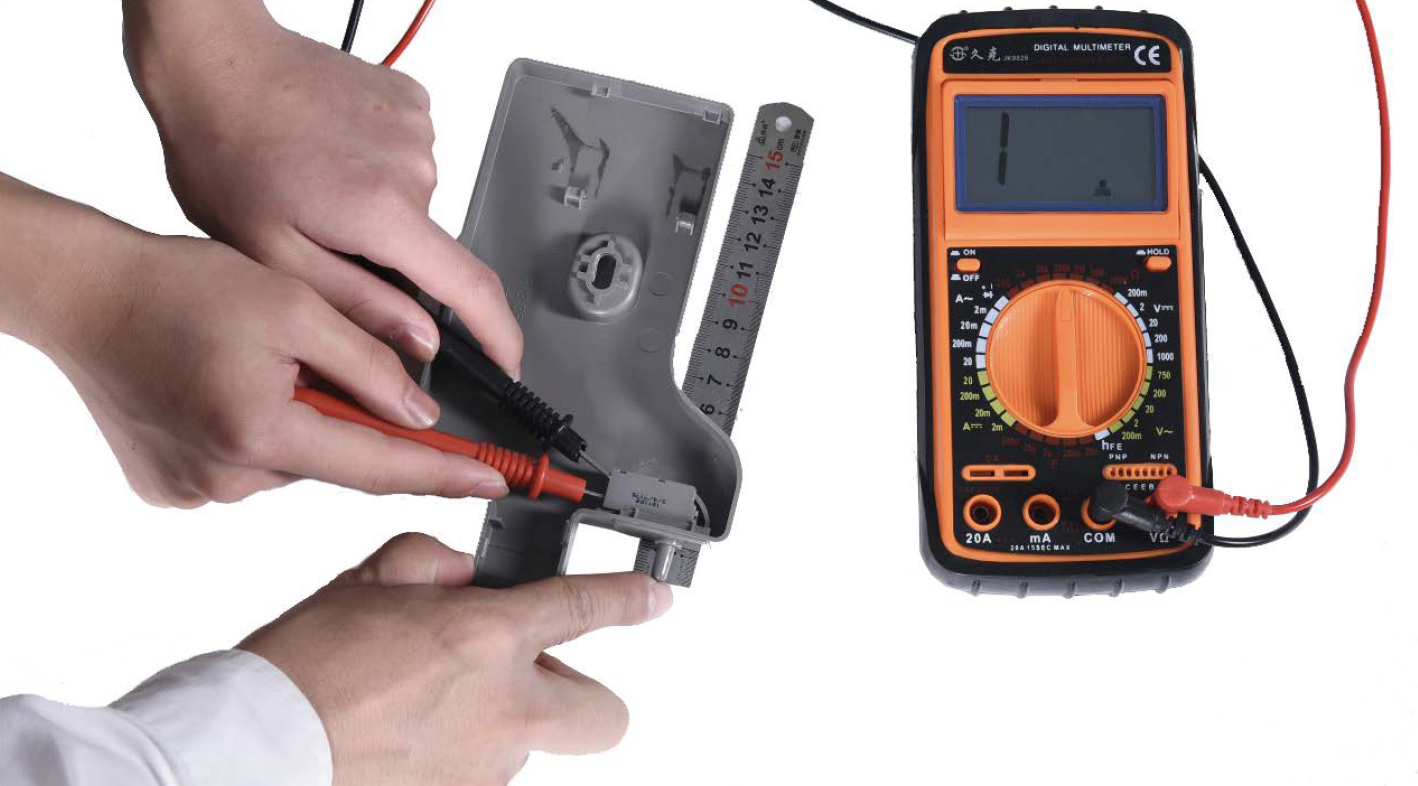
Step 5
Use multimeter to test the resistance value when switch button is pressed down to same dregre as during check and test 1

DIAGNOSIS 3


PROCEDURE 1
Step 1
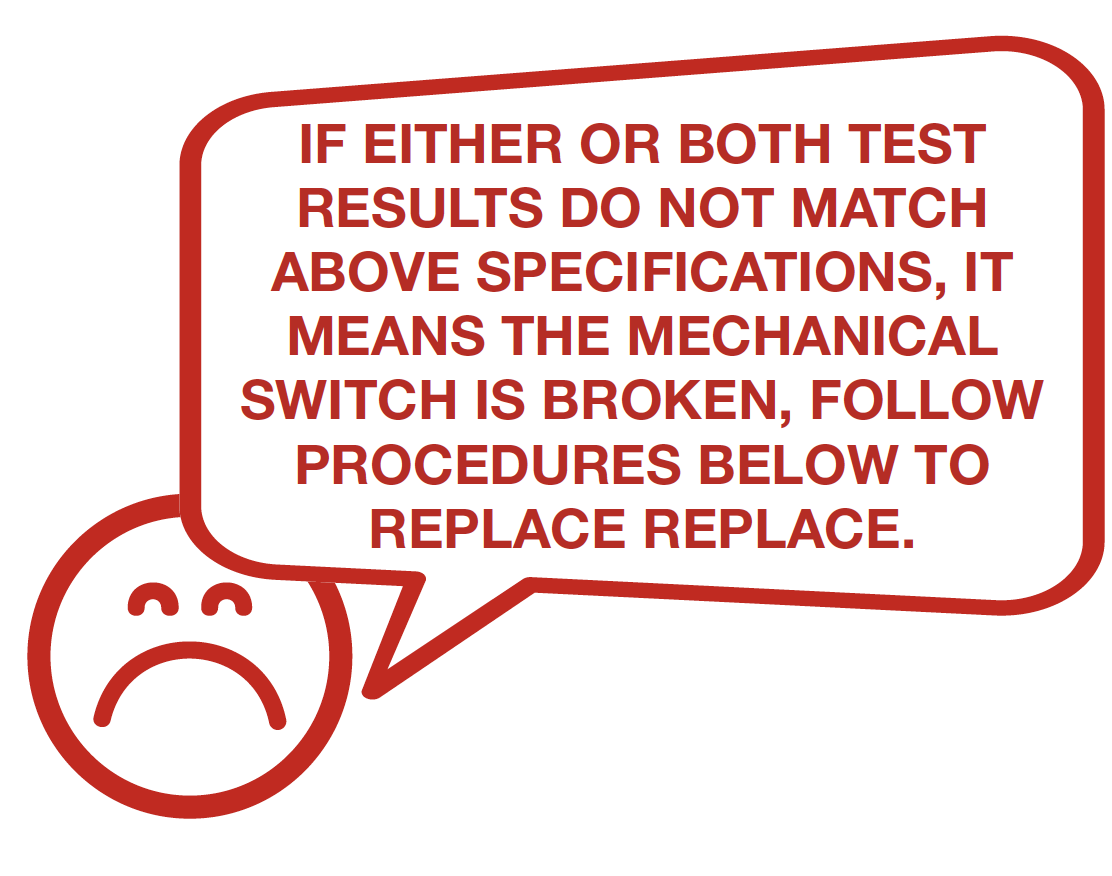
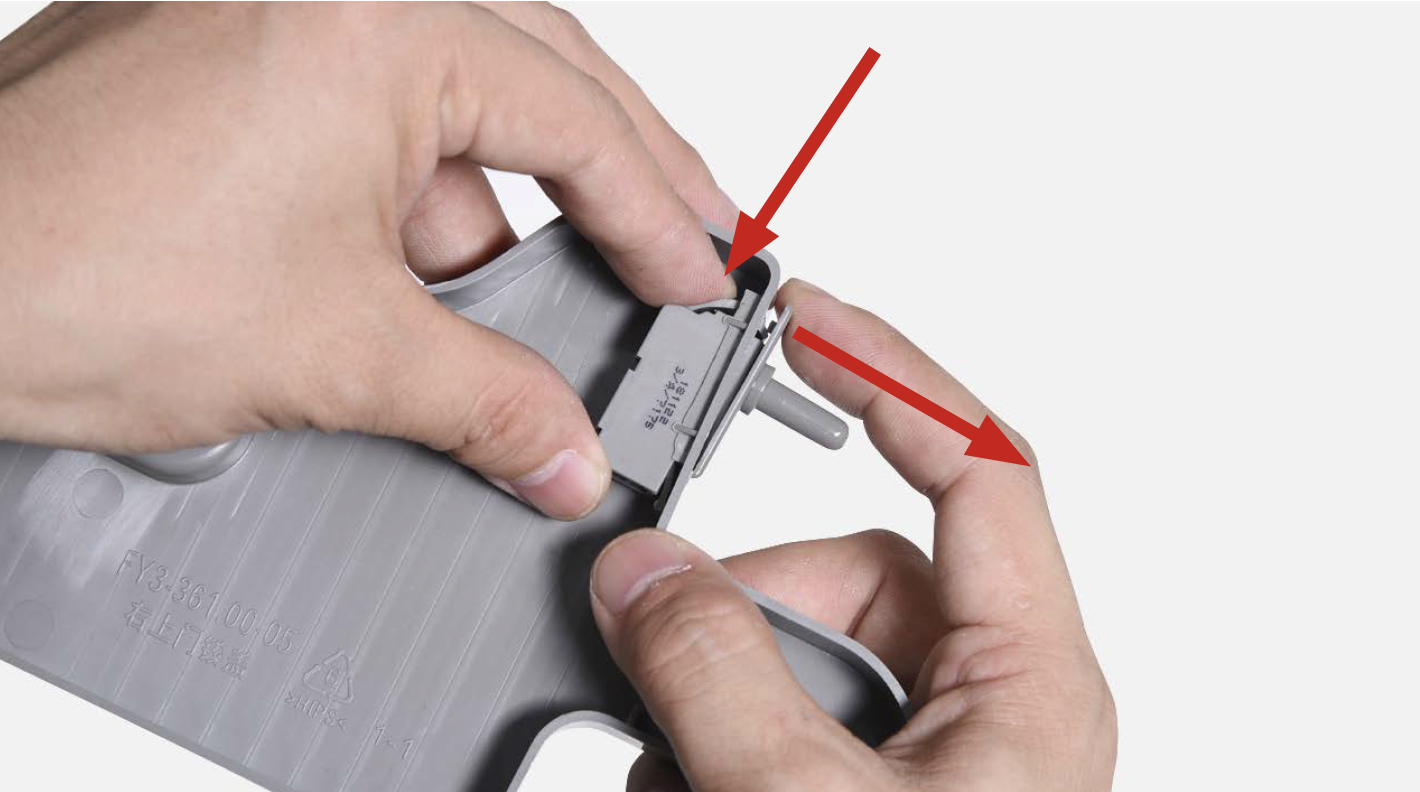
Press the clip to loosen the switch.
Step 2
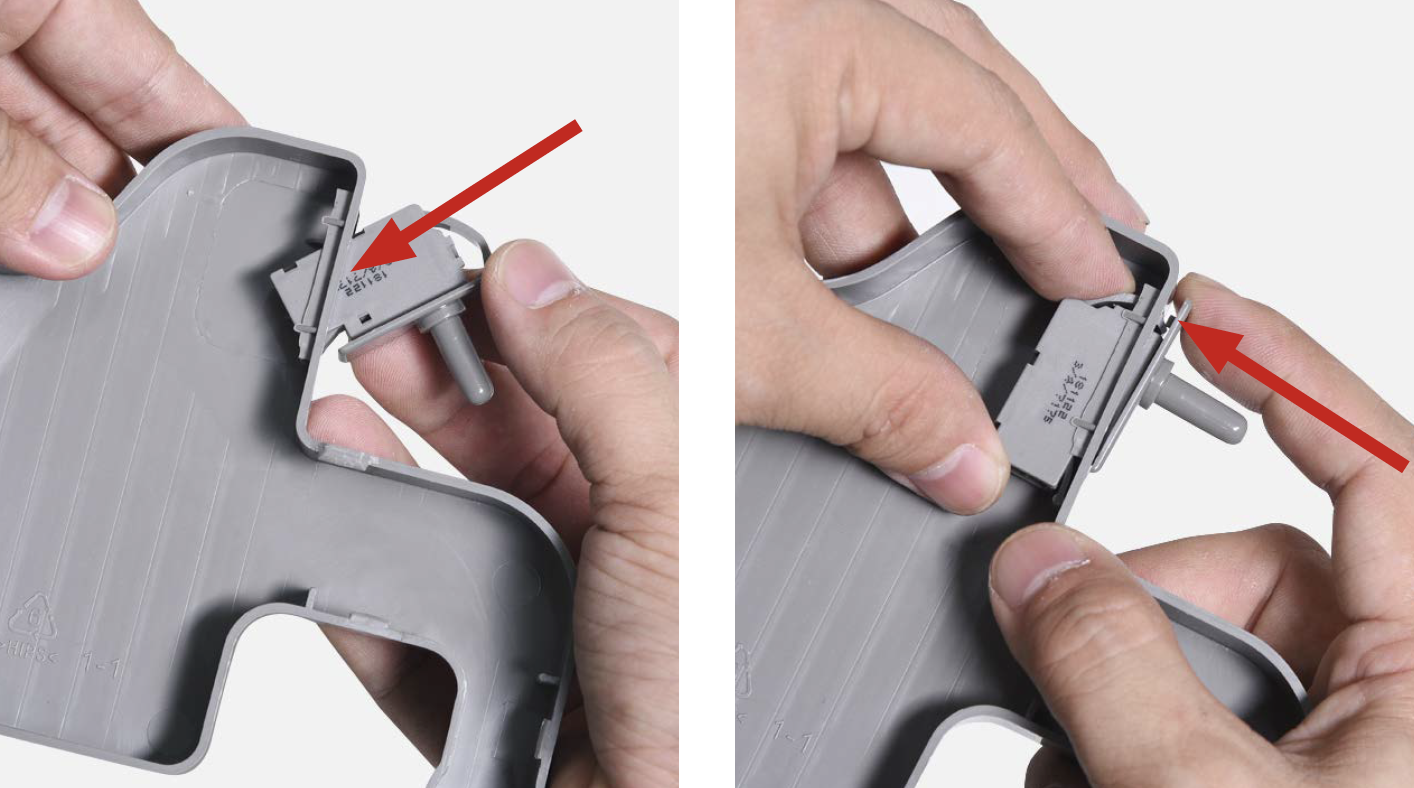
Remove the switch from the hinge cover.

Step 3
Reverse above procedures in step 1 and 2 to install new mechanical switch.
Step 4
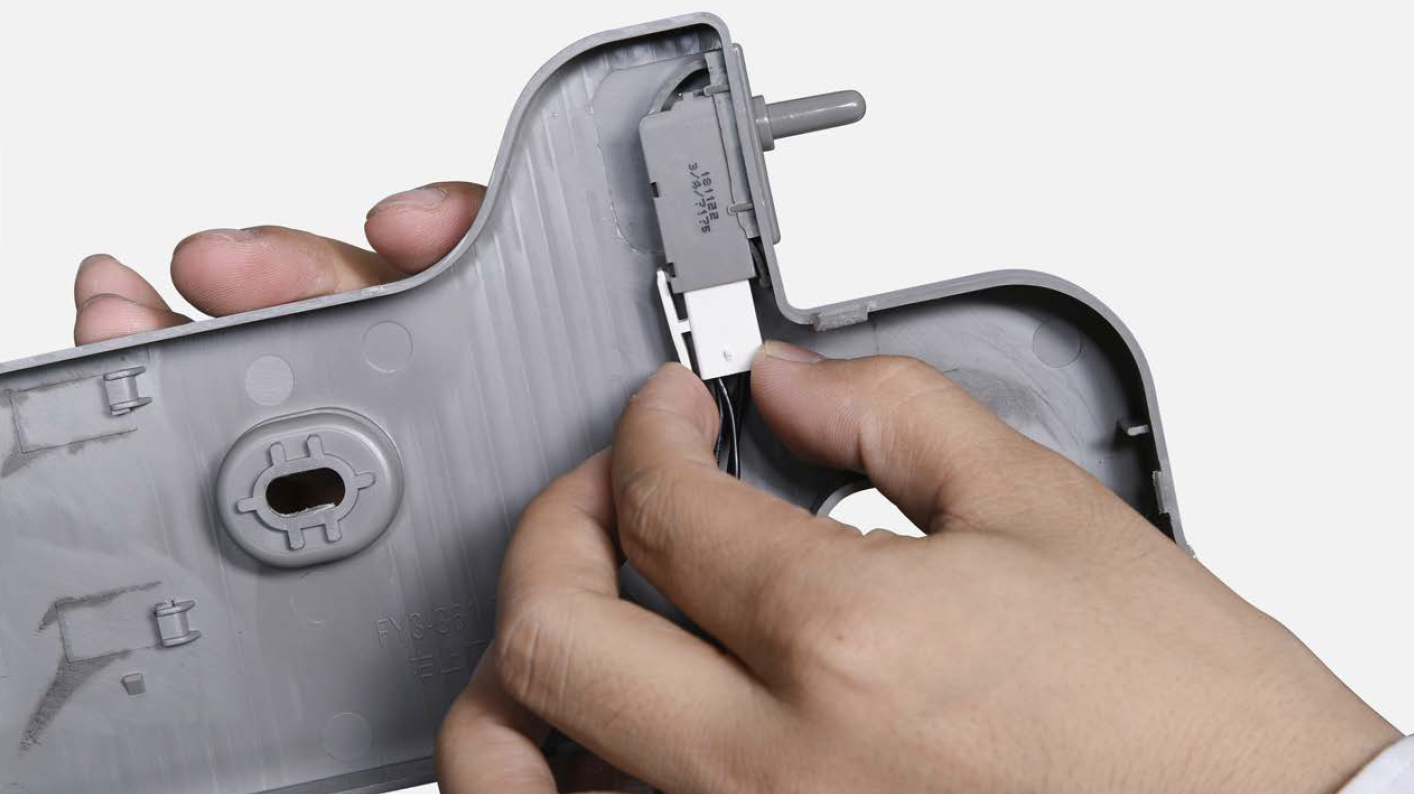
Connect the connector.
Step 5
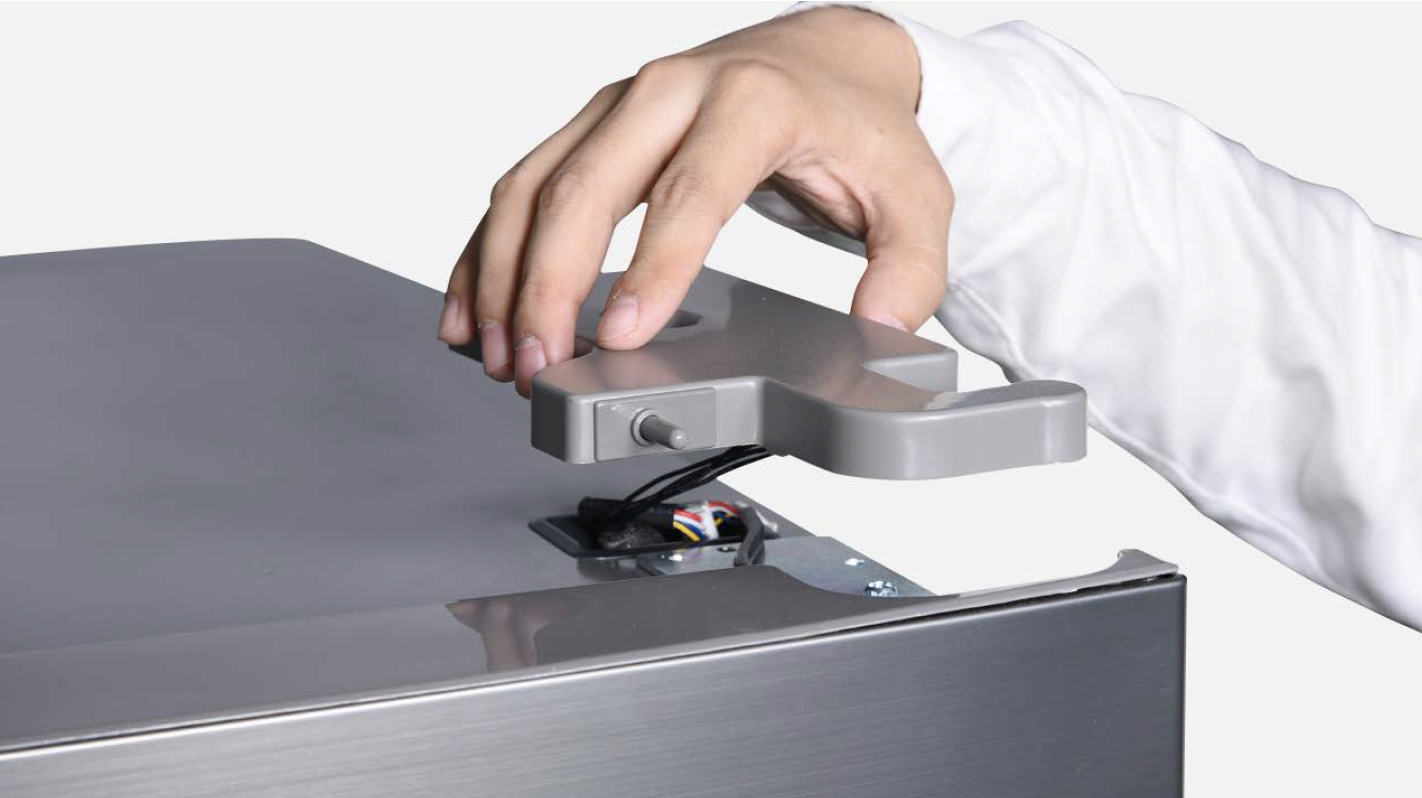
Install the hinge cover.
Step 6
Screw hinge cover.

CHECK AND TEST 4
Step 1
Take note of the distance between door and mechanical switch pin when door is closed
Step 2
After powering on the appliance, open the fridge door to check if LED is on or off.
Step 3
Push the mechanical switch pin to the same distance as step 1 for 5 seconds.

DIAGNOSIS 4
Note
Please make sure mechanical switches in both sides are checked.


