CHECK AND TEST 1
Step 1
Unscrew with cross head screw driver.

Step 2
Remove the mainboard
cover.

Step 3
Check if terminal is pushed into final position.
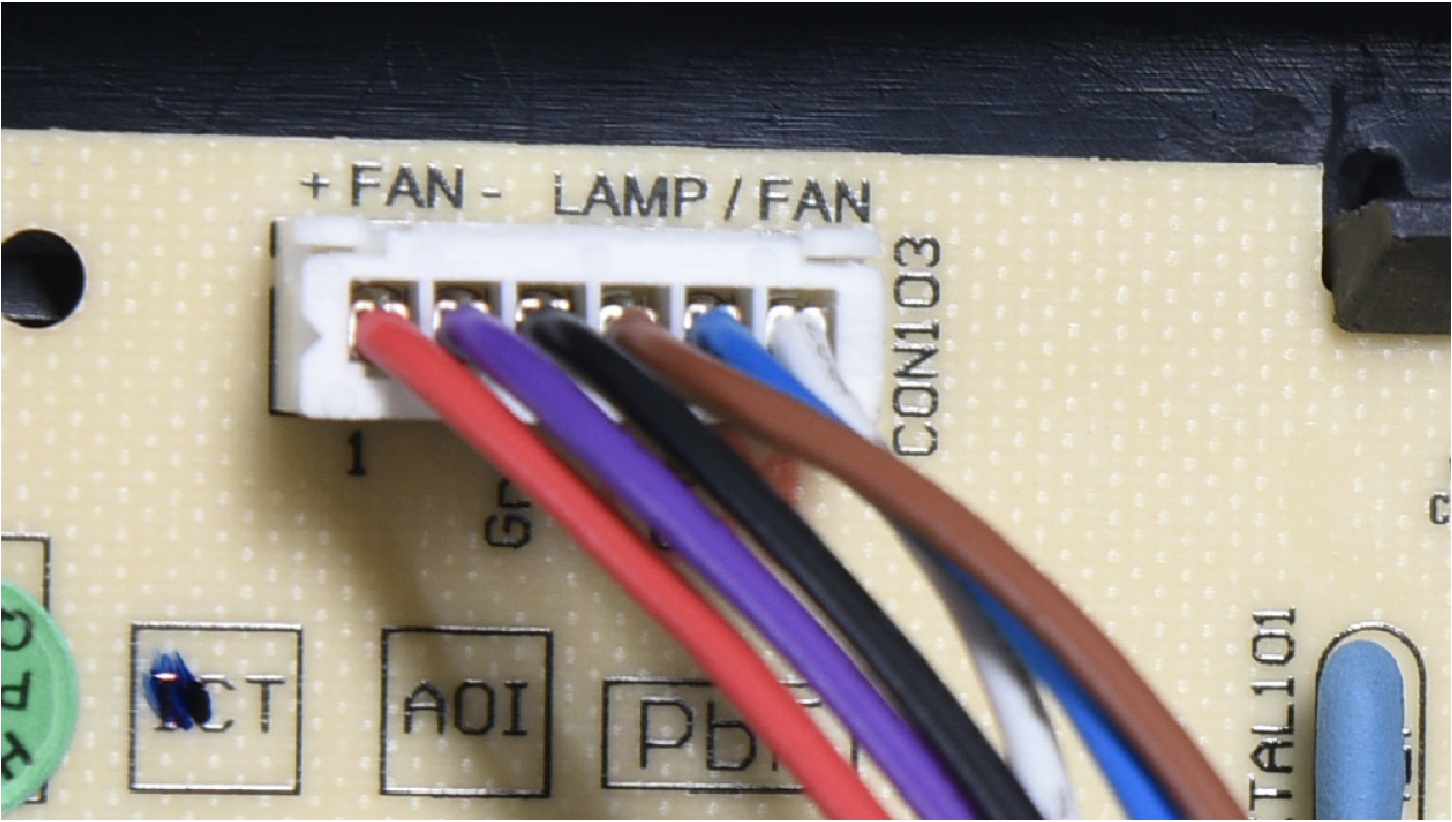

DIAGNOSIS 1


CHECK AND TEST 2
Step 1
Check if terminal is filled with foam.

Step 2
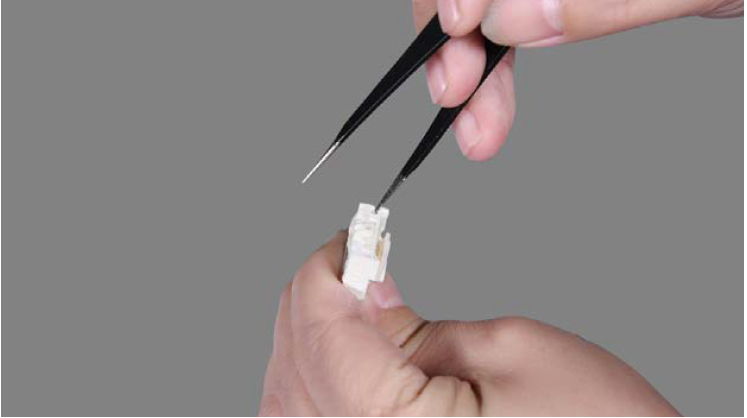
Terminal is filled with foam: use tweezers to
pick foam out and insert the terminal into position again.
Step 3
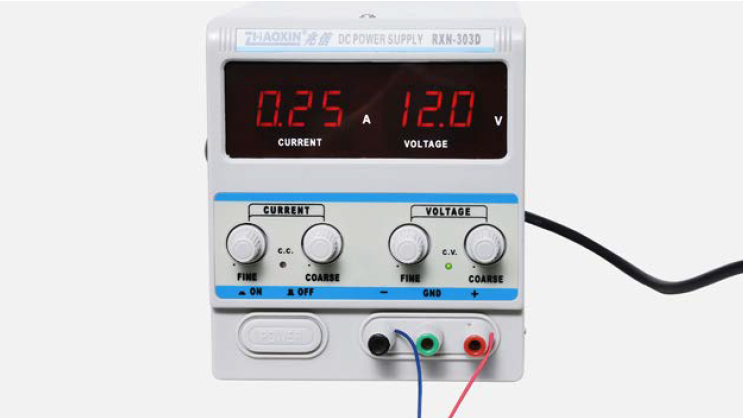
Turn power output of transformer to DC 12V.
Step 4
Supply power from terminal in PCB area.


DIAGNOSIS 2


Step 1
Pull out the drawers.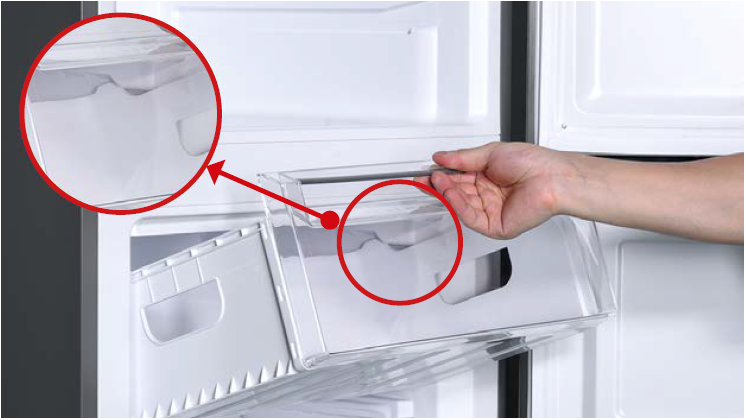
Step 2
Take out the shelves.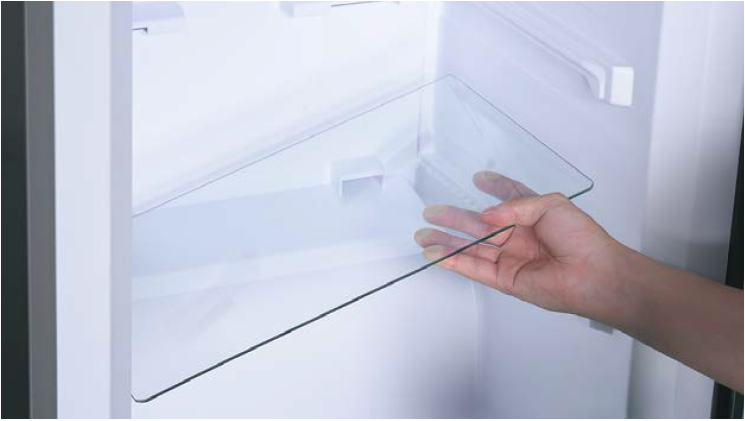
Step 3
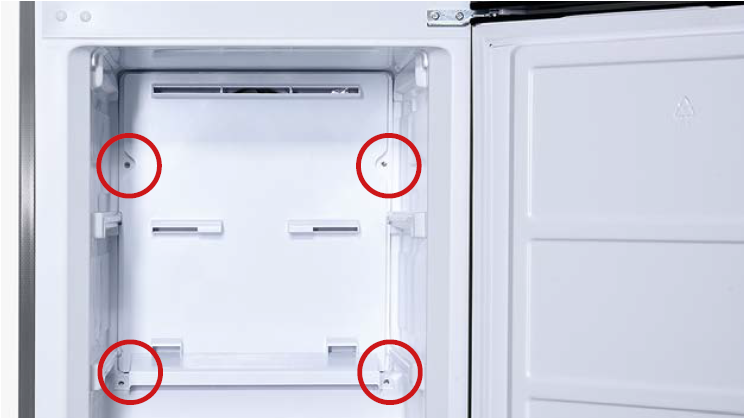
Unscrew the 4 screws.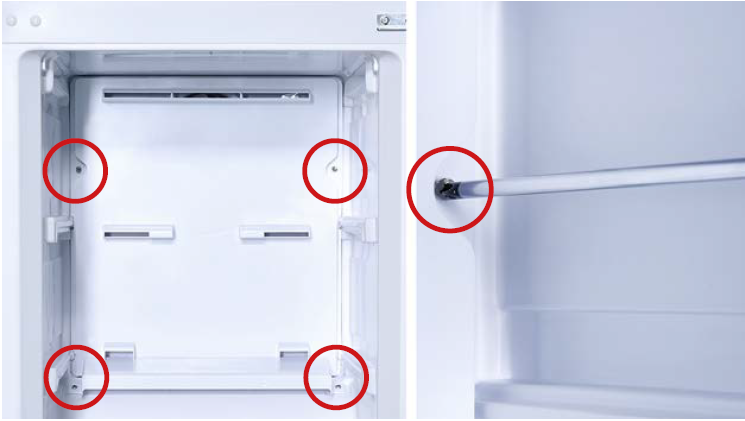
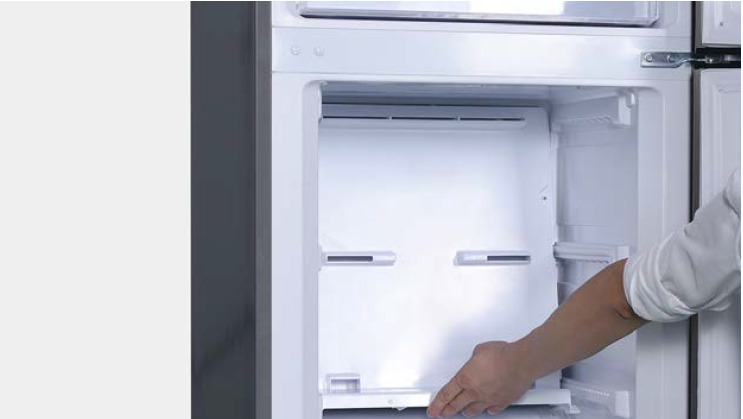
Step 4
Hold the bottom of air duct and pull it out.
Step 5
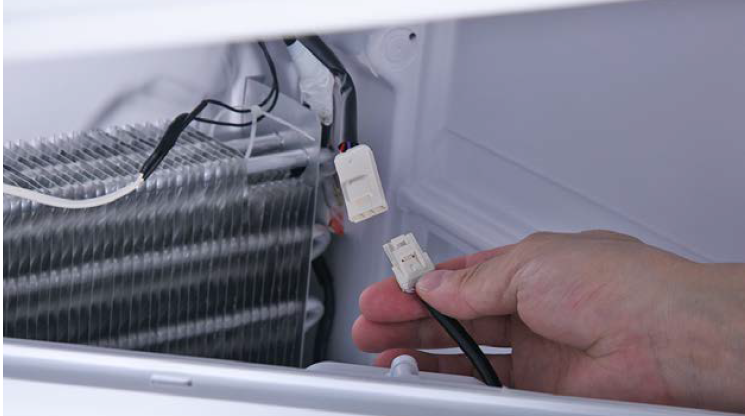
Disconnect the terminal of fan motor.
Step 6
Remove air duct.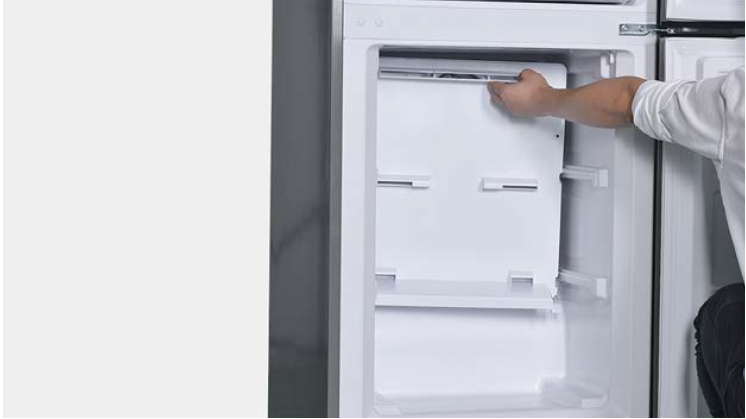

CHECK AND TEST 3
Step 1
Check if terminal is pushed into final
position. Re-insert the terminal.

Step 2
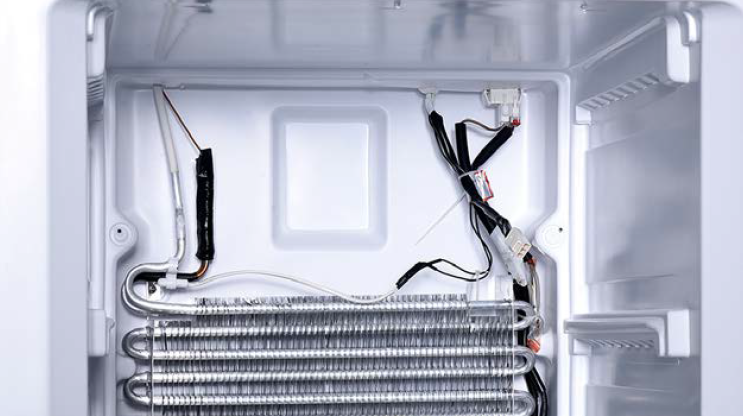
Check if the wires are damaged or not.


Step 1
Cut wire off from broken area.

Step 2
Peel off the sleeves.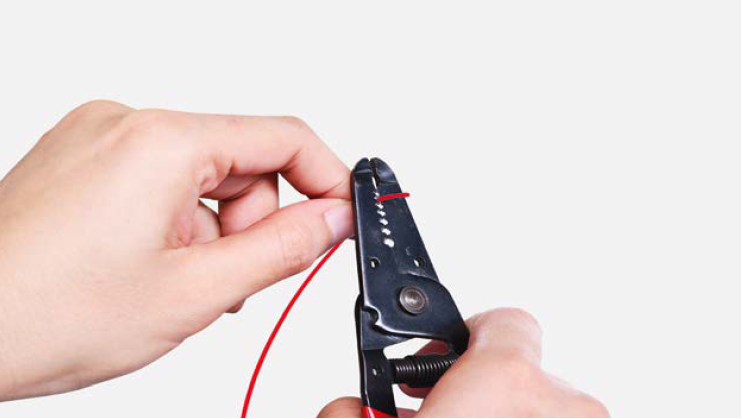
Step 3
Check to ensure proper wire order and connect
them.

Step 4
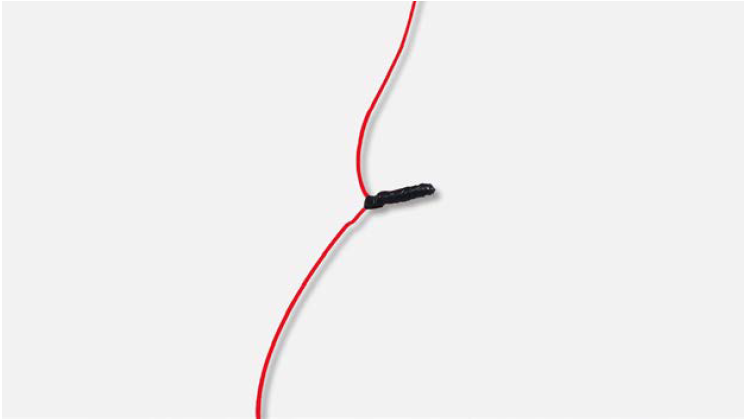
Tin soldering.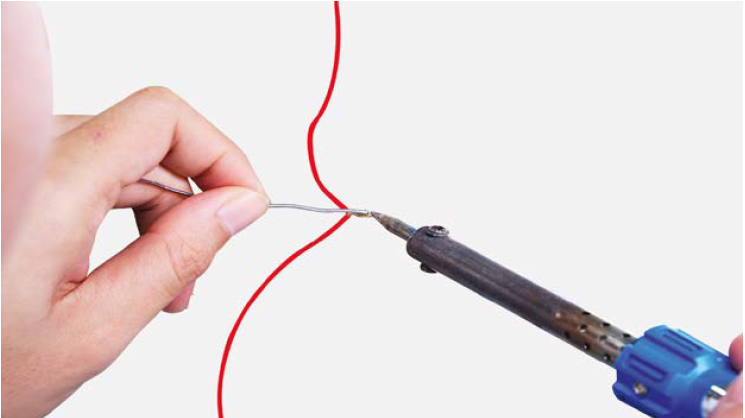
Step 5
Cover connection with electrical tape.

CHECK AND TEST 4
Step 1
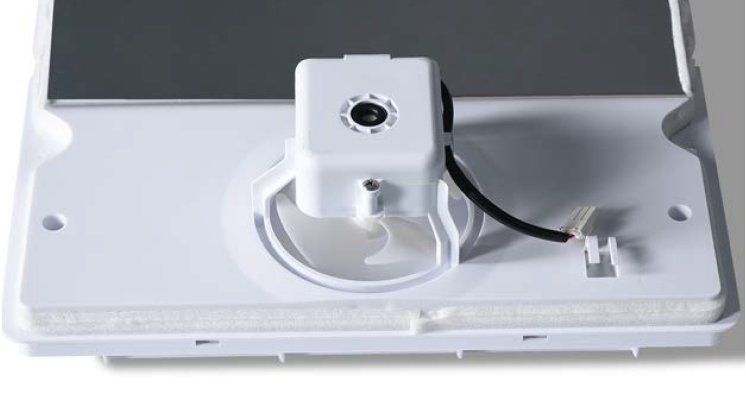
Use same power source in step 5 to test fan from terminal in the back of air duct.



CHECK AND TEST 5
Step 1
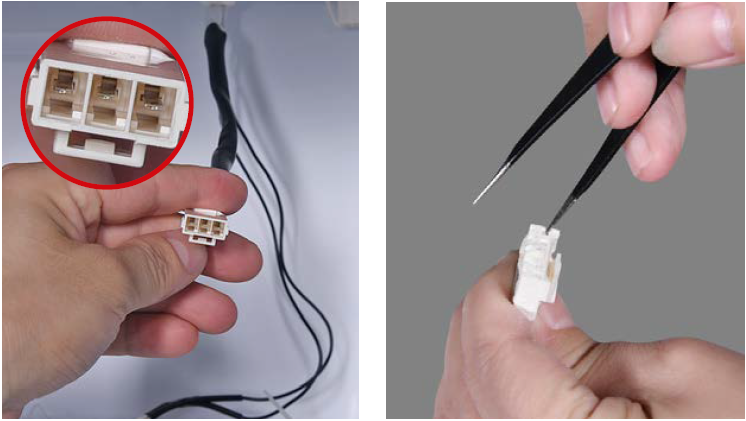
Check whether the terminal is filled with
foam. If so, use tweezers to smash and remove it.
Step 2
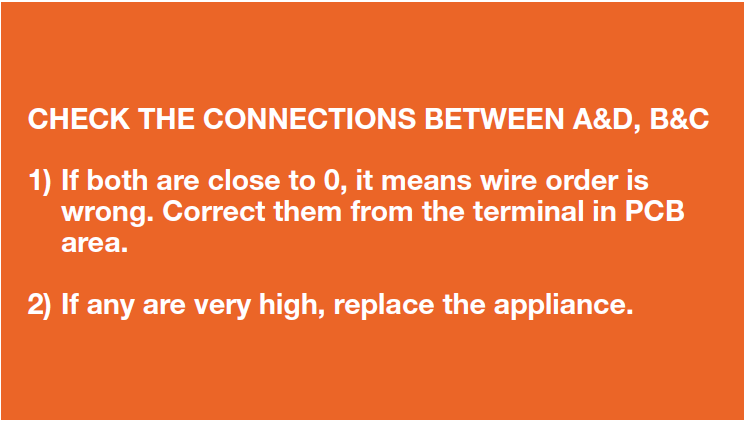
Check whether wire order in foam is correct.
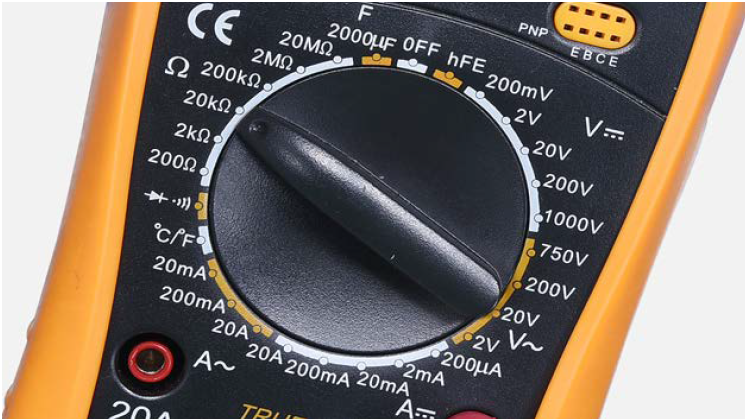
Set multimeter to resistance gear.
Step 3
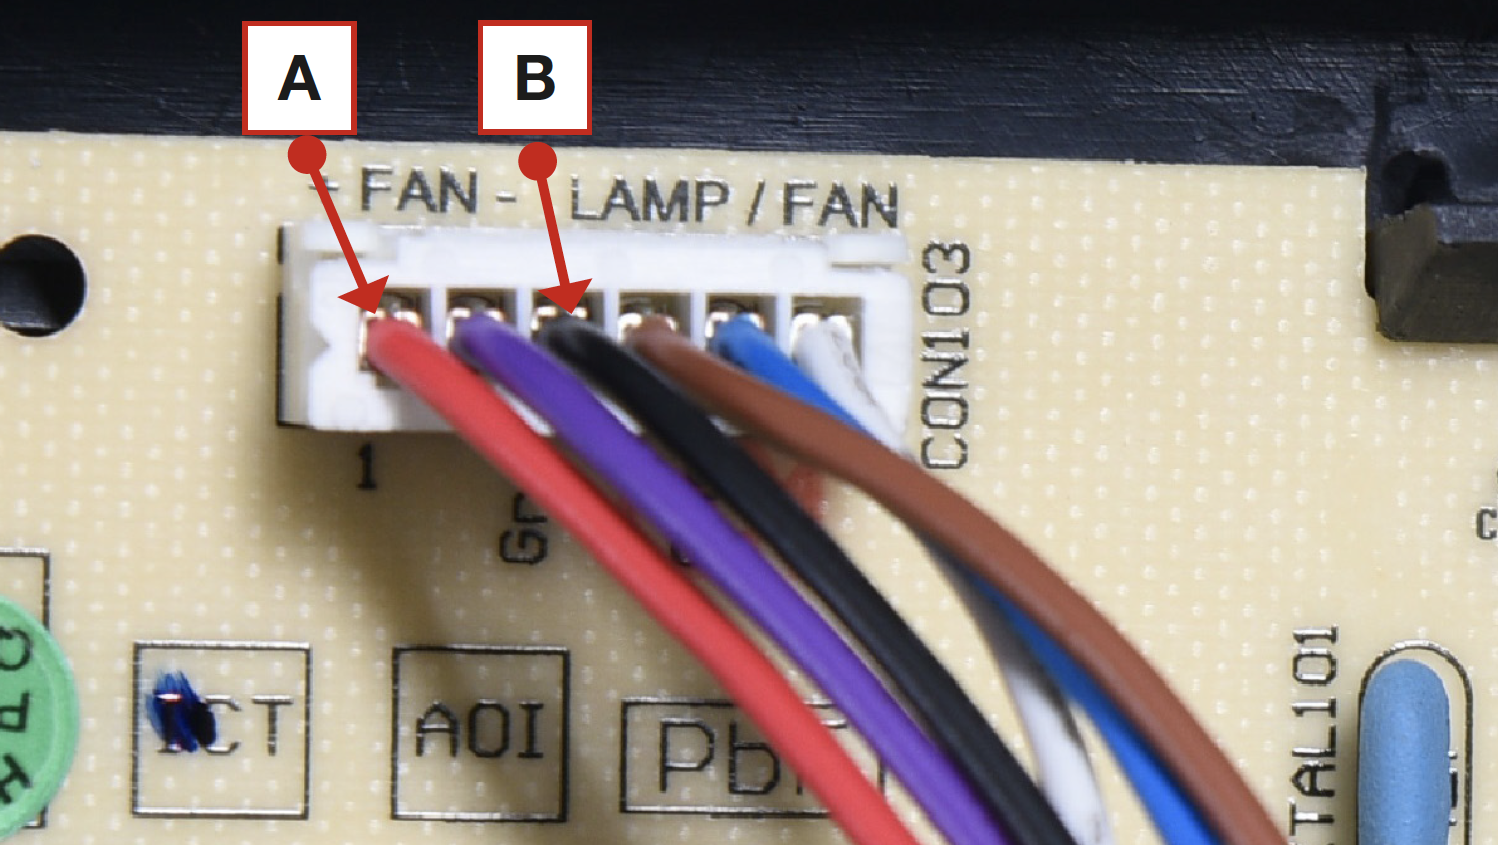
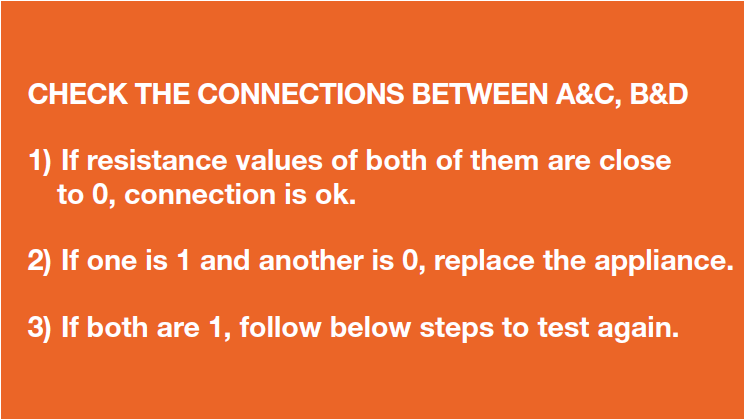
Put detector into one end of wires in PCB area.
Step 4
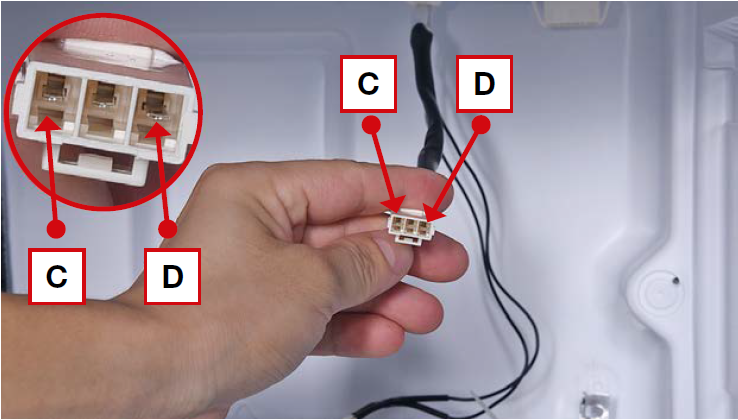
Put another detector into end of wires behind air duct.



Step 1
Cut wire off from broken area.

Step 2
Peel off the sleeves.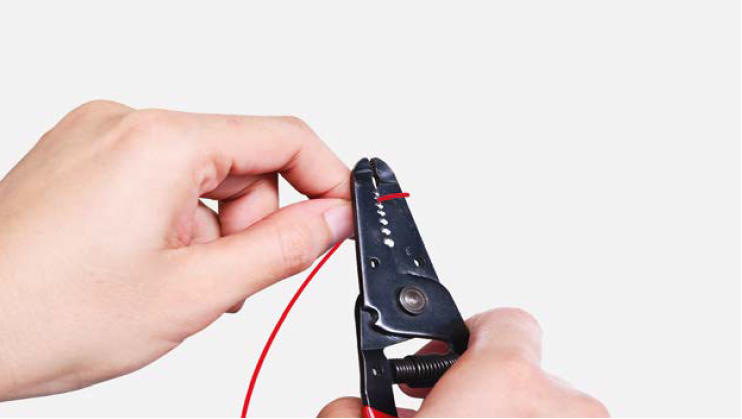
Step 3
Check to ensure proper wire order and connect
them.

Step 4
Tin soldering.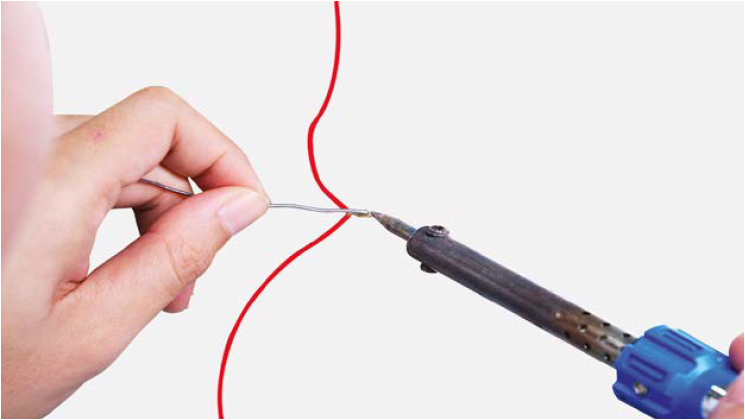
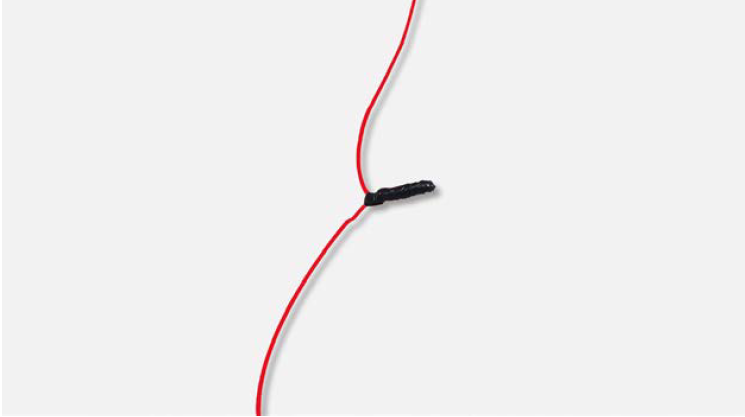
Step 5
Cover connection with electrical tape.

CHECK AND TEST 6
Step 1
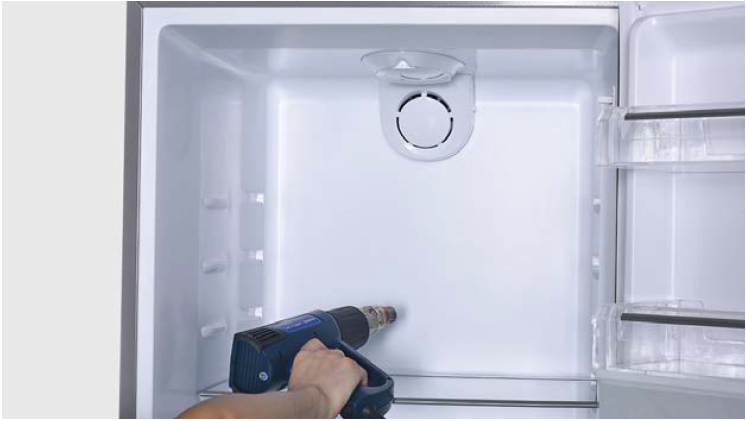
Assessment method for judging reworking.
Heat fridge sensor position.
Step 2
When compressor is running, open freezer door to check if fan is running.
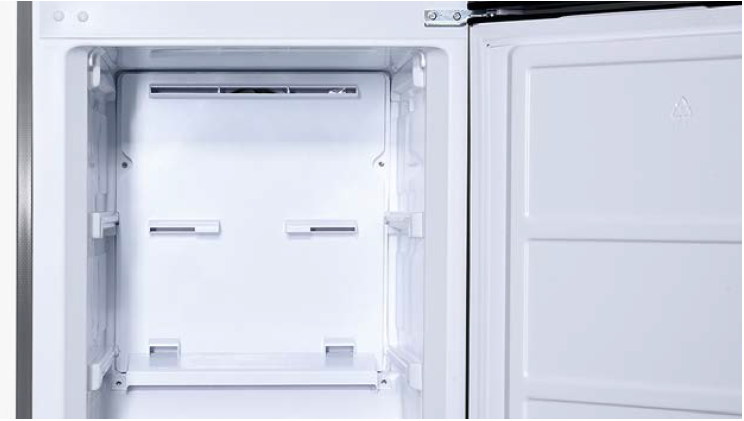


Tip 1
Before installing the air duct, please tie all wires
together.
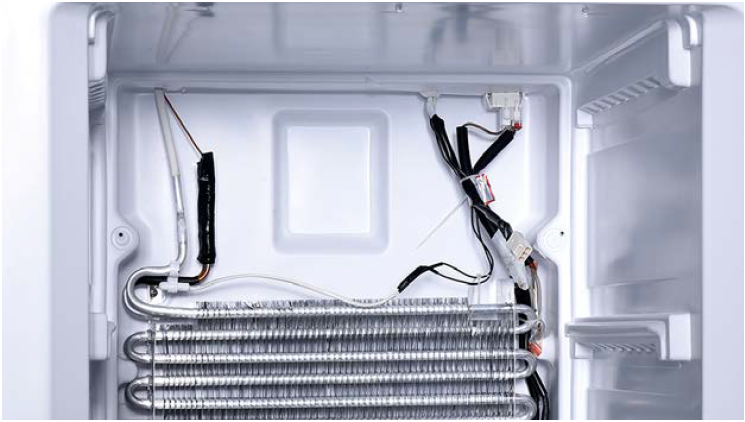
Tip 2
Before installing the air duct, please fix cord of
fan well.
Insert left side first, then other side. Make sure
the cavity on the side is aligned with the ribs on
inner liner.
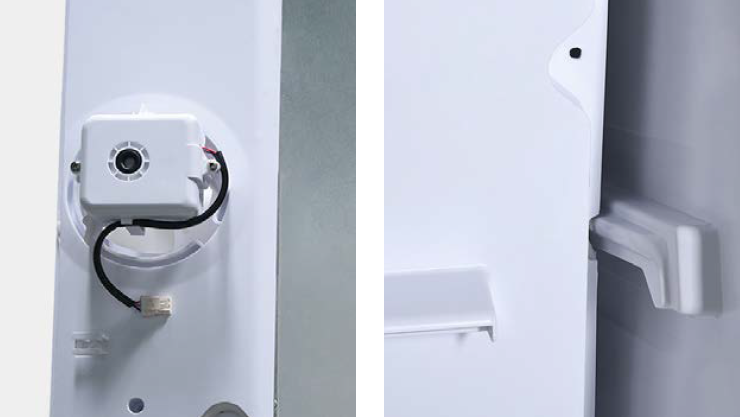
Tip 4
Check to see if there is a wide gap between air
duct and cabinet. If so, install air duct
again.
