

CHECK AND TEST 1
Step 1
Unscrew with cross head screw driver.

Step 2
Remove the mainboard cover.

Step 3
In mainboard area, check if terminal is pushed into final position.

Step 4
In mainboard area, check if terminal is pushed into final position.


CHECK AND TEST 2
Step 1
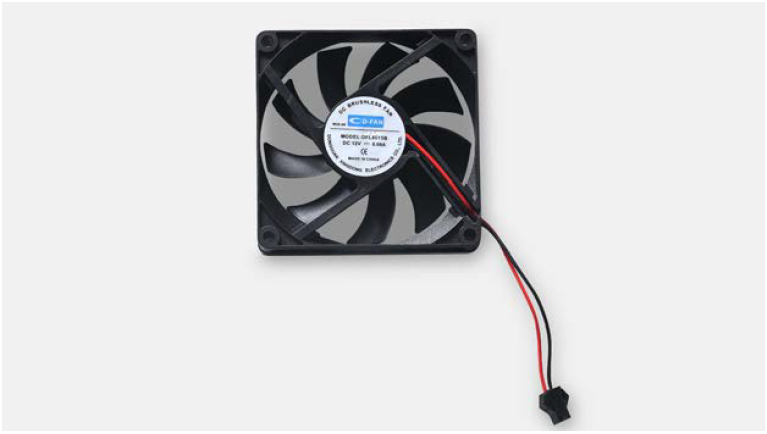
Supply 12DC power from terminal in mainboard area to fan to check whether it is running.

Note
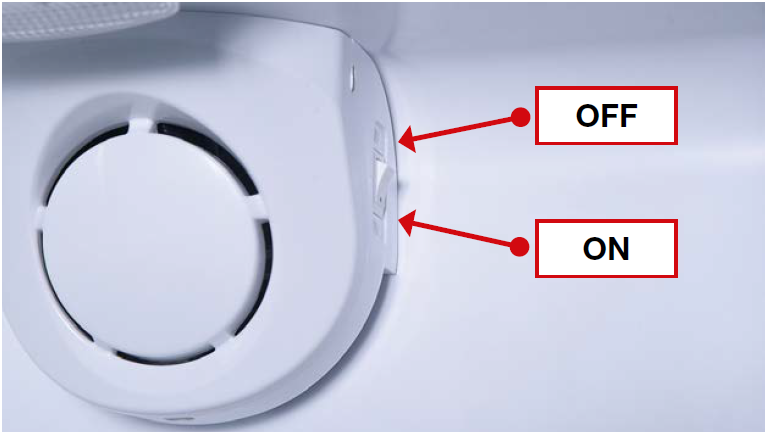
When you check the fan, make sure the switch of fan is on.


Step 1
Lever off left buckle.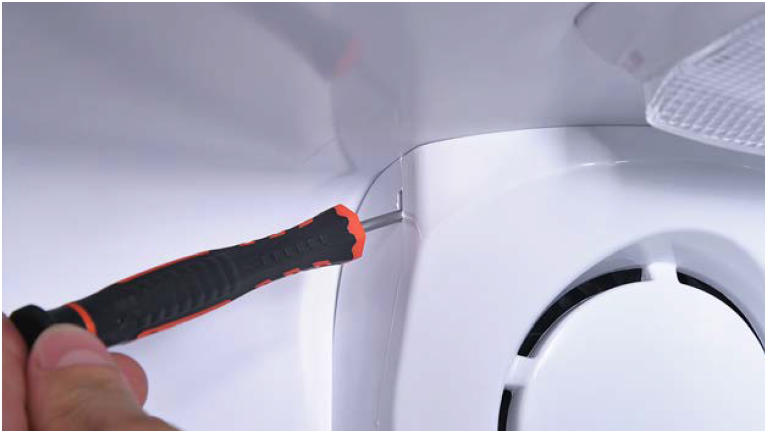
Step 2
Remove Fan cover.
Step 3
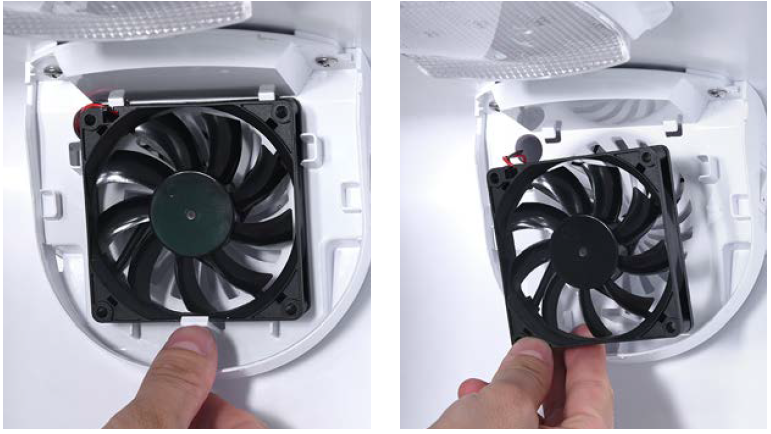
Loosen the buckle.Step 4
Remove fan from cavity.
Step 5
Unscrew fan base.Step 6
Disconnect terminal of fan.

Step 7
Remove fan.Reverse above steps to install a new fan.


CHECK AND TEST 3
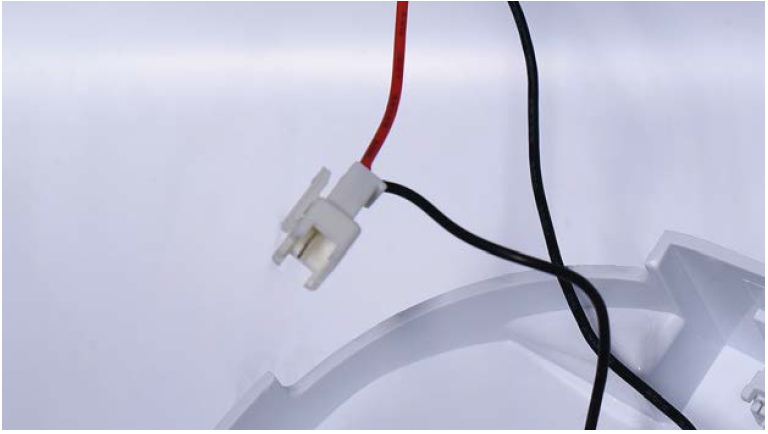
Step 1
Check the connection and wires and wire order
behind fan cover.


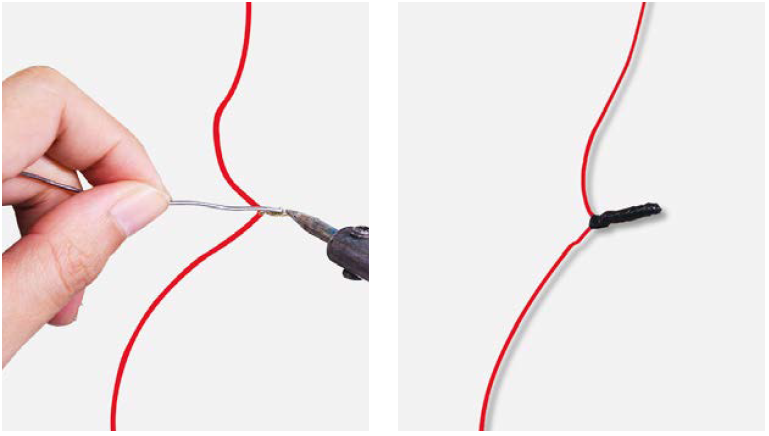
Step 1
Cut off the wire.
Step 2
Peel off the sleeves.Step 3
Make sure wires are in proper order and
connect them.

Step 4
Tin soldering.Step 5
Cover connecting point with electrical tape.


CHECK AND TEST 4
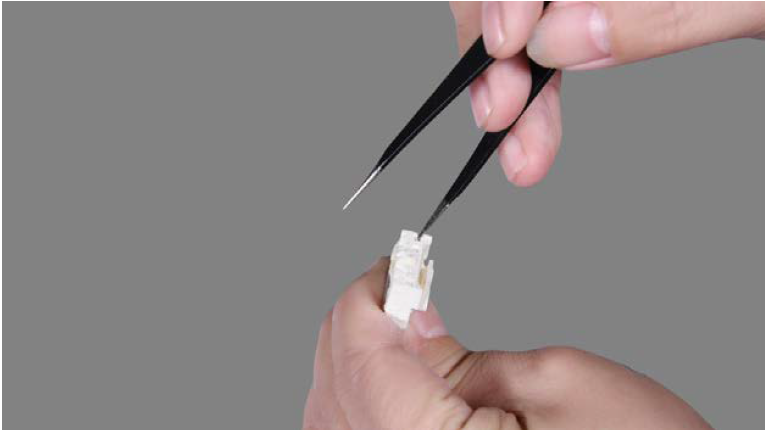
Step 1
Check if terminal is filled with foam.
Step 2
Use tweezers to pick foam out and insert the
terminal into position again. If the terminal still
has problems, please go to below link to change it.
Step 3
Supply 12DC power from terminal in mainboard
area to fan to check whether it is running.


CHECK AND TEST 5
Step 1
Turn power output of transformer to DC 12V.

Step 2
Supply power from terminal in PCB area.
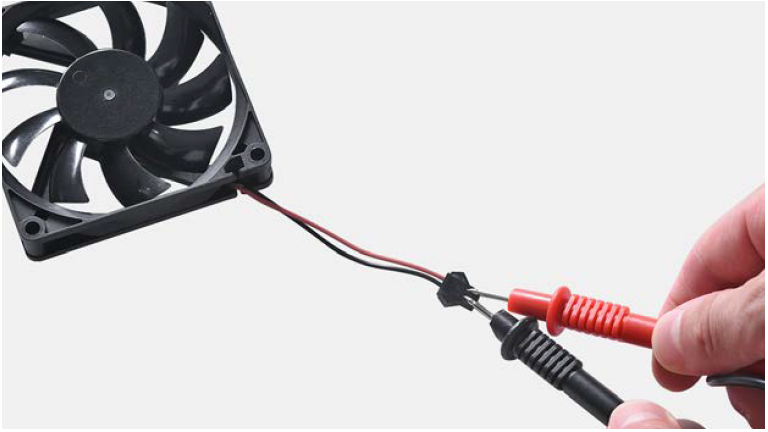

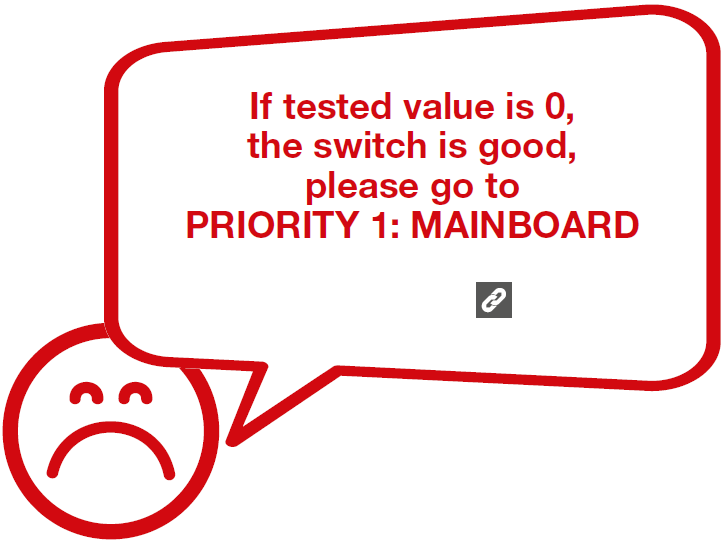
CHECK AND TEST 6
Step 1
Disconnect terminals.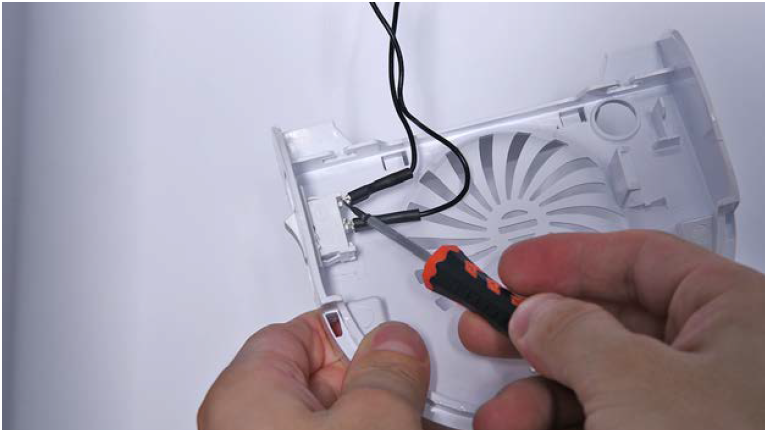
Step 2
Turn on the switch.
Step 3
Test the connection of switch with multi meter.


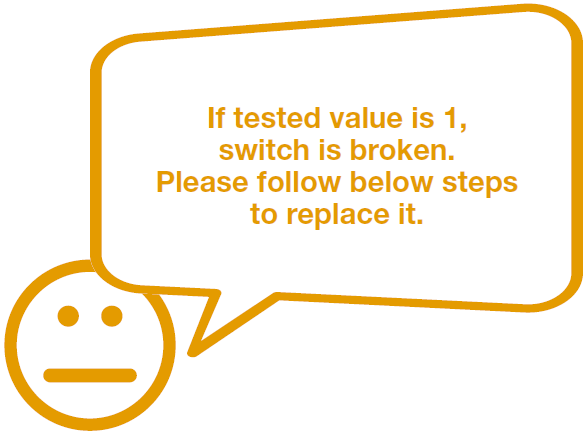

Step 1
Push the latch in.
Step 2
Push switch out of the hole.
Step 3
When compressor is on, the fridge fan is
on.
Reverse above steps to install a new fan.


GO BACK TO COMPONENT LIST