

CHECK AND TEST 1
Step 1
Unscrew cover of mainboard with a cross-head screwdriver.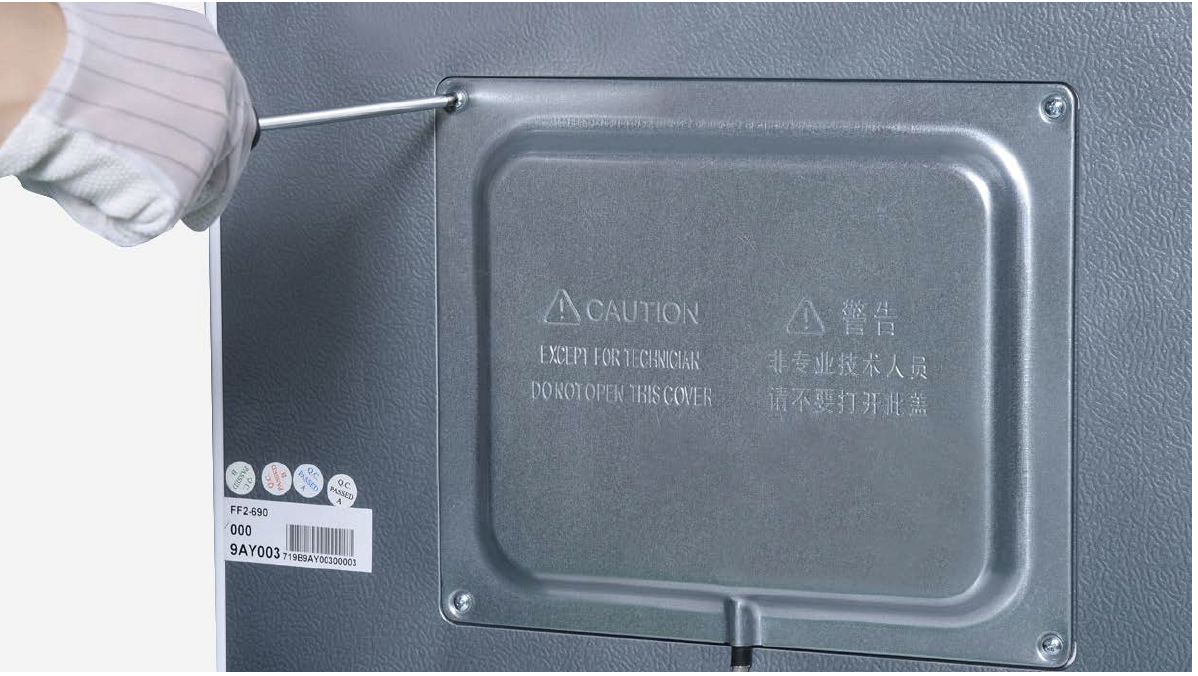
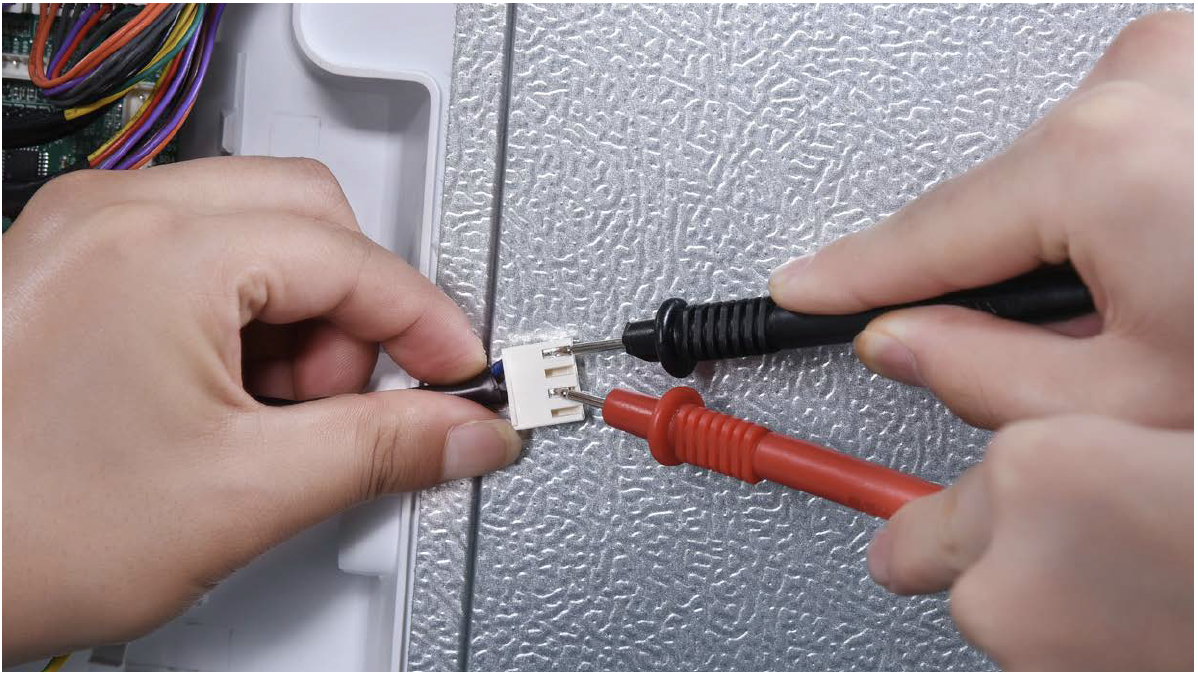
Step 2
Measure resistance of
heater from terminal in
PCB area.
Step 3
Measure resistance of
heater from terminal in
PCB area.


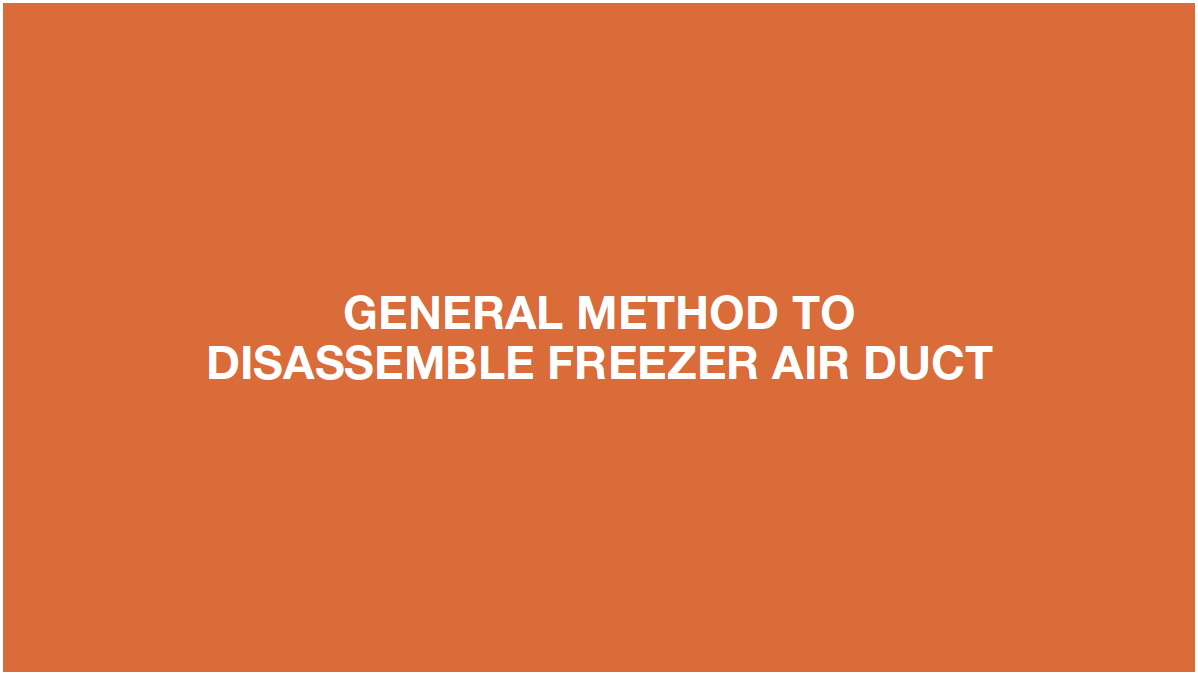
DIAGNOSIS 1

PROCEDURE 1
Step 1
Remove all freezerdrawers.

Step 2
Remove all freezershelves.

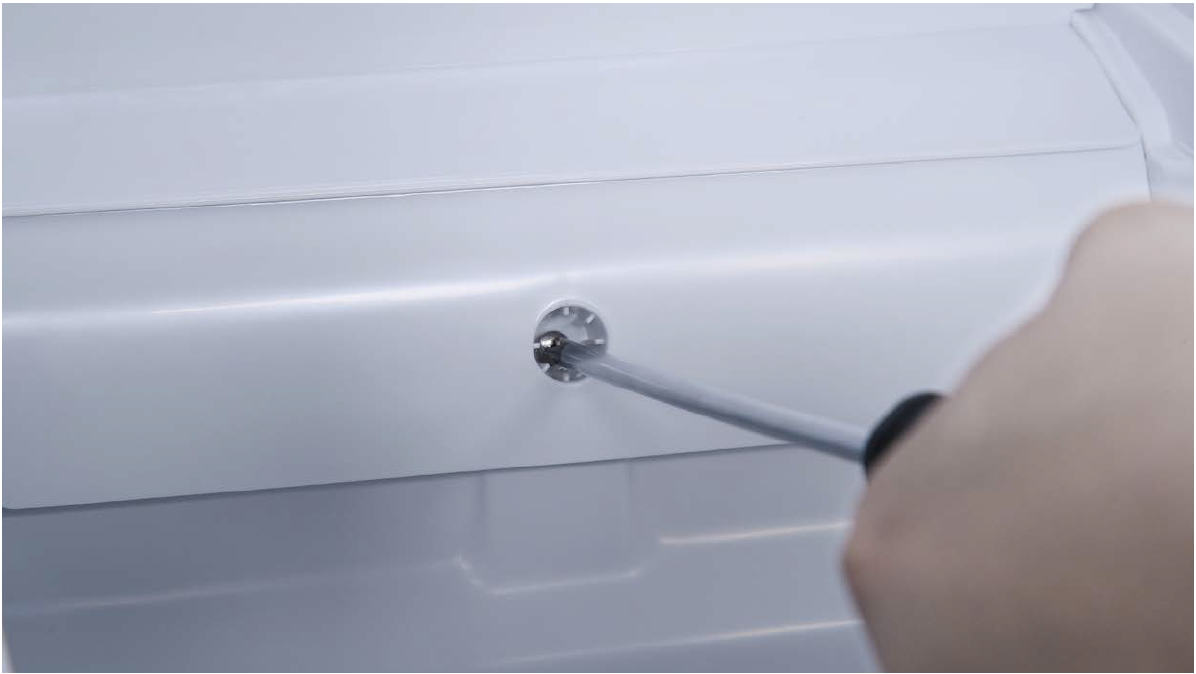
Step 3
Remove screw covers(total of two) on upper
freezer air duct with
Slotted Screw Driver.

Step 4
Unscrew screws (totalof two) on upper freezer
air duct with Cross-head
screw driver.

Step 5
Catch bottom of air ductupper freezer air duct
and pull all buckles (total
of 8) down.

Step 6
Take out upper freezerair duct by tilting to one
side.
Pay attention to the
connectors when pulling
out the air duct.

Step 7
Disconnect the terminalfor fan motor and move
upper freezer air duct
away.

Step 8
Disconnect the terminalfor fan motor and move
upper freezer air duct
away.

Step 9
Unscrew the screw onbottom freezer air duct
with Cross-head screw
driver.
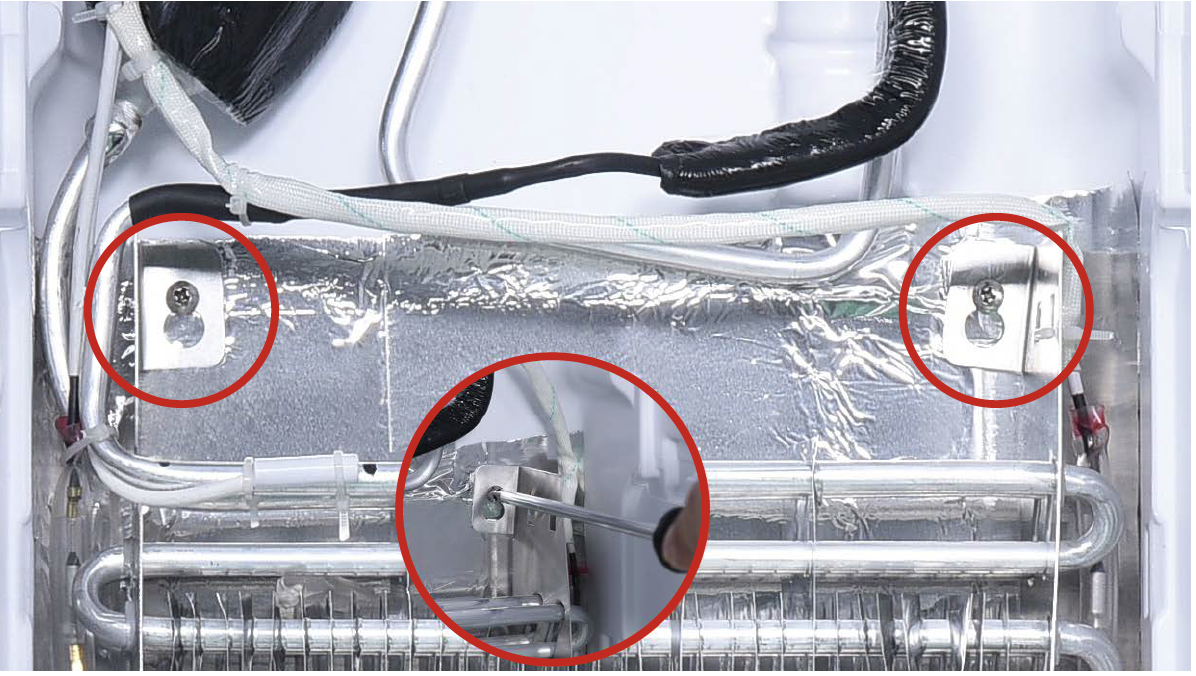
Step 10
Catch bottom of air ductbottom freezer air duct
and pull all buckles
(total of 10) down.

Step 11
Take out the lower airduct, tilting to one side.

CHECK AND TEST 2
Step 1
Check if terminal (C) isinserted to final position.
If not, re-insert it.

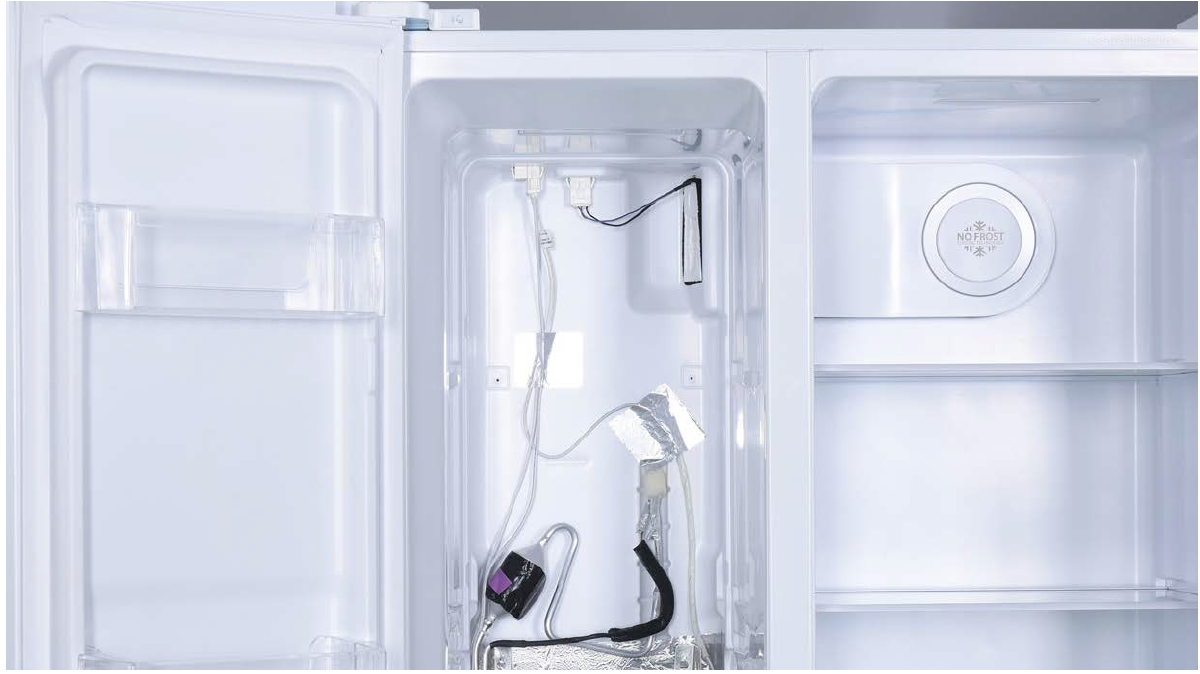
Step 2
Disconnect the terminalfor defrost heater

Step 3
Check if the terminal isfilled with foam.

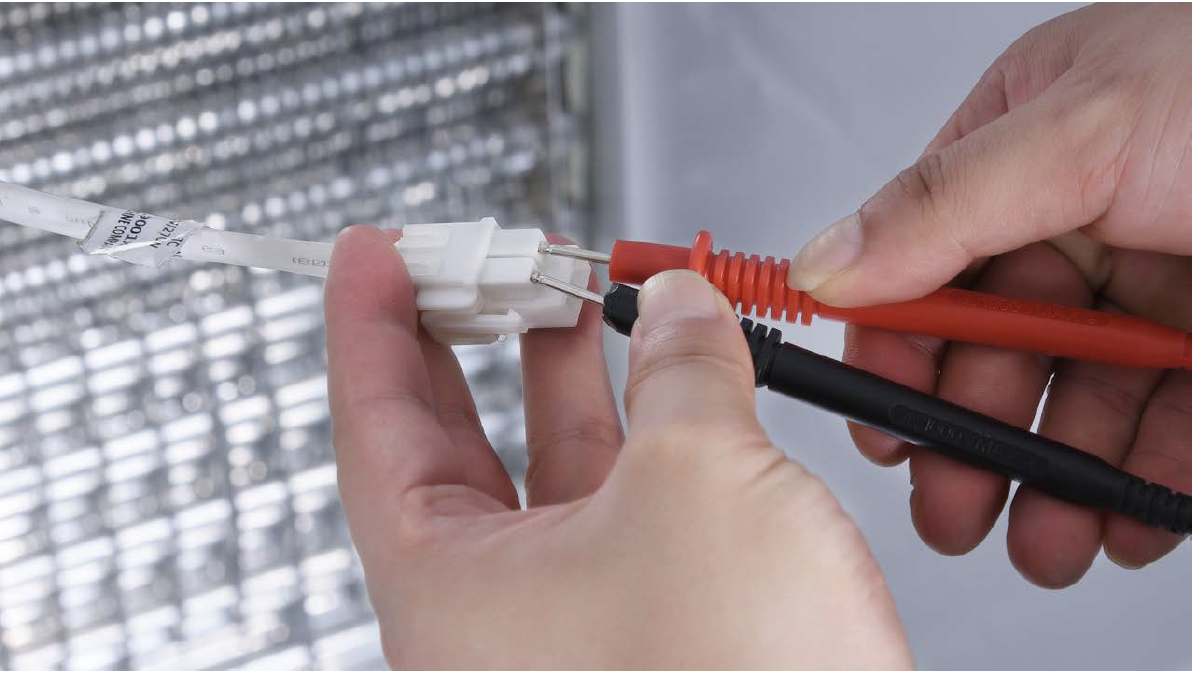
Step 4
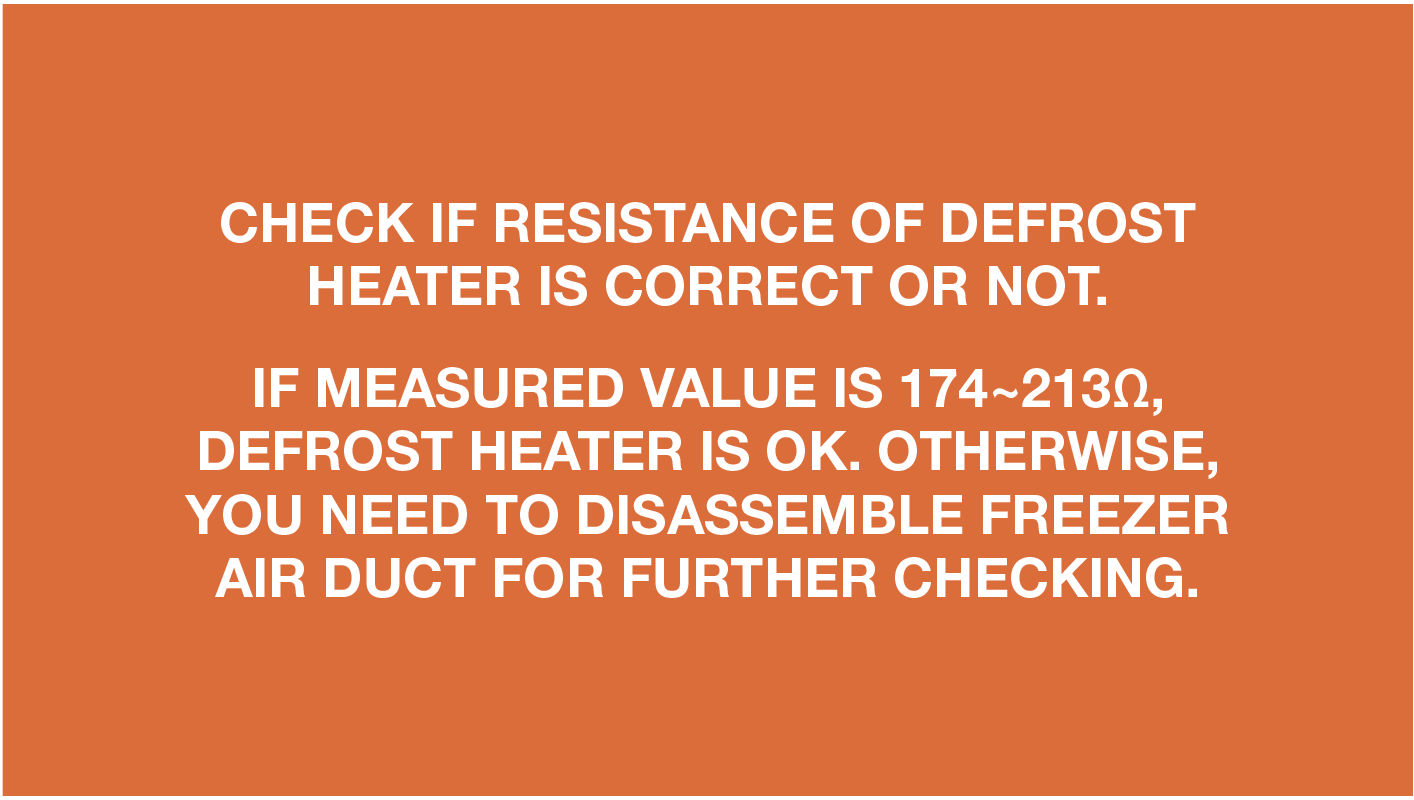
Measure the resistanceof heater from terminal
in freezer.
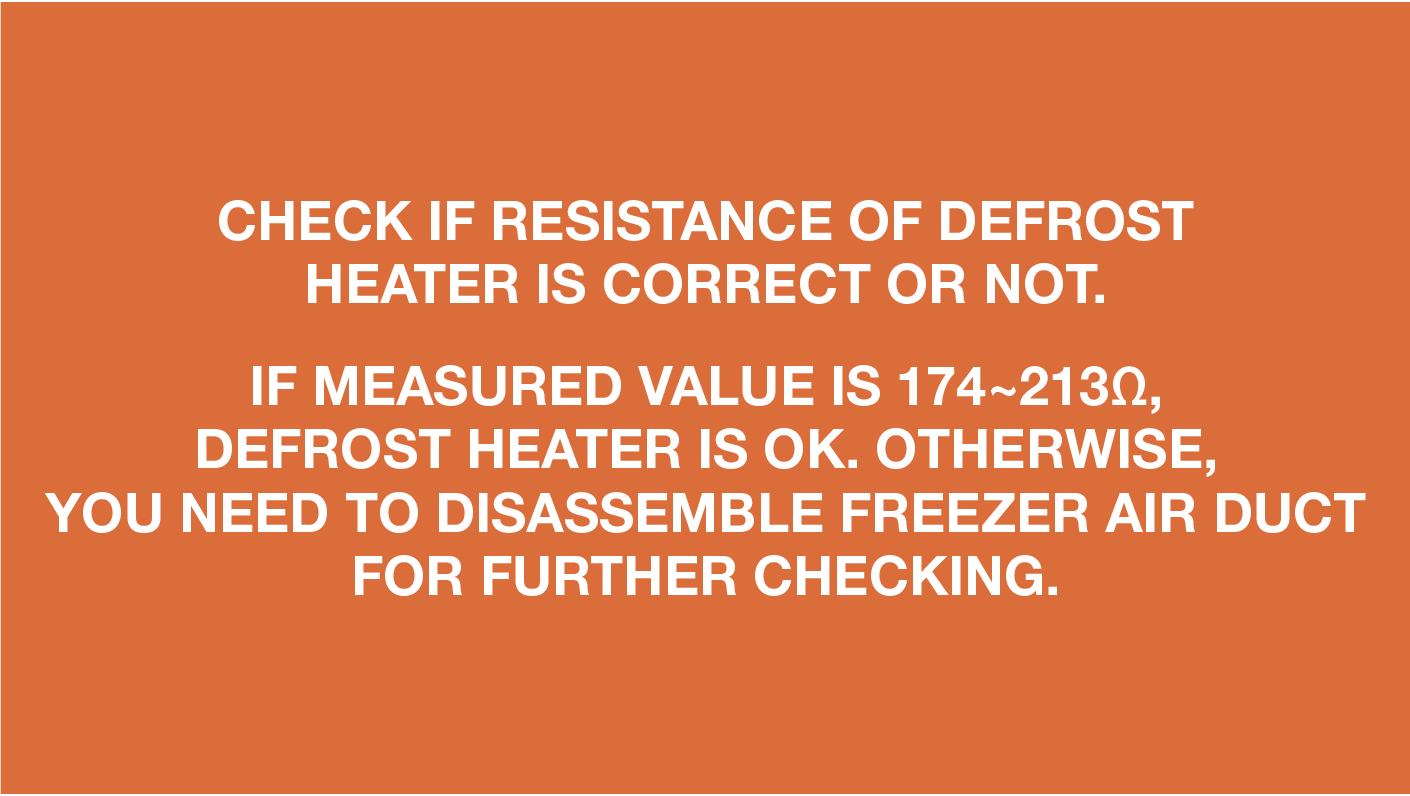
Step 5
Assess the result.
DIAGNOSIS 2


PROCEDURE 2

Step 1
Use screwdriver to removethe heat conductor (if any).

Step 2
Use 6mm cross-headscrewdriver to unscrew
the defrost heater
Step 3
Cut off the fasteningstraps.

Step 4
Tear off Polyethylenesealing foam.

Step 5
Loosen the fasteningclips for heater.

Step 6
Remove the heater,reverse above process
to reinstall the new
heater.

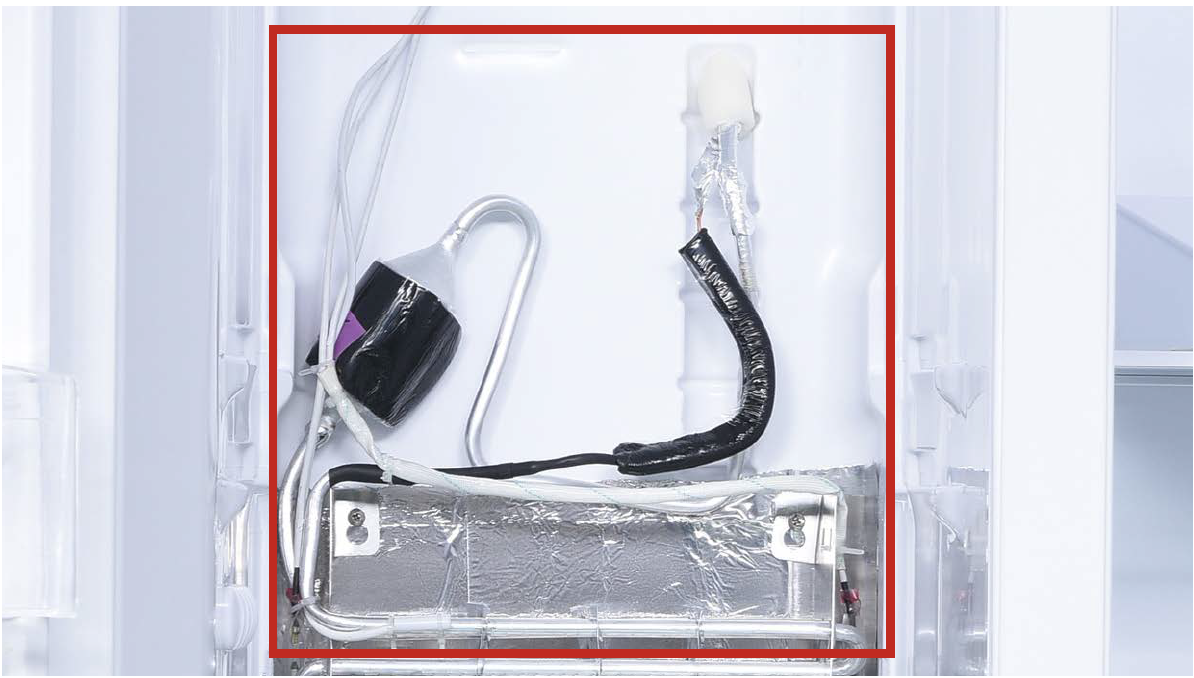
WARNING
Be careful not to
deform pipes in
red square during
steps 5 and 6.
PROCEDURE 3
Tip 1 Do not injure the wires of
the heater while installing
the new heater.
CHECK AND TEST 3
Step 1
Set multimeter toresistance gear.

Step 2
Use multimeter tocheck whether wire
connections in foam are
good or not.

DIAGNOSIS 3

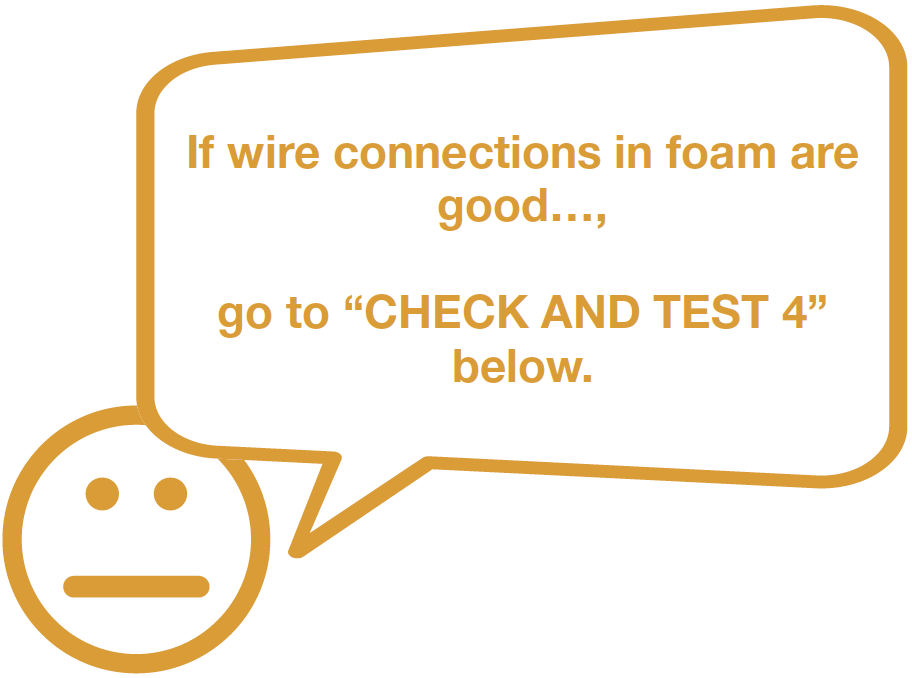

CHECK AND TEST 4
Step 1
Reconnect terminals fordefrost heater.

Step 2
Power on the applianceand start manual defrost.
a) Press Freezer Temp.
button together with
Mode button for 5 sec, 0
flashes in freezer temp.
area.

b) Press Freezer
Temp. button, 1 and 3
will appear in freezer
temperature area

c) When 3 appears,
remove finger and select
manual defrost.
Note
1 means:
start forced cooling.
3 means:
start manual defrost.

Step 3
Put your hand close todefrost heater.
WARNING !!!
DO NOT TOUCH
DEFROST HEATER

DIAGNOSIS 4


Note

PROCEDURE 4
Tip 1: When restoring the
upper freezer air duct,
fasten the wires to avoid
crushing them with air
duct.

Tip 2:
All buckles should bepushed into proper final
position. If not, please
repeat installation.


GO BACK TO COMPONENT LIST