

CHECK AND TEST 1
Step 1
Open fridge doors and check carefully to see whether gasket is cracked.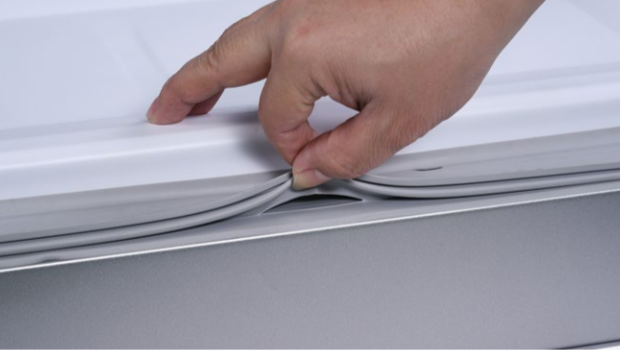
Step 2
Check carefully if gasket is deformed.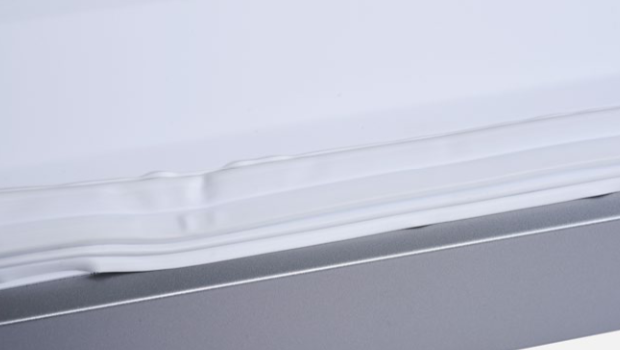

DIAGNOSIS 1

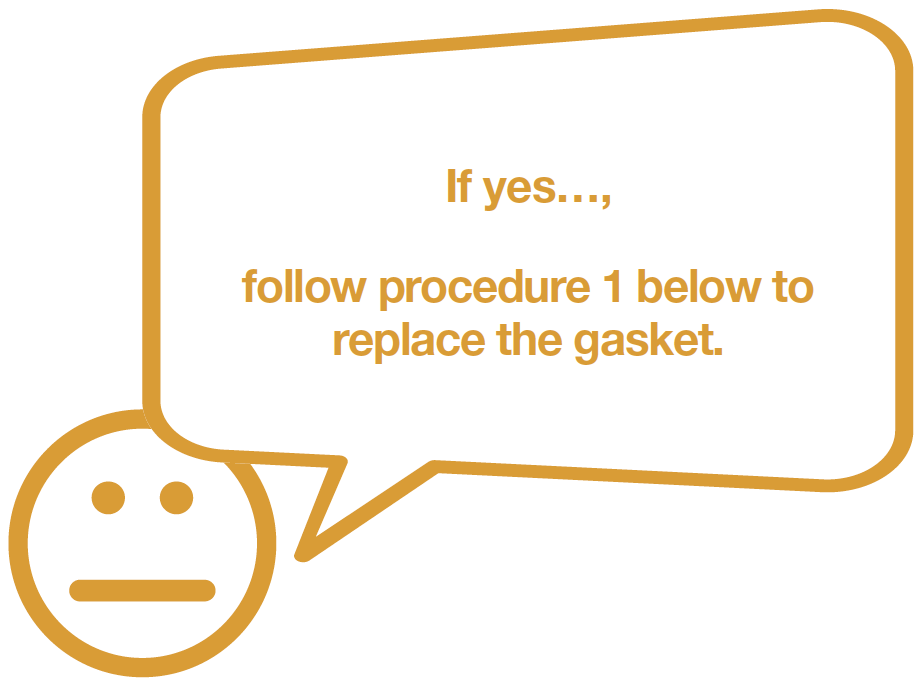

PROCEDURE 1

Step 1
Pull gasket out by the corner.
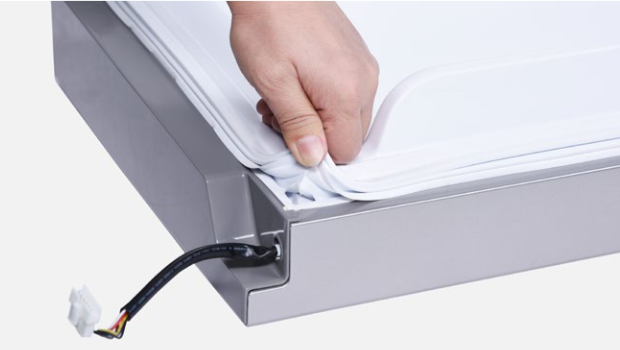
Step 2 Install a new gasket, starting from the corner.
Make sure base of gasket is pressed into
trough completely.
Step 2 Install a new gasket, starting from the corner.
Make sure base of gasket is pressed into
trough completely.
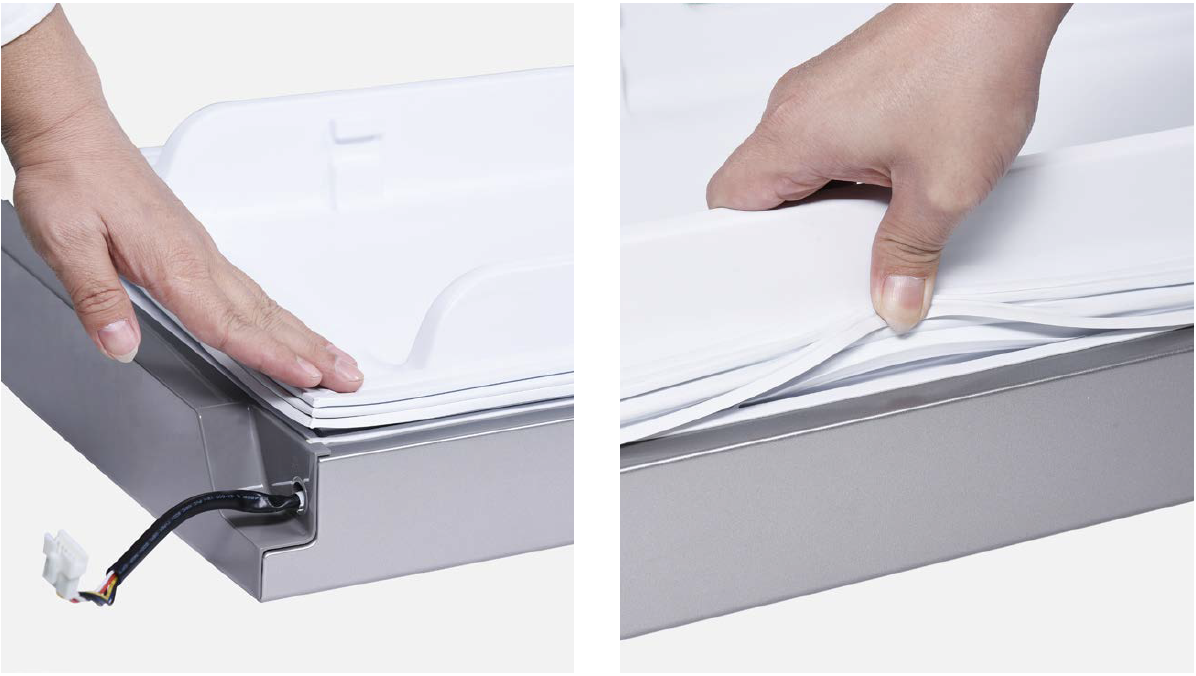
Step 3
Make sure gasket is properly aligned withedges of trough.

Step 4
Close the door, make sure gasket is well
attached.
CHECK AND TEST 2
Step 1
place a torch on shelf and point light towards
gasket.

Step 2
is any light leaking out.
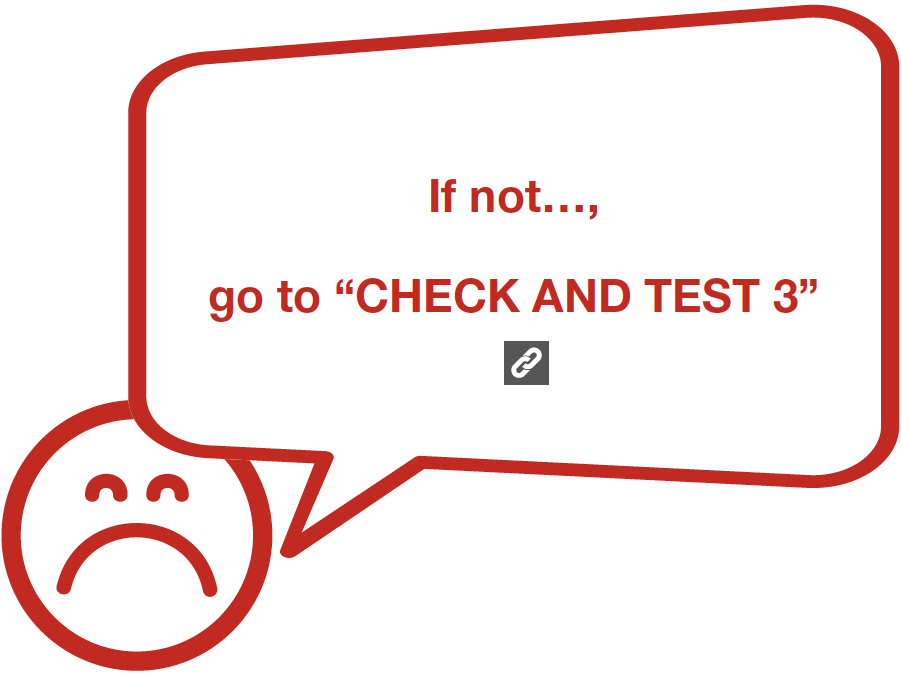
DIAGNOSIS 2


CHECK AND TEST 3
Step 1
Check if gasket is wrinkling or not.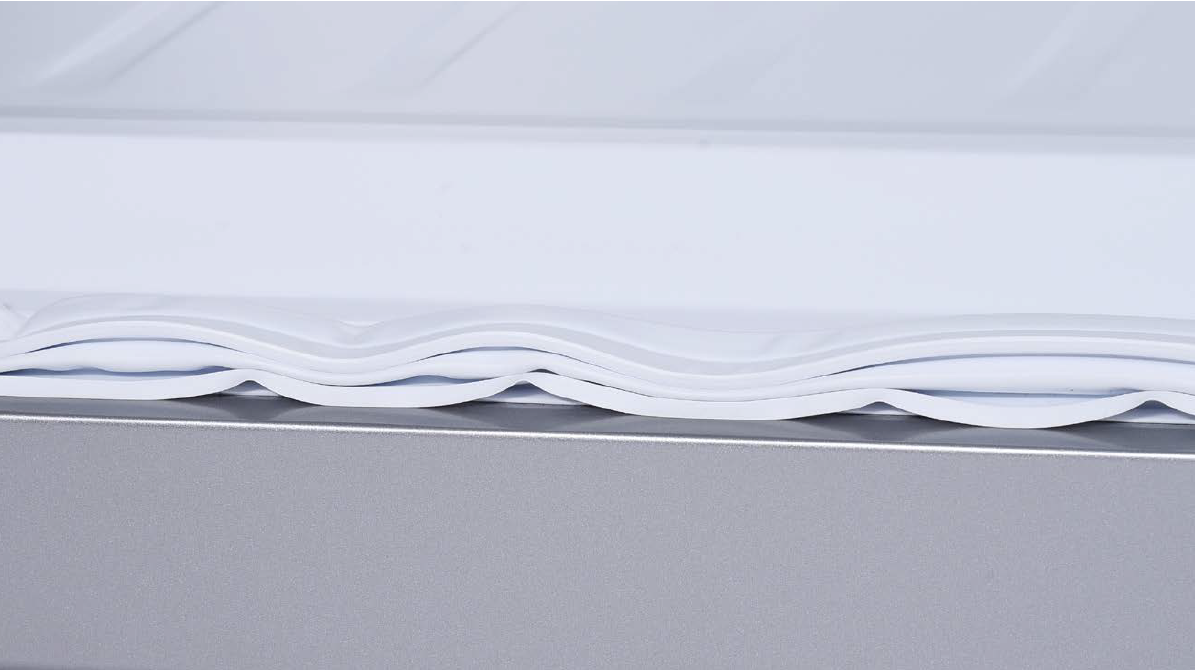

CHECK AND TEST 4
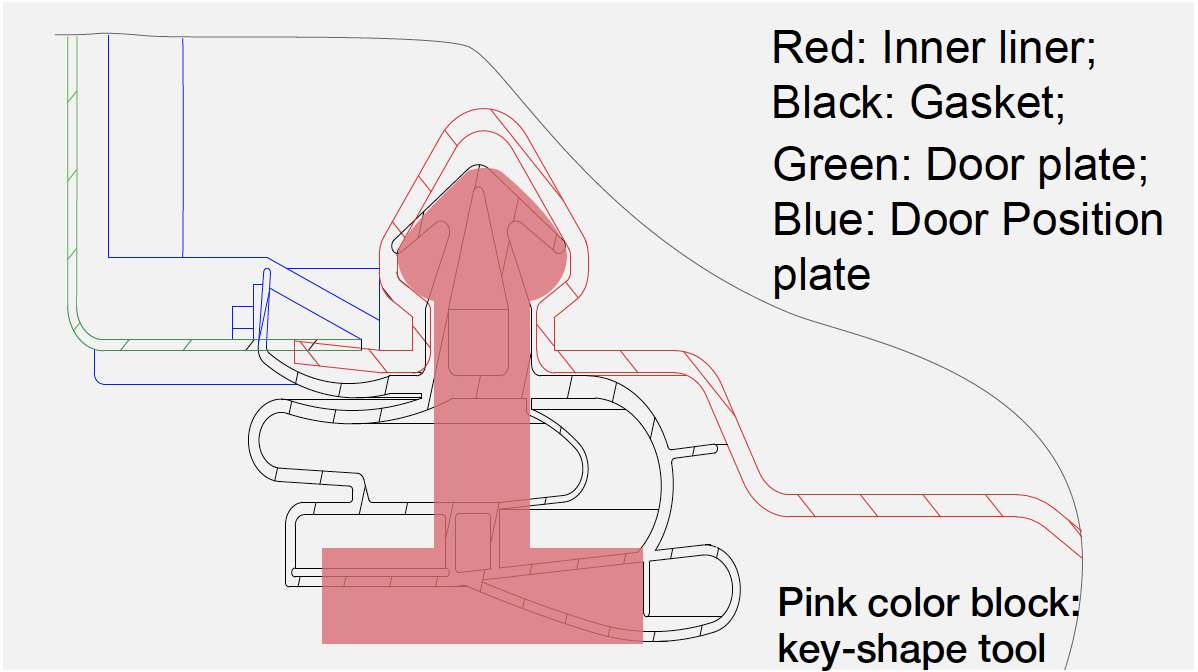
Step 1 Measure width of gasket
seat opening with vernier
calipers.

Step 2
If entrance of gasketseat is wider than 6 mm,
replace old gasket with
new one with 6.5mm
base.
Use tool of same shape
as gasket seat and insert
it into gasket seat, then
flip the tool around.
DIAGNOSIS 4


PROCEDURE 2
Step 1
Before installing thenew door, first check
the seal of the gasket.
Check to see if gasket is
detaching.

DIAGNOSIS
Step 2
Insert the gasket intogasket seat, and pull it
with a force of 30Nm.


Step 1
Unscrew hinge cover.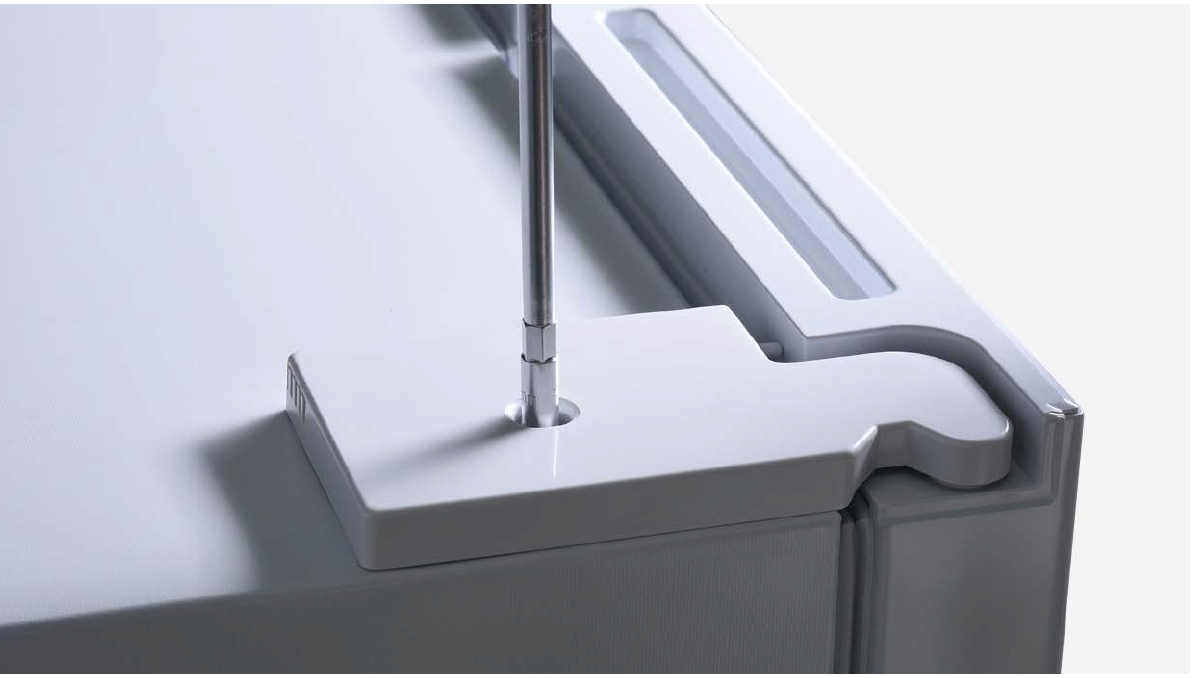
Step 2
Remove the cover.
Step 3
Disconnect the terminals.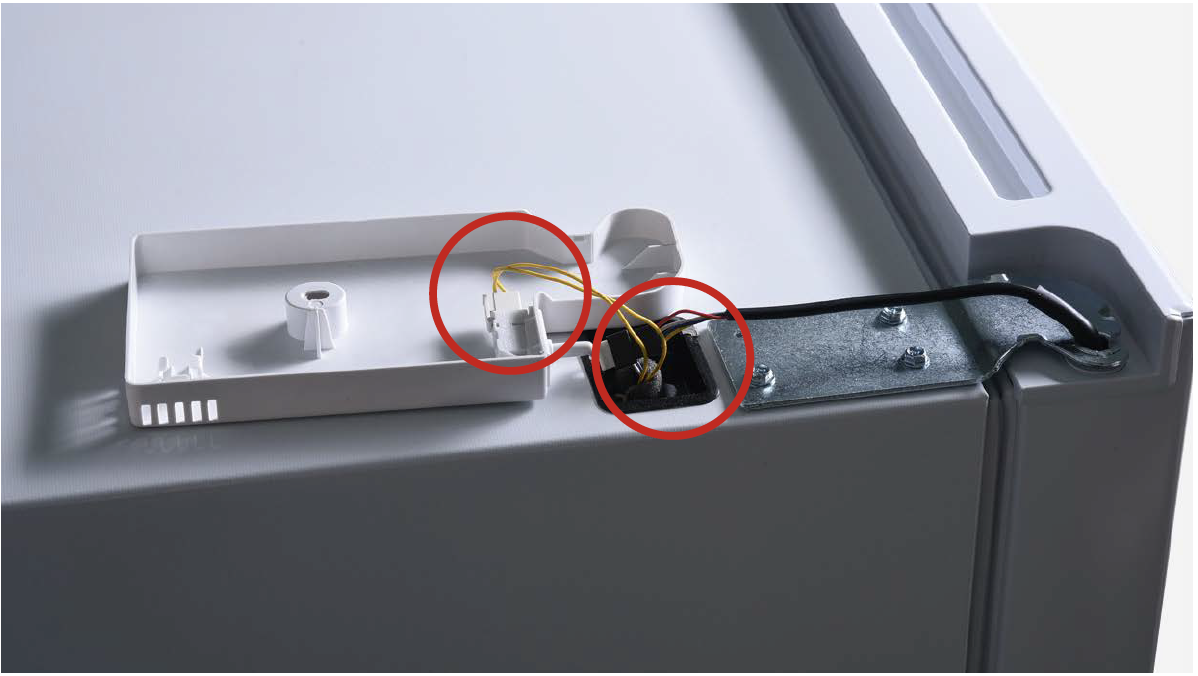
Step 4
Unscrew 3 bolts andremove the top hinge.

Step 5
Remove the door.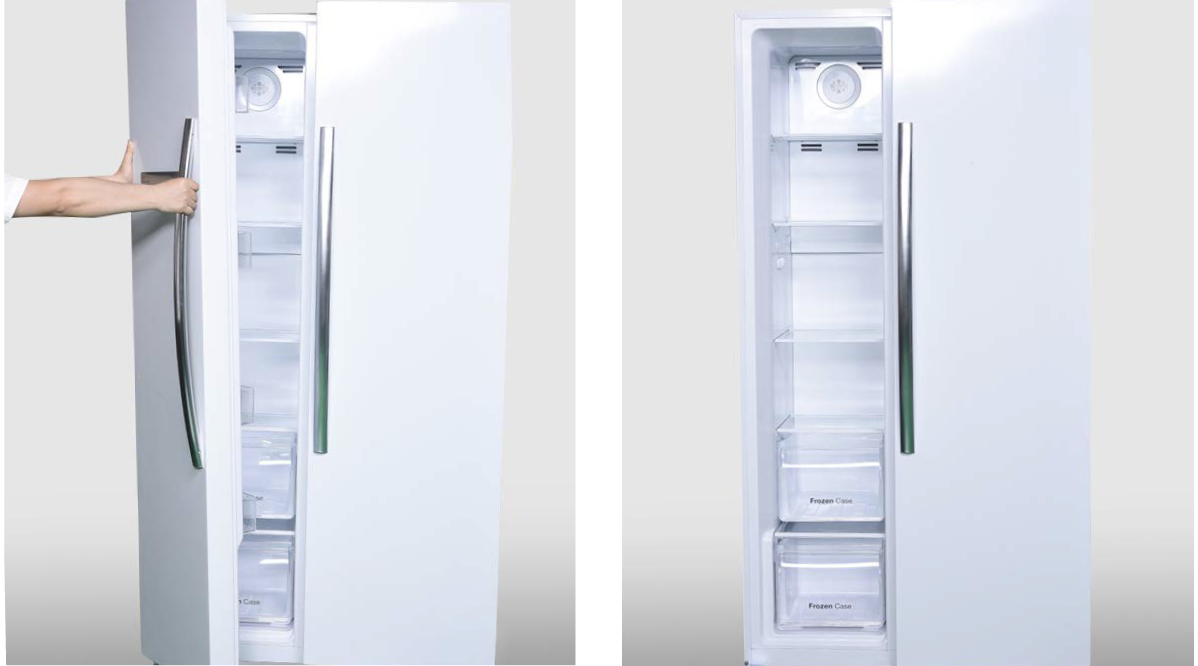
PROCEDURE 3
Tip 1
Make sure gasket ofthe new door is not
detaching.

Tip 2
Insert the gasket intogasket seat and pull it
with a force of 30N.

Tip 3
After installing, makesure gap between fridge
door and freezer door is
even.
CHECK AND TEST 5
Step 2
To assess whetherrework was successful,
place a torch on shelf
and point light towards
gasket.
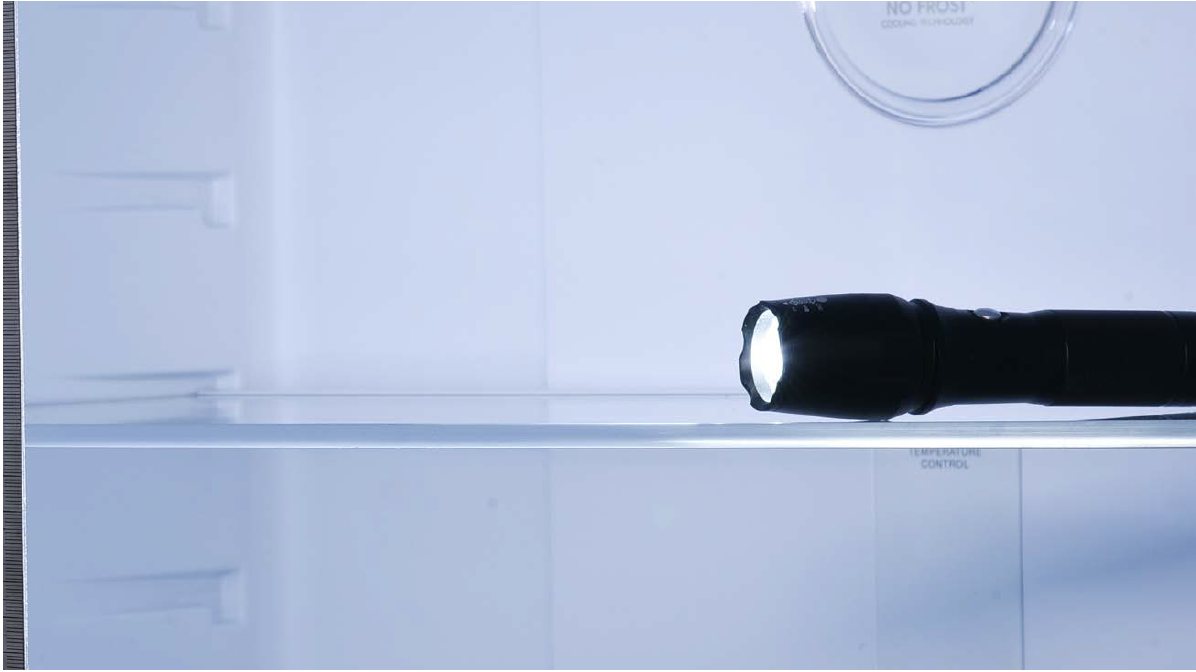
Step 2
Close door to see if thereis any light leaking out.

DIAGNOSIS 5


GO BACK TO COMPONENT LIST