
CHECK AND TEST 1

PROCEDURE 1
.
Step 1
Remove all freezer drawers.
Step 2
Remove all freezer shelves.

Step 3
Remove screw covers (total of two) on upperfreezer air duct with Slotted Screw Driver.

Step 4
Unscrew screws (totalof two) on upper freezer
air duct with Cross-head
screw driver.

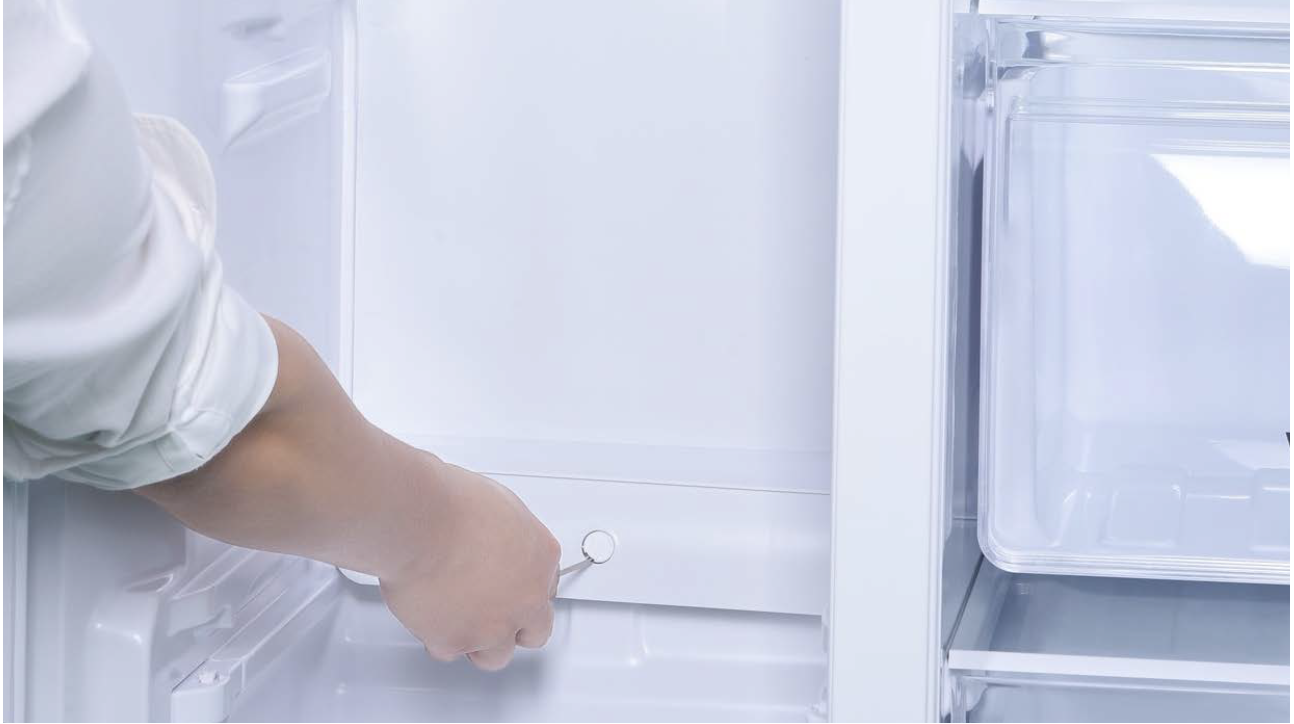
Step 5
Catch bottom of air ductupper freezer air duct
and pull all buckles (total
of 8) down.

Step 6
Take out upper freezerair duct by tilting to one
side.
Pay attention to the
connectors when pulling
out the air duct.

Step 7
Disconnect the terminalfor fan motor and move
upper freezer air duct
away.

Step 8
Remove the screw coveron bottom freezer air
duct with Slotted Screw
Driver.
Step 9
Unscrew the screw onbottom freezer air duct
with Cross-head screw
driver.

Step 10
Catch bottom of bottomfreezer air duct
and pull all buckles
(total of 10) down.

Step 11
Take out the bottomfreezer air duct, tilting to
one side.

CHECK AND TEST 2
Step 1
Check if1. Vibration-absorption mud is missing;
2. Transitional pipe is aligned.

Step 2
Add more vibrationabsorptionsoft rubber. Please refer to red box.
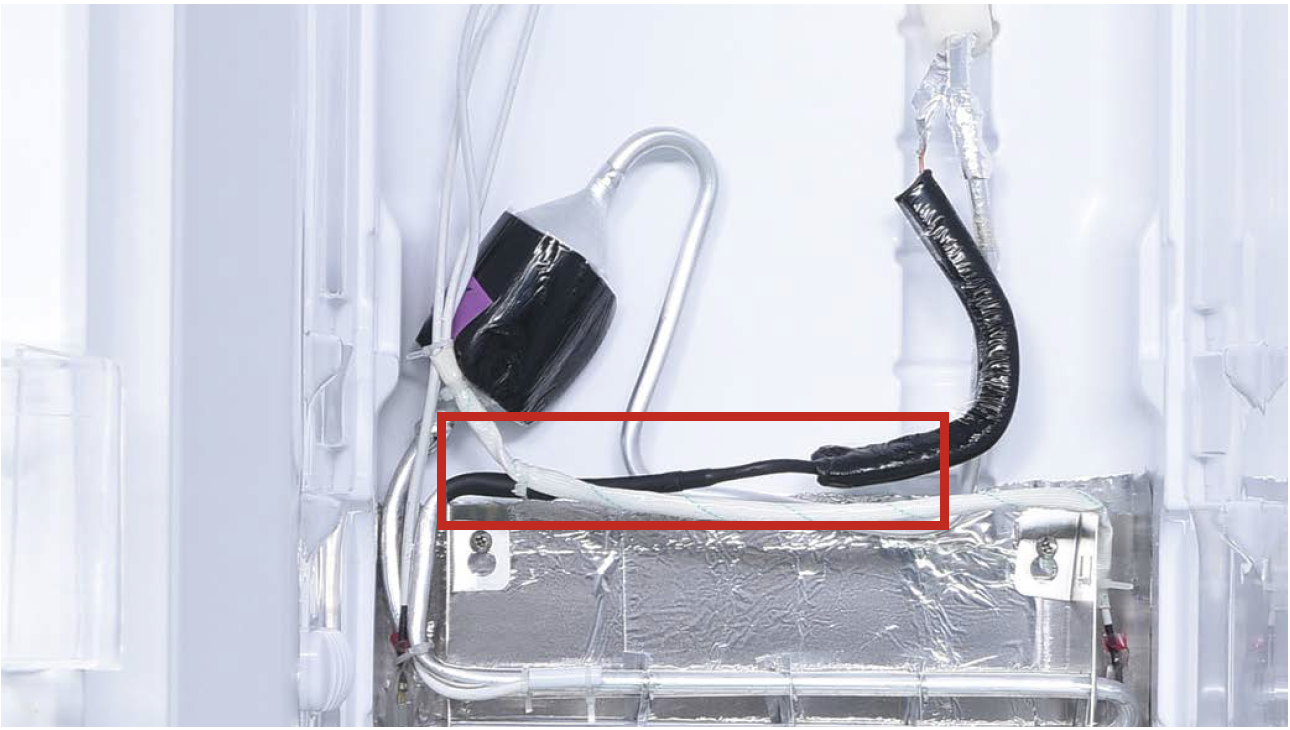
Step 3
Make sure that the expansion pipe as straight as possible.

DIAGNOSIS 2


PROCEDURE 2
Tip 1
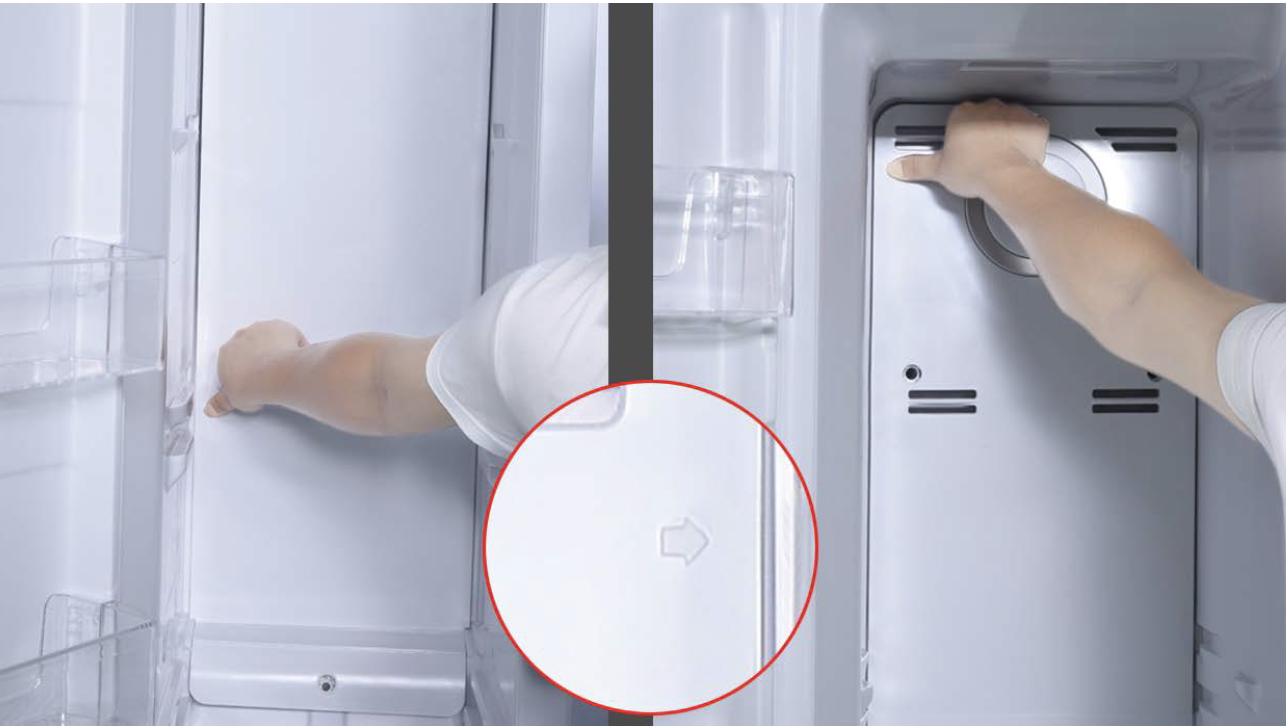
When restoring theupper freezer air duct,
fasten the wires to avoid
crushing them with air
duct.

Tip 2
All buckles should bepushed into proper final
position. If not, please
repeat installation.

GO BACK TO COMPONENT LIST