

CHECK AND TEST 1
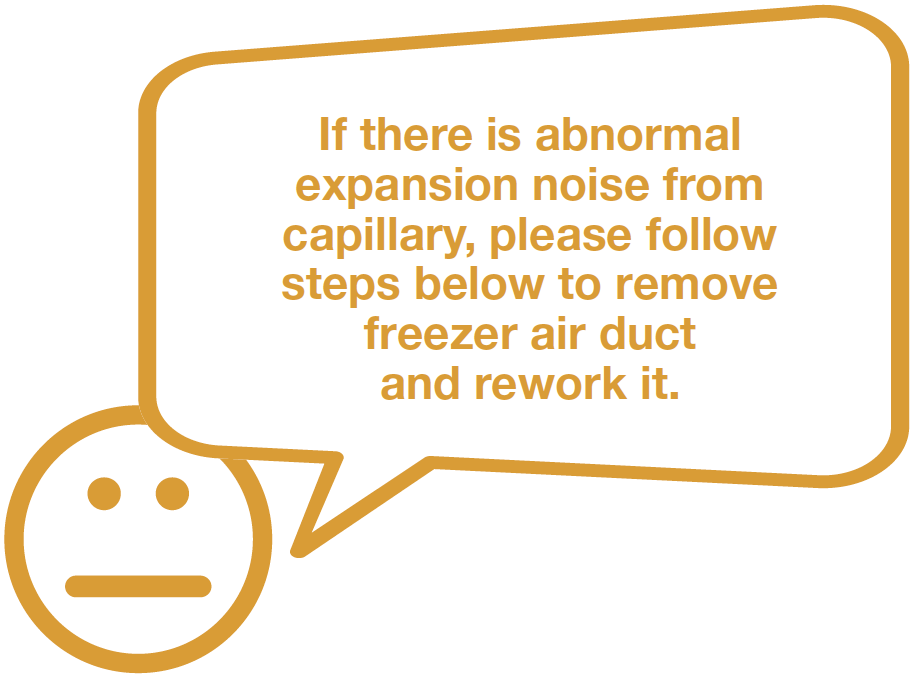

PROCEDURE 1
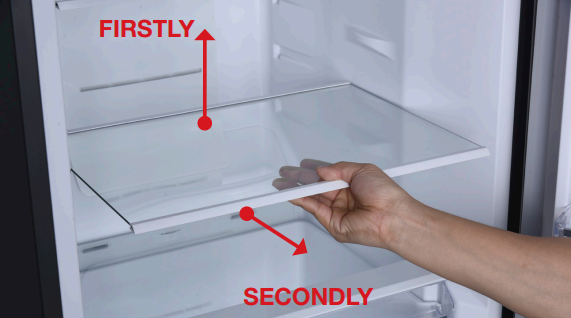
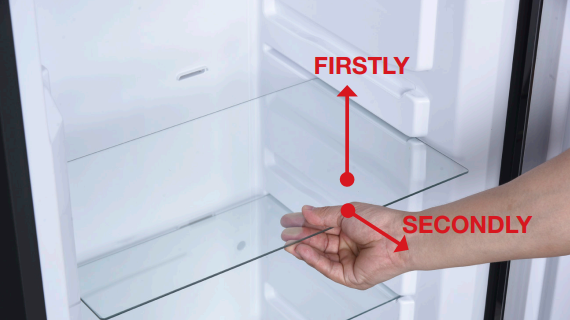
Step 1
Remove all shelves.
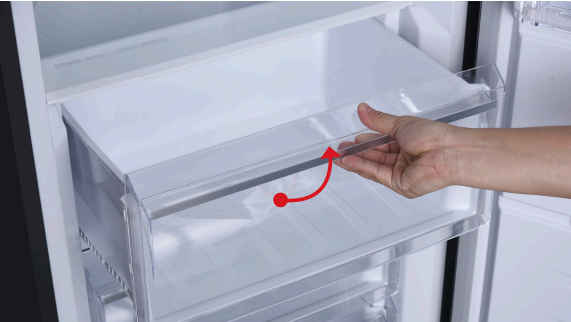
Step 2
Remove upper drawers.
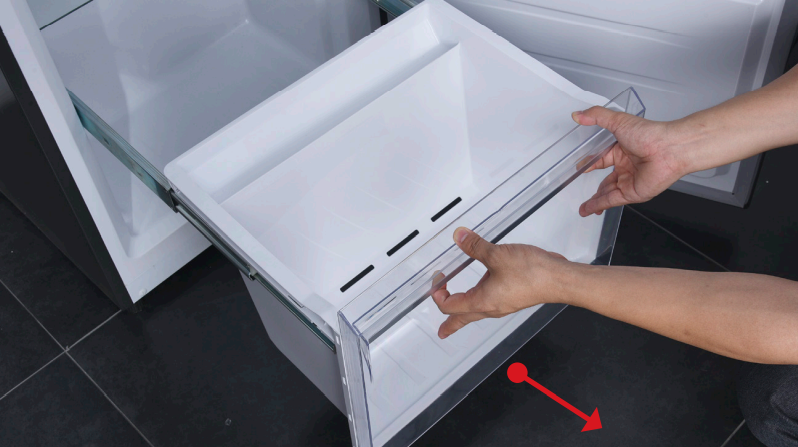
Step 3
Remove bottom drawer.
Step 4
Remove drawer cover.
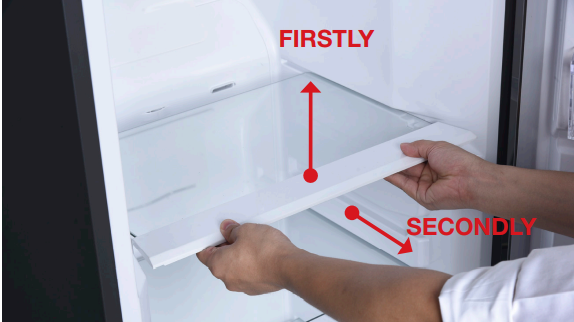
Step 5
Remove glass shelves under drawers.
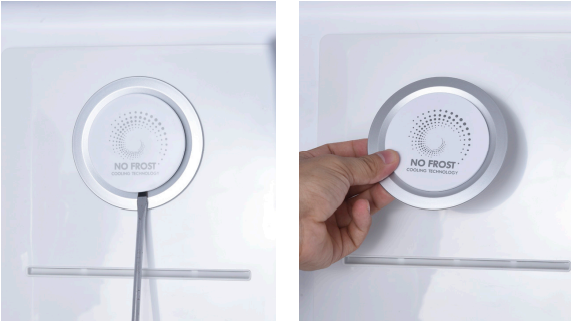
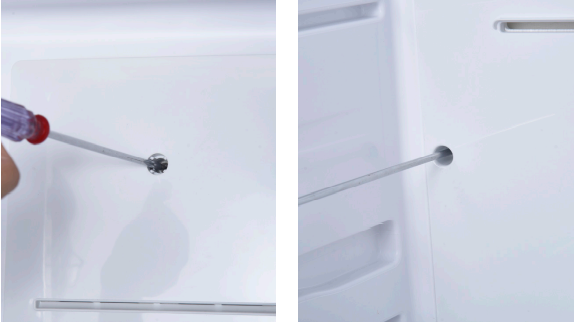
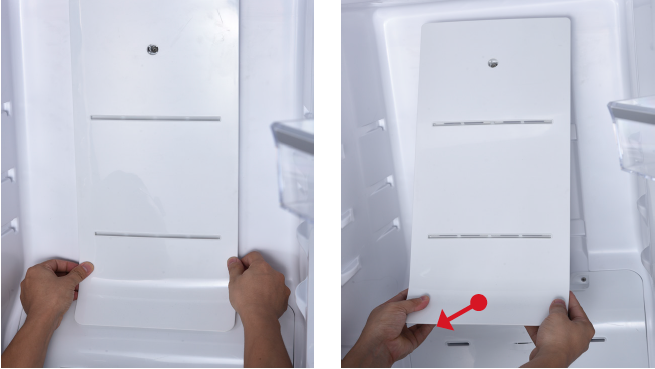
Step 6
Prize off the decorative panel and take if off.
Step 7
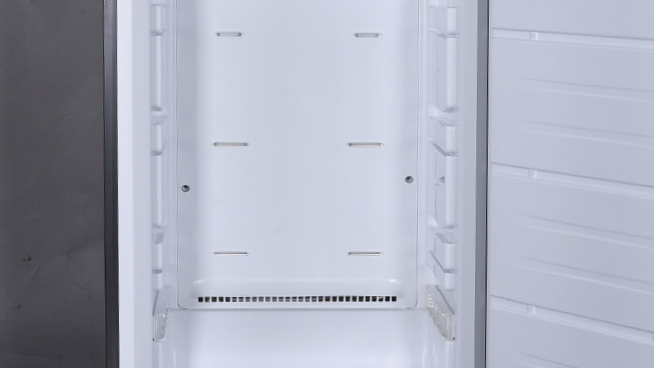
d. Move the air duct out of the freezer compartment.
Step 8
Pull outward and take off the upper air duct.
Step 9
Unscrew the lower airduct.
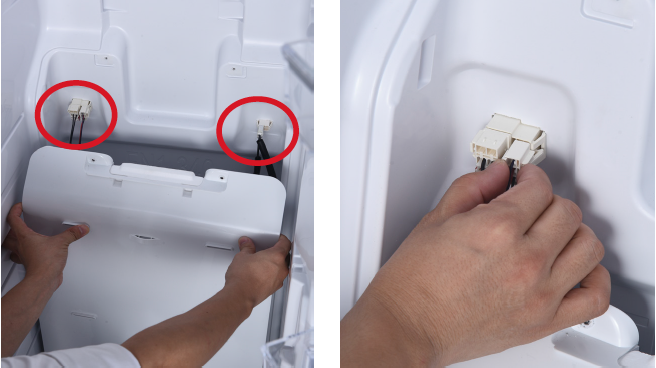
Step 10
Disconnect the connectors between airduct and cabinet.
Step 11
Remove the lower air duct.


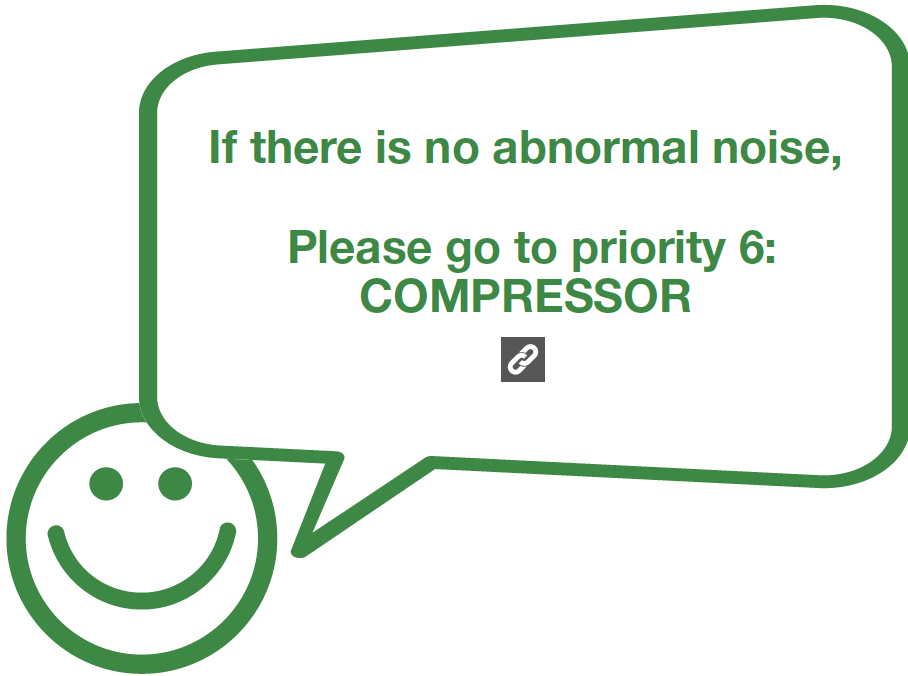
CHECK AND TEST 2
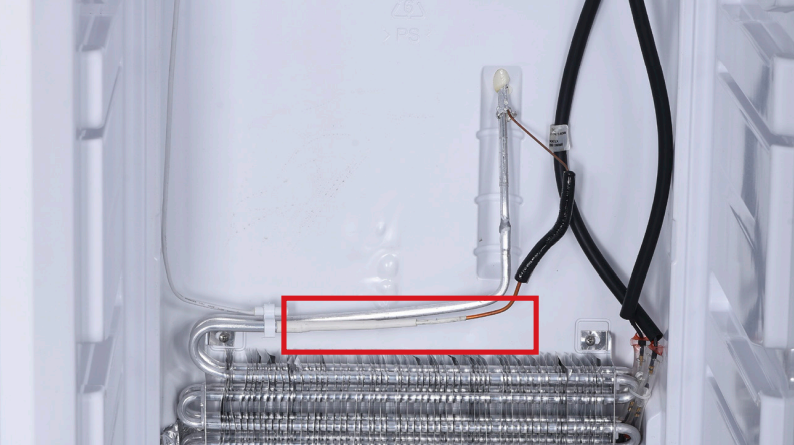
Step 1
Check if
1. Vibration-absorption mud is missing;
2. Transitional pipe is aligned.

Step 2
Add more vibration- absorption soft rubber. Please refer to red box.

Step 3
Make sure the expansion pipe is as straight as possible.

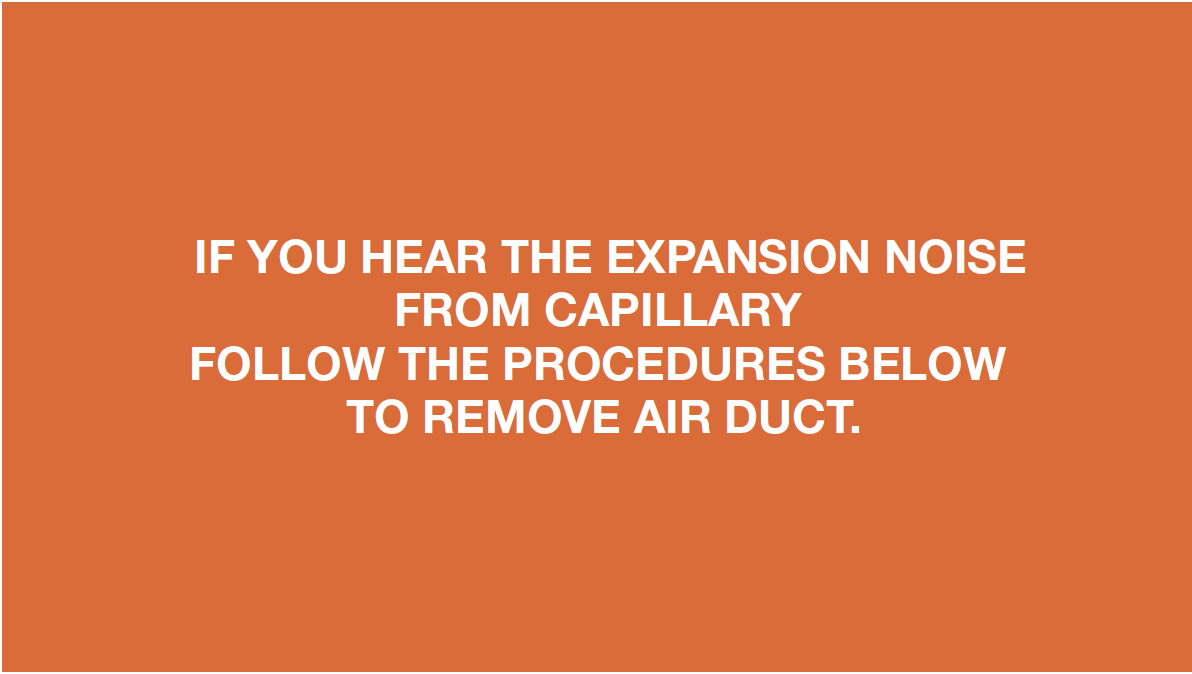
DIAGNOSIS 2


GENERAL INSTALLATION PROCEDURES FOR FREEZER AIR DUCT.
Tip 1
Make sure the sealing sponges are in good condition.

Tip 2
When reinstalling the air duct, fasten the wires to avoid crushing with air duct.

Tip 3
Check to see if there is a wide gap between air duct and cabinet. If there is, reinstall air duct.

GO BACK TO COMPONENT LIST