
Step 2
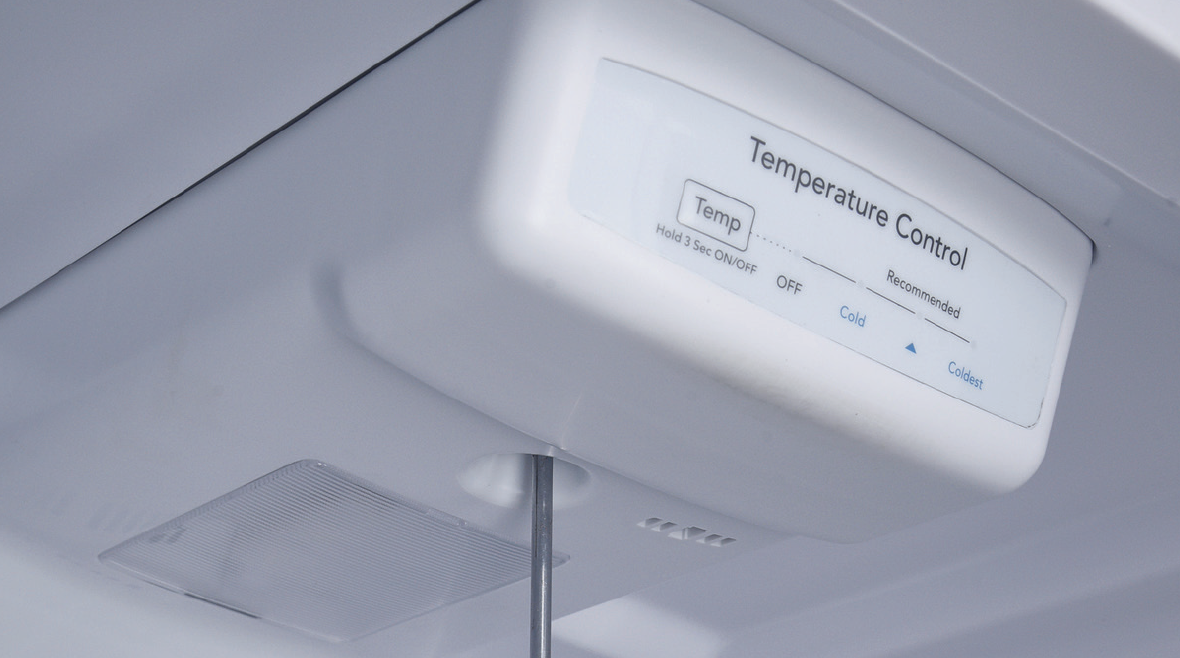
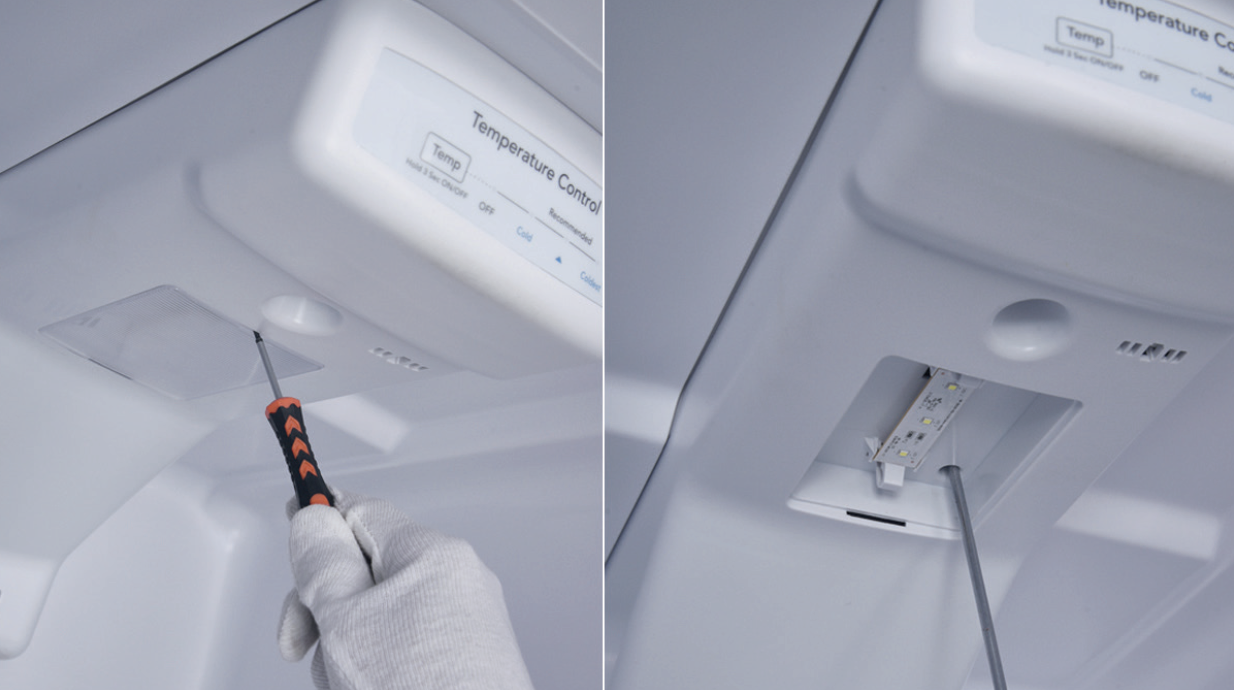
Remove the LED lamp cover and the screw.
Step 3
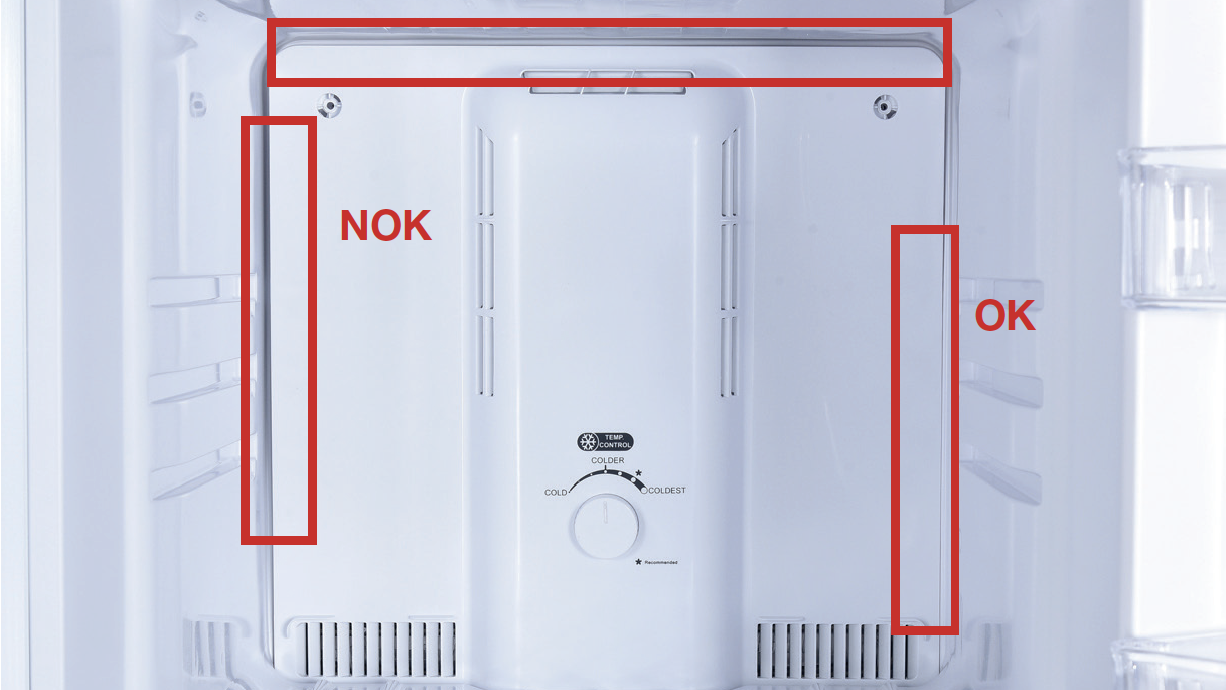
Remove the air duct. 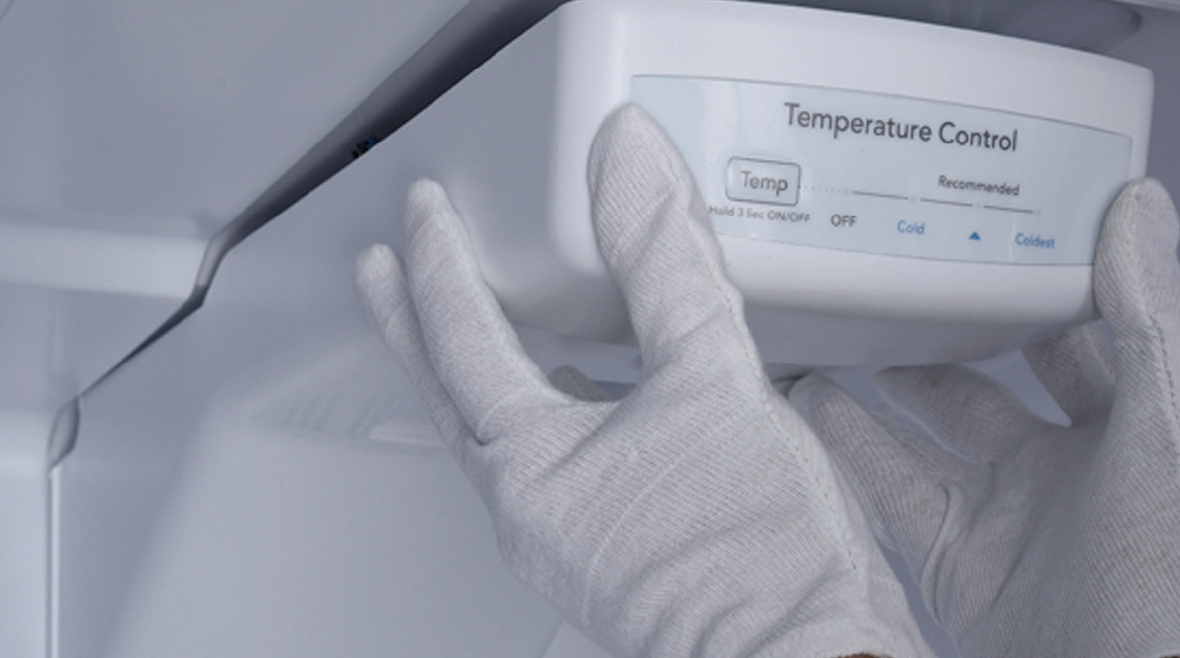
Step 4
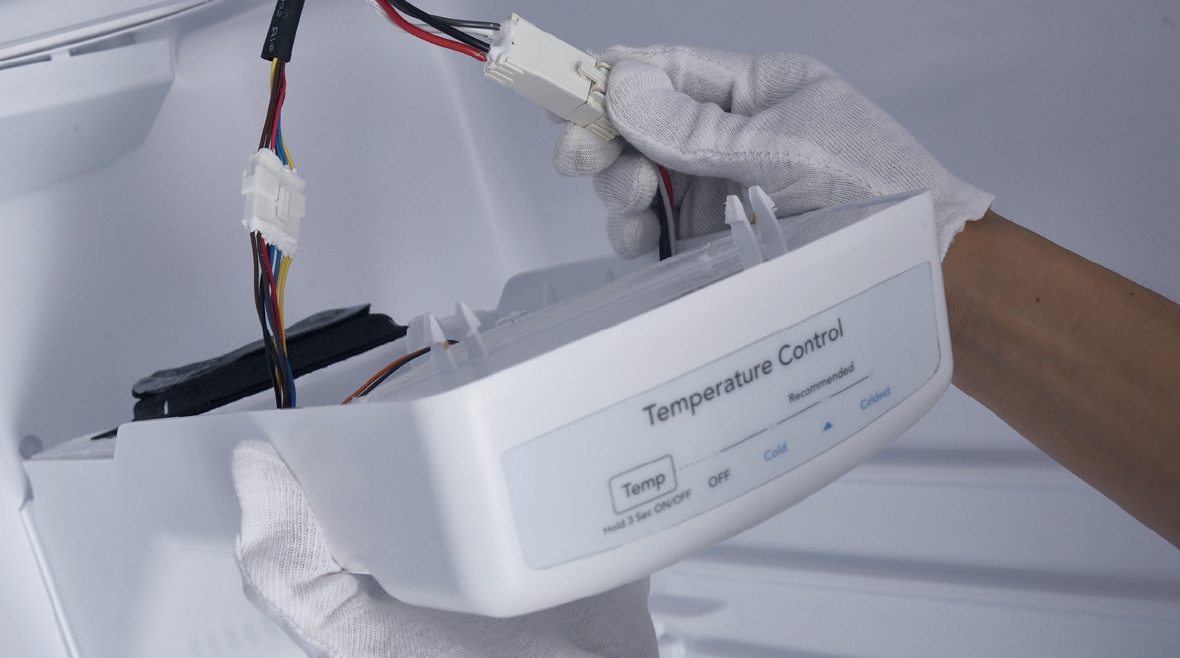
Unplug the electrical wires.
Step 5
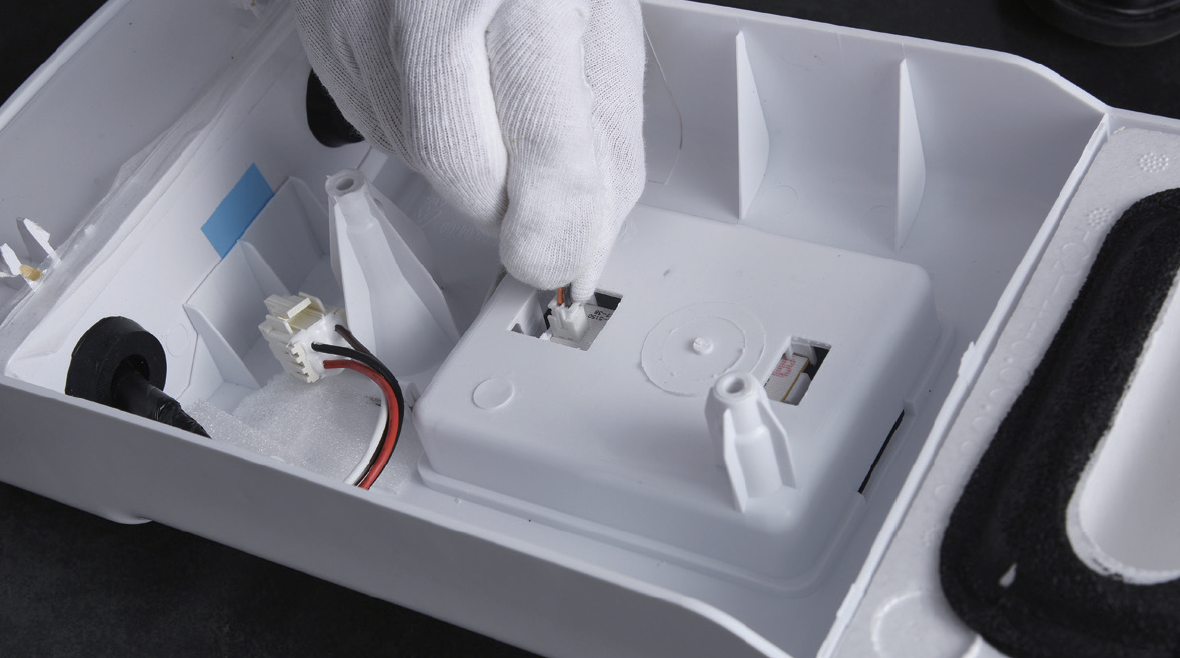
Disconnect the terminal of potentiometer.
Step 6
Remove the UI film.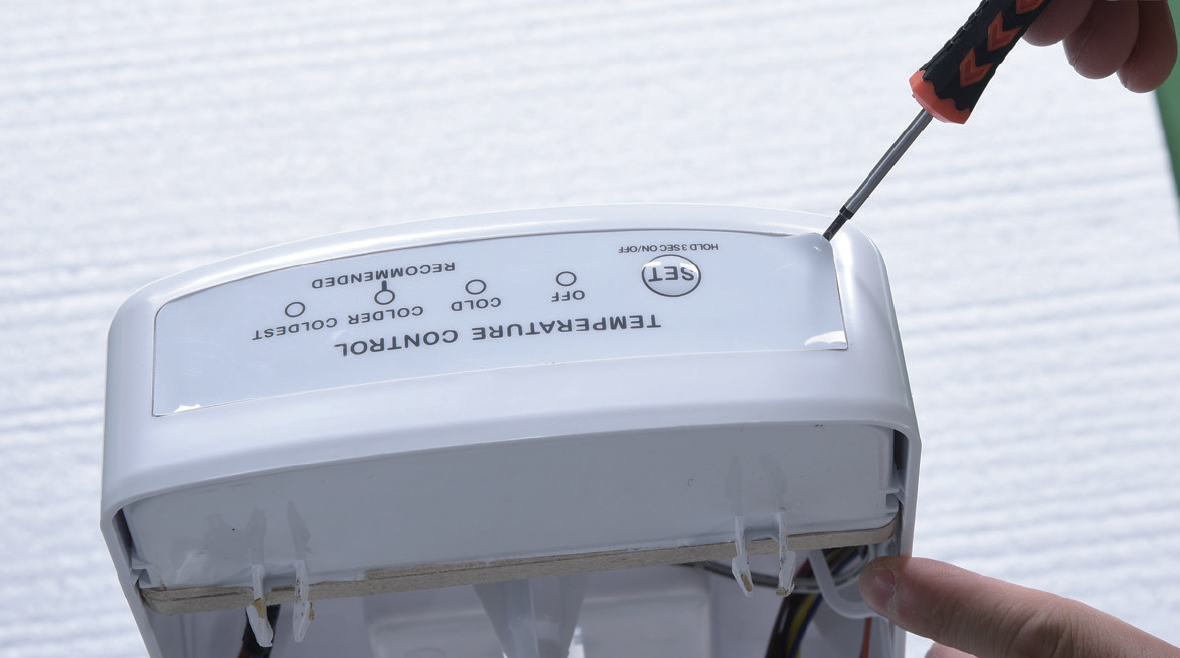
Step 7
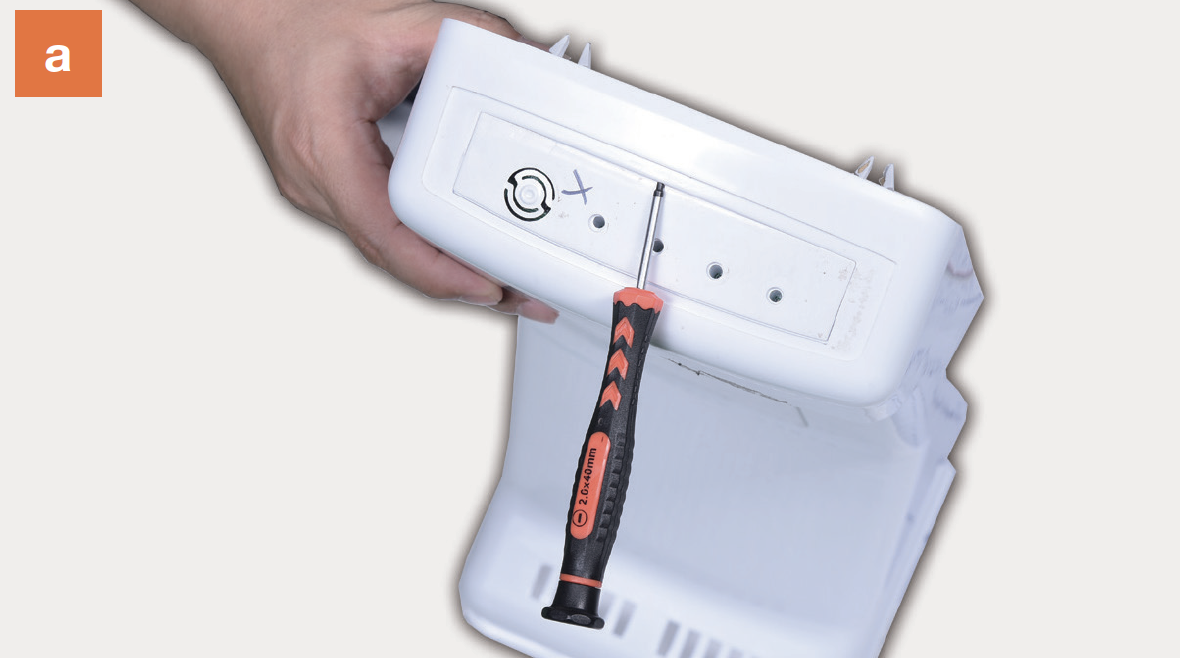
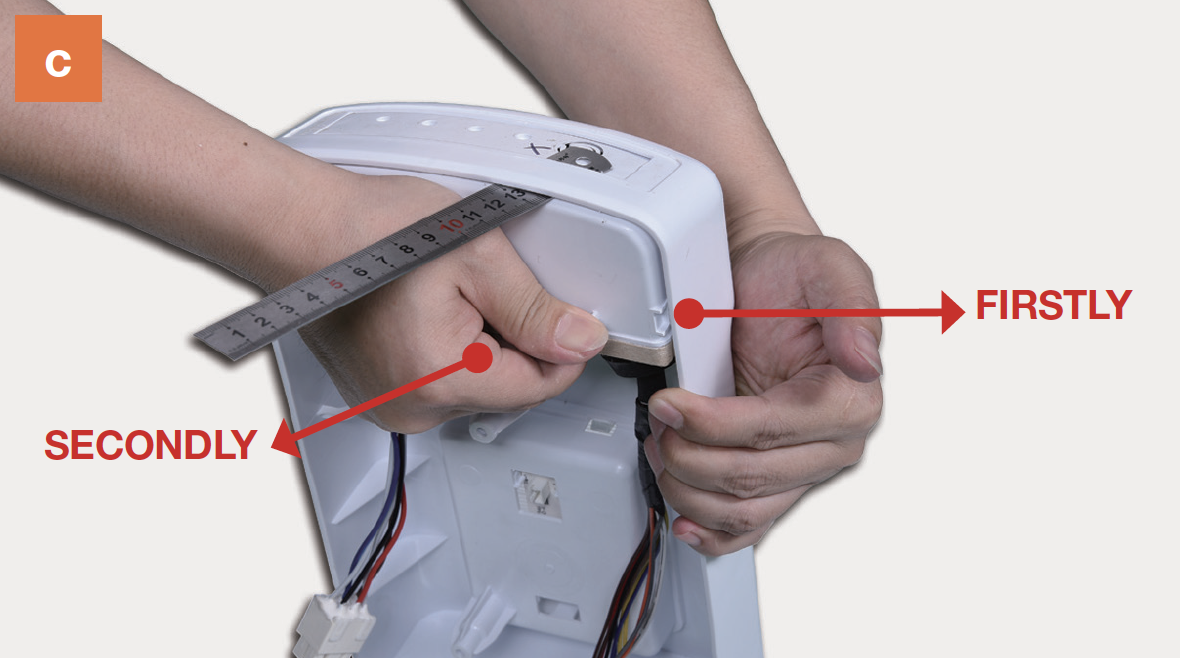
Remove PCB box from air duct.a) Use 2 mm slot screw driver to create a gap in front side.
b) Insert a steel ruler to even the gap.
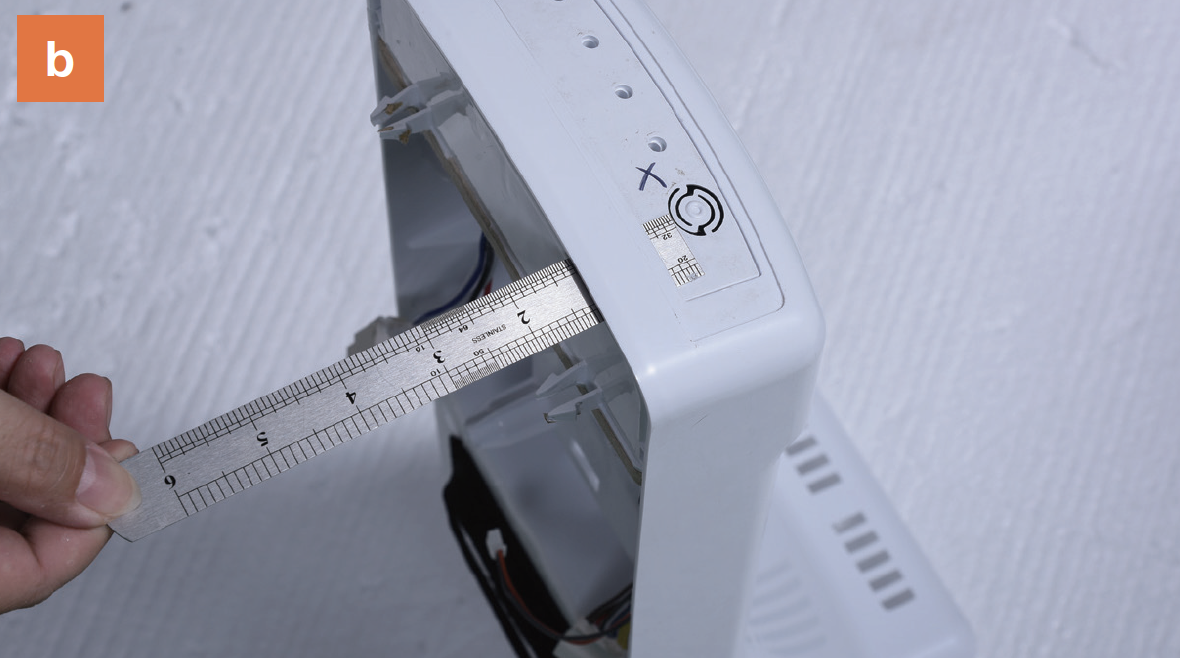
c) Pull the PCB box out.
Step 8
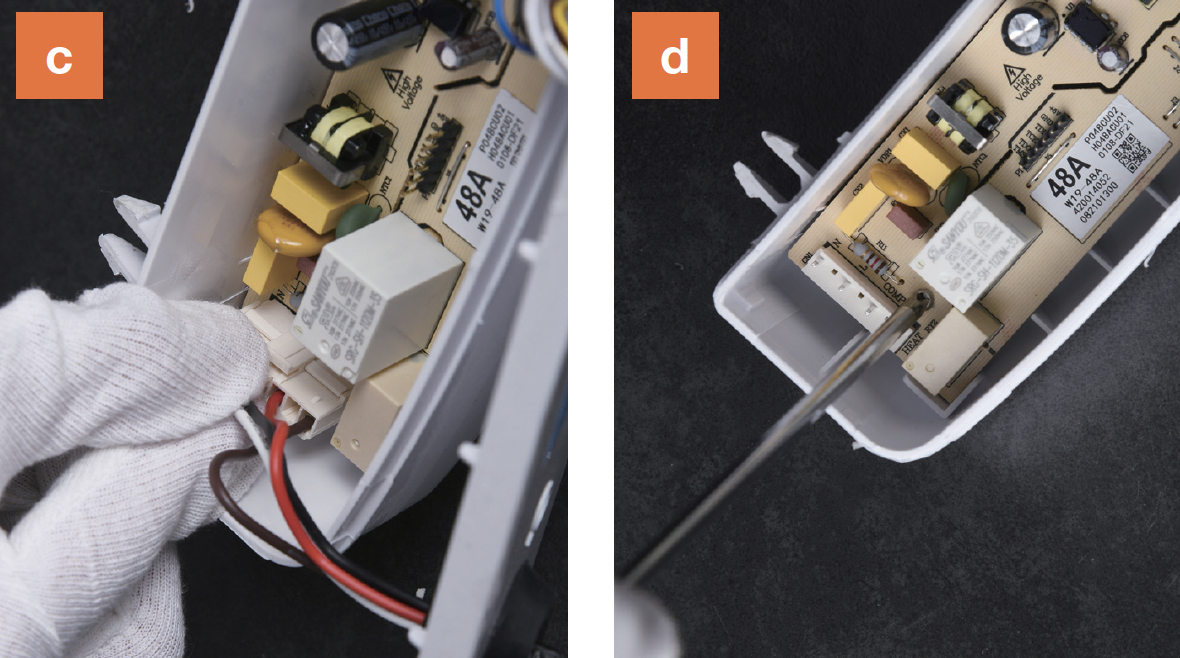
Disassemble PCB box.a)Prize off the buckle;
b) Remove the cover;

c) Disconnect the terminals;
d) Unscrew and remove the PCB;

CHECK AND TEST 1
Step 1
Chcek if the terminal is filled with foam.
Step 2
If so, use tweezers to remove it.The picture on the right just shows the removal
method.

Step 3
Reconnect the terminals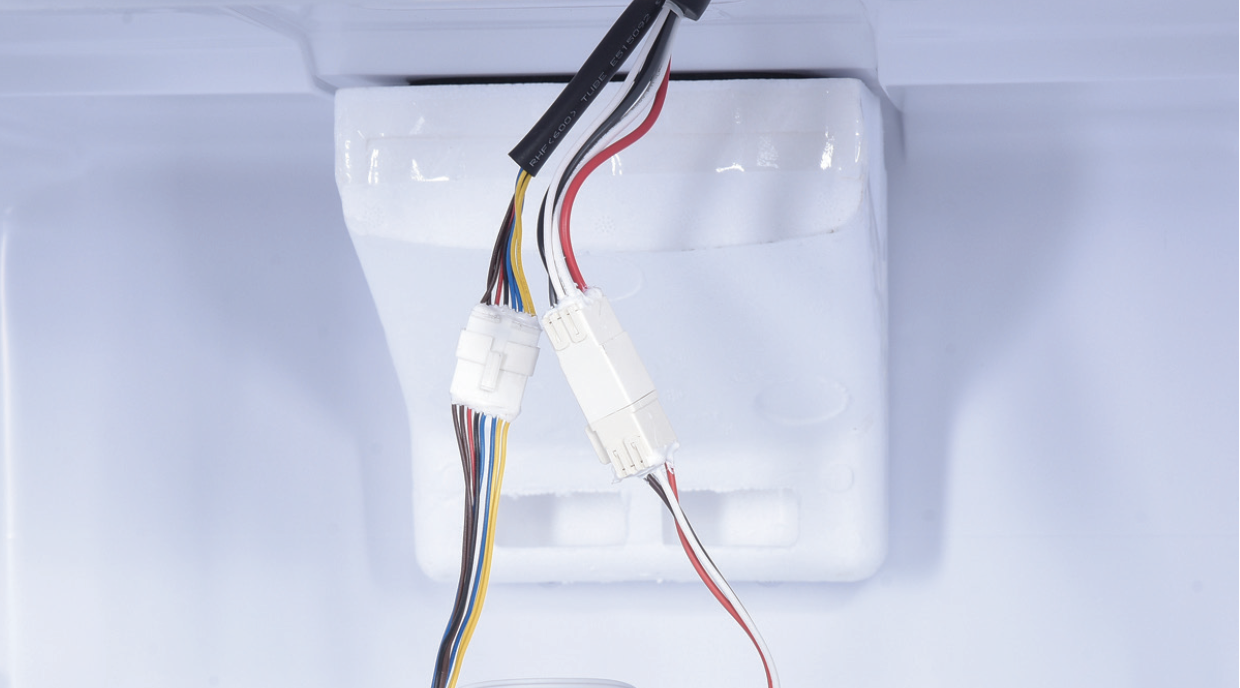
Step 4
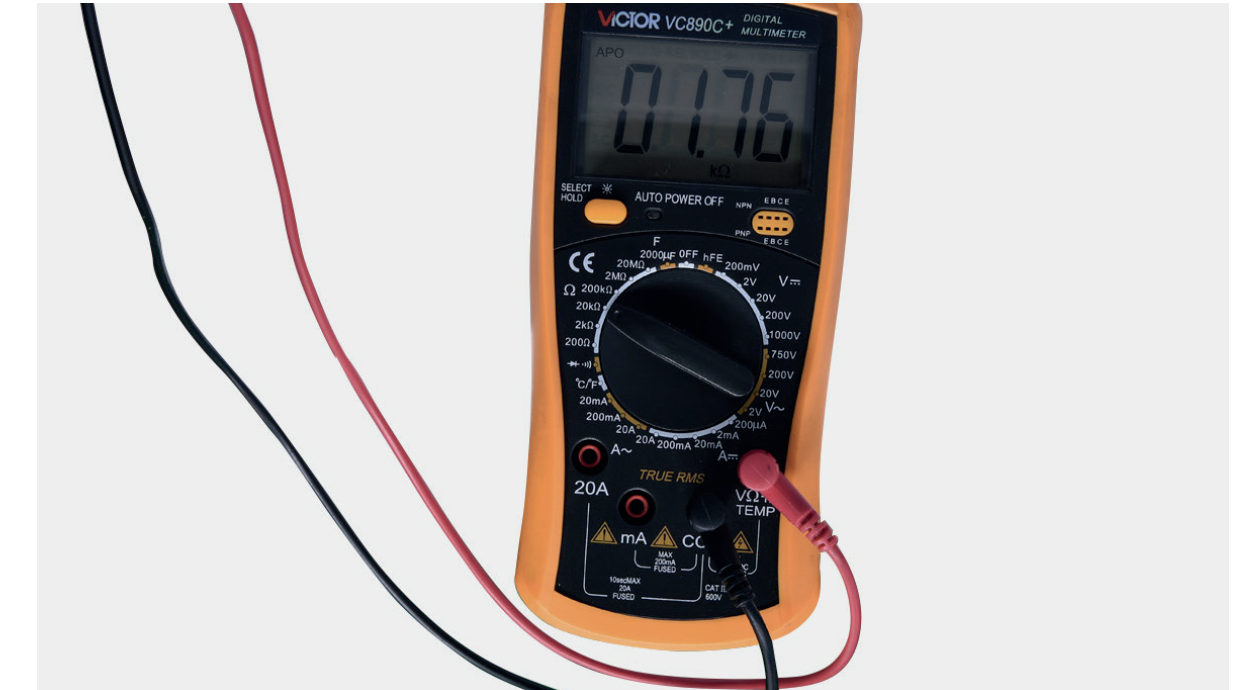
In PCB area, use multimeter to measure resistance value.
Step 5
Take note of the result.
Step 6
Measure the temperature of freezer air duct, close to sensor.

DIAGNOSIS 1


CHECK AND TEST 2
Step 1
Connect the ends of blue wires for defrost sensor.
Step 2
Test the conenction from the terminal marked in the right picture.
Step 3
Read the value of multimater.

DIAGNOSIS 2


PROCEDURE 2
Step 1
Remove freezer shelf.
Step 2
Unscrew 2 screws.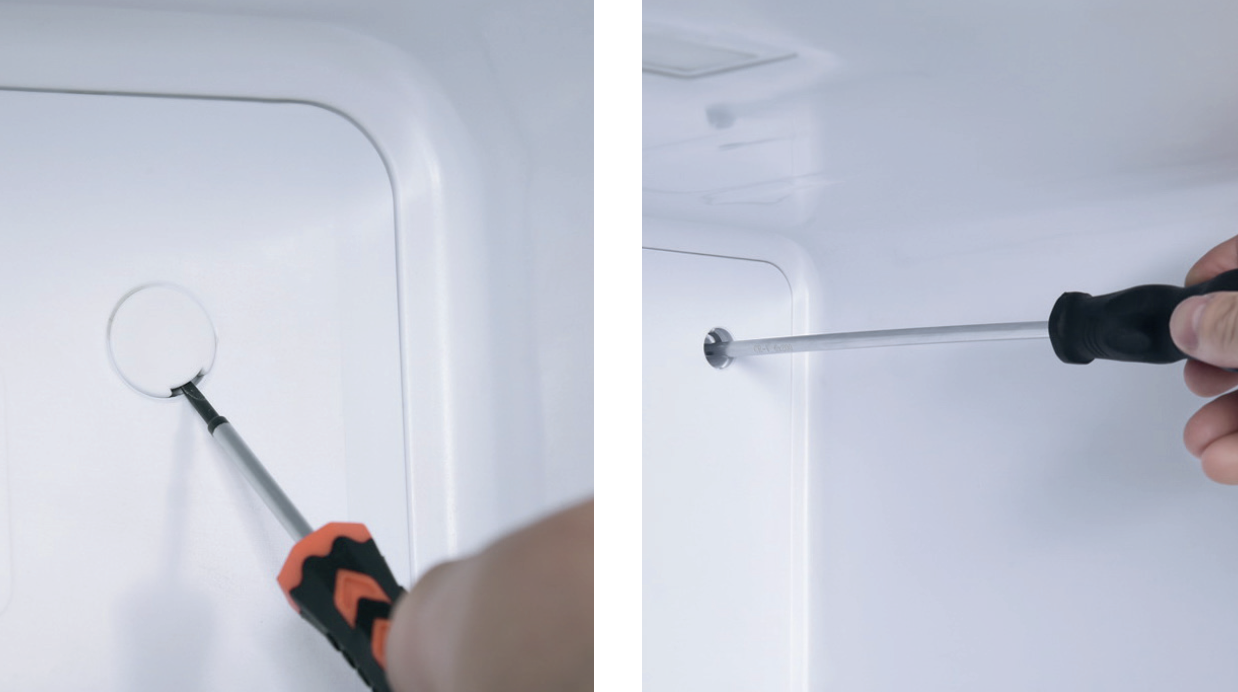
Step 3
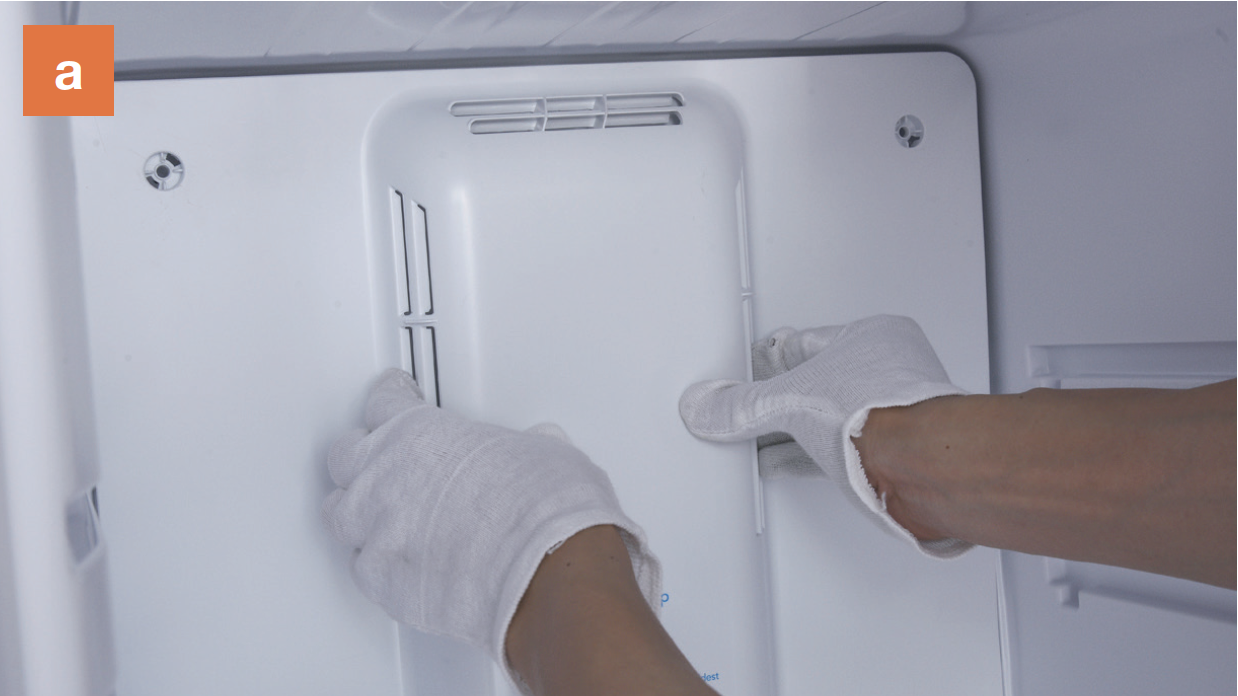
Remove air duct:a. Hold the air duct from air exit and pull air ductout;
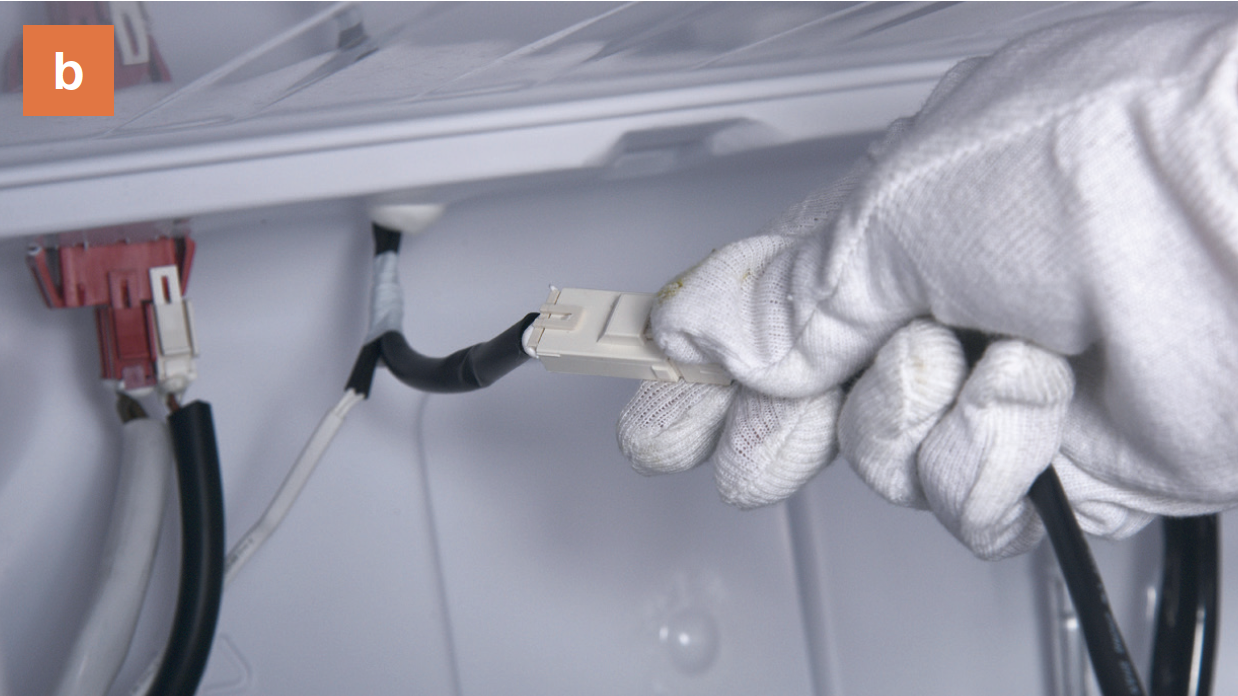
b. Disconnect the terminal of fan motor;
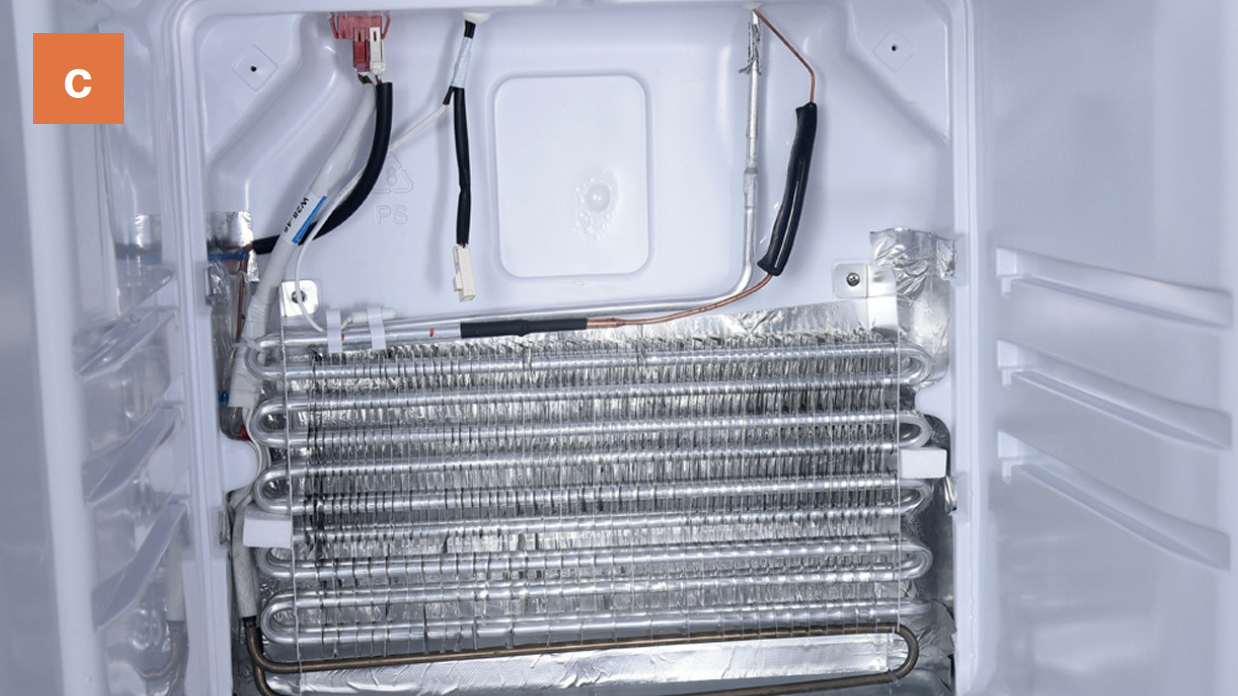
c. Take air duct away.

CHECK AND TEST 3
Step 1
Make sure sensor is properly located bycomparing with photo on right.

Step 2
Check if the wires of sensor are broken or not.

DIAGNOSIS 3

CHECK AND TEST 4
Step 1
Cut wire of desfrost sensor off.
Step 2
Test the resistance from the 2 ends in rightpicture.

Step 3
Record the tested value of resistance.Step 4
Record the tested temperature.


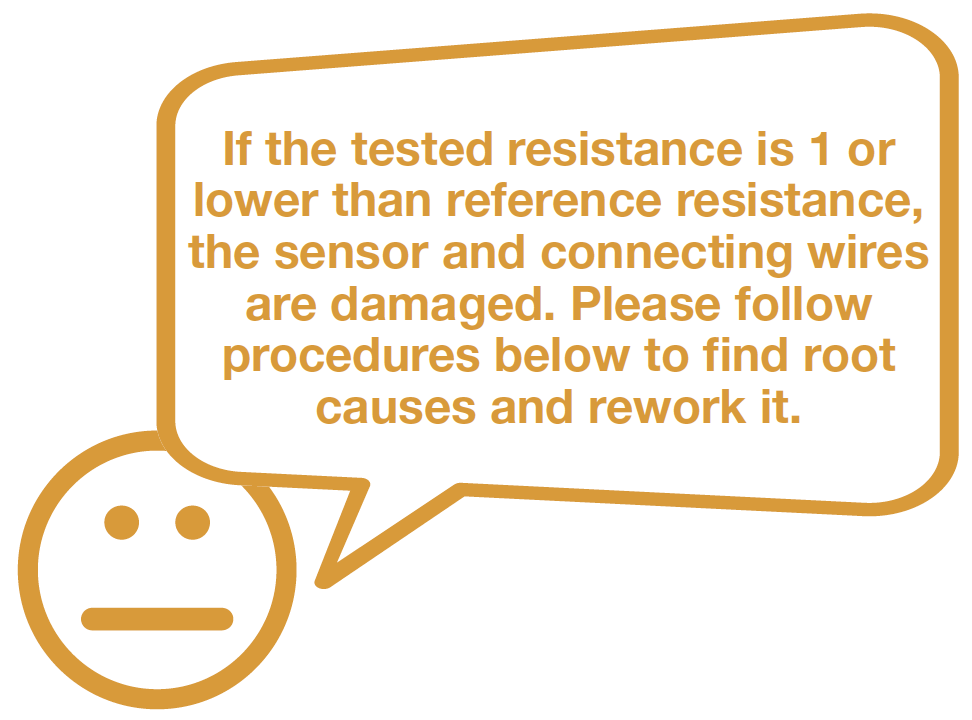
DIAGNOSIS 4

PROCEDURE 3
Step 1
testo testo
Step 1
Peel off the sleeves.
Step 2
Check to ensure proper wire order and connectthem.

Step 3
Tin soldering.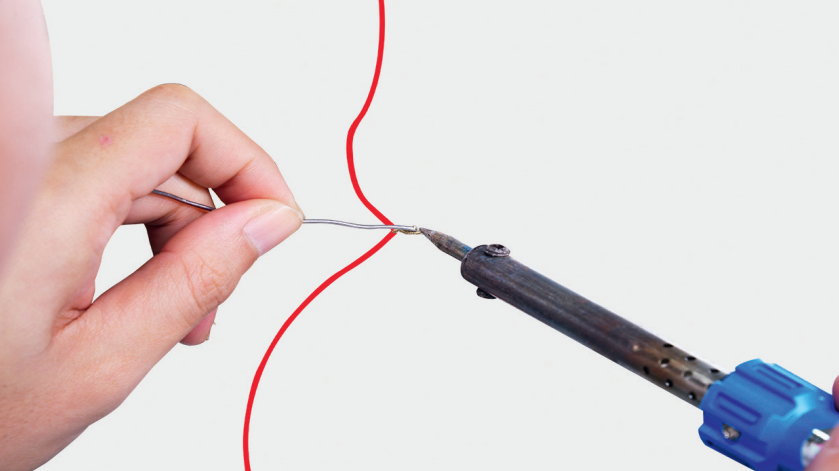
Step 4
Cover connection with electrical tape.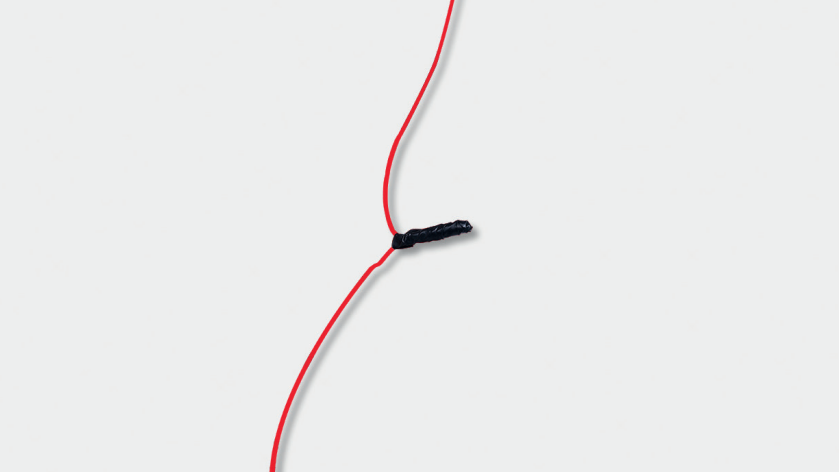

CHECK AND TEST 5
Step 1
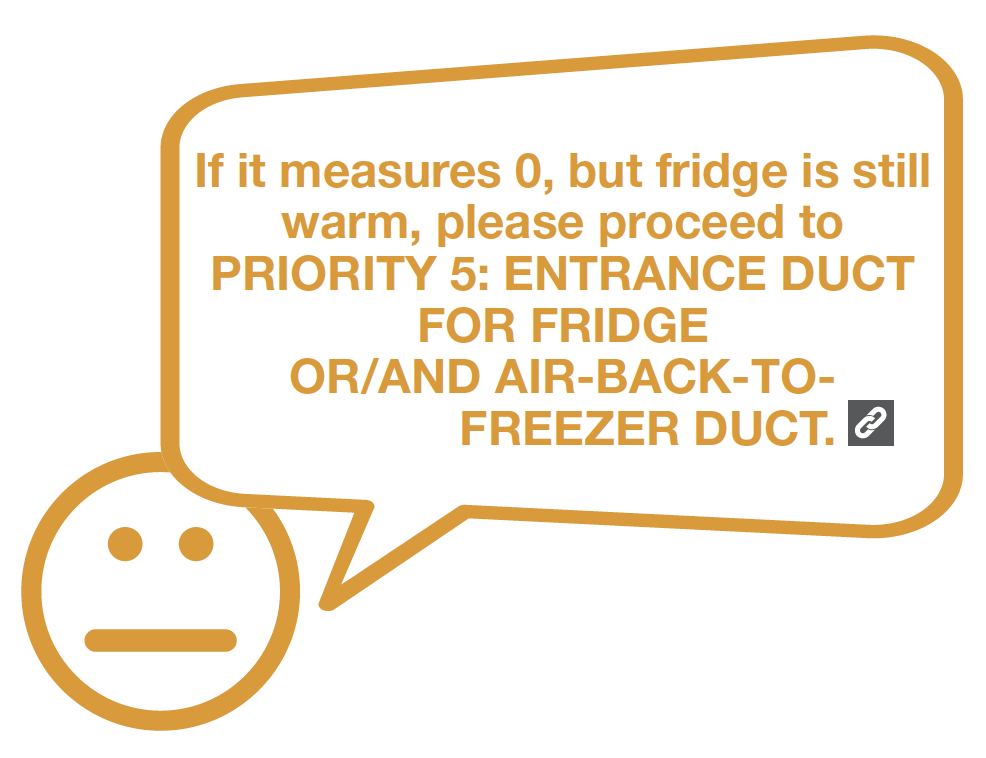
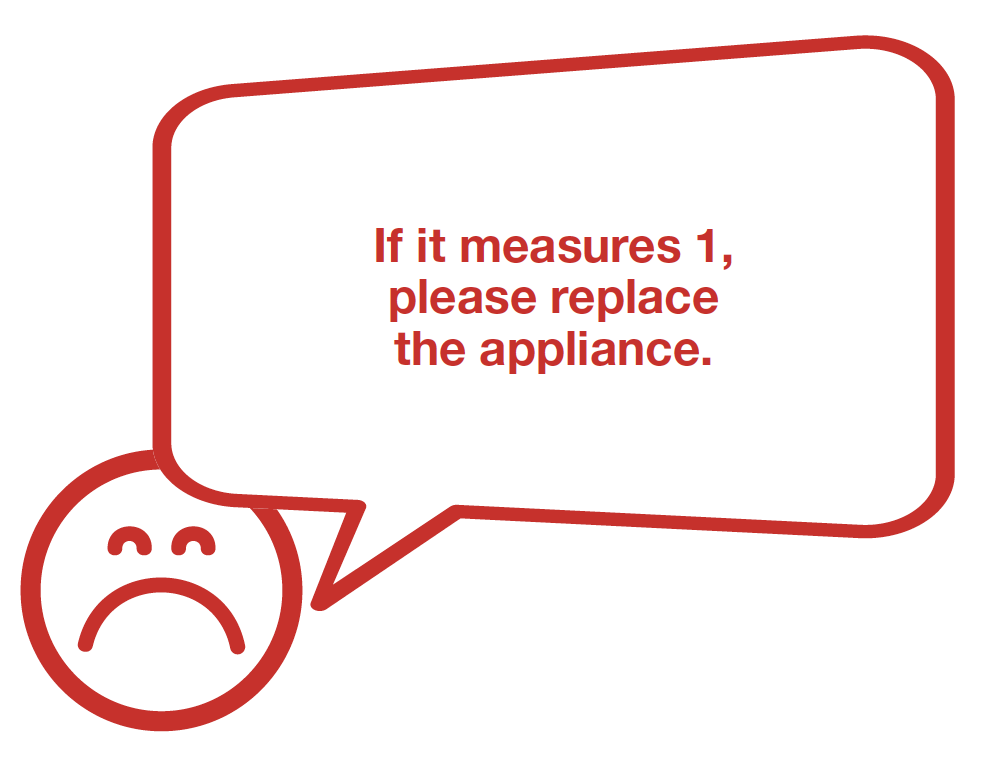
Use a multimeter to measure the resistancevalue of defrosting temp.sensor from terminal
located in fridge.


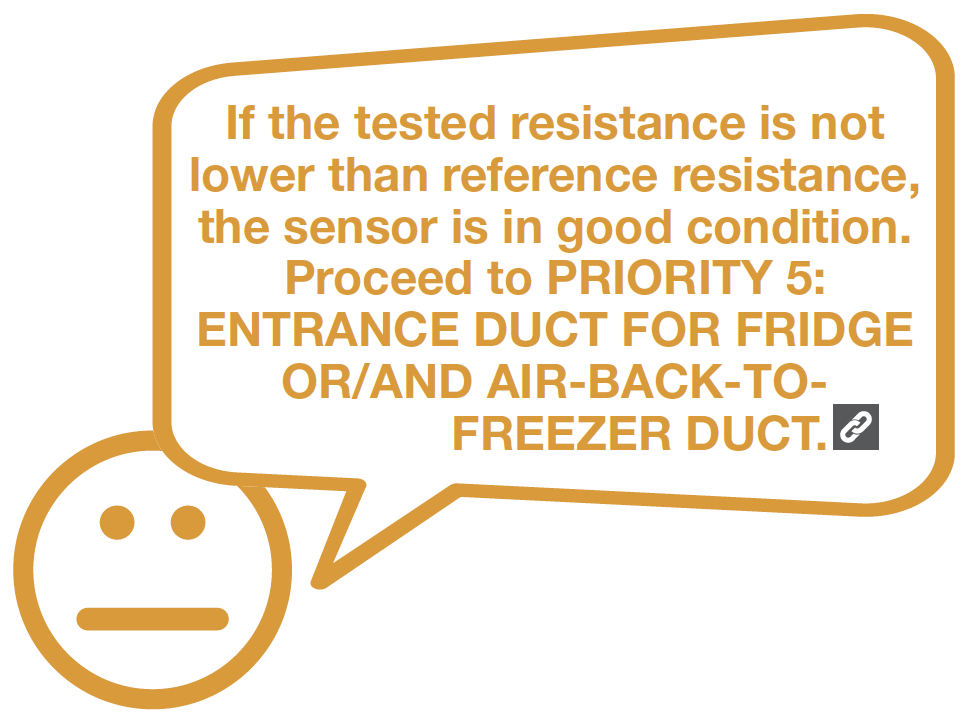
DIAGNOSIS 5

Tip 1
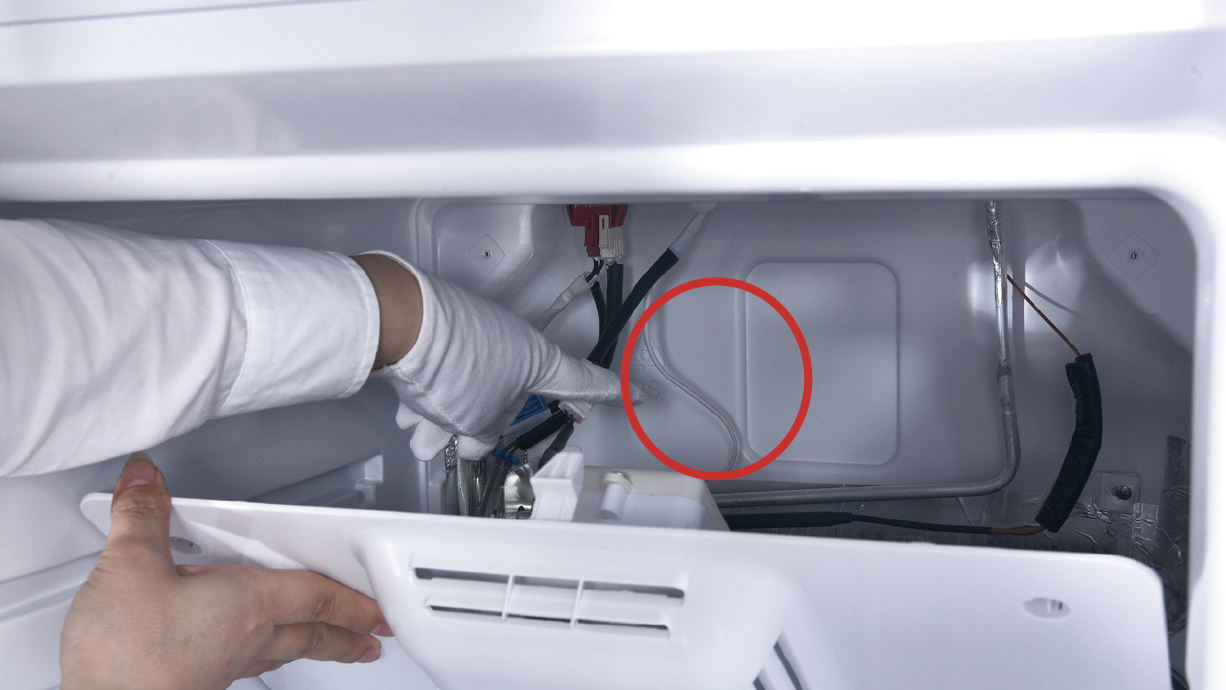
Firstly insert the air duct into the slot at thebottom.

Tip 2
When reinstalling air duct, move wires outof the way to prevent crushing with air duct.
Tip 3
After pushing air duct back into position, youshould hear a clicking sound. If there is no
click, please repeat again.
