

Step 1
Check to see if there is any ice blocking outlet of freezer air duct.If so, follow below steps to check.


PROCEDURE 1
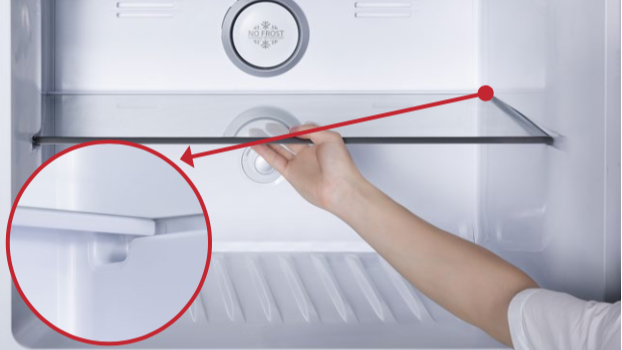
Step 1
Remove freezer shelf.
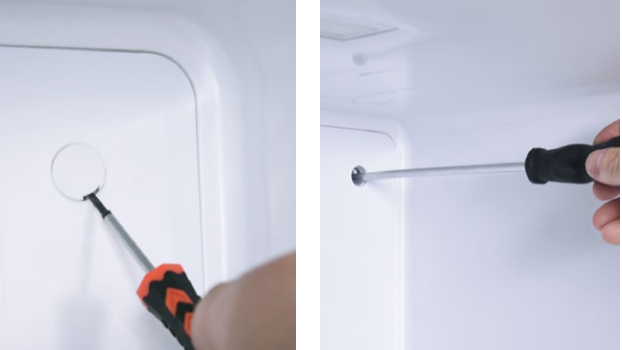
Step 2
Lever 2 screw covers off.Step 3
Unscrew 2 screws.
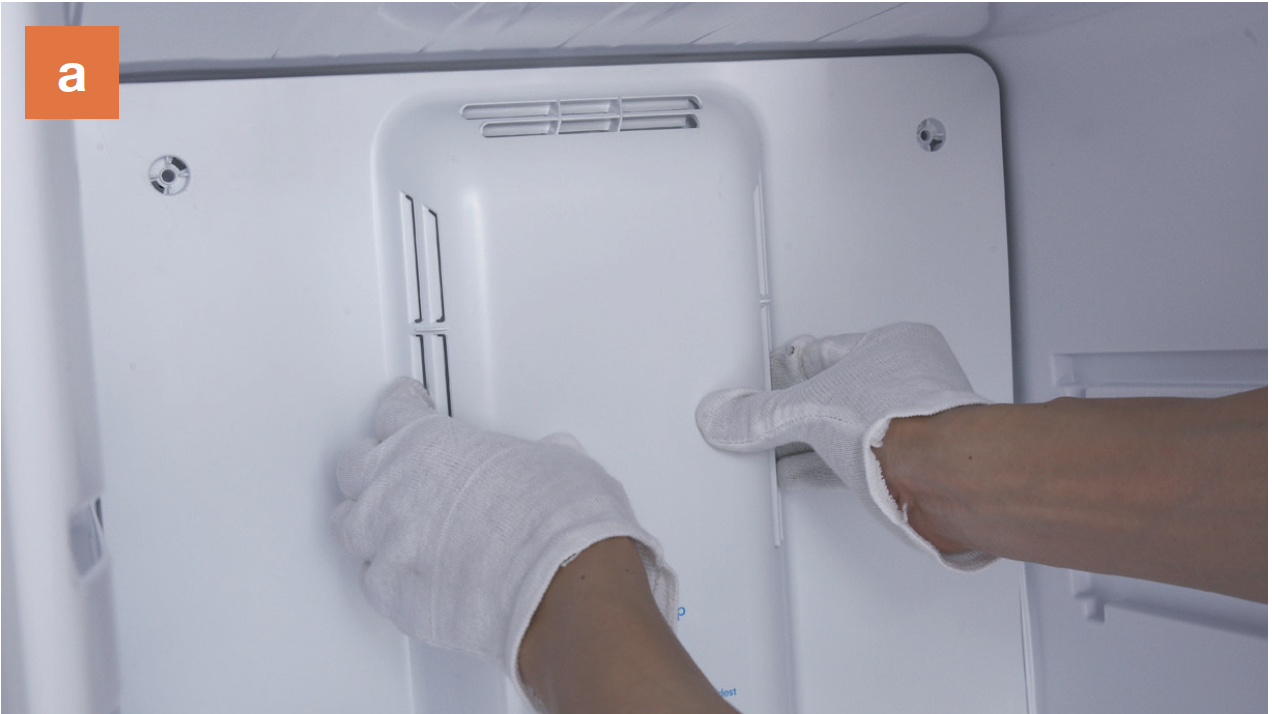
Step 4
Remove air duct:
a. Hold the air duct from air exit and pull air duct out;
b. Disconnect the terminal of fan motor;
b. Disconnect the terminal of fan motor;

c. Take air duct away.
c. Take air duct away.
CHECK AND TEST 2
Step 1
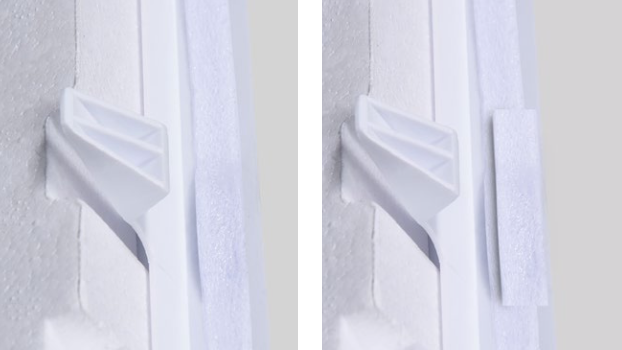
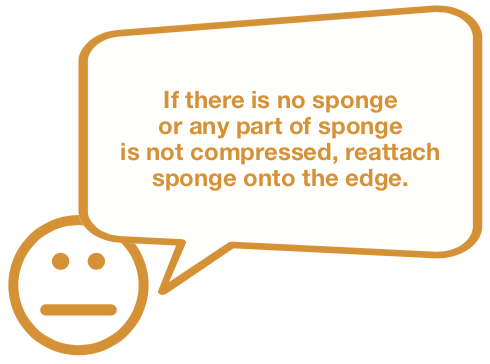
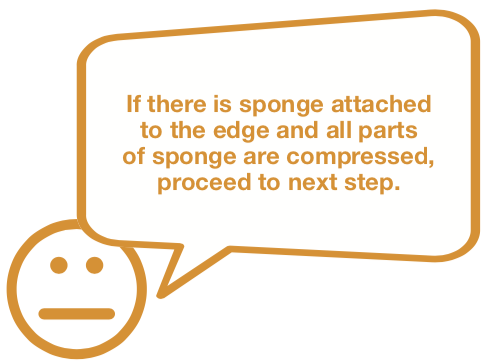
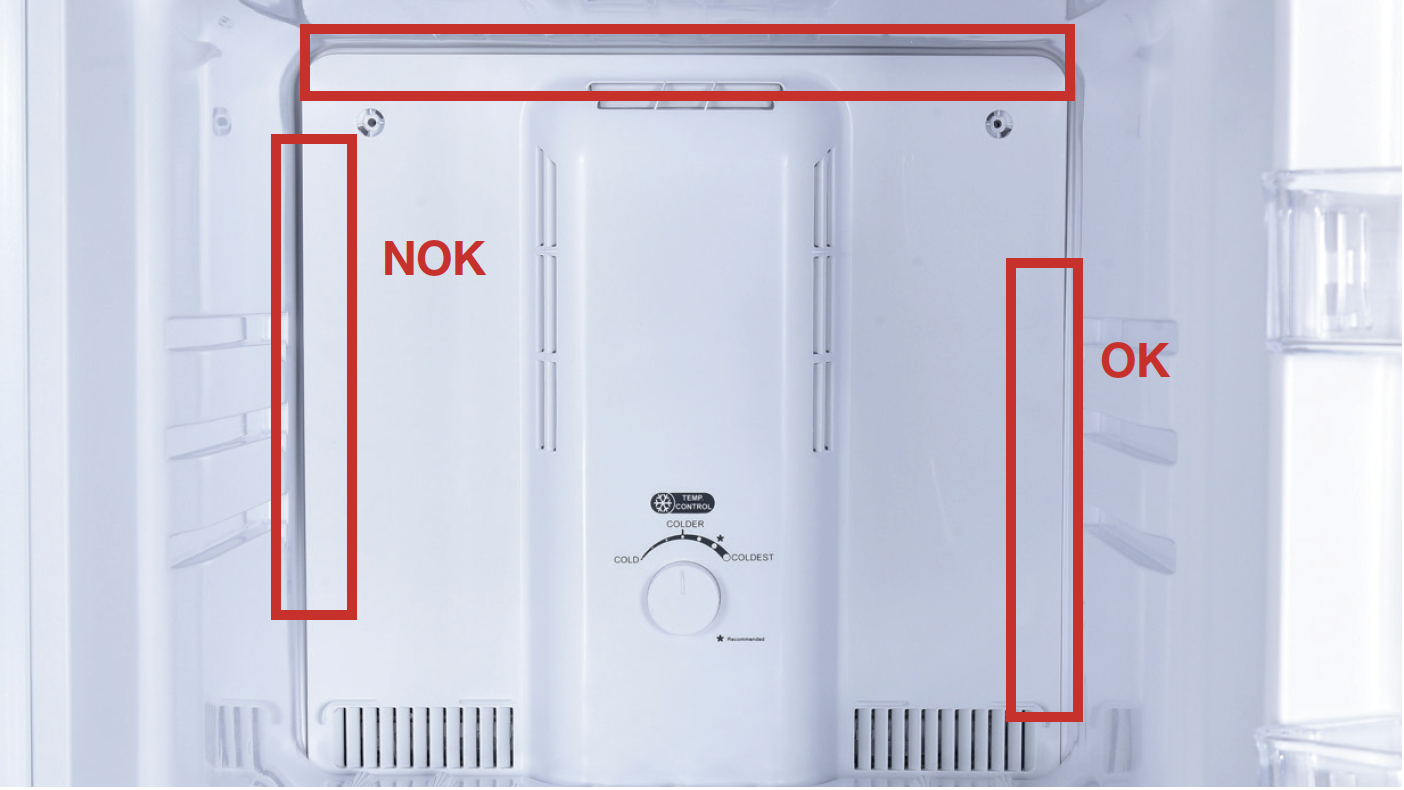
Check the sealing of air duct.

Step 2
Criteria for assessment.
In this case, sponge is not
compressed.

DIAGNOSIS 2

CHECK AND TEST 3
Step 1
Check to see if there is any ice at the bottom of air duct.

DIAGNOSIS
CHECK AND TEST 4
Step 1
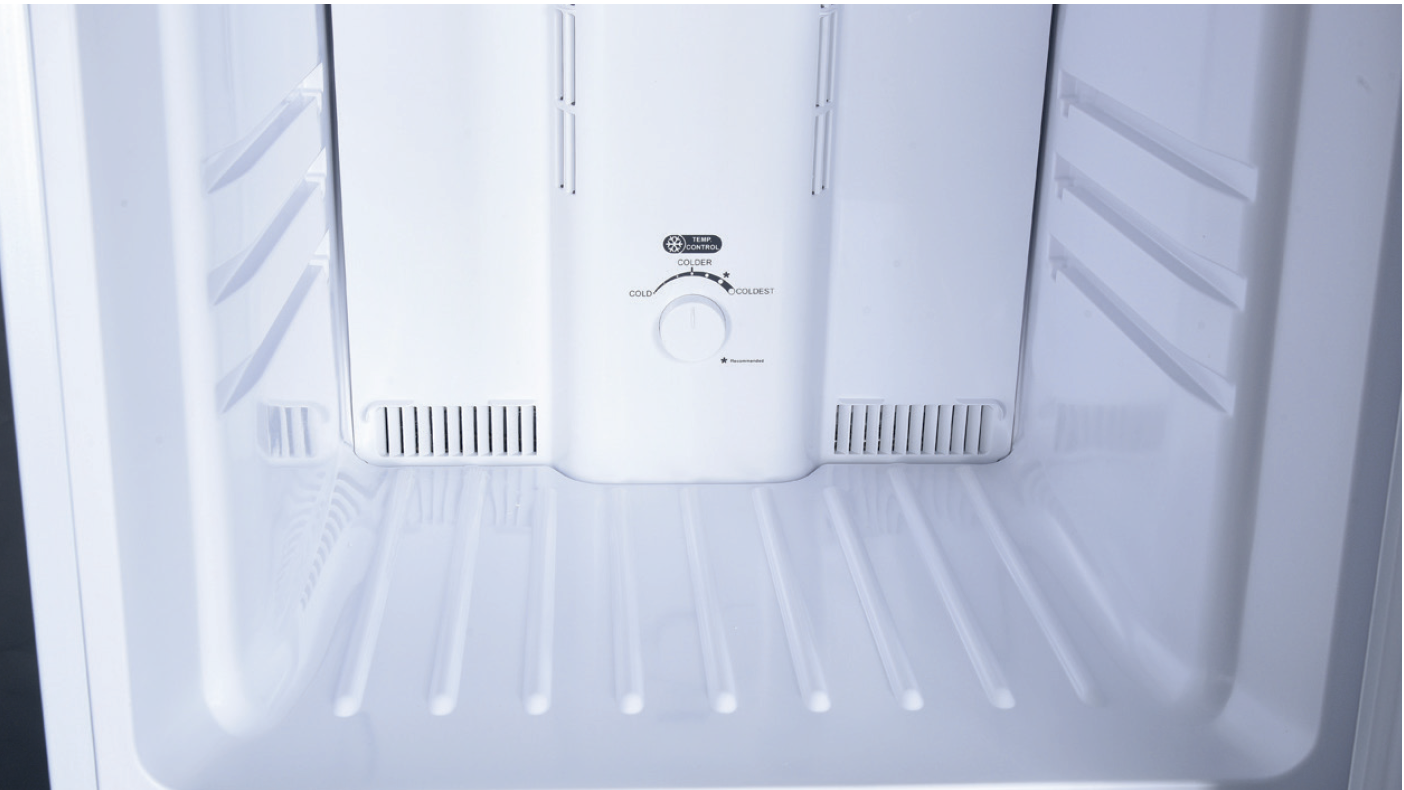
Make sure outlet for fridge is well-sealed.

DIAGNOSIS 4


PROCEDURE 2
Step 1
Tear the foam off.
Step 2
Pull the knob out.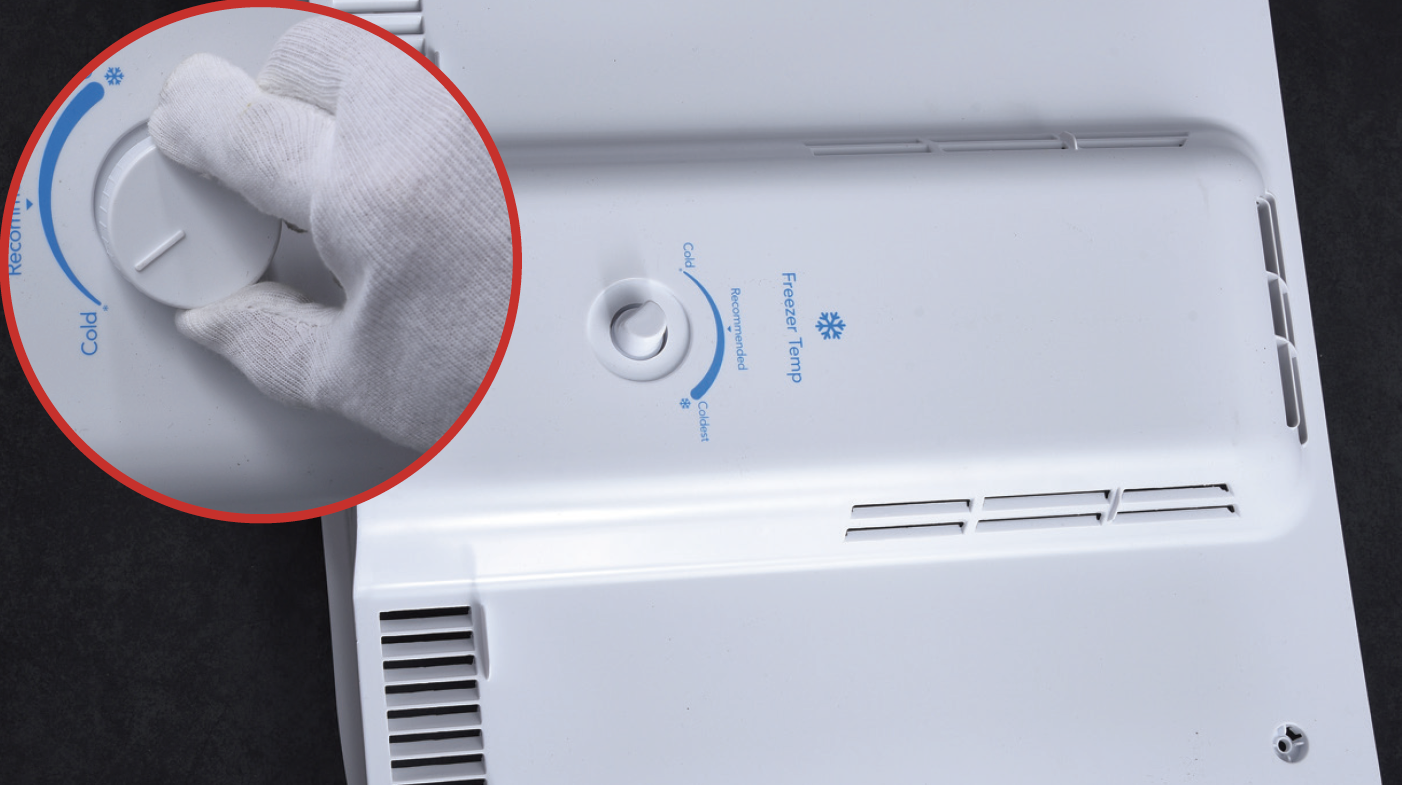
Step 3
Remove the tape.
Step 4
Unscrew.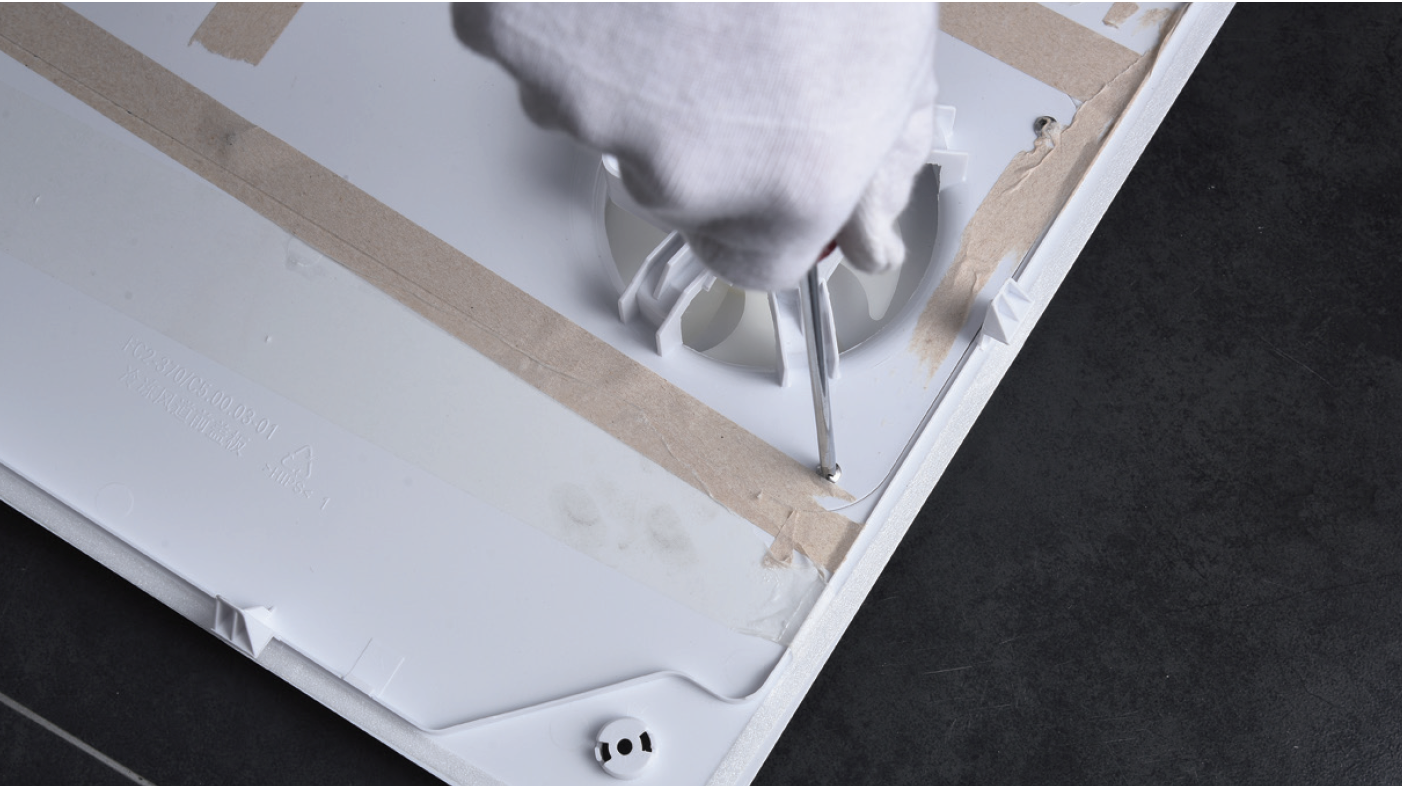
Step 5
Remove the cover and melt the ice.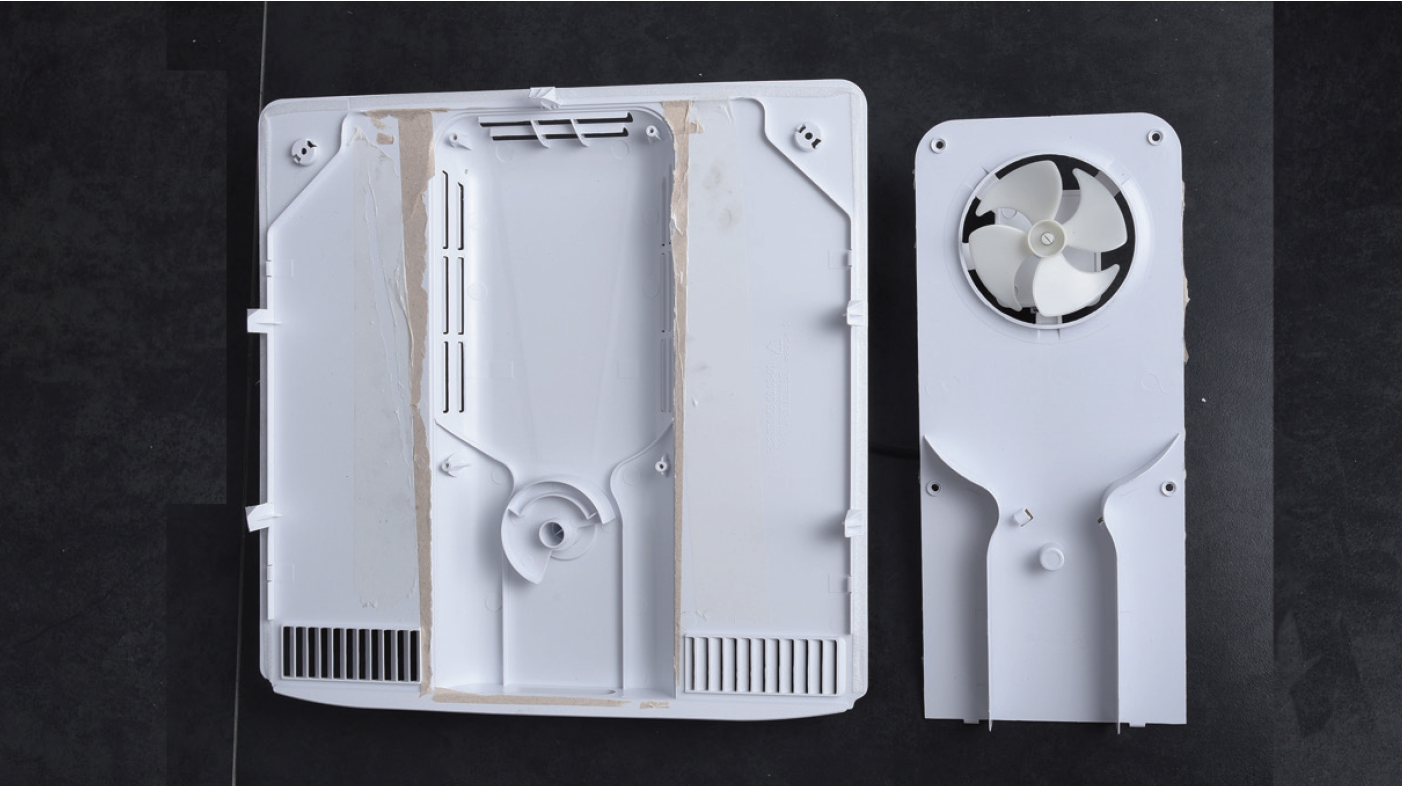

CHECK AND TEST 5
Step 1
Check if there is ice around controller area.If so, melt it.

Tip 1
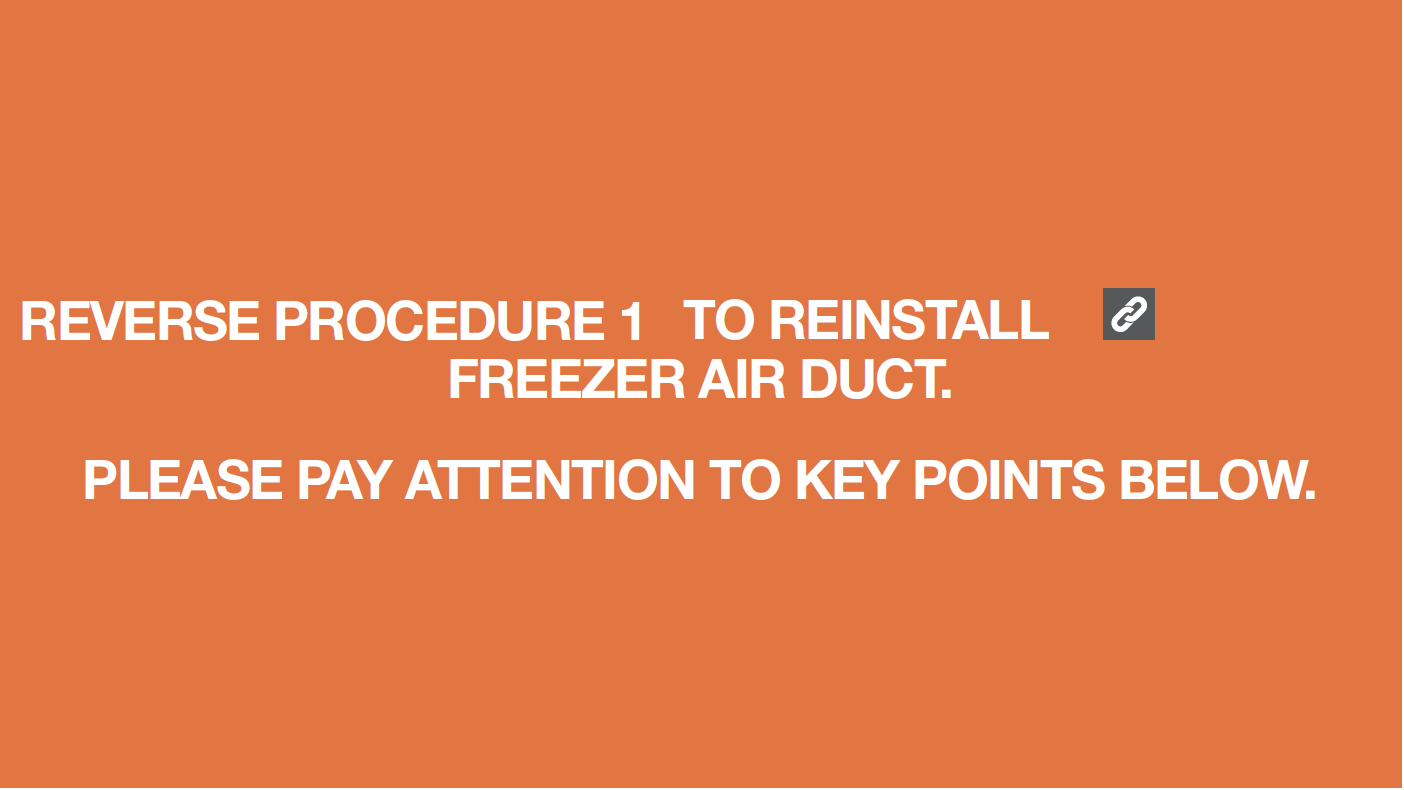
Make sure outlet for fridge is well sealed.Reverse above steps to install controller and foam, pay attention to below tips.

Tip 2
If controller doesn’t freeze again in 7 days following rework, rework was successful.
DIAGNOSIS 4
PROCEDURE 2
Tip 1
Firstly insert the air duct into the slot at thebottom.
Tip 2
When reinstalling air duct, move wires outof the way to prevent crushing by air duct.

Tip 3
After pushing air duct back into position, youshould hear a clicking sound. If there is no
click, please repeat again.

GO BACK TO COMPONENT LIST