

PROCEDURE 1
Note
LED terminals are assembled withmainboard, you need to disassemble the
mainboard.

Step 1
Unscrew the screw of fridge air duct.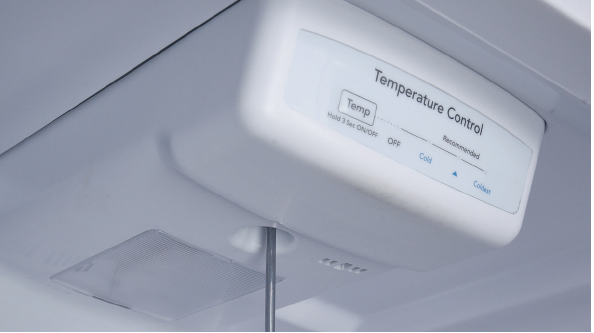
Step 2
Remove the LED lamp cover and the screw.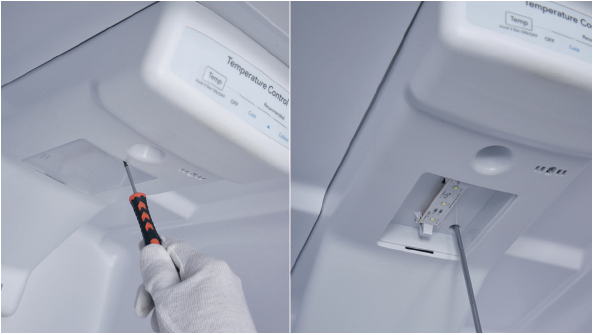
Step 3
Remove the air duct.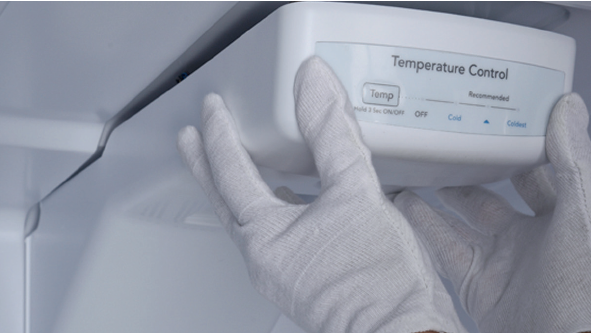
Step 4
Unplug the electrical wires.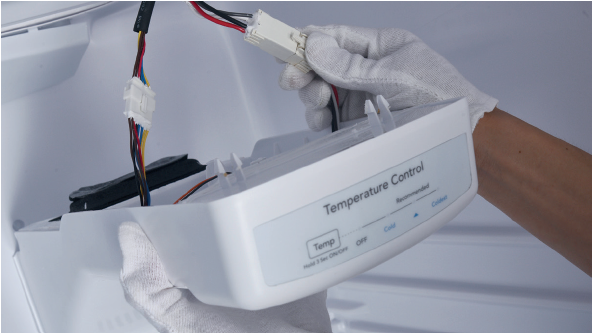
Step 5
Disconnect the terminal of potentiometer.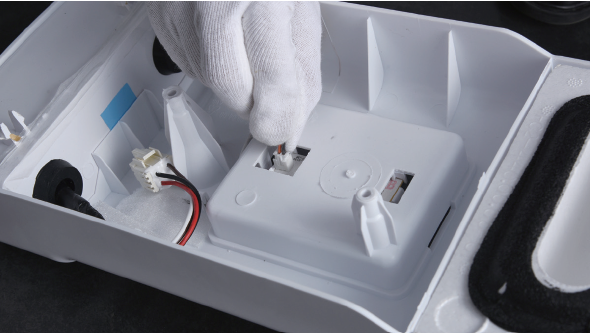
Step 6
Remove the UI film.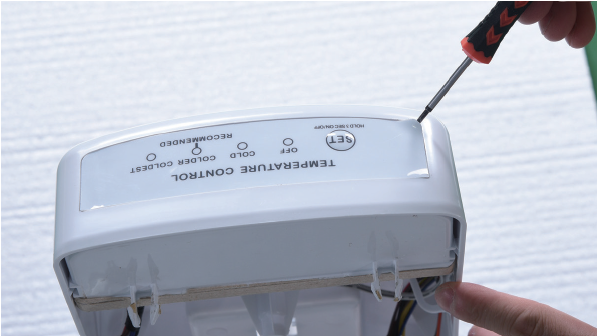
Step 7
Remove PCB box from air duct.a) Use 2 mm slot screw driver to create a gap in front side.
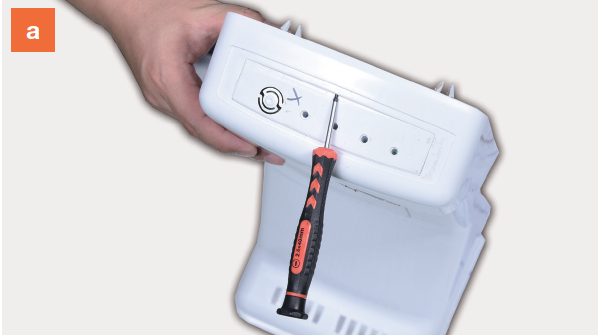
b) Insert a stell ruler to even the gap.
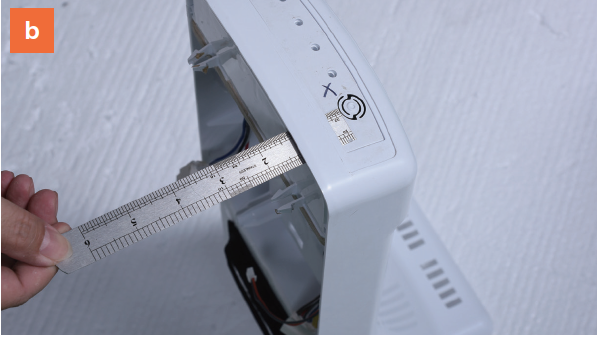
c) Pull the PCB box out.
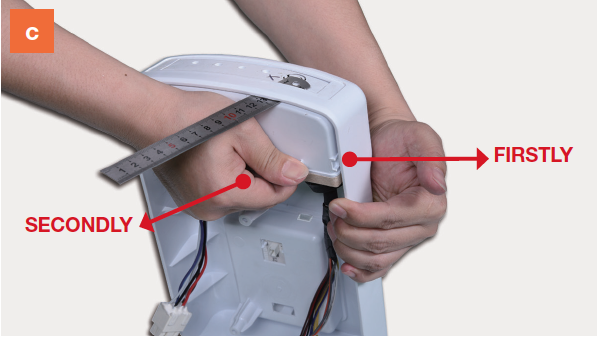
Step 8
Disassemble PCB box.a)Prize off the buckle;
b) Remove the cover;
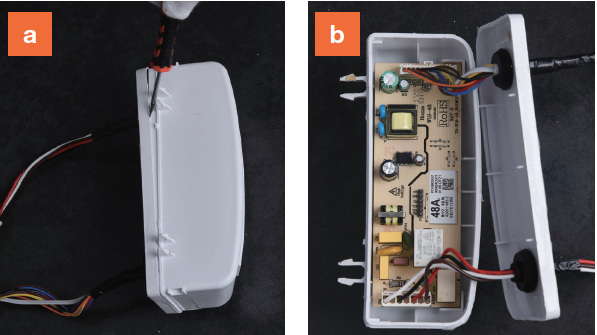
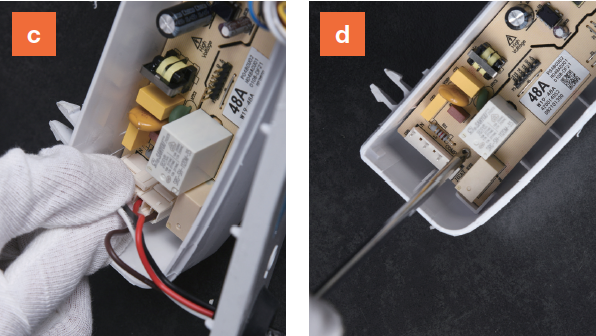
c) Disconnect the terminals;
d) Unscrew and remove the PCB.
CHECK AND TEST 1
Step 1
Check if the terminal is filled with foam.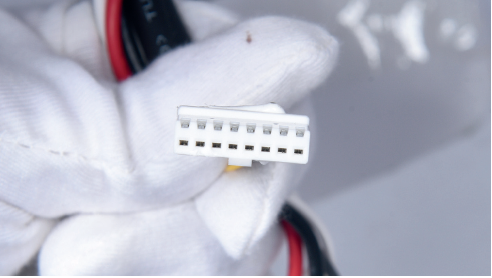
Step 2
If so, use tweezers to remove it.Picture on right only shows removal method.
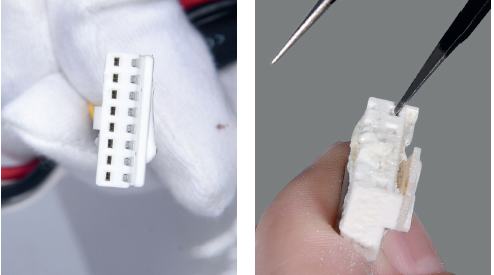
Step 1
Reconnect the terminals for sensor,mainboard and LED.
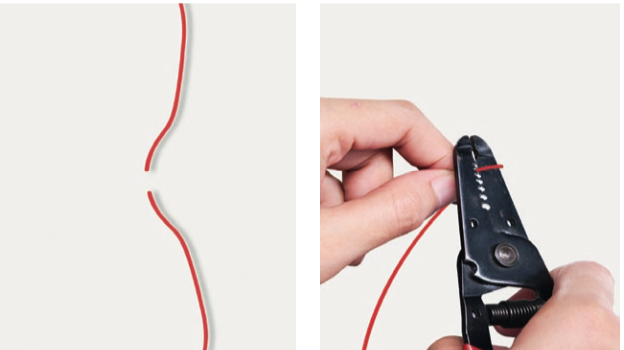
Check to see if there any wires are broken.


DIAGNOSIS 2

PROCEDURE 1

Step 1
Cut off the wire.
Step 2
Peel off the sleeves.
Step 3
Make sure wires are in proper order and connect them.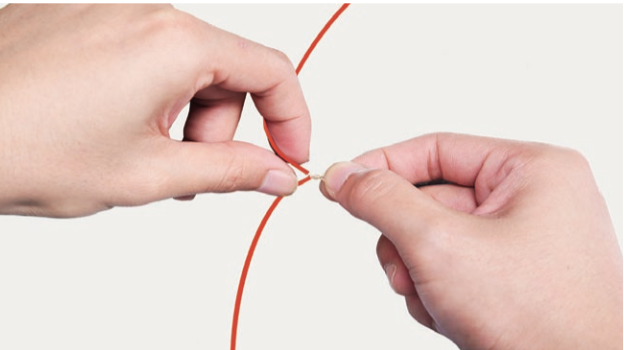
Step 4
Tin soldering.
Step 5
Cover connecting point with electrical tape.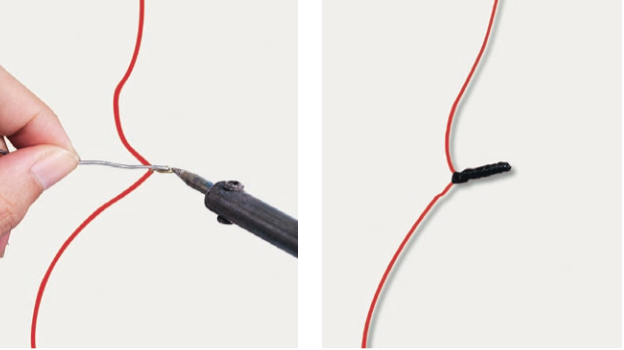

CHECK AND TEST 2
Step 1
In PCB area, from the terminal supplier power to LED to see if LED could be started or not.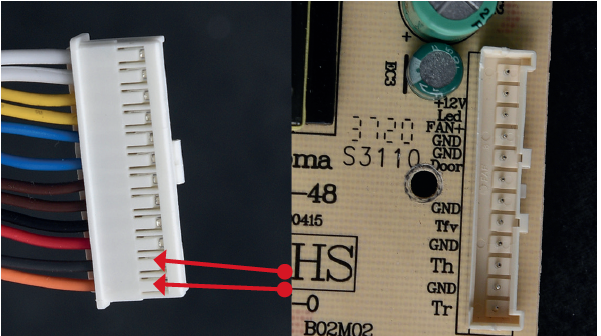

DIAGNOSIS 3
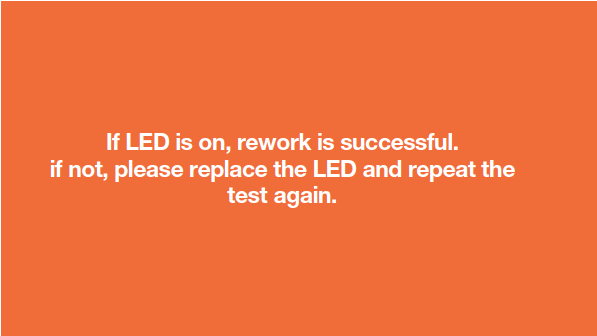

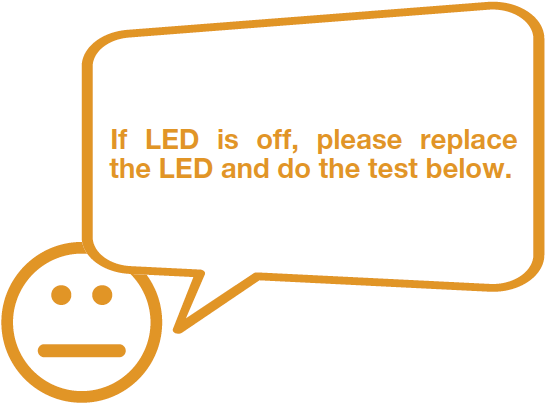

CHECK AND TEST 3
Step 1
In PCB area, from the terminal supplier power to LED to see if LED could be started or not.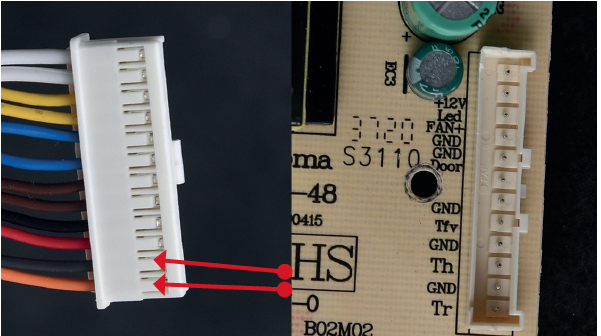

DIAGNOSIS 3


