CHECK AND TEST 1
Step 1
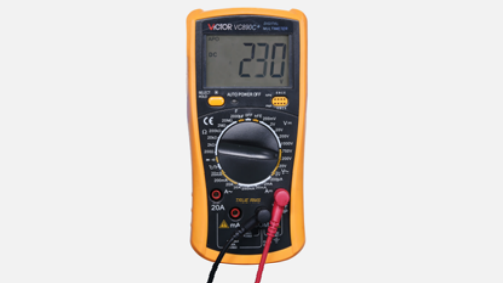
Power on the appliance, measure voltage between phases of compressor with a multimeter.
Step 2
Take note of measured
value.
Voltage between any two
phases should be the
same (100V~200V).
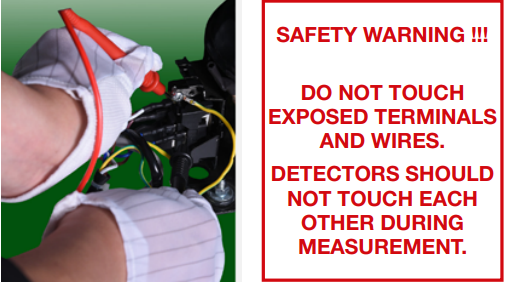
SAFETY ATTENTION: MAKE SURE DETECTORS NOT TOUCH EACH OTHER. HANDS DON’T TOUCH LIVE PART.
Step 3
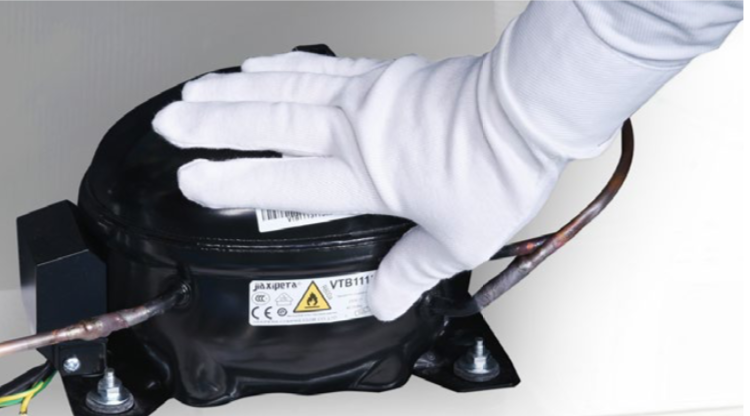
Wait a few minutes,
repeatedly power on and
off several times, the
compressor starts but
activates protection.

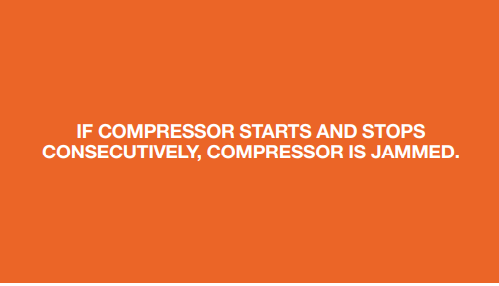
DIAGNOSIS 1
CHECK AND TEST 2
Step 1
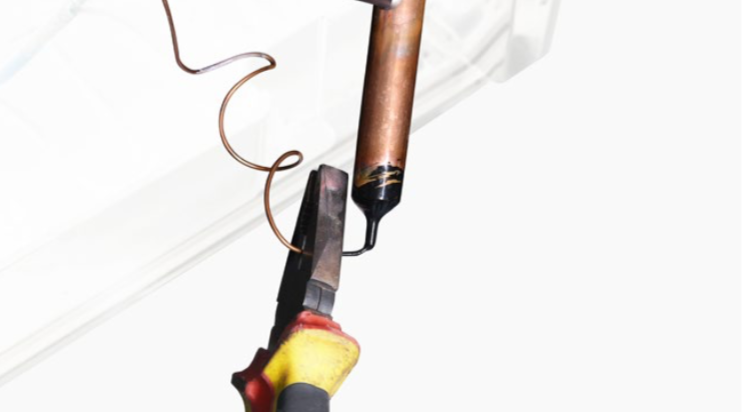
Cut off capillary to discharge refrigerant.
Step 2
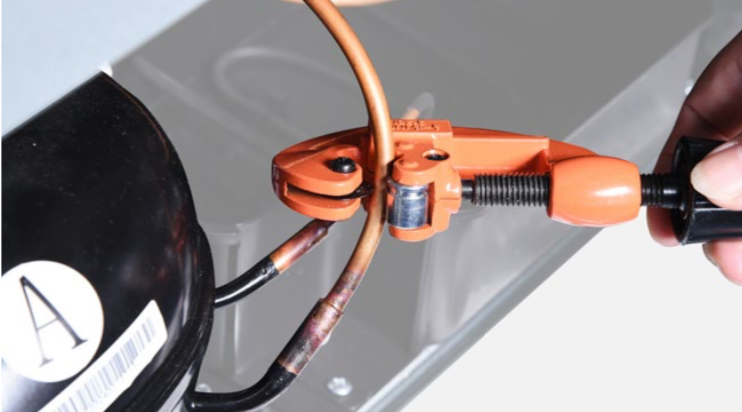
Cut off exhaust pipe and suction pipe
Step 3
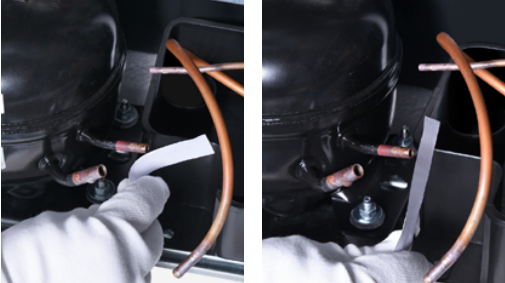
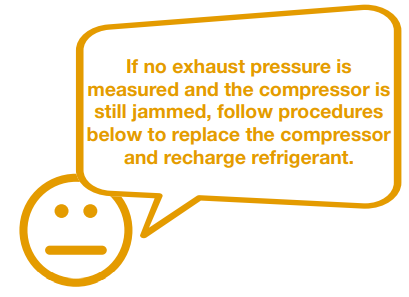
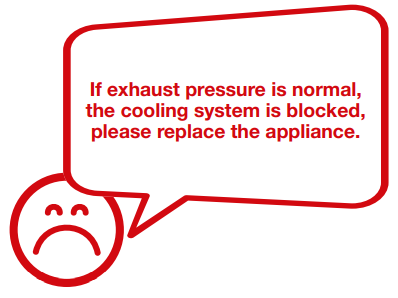
Power up the compressor and feel the exhaust pressure of the exhaust pipe with a paper.

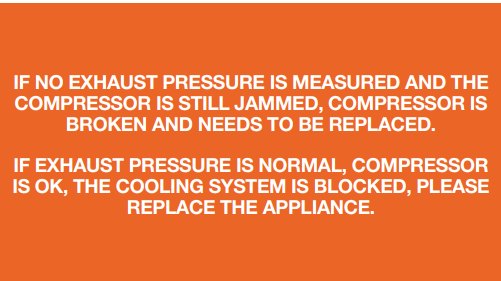
DIAGNOSIS 2

PROCEDURE 1
Step 1
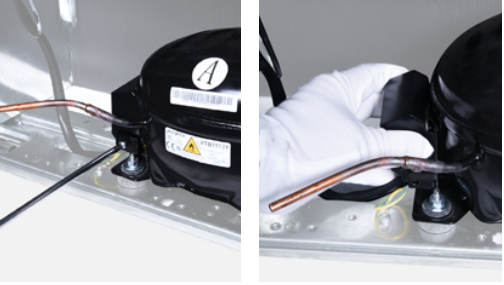
Unscrew terminal cover.
Step 2
Remove terminal cover.
Step 3
Remove protector and starter
Step 4
Unscrew earthing wire.
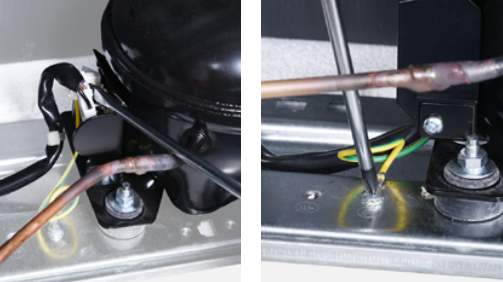
Step 5
Unscrew nut of compressor
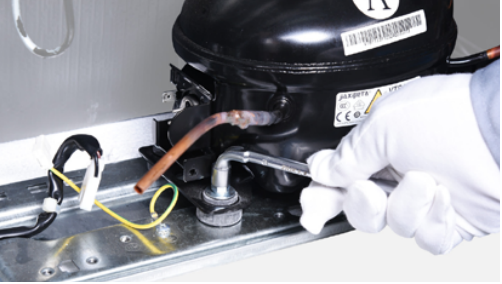
Step 6
Install a new compressor and tighten nuts onto compressor.

Step 7
Braze the joints of suction and exhaust pipes.

Step 8
Re-braze a copper tube onto processing tube of compressor.
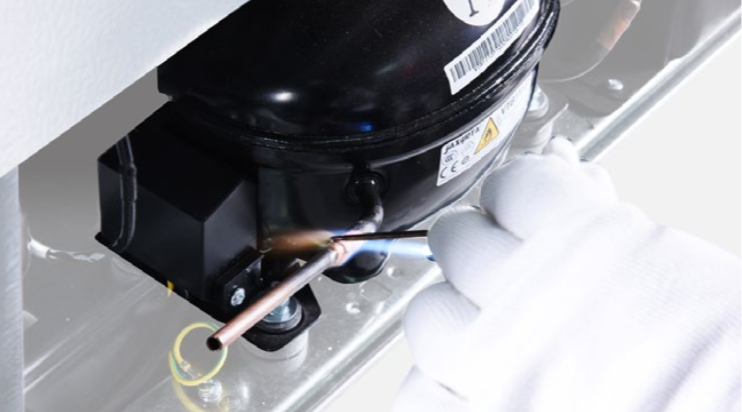
Step 9
Install quick connector onto copper tube.
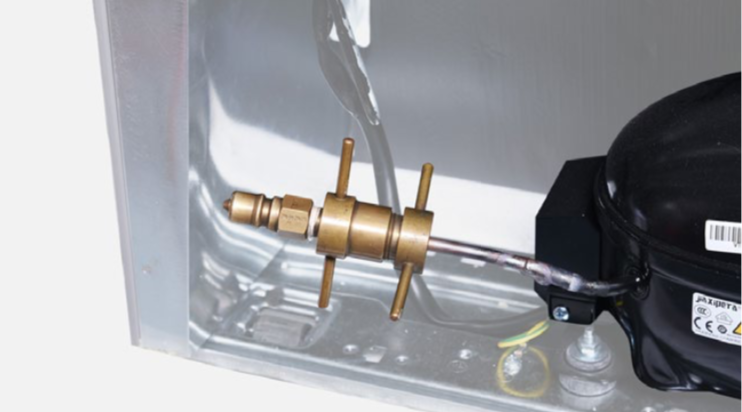

PROCEDURE 2
Step 1
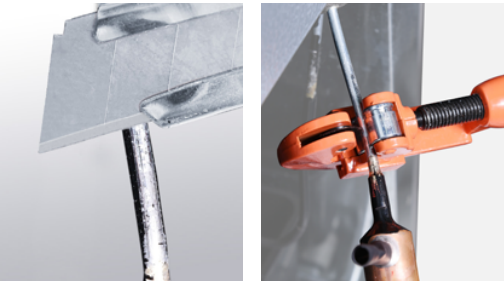
Clean paint off brazed joint of drying-filter.
Step 2
Cut off drying-filter.
Step 3
Cut off capillary and shake to remove the cut end
Step 4
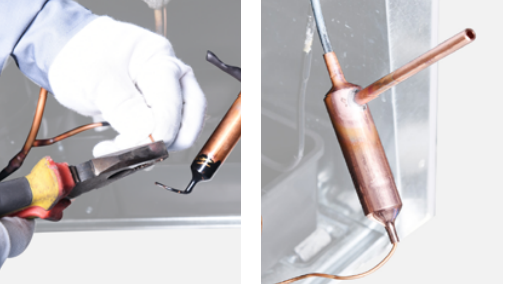
Braze on a new
drying-filter.
Step 5
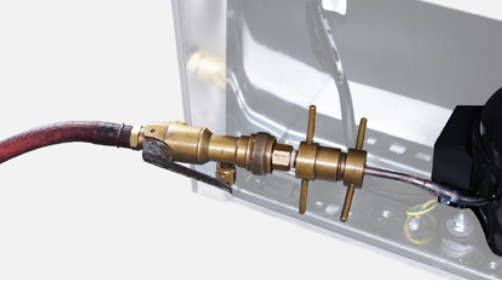
Inject nitrogen (1.57Mpa) through quick connector into pipe for at least 3 min to blow remaining refrigerant away.
Step 6
Add quick connector onto processing pipe of drying-filter.
Step 7
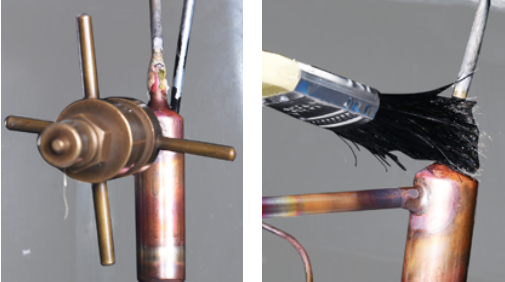
Perform leakage test on brazed joints of dryingfilter and compressor processing pipe.
Step 8
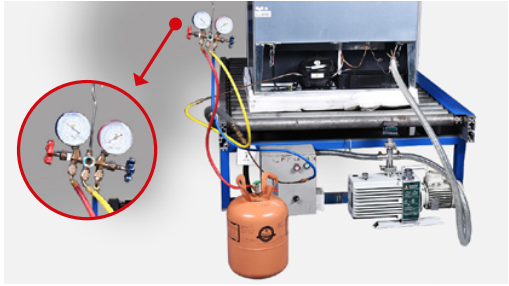
Vacuum and recharge.
Step 9
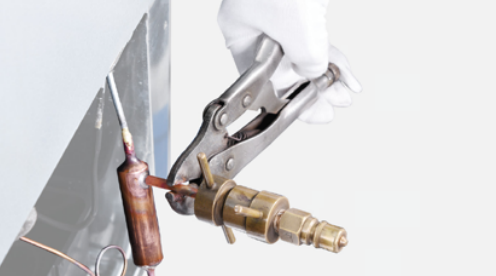
Block processing pipe twice by locking pliers.
Step 10
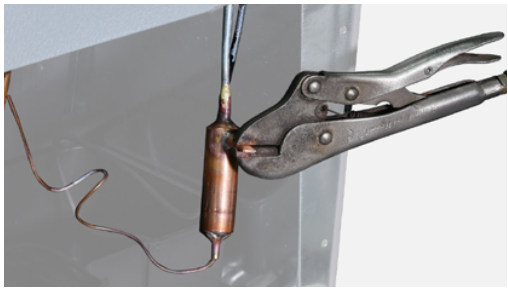
Leave locking pliers on the second block and cut off the rest pipe by shaking.
Step 11
Braze the ends and remove the pliers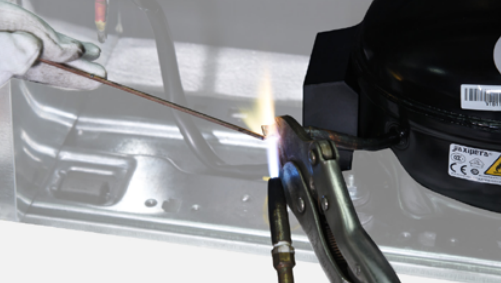

CHECK AND TEST 3
