

CHECK AND TEST 1
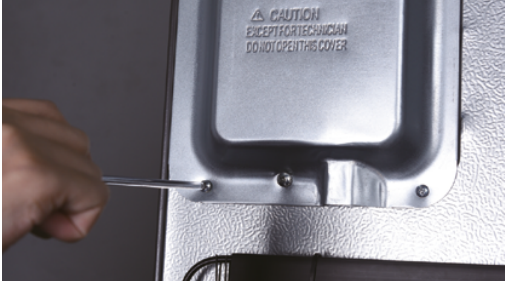
Step 1
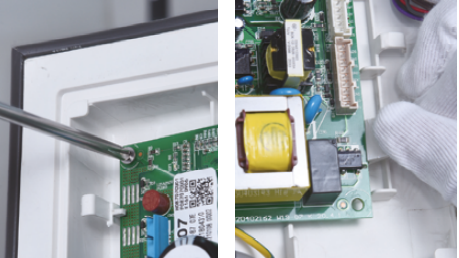
Unscrew cover of
mainboard with a
Cross-head screwdriver.
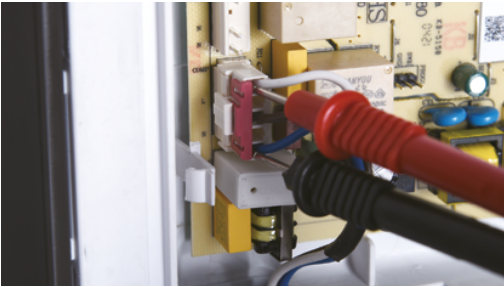
Step 2
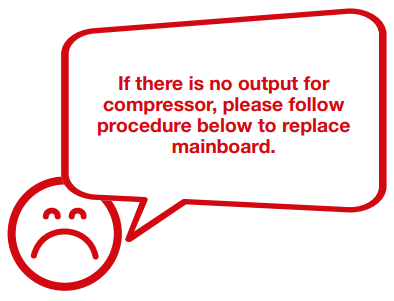
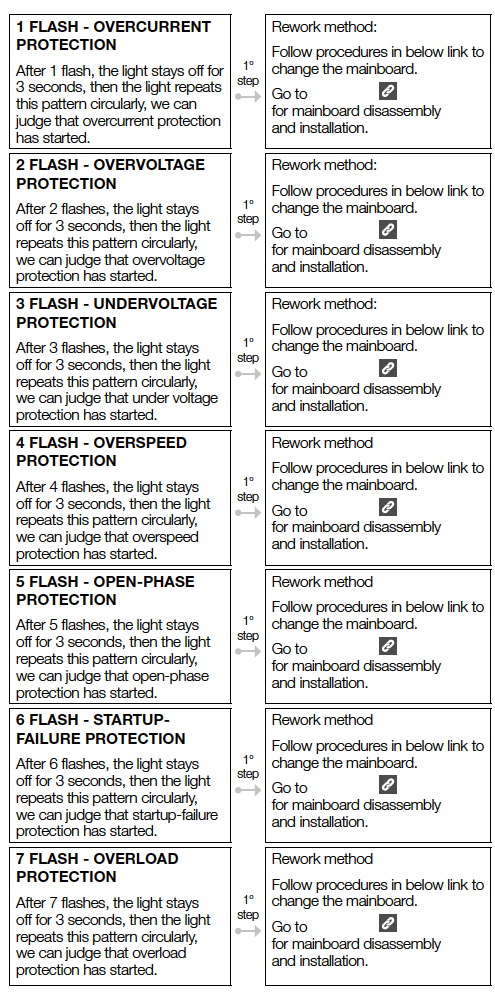
Power on and measure the output for compressor

CHECK AND TEST 3

PROCEDURE 1
Step 1
Disconnect terminals.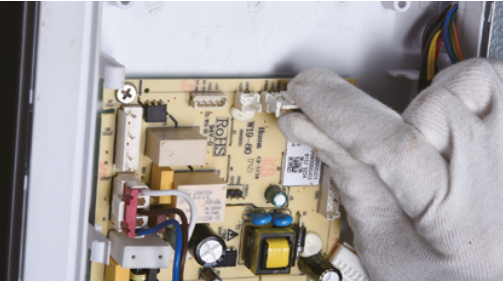
Step 2
Prize up the buckle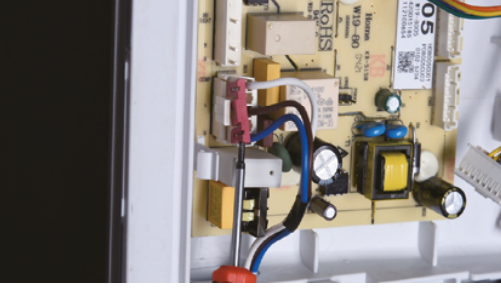
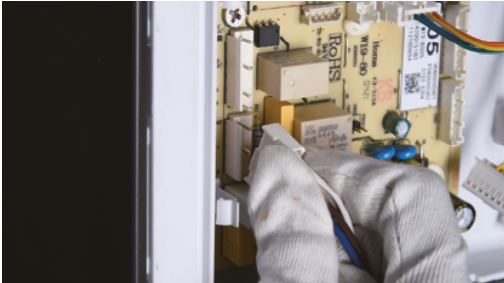
Step 3
Disconnect the terminals.
Step 4
Unscrew the mainboard.
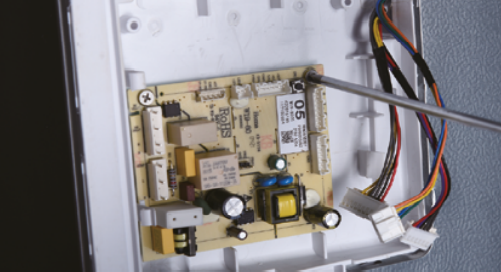
Step 5
Remove the mainboard.
Reverse steps above to install a new mainboard.
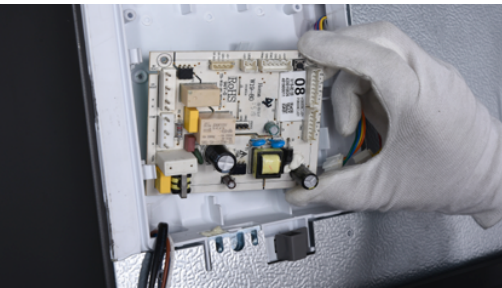


CHECK AND TEST 1


POCEDURE 1
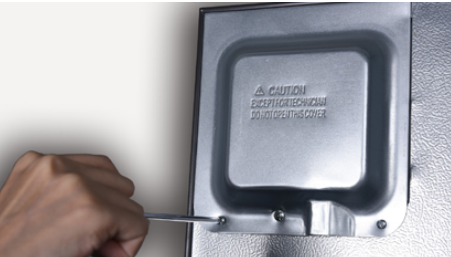
Step 1
Unscrew cover of mainboard with a Cross-head screwdriver.
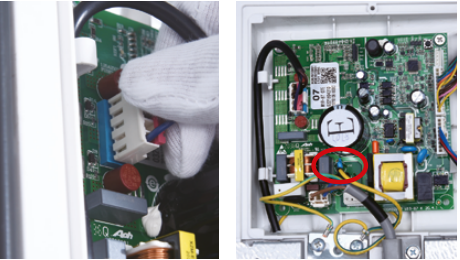
Step 2
Disconnect terminals.
Step 3
Prize off earthing wires.
Step 4
Unscrew the mainboard.
Step 5
Prize off the buckle to remove mainboard.
Reverse steps above to install a new mainboard.

DIAGNOSIS 1



PROCEDURE 1
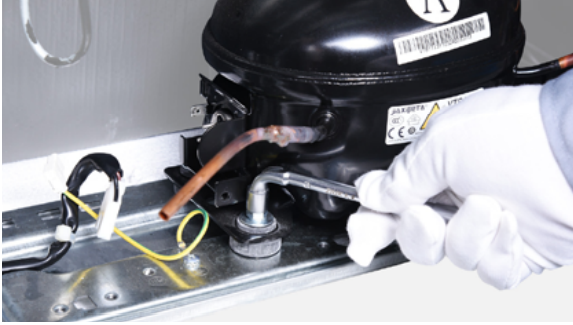
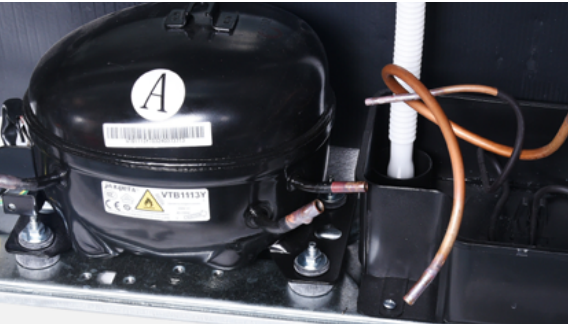
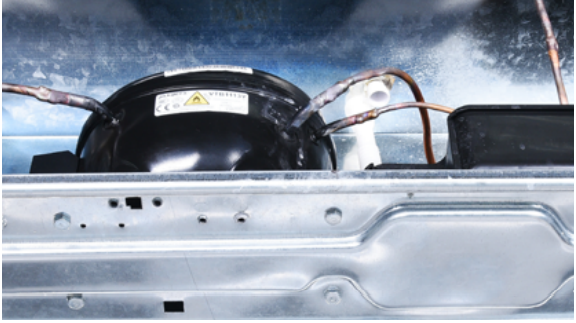
Step 1
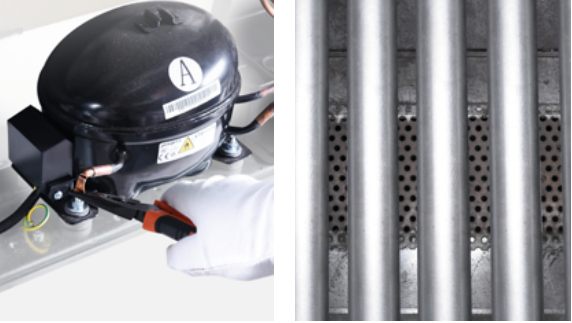
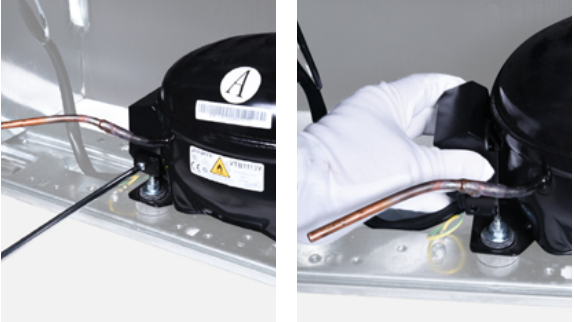
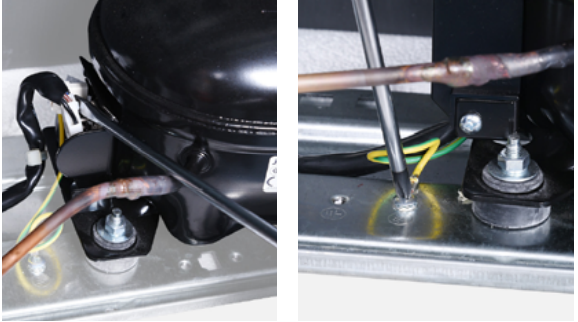
Unscrew nut of compressor
Step 7
Reverse steps above to install a new compressor
Step 8
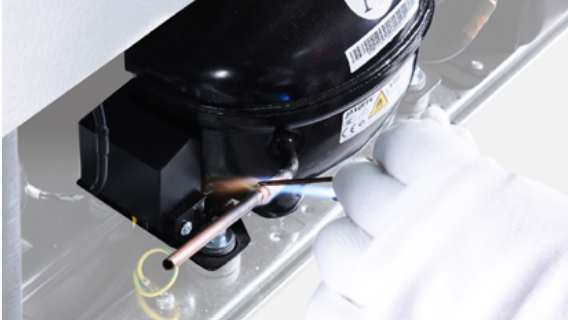
Braze the joints of suction and exhaust pipes.
Step 9
Re-braze a copper tube onto compressor processing tube. Please get more details of brazing requirements on page 422 .

PROCEDURE 2
Step 1
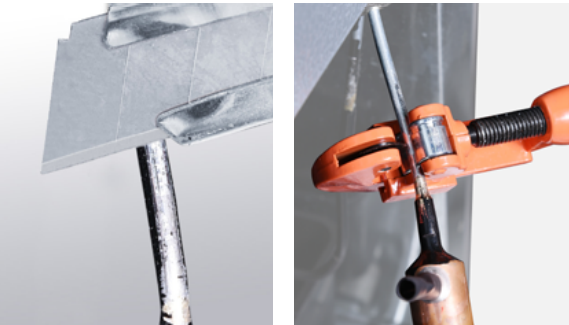
Clean paint off brazed joint of drying-filter
Step 2
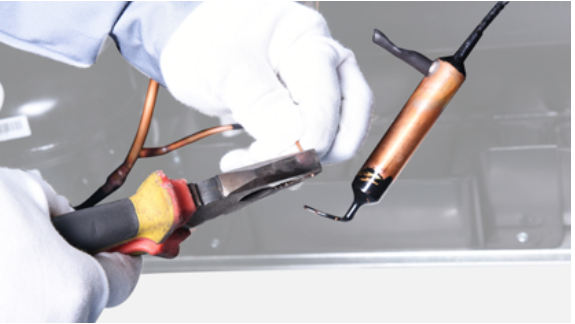
Cut off drying-filter
Step 3
Cut off capillary and shake to remove the cut end.
Step 4
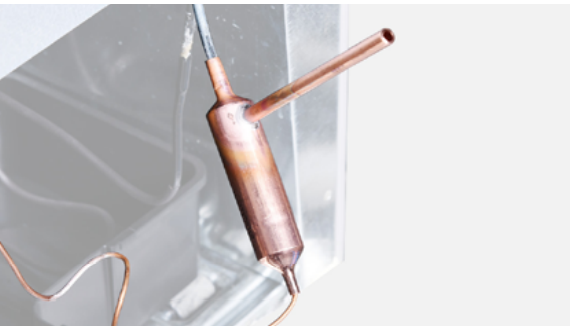
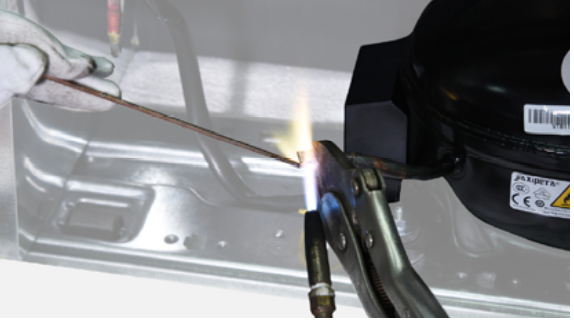
Braze on a new drying-filter.
Step 5
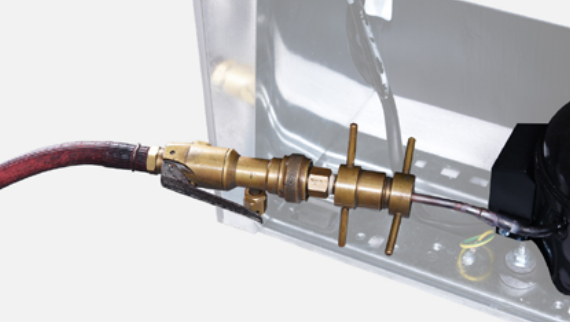
Inject nitrogen (1.57Mpa) through quick connector into pipe for at least 3 min to blow remaining refrigerant away.
Step 6
This text is set by default and is suitable for edit in real time. By default the drag and drop core feature will allow you to position it anywhere on the site. Get creative, Make Web.
Step 7
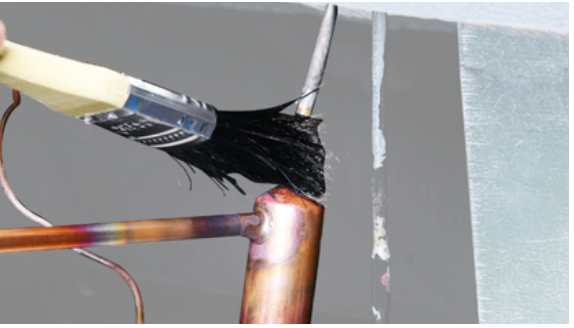
Do leakage test on brazed joints of dryingfilter and processing pipe on compressor
Step 8
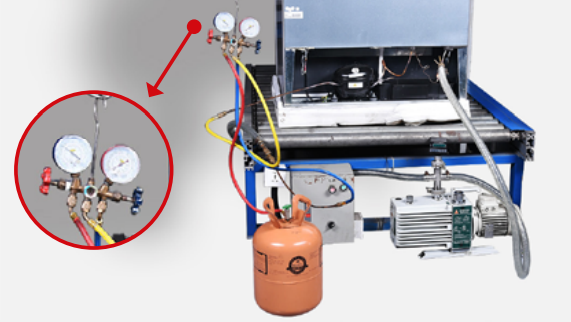
Vacuum and recharge.
Step 9
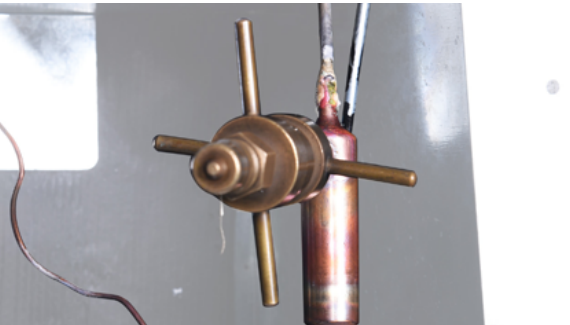
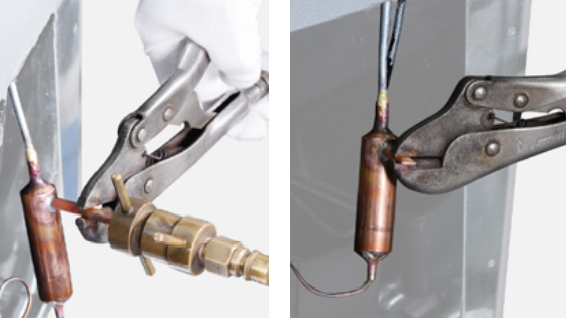
Block processing pipe twice by locking pliers.
Step 10
Leave locking pliers on the second block and shake to cut off the rest of the pipe.
Step 11
Braze the ends and remove the pliers.

CHECK AND TEST 2
