

CHECK AND TEST 1

PROCEDURE 1
Step 1
Remove all drawers.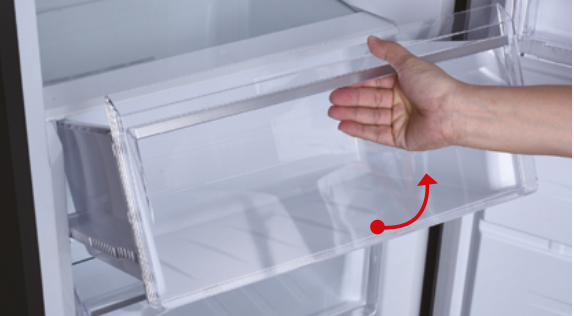
Step 2
Remove all glassshelves.

Step 3
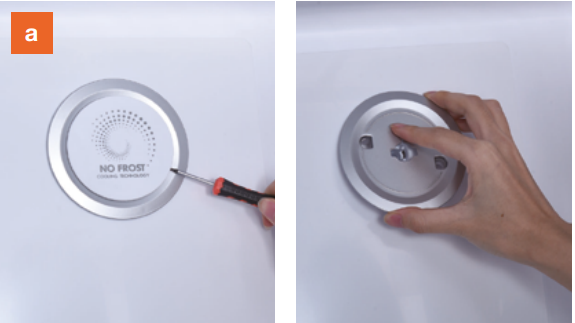
Remove the upper air
duct.
a. Prize up and remove the decorative cover.
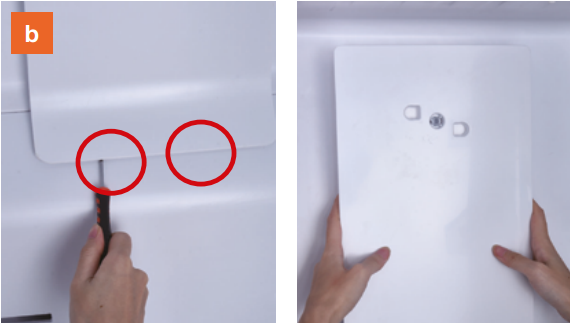
b. Prize up the buckle
on the air duct with slotted
screwdriver, then remove
the upper air duct.
Step 4
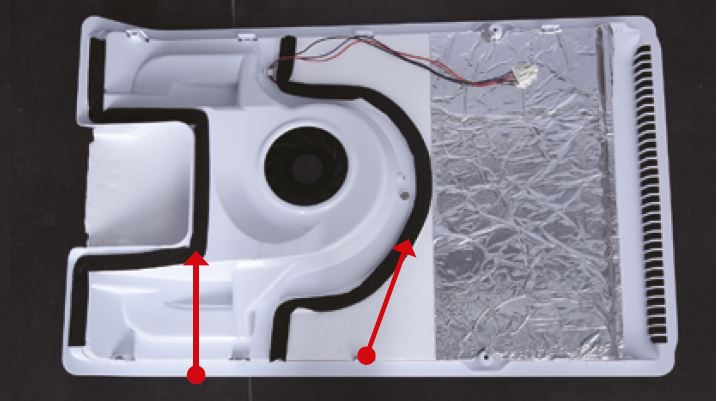
Dismantle the air duct.
a. Unscrew the screws
(total four) with
Cross-head
screwdriver.
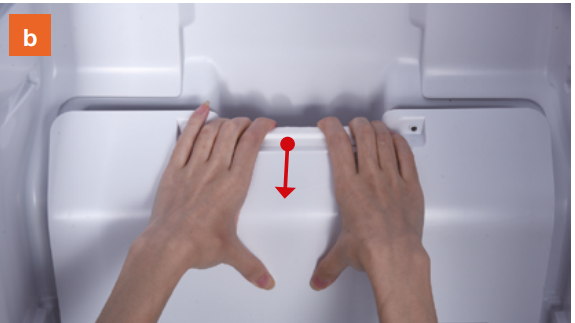
b. Catch the lower
air duct and pull down
the air duct.
c. Pay attention to the
connectors when
pulling out the air
duct.
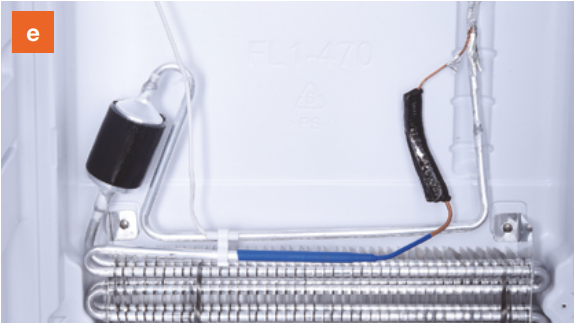
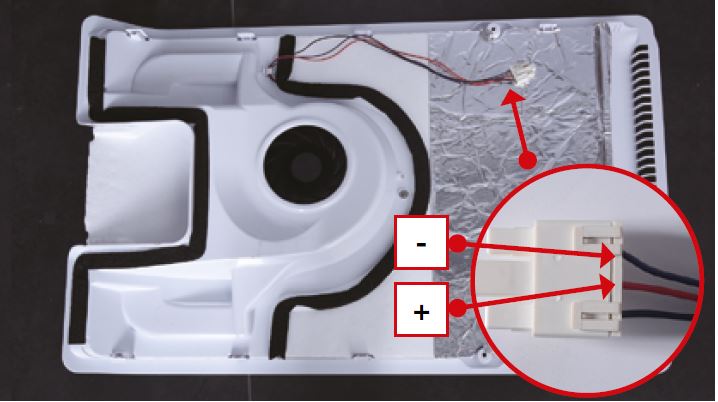
d. Disconnect the
terminal for fan motor.
Disconnect the
terminal for defrost
sensor.
e. Move the air duct
out of the fridge
compartment.


CHECK AND TEST 2
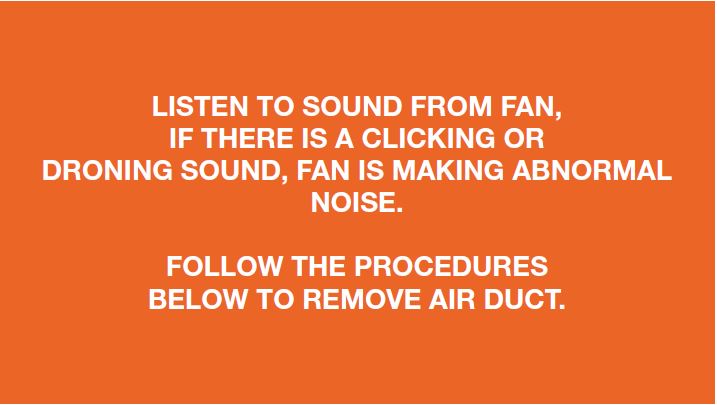
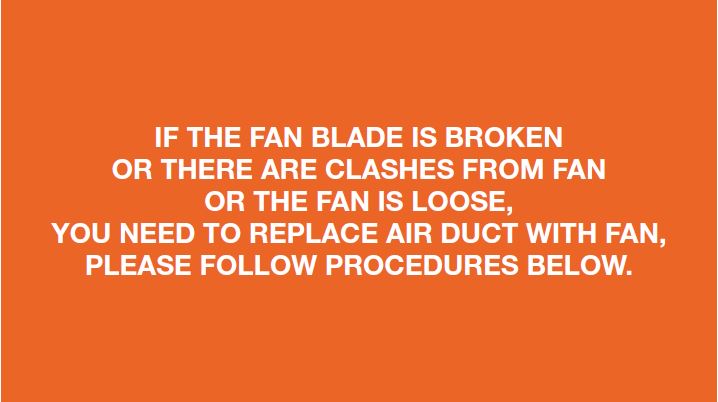
Step 1
Check fan blade is
broken or not.
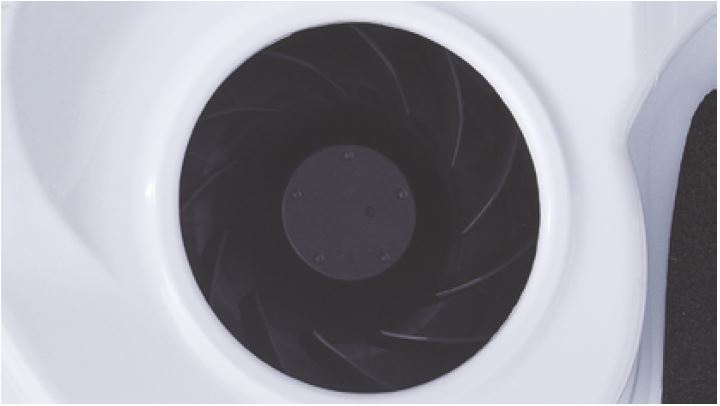
Step 2
Shake fan blade to
check if fan is loose.
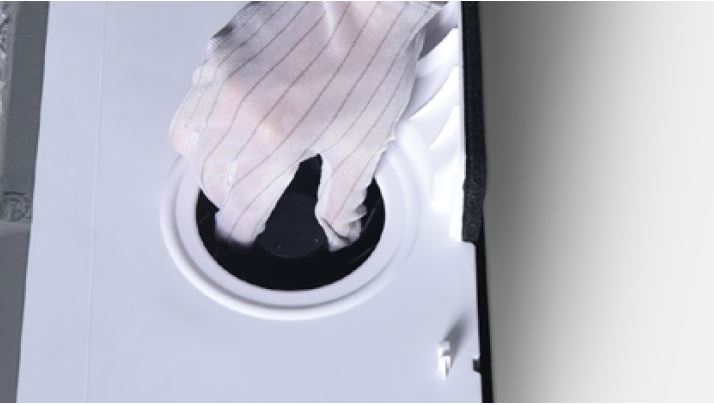
Step 3
Supply DC 12V power to
fan to check if there any
clash.
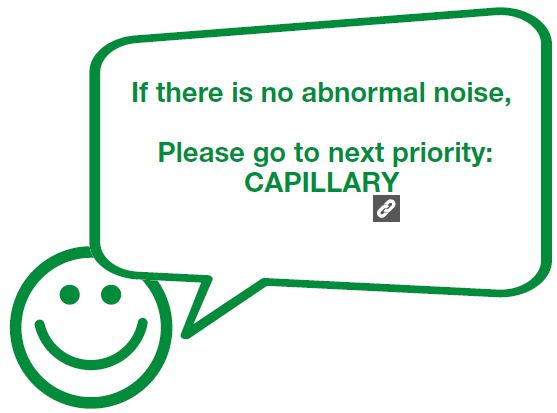
DIAGNOSIS 2
Note


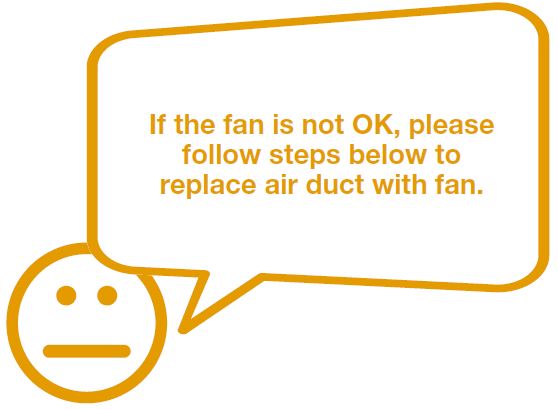
PROCEDURE 2
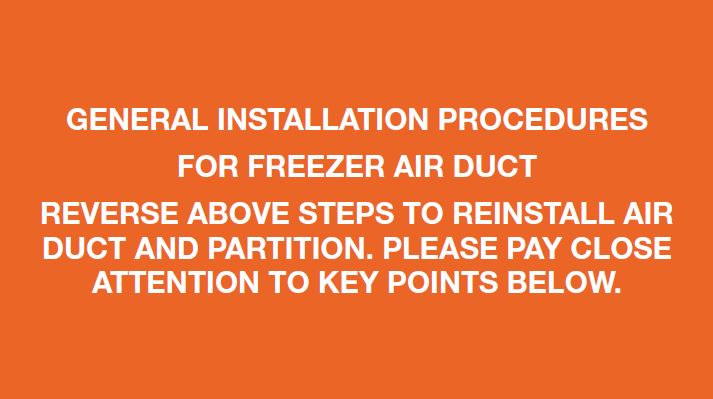
Tip 1
Make sure the sealing
sponges are in good
condition.
Tip 2
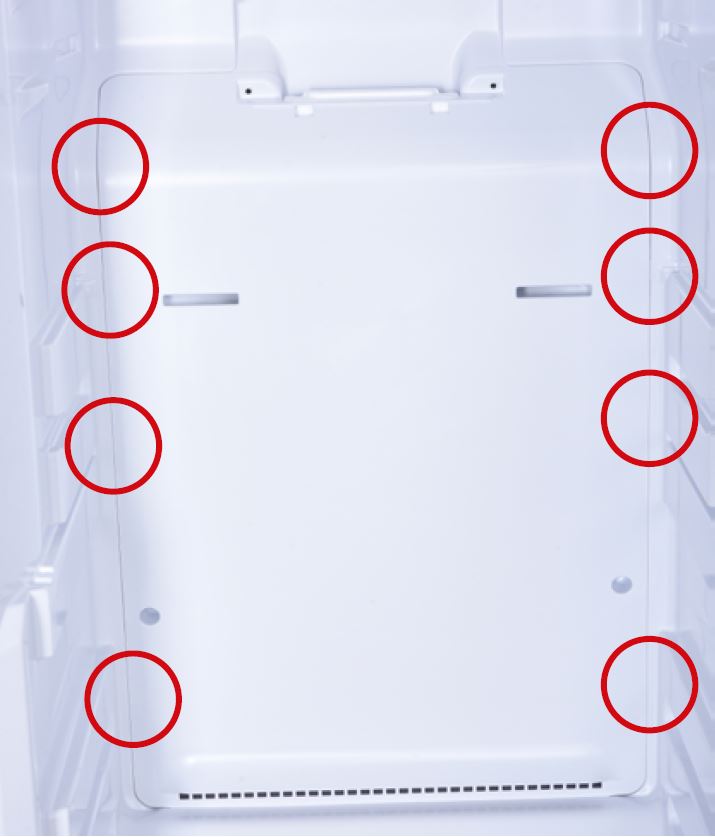
After pushing air duct
into place, you should
hear clicking sounds at 8
buckle positions. If not,
repeat again.
Step 3
Check to see if there is
a wide gap between air
duct and cabinet. If there
is, reinstall air duct.

GO BACK TO COMPONENT LIST