
CHECK AND TEST 1
Step 1
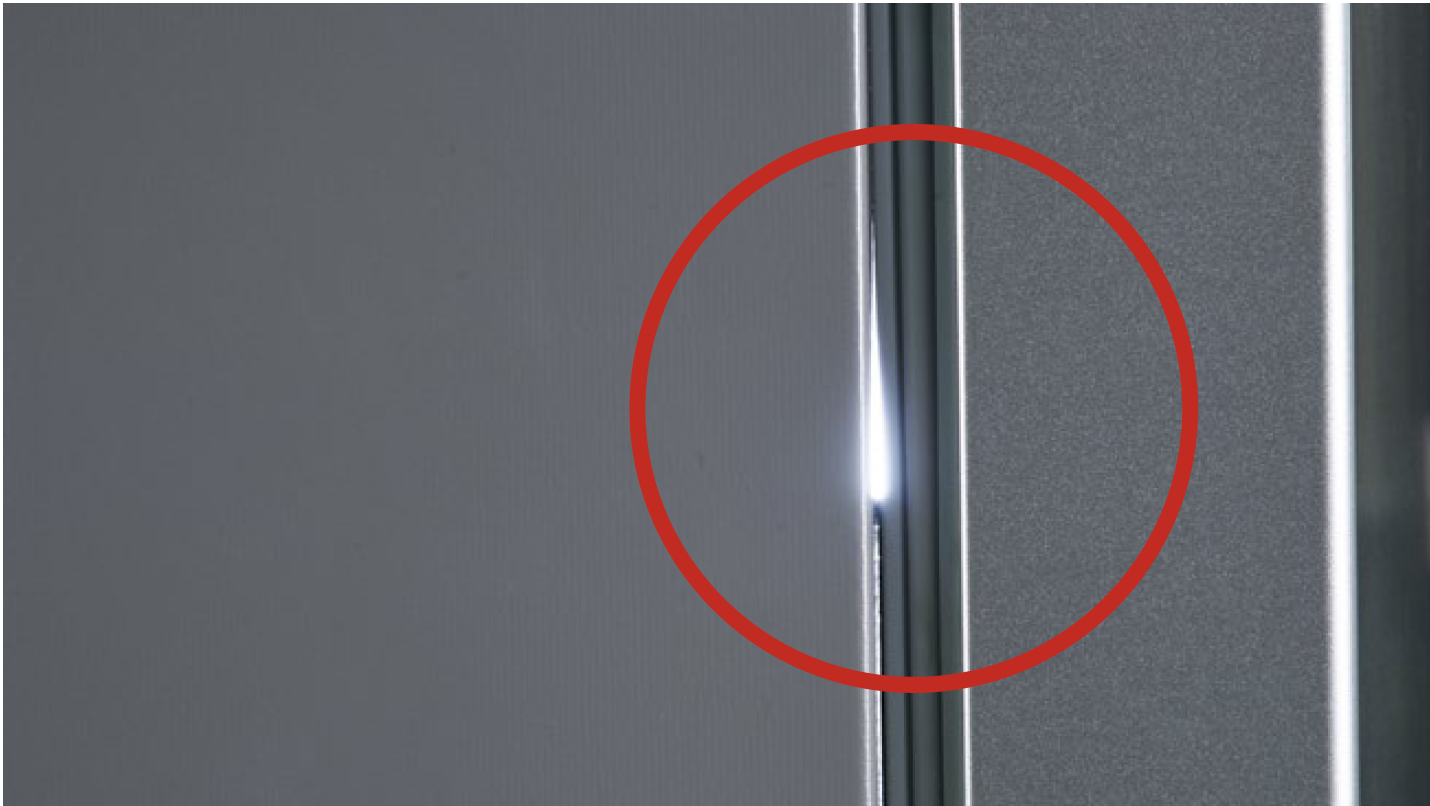
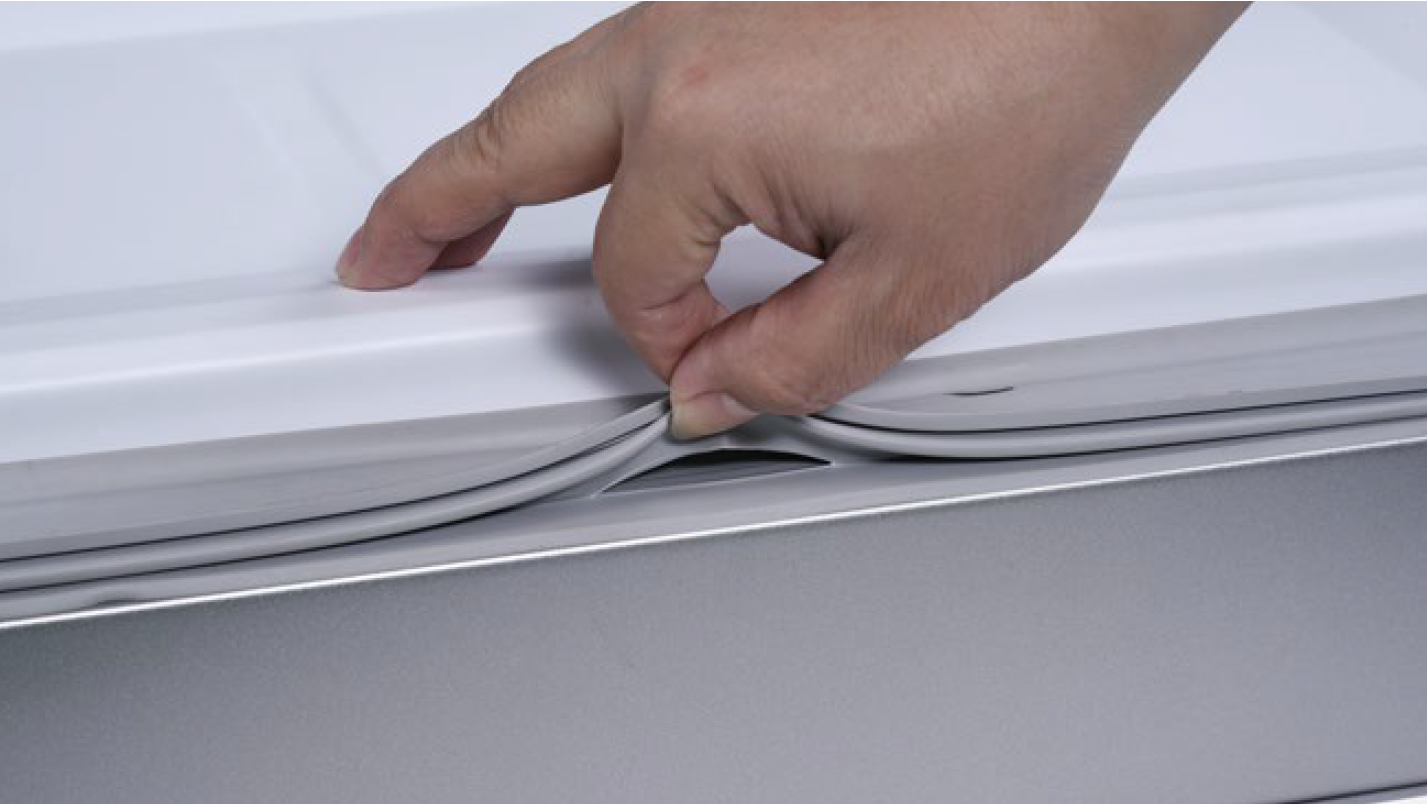
Open the fridge doors to check carefully if gasket is cracked.
Step 2
Check carefully to see whether gasket is deformed.
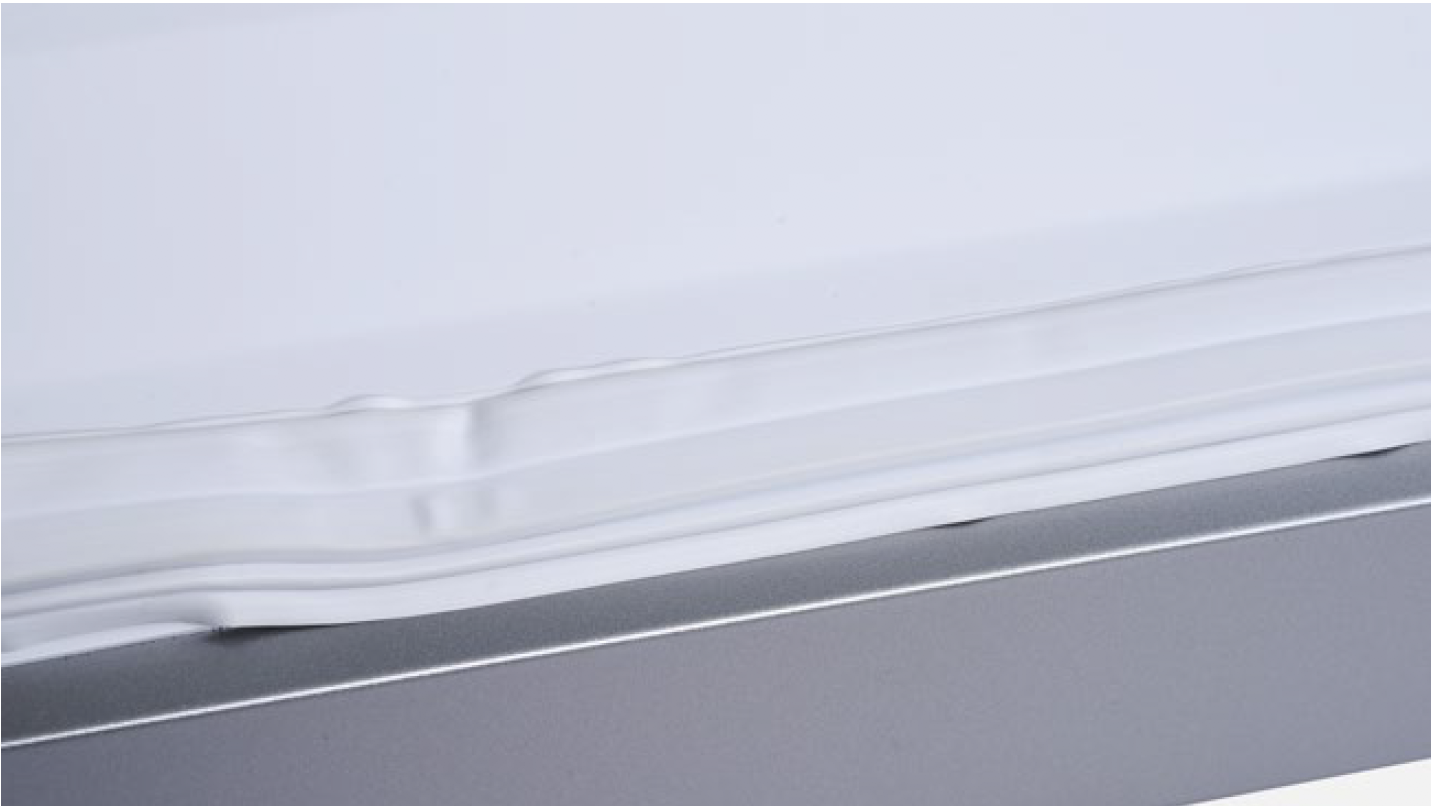
Case 1
Example of slight deformation.
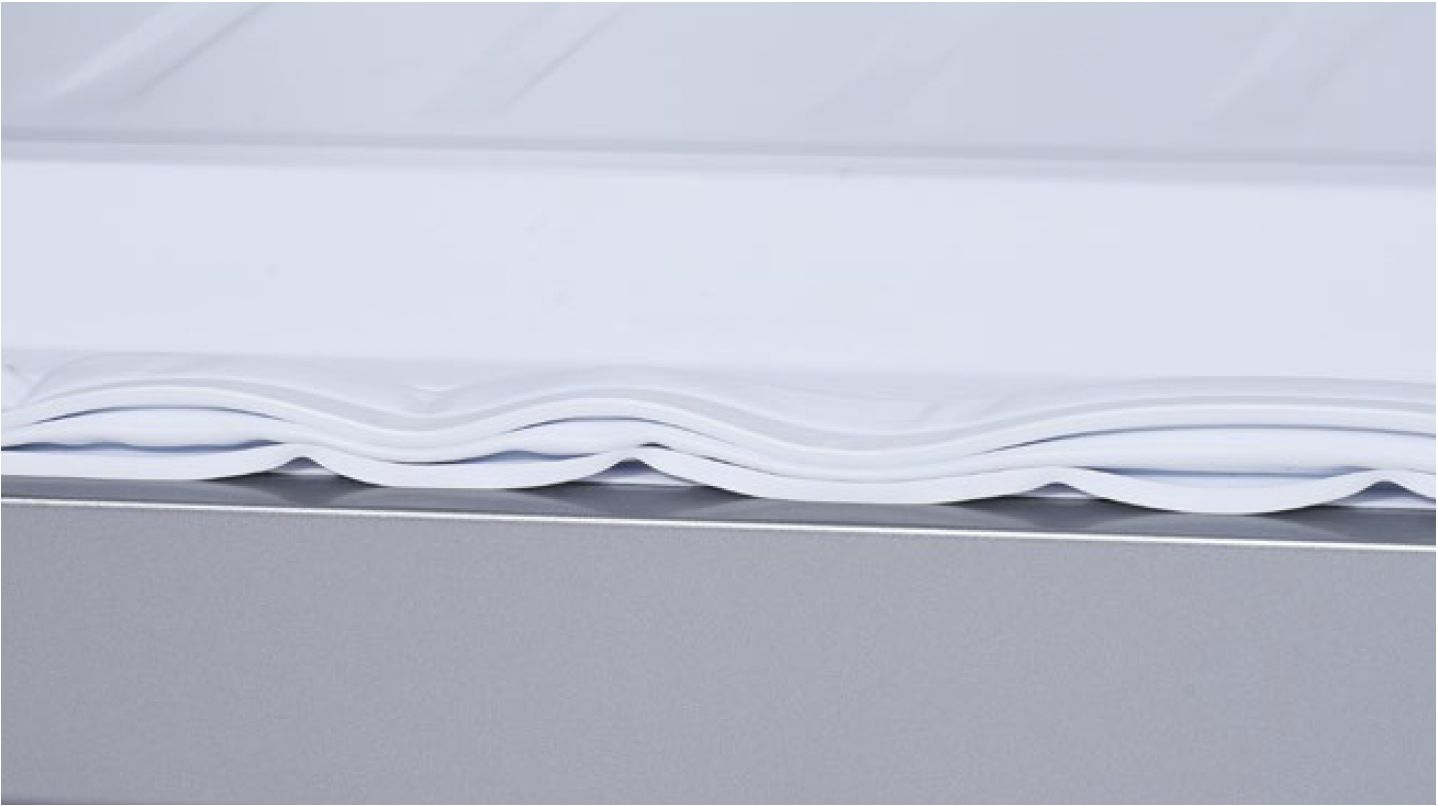
Case 2
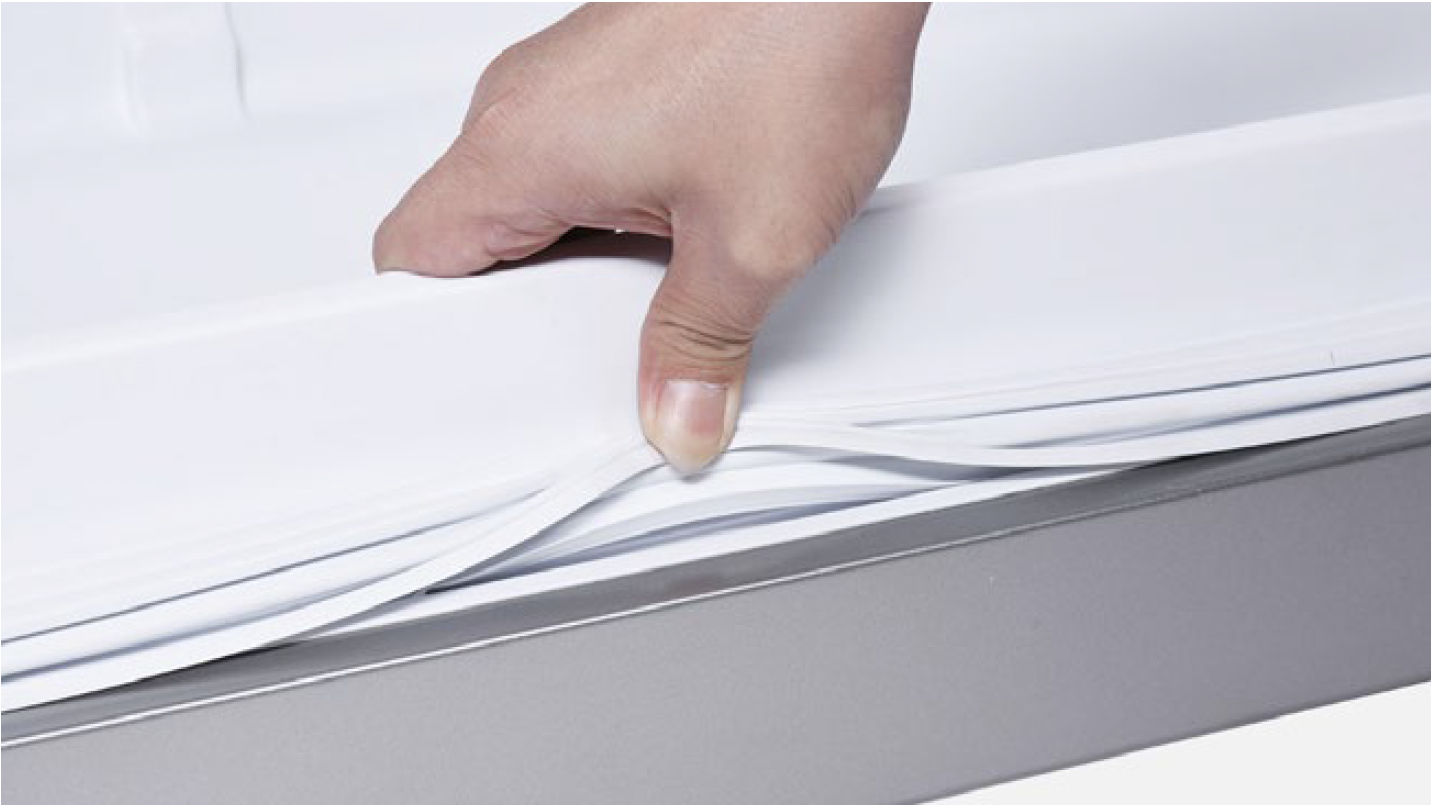
Example of gasket wrinkling.

DIAGNOSIS 1
PROCEDURE 1
Step 1
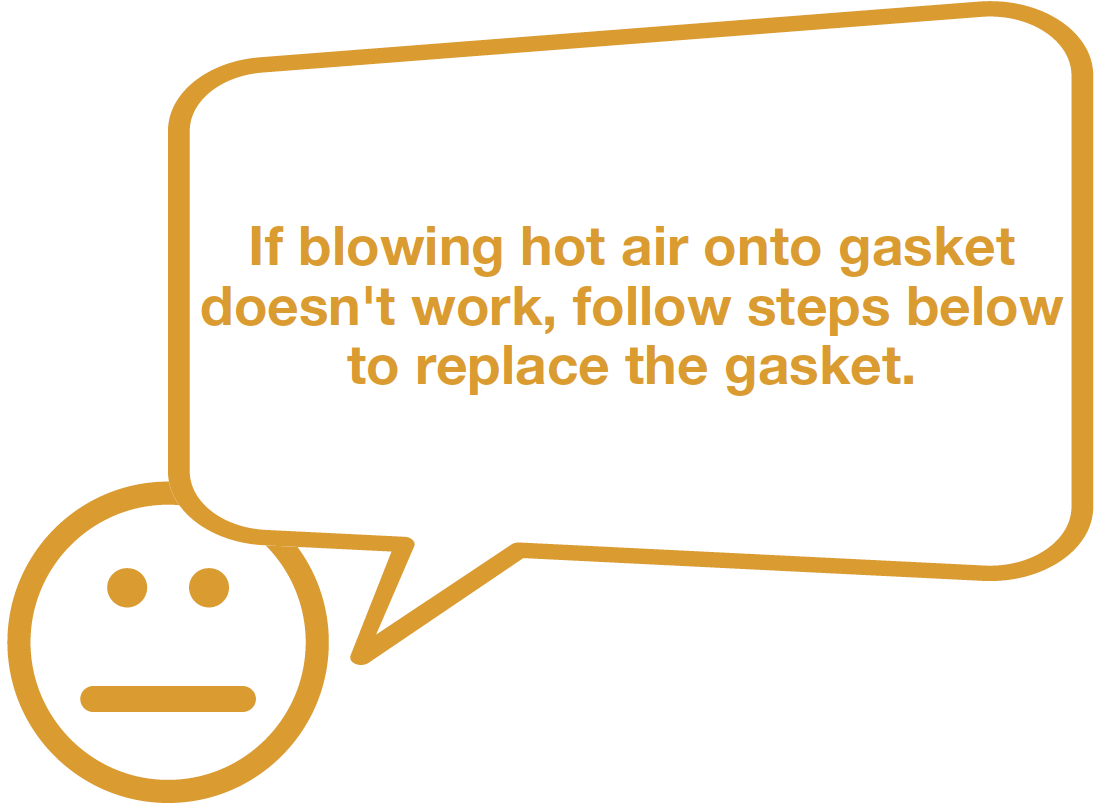
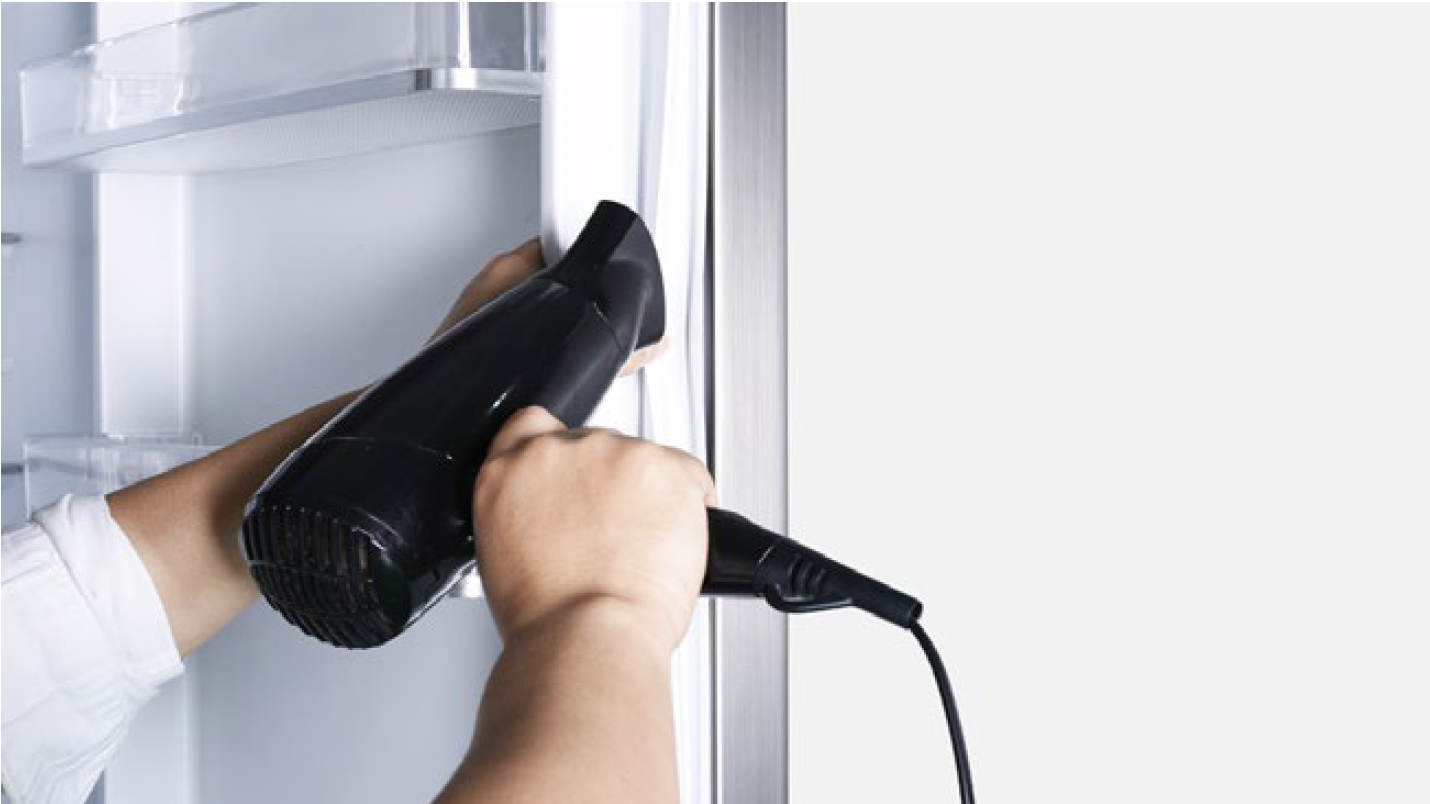
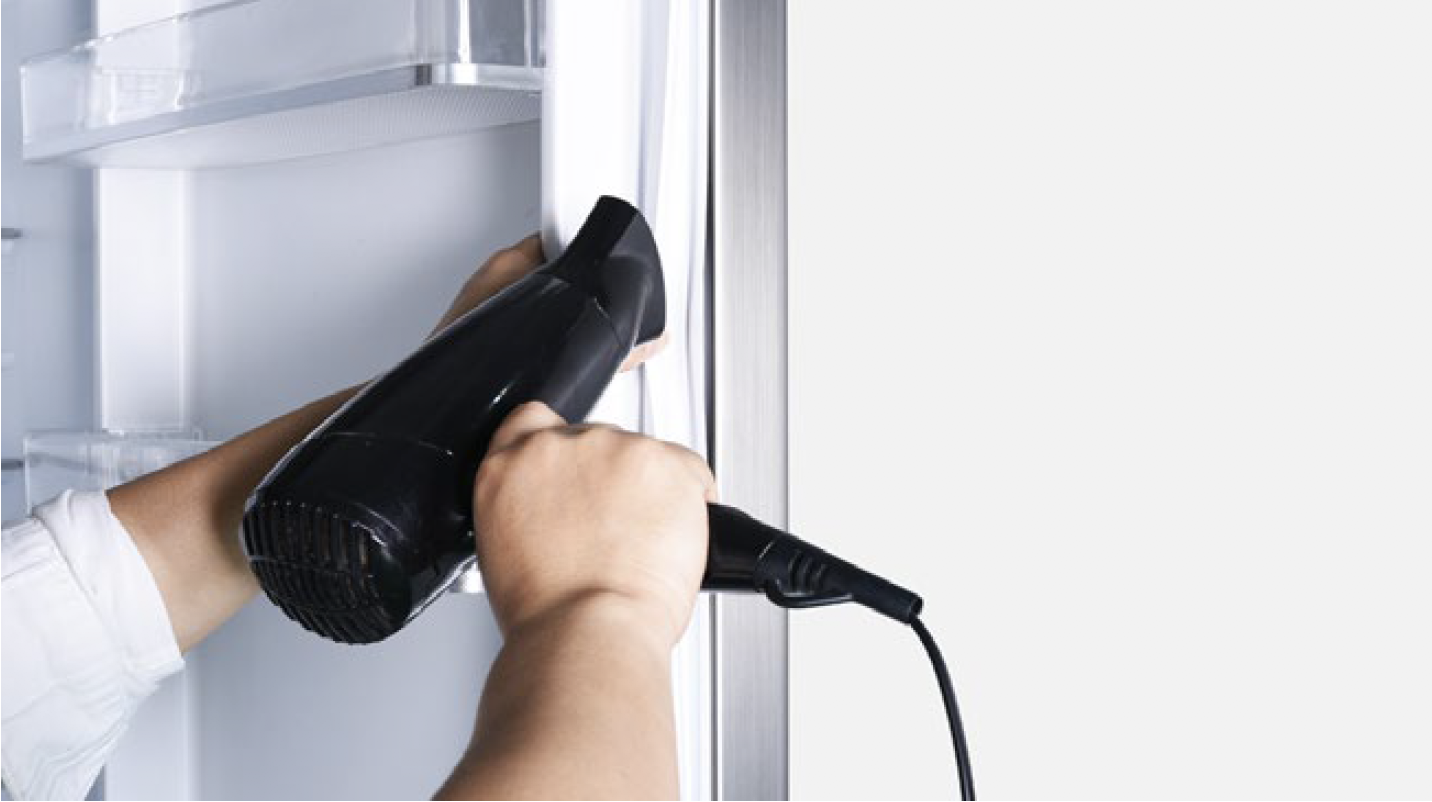
Blow hot air onto gasket with Hair Dryer to soften, so that gasket can be easily attached onto cabinet.

DIAGNOSIS 2
PROCEDURE 2

Step 1
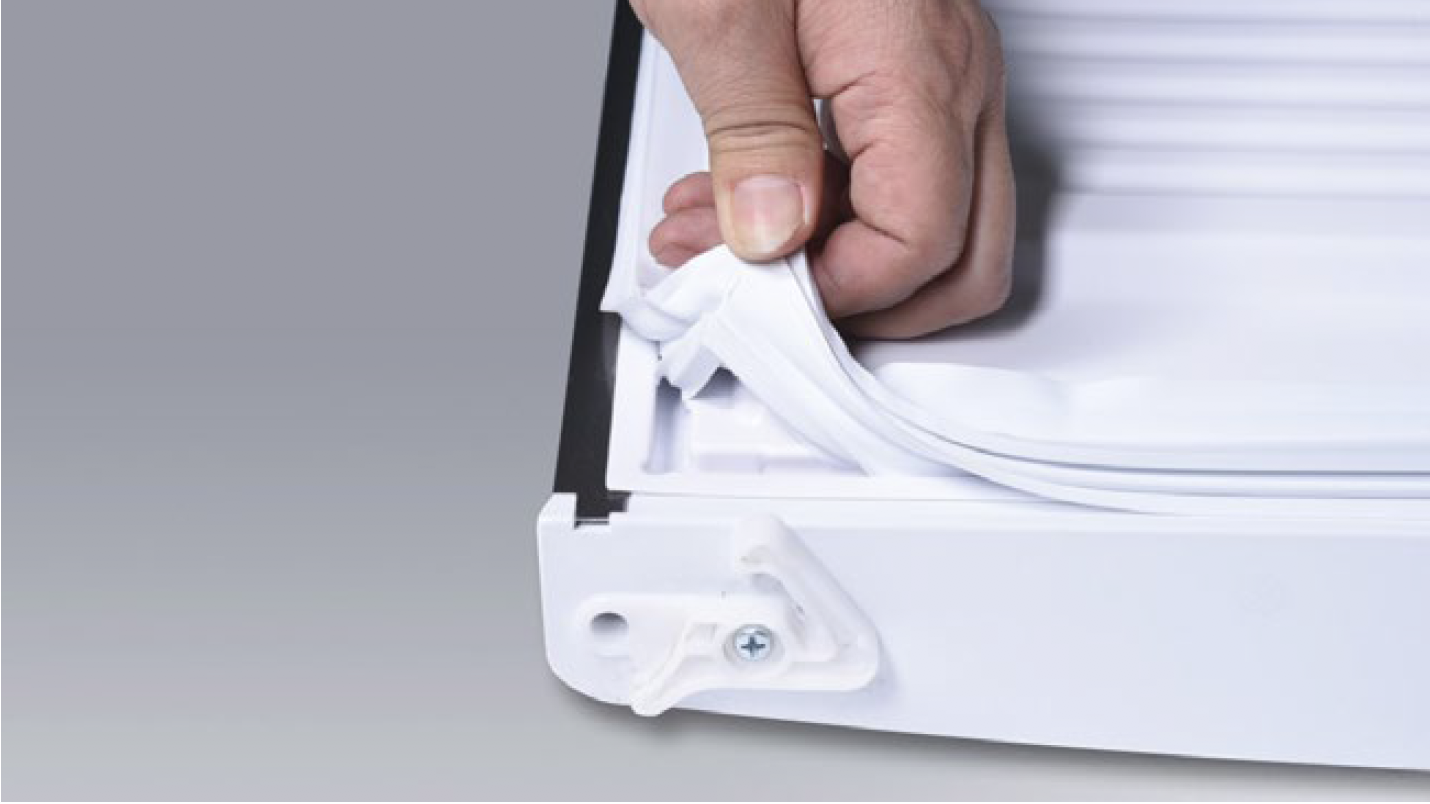
Pull gasket out from 4 corners.
Step 2
Install a new gasket.
Pay attention the important tips for installing gasket.
Tip 1
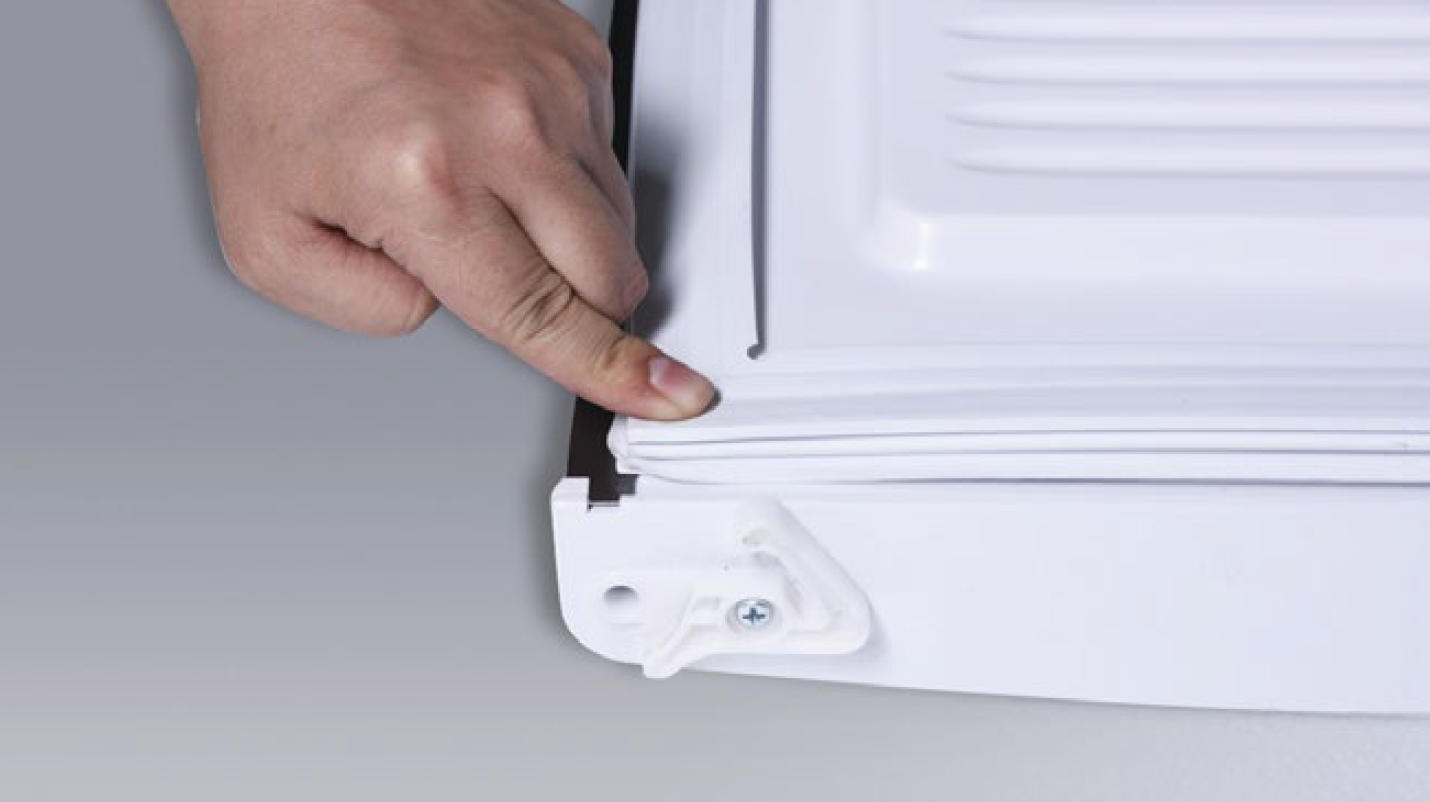
Start from corner.
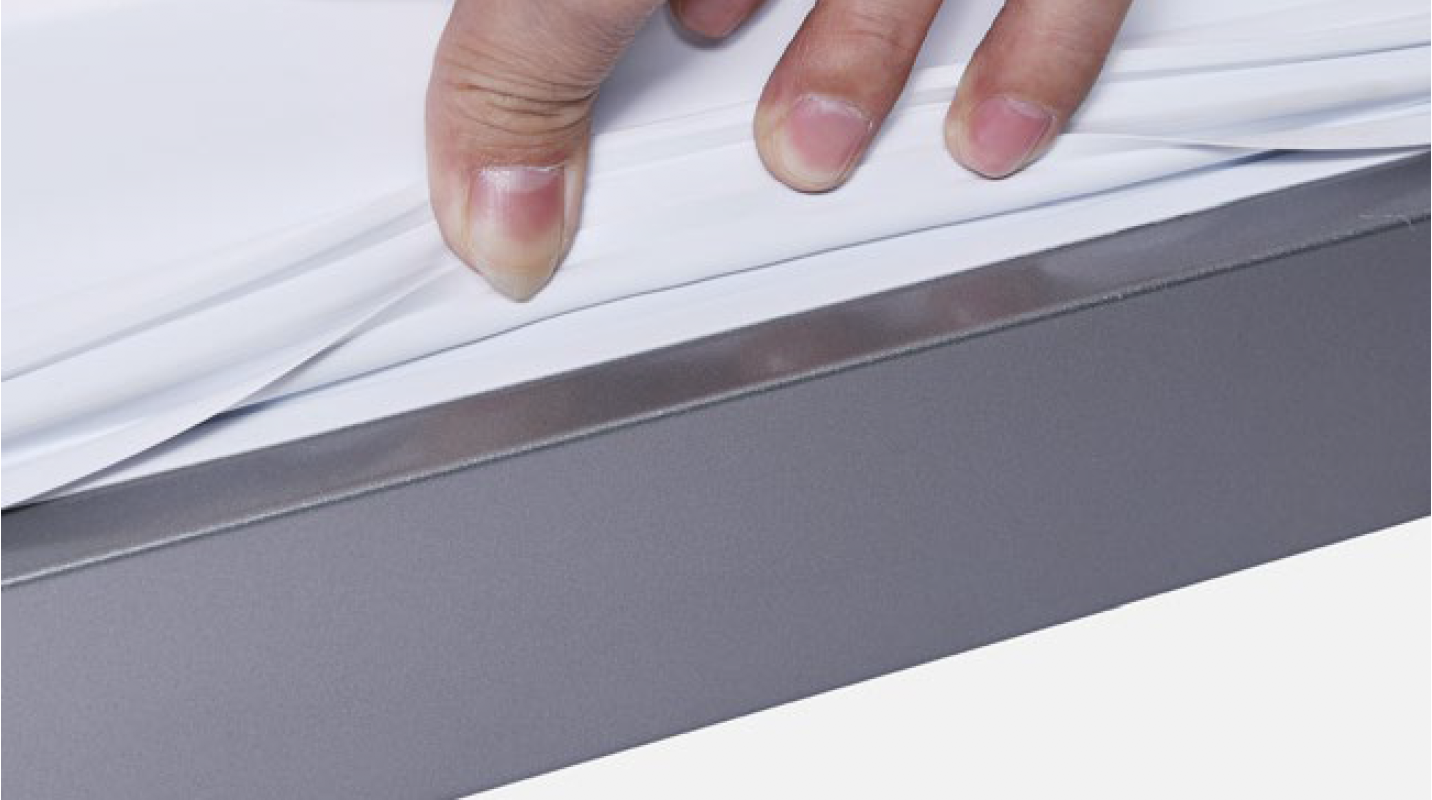
Tip 2
Make sure gasket foot is pressed into gasket seat completely.
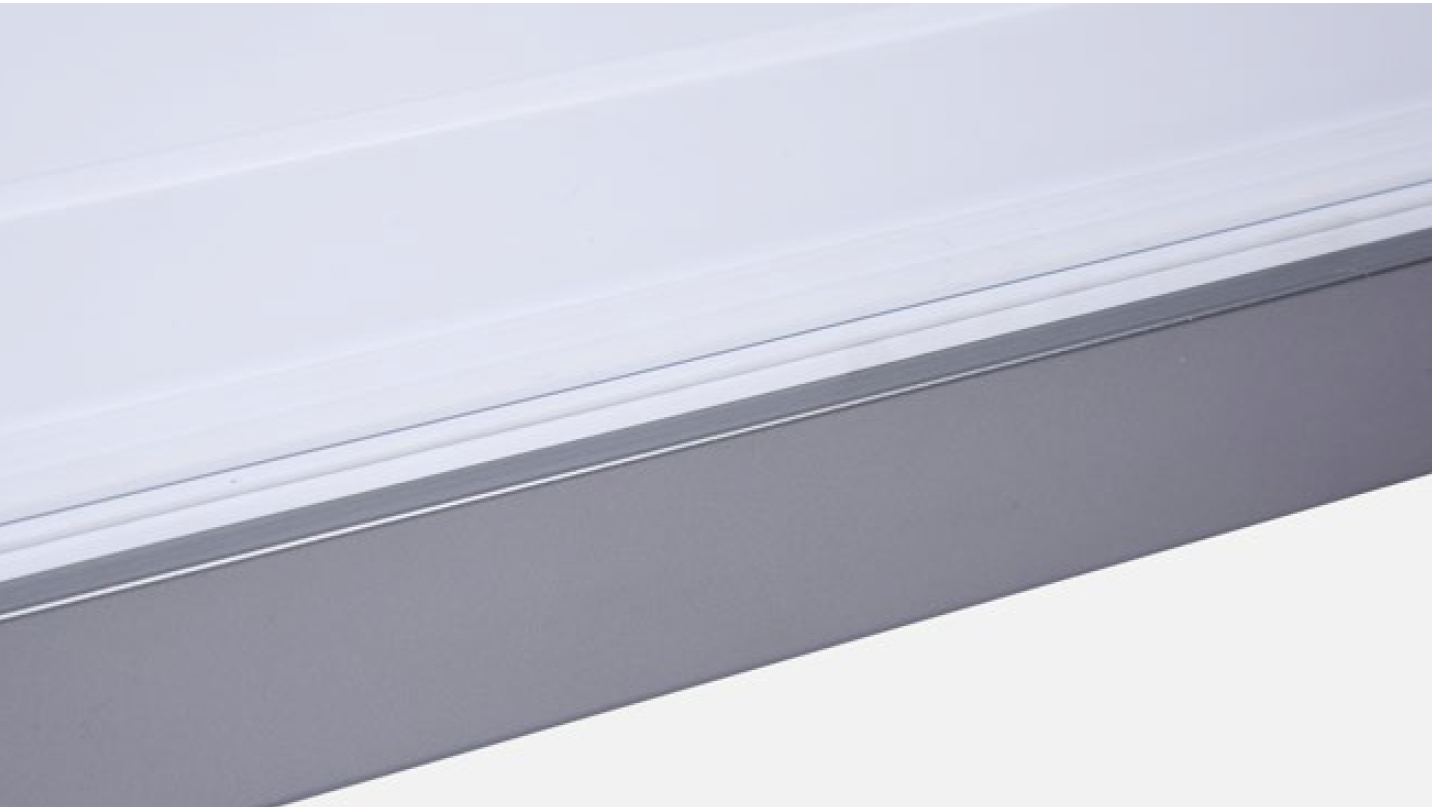
Tip 3
Make sure gasket is well-aligned with gasket seat.
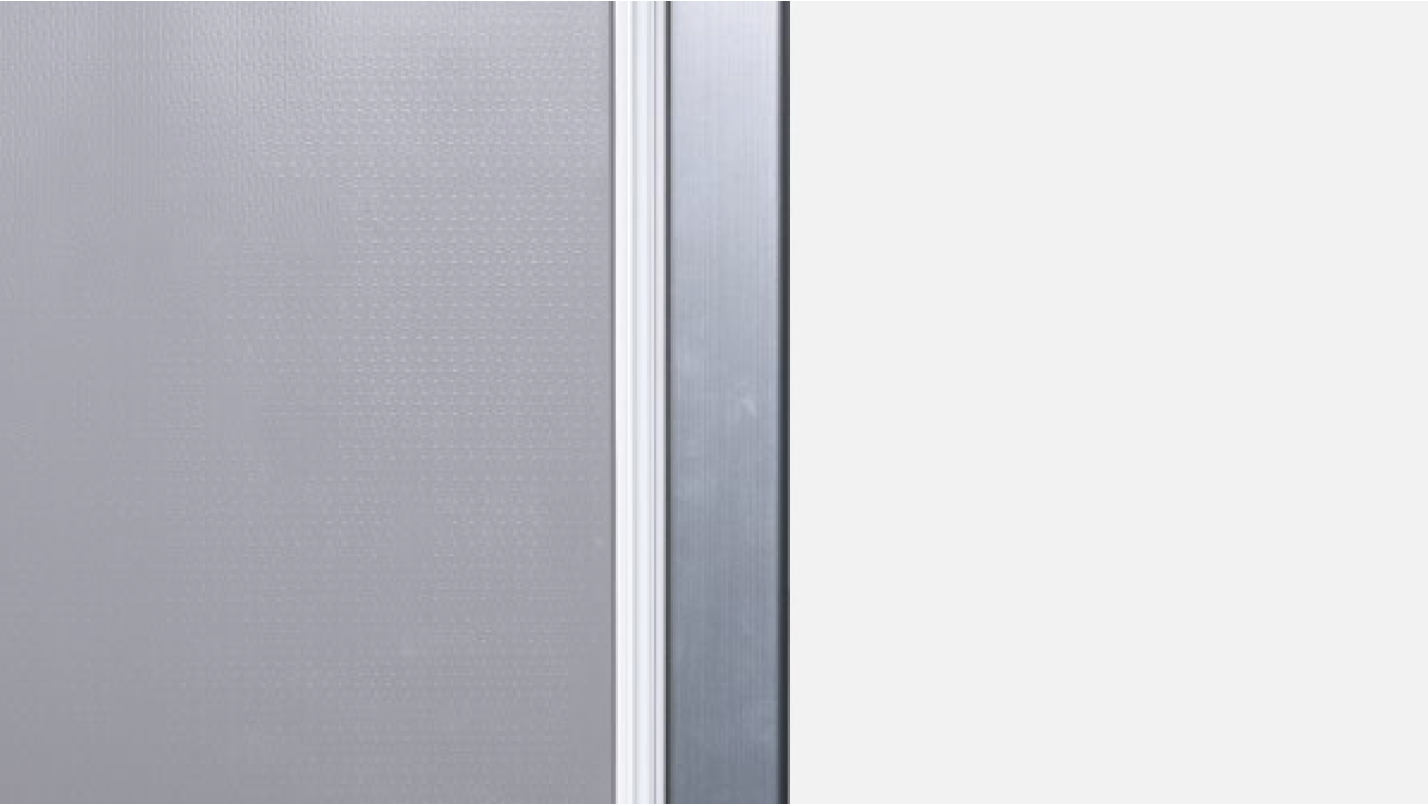
Tip 4
After closing door, make sure gasket is well-attached to door.
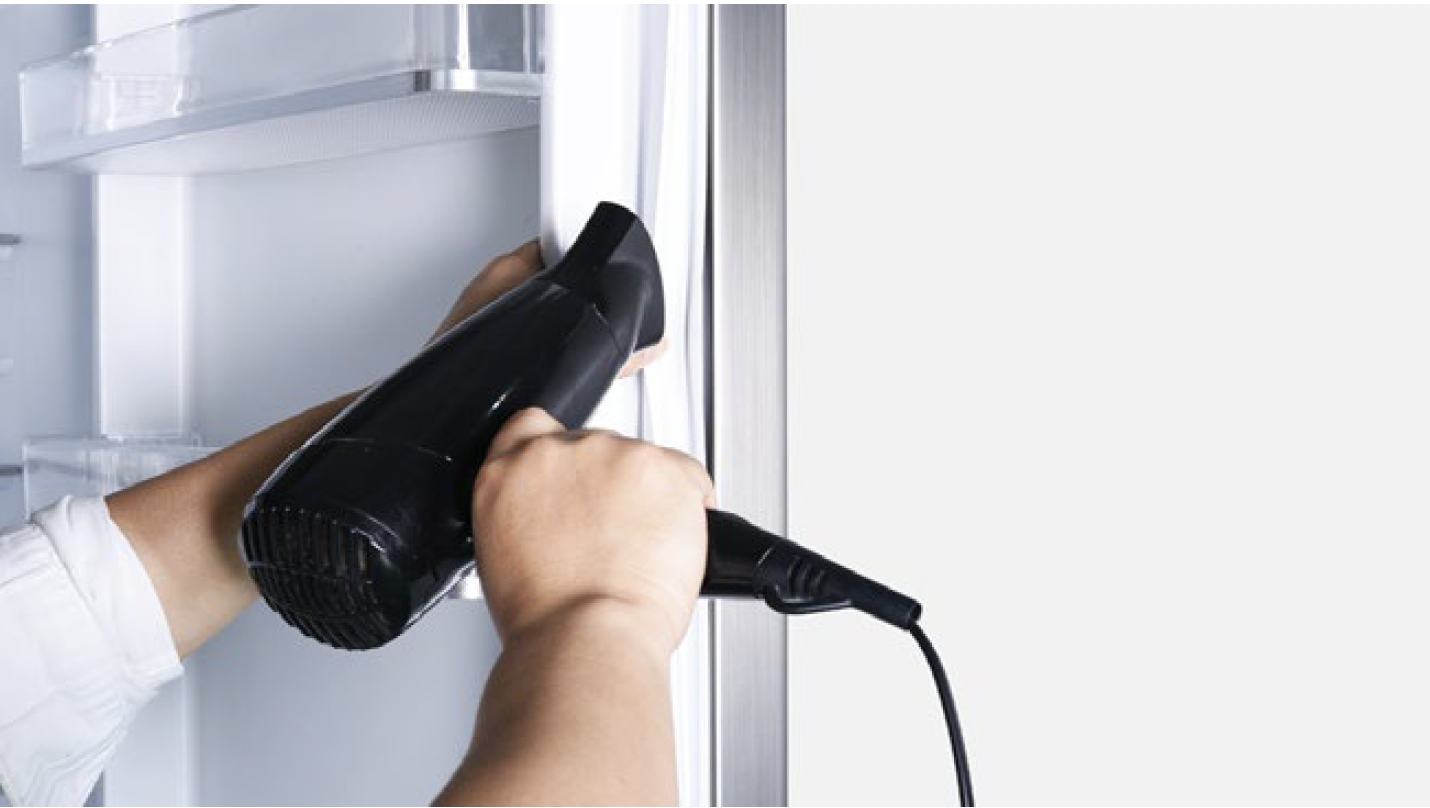
Step 3
After replacing the door gasket, blow hot air onto gasket with Hair Dryer to soften, so that gasket can be easily attached onto cabinet.

DIAGNOSIS 3
Step 1
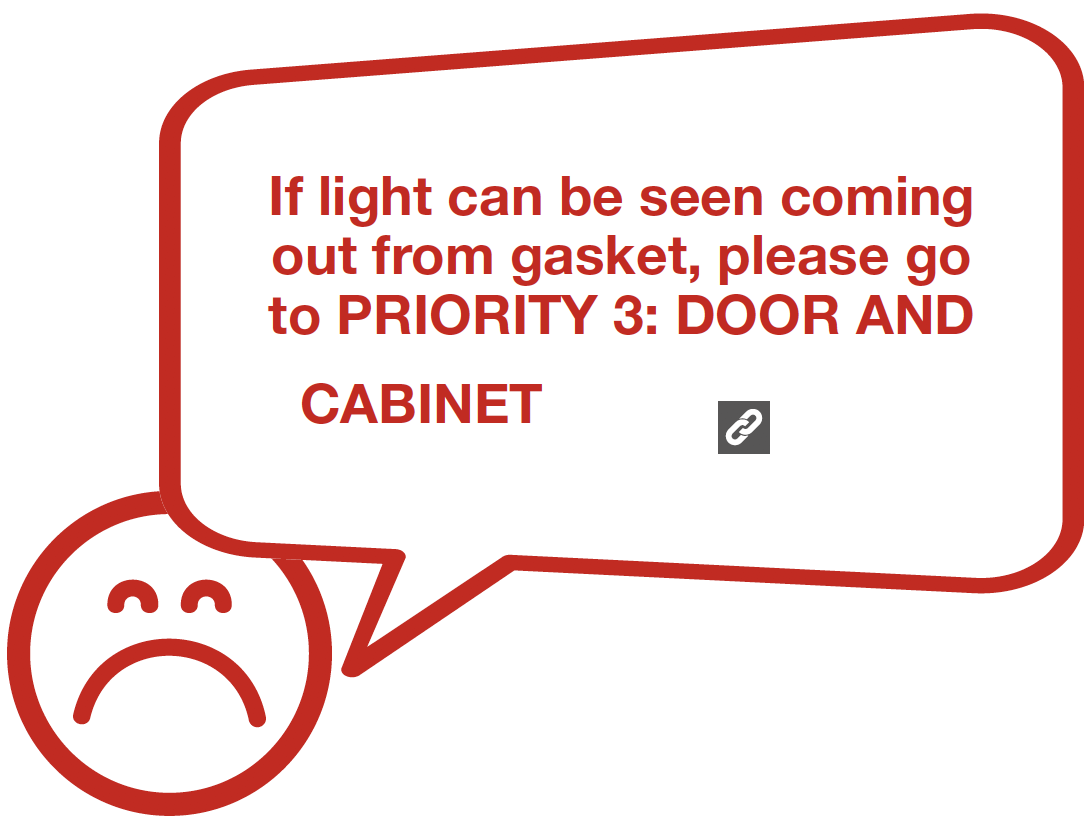
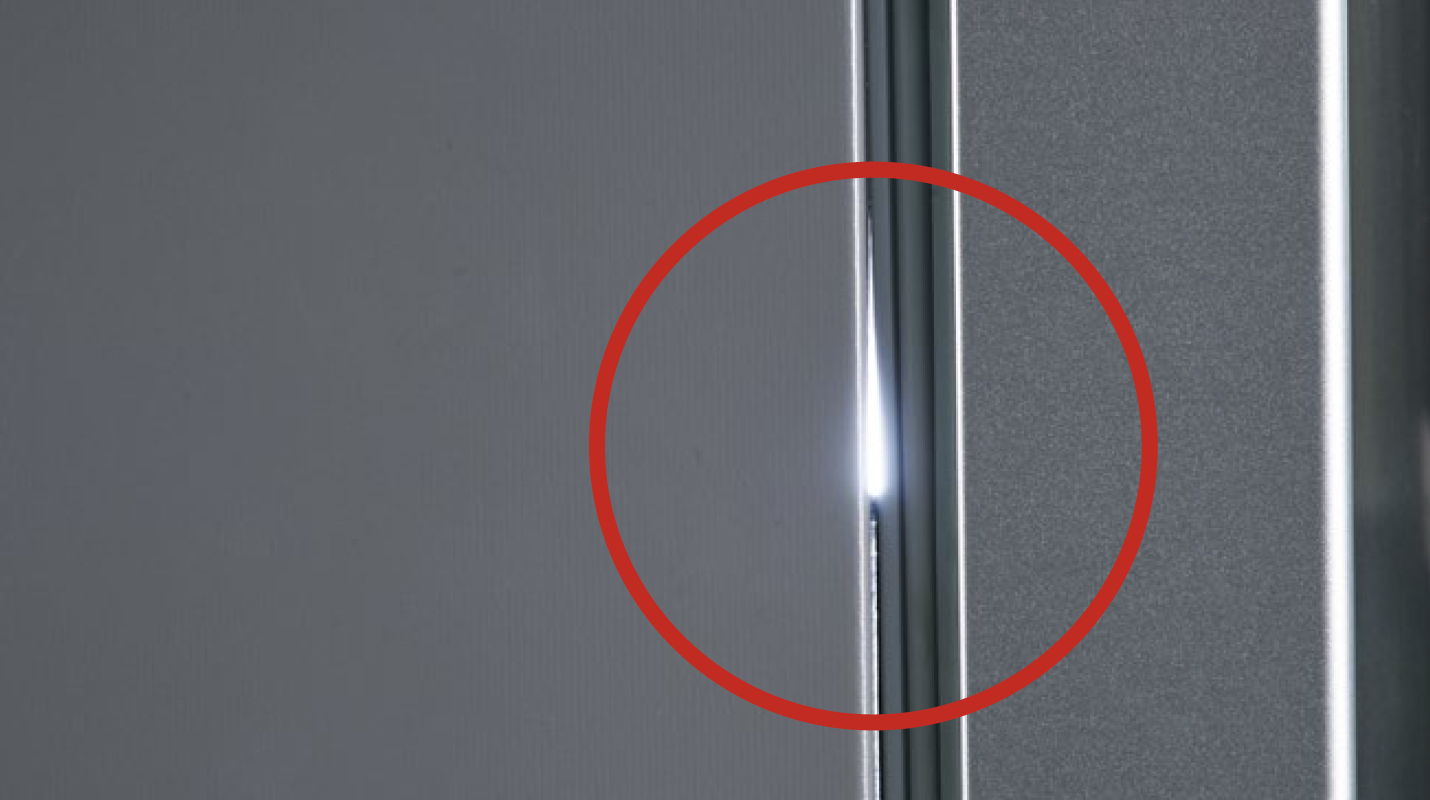
Place a torch in cabinet and check to see if light leaks out from gasket.
CHECK AND TEST 3

Step 1
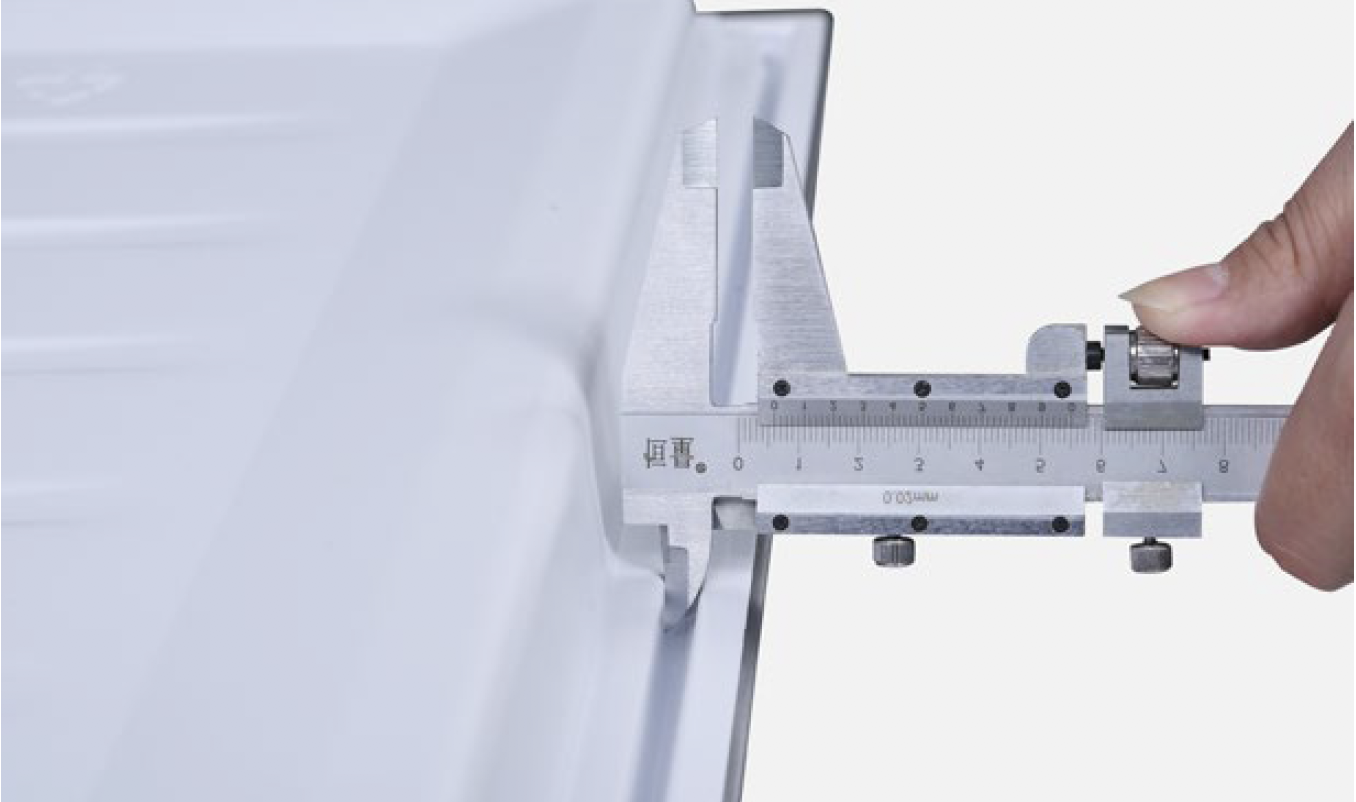
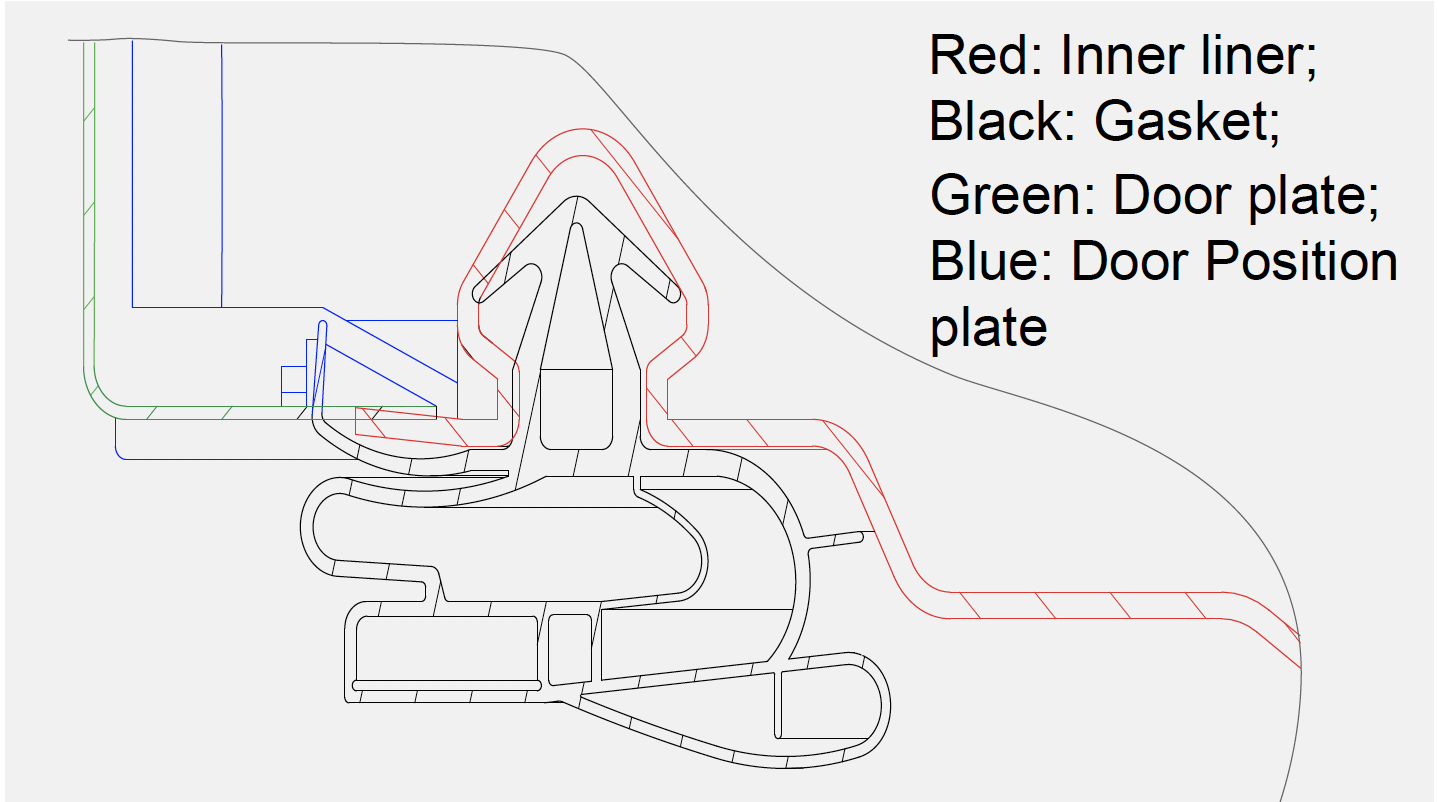
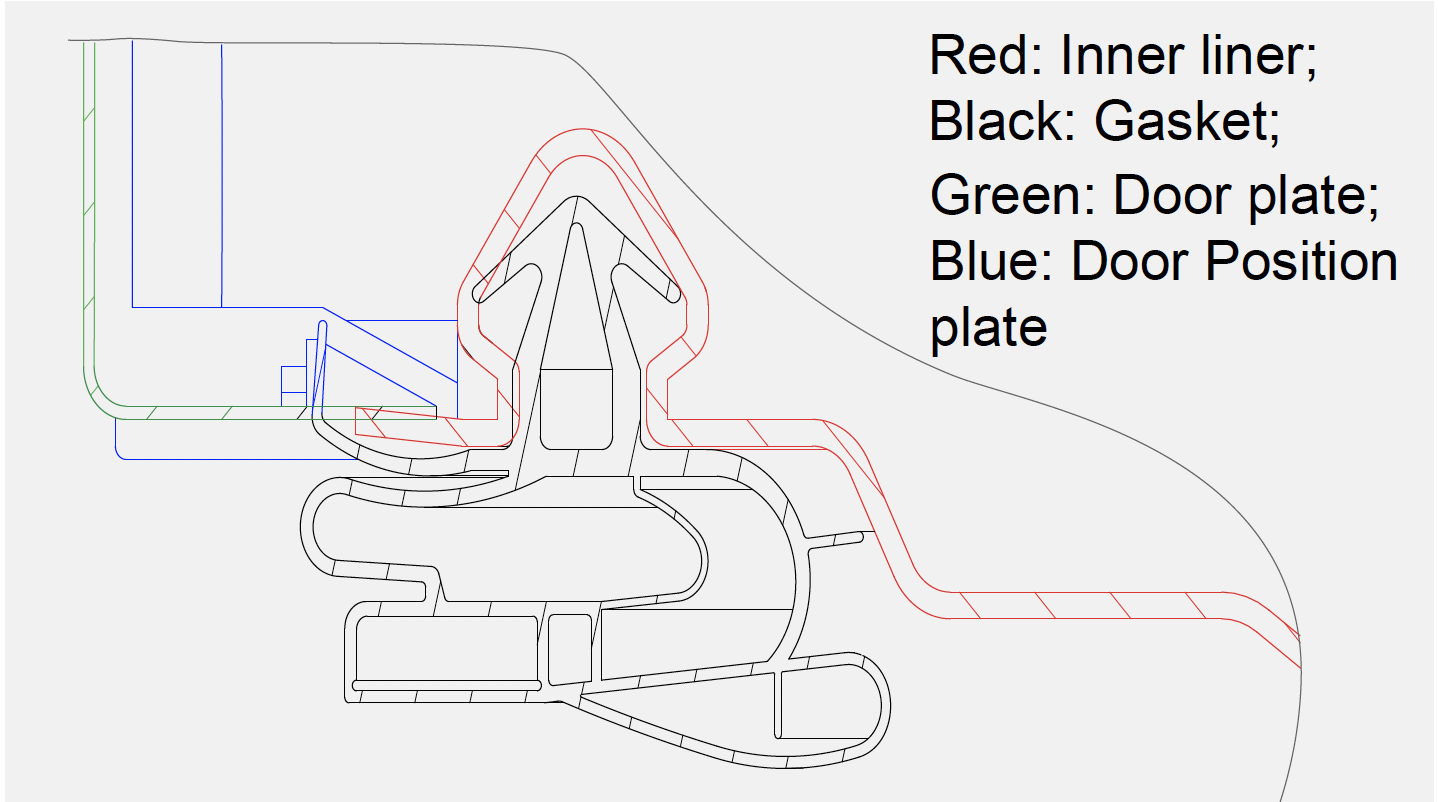
Measure the opening width of gasket seat with Vernier calipers.
Step 2
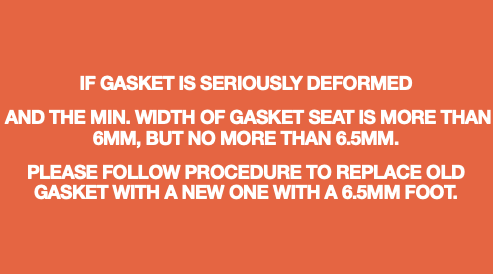
Assessment of results measured value.

DIAGNOSIS 4
CHECK AND TEST 4
Step 1
Use tool with same shape as gasket seat and insert into the seat. Then turn the tool around.

DIAGNOSIS 5
PROCEDURE 3
Step 1
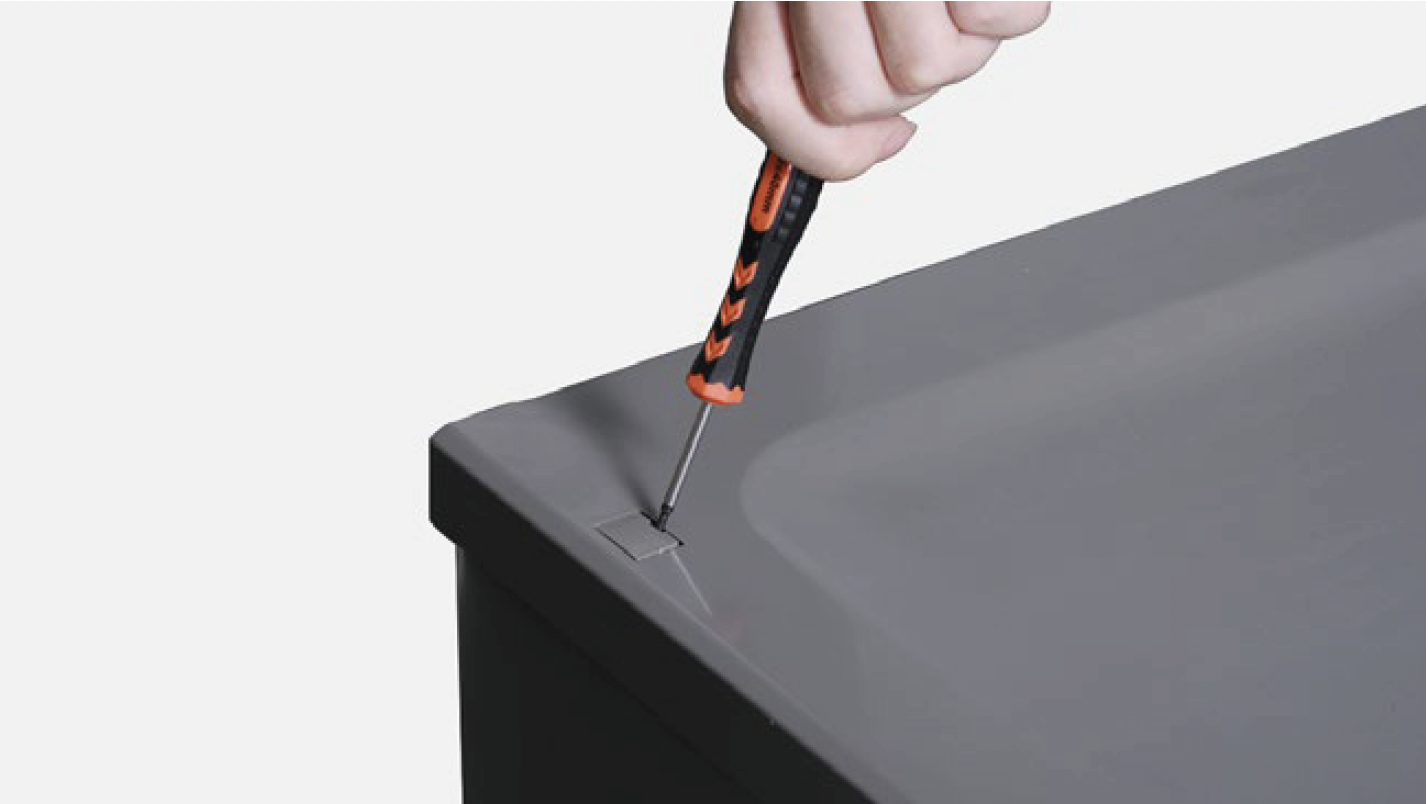
Remove screw cover.
Step 2
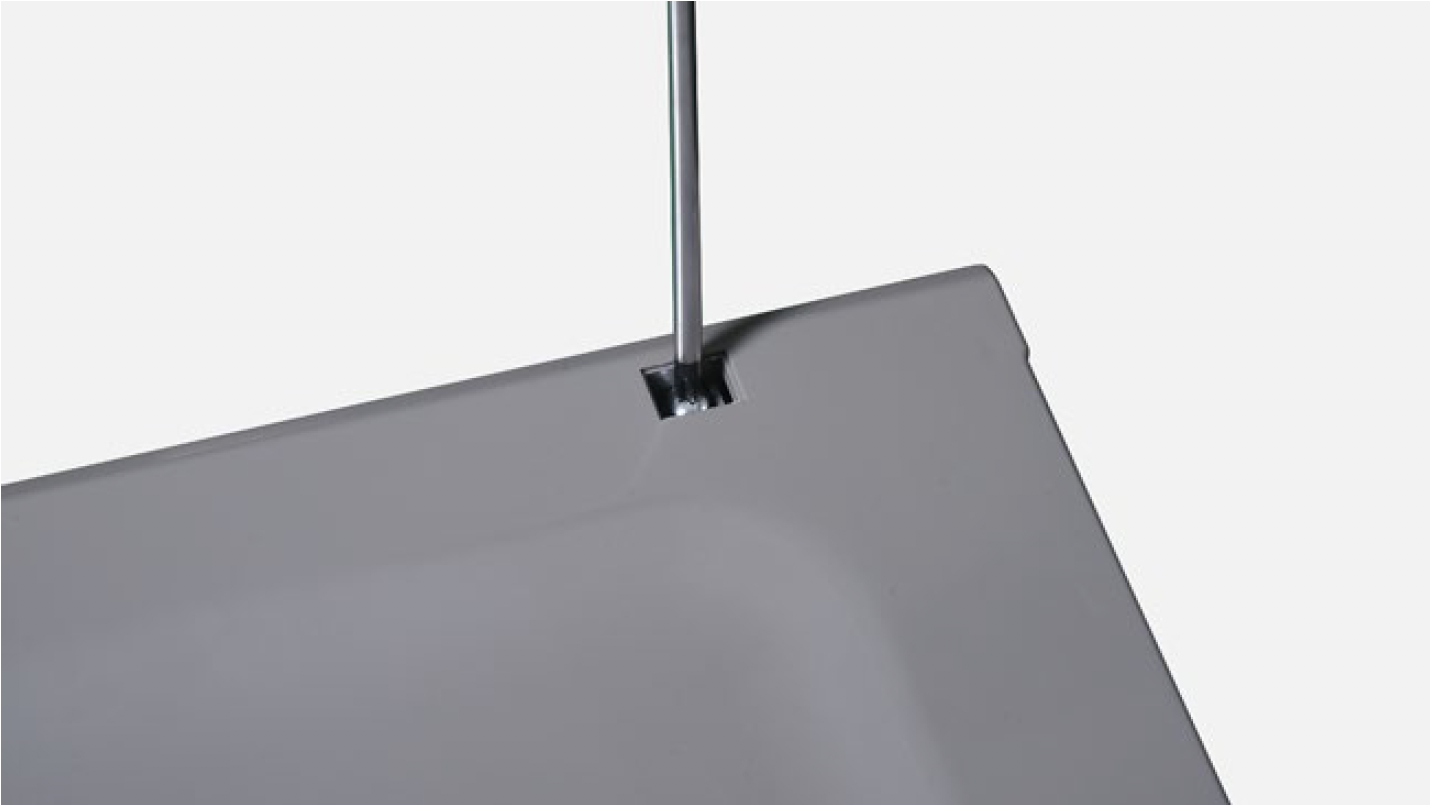
Unscrew
Step 3
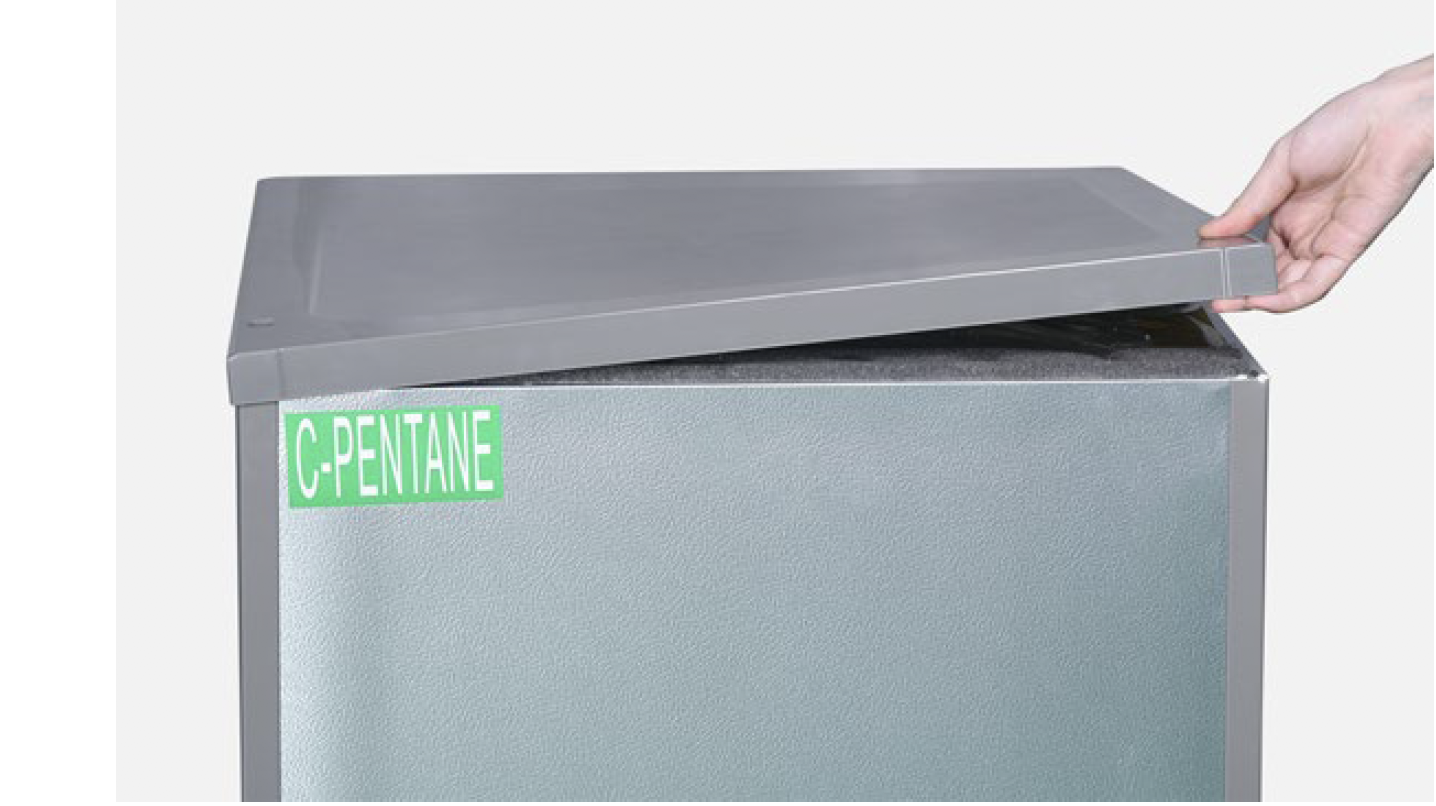
Remove the top cover.
Step 4
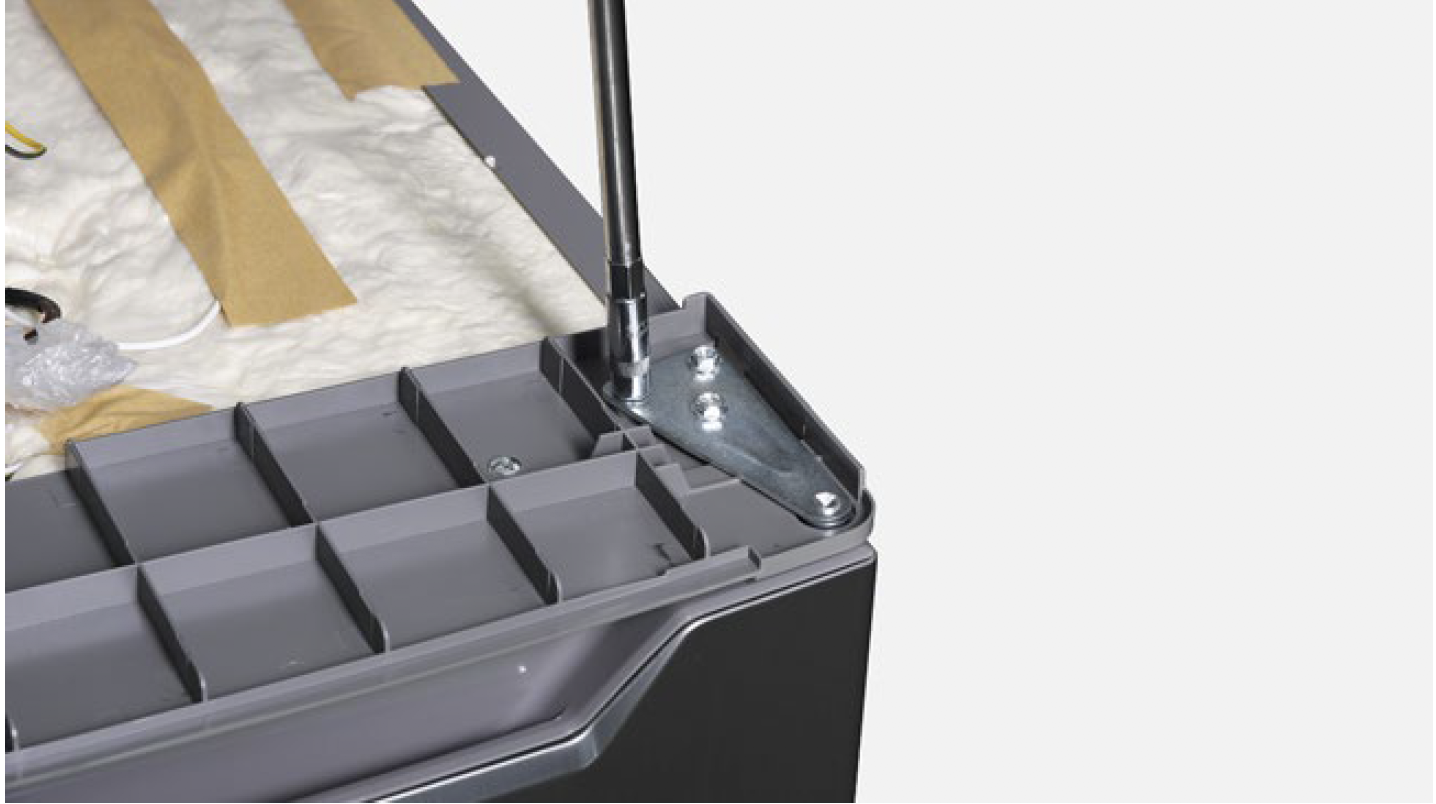
Unscrew bolts.
Step 5
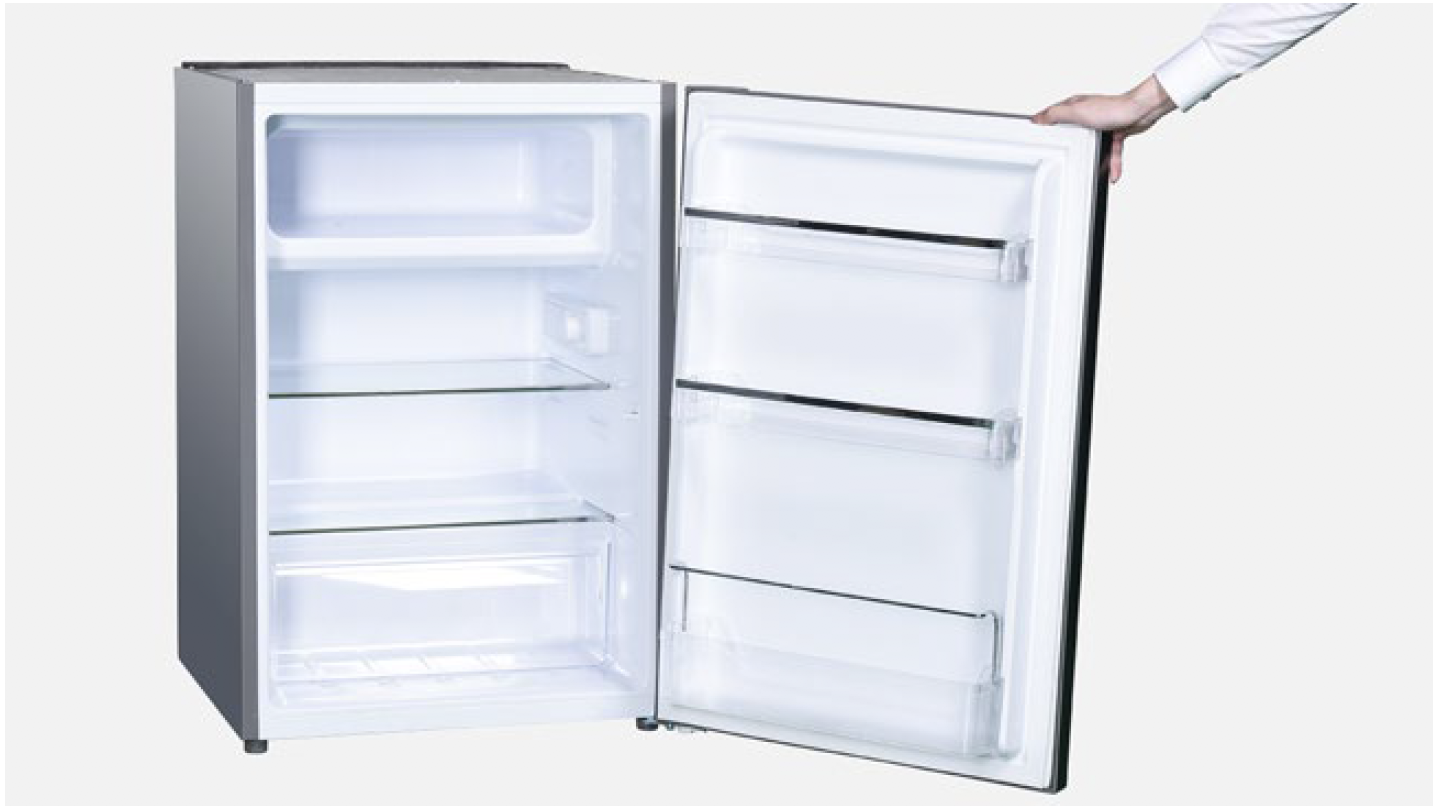
Remove the door.
NOTE
CHECK AND TEST 5
Step 1
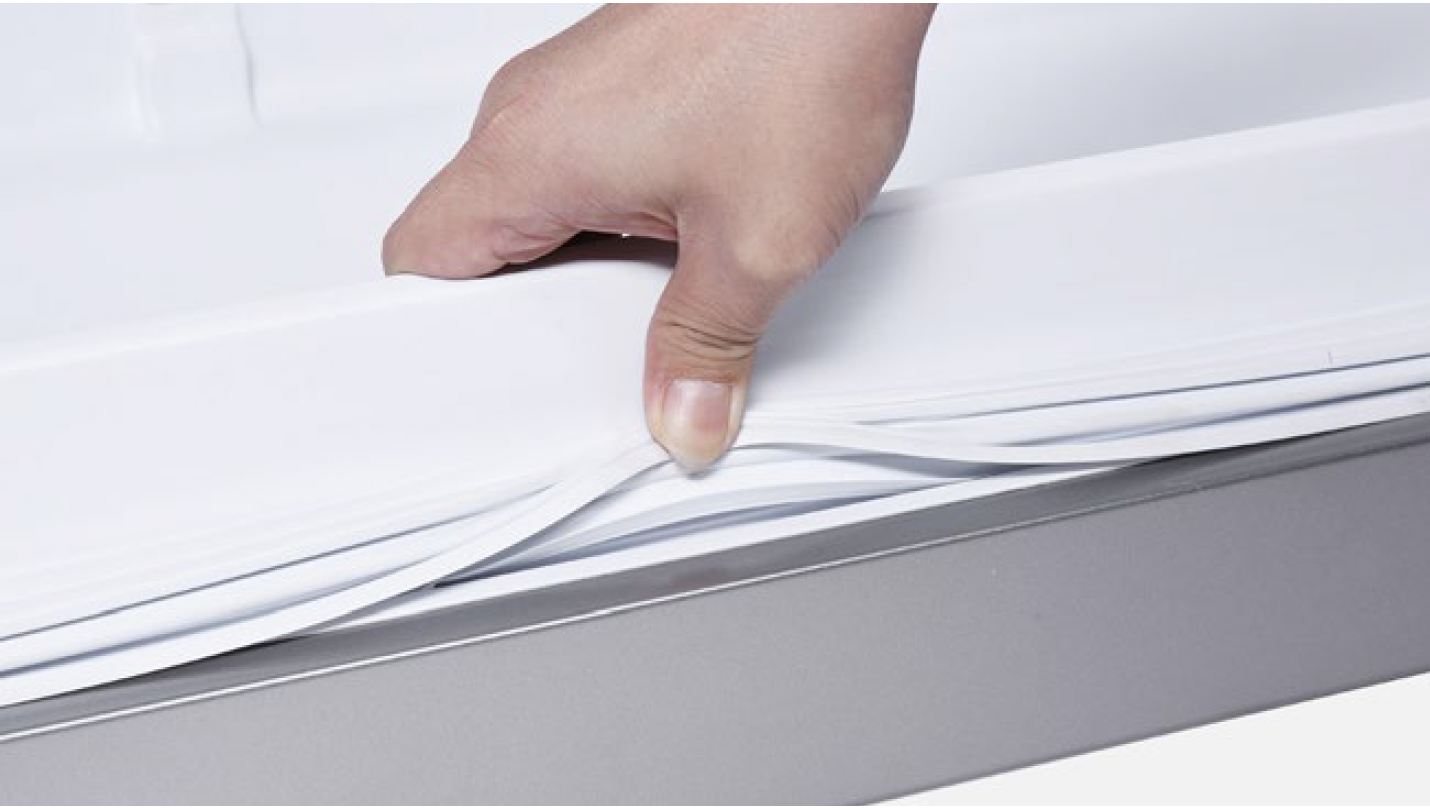
Step 1 Make sure gasket isn’t detaching anywhere.
Step 2
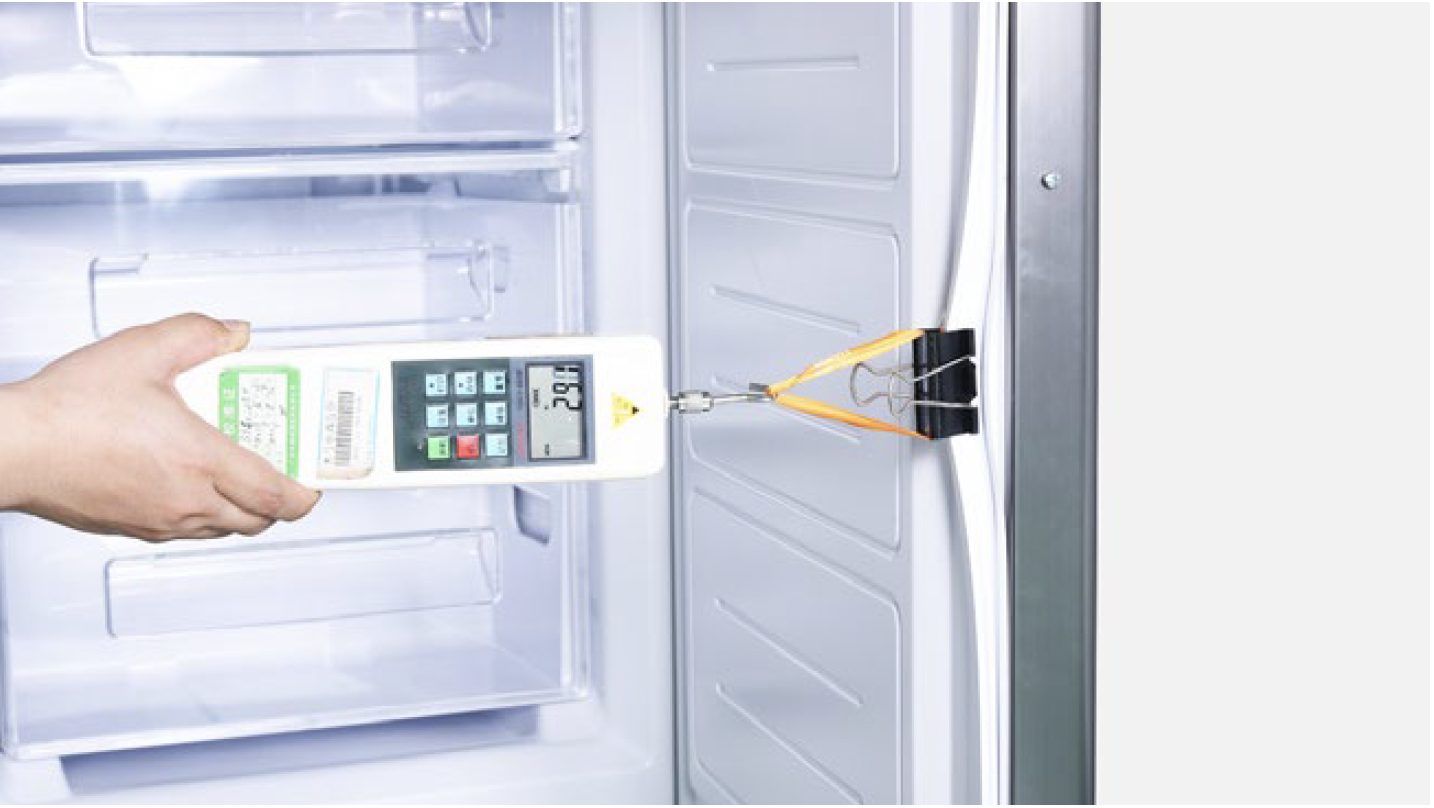
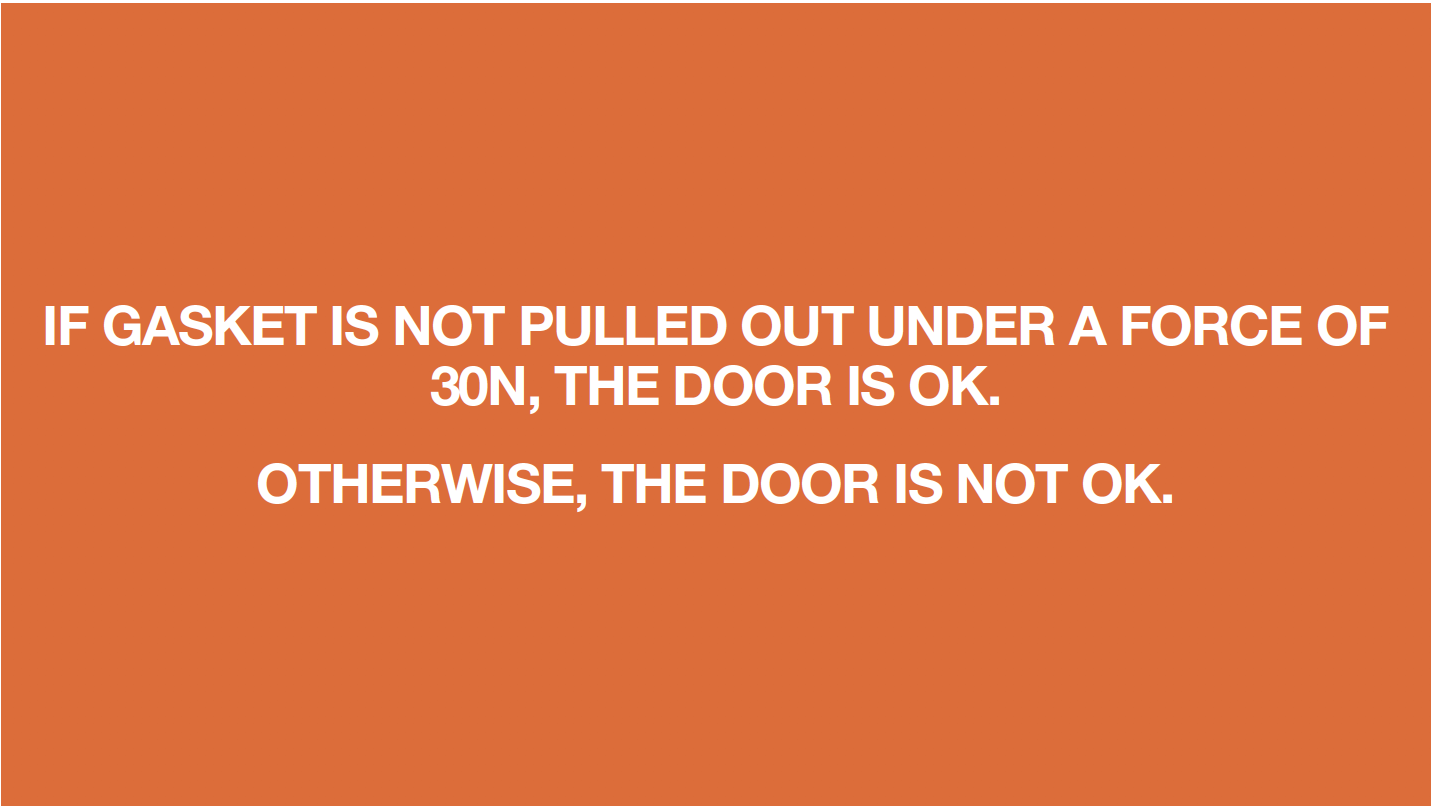
Insert the gasket into gasket seat and pull it with a force of 30N.

DIAGNOSIS 6

Step 1
After replacing the gasket, blow hot air onto gasket with Hair Dryer to soften, so that gasket can be easily attached onto cabinet.
Tip 1
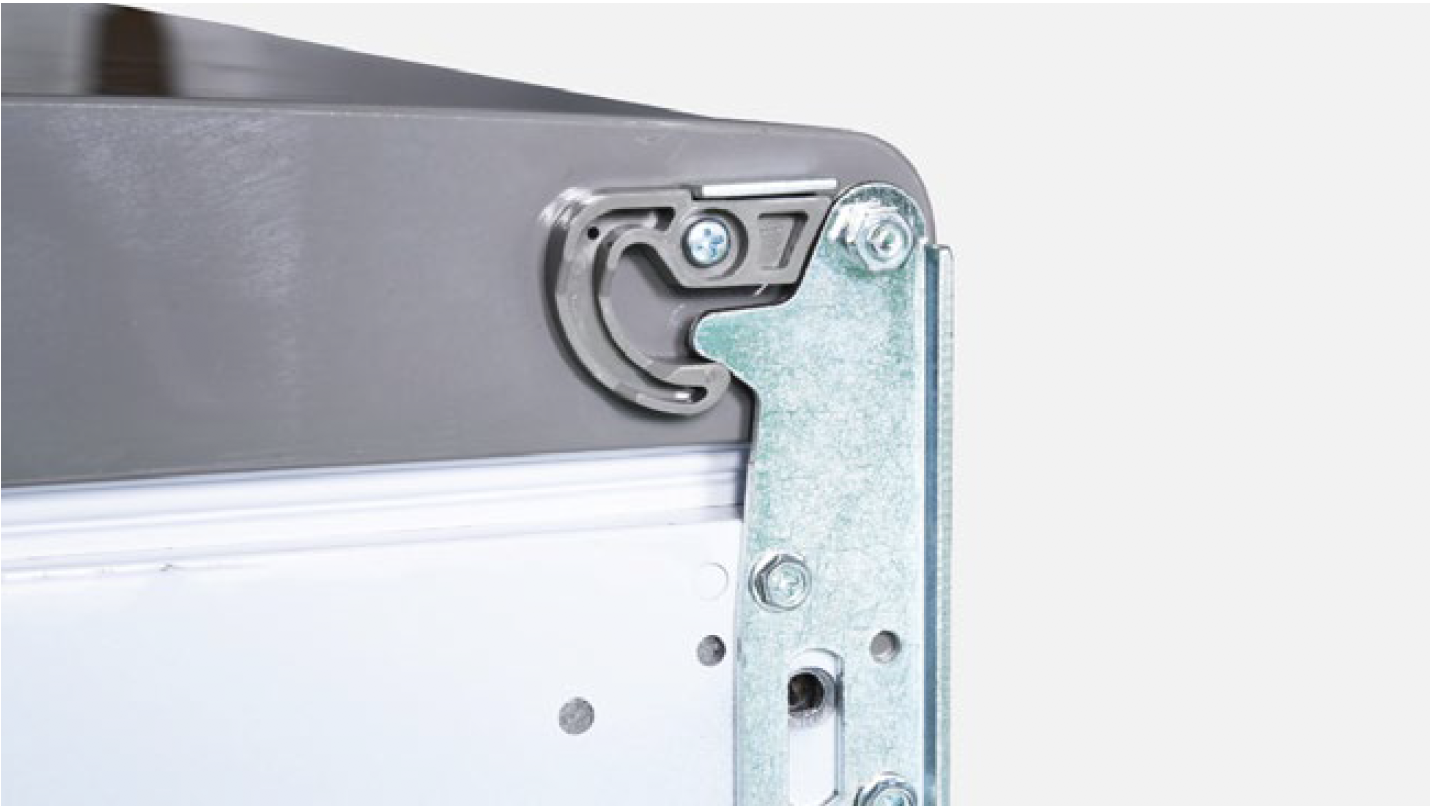
When installing door onto hinge, please check the alignment between doorstopper and hinge.
Tip 2
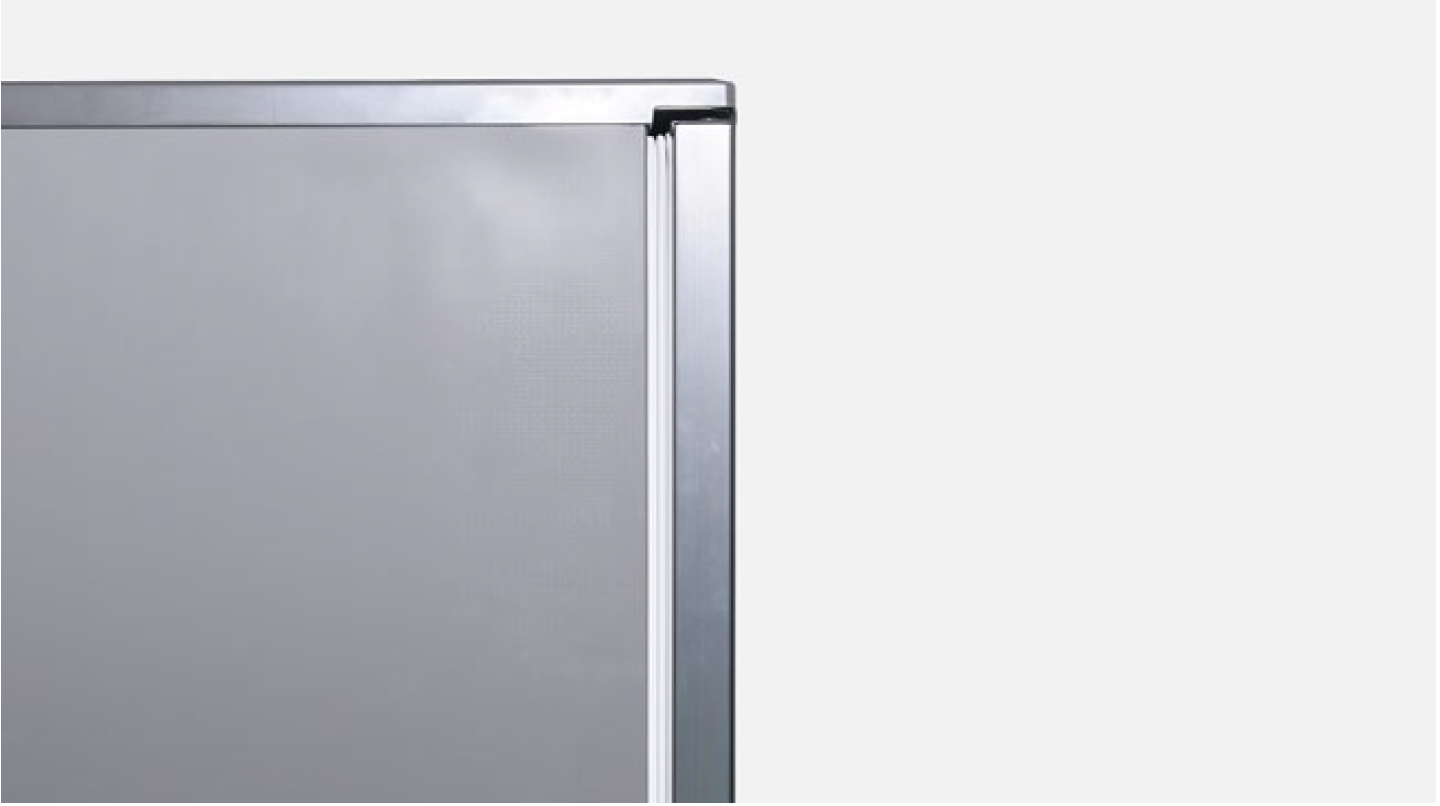
Make sure gasket is properly attached.
Tip 3
Make sure the door is parallel to the cabinet.
Tip 4
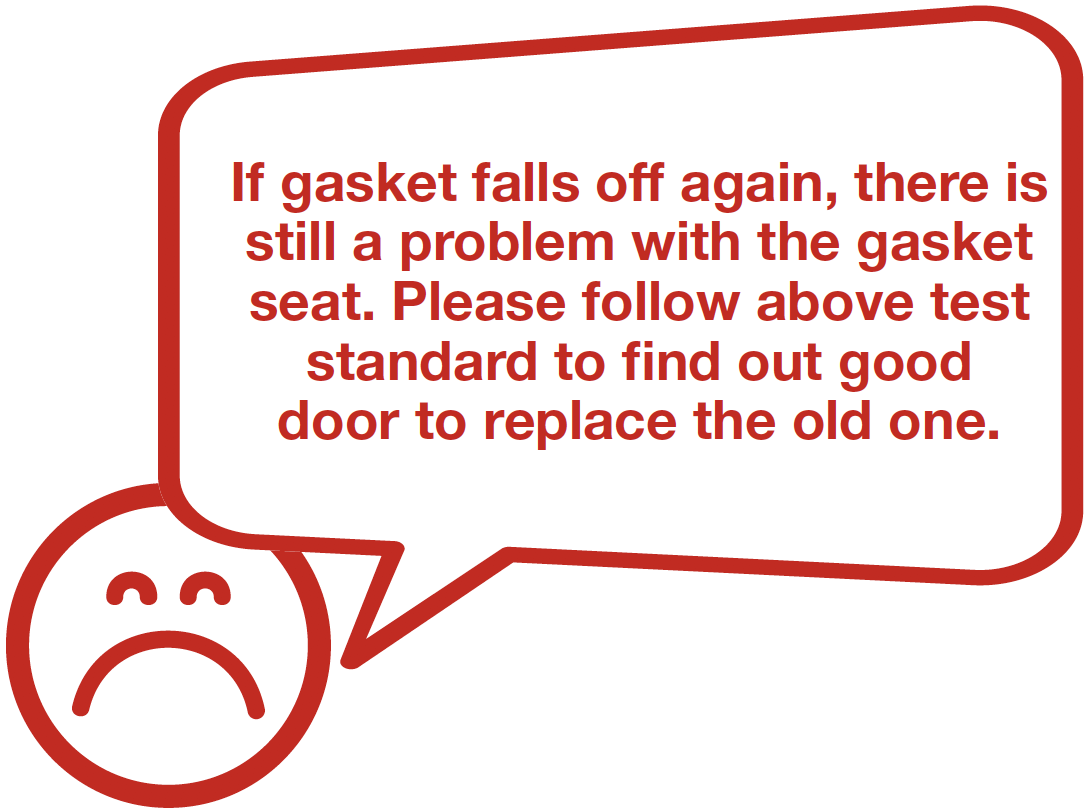
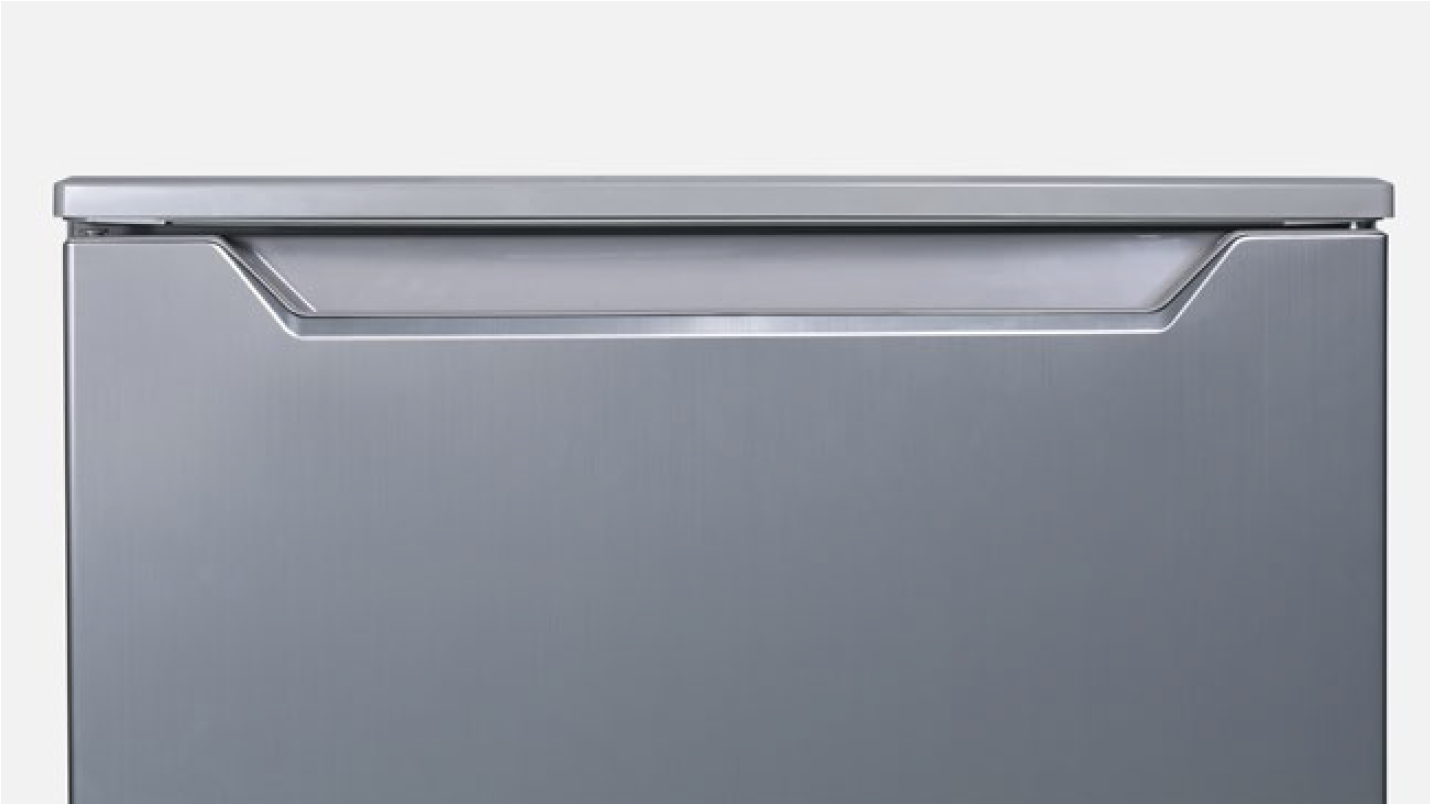
Make sure gasket isn’t detaching anywhere.

DIAGNOSIS 7
Step 4
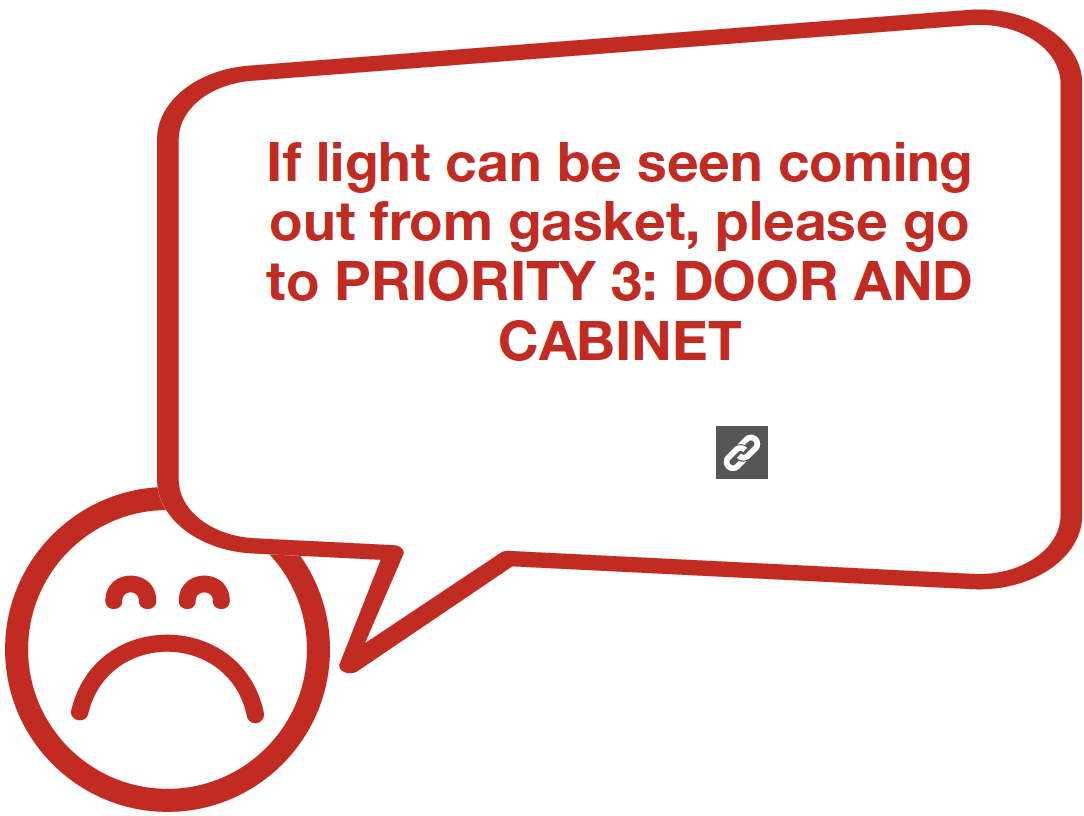
Place a torch in cabinet and check to see if light leaks out from gasket.
