

CHECK AND TEST 1
Step 1
Check carefully if gasket is wrinkling or deformed.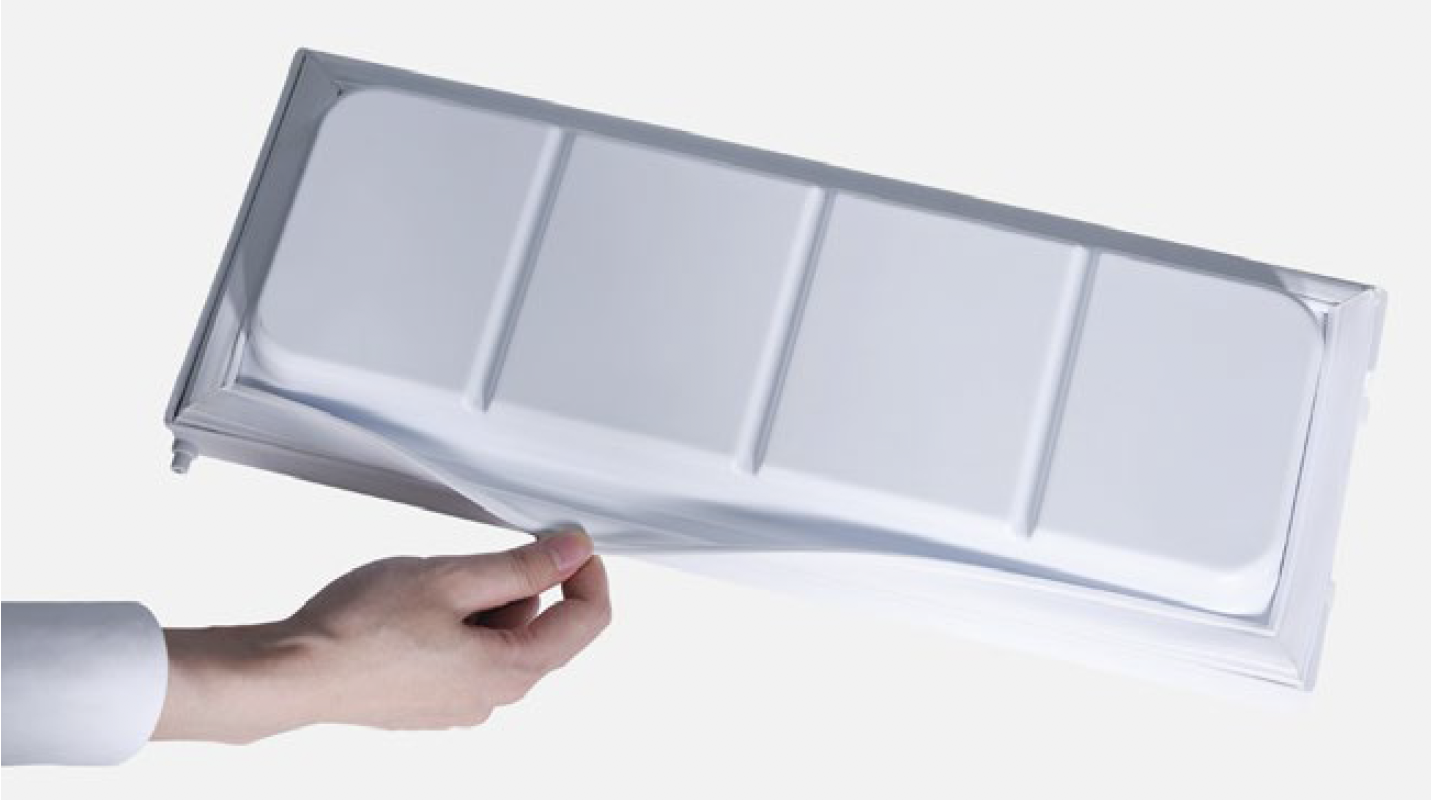
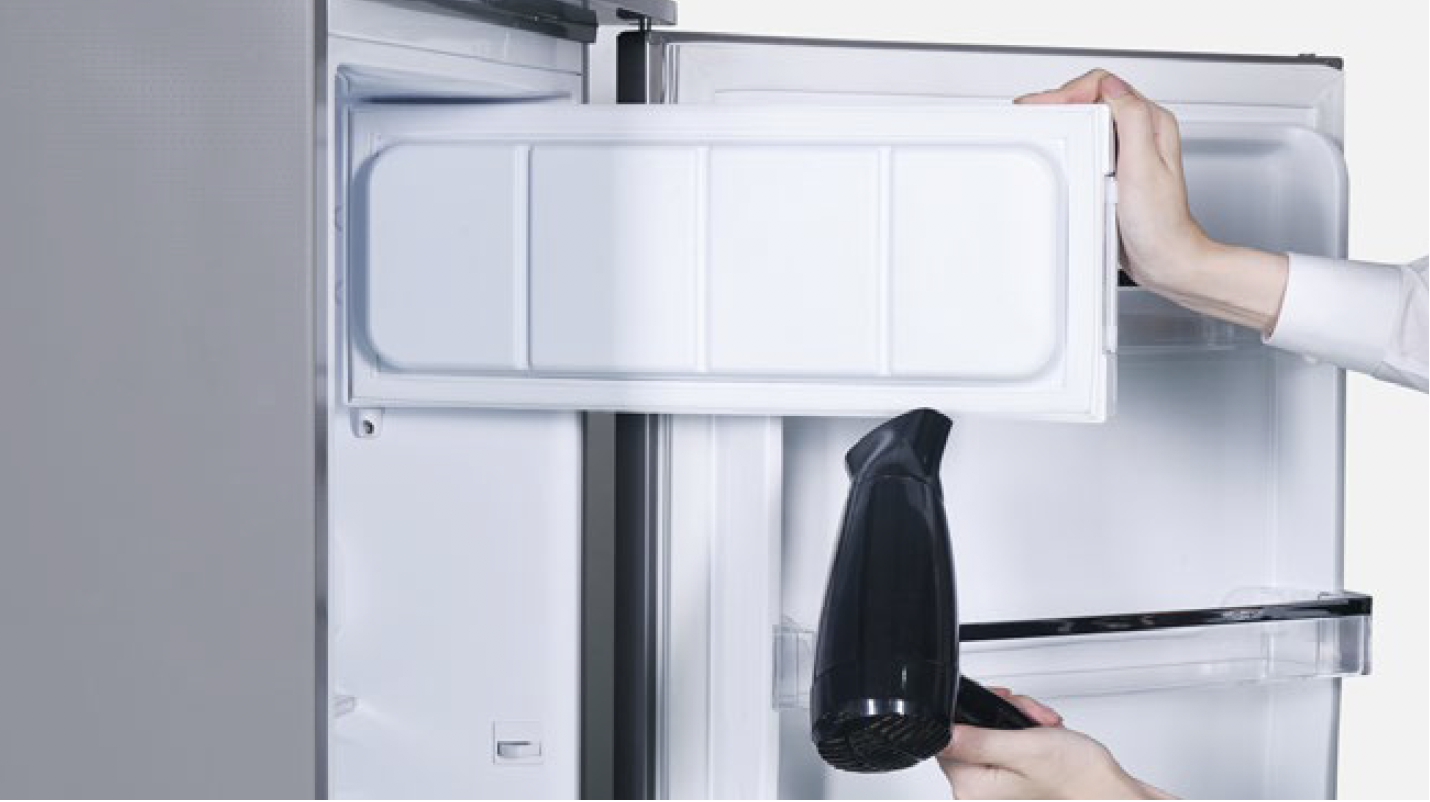
Step 2
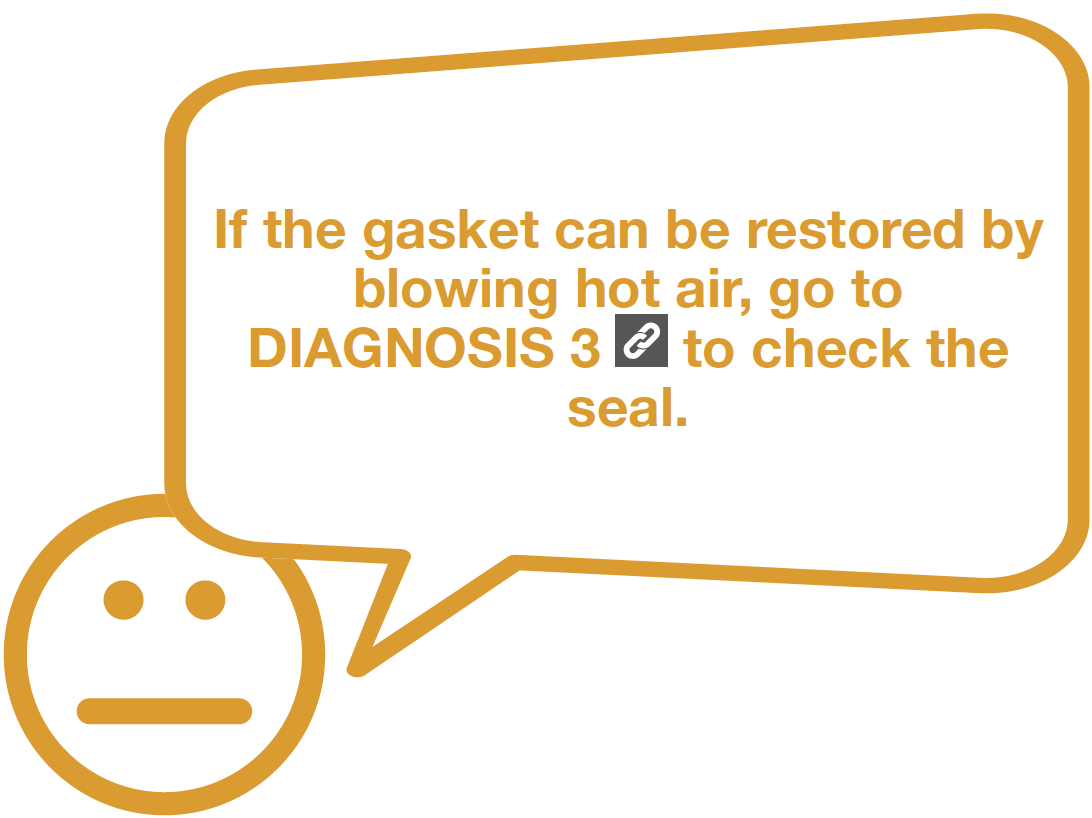
Use hair dryer to rework it.
DIAGNOSIS 1

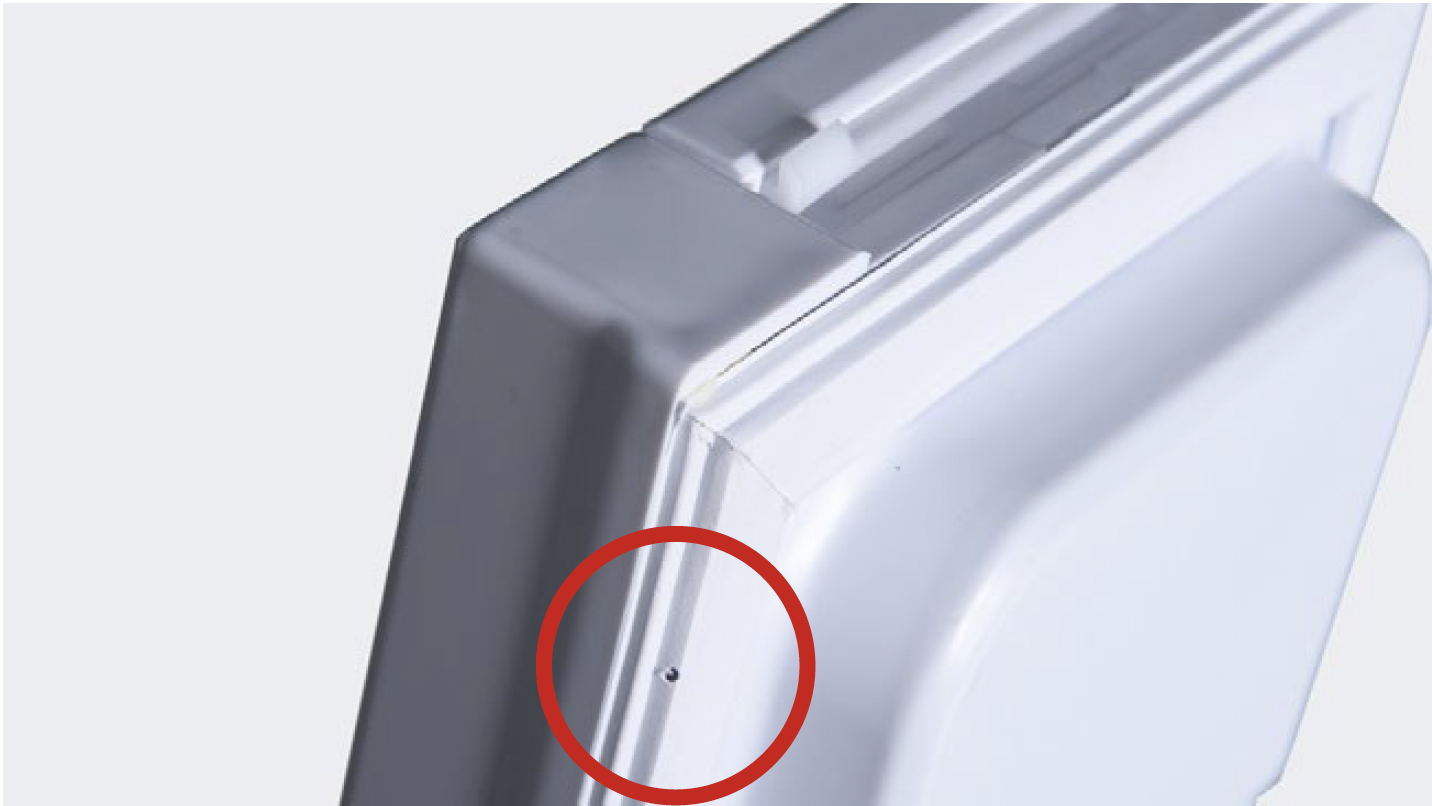
CHECK AND TEST 2
Step 1
Check carefully if gasket is cracked
Note There are 4 uniform holes on the edge of gasket, it’s normal.

DIAGNOSIS 2
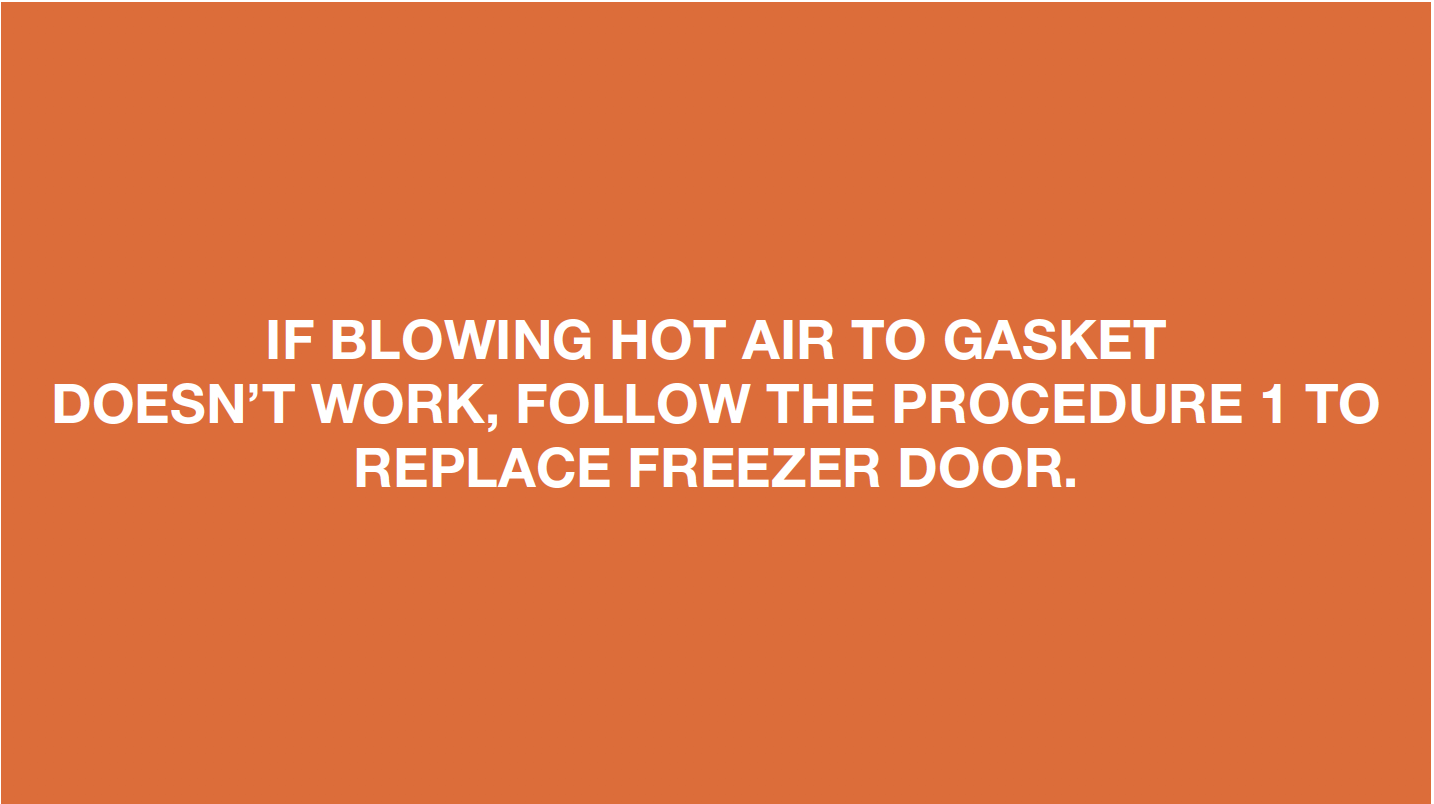
PROCEDURE 1
Step 1
Unscrew.

Step 2
Remove hinge base.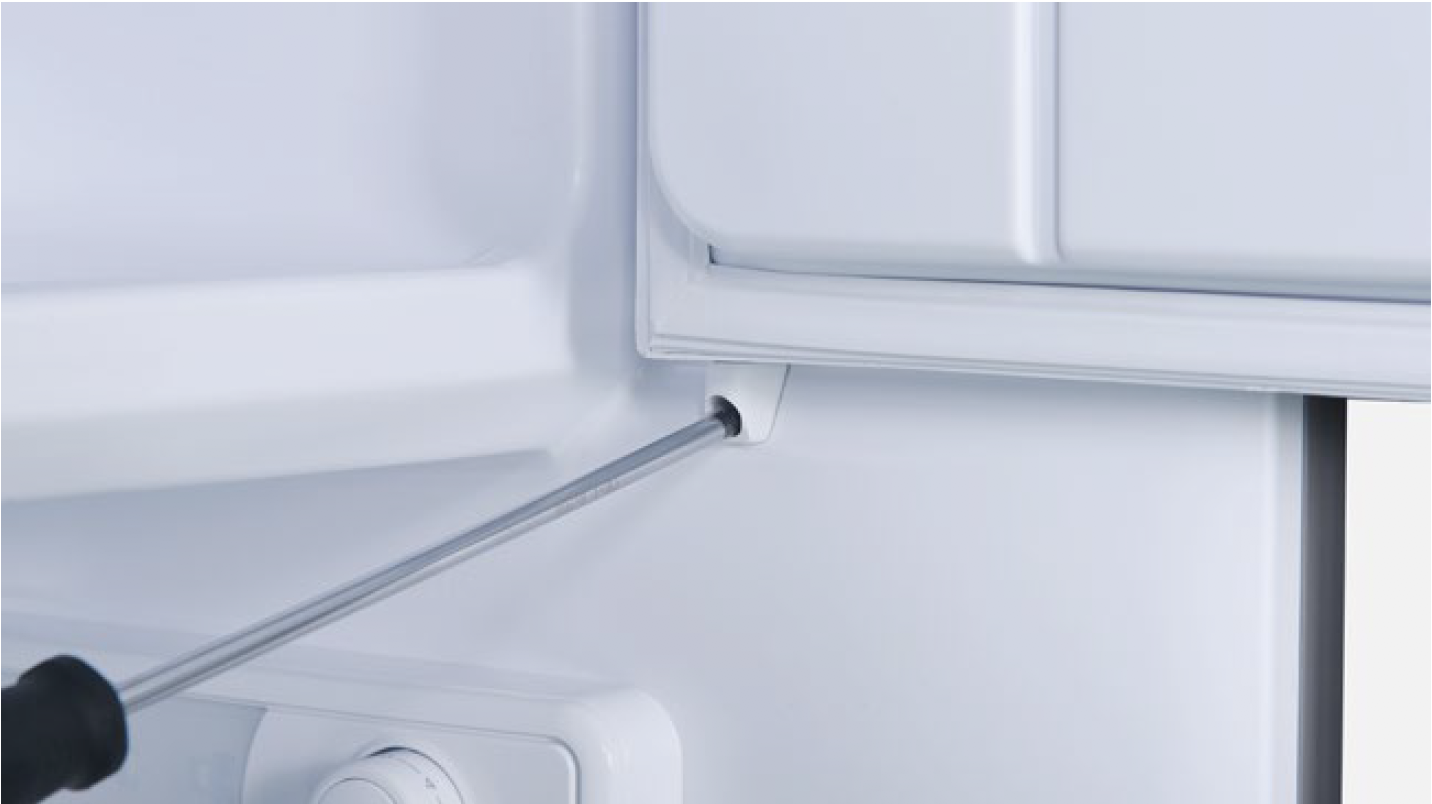
Step 3
Pull top pin out of top hinge hole on cabinet.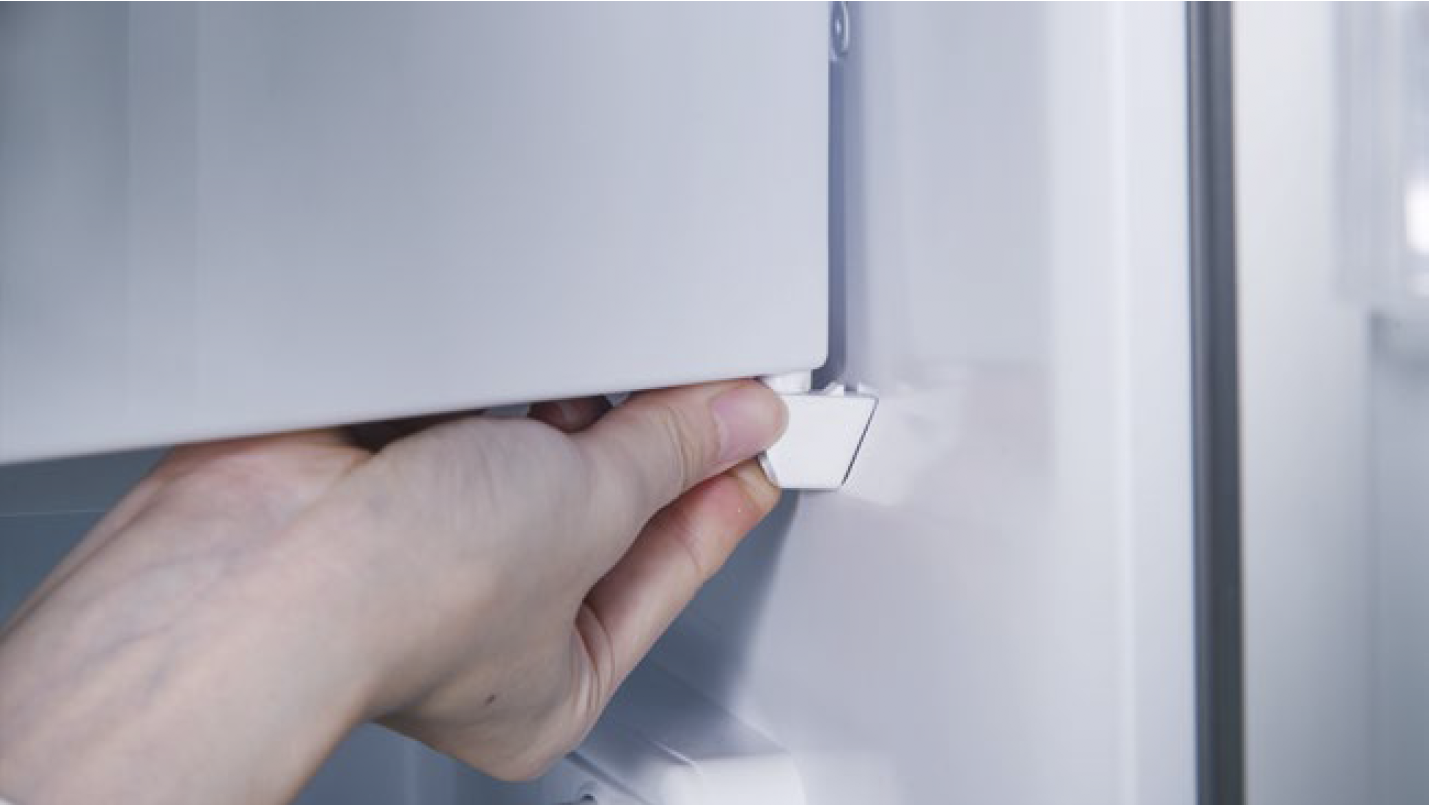
Step 4
Remove freezer door.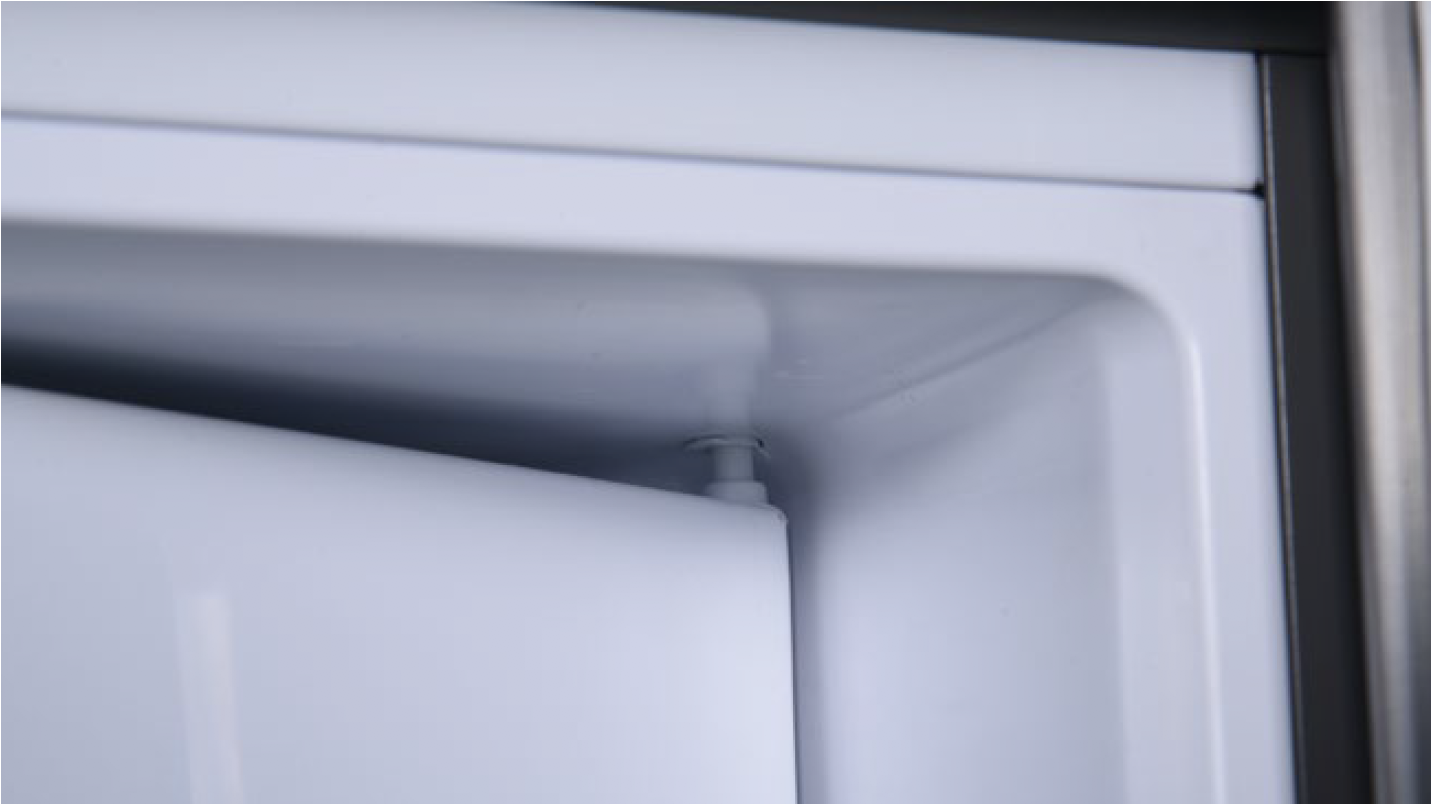
DIAGNOSIS 3

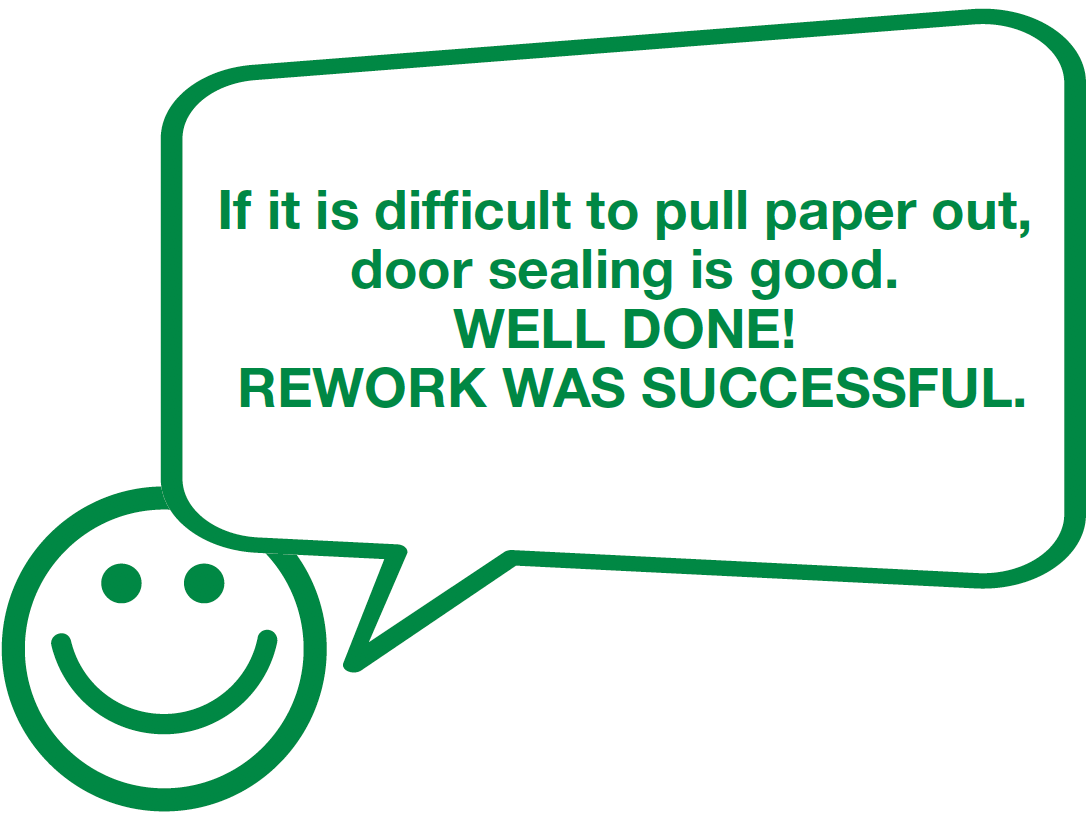
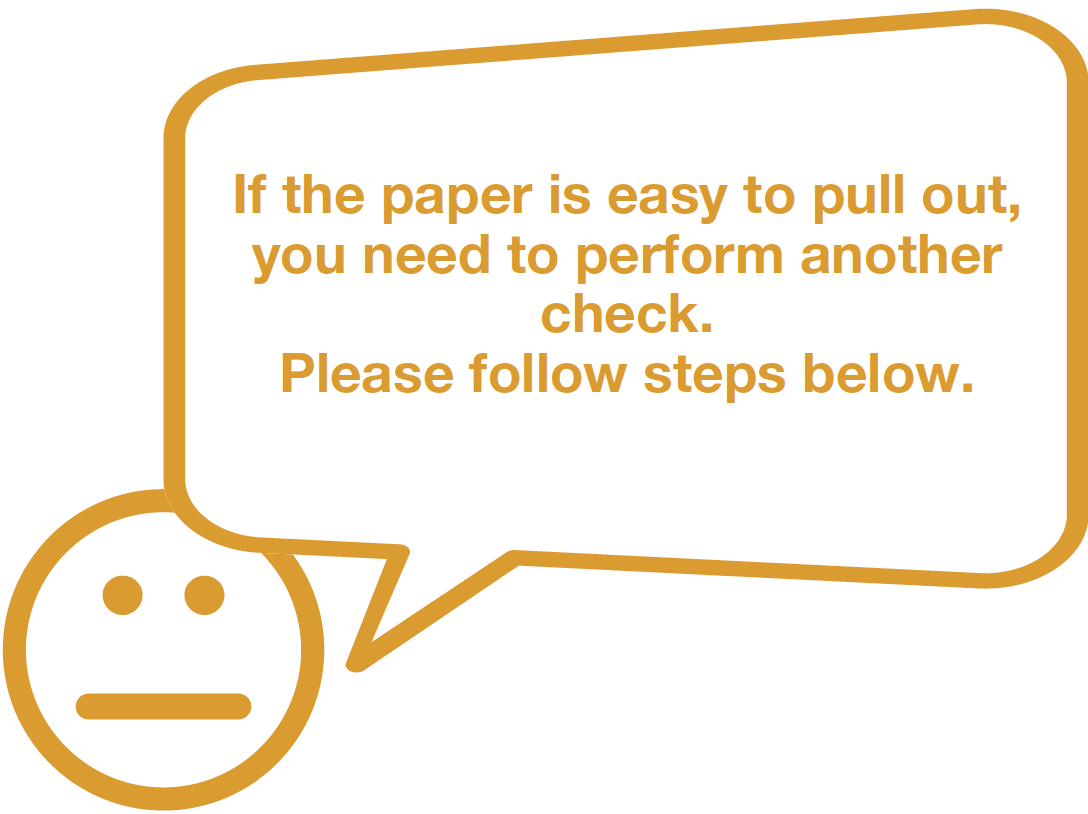
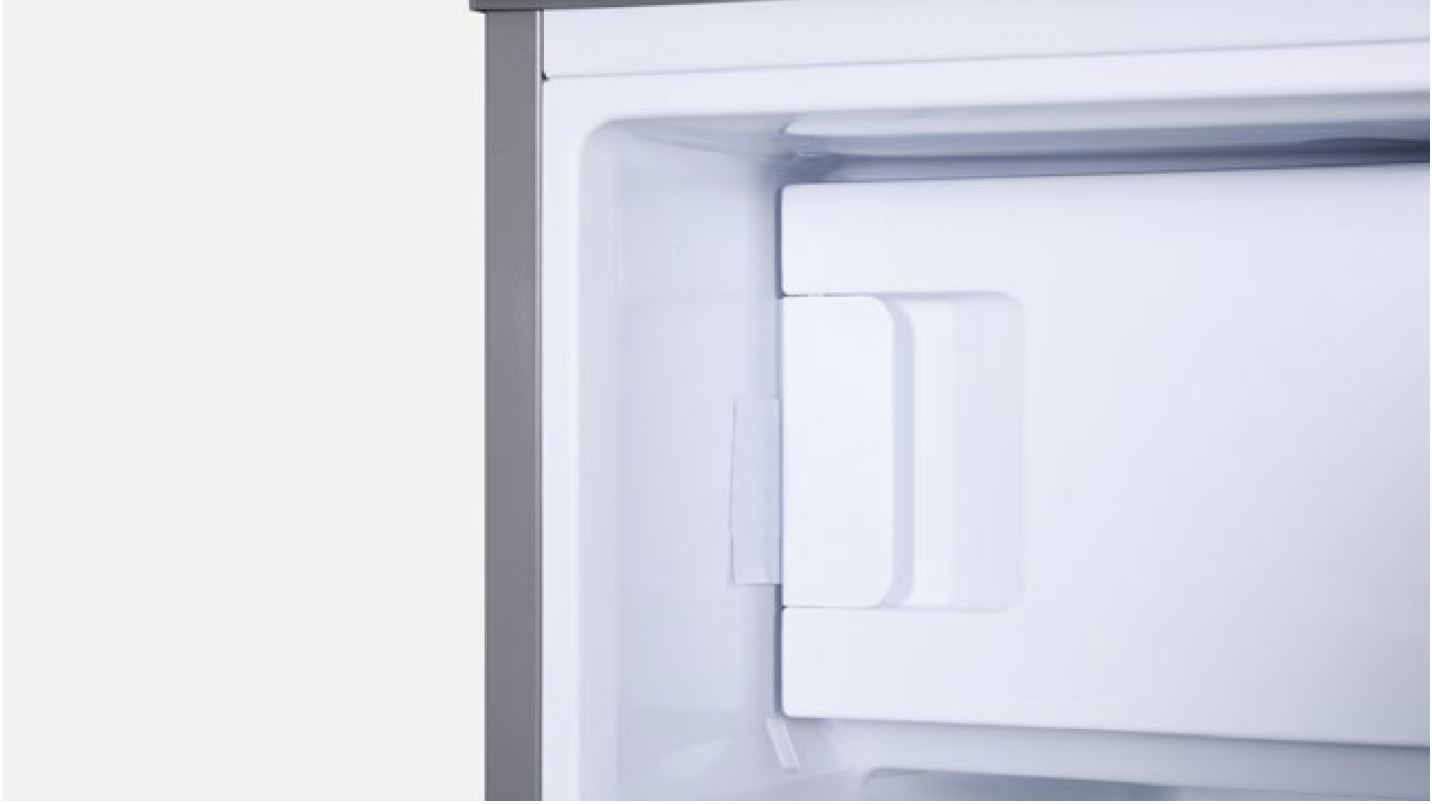
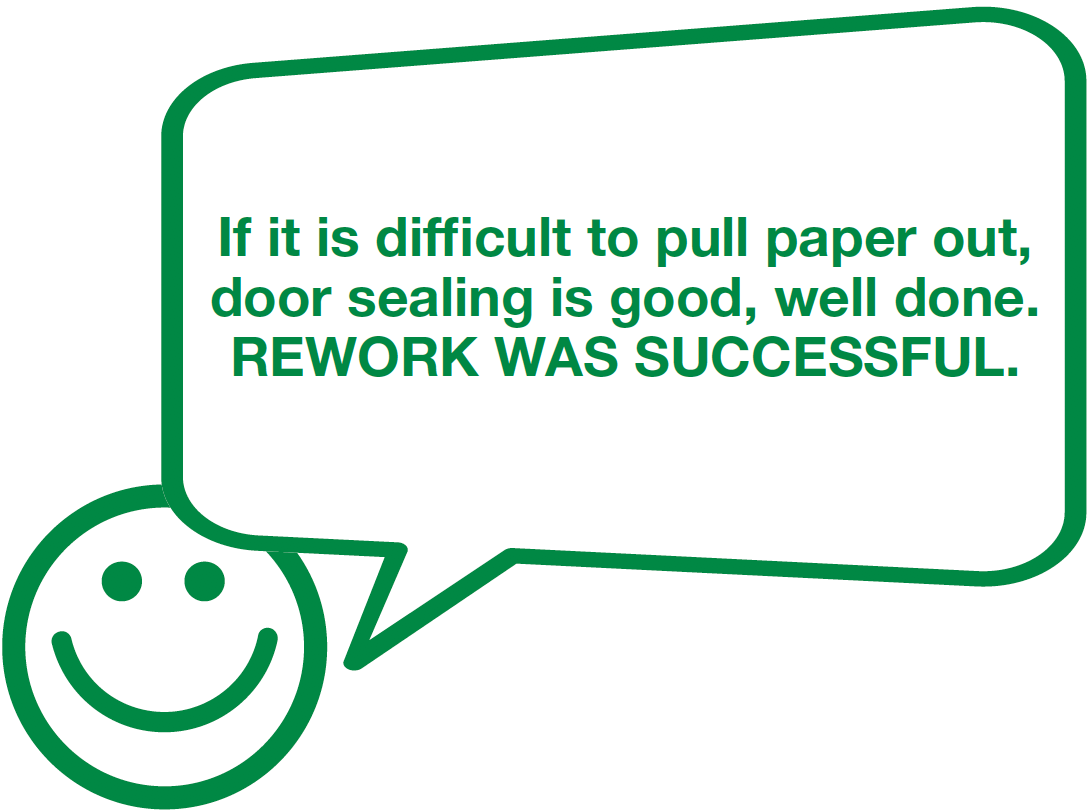
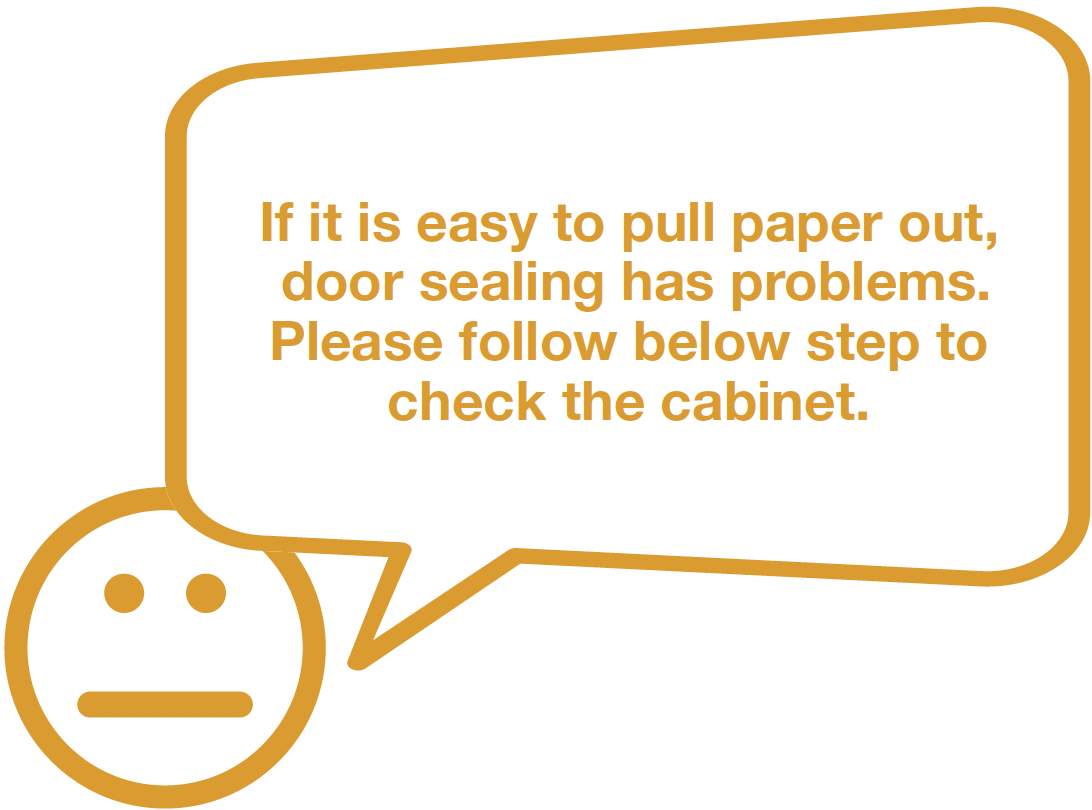
Step 1
Pull the paper out and check if it’s easy to pull out in upright direction and horizontal direction.
CHECK AND TEST 3
Step 1
Pull the door handle to see if freezer door closes properly.

Step 2
Check to see if the latch bolt is cracked or immovable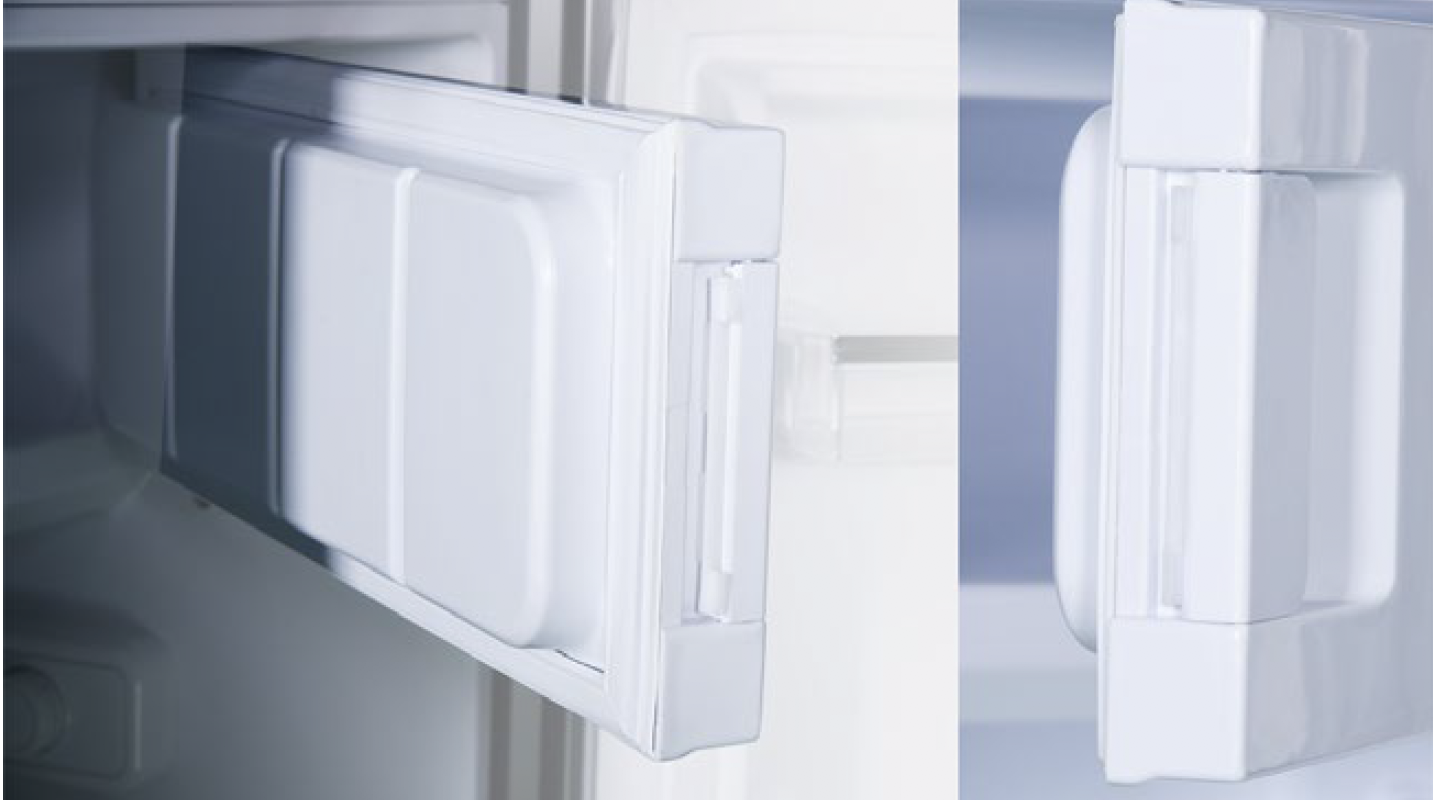
DIAGNOSIS 4

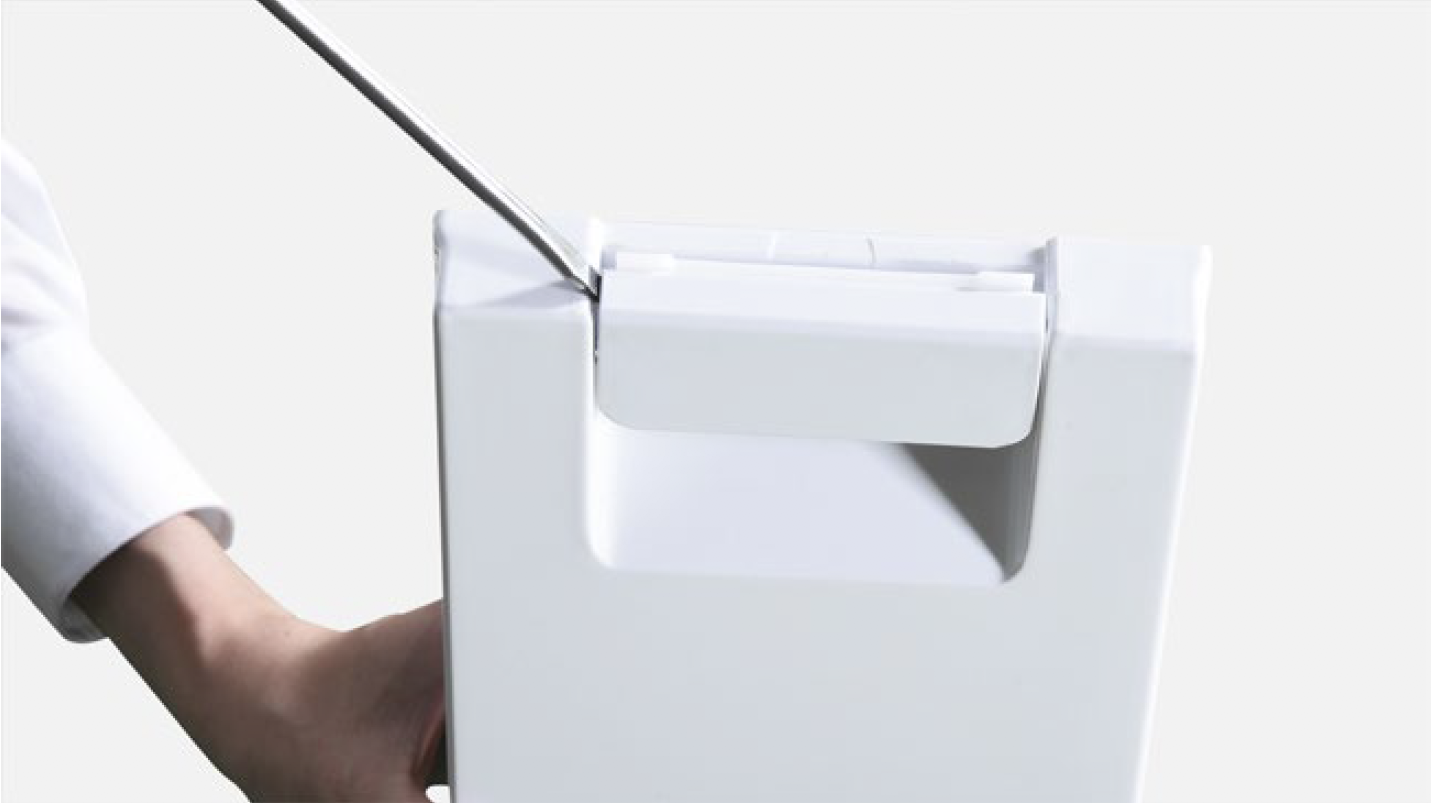
PROCEDURE 2
Step 1
Lever handle part of latch bolt off with screw driver (handle is damaged)
Step 2
Remove handle part of latch.
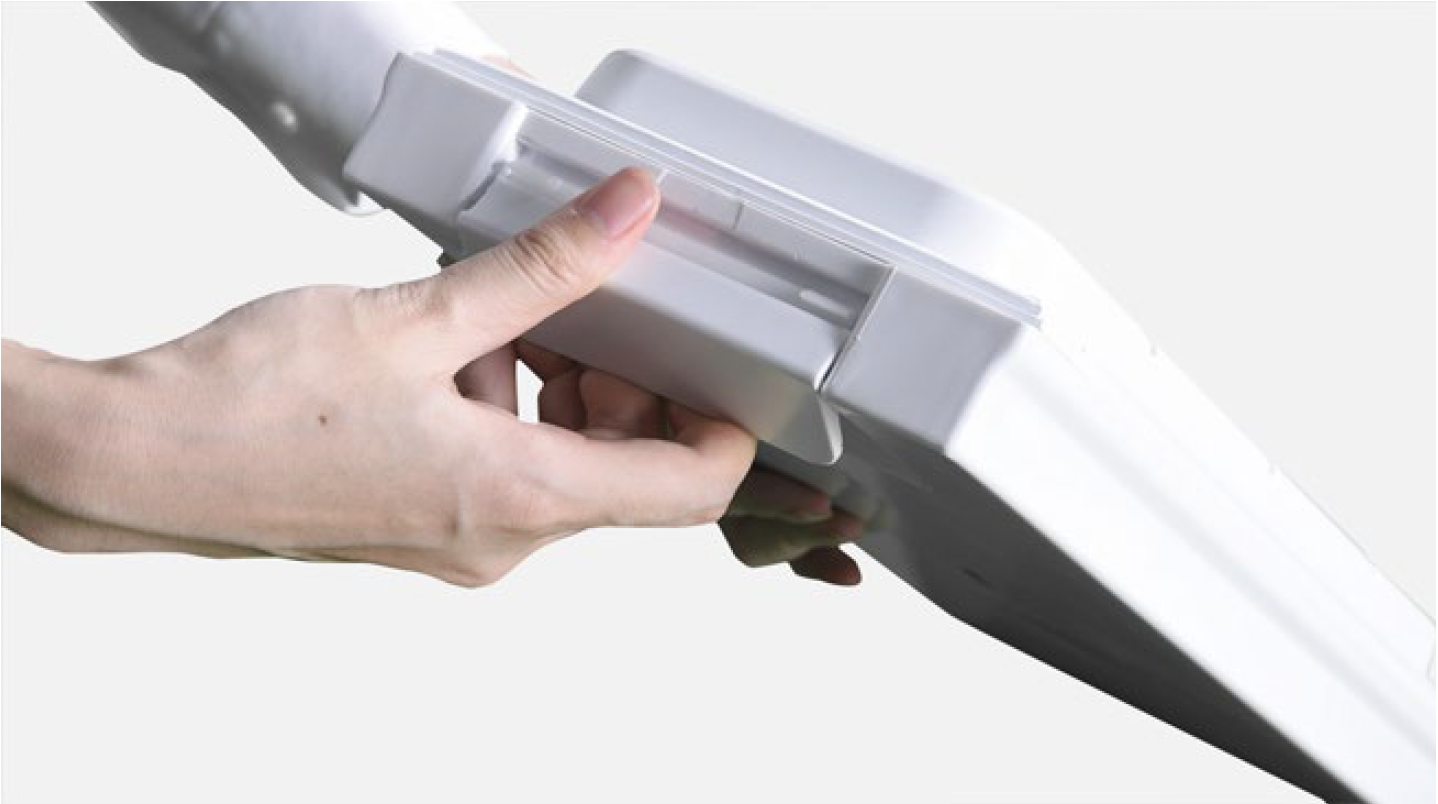
Step 3
Remove spring part of latch.
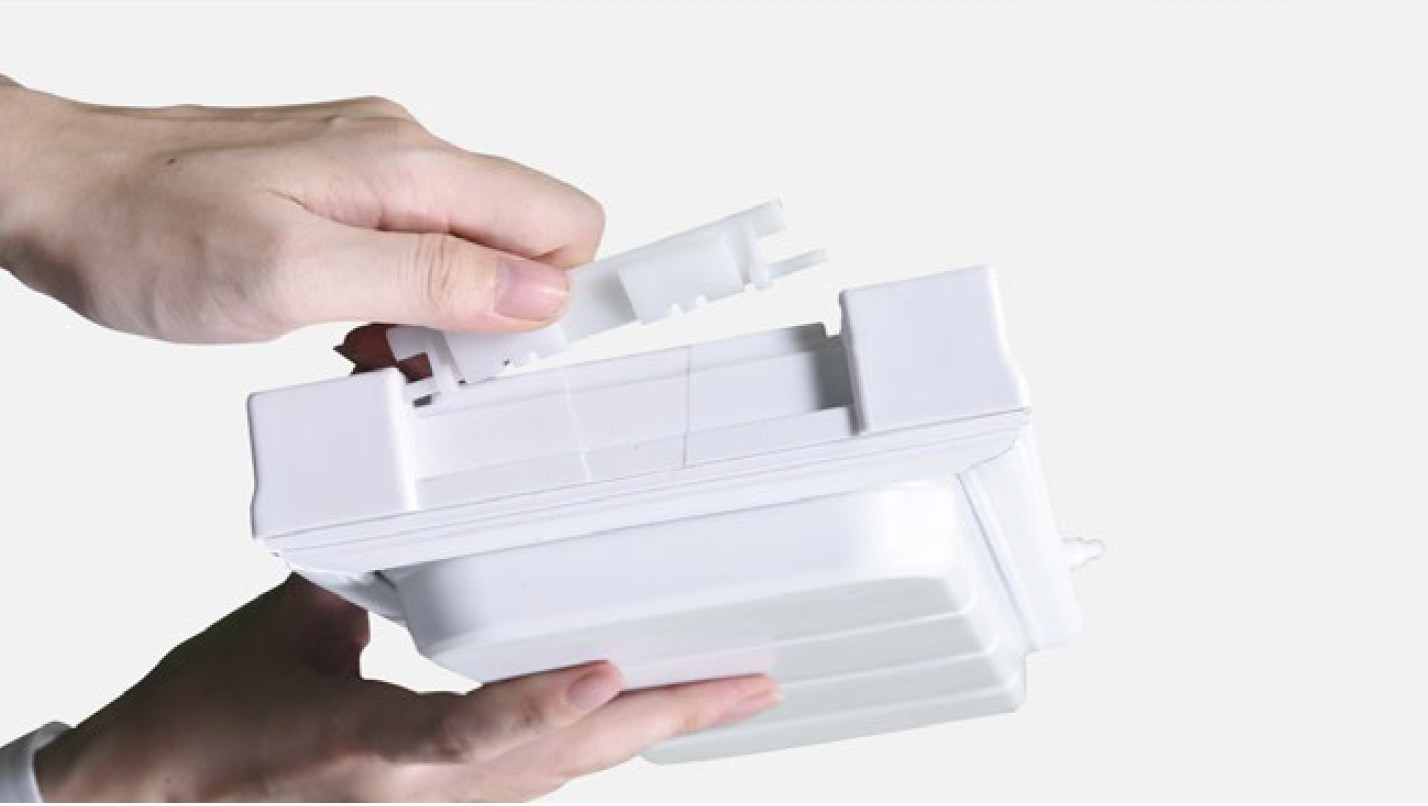
Step 4
Insert a new latch bolt onto door.
DIAGNOSIS 5
Step 1
Pull the paper out and check if it’s easy to pull out in upright direction.
CHECK AND TEST 4
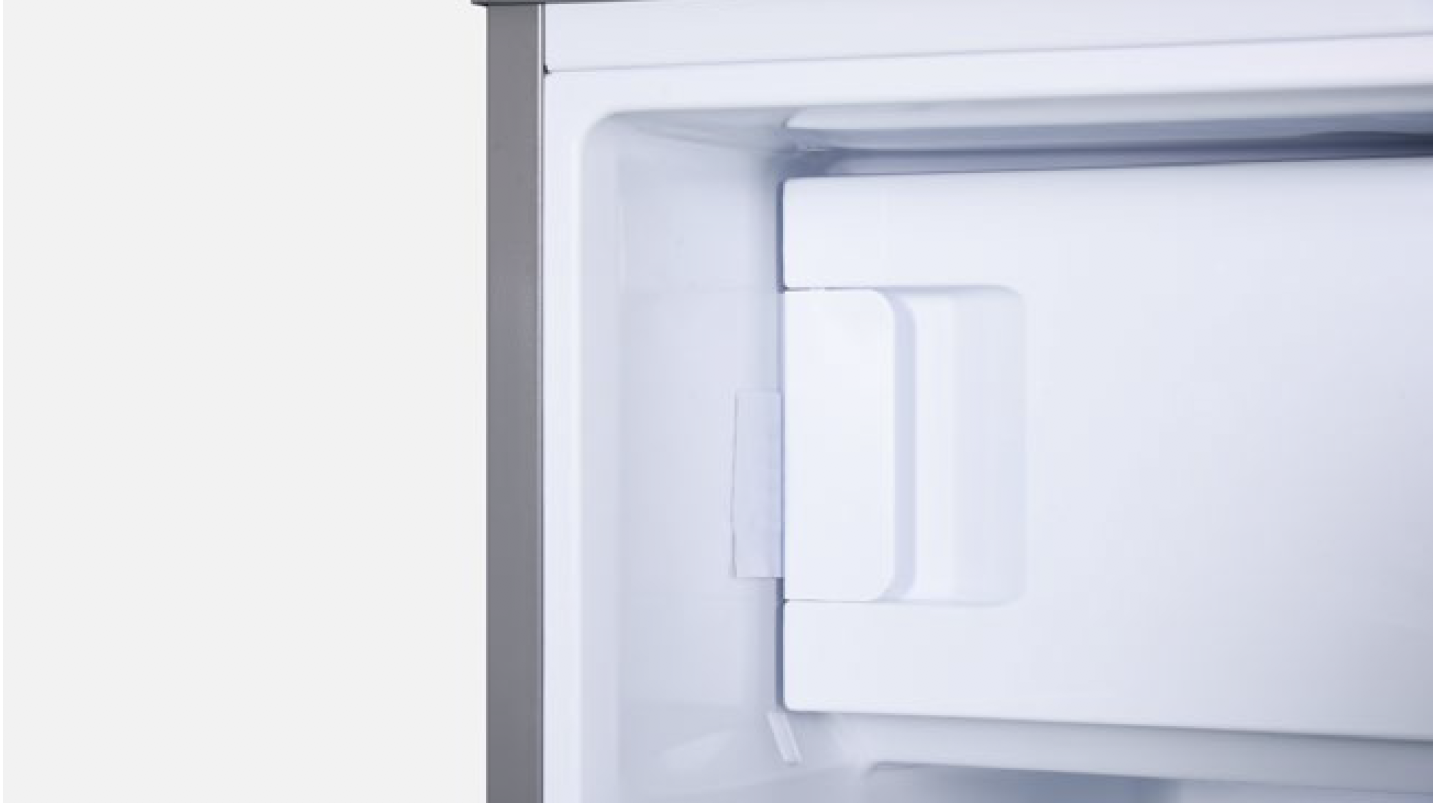
Step 1
Check to see if latch strike is far away from latch bolt.
DIAGNOSIS 6

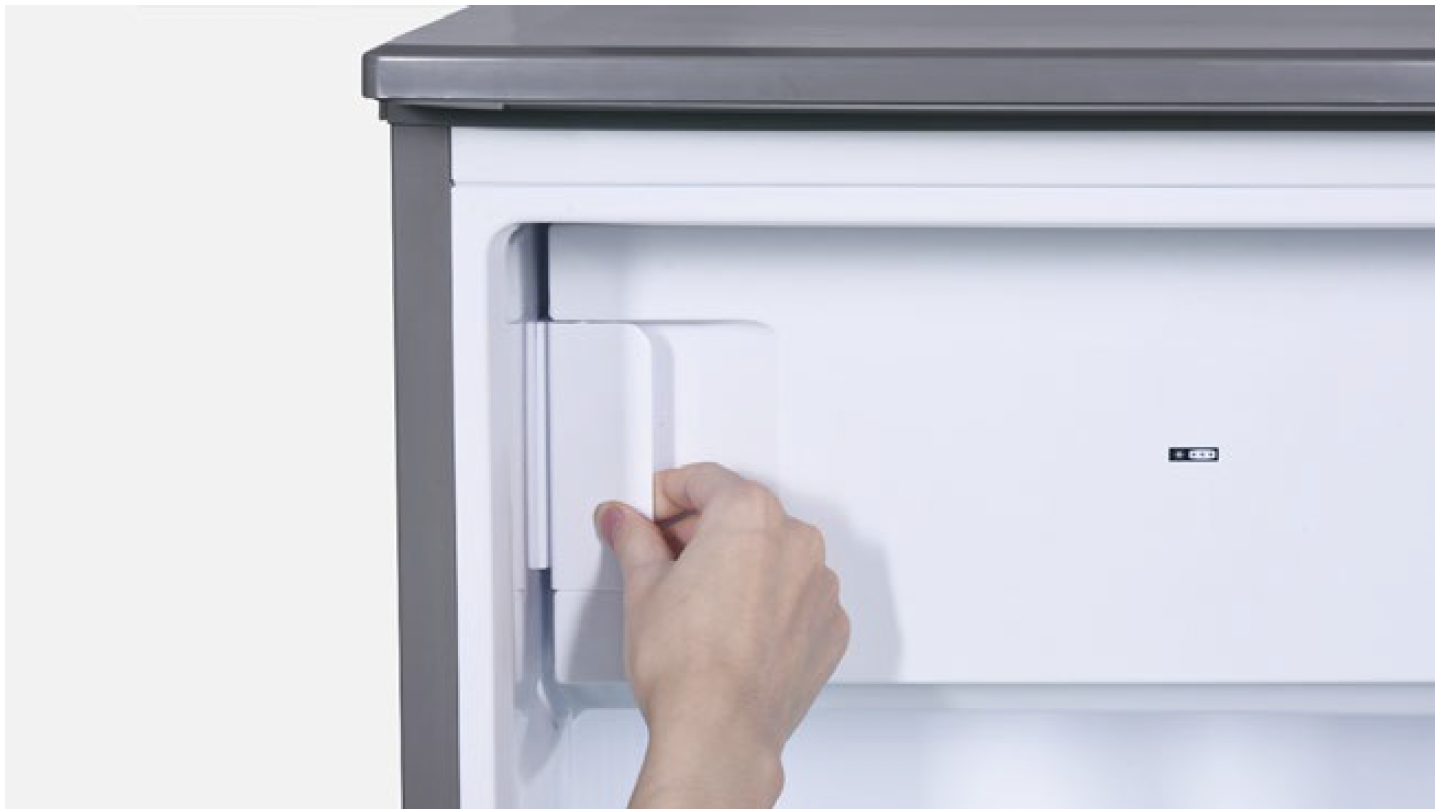
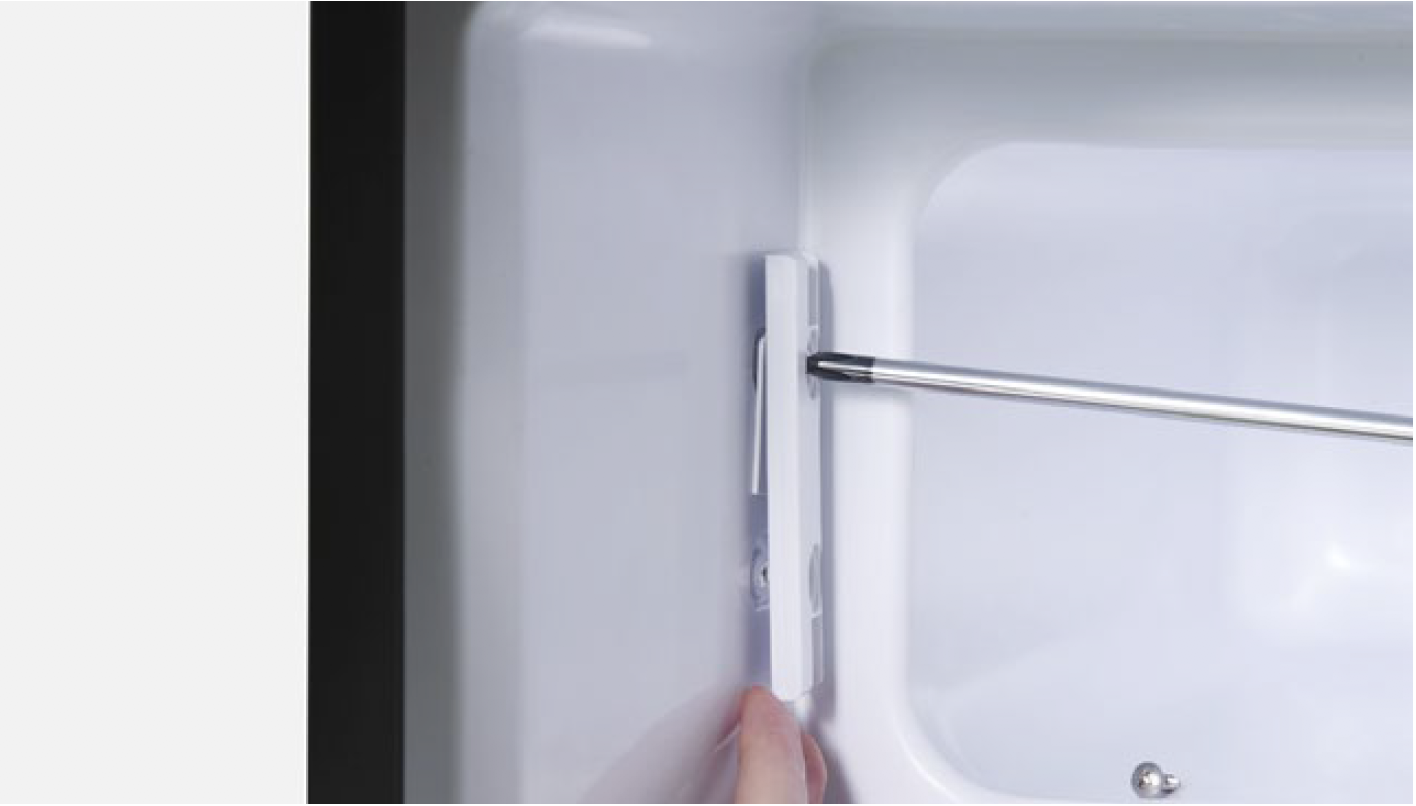
Step 1
Lever screw cover off.
Step 2
Unscrew.
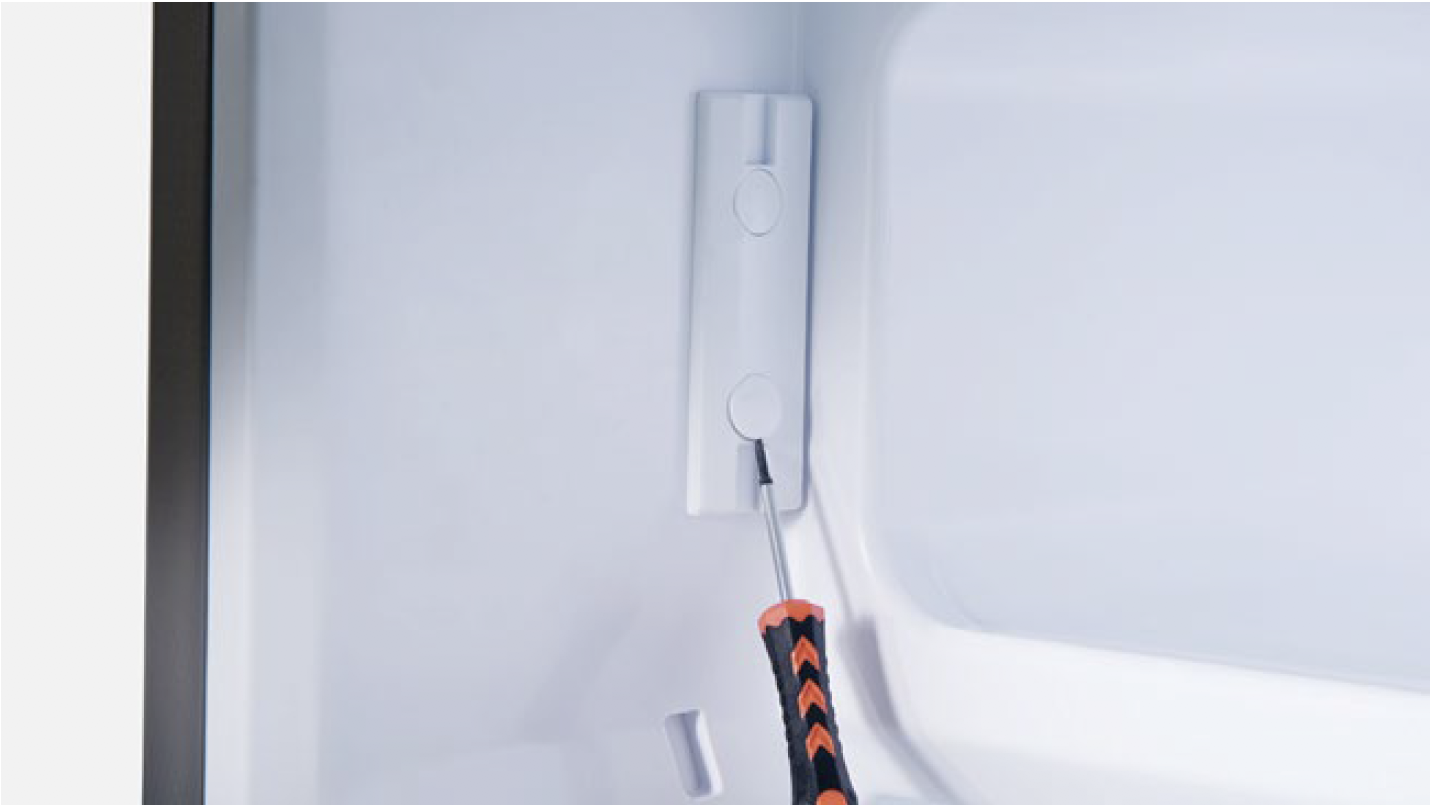
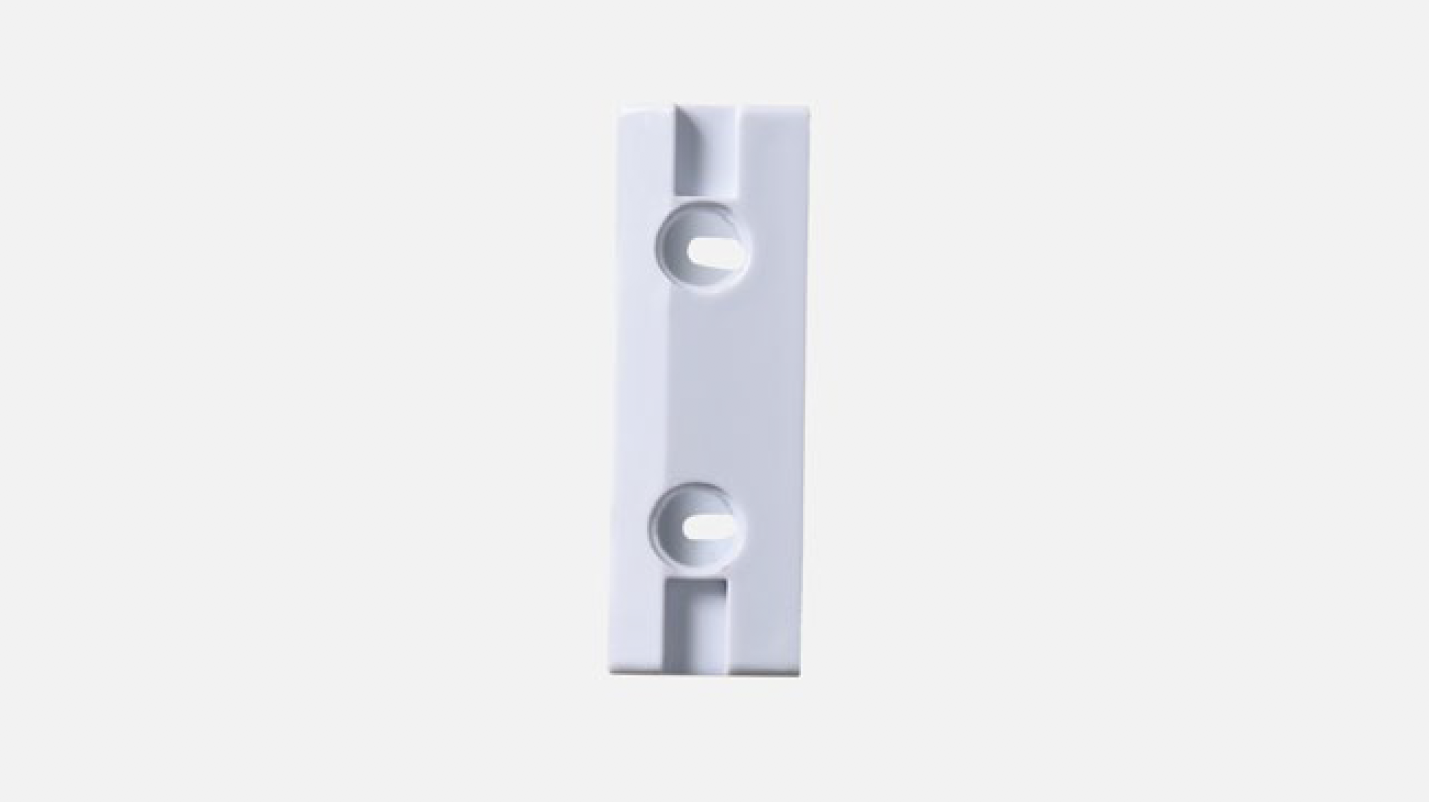
Step 3
Remove the latch strike.
Step 4
Use two F washers and cut it short
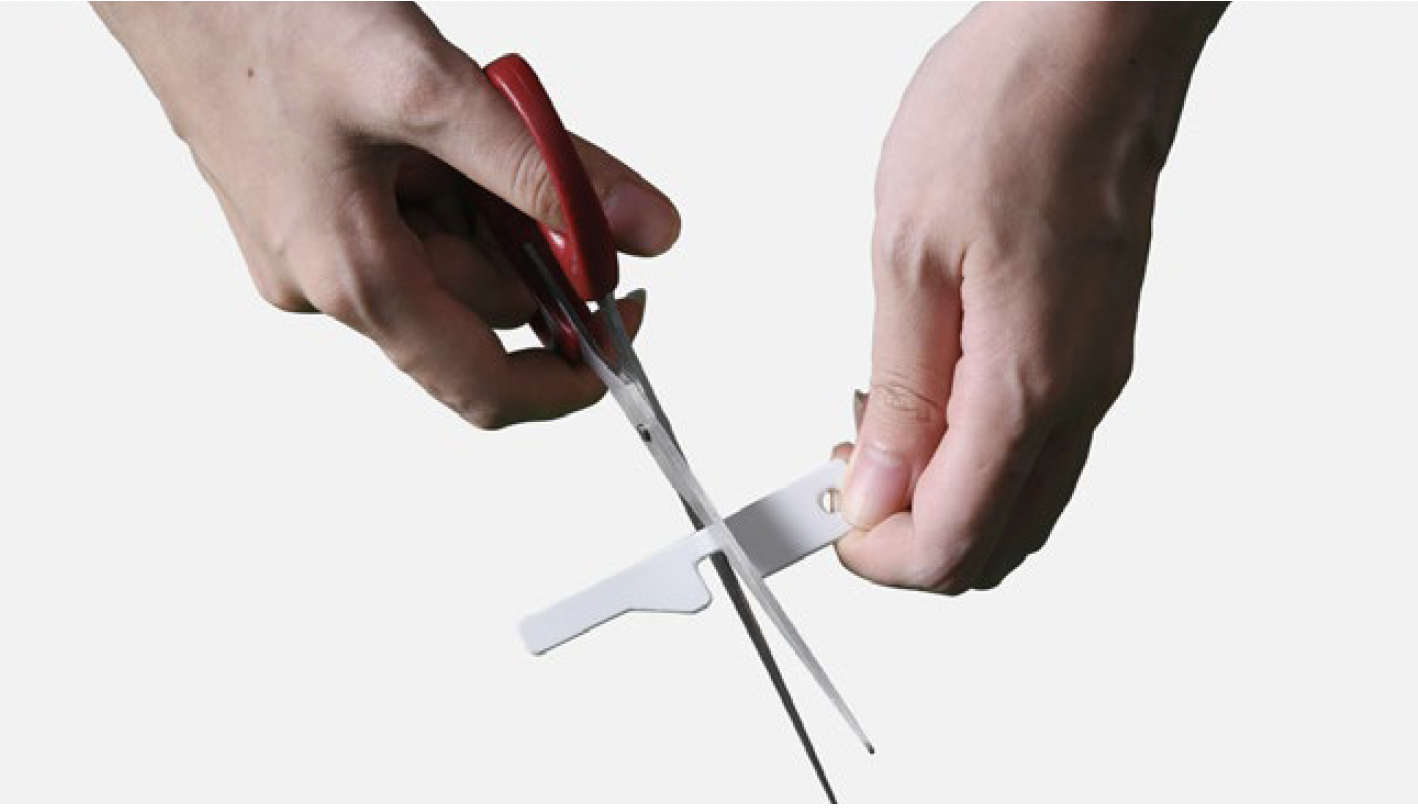
Step 5
Align washers with two screw holes. You can also put 4 washers, if necessary.
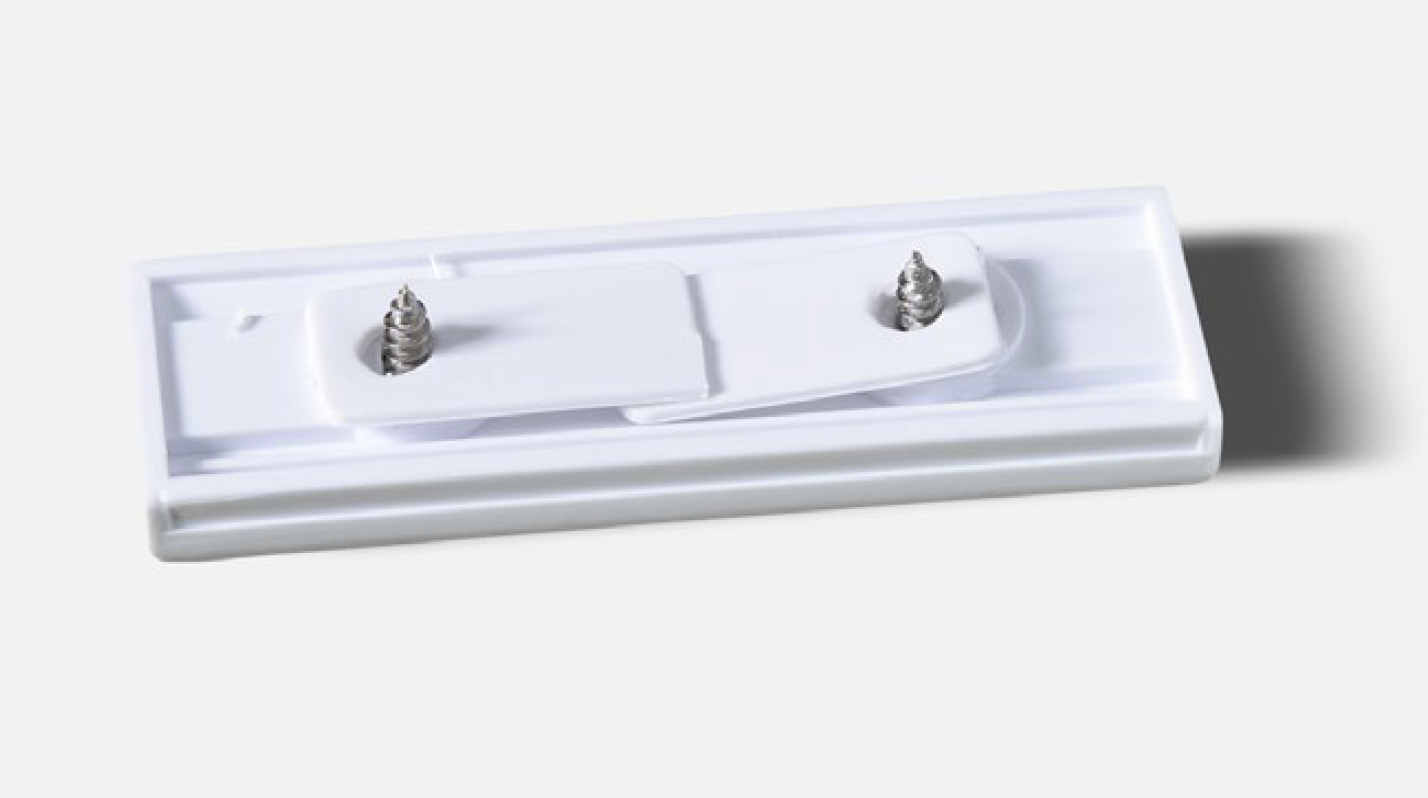
Step 6
Press the washers and install the latch strike onto door jamb.
DIAGNOSIS 7
Use paper to check the sealing. 1) Upright direction.
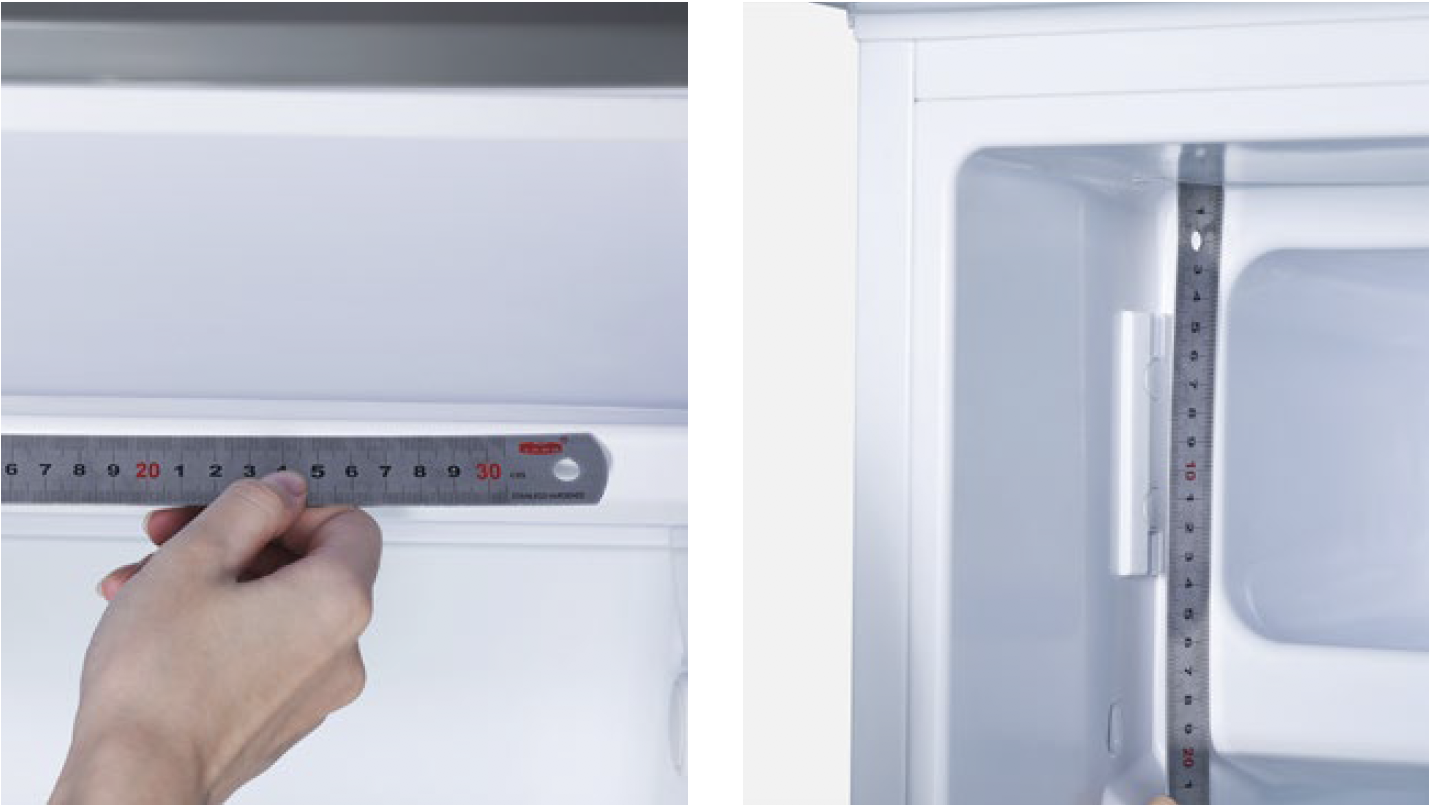
CHECK AND TEST 5
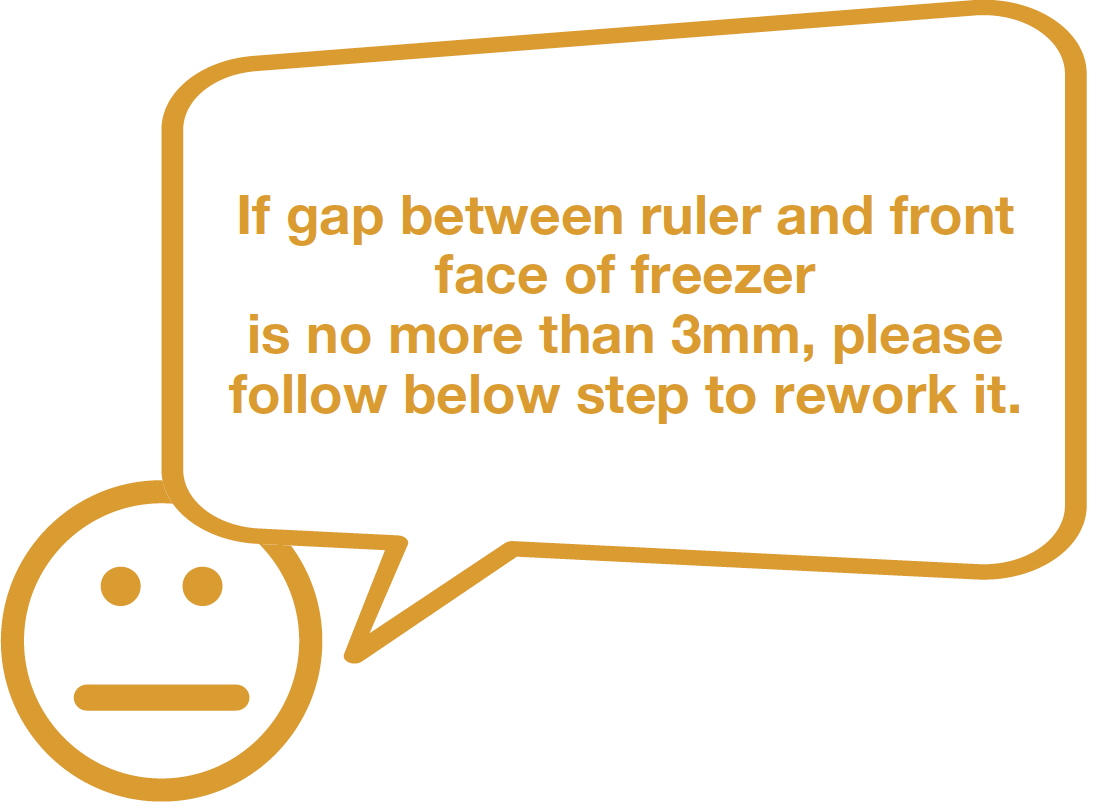
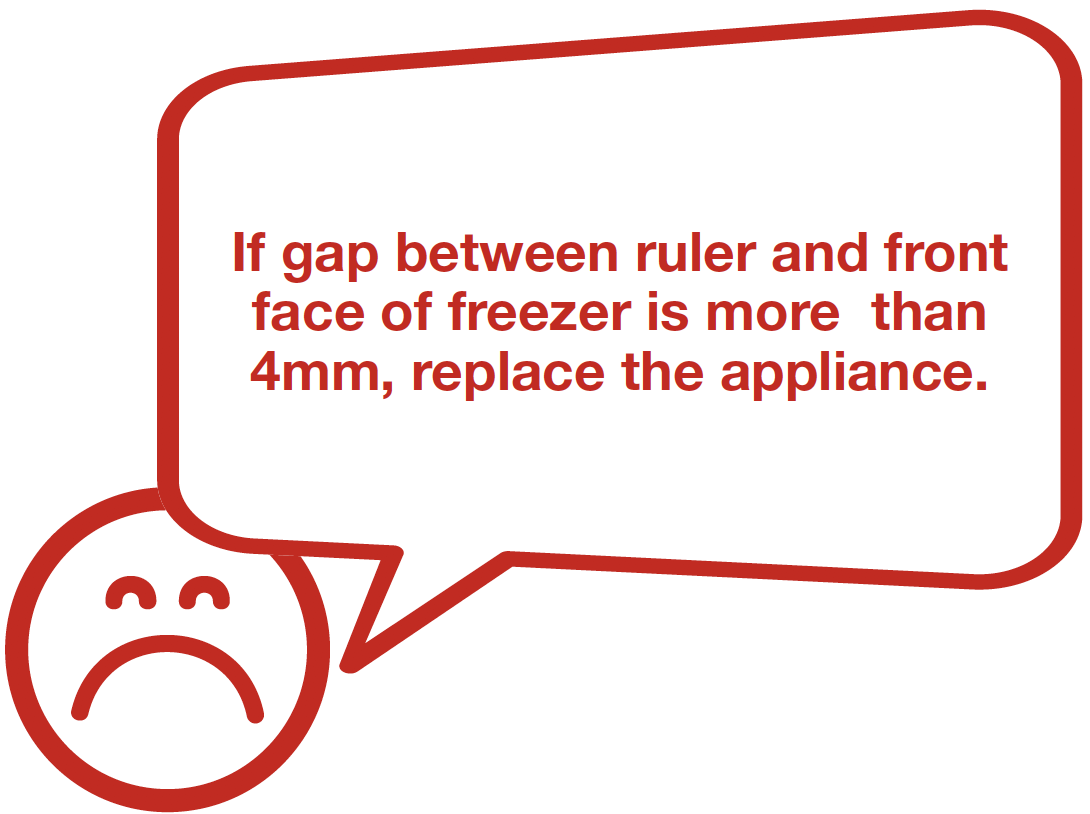
Step 1
Check to see if front face of freezer is uneven.
DIAGNOSIS 8
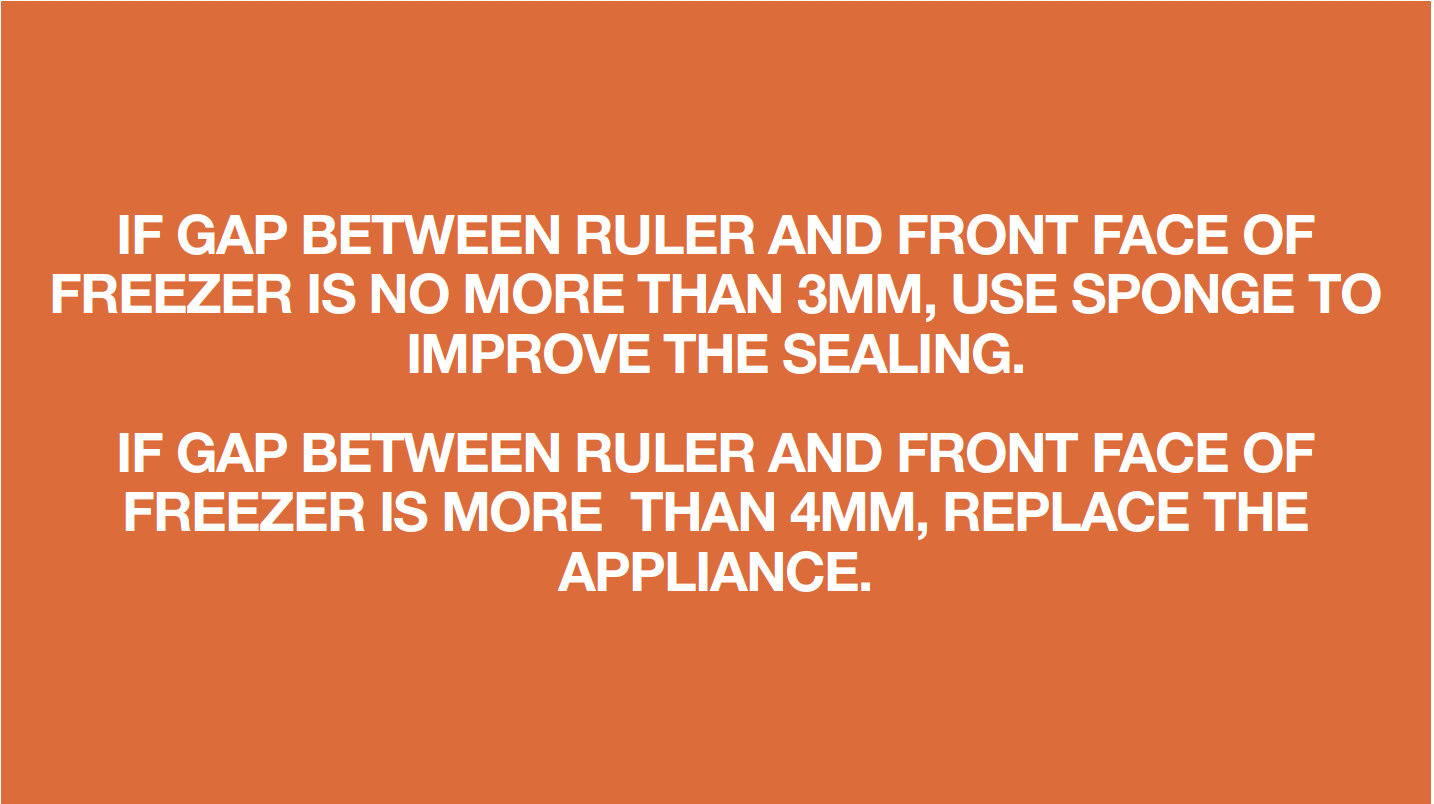
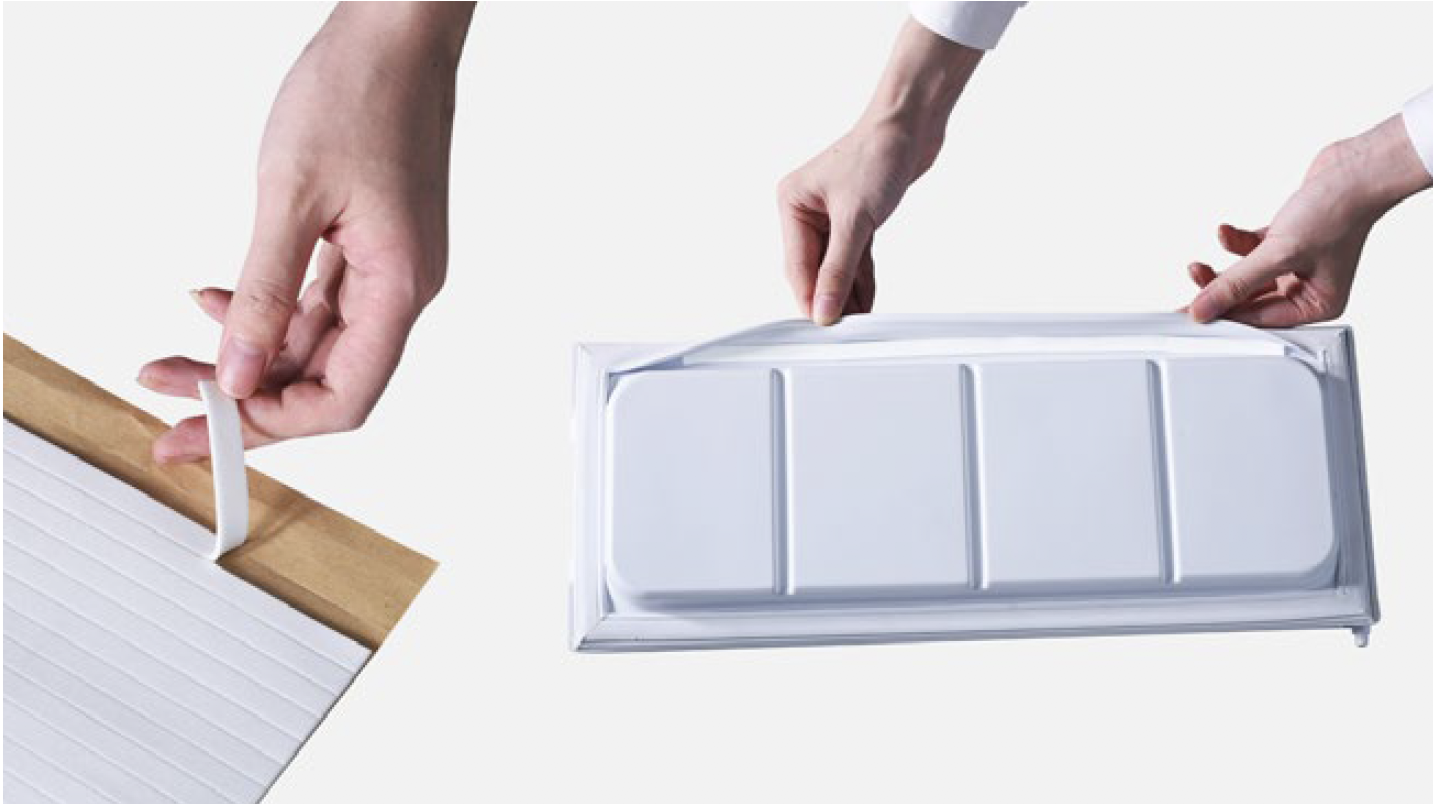
PROCEDURE 4
Step 1
Use sponge to improve the sealing. Paste it on the deformed side.
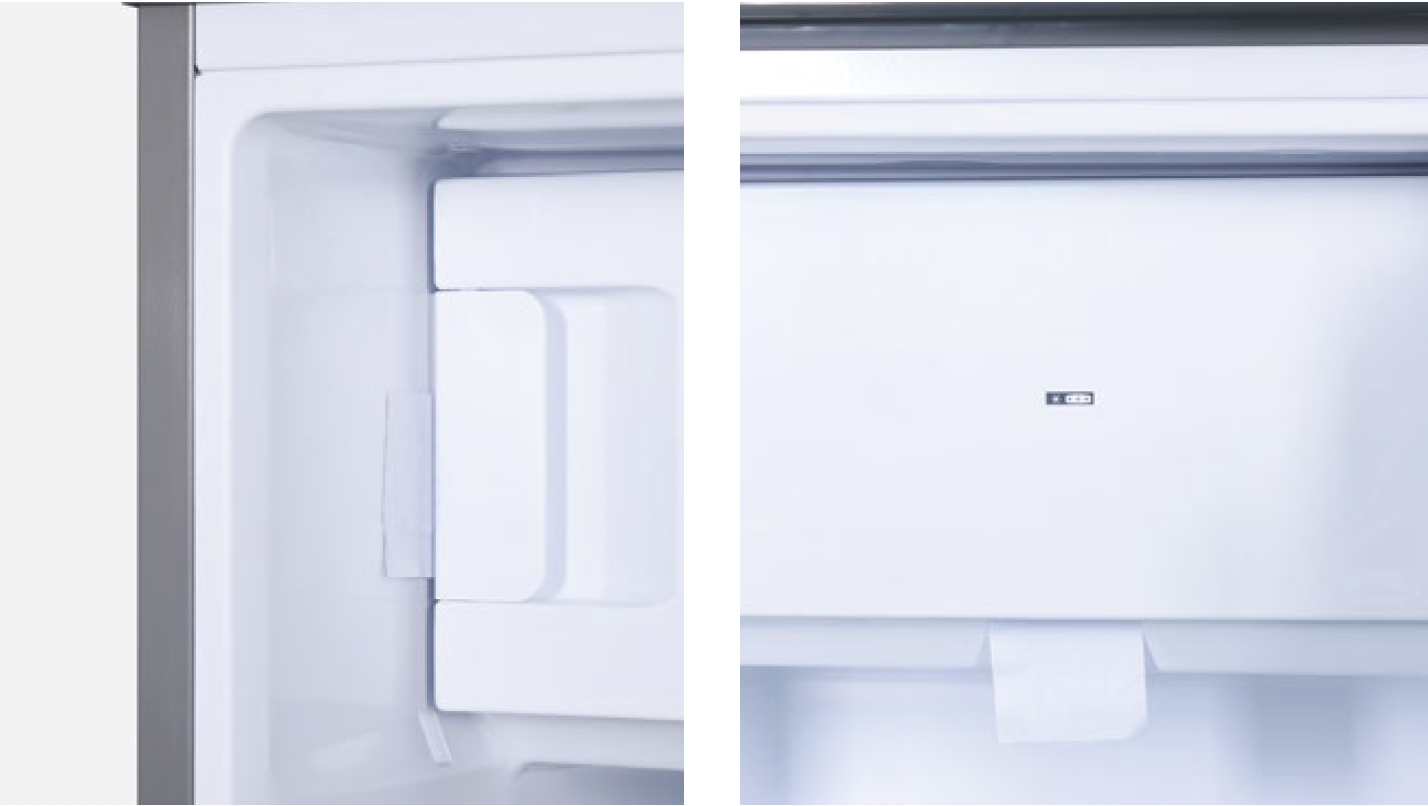
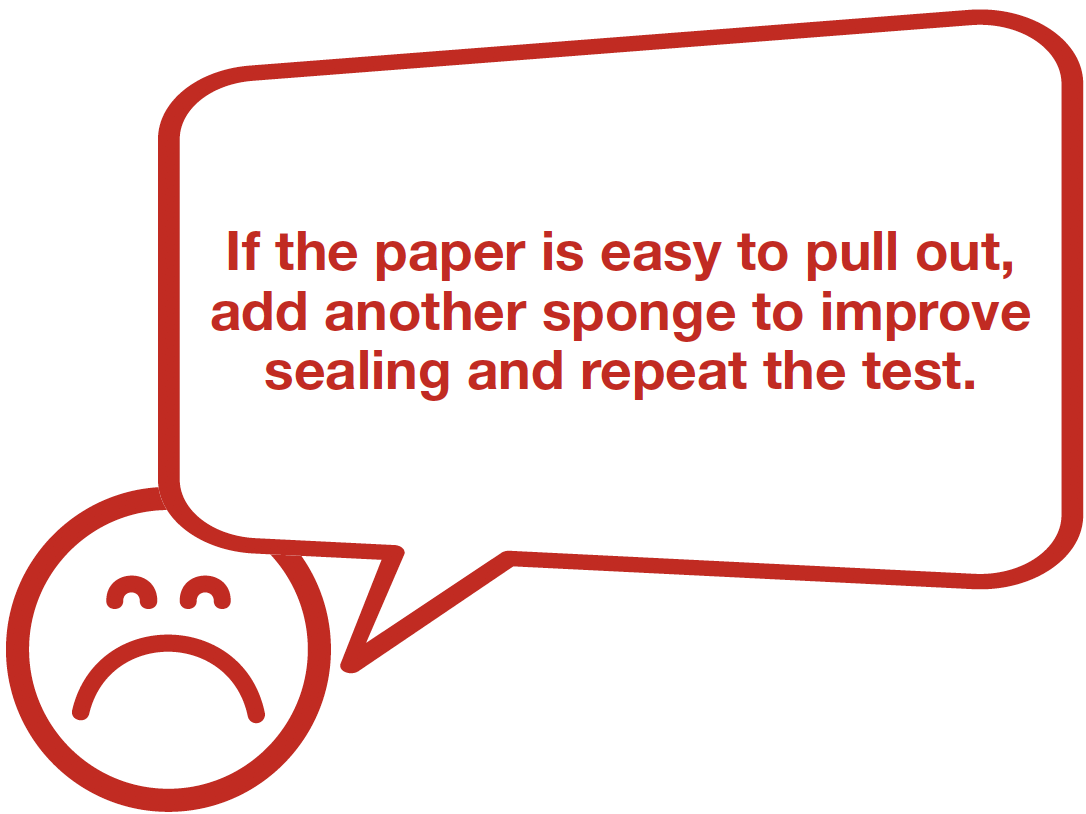
DIAGNOSIS 9
Step 2
Use paper to test sealing. Pull the paper out and check if it’s easy to pull out in upright direction and horizontal direction.


GO BACK TO COMPONENT LIST