8.8 RELIABILITY COMPONENTS:
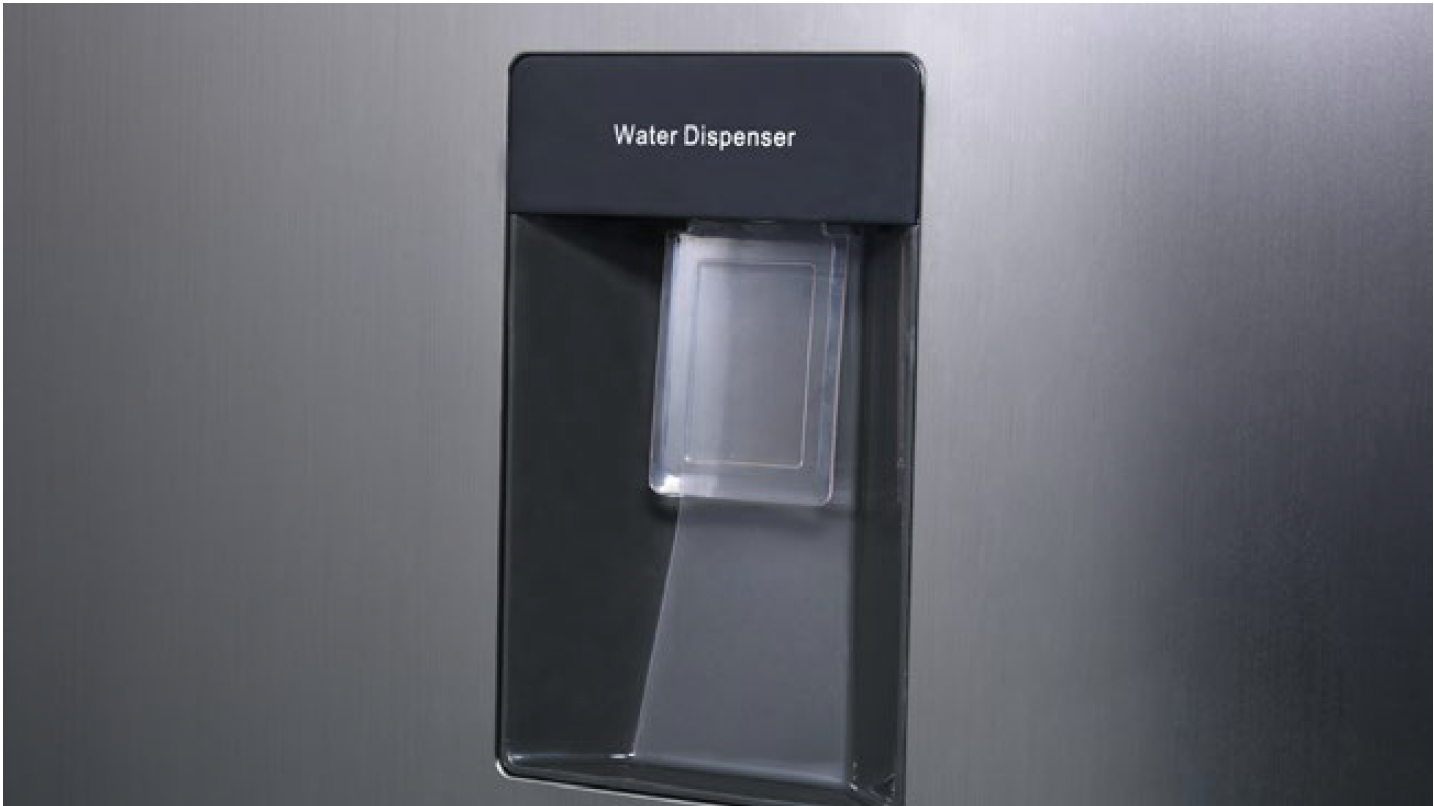
WATER DRIPS FROM WATER
DISPENSER


CHECK AND TEST 1
Step 1
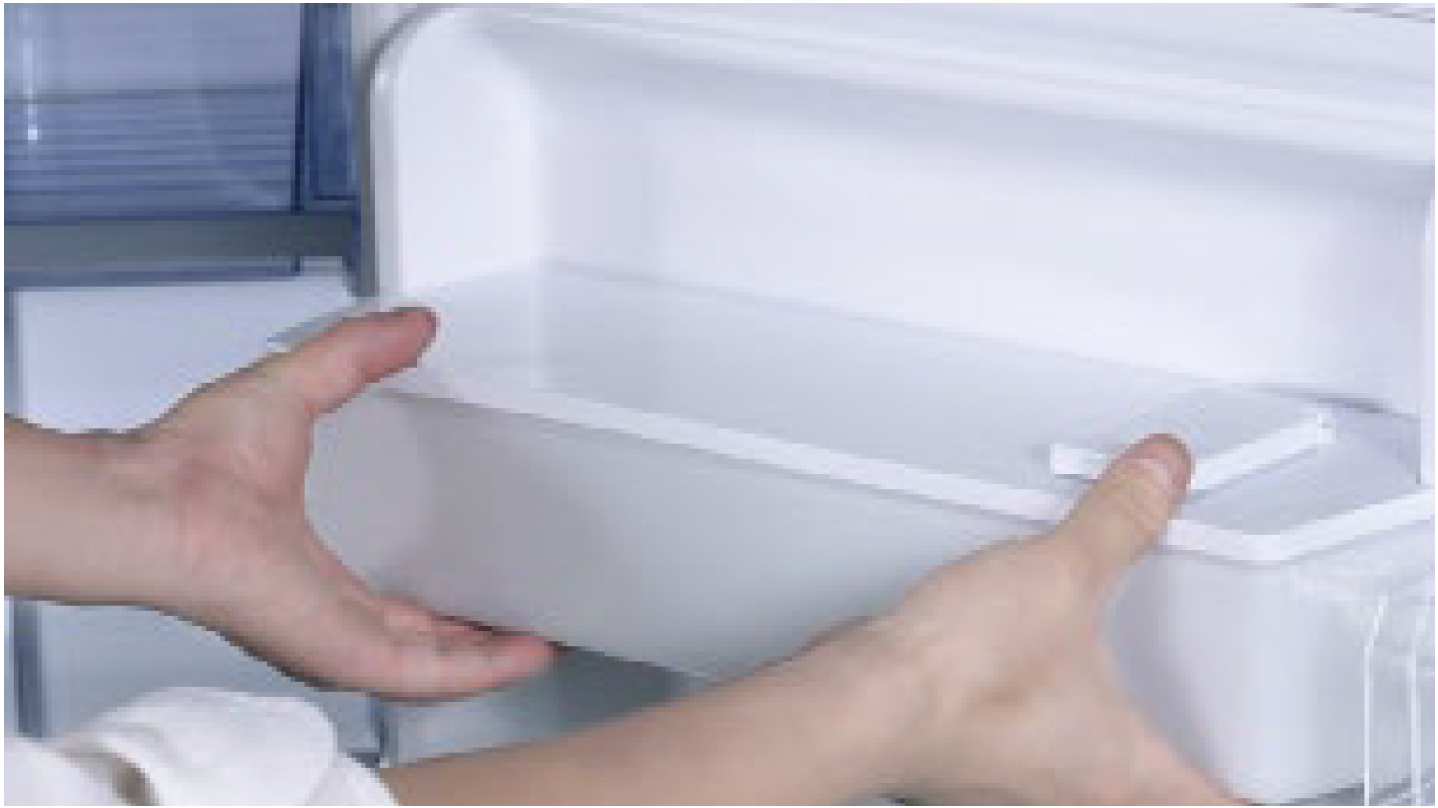
Check to make sure water tank is pushed into proper final position.If not, push it into place.
Step 2
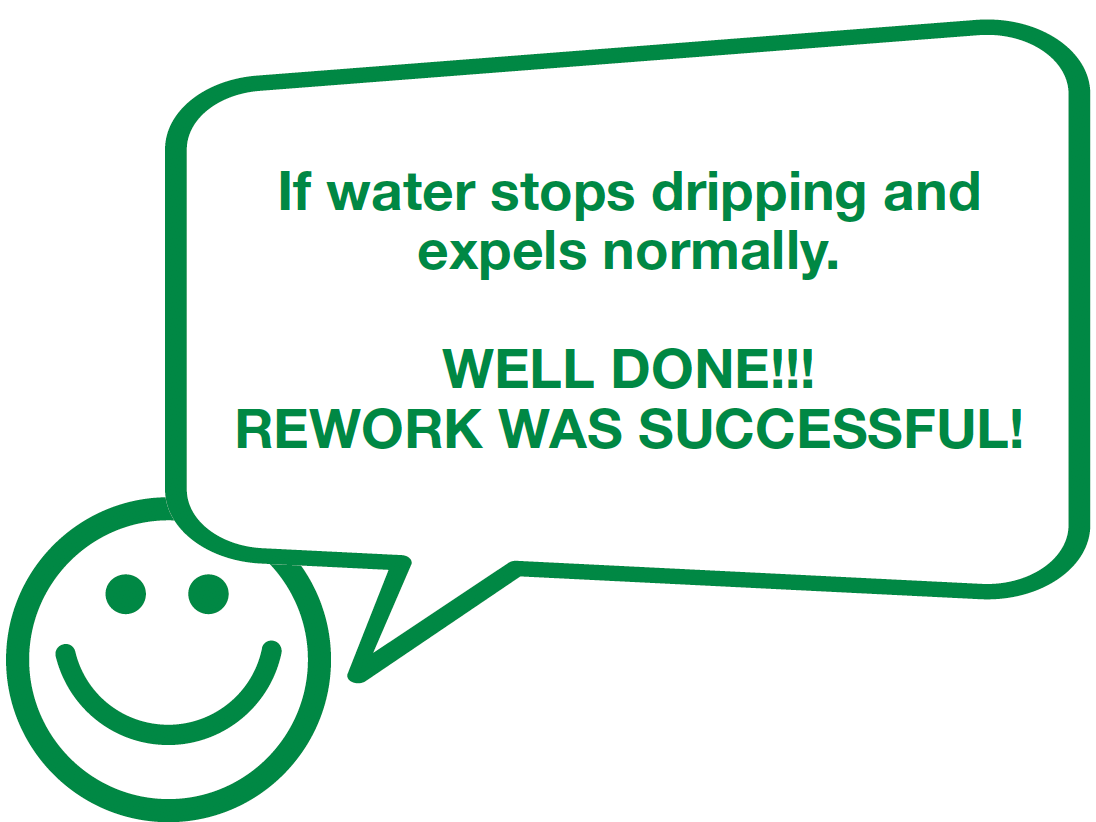
Check to see if water stops dripping or expels normally.
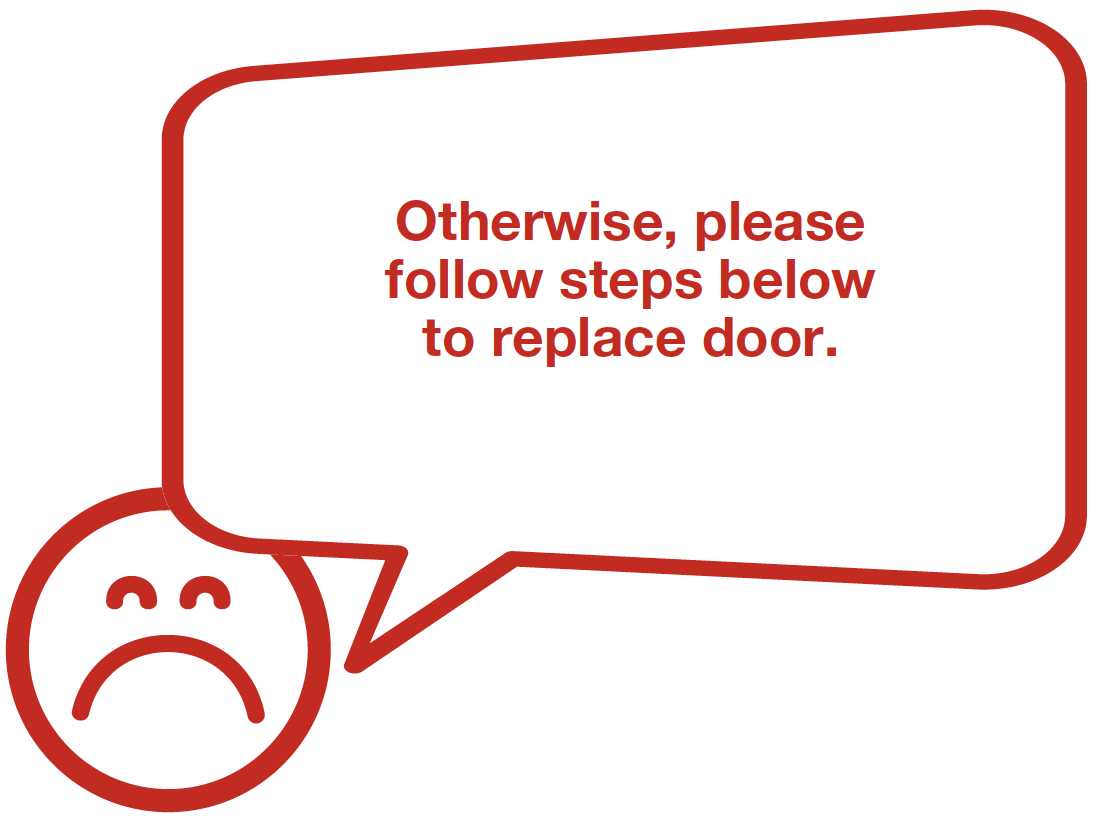
If not, follow procedures to do more check.
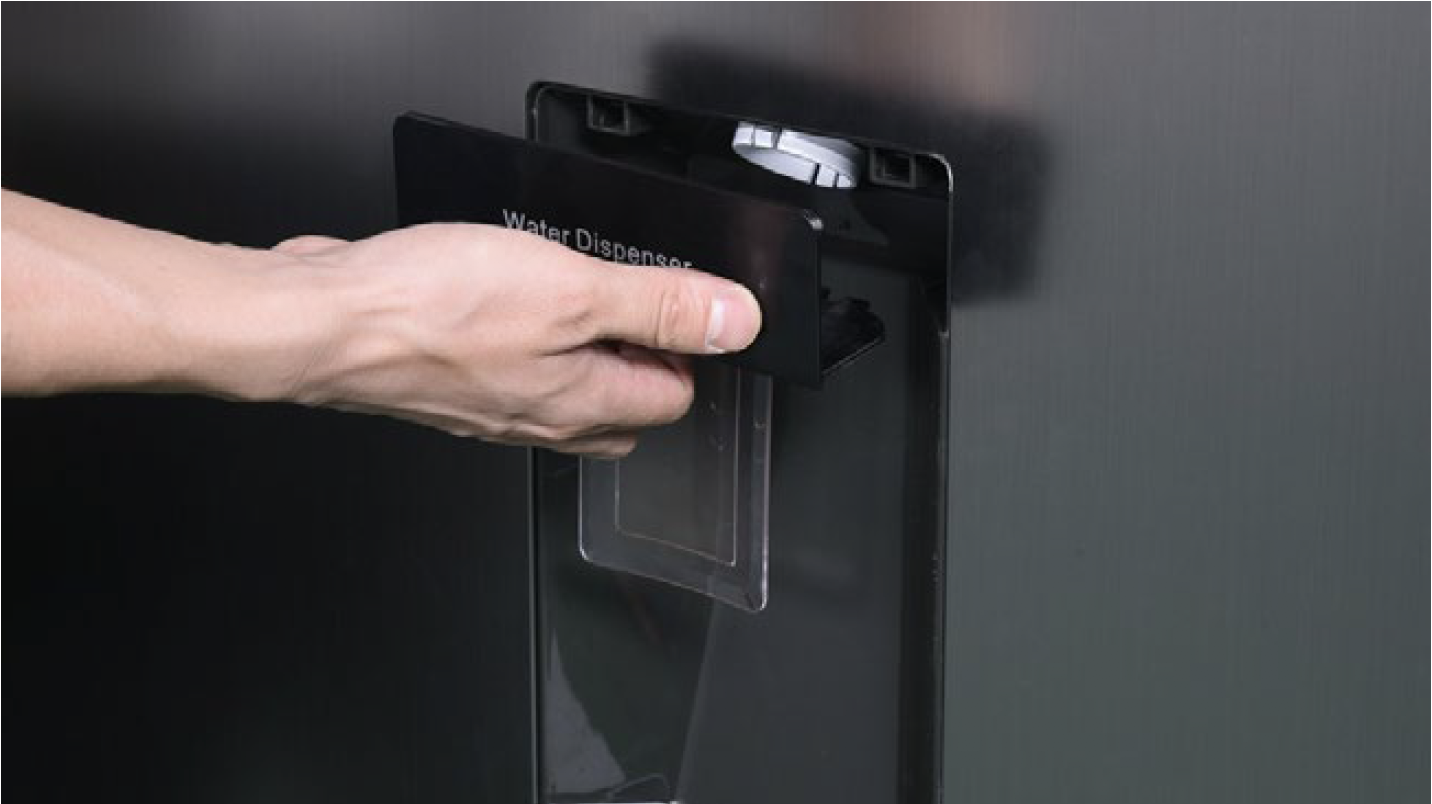
Step 3
Remove tank.

Step 4
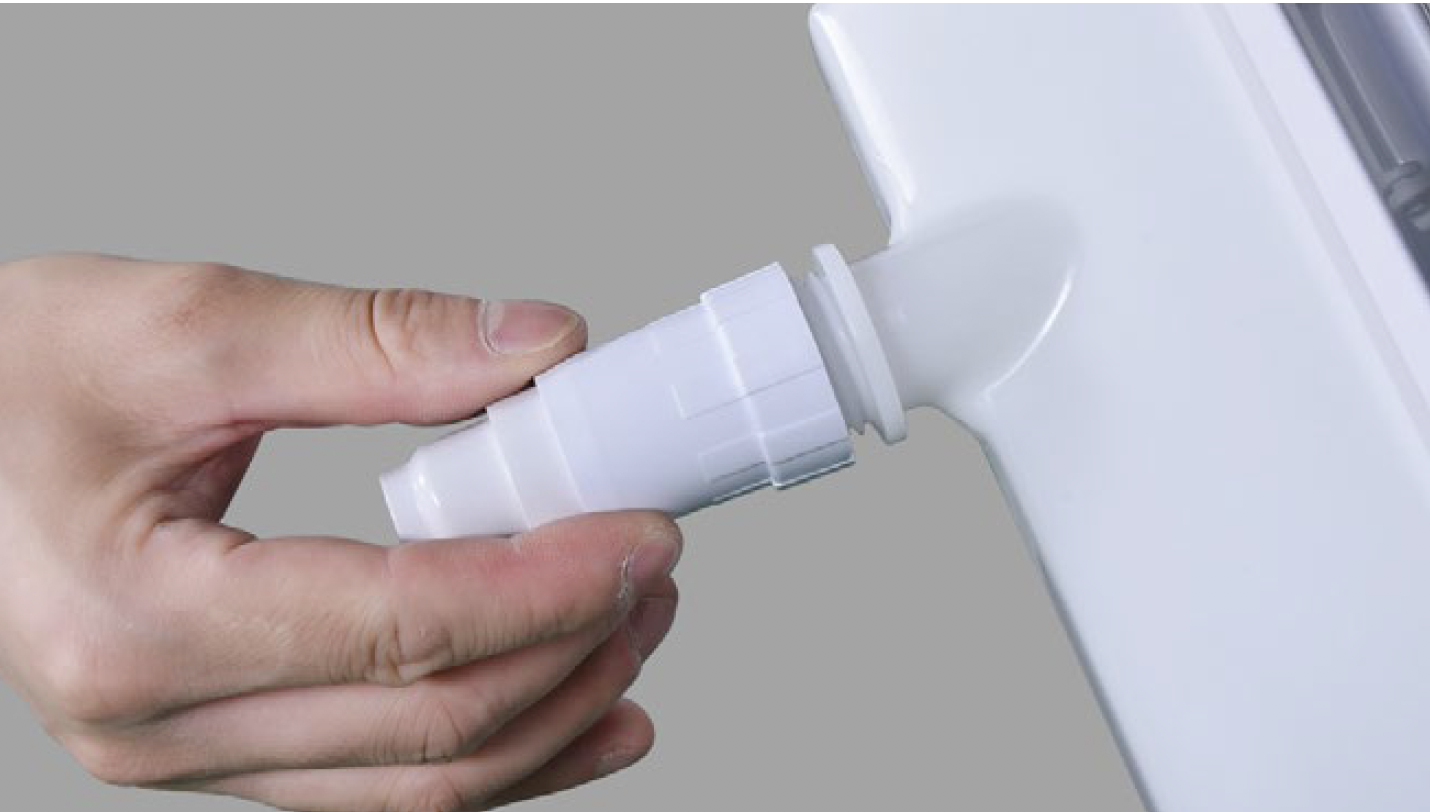
Verify whether valve is screwed properly into final position.
Step 5
Check to see if the slot on door for water tank is deformed.

Step 6
Check to see if the slot on water tank is deformed.

Step 7
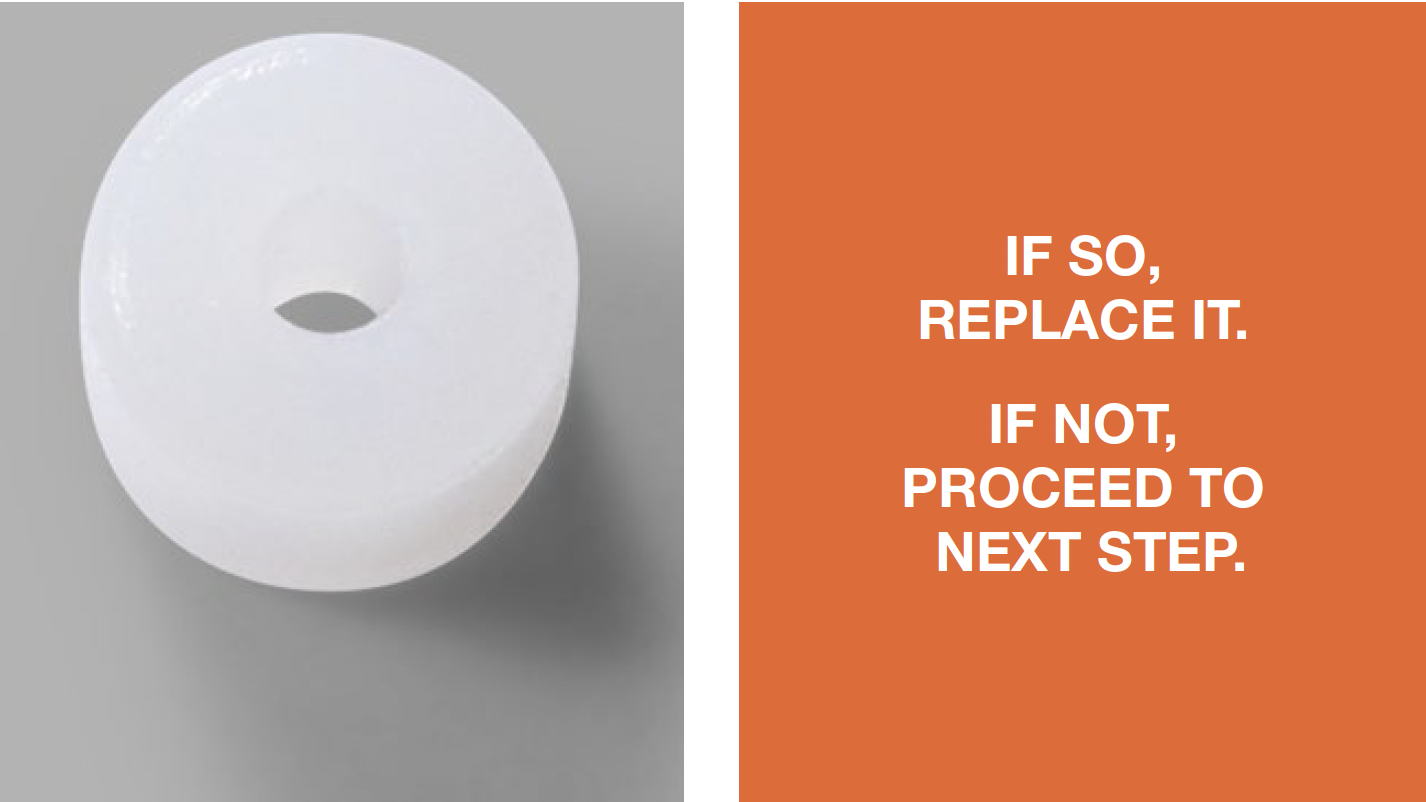
Check to see if the rubber washer is broken.

Step 8
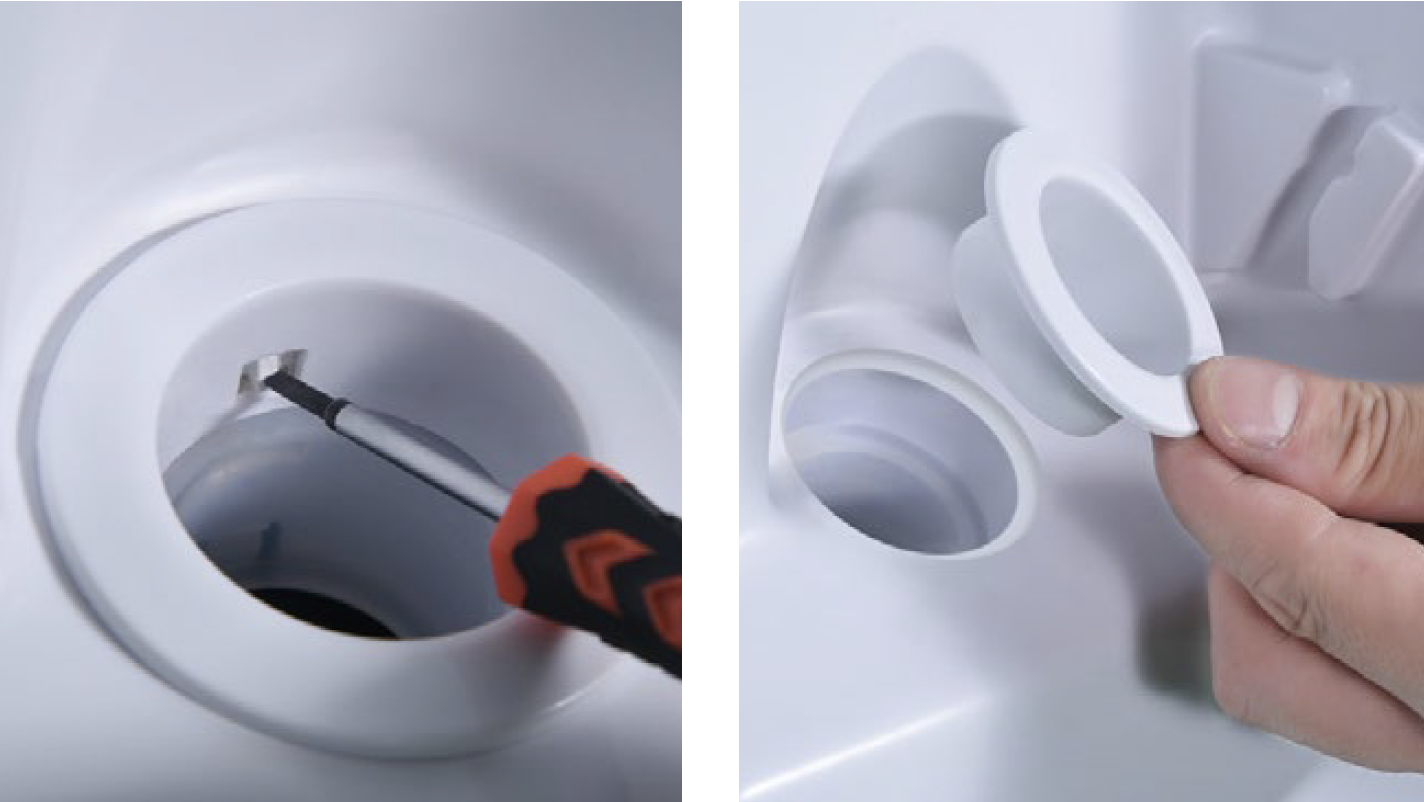
Loosen the latch.
Step 9
Remove the cover.
Step 10
Lever off the other washer.

Step 11
Remove the washer and check if it is broken.

Step 12
Check the attachment of rubber core

Step 12
Pull the bottom part of value.

Step 13
Disassemble it.

Step 14
Check to see if the rubber is cracked or deformed.
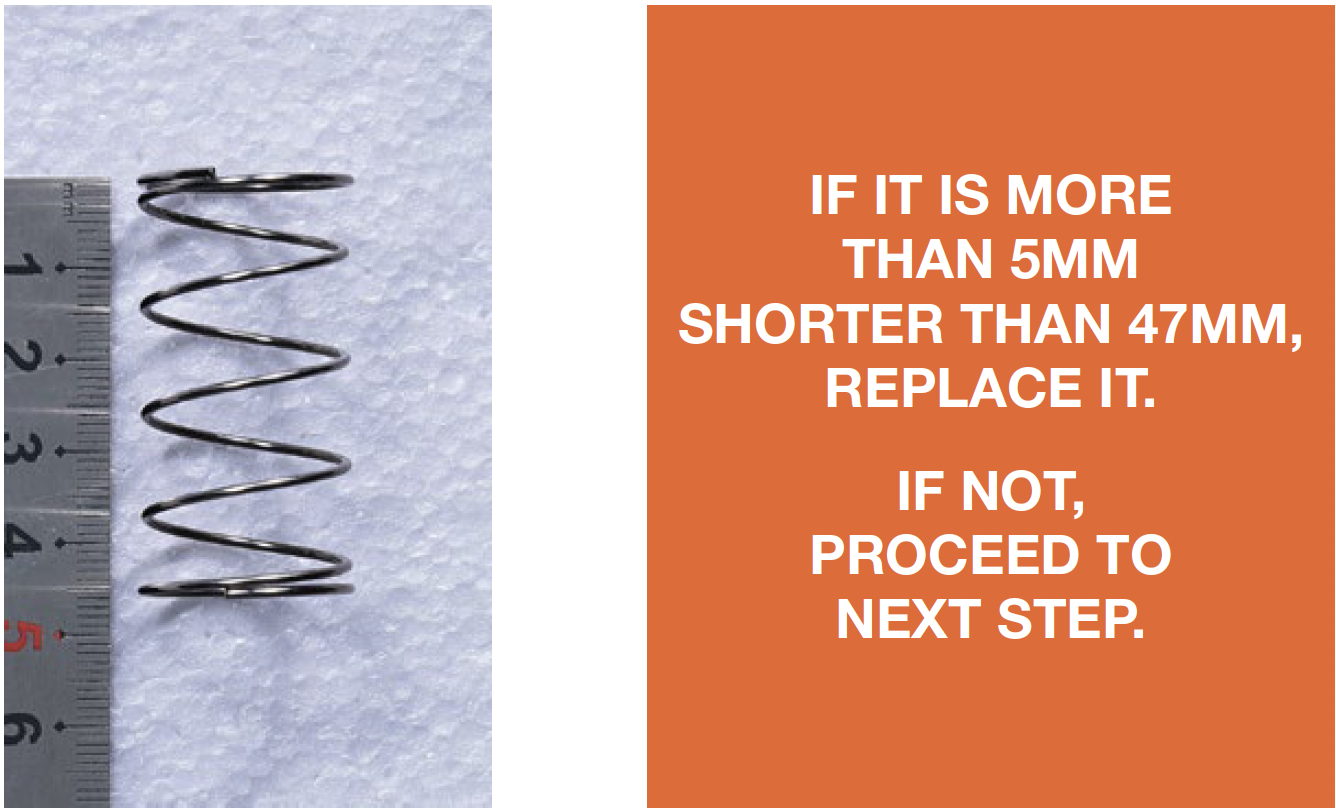
Step 15
Measure the free length of spring.
Step 16
Pull out the tap.
Step 17
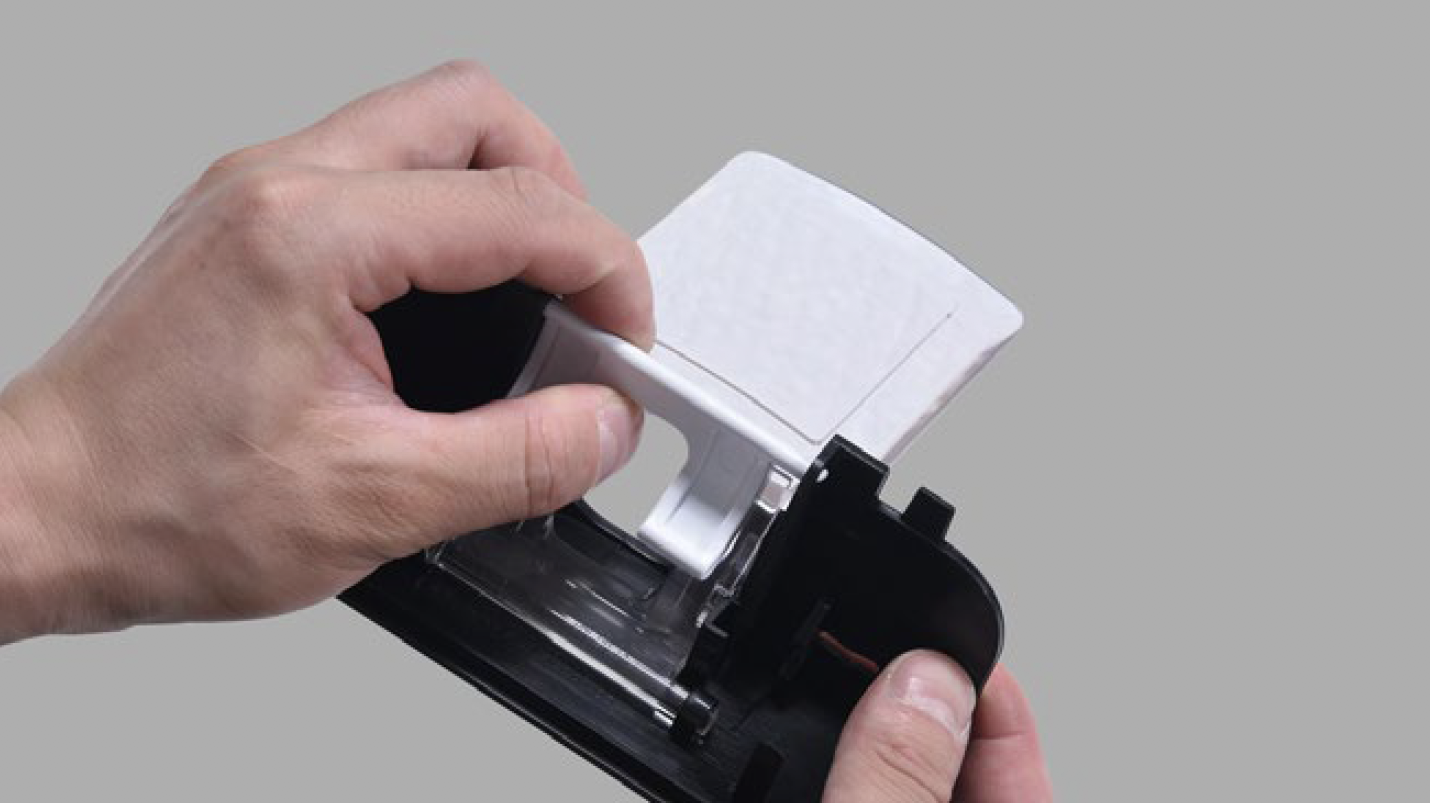
Check if white plastic is broken or deformed.
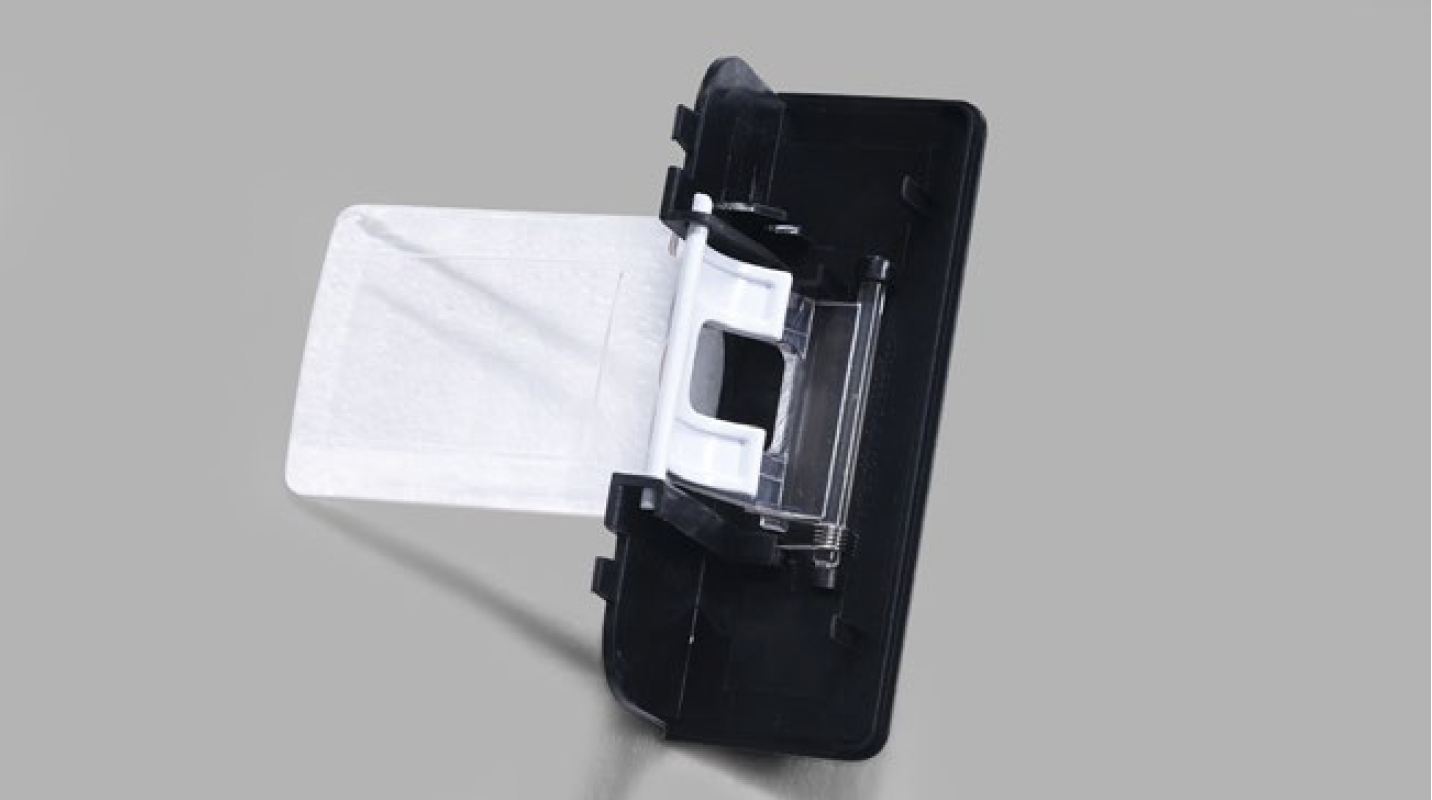
Step 18
If white plastic is broken or deformed, pull out to replace it.

DIAGNOSIS 1

PROCEDURE 1

Step 1
Remove screw cover.
Step 2
Unscrew.

Step 3
Remove the top cover.
Step 4
Unscrew 3 bolts.

Step 5
Remove the door.

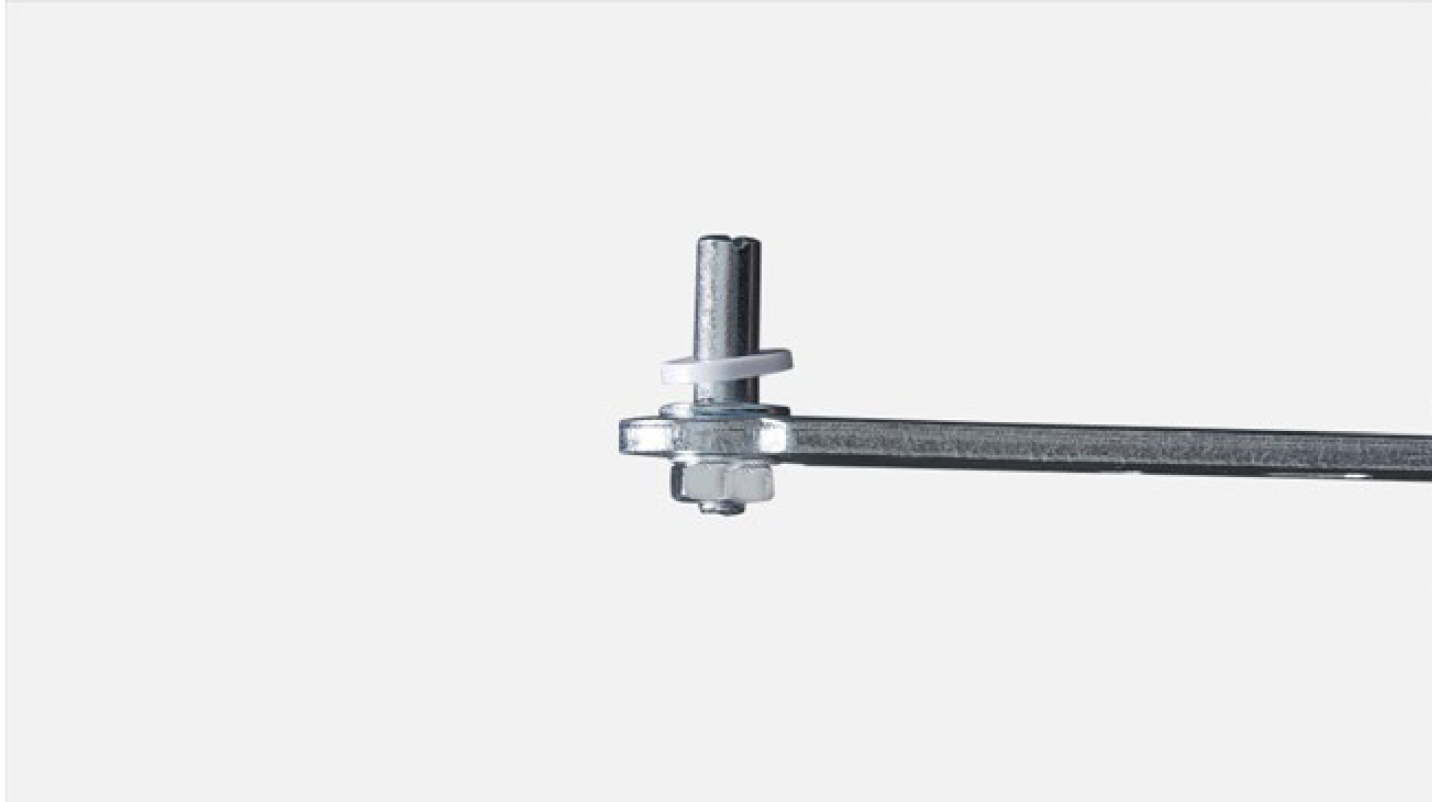
PROCEDURE 2
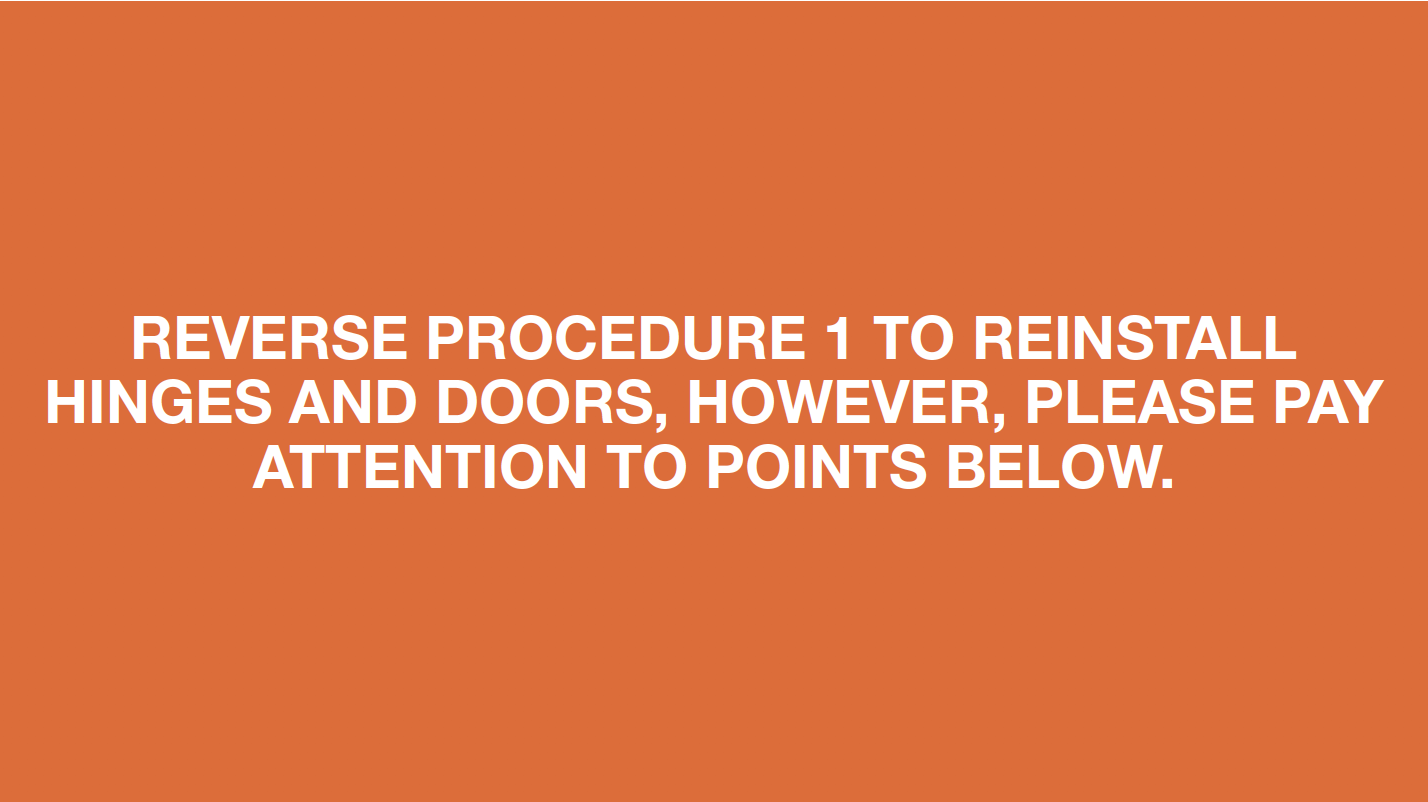
Tip 1
If there is a washer on hinge, please don’t forget to add washer onto hinge pin.
Tip 2
When installing door onto hinge, please check the alignment of doorstopper and hinge.

Tip 3
Make sure gasket is properly attached.
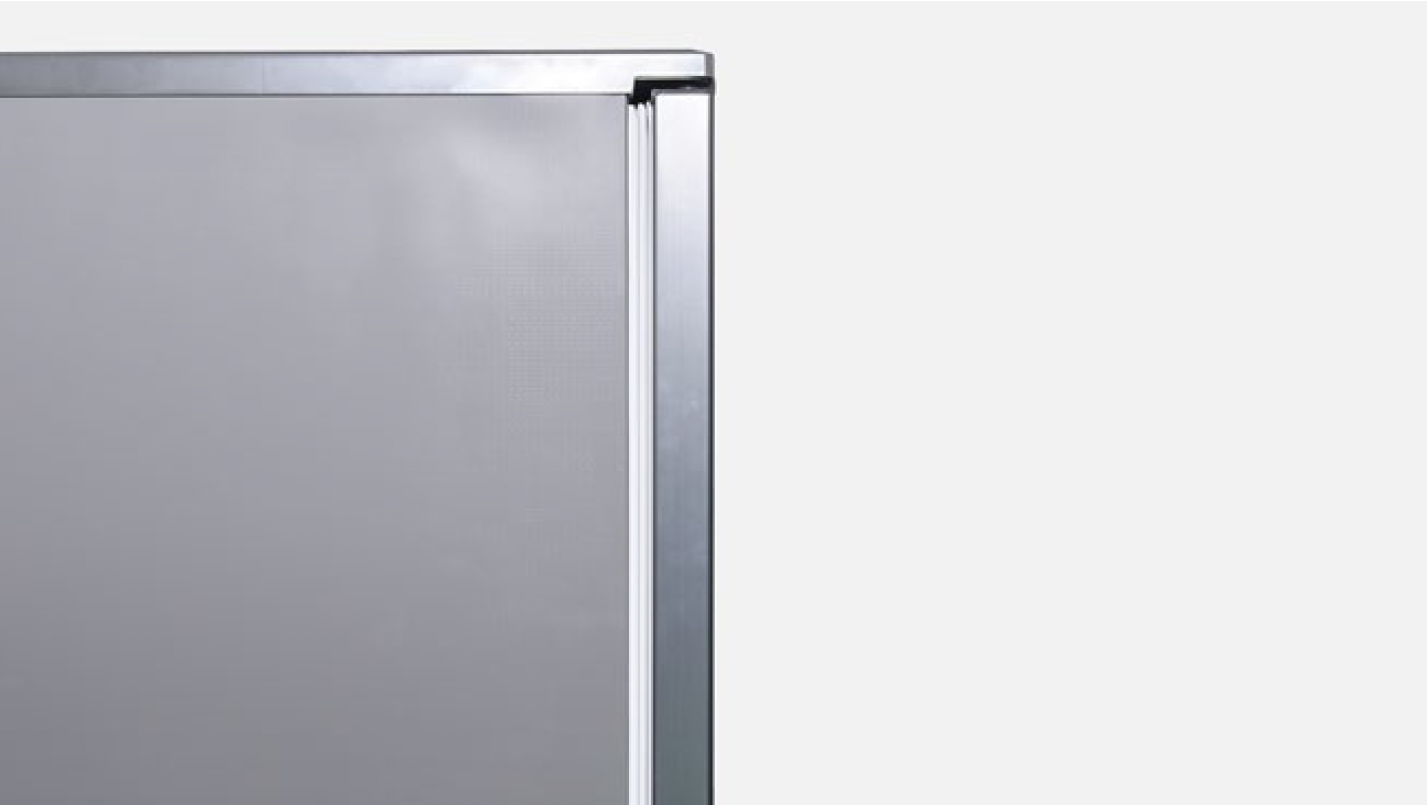
Tip 4
Make sure gaps between doors are even.


GO BACK TO FAULT LIST RELIABILITY