CHECK AND TEST 1
Step 1
Unscrew cover ofmainboard with a
cross-head screwdriver.

Step 2
In PCB area, check if
terminal is inserted to
final position.
If not, reinsert it to final
position.

Step 3
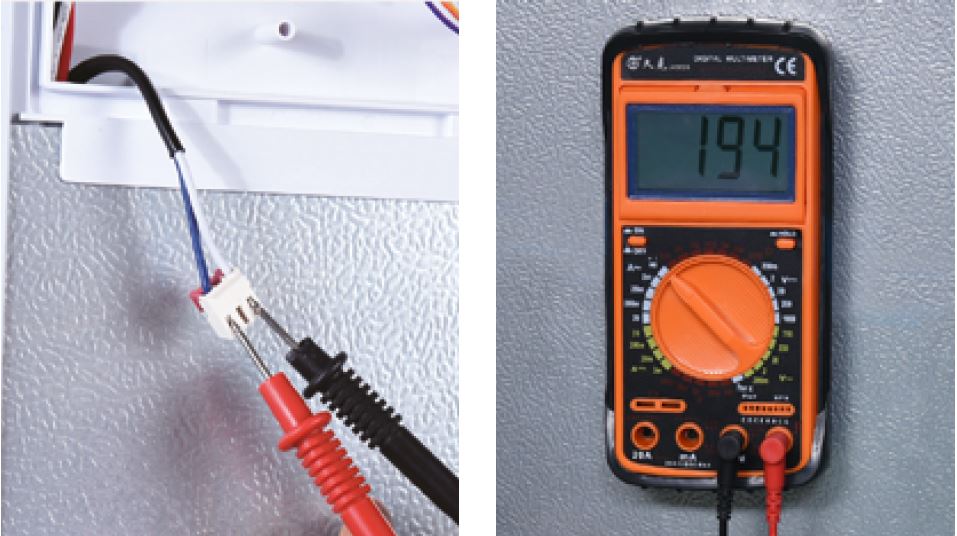
Measure resistance of
heater from terminal in
PCB area.

DIAGNOSIS 1

PROCEDURE 1
Step 1
Remove all shelves.
Step 2
Remove basket.
Step 3
Remove screw covers.
Step 4
Unscrew.
Step 5
Pull the buttom air duct
out.

Step 6
Disconnect the wires for
thermostat.
Step 7
Take bottom air duct
away.


CHECK AND TEST 2
Step 1
Check if the terminal
is inserted into final
position.
IF SO, RE-SINSERT
THEM.
Step 2
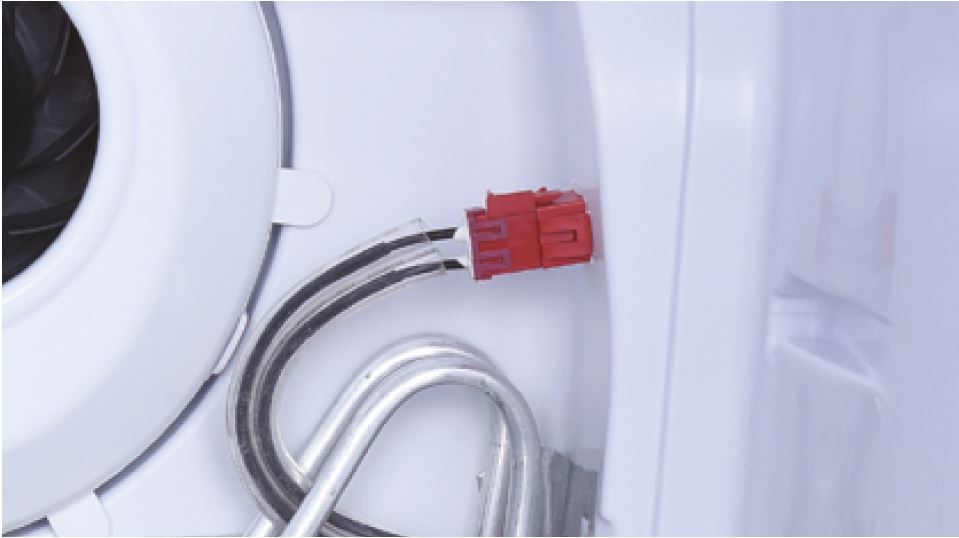
Check if wires of defrost
heater are broken.
If yes, follow procedures
on Page 162 to
replace the heater.

Step 3
Disconnect the terminal.Step 4
Check if the terminal is
stuffed with foam.
IF SO, USE TWEEZERS
TO SMASH IT AND
REMOVE.
Step 5
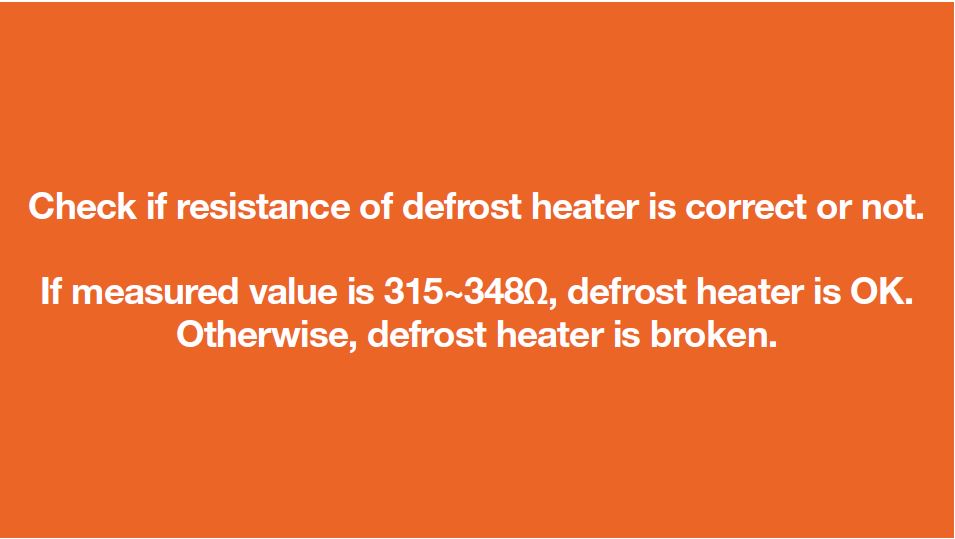
Measure resistance of
heater from terminal in
freezer.


DIAGNOSIS 2

PROCEDURE 2
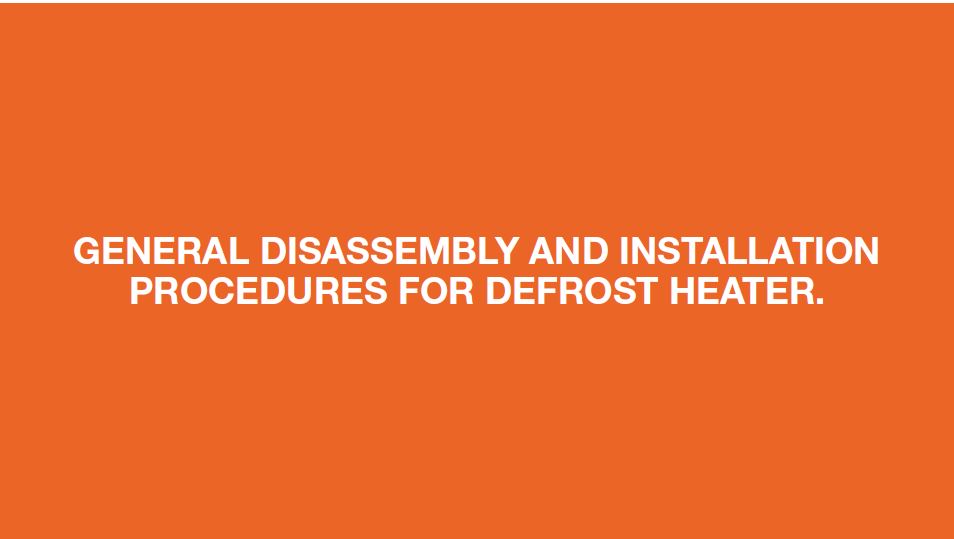
Step 1
Disconnect terminal of
heater.

Step 2
Unscrew the two screws
with 6mm cross-head
screwdriver.

Step 3
Cut off the fastening
strap.

Step 4
Take out the holding
foam.

Step 5
Loosen heater fastening
clips.

Step 6
Lift evaporator with
heater up 20mm. Bottom
of evaporator must be
higher than the edge of
water trough.

Step 7
Remove the heater.
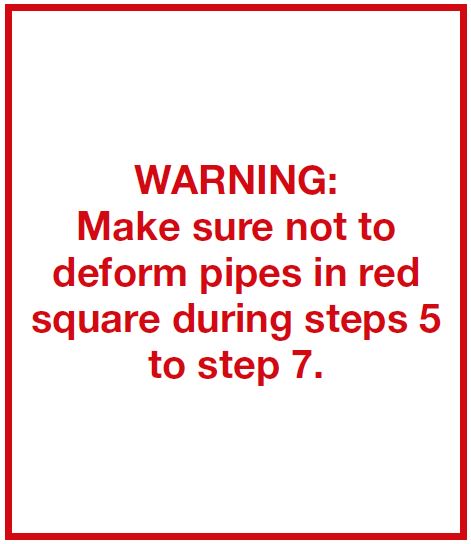
Reverse steps above to
reinstall the heater and
pay attention to the key
points below
Tip 1
Do not damage the
wires of the heater while
installing the new heater.

CHECK AND TEST 3
Step 1
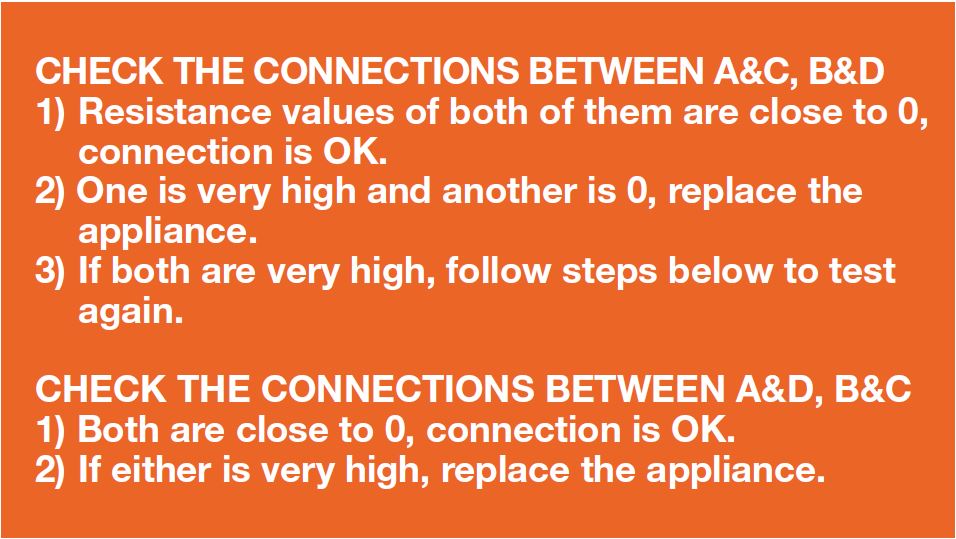
Set multimeter to
resistance gear.
Step 2
Put detector into one
end of wires in PCB area.
Put another detector into
end of wires behind air
duct.


DIAGNOSIS 3

CHECK AND TEST 4
Step 1
Power on the appliance,
and press the button on
PCB to start manual defrost.

Step 2
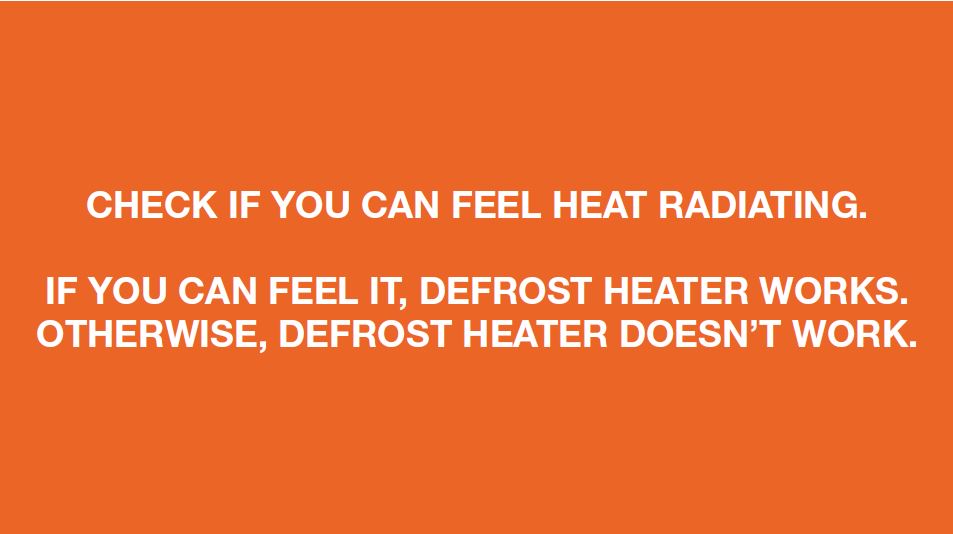
Put your hand close to
defrost heater.


DIAGNOSIS 4
Tip 1
Make sure the sealing
sponges are in good
condition.

Tip 2
When reinstalling the air
duct, fasten the wires to
avoid crushing with air
duct.
Tip 3
Check to see if there is
a wide gap between air
duct and cabinet. If there
is, reinstall air duct.


