8.1 RELIABILITY FAULTS:
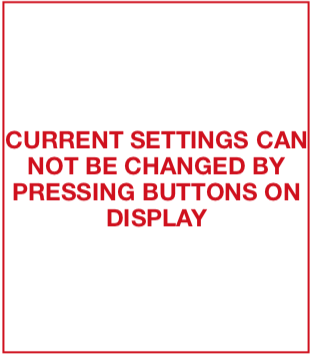
BUTTON ON DISPLAY DOESEN'T WORK


DIAGNOSIS 1
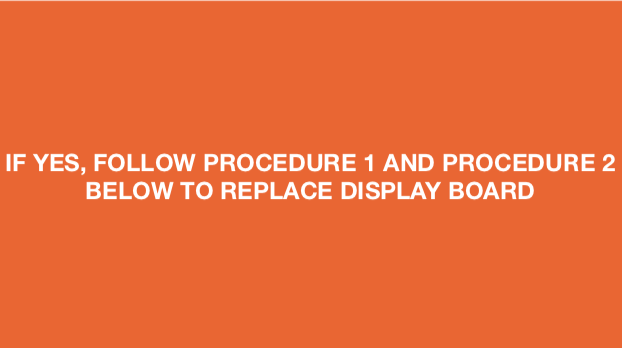

PROCEDURE 1

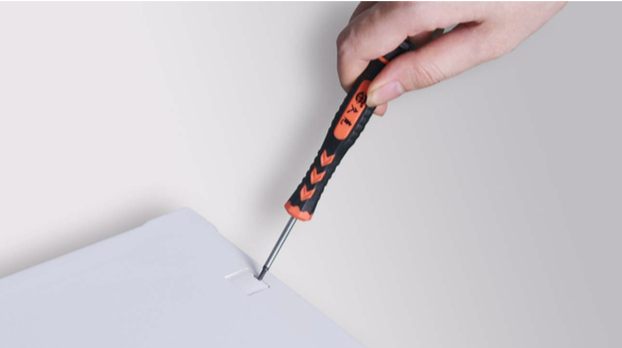
Step 1
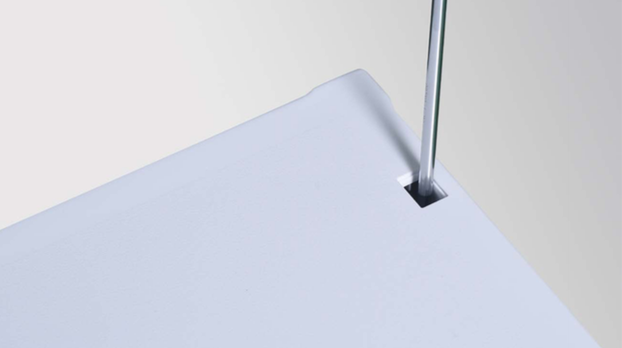
Lever off screw cover.
Step 2
Unscrew.
Step 3
Push the top cover forward.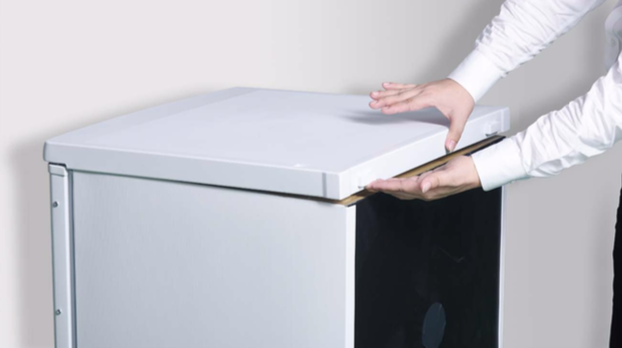
Step 4
Take away the top cover.
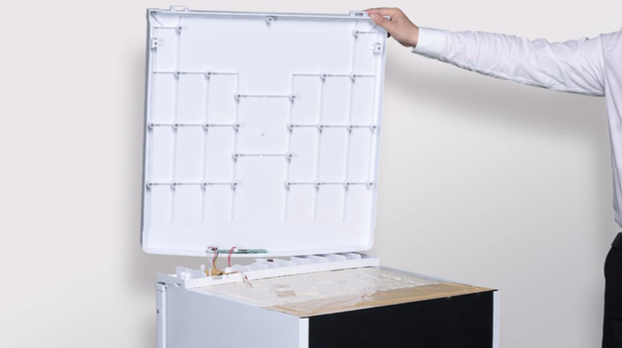
Step 5
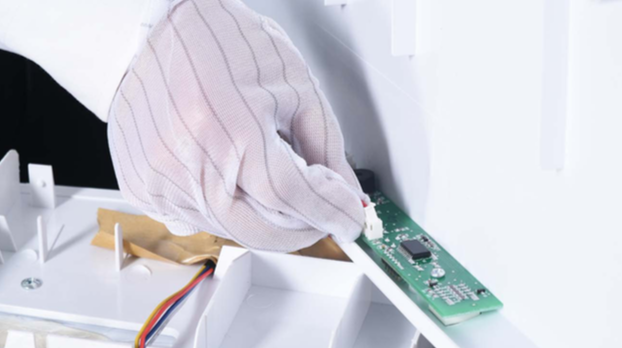
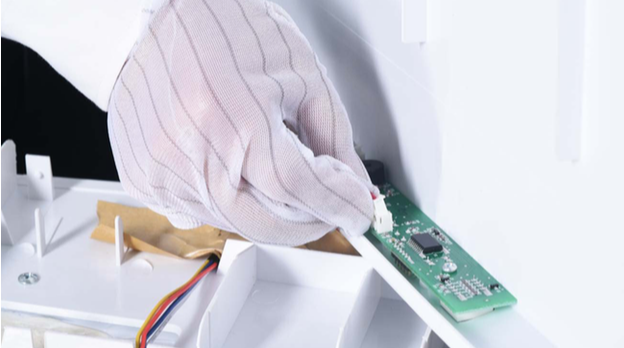
Disconnect the terminal of display PCB.
Step 6
Unscrew and remove the display PCB.


PROCEDURE 2
CHECK AND TEST 2
Step 1
Check if buttons on display work or not.
DIAGNOSIS 2

CHECK AND TEST 3
Step 1
Unscrew the cover of mainboard.
Step 2
Remove the mainboard box.
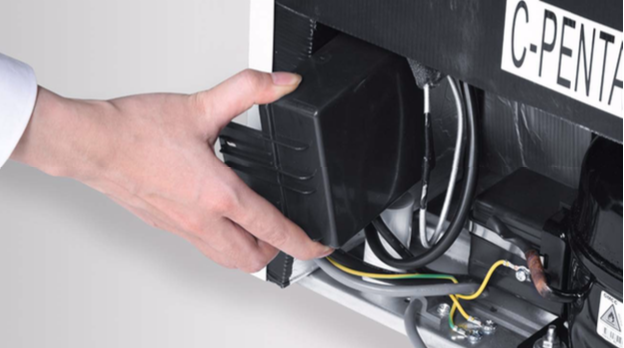
Step 3
Separate the mainboard box.
Step 4
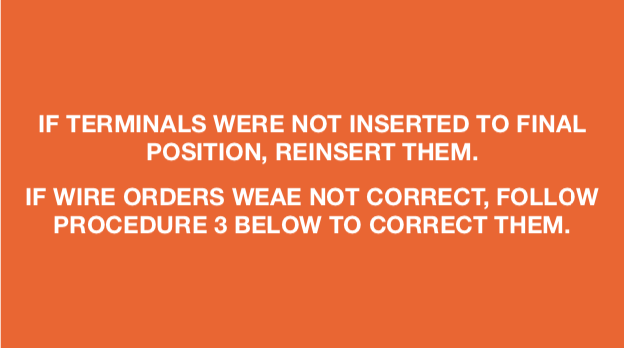
Check if terminal in PCB area is inserted to final position.
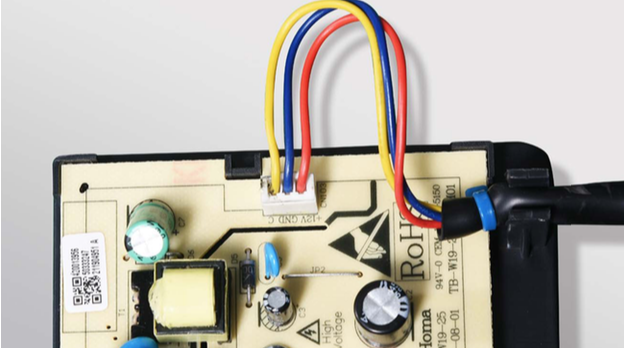
Step 5
Check if terminal in display area is inserted to final position.
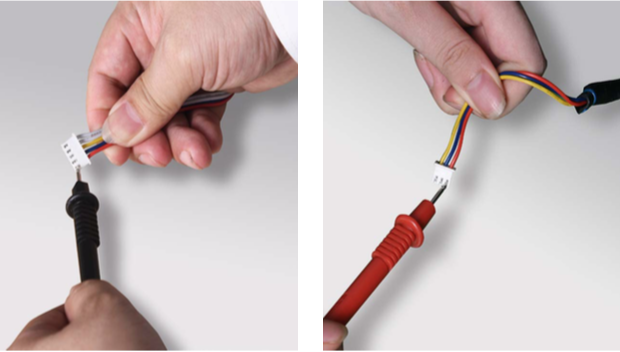
Step 6
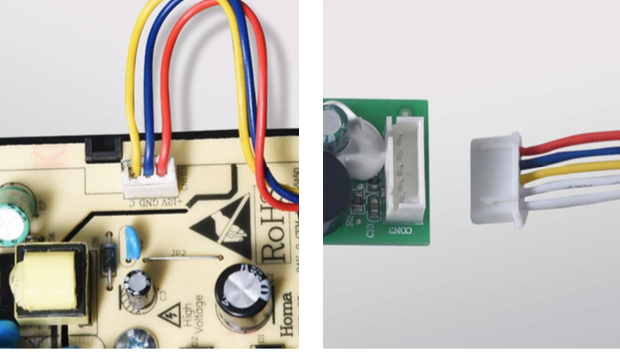
Check if wire orders in PCB area and display area are correct or not. Photoes on the right show correct wire order.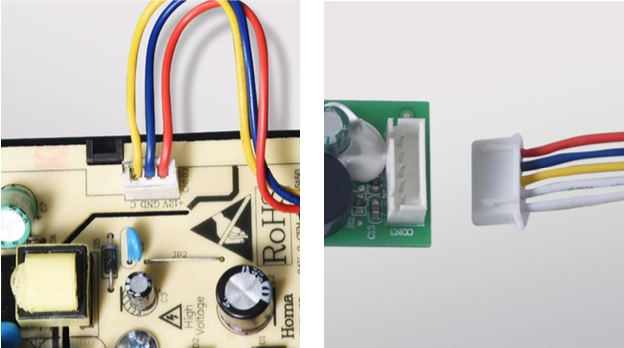
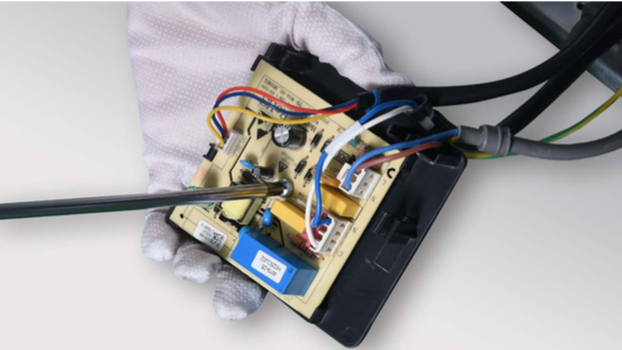
DIAGNOSIS 3
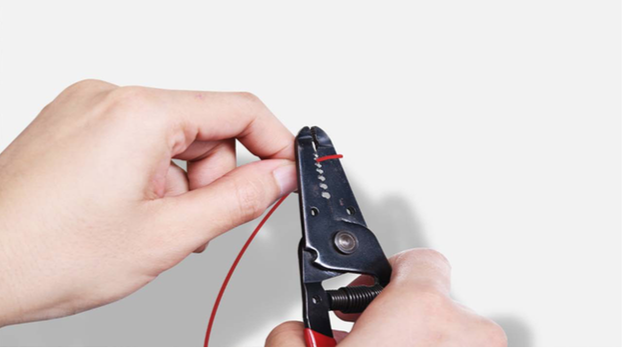
PROCEDURE 3

Step 1
Cut off the wire.

Step 2
Peel off the sleeves.
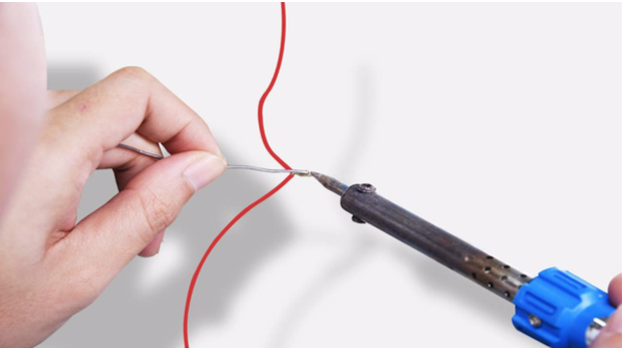
Step 3
Check to ensure proper
wire order and connect
them.

Step 4
Tin soldering.
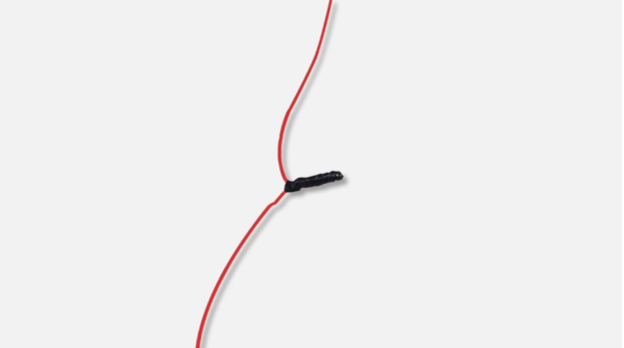
Step 5
Cover connecting point with electrical tape.
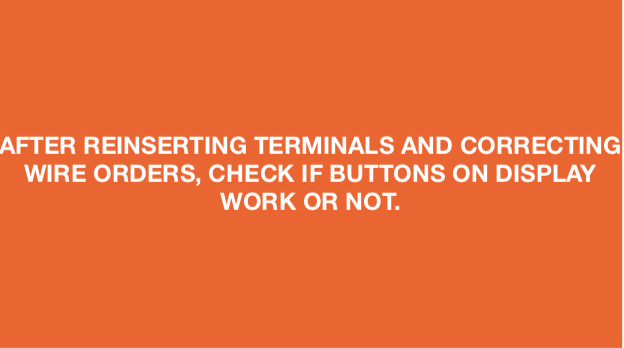
CHECK AND TEST 4
Step 1
Check if buttons on display work or not.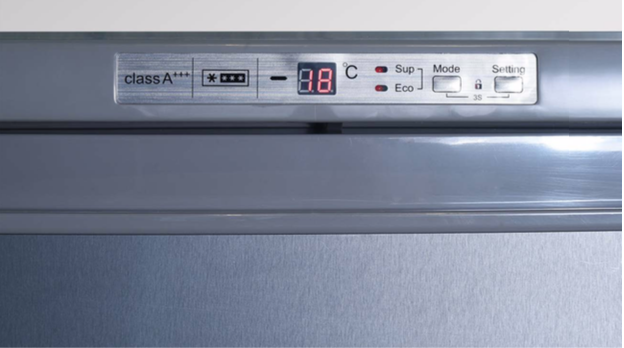
DIAGNOSIS 4

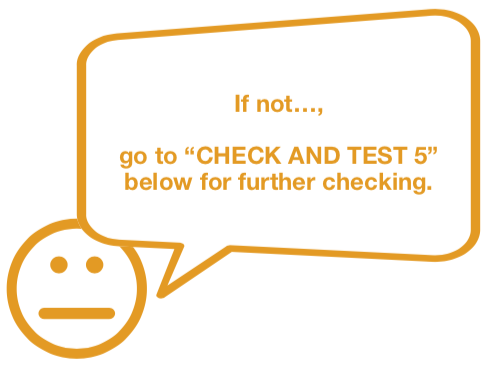
CHECK AND TEST 5
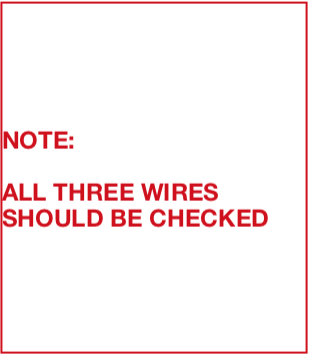
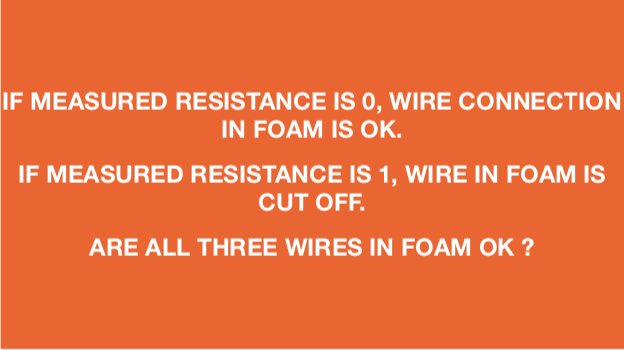
Step 1
Measure resistance of
wires in foam to check if
wire connection in foam
are correct or not.
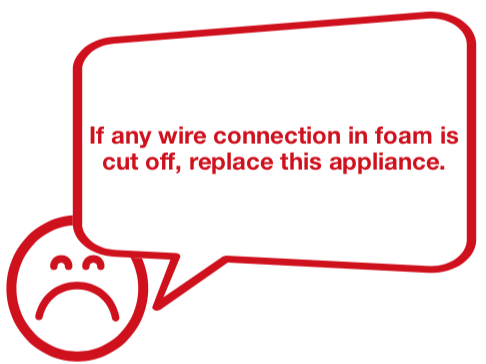
DIAGNOSIS 5
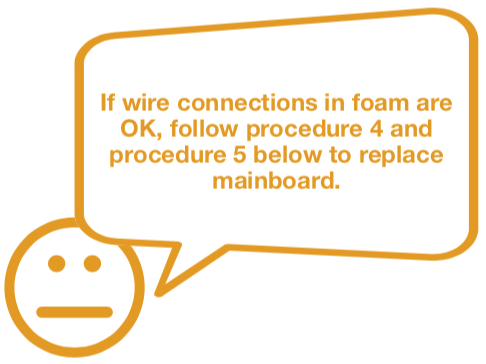
PROCEDURE 4
Step 1
Unsecrew and remove PCB from the box.
Step 2
Prize off the buckle and disconnect the terminal.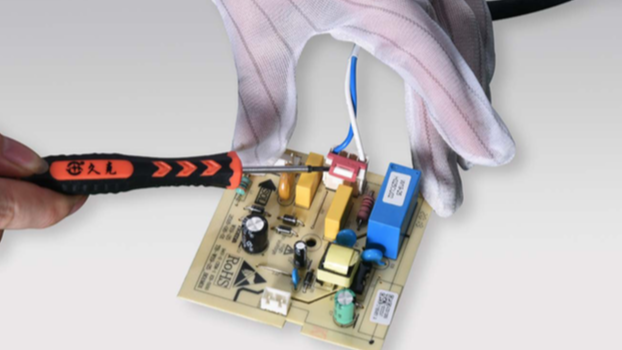

PROCEDURE 5
CHECK AND TEST 5
Step 1
Check if buttons on display work or not.

DIAGNOSIS 5


GO BACK TO FAULT LIST RELIABILITY