PROCEDURE 1

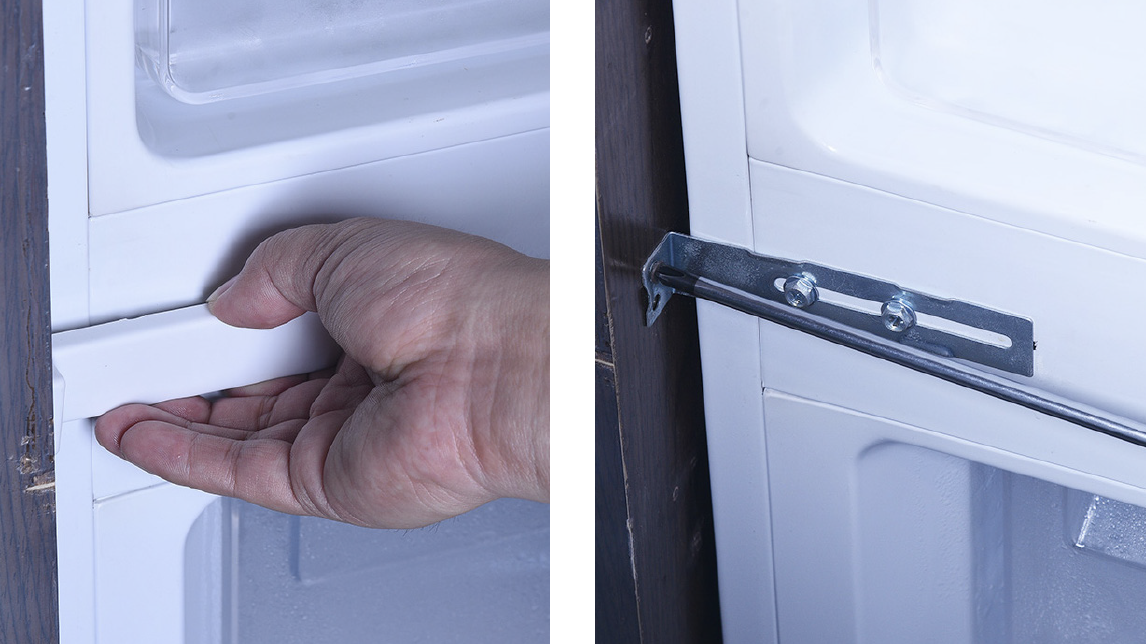
Step 1
Unscrew bottomattachment.

Step 2
Unscrew topattachment.

Step 3
Remove the plasticcover.
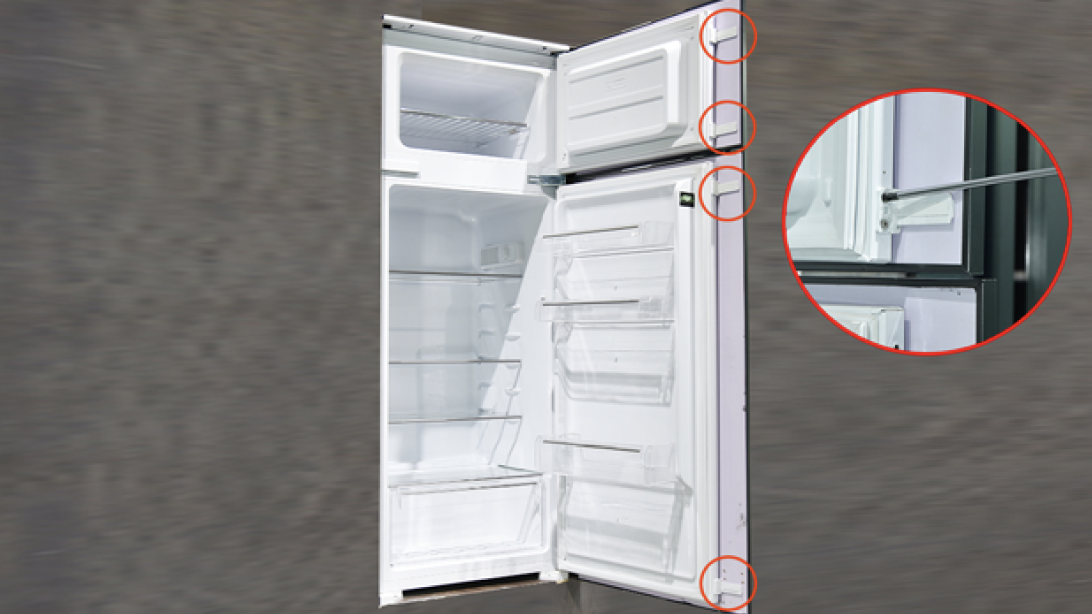
Step 4
Unscrew central
attachment on left and
right side.
Step 5
Unscrew the plasticguider.
Step 6
Hold cabinet and moveit out 3mm.
Note:
Reverse procedures
above to install the
appliance.


DIAGNOSIS 1
Note
Before checking internalwires, first follow procedure
1 to disassemble
terminal cover.

Step 1
Unscrew the lockingplastic.

Step 2
Remove the blue plastic.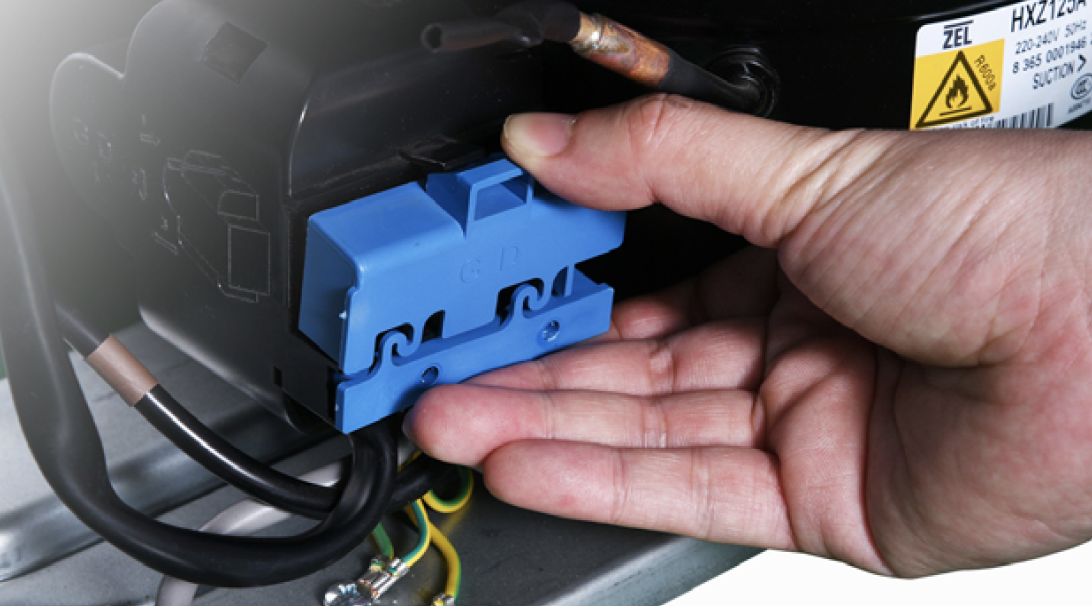
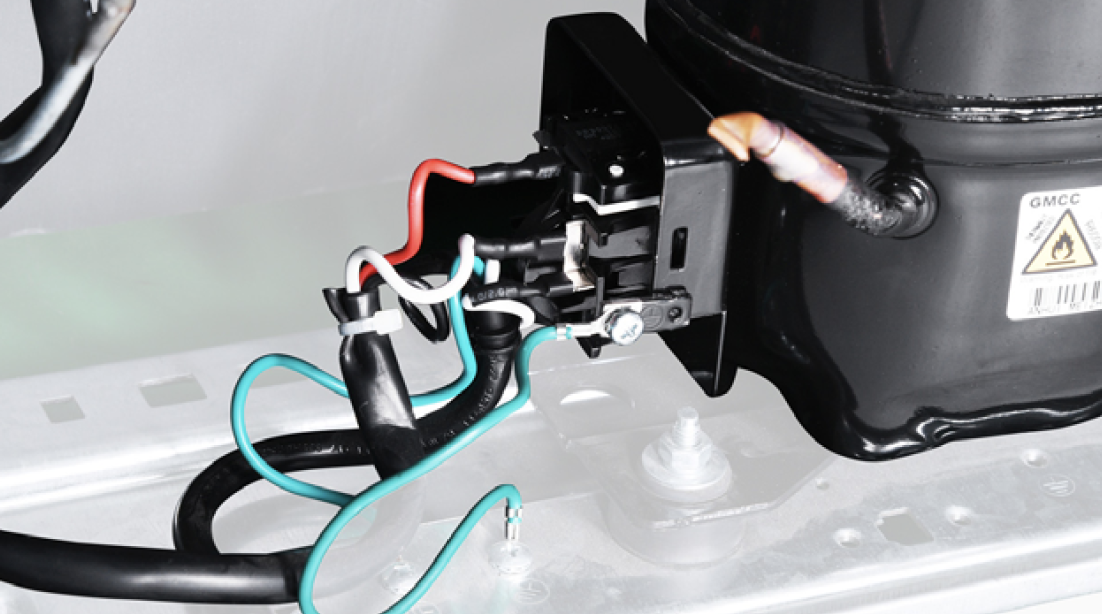
Step 4
Lever off the terminalbox.


CHECK AND TEST 1
Step 1
Verify whether wires arebroken.
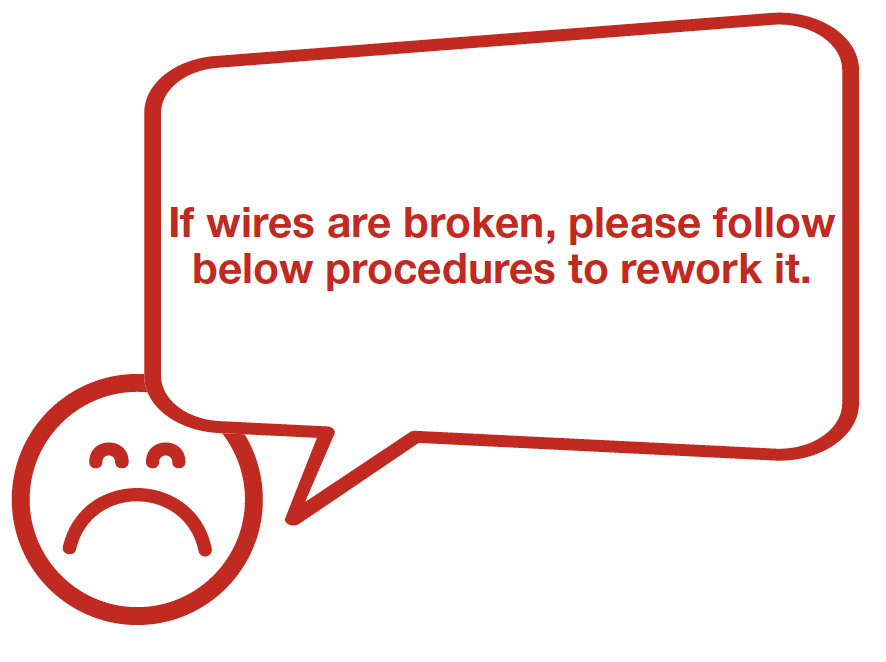

PROCEDURE 2
Step 1
Cut off the wire.

Step 2
Peel off the sleeves.

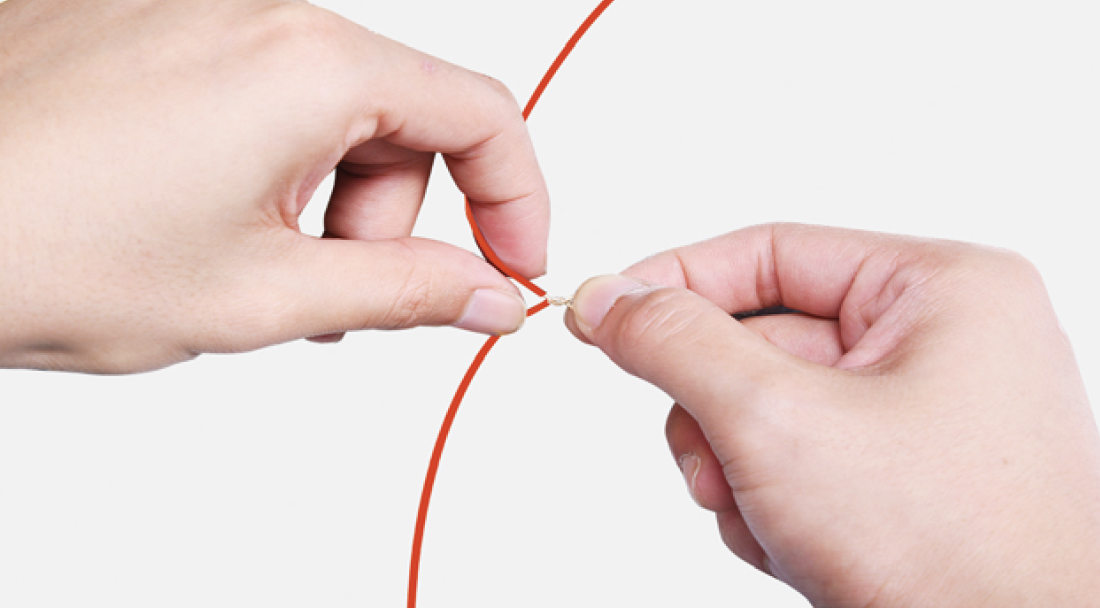
Step 2
Ensure proper wire orderand connect.
Step 4
Tin soldering.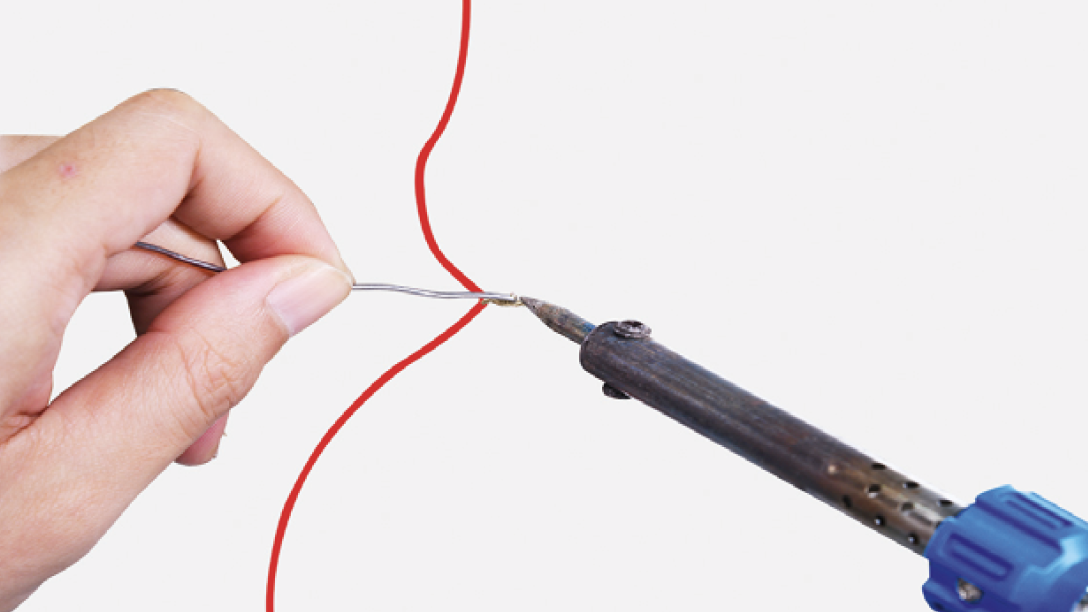
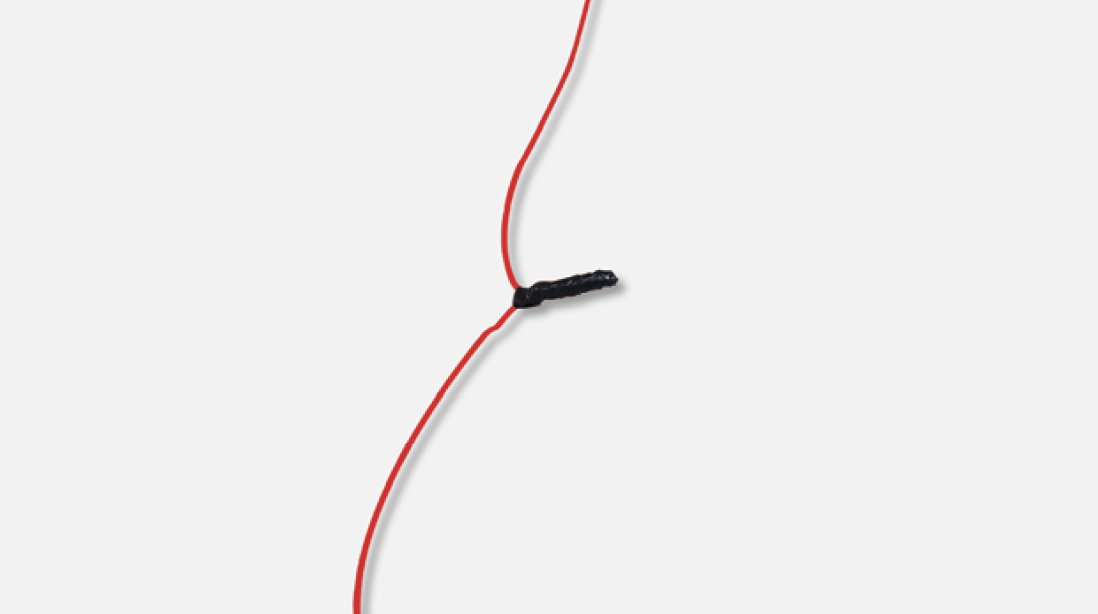
Step 5
Cover connecting pointwith electrical tape.