

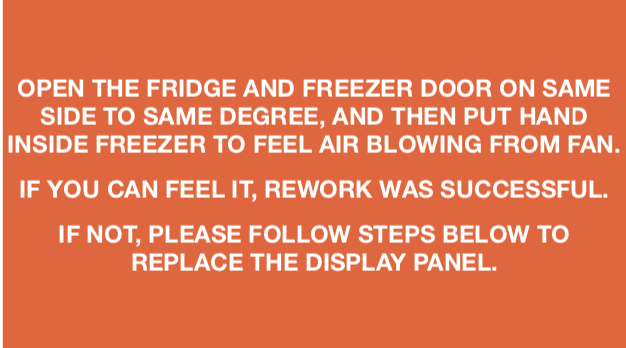
CHECK AND TEST 1
Note
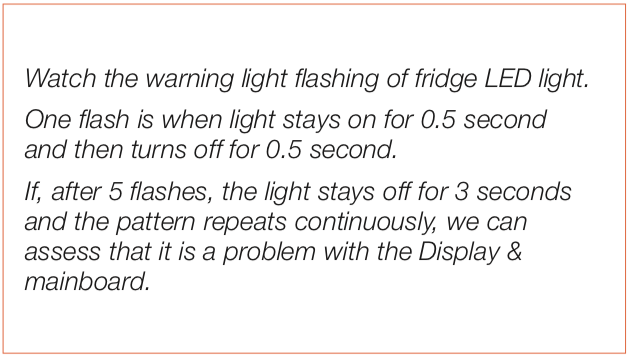

DIAGNOSIS 1

PROCEDURE 1

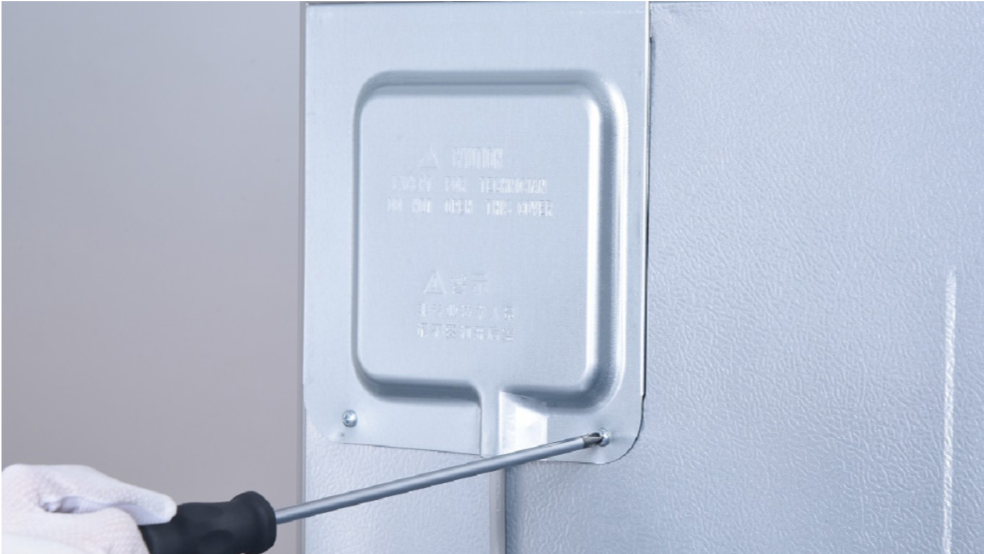
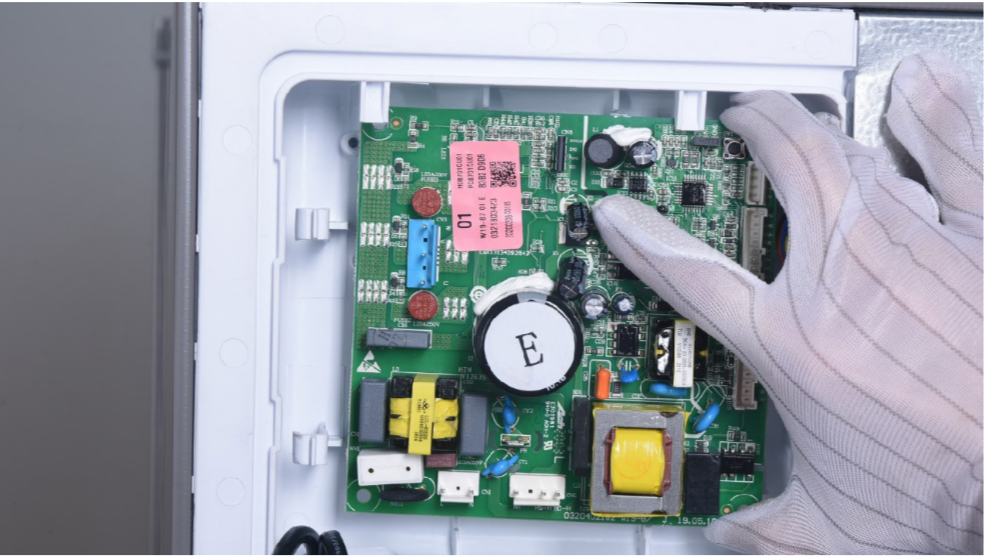
Step 1
Unscrew cover of mainboard with a Cross-head screwdriver.
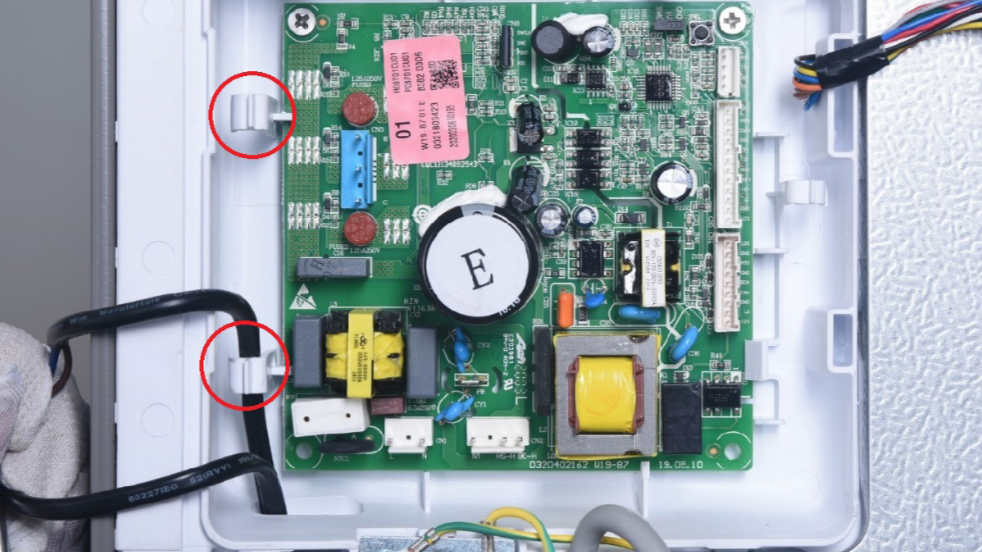
Step 2
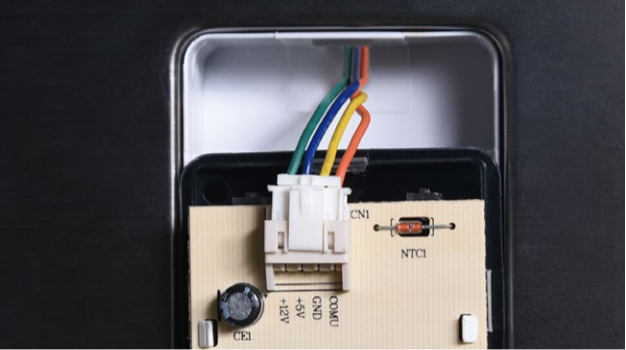
Pull out the buckle to take out wires.
Step 3
Unscrew the mainboard.

Step 4
Disconnect terminals.
Step 5
Pull out the buckle to remove mainboard.
Reverse above steps to install a new board.
DIAGNOSIS 2

PROCEDURE 2
Step 1
Push a 6mm sucker onto display and turn the knob to strengthen suction force.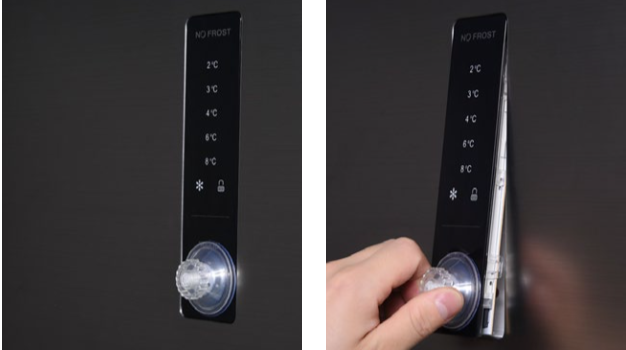
Step 2
Pull out display panel.
Reverse above steps to install a new display panel.
PROCEDURE 3
Tip 1
After connecting terminal, please tape wires in place to prevent crushing by the cover.

Tip 2
After inserting display into cavity, press edge until you hear a clicking sound, this means the board is pushed properly into final position.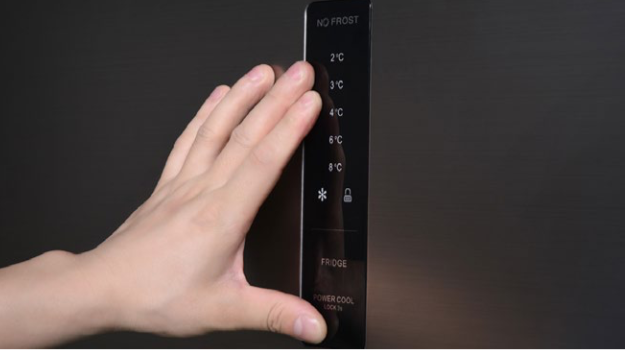
Tip 3
No display caused by internal wires.


GO BACK TO COMPONENT LIST