


CHECK AND TEST 1
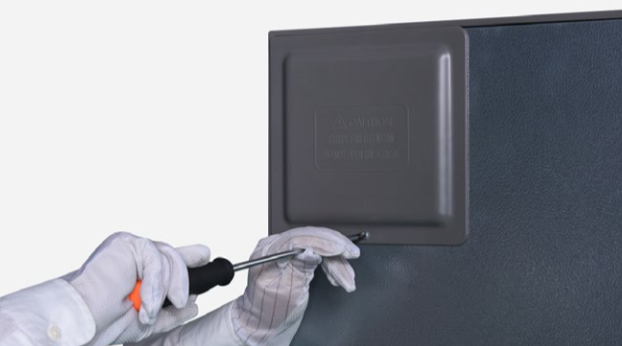
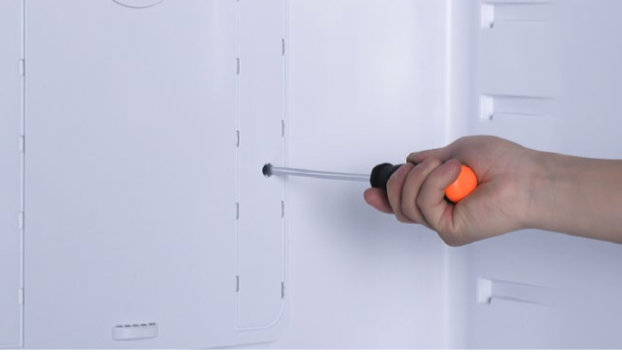
Step 1
Unscrew cover of
mainboard with a
Cross-head screwdriver.
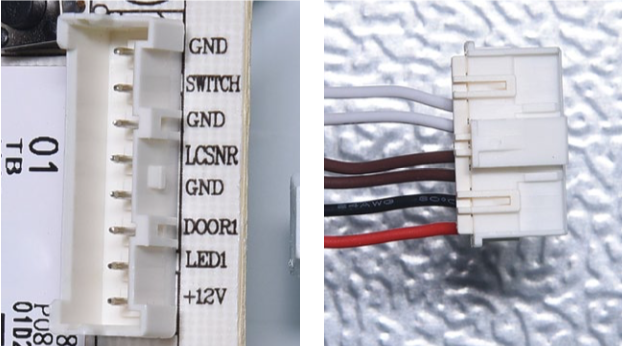
Step 2
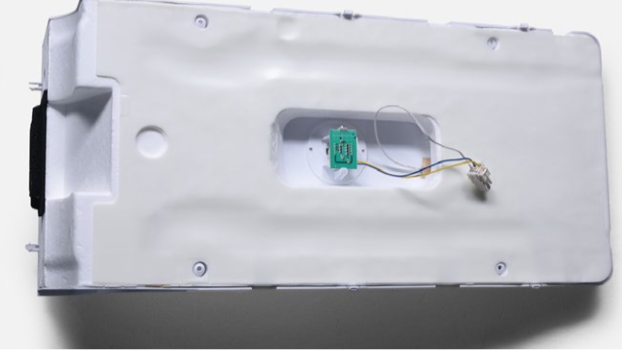
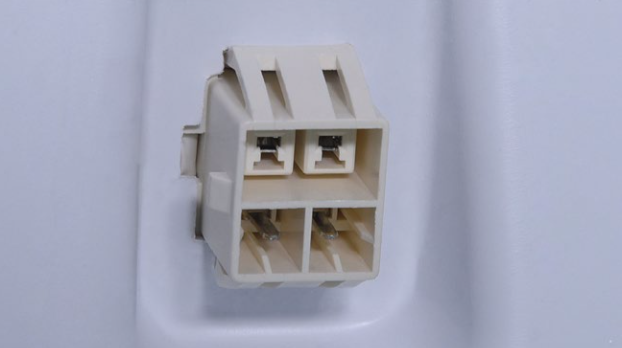
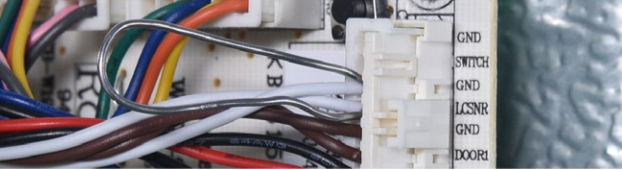
Check if the terminal is filled with foam or not, then test resistance of fridge sensor from terminal in PCB area.
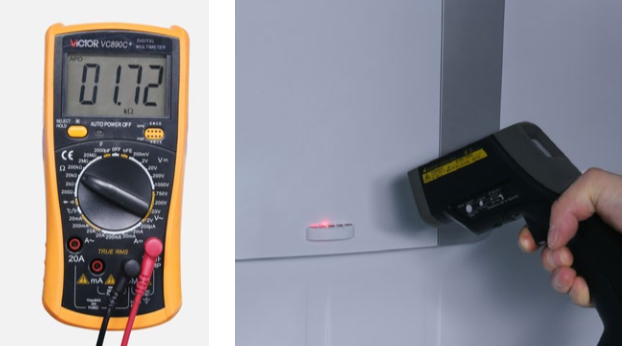
Step 3
Take note of value.
Step 4
Measure the temperature
of sensor.

DIAGNOSIS 1


PROCEDURE 1
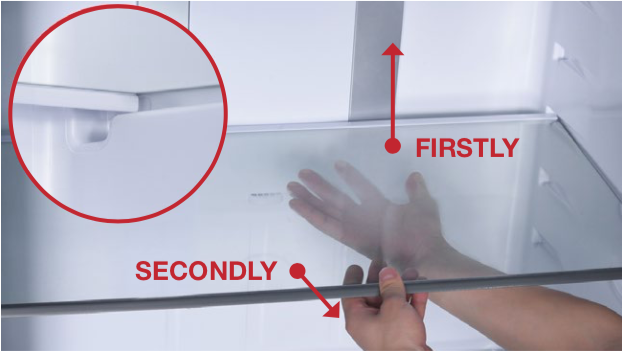
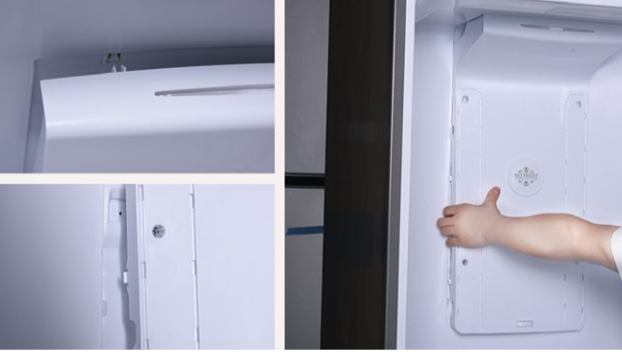
Step 1
Remove shelves.
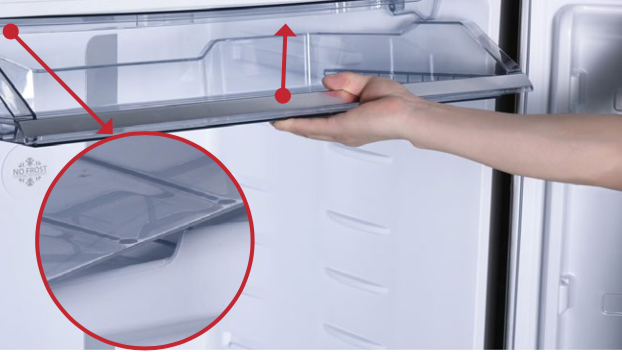
Step 2
Remove chill box.
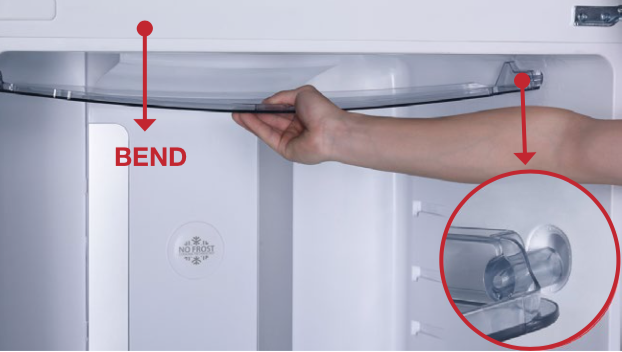
Step 3
Remove chill flap.
Step 4
Lever 2 decorative strips
off and remove.

Step 5
Remove the 4 screws.
Step 6
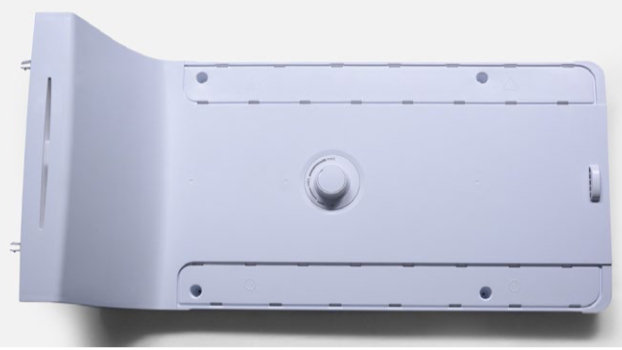
Pull out fridge air duct.
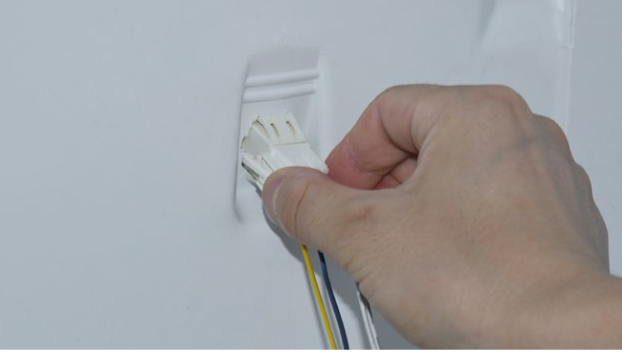
Step 7
Disconnect the terminals.
DIAGNOSIS 2


PROCEDURE 2

Step 1
Remove knob or cover.
Step 2
Loosen clasps.
Step 3
Remove foam.
Step 4
Take off the tape and remove the sensor.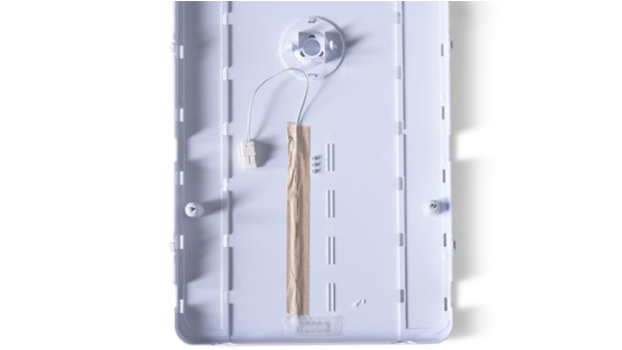
Reverse procedures
above to reinstall fridge
temp. sensor.

DIAGNOSIS 3


CHECK AND TEST 2
Step 1
Take off the tape and
remove the sensor.
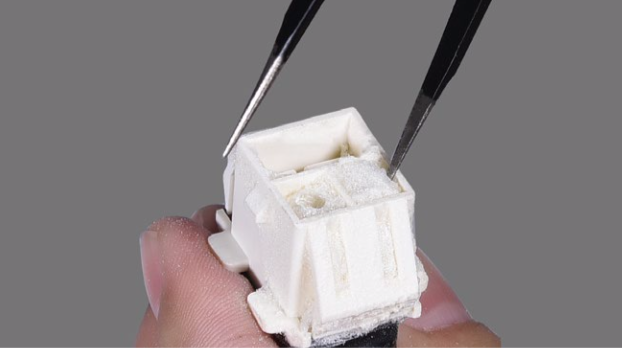
Step 2
Remove foam with
tweezers.
Step 3
Check if the connections
of wires in foam are good
or not.
Step 4
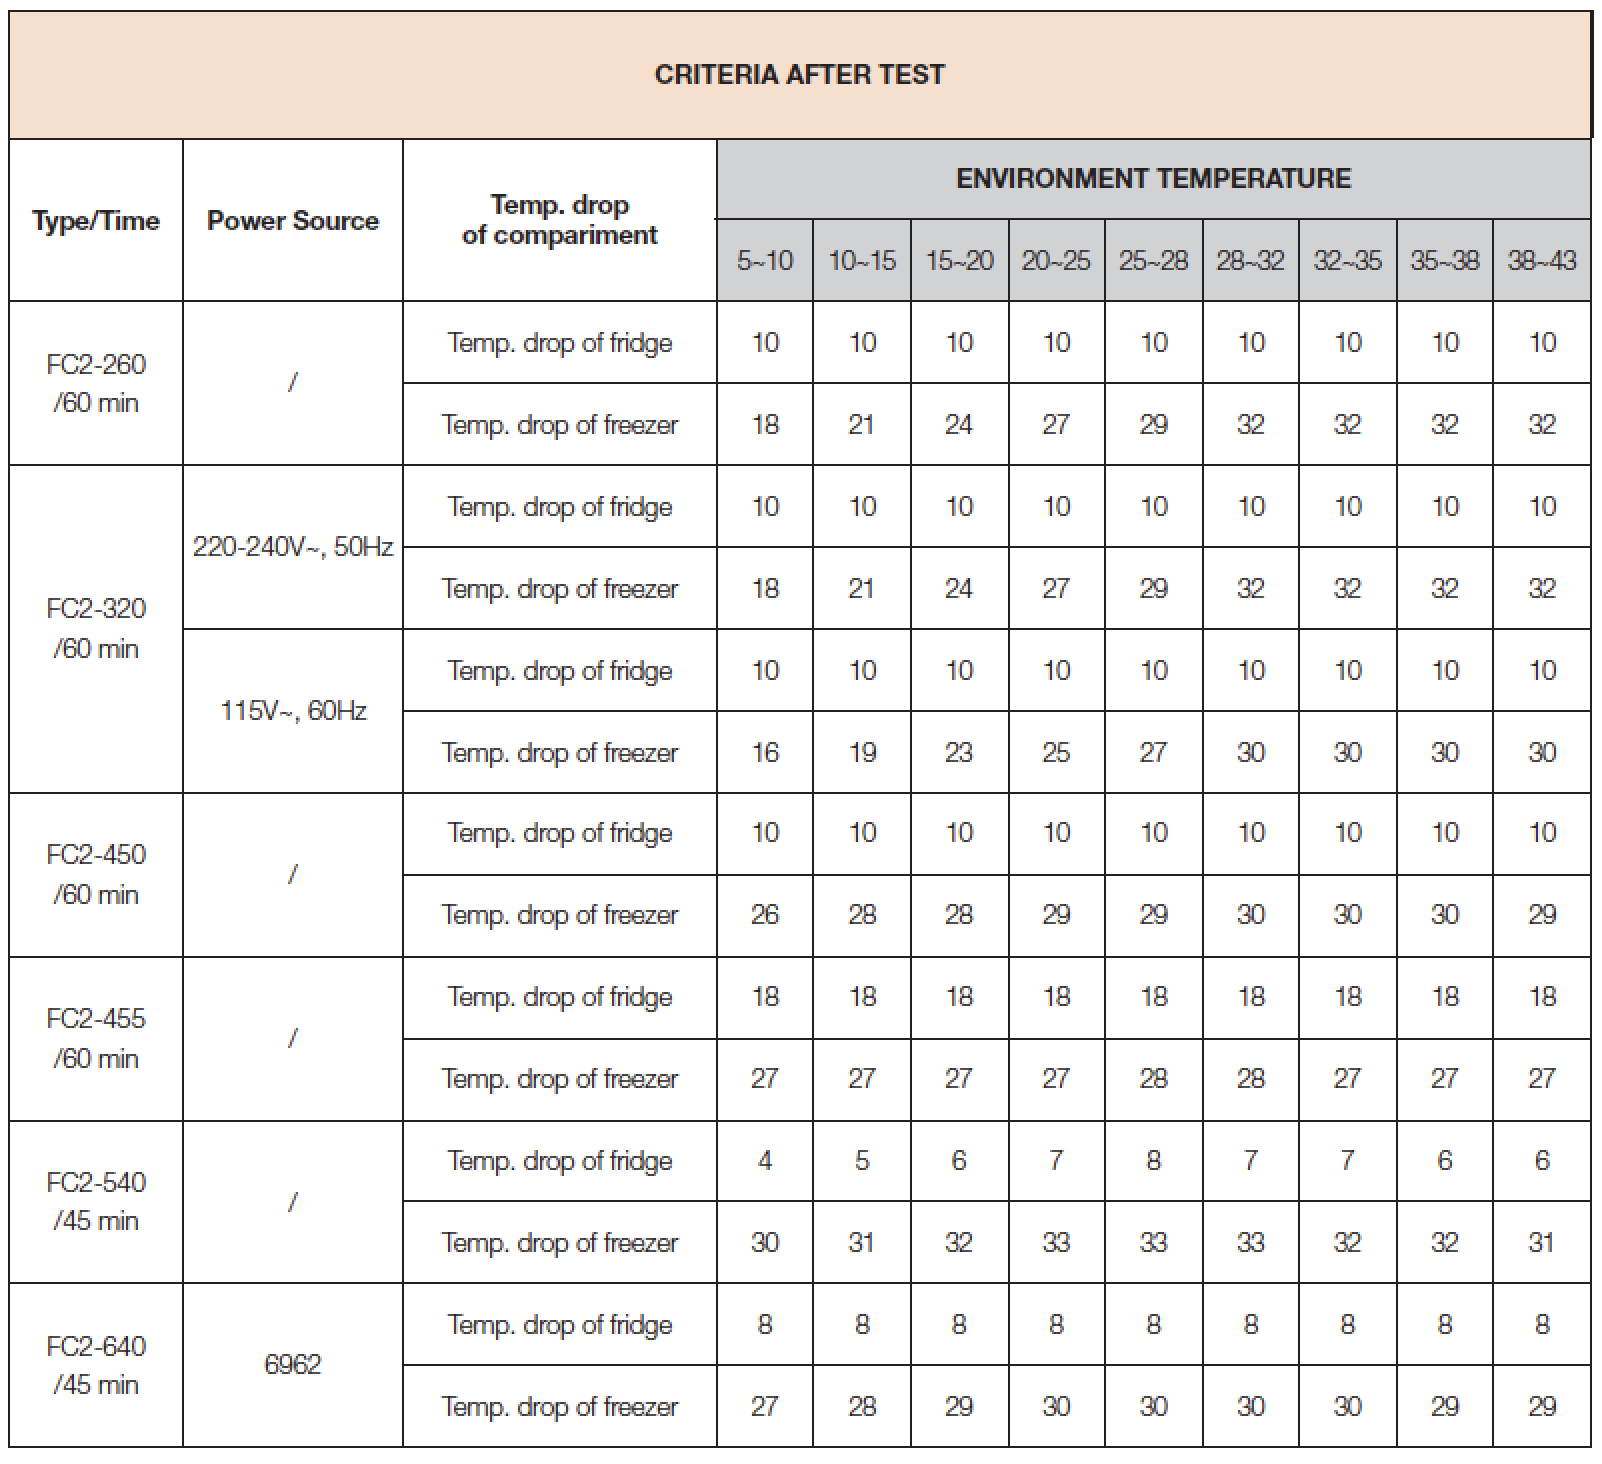
After reworking, please follow procedures and criteria below to do a performance test.

DIAGNOSIS 4

Performance Test Procedures for Assessing Criteria for Model FC2 series
Test Conditions
1 Ambient temperature and humidity are the same as natural conditions.
2 Sensor position close to air outlet.
3 Testing time 45 or 60 minutes.
4 Set thermostat to MAX.


PROCEDURE 4
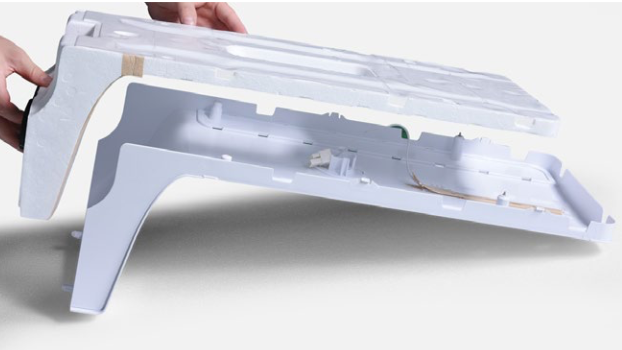
Tip 1
When reinstalling fridge air duct, first put the positive end of buckle on the top into the negative ends.
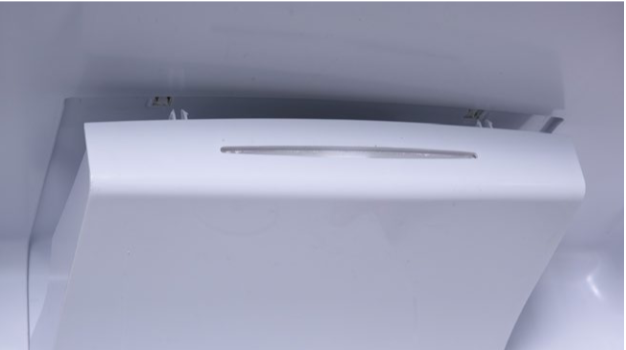
Tip 2
Then put the positive end of buckle on the sides into the negative ends.

Tip 3
Later, fasten the buckles on the sides by knocking them in.


GO BACK TO COMPONENT LIST