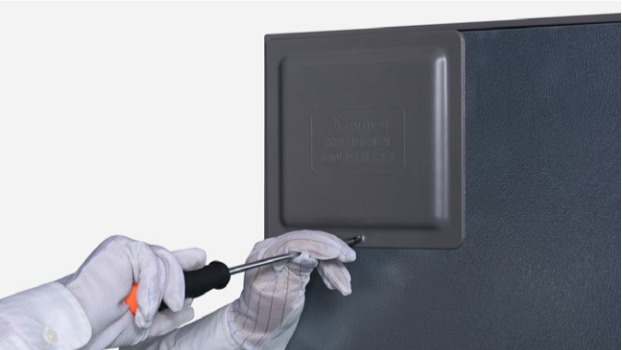
CHECK AND TEST 1
Step 1
Unscrew cover of mainboard with a Cross-head screwdriver.
Step 2
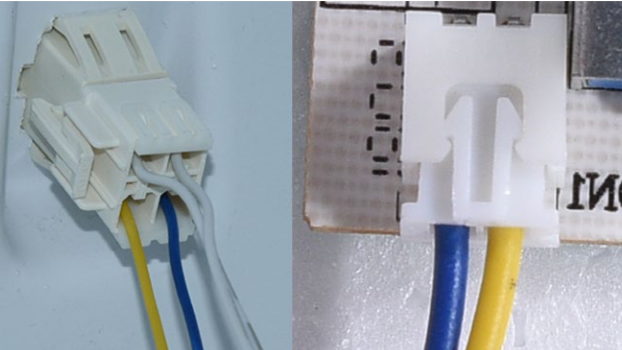
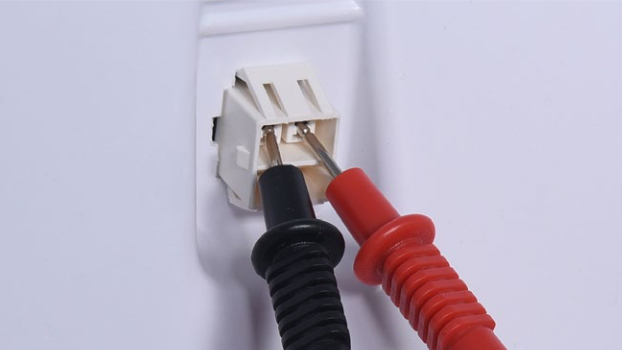
Test resistance of
potentiometer from
“DOOR” and “GND”.
Step 3
Turn the knob from 0 to
max to test resistance of
potentiometer.


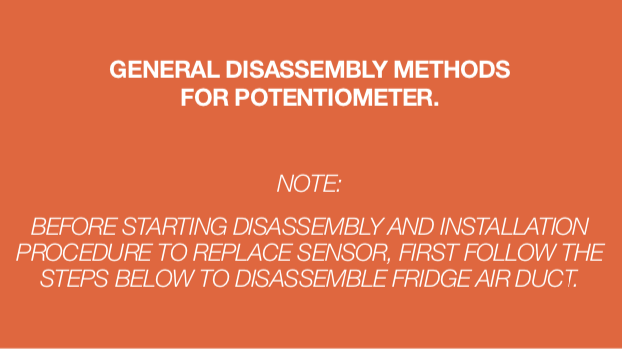
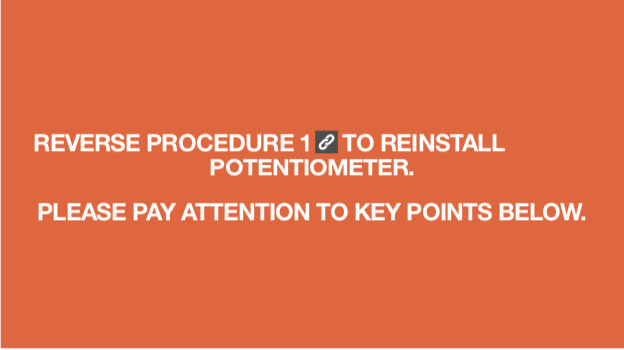
PROCEDURE 1
Step 1
Remove shelves.
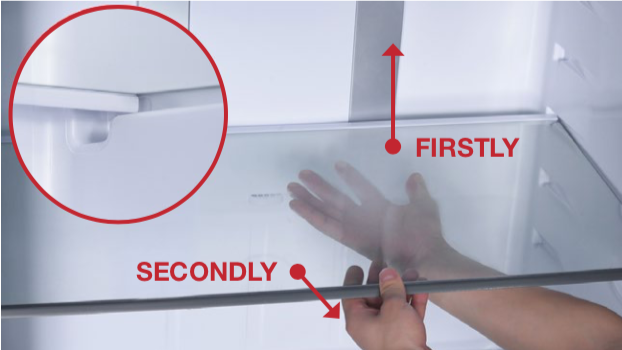
Step 2
Remove chill box.
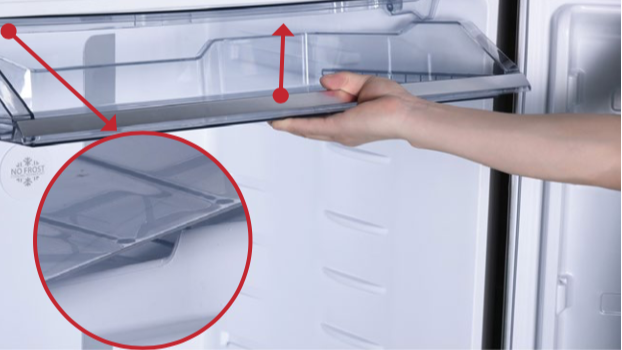
Step 3
Remove chill flap.
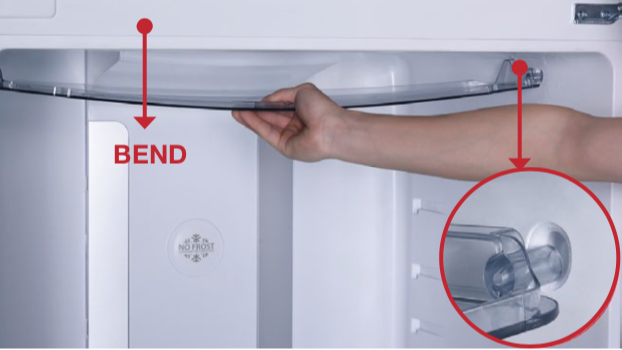
Step 4
Lever 2 decorative strips
off and remove.

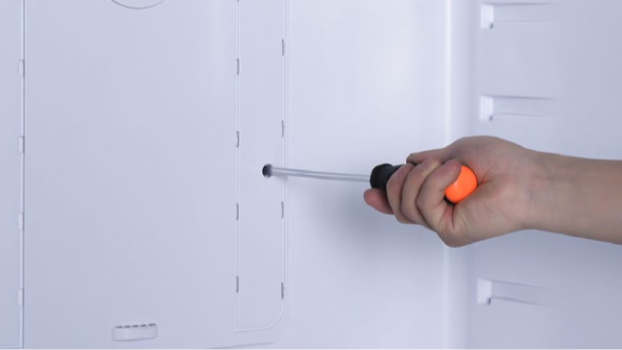
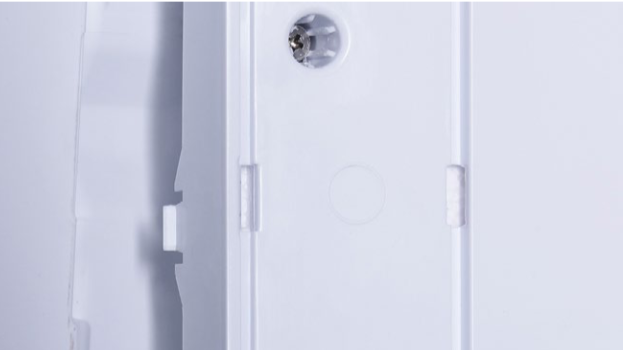
Step 5
Remove the 4 screws.
Step 6
Pull out fridge air duct.
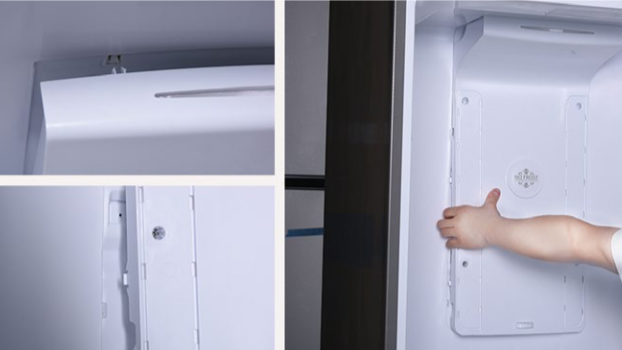
Step 7
Disconnect the terminals.
Step 8
Lever clasp off.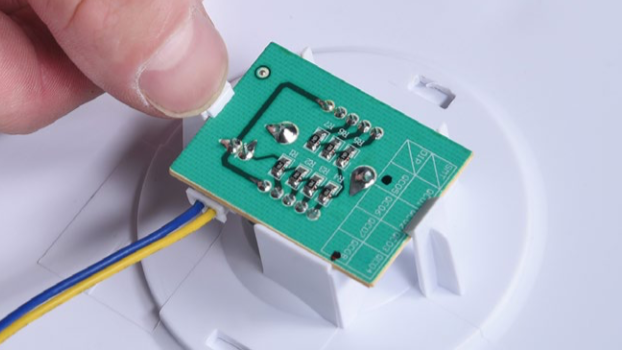
Step 9
Disconnect the terminal.
CHECK AND TEST 2
Step 1
Check to see if terminals
are pushed into final
position.
If not, repeat.
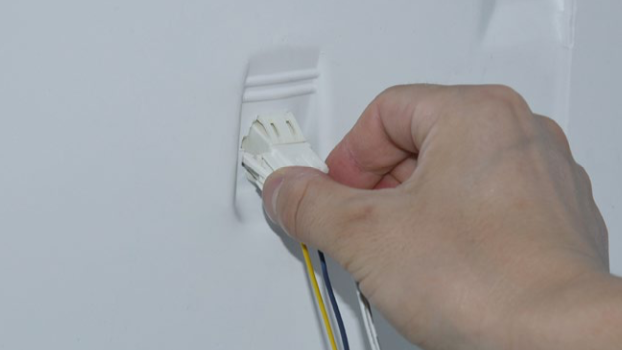
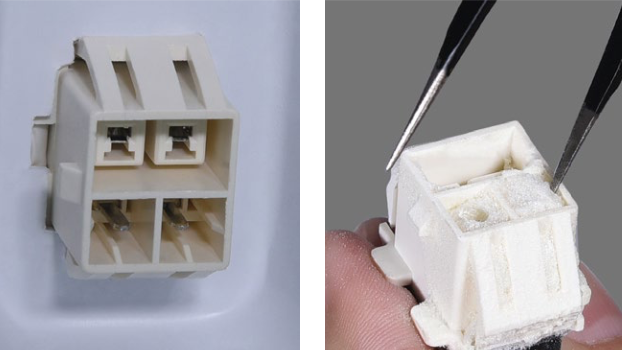
Step 2
Check to see if terminal on fridge wall is filled with foam.
Step 3
If so, use tweezers to
remove the foam.
Step 4
Connect the 2 ends (“door” and “GND”) of terminal for potentiometer.
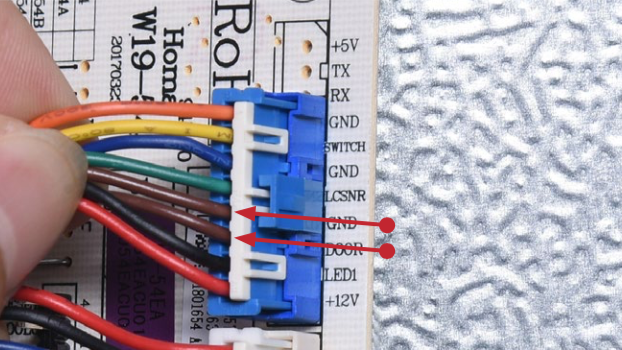
Step 5
Check the connections of wires for potentiometer.

DIAGNOSIS 1


CHECK AND TEST 3
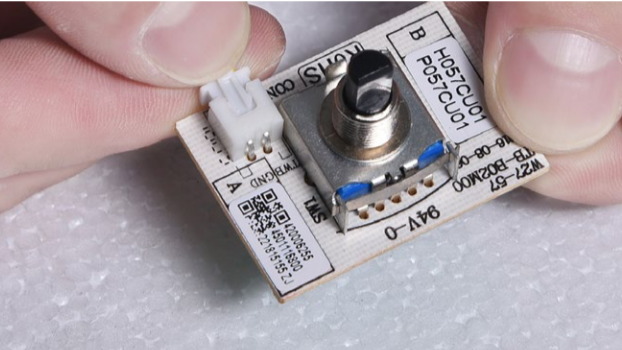
Step 1
Measure resistance of
potentiometer on each
gear.

DIAGNOSIS 2


PROCEDURE 3
Tip 1
When reinstalling fridge air duct, first put the positive end of buckle on the top into the negative ends.

Tip 2
Then put the positive end of buckle on the sides into the negative ends.
Tip 3
Later, fasten the buckles on the sides by knocking them in.


DIAGNOSIS 1