

CHECK AND TEST 1
Step 1
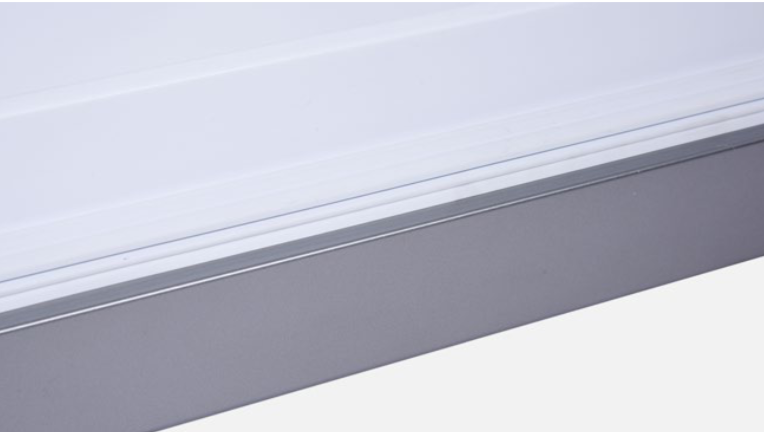
Open fridge doors to check carefully to see if gasket is cracked.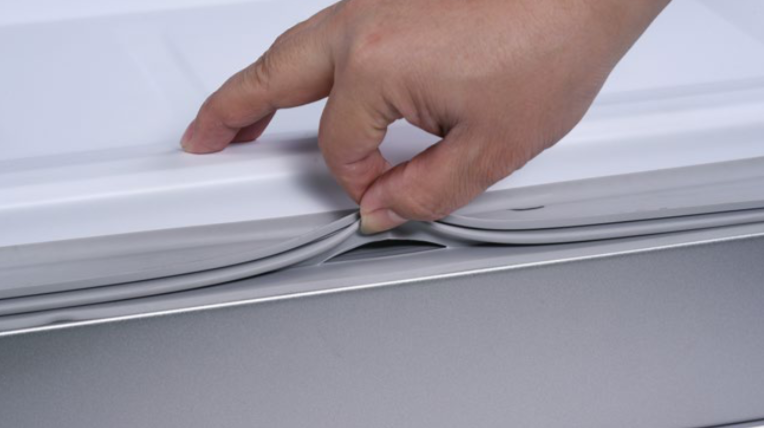
Step 2
Check carefully to see if gasket is deformed.

DIAGNOSIS 1


PROCEDURE 1

Step 1
Pull gasket out from corner.
TIPS FOR INSTALLING GASKET.
TIPS FOR INSTALLING GASKET.
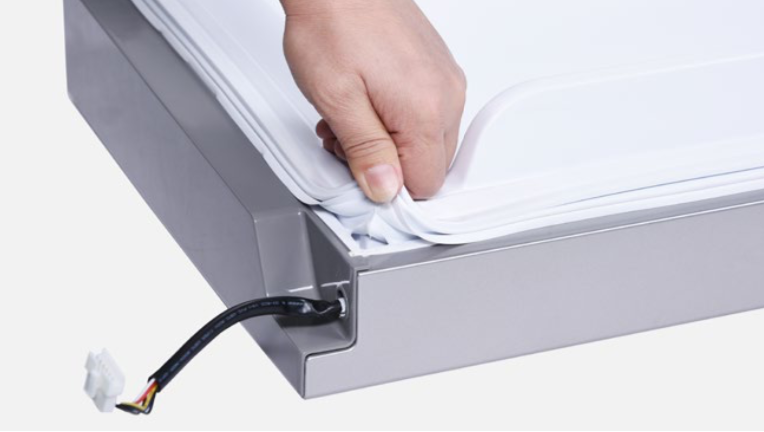
Tip 1
Start from corner.
Tip 2
Make sure base of gasket is pressed into trough completely.
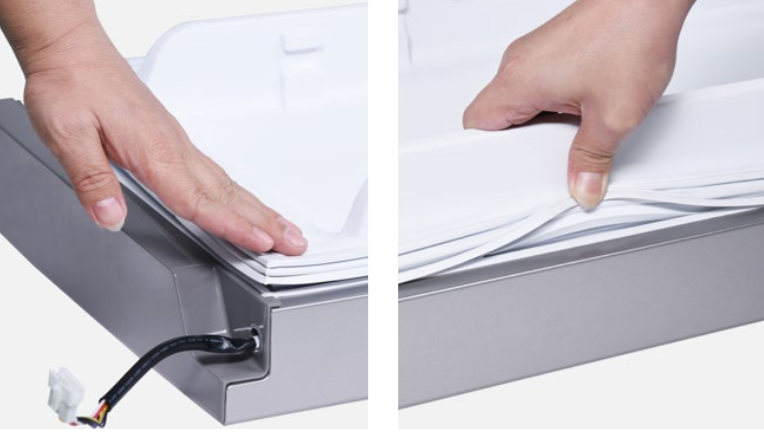
Tip 3
Make sure gasket is properly aligned with edges of trough.
Tip 4
After closing the door, make sure gasket is well attached onto door.
Tip 5
Make sure gaps between doors are even.
CHECK AND TEST 2
Step 1
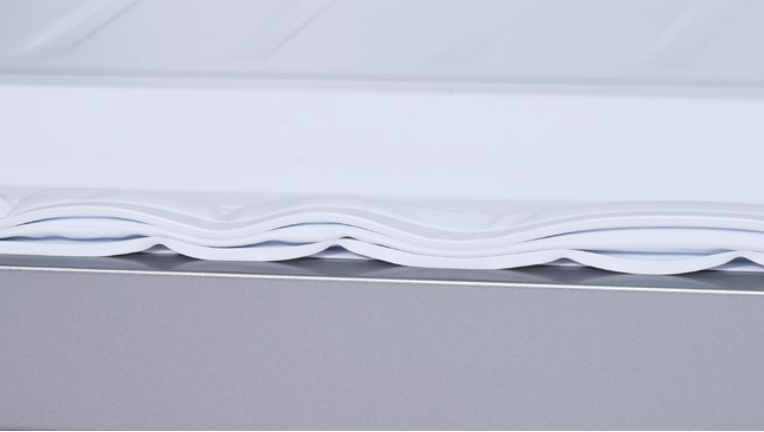
Check to make sure that gasket is not wrinkling.
DIAGNOSIS 2

CHECK AND TEST 3
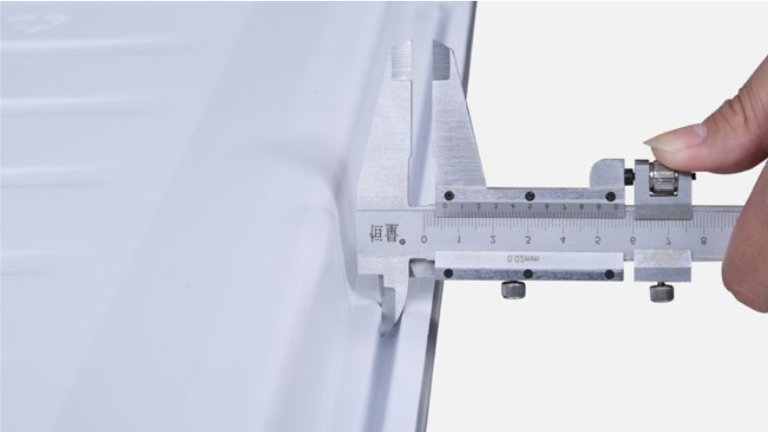
Step 1
Measure entrance width of gasket seat with vernier calipers.
Step 2
Use tool of same shape as gasket seat and insert into gasket seat, then flip the tool around.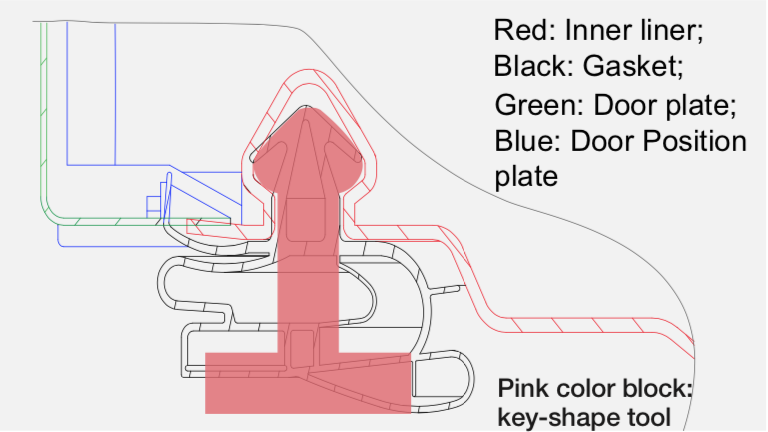
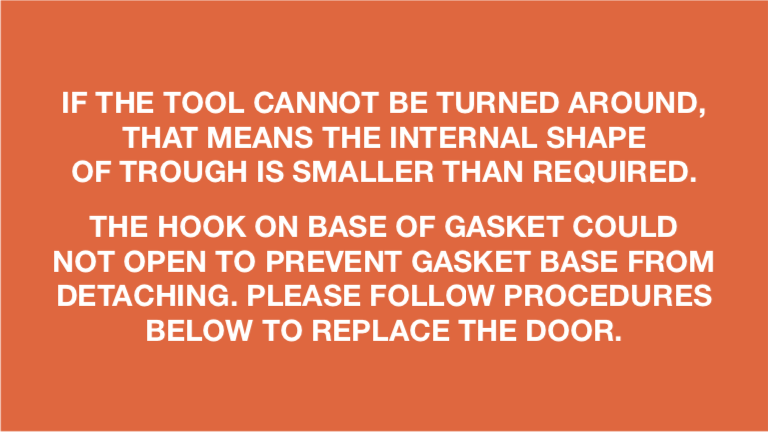
DIAGNOSIS 3


PROCEDURE 2

Step 1
Unscrew hinge cover.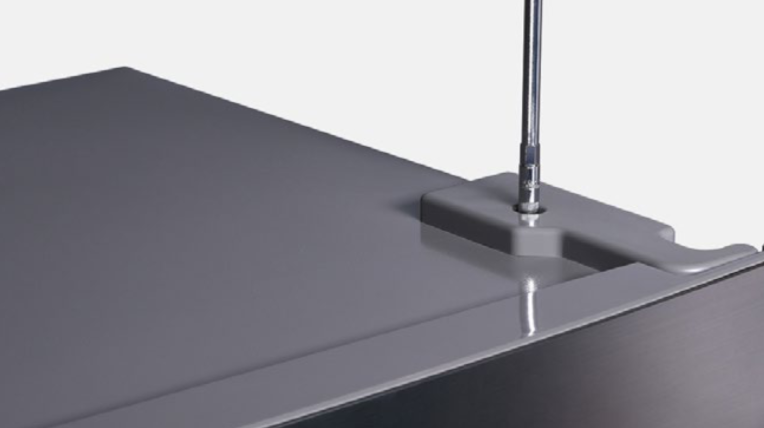
Step 2
Remove the cover.
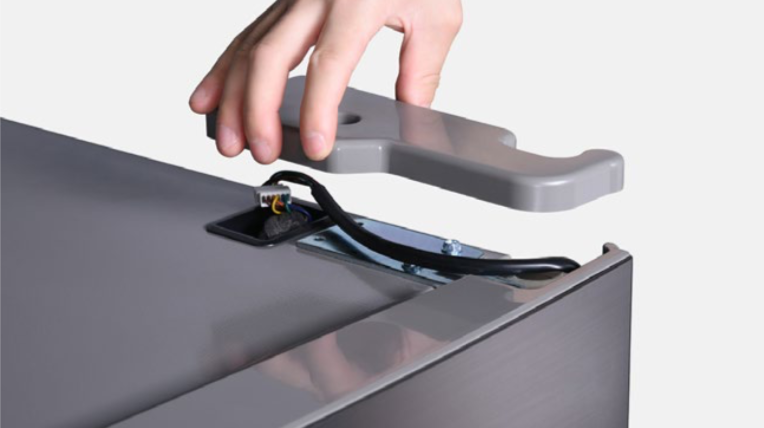
Step 3
Disconnect the terminals.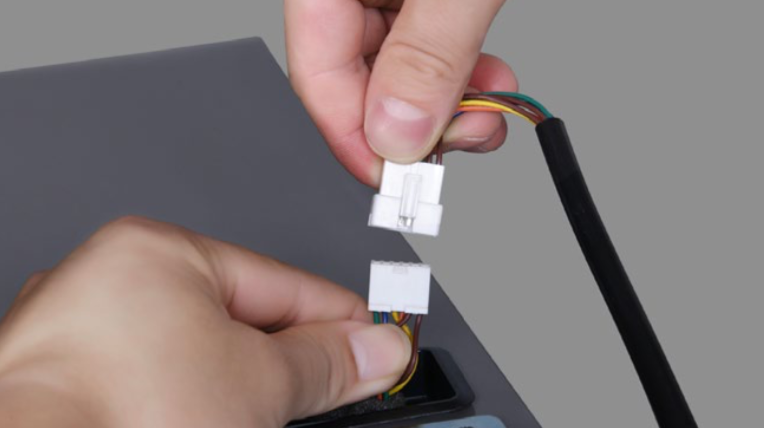
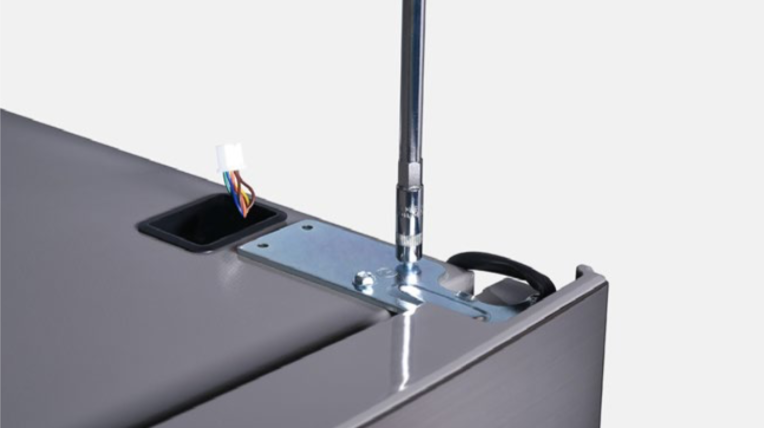
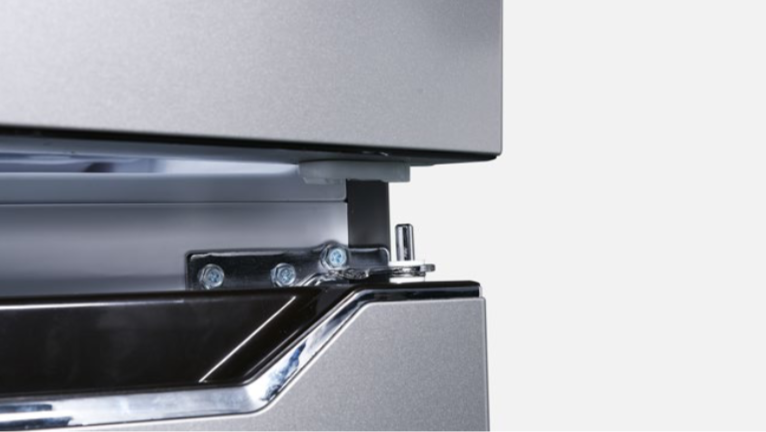
Step 4
Unscrew 3 bolts and remove the top hinge.
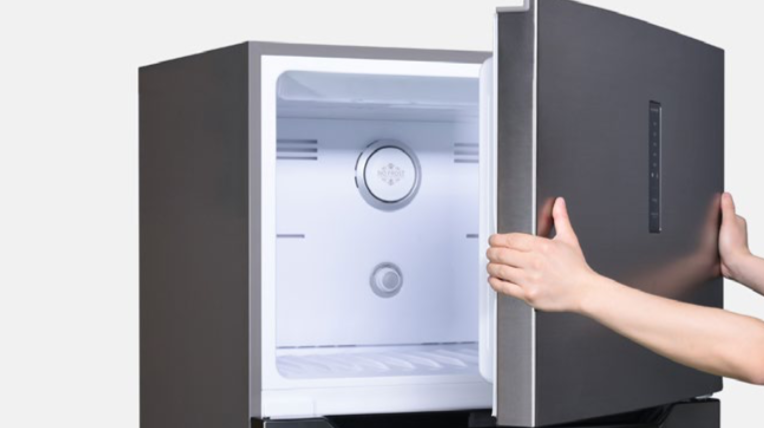
Step 5
Remove fridge door.
Step 6
Loosen the middle hinge and remove it.
Step 7
Remove freezer door and replace with new one. Reverse above steps to install the new door.

Before installing new door, please check below tips.
Before installing new door, please check below tips.
Tip 1
Check if gasket falls off.

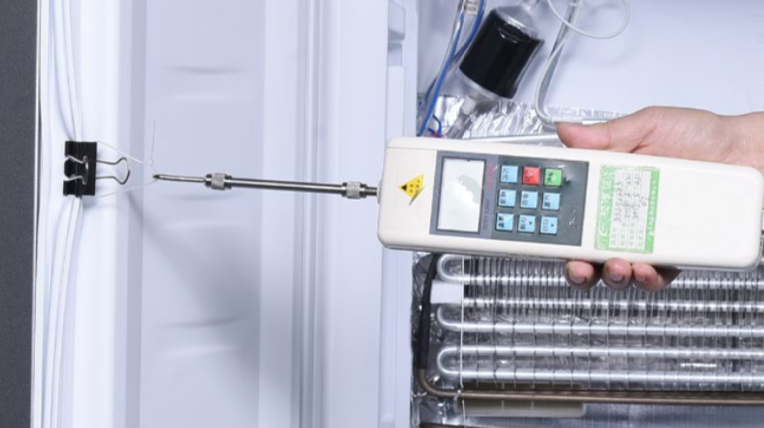
Tip 2
Insert the gasket into trough and pull it with a force of 30N.
DIAGNOSIS 4


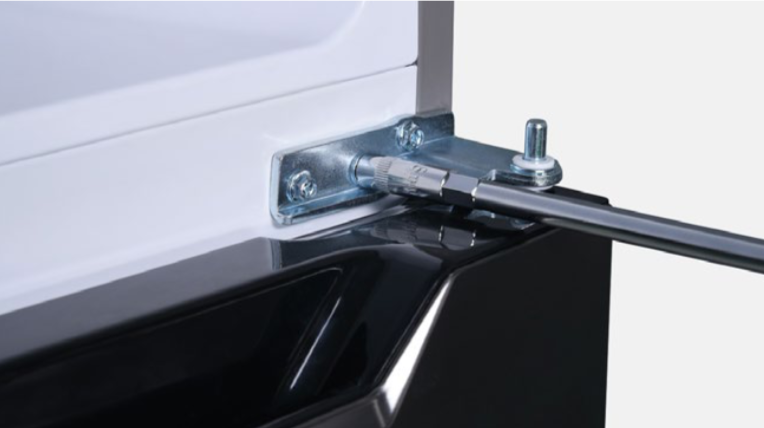
Tip 1
Don’t forget to put washer on hinge pin.
Tip 2
Make sure gasket is properly attached.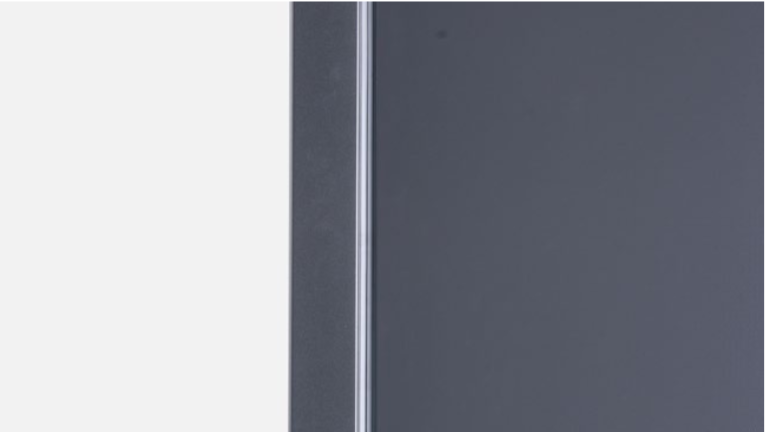
Tip 3
Make sure gaps between doors are even.

GO BACK TO COMPONENT LIST