

PROCEDURE 1

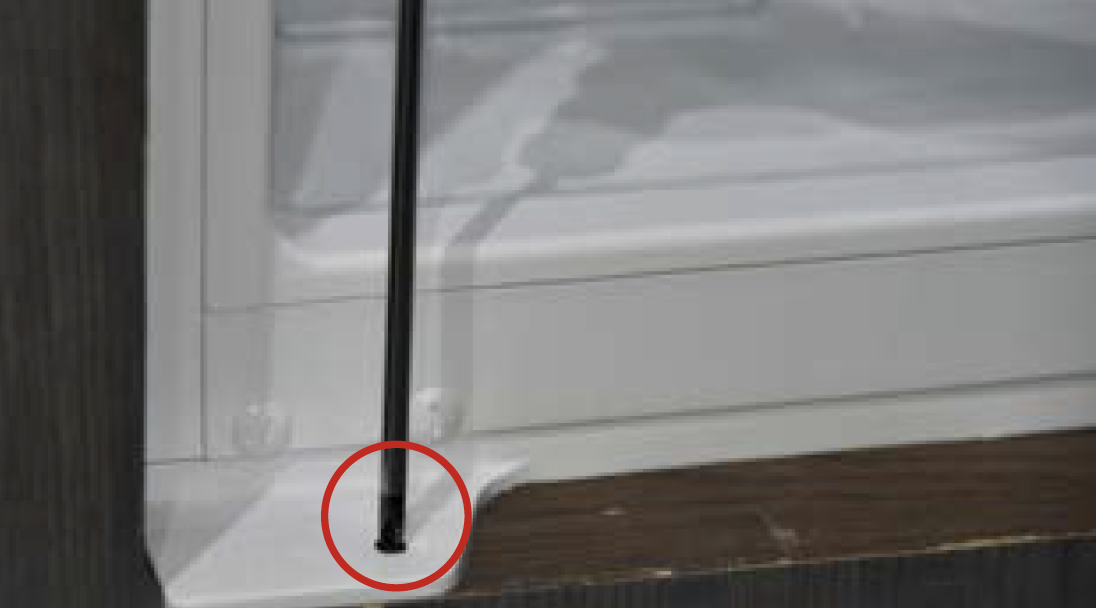
Step 1
Unscrew bottomattachment.
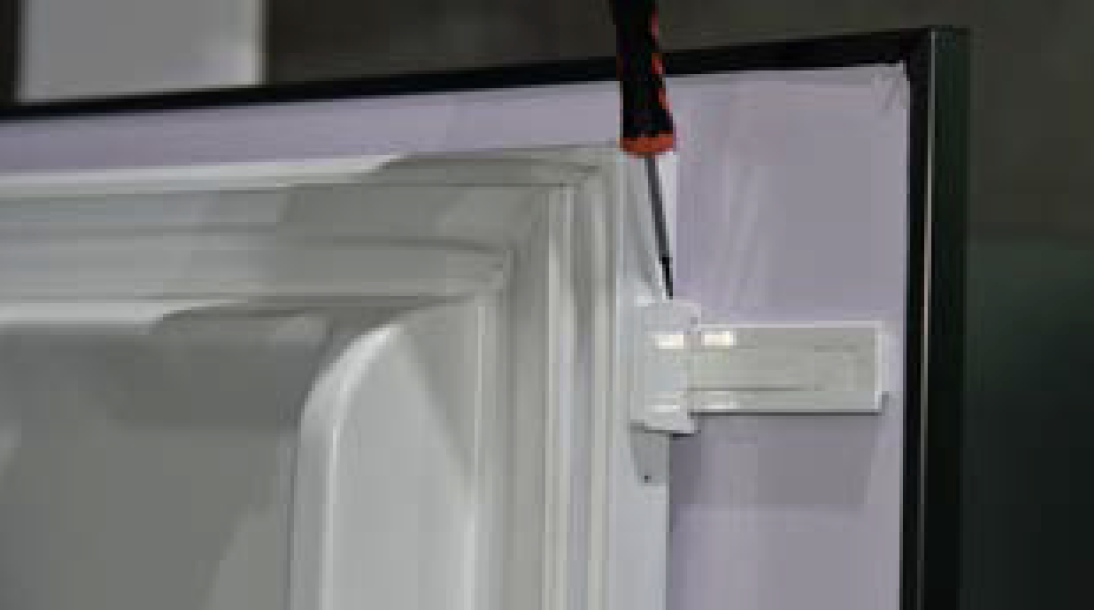
Step 2
Unscrew topattachment.

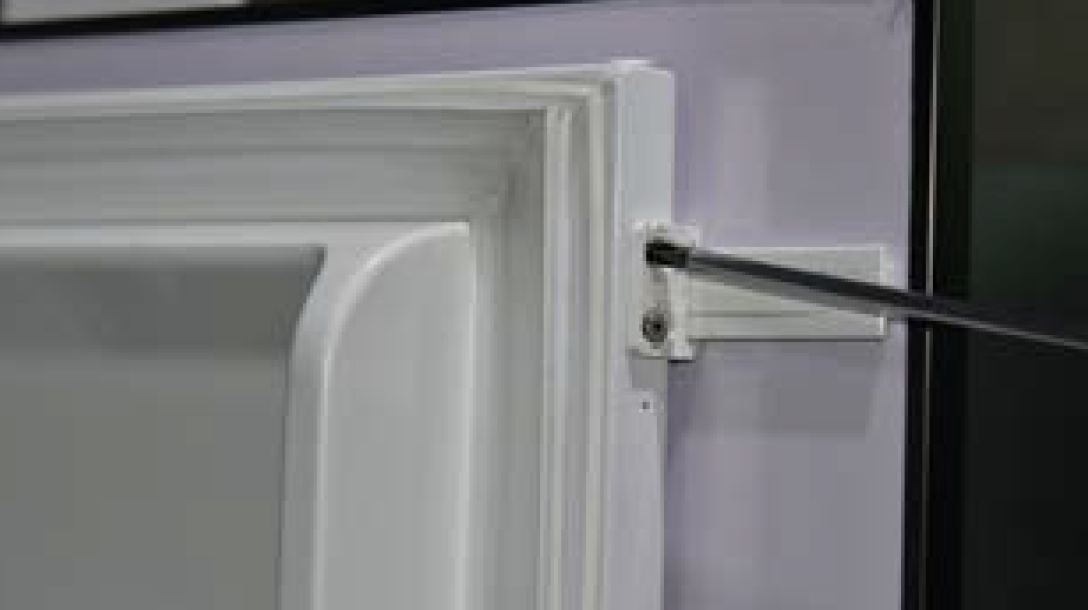
Step 3
Remove the plasticcover.
Step 4
Unscrew the plasticguider.
Step 5
Unscrew the plasticguider.
Note:
Reverse procedures
above to install the
appliance.


CHECK AND TEST 1
Note
Step 1
Discharge refrigerant:
Cut off the charging tube
with pliers.

Step 2
Discharge all refrigerant toward the exhaust vent

Step 3
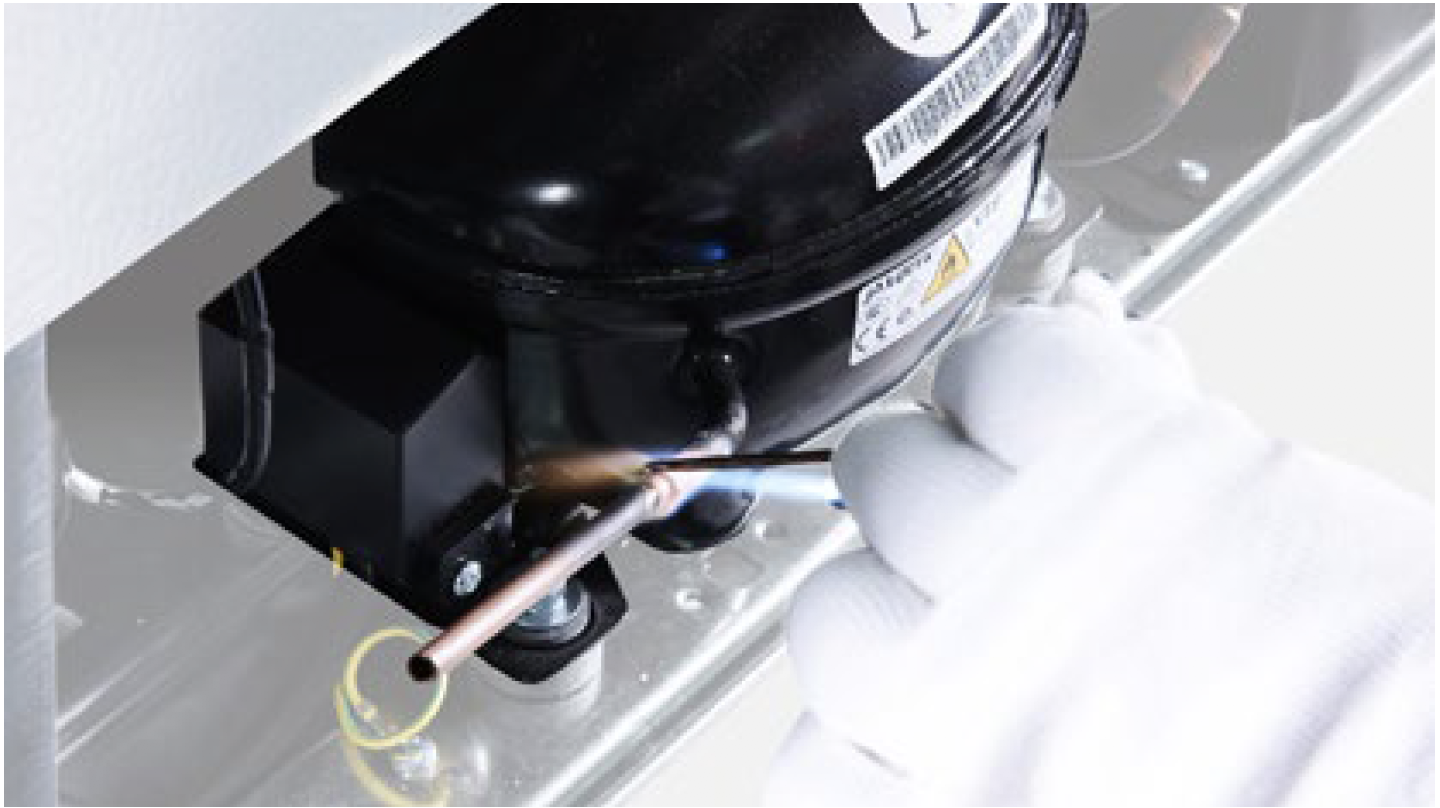
Melt brazing material with flame and pull out processing tube using a pair of pliers.

Step 4
Re-braze a copper tube onto compressor processing tube. Click below link to get more details for brazing requirements, go to Annex B1
Note
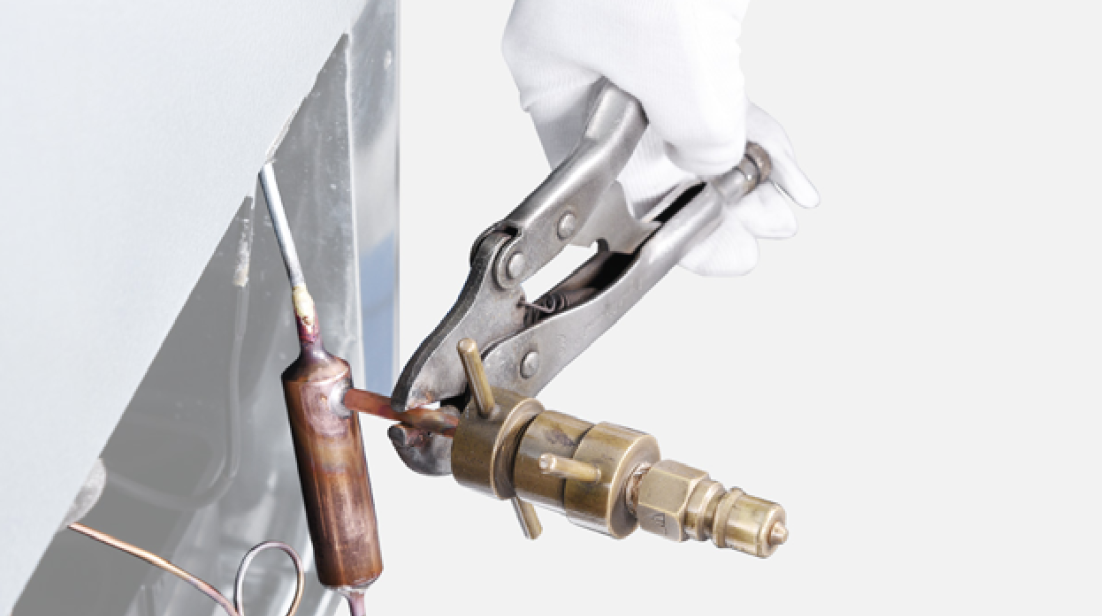
Step 5
Install quick connectoronto re-brazed pipe.
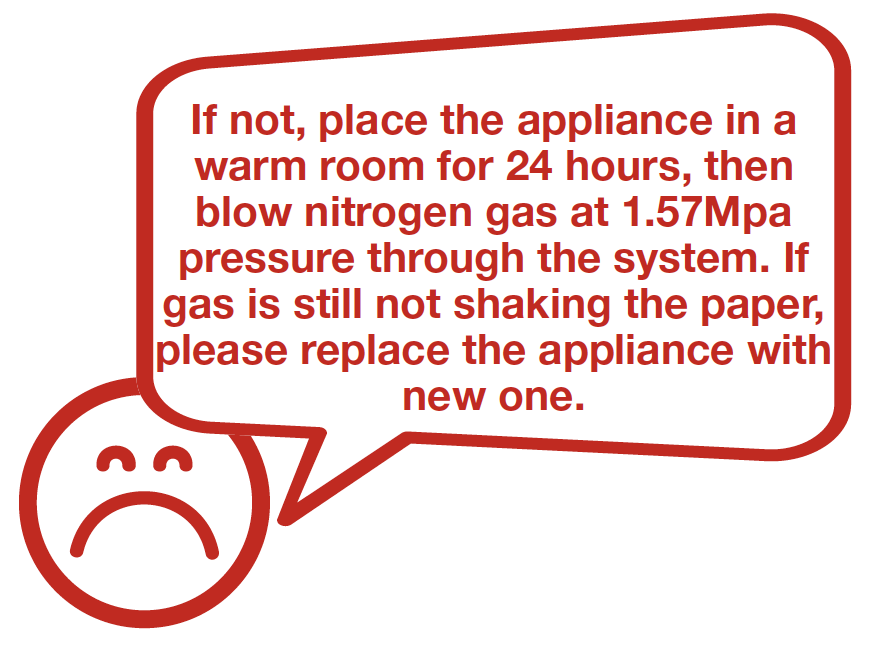
Step 6
Inject nitrogen gas
with 1.57Mpa pressure
through quick connector
into pipe.

Step 7
Use a pliers to cut the capillary off.

Step 8
Check if gas is blowing out from capillary.
Step 9
Block the end of filter toblow capillary for at least
3 min.

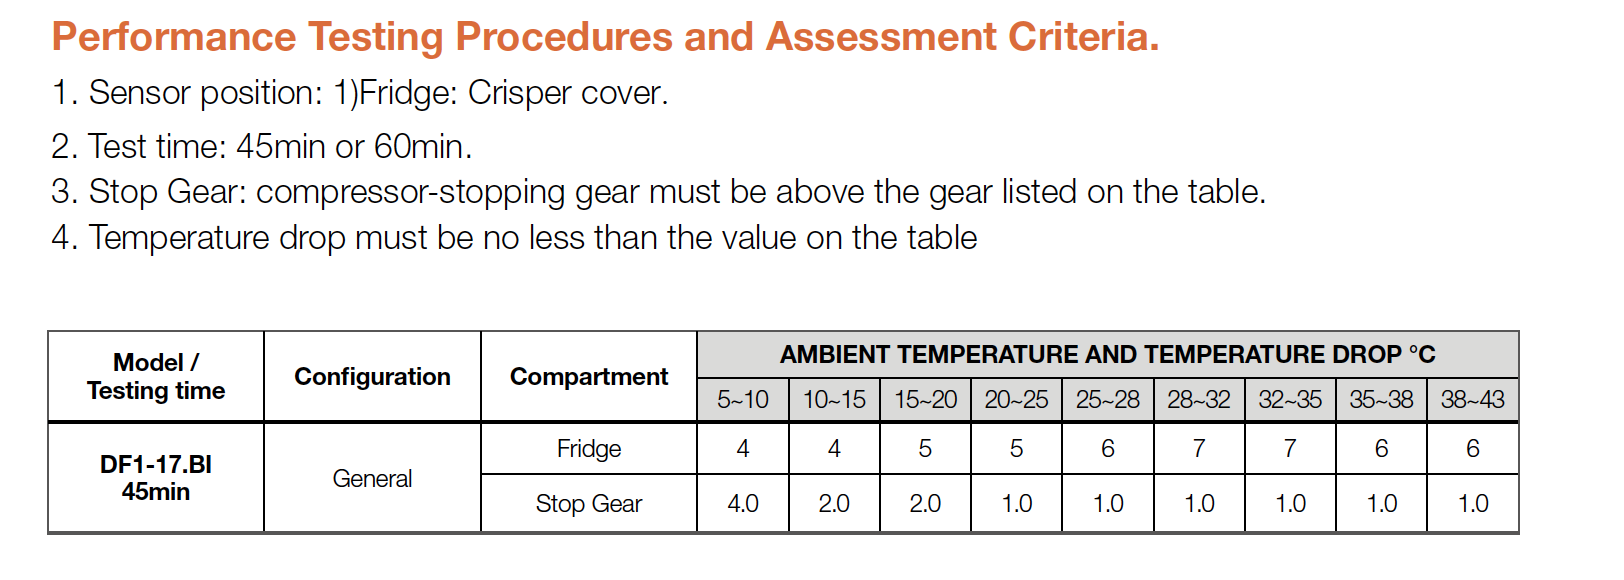
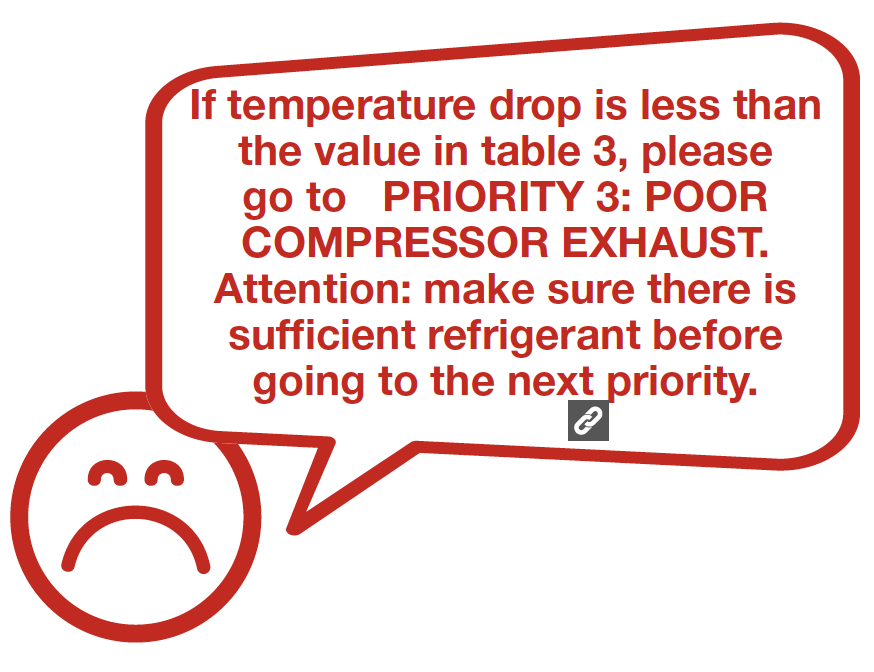
DIAGNOSIS 1
PROCEDURE 2

Step 1
Clean paint off of brazedjoint of drying filter.

Step 2
Cut off the brazed joint of
drying filter.

Step 3
Cut off capillary and
remove the cut end by
shaking.

Step 4
Braze on a new dryingfilter.

Step 5
Inject nitrogen (1.57Mpa) through quick connector into pipe for at least 3 min to blow remaining refrigerant away.
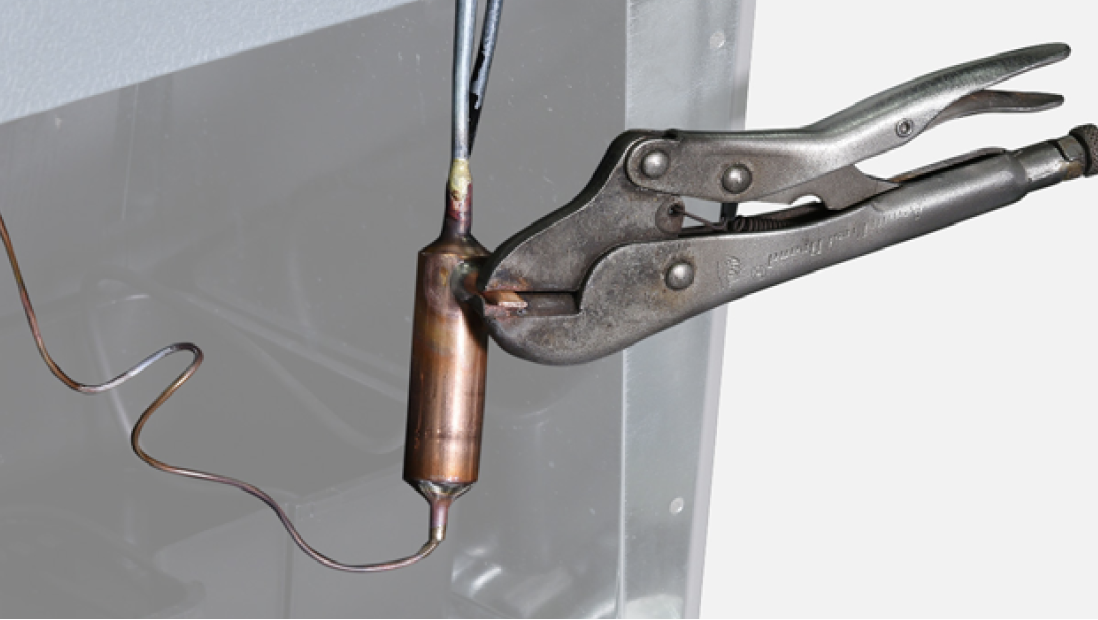
Step 6
Add quick connector onto processing pipe of drying-filter.

Step 7
Test for leaks on brazedjoints of drying-filter
and processing pipe on
compressor.

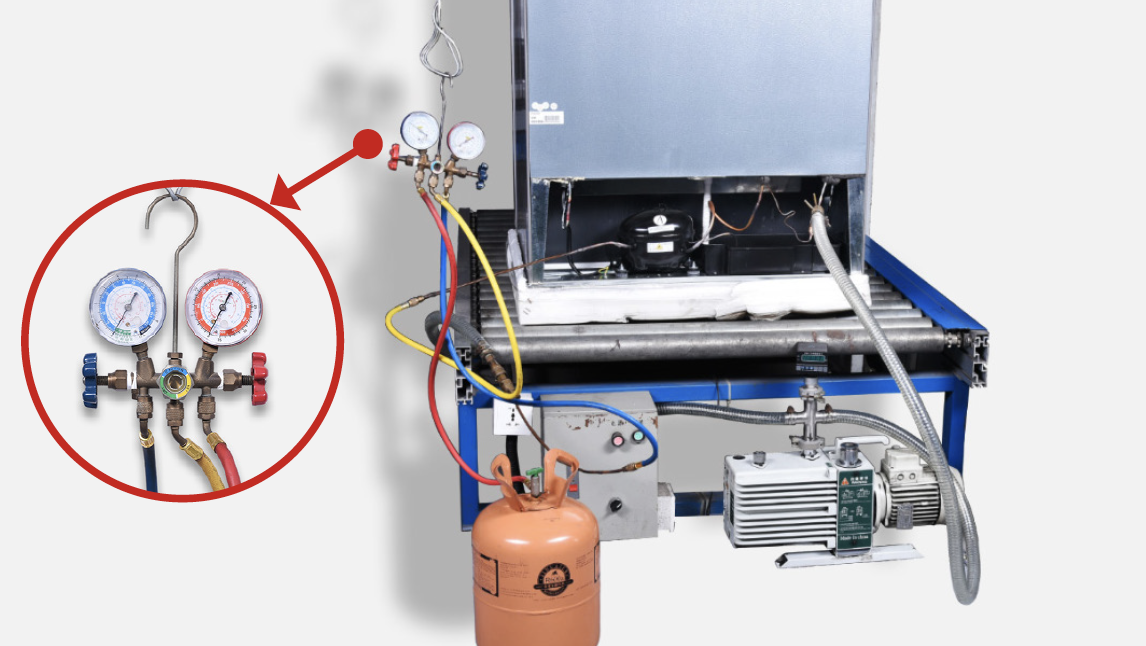
Step 8
Vacuum and recharge.Click below link to
get more details for
vacuuming and gascharging
requirements,
go to Annex b2
Step 9
Block processing pipetwice by locking pliers.
the second block and
cut off the rest of the
pipe by shaking.
Step 11
Braze the ends and remove the pliers.
DIAGNOSIS 2


GO BACK TO COMPONENT LIST