


PROCEDURE 1

Step 1
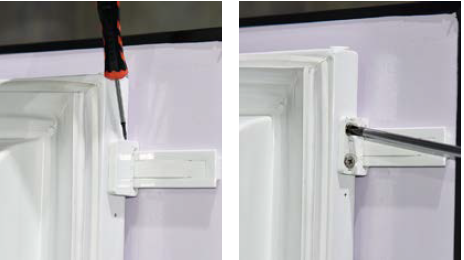
Unscrew bottomattachment.

Step 2
Unscrew topattachment.

Step 3
Unscrew theplastic guider.
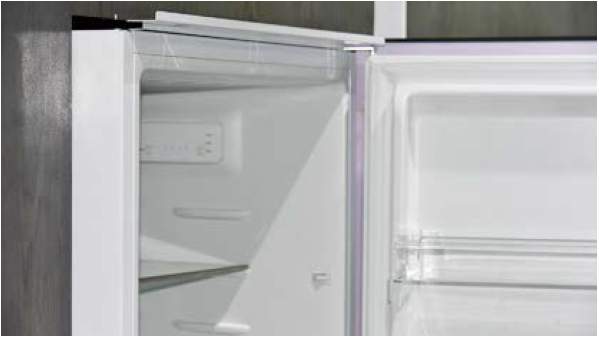
Step 4
Hold cabinet or door andpull appliance out.
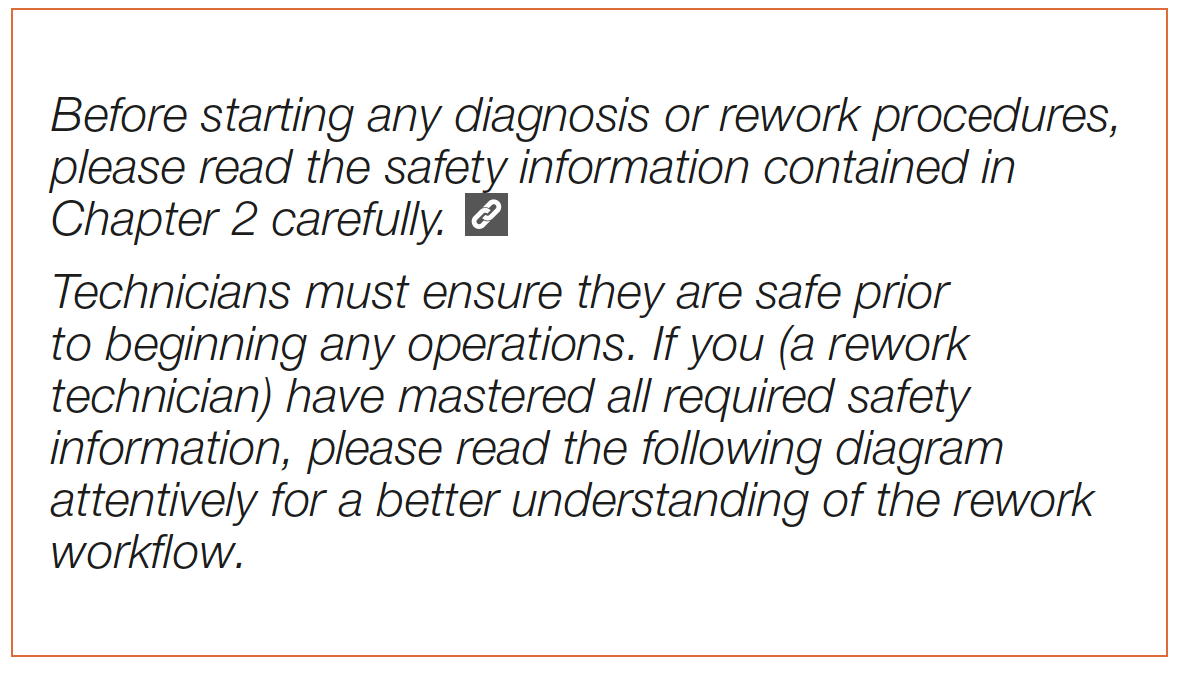
Note

CHECK AND TEST 1
Step 1
Cut off capillary to discharge refrigerant.

Step 2
Discharge all refrigerant toward the exhaust vent.

Step 3
Cut off exhausting pipe.

Step 4
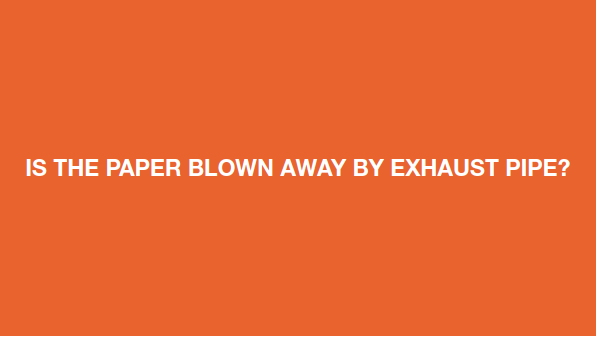
Power up the compressor and feel the exhaust pressure from the exhausting pipe with a piece of paper.

DIAGNOSIS 1

CHECK AND TEST 2
Step 1
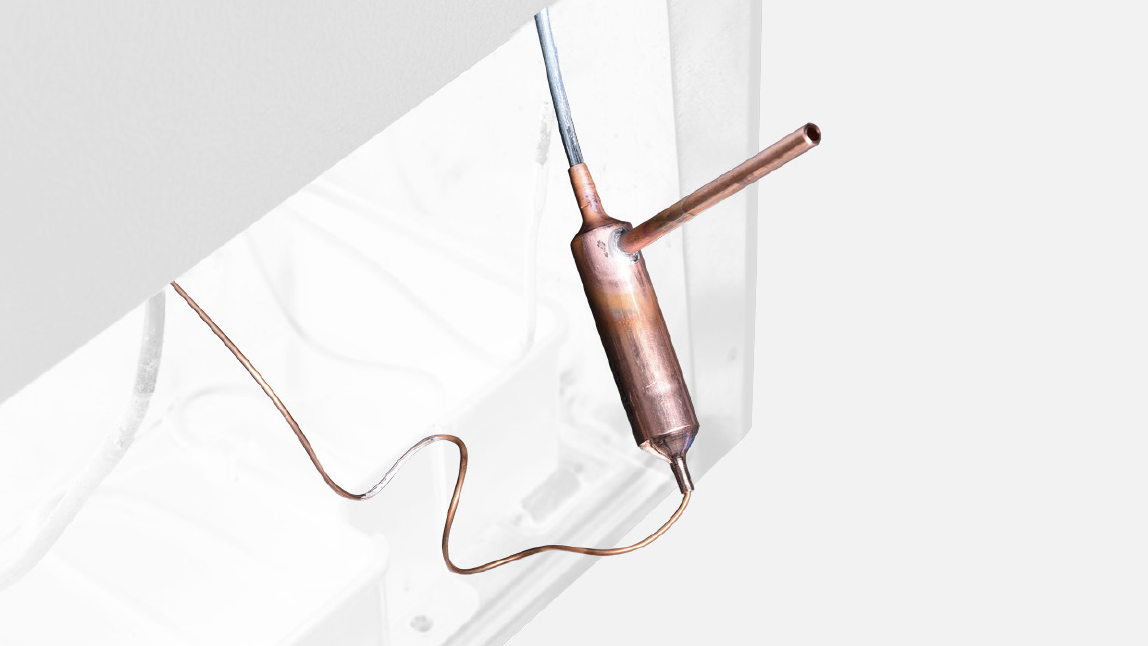
Braze the joints of suction and exhaust pipes.

Step 2
Melt brazing material with flame and pull out processing tube with pliers.
Step 3
Re-braze a copper tube onto processing tube of compressor. Click below link to get more details for brazing requirements, go to Annex B1
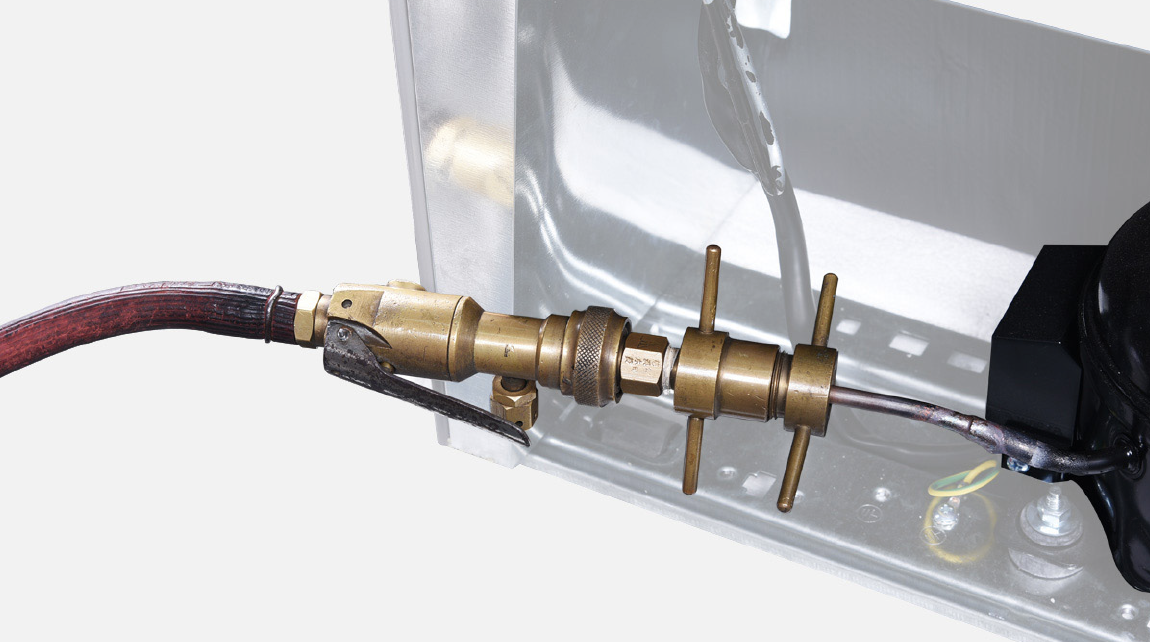
Step 4
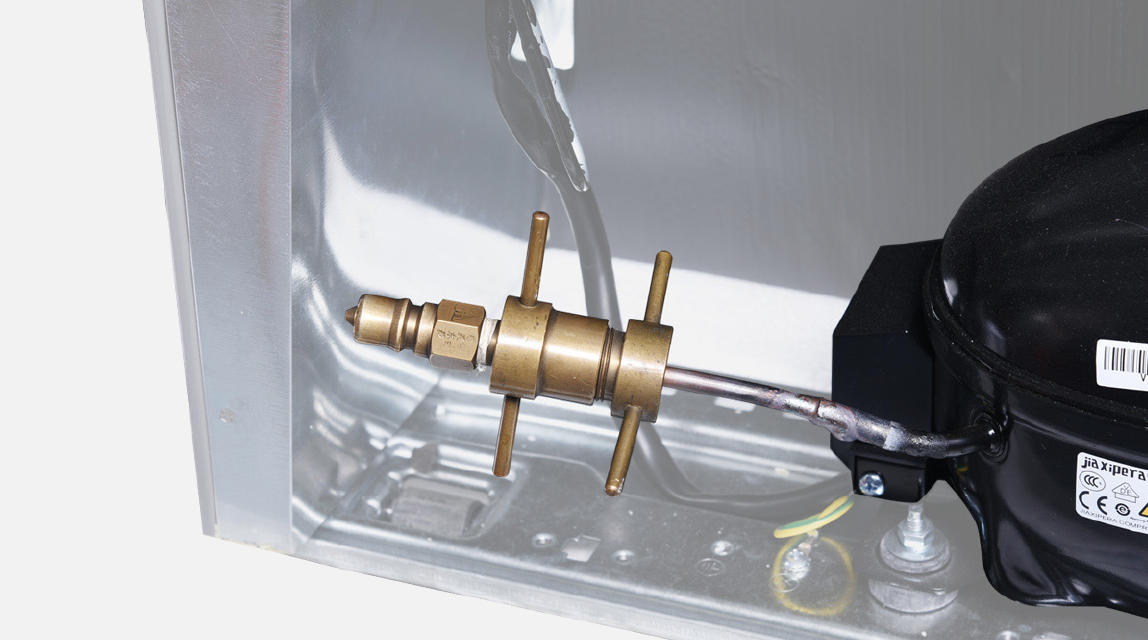
Install quick connector
onto re-brazed pipe.
Note
Step 5
Exchange the filter.
1)
joint of drying-filter.
2)
Cut off drying-filter.

3)
Cut off capillary andshake to remove the cut
end.

4)
Braze on a newdrying-filter.
5)
Add quick connectoronto processing pipe of
drying-filter.

6)
Inject nitrogen (1.57Mpa)through quick connector
into pipe for at least
3 min to blow remaining
refrigerant away.
Step 5
high pressure end, one
by one, to find blockage
point.
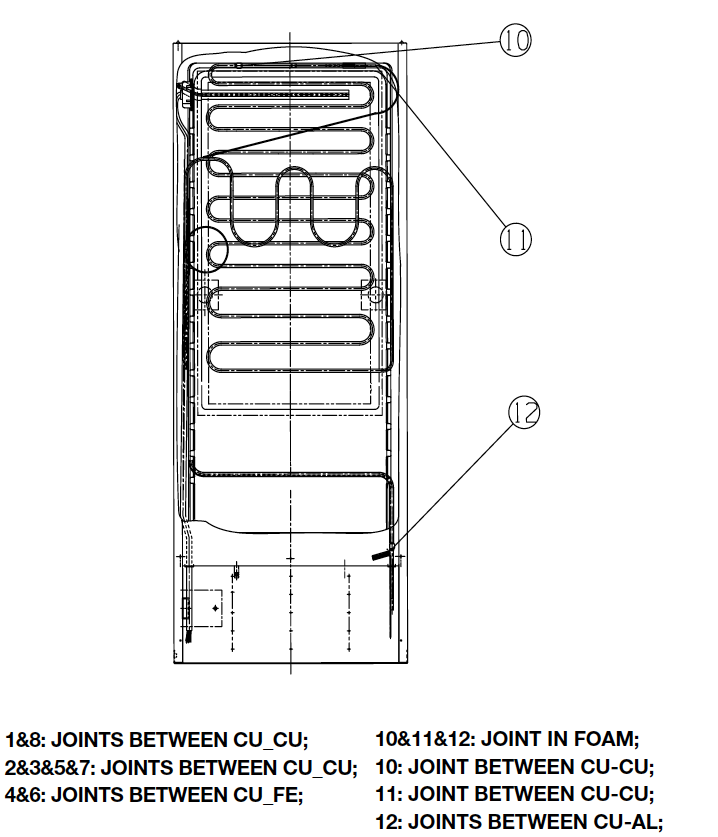
Please check points 1, 6,
13, and 14. Joint points
4,5,7,9 will be replaced
by exchanging pipe and
filter.
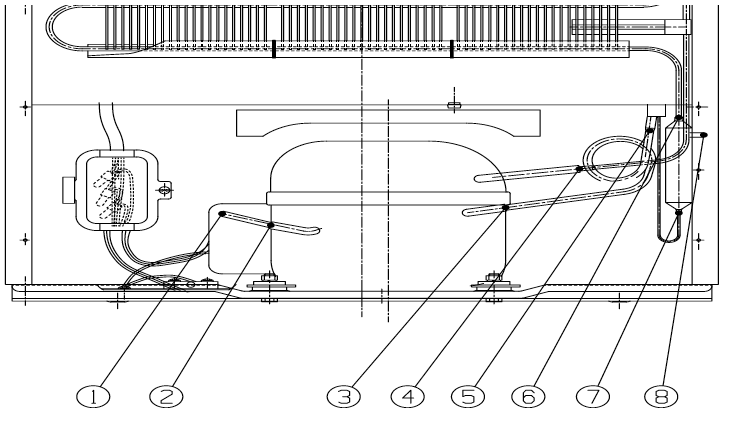
For the purpose of
example, examine joint 1:
a) First, cut off end
closed to exhaust end
(A in below picture).

b) Then, cut off the end
closed to suction end.

DIAGNOSIS 2


PROCEDURE 2
Step 1
Use a larger copper tube to connect 2 ends of brazed joint.

Step 2
Braze the 2 ends.Step 3
Perform a leakage test
on all re-brazed joints.

Step 4
Vacuum and recharge. Click below link to get more details for vocuuming and gas-charging requirements, go to Annex B2
Step 5
Block processing pipe twice by locking pliers.

Step 6
Leave locking pliers onthe second block and
shake to cut off the rest
of the pipe.

Step 7
Braze the ends and remove the pliers.
DIAGNOSIS 3

GO BACK TO COMPONENT LIST