


PROCEDURE 1

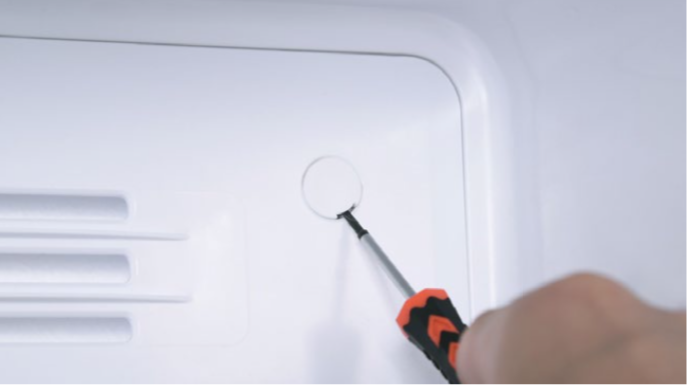
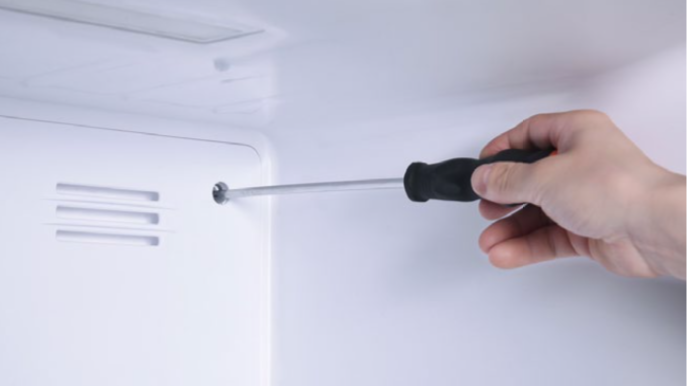
Step 1
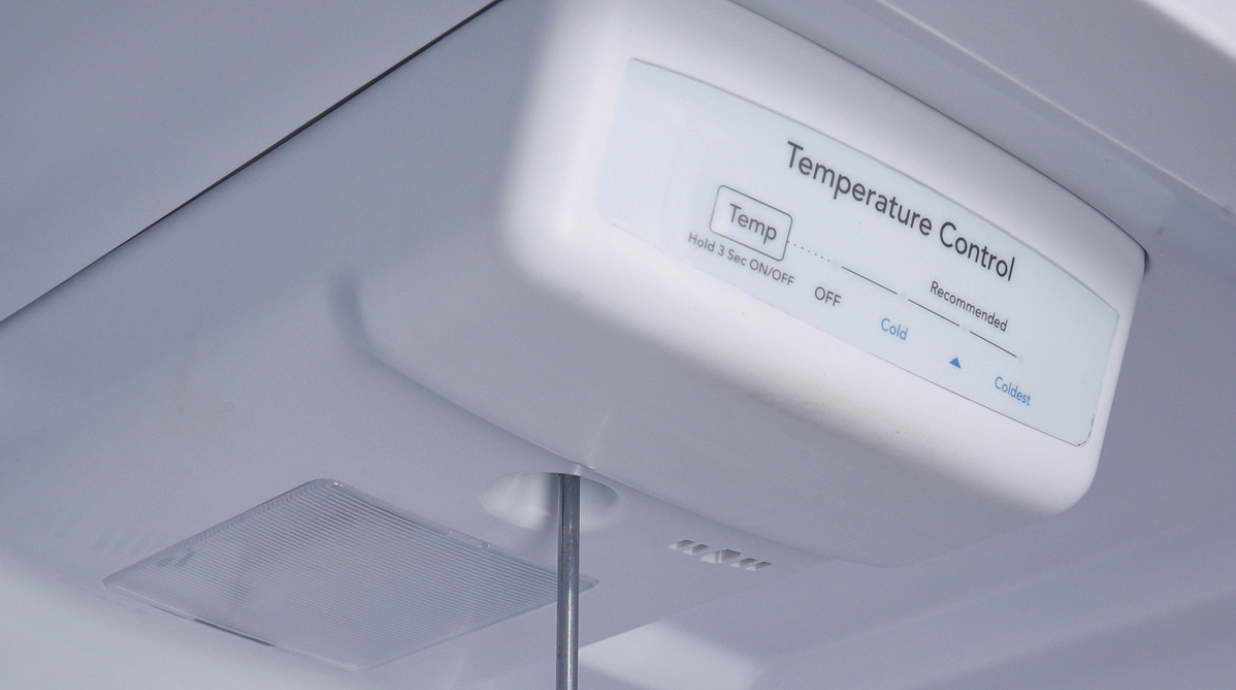
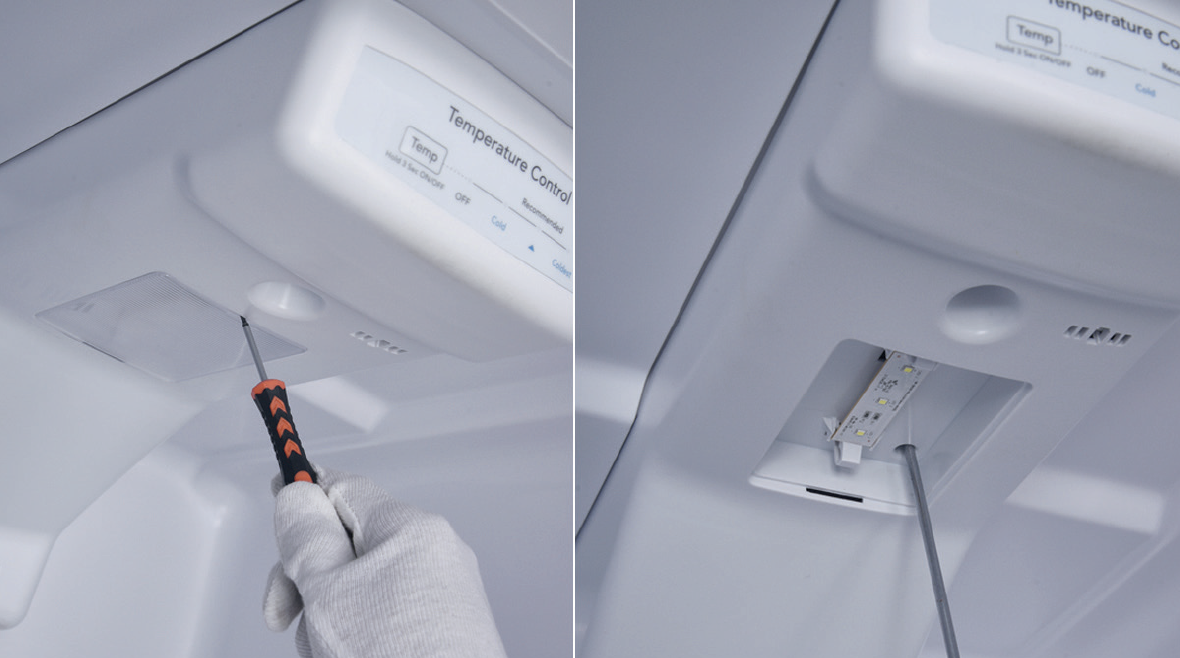
Unscrew the screw of fridge air duct.
Step 2
Remove the LED lamp cover and the screw.
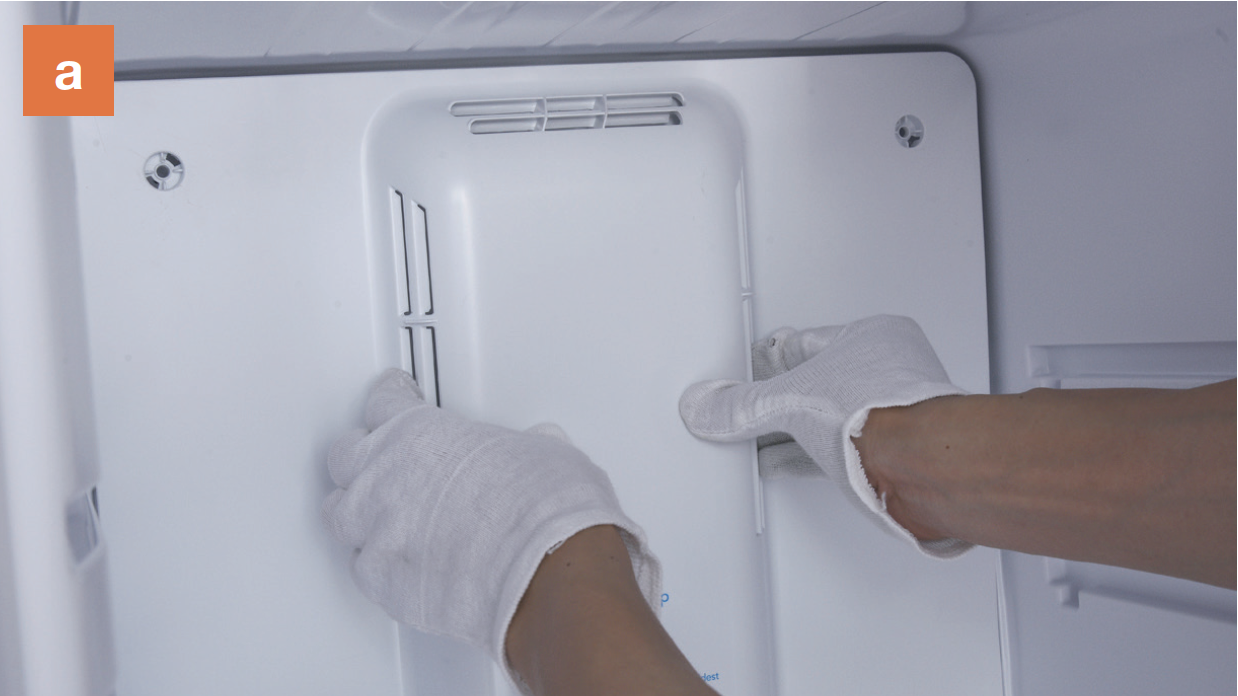
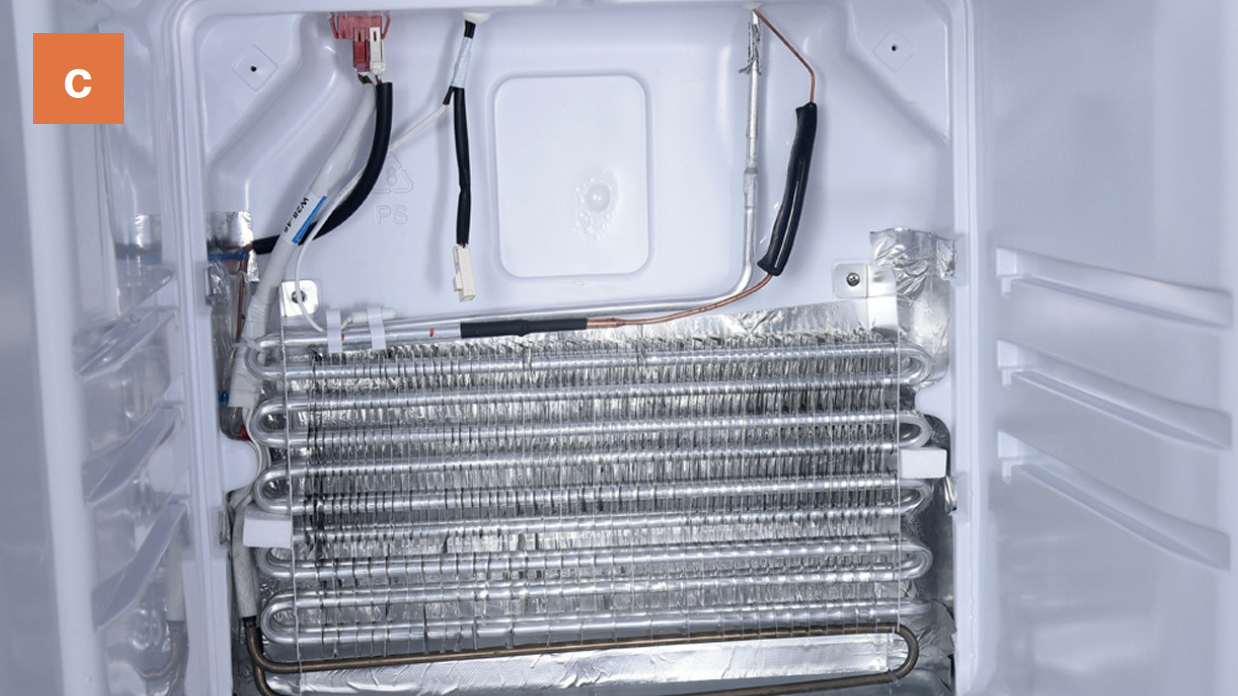
Step 3
Remove the air duct.
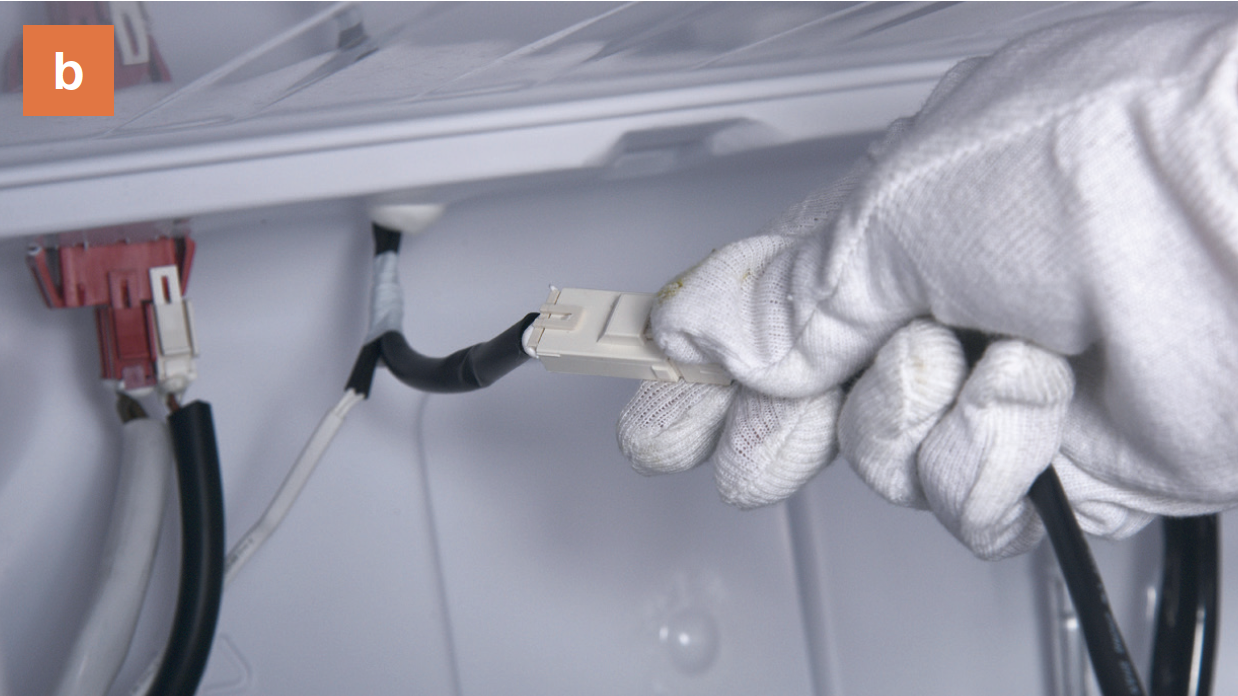
Step 4
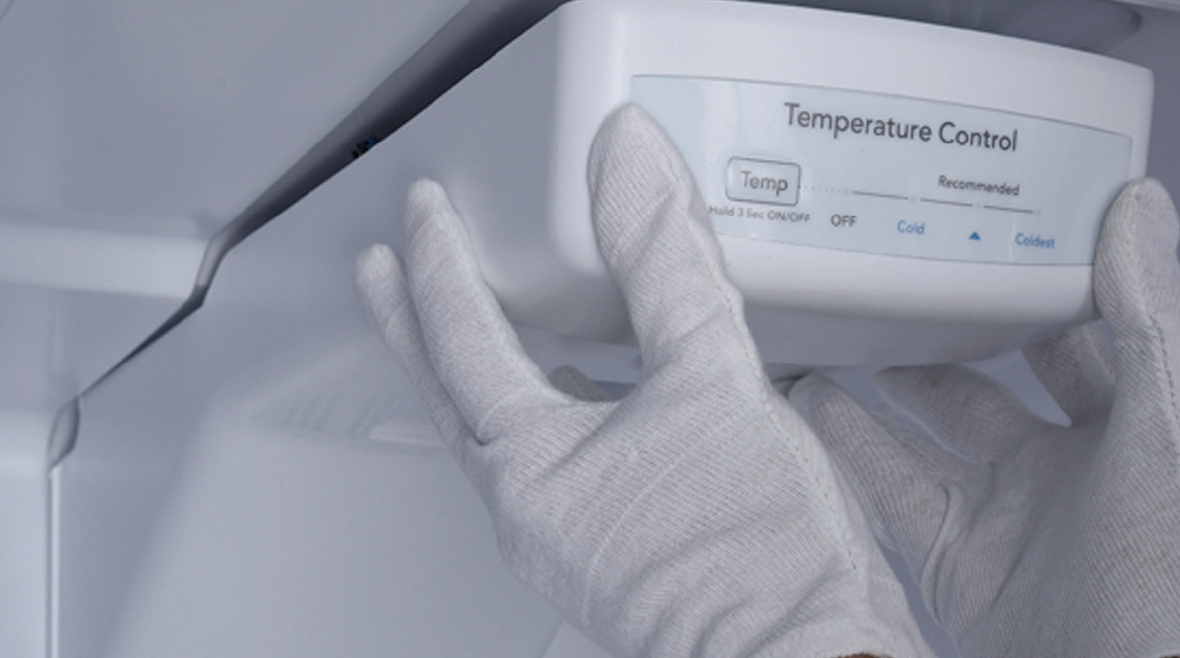
Unplug the electrical wires.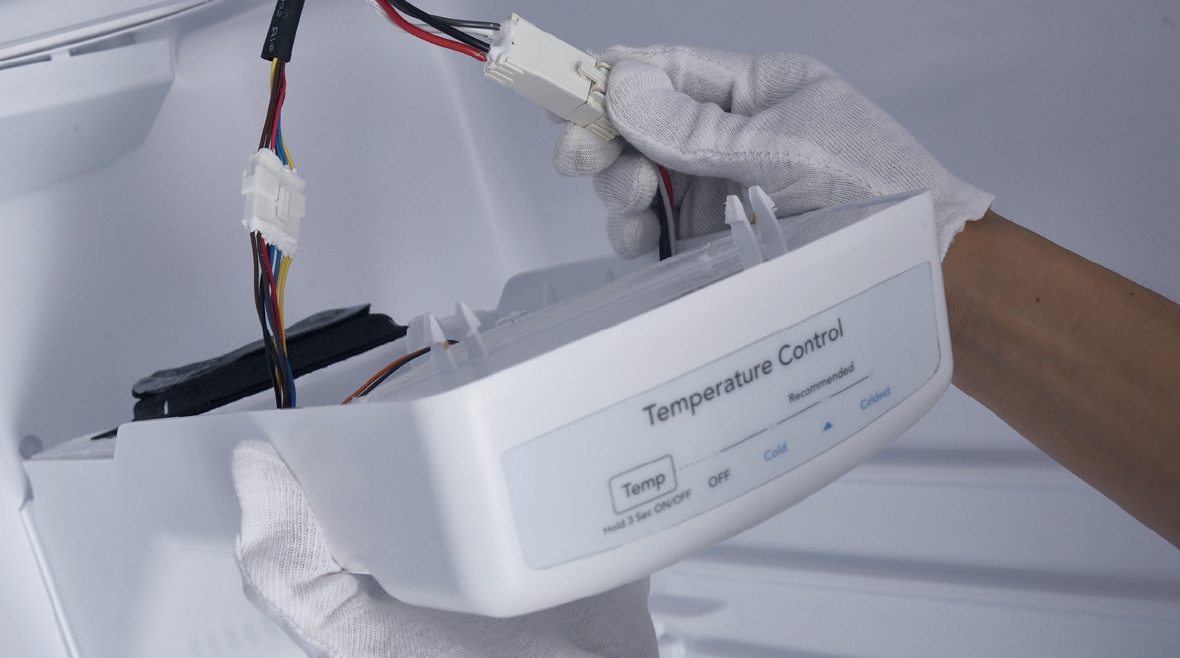
Step 5
Disconnect the terminal of potentiometer.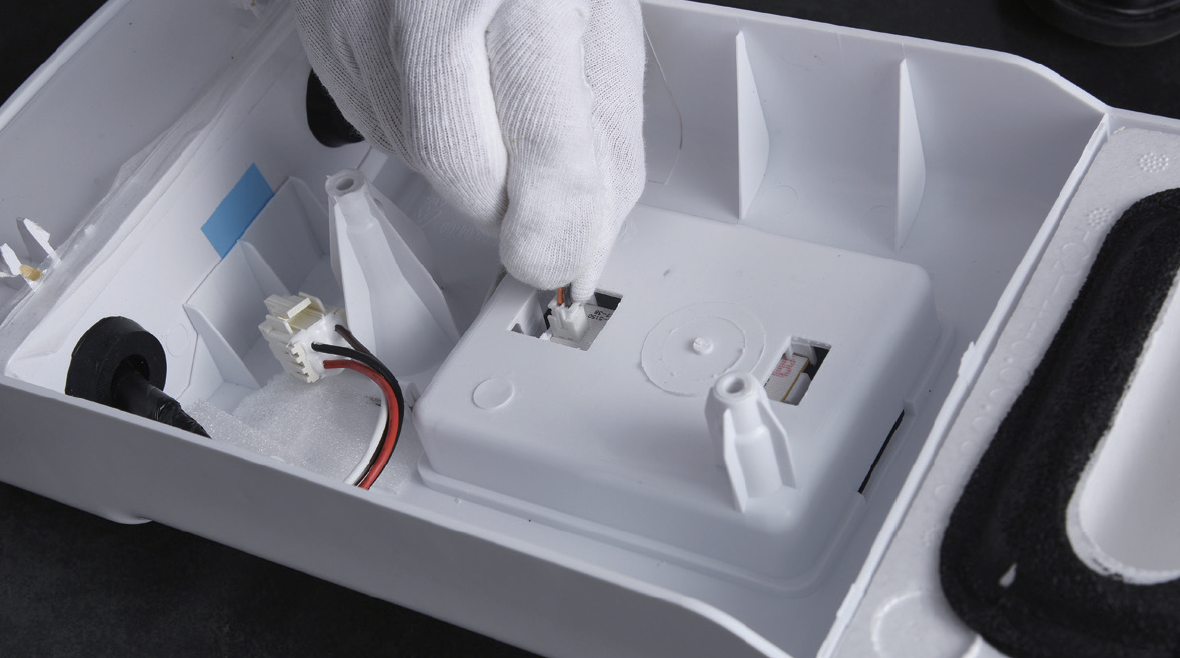
Step 6
Remove the UI film.
Step 7
Remove PCB box from air duct.a) Use 2 mm slot screw driver to create a gap in front side.
b) Insert a steel ruler to even the gap.
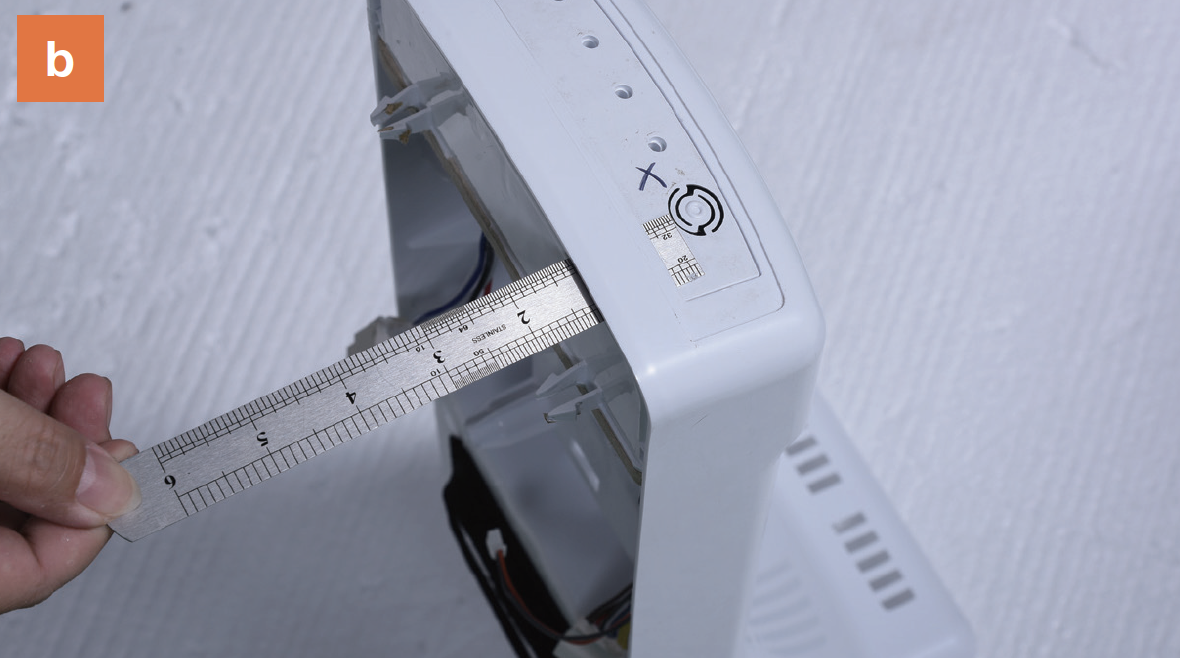
c) Pull the PCB box out.

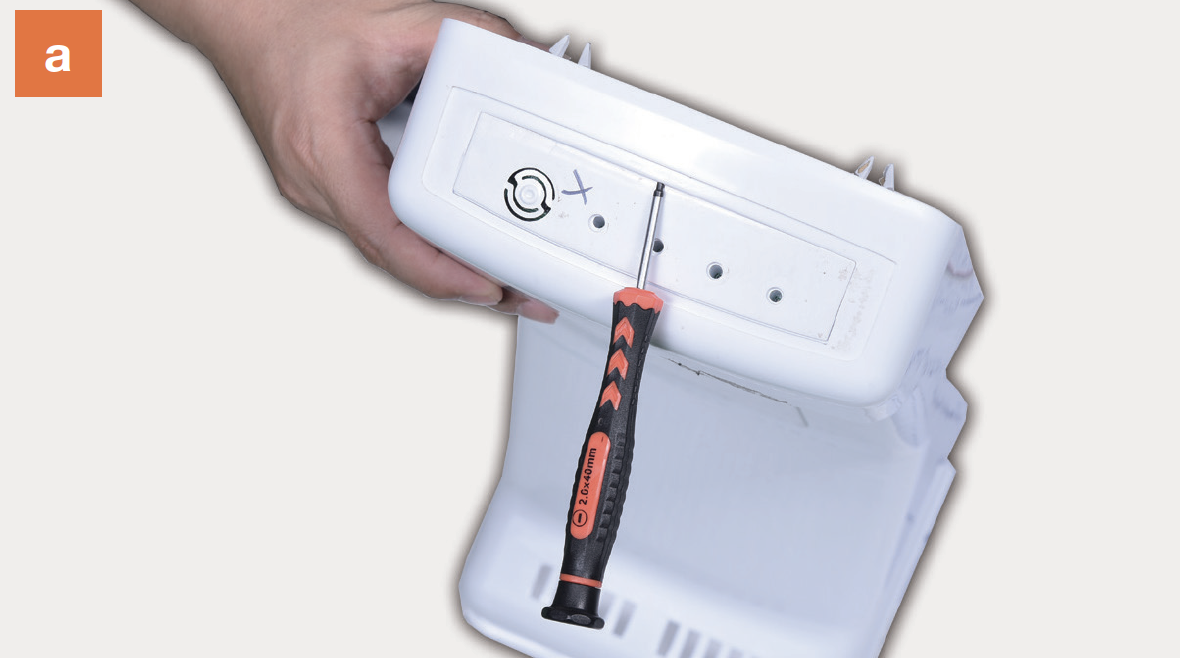
Step 8
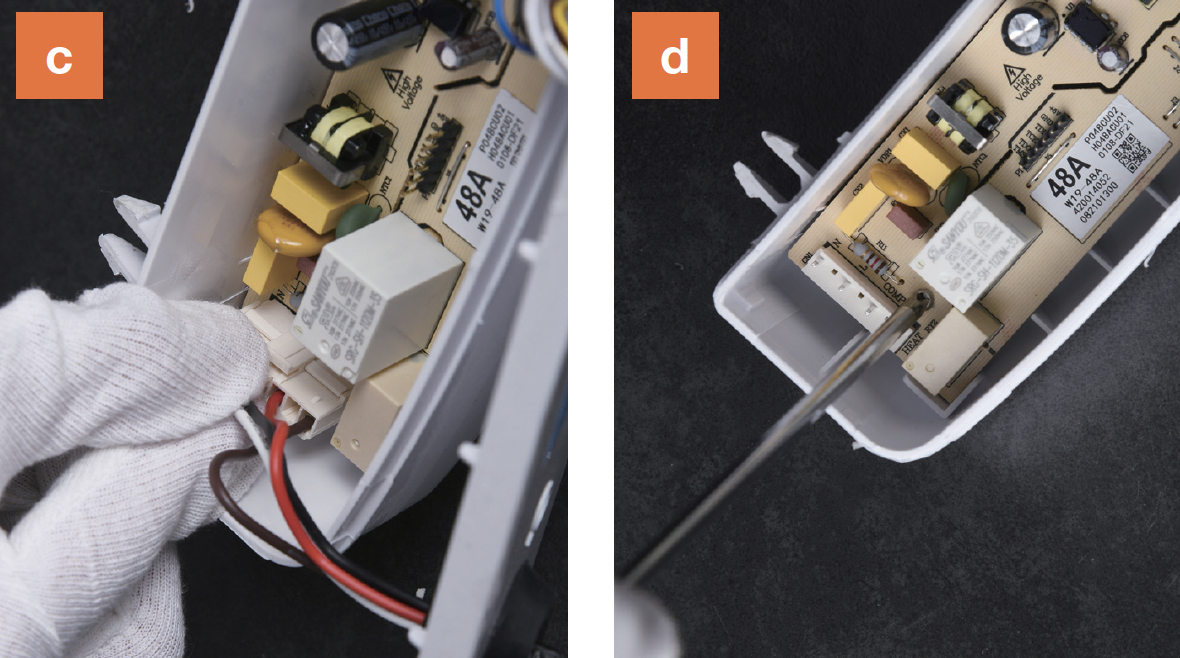
Disassemble PCB box.a)Prize off the buckle;
b) Remove the cover;

c) Disconnect the terminals;
d) Unscrew and remove the PCB;

CHECK AND TEST 2
Step 1
Reconenct all wires for fan, LED, heater, sensor, compressor etc..

Step 2
The terminal is not pushed into final
position: insert again to make sure that
connections are good.

Step 3
Check if terminal is filled with foam: use tweezers to pick foam out andinsert the terminal into position again.


DIAGNOSIS 1


CHECK AND TEST 3
Step 1
Turn power output of
transformer to DC 12V
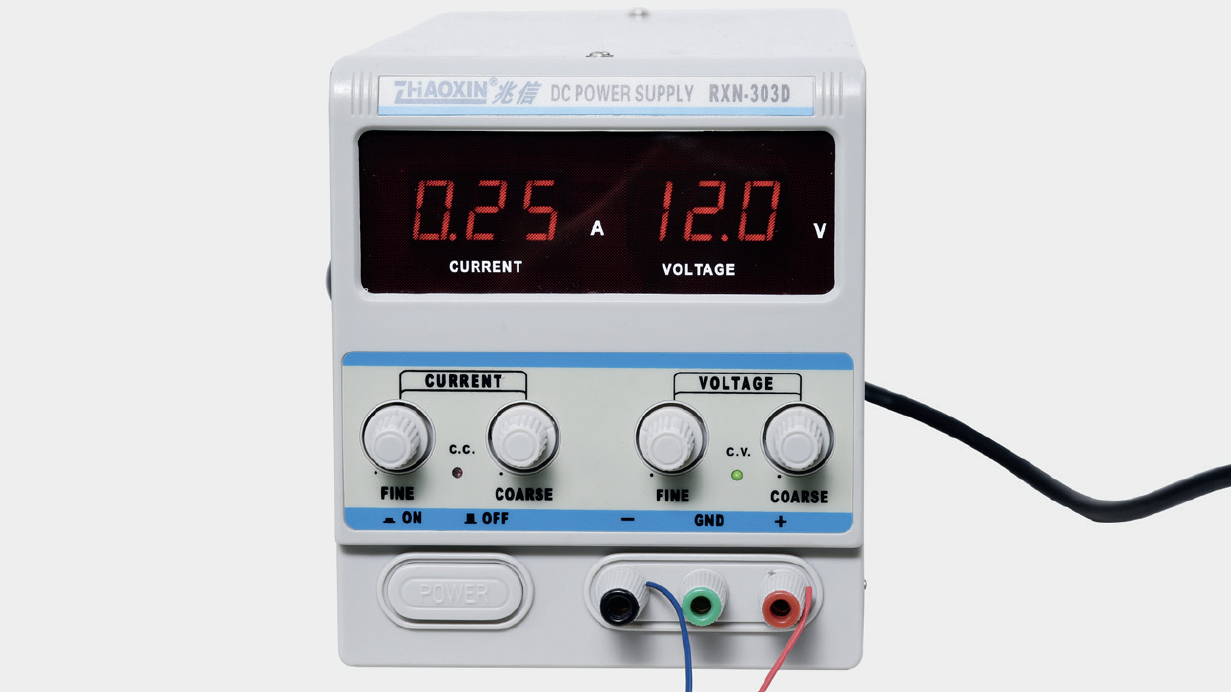
Step 2
Supply power from terminal in PCB area.
DIAGNOSIS 1


PROCEDURE 2
Step 1
Remove freezer shelf.

Step 2
Lever 2 screw covers off.
Step 3
Unscrew 2 screws.
Step 4
Remove air duct:
a. Hold the decorative cover of air duct;
Pull air duct out;

PROCEDURE 3
Step 1
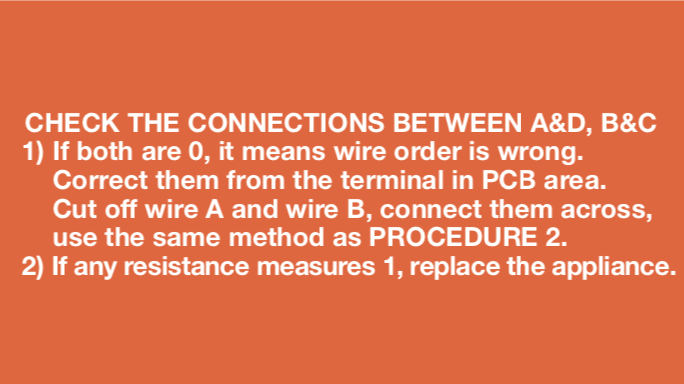
Cut wire off from broken
area.

Step 2
Peel off the sleeves.
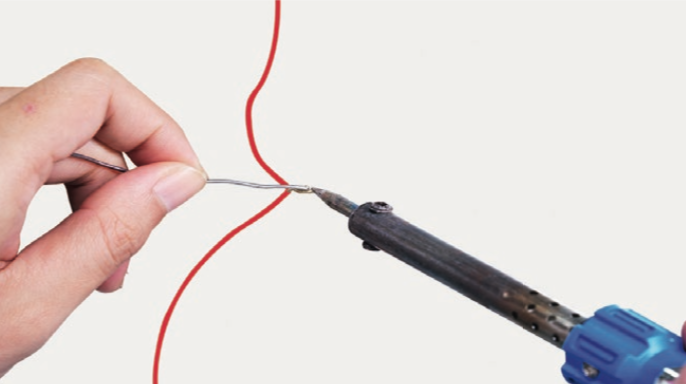
Step 3
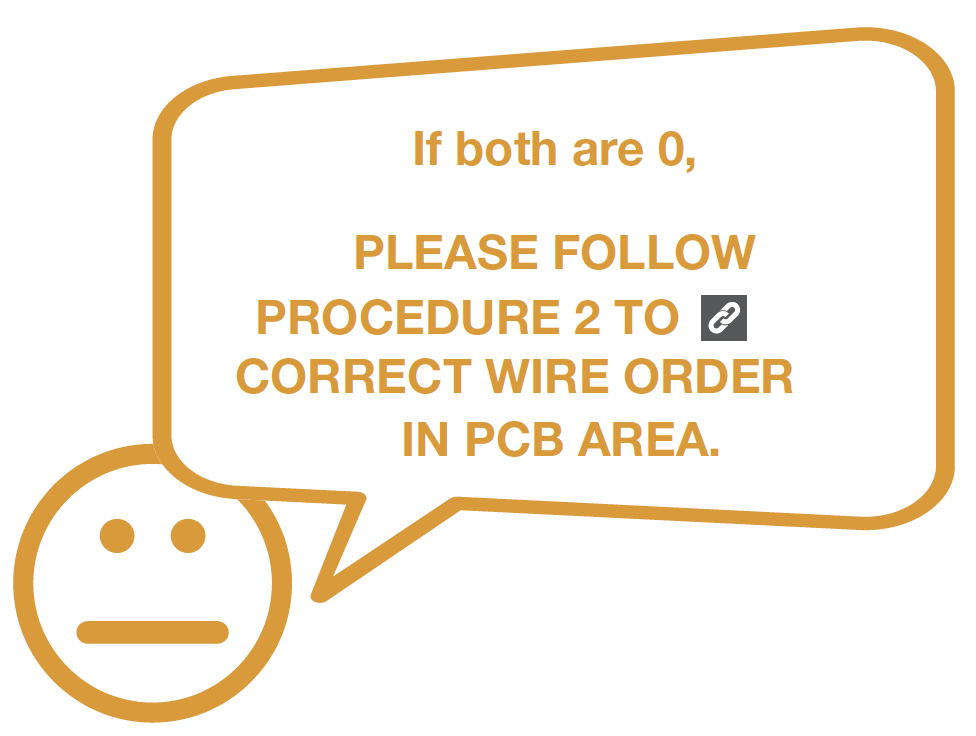
Check to ensure proper wire order and connect them.
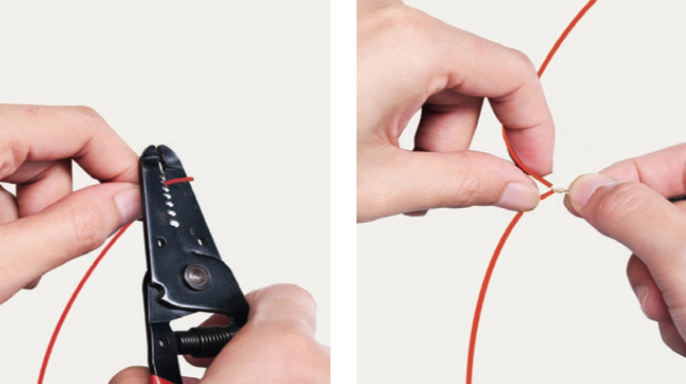
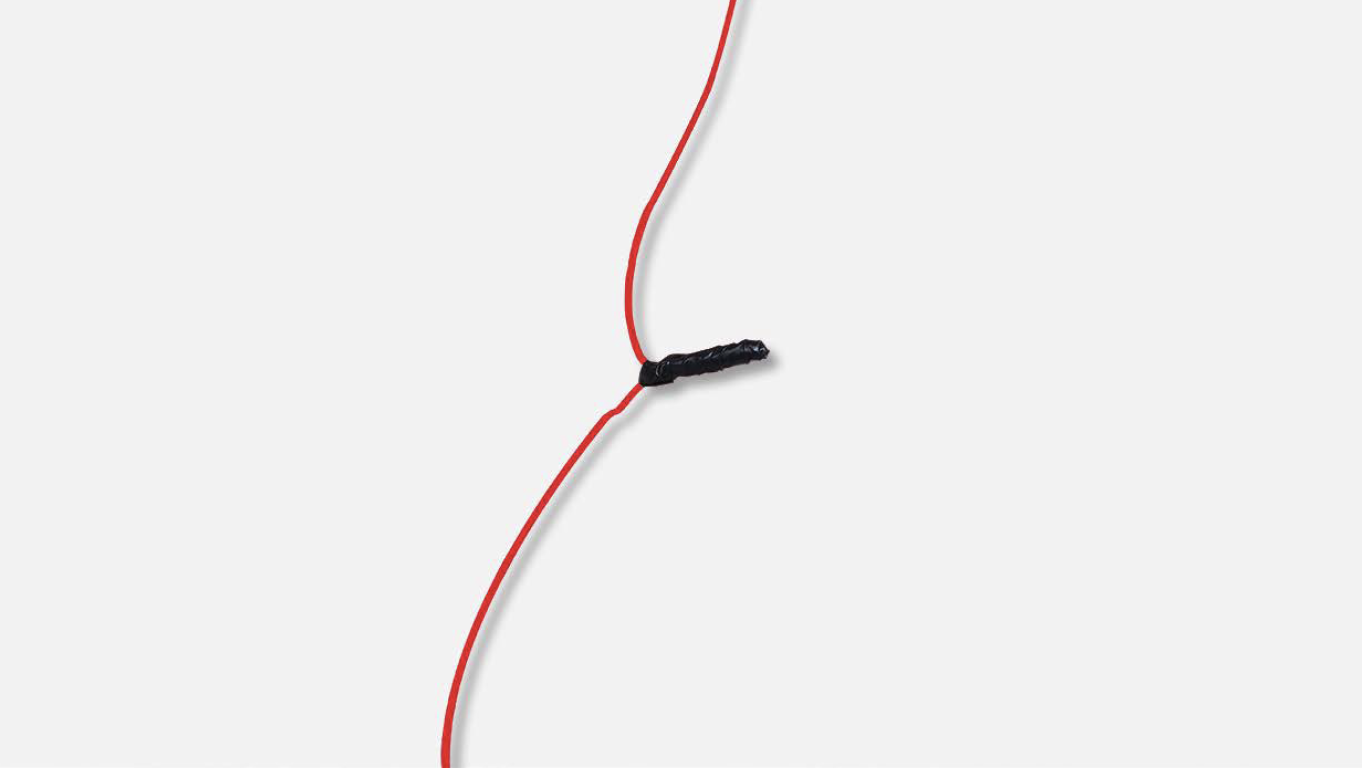
Step 5
Cover connection with electrical tape.
CHECK AND TEST 4
Step 1
Set output of transformer
to DC 12V to test fan
from the terminal behind
freezer air duct.


DIAGNOSIS 5

CHECK AND TEST 5
Step 1
Check if the terminal is filled with foam.If so, use tweezers to remove foam.

Step 2
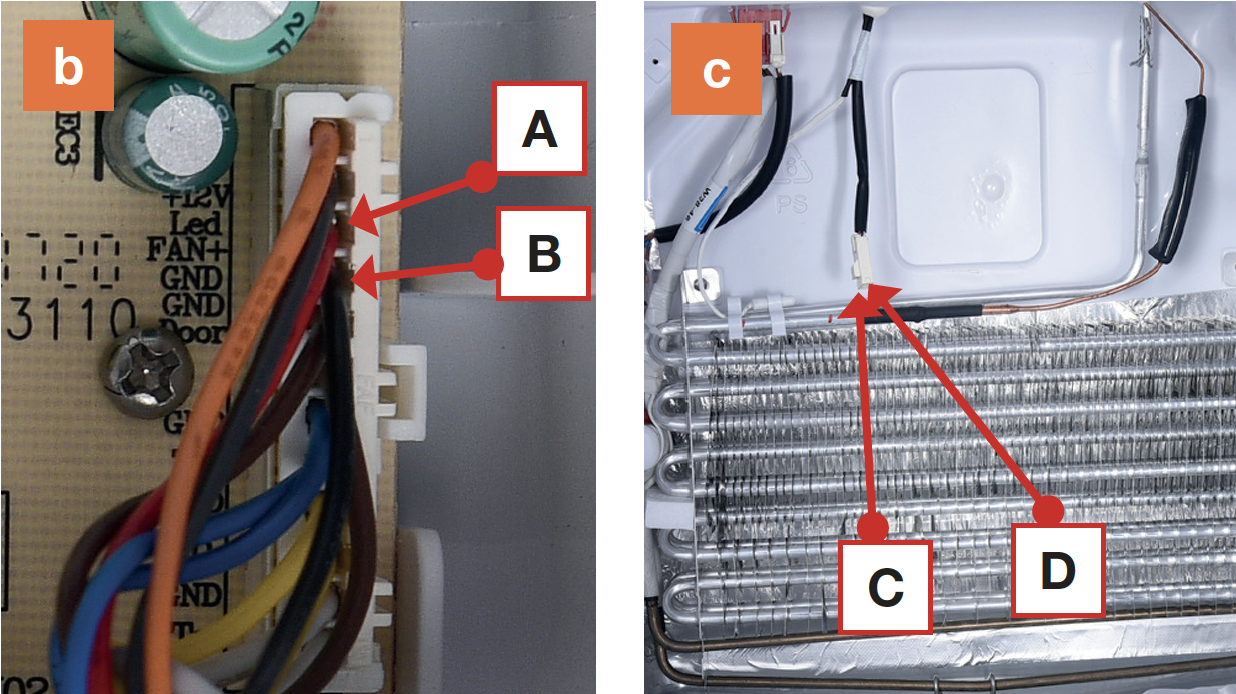
Check if wire order in foam is right or not:a. Set multimeter to resistance gear;

Step 3
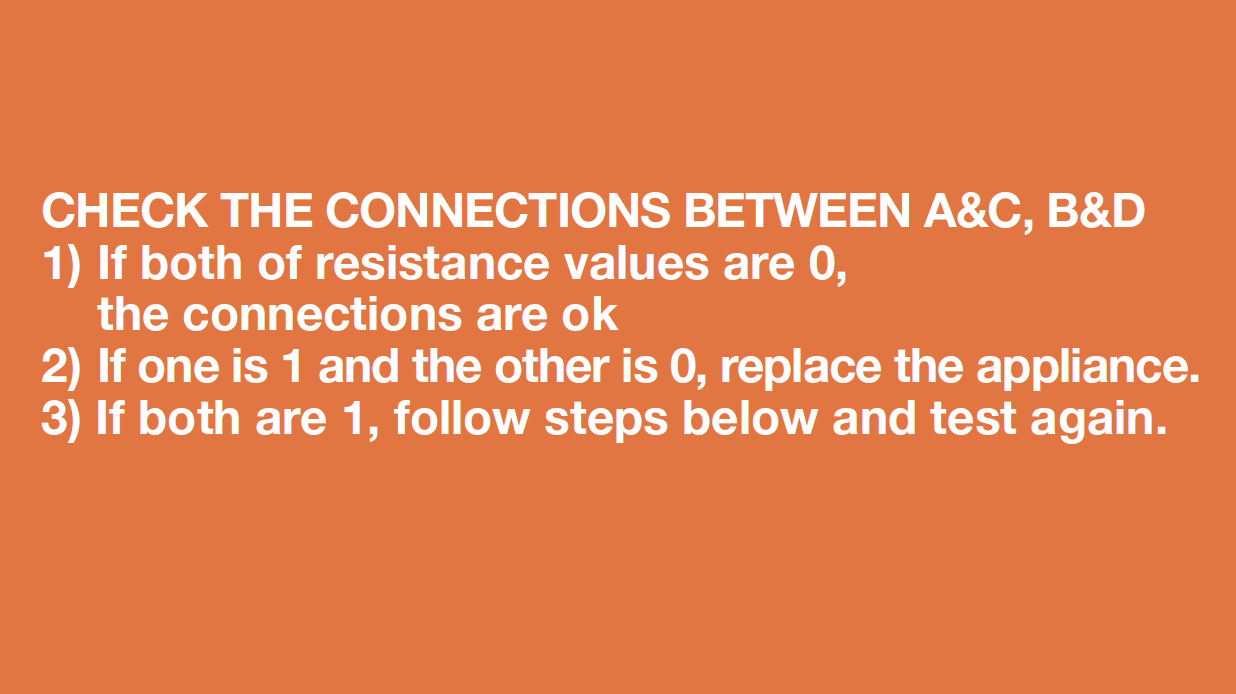
b. Put detector into one end of wires in PCBarea.
c. Put another detector into end of wires
behind air duct.

DIAGNOSIS 6

DIAGNOSIS 7

PROCEDURE 4
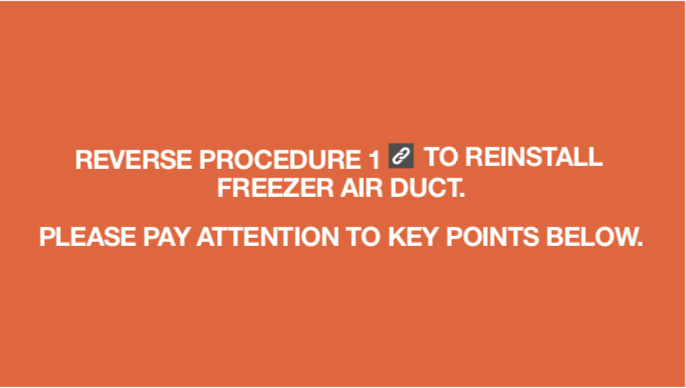
Tip 1
Firstly insert the air duct into the slot at the
bottom.

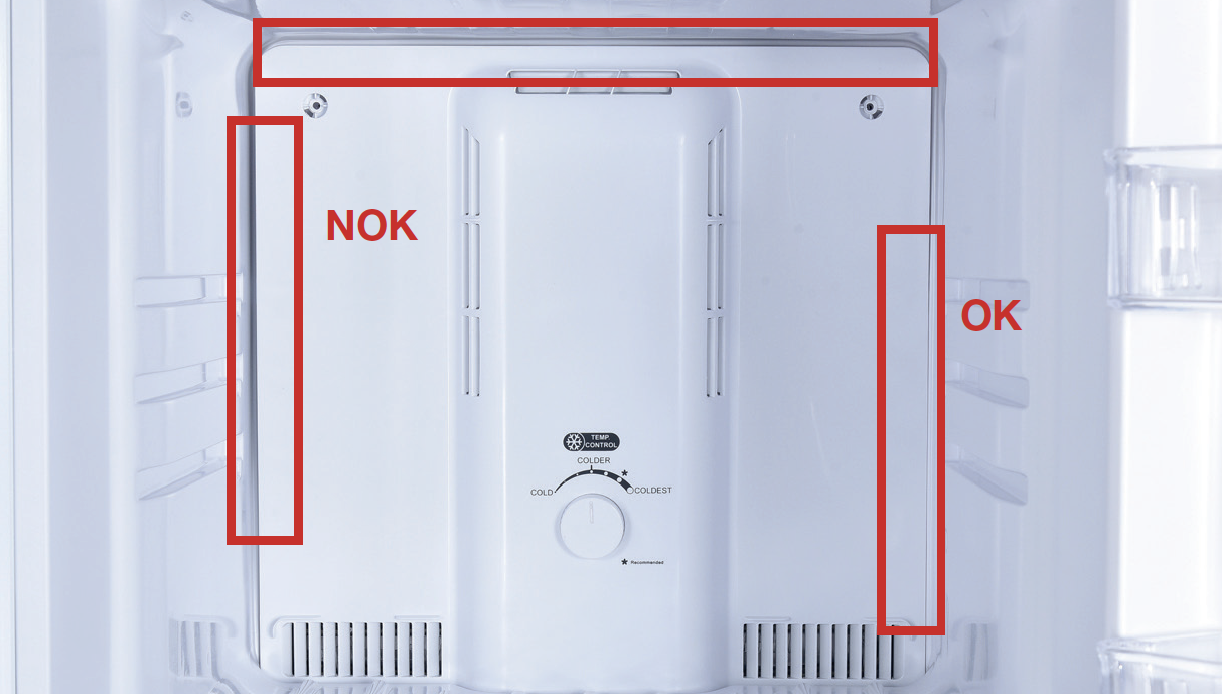
Tip 2
When reinstalling air duct, move wires out
of the way to prevent crushing by air duct.

Tip 3
After pushing air duct back into position, you
should hear a clicking sound. If there is no
click, please repeatagain.
DIAGNOSIS 1
CHECK AND TEST 6
Step 1
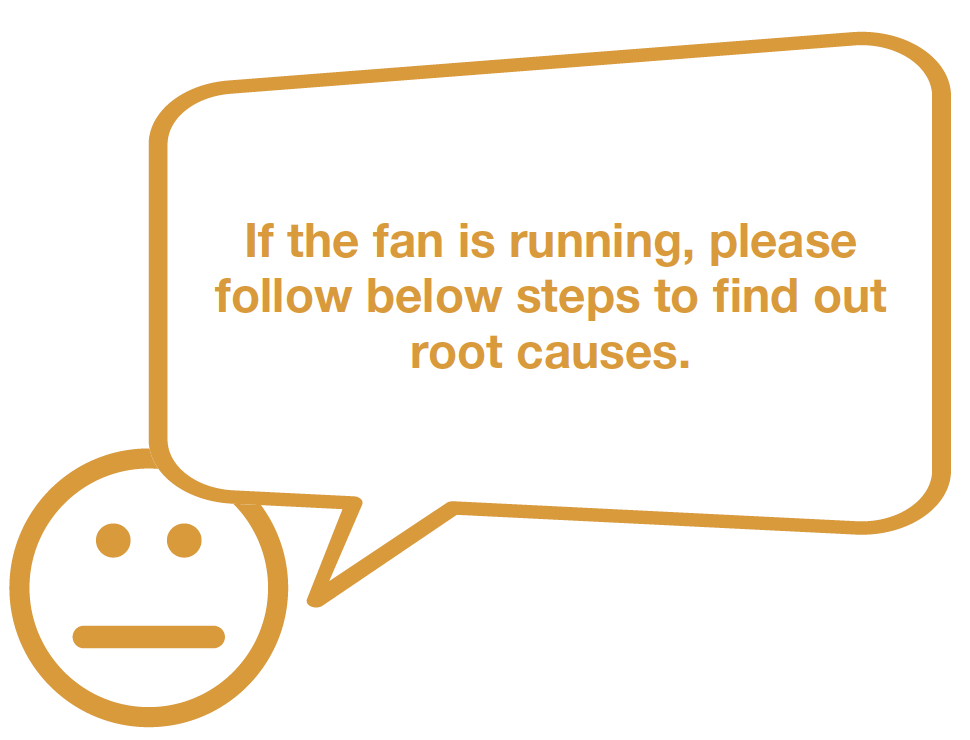
Open the freezer and put your hand to freezer to feel if the fan is running.
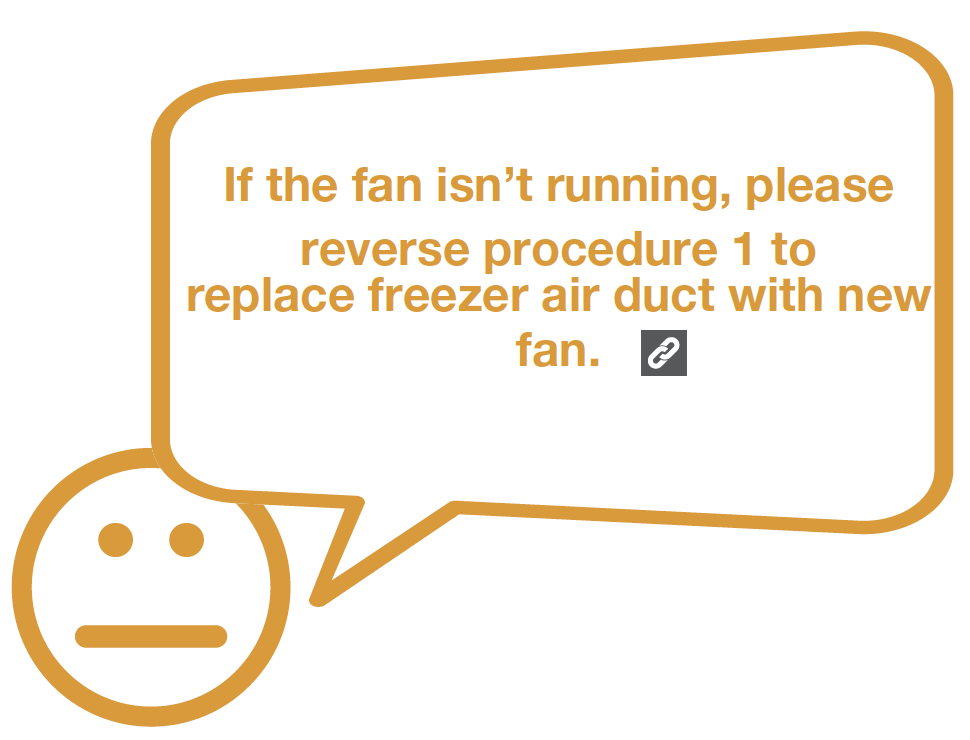
DIAGNOSIS 8


GO BACK TO COMPONENT LIST