

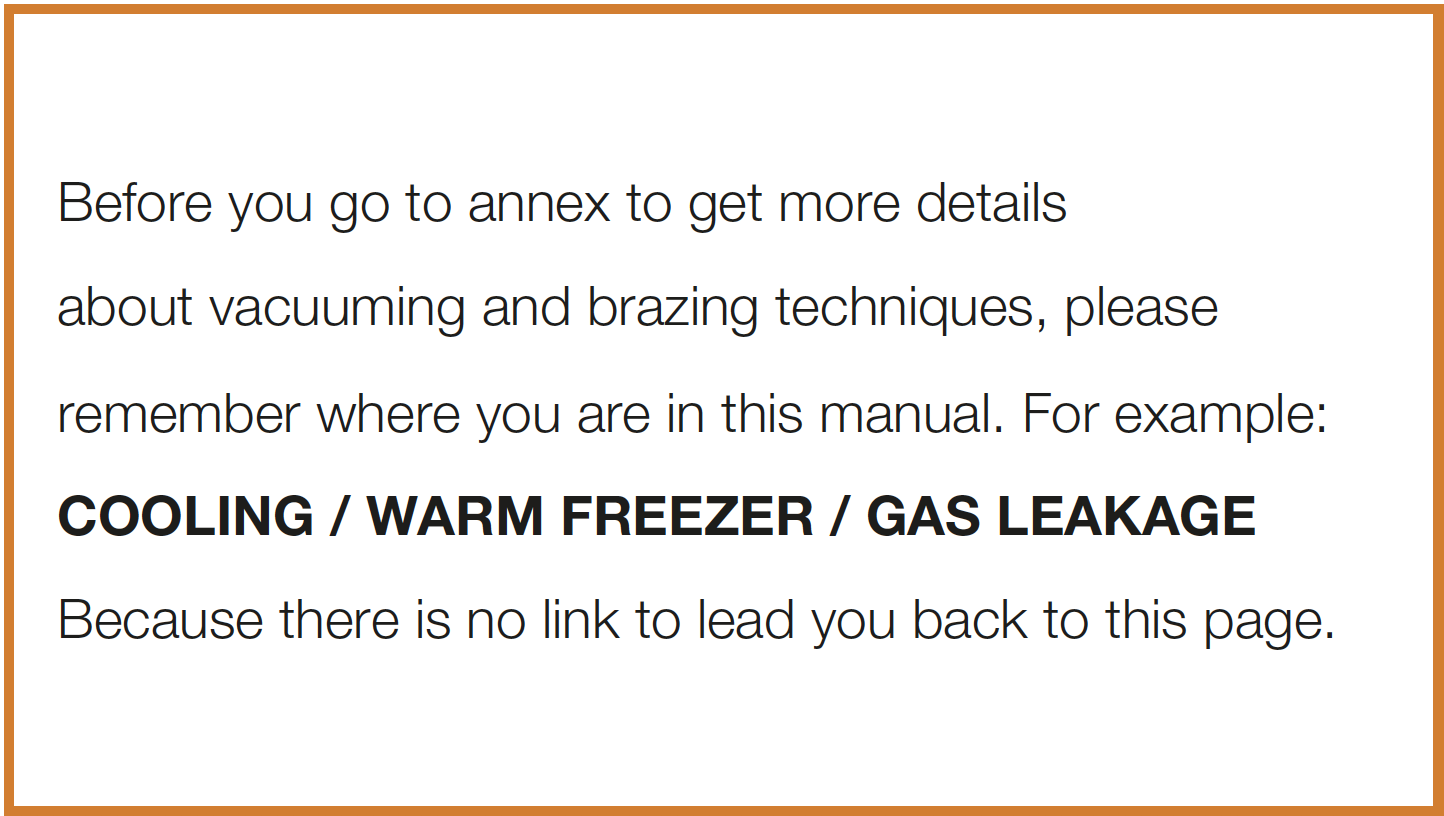
NOTE
CHECK AND TEST 1
Step 1
Cut off capillary to discharge refrigerant.Step 2
Discharge all refrigerant toward the exhaust vent.
Step 3
Cut off exhaust pipe.

Step 4
Power up the
compressor and feel the
exhaust pressure from
the exhaust pipe with a
piece of paper.


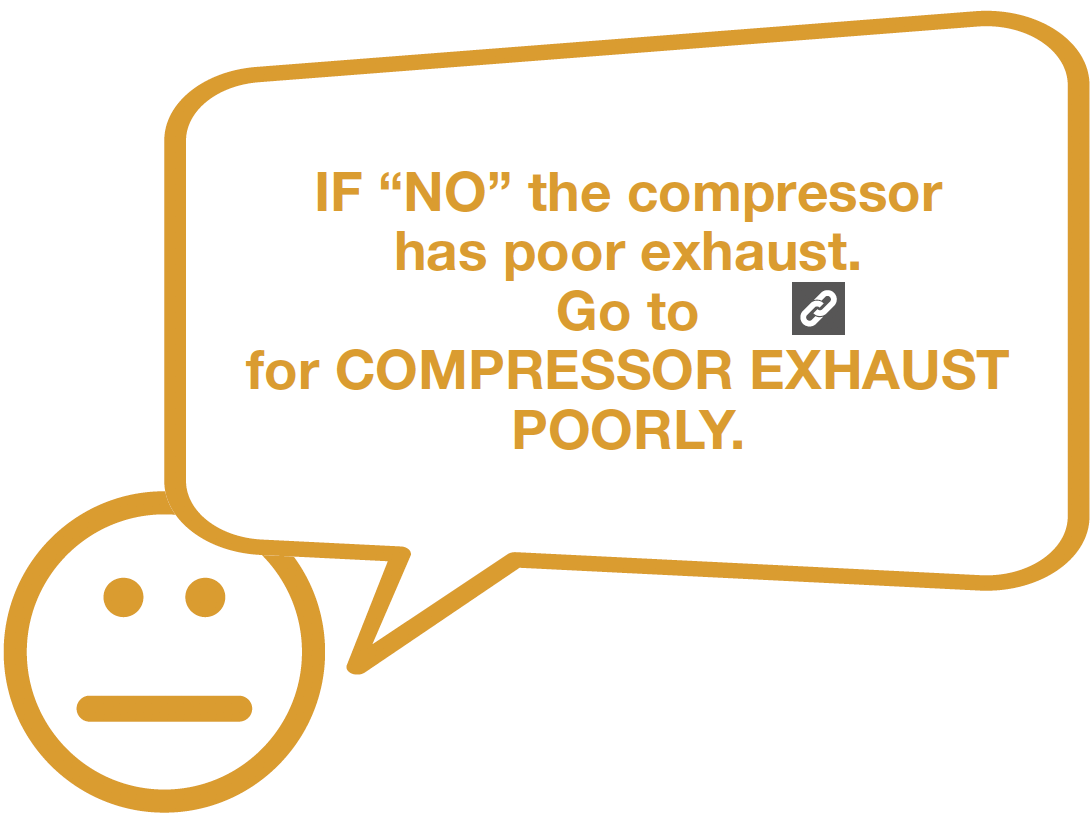
DIAGNOSIS 1
CHECK AND TEST 2
Step 1
Braze the joints of suction and exhaust pipes.

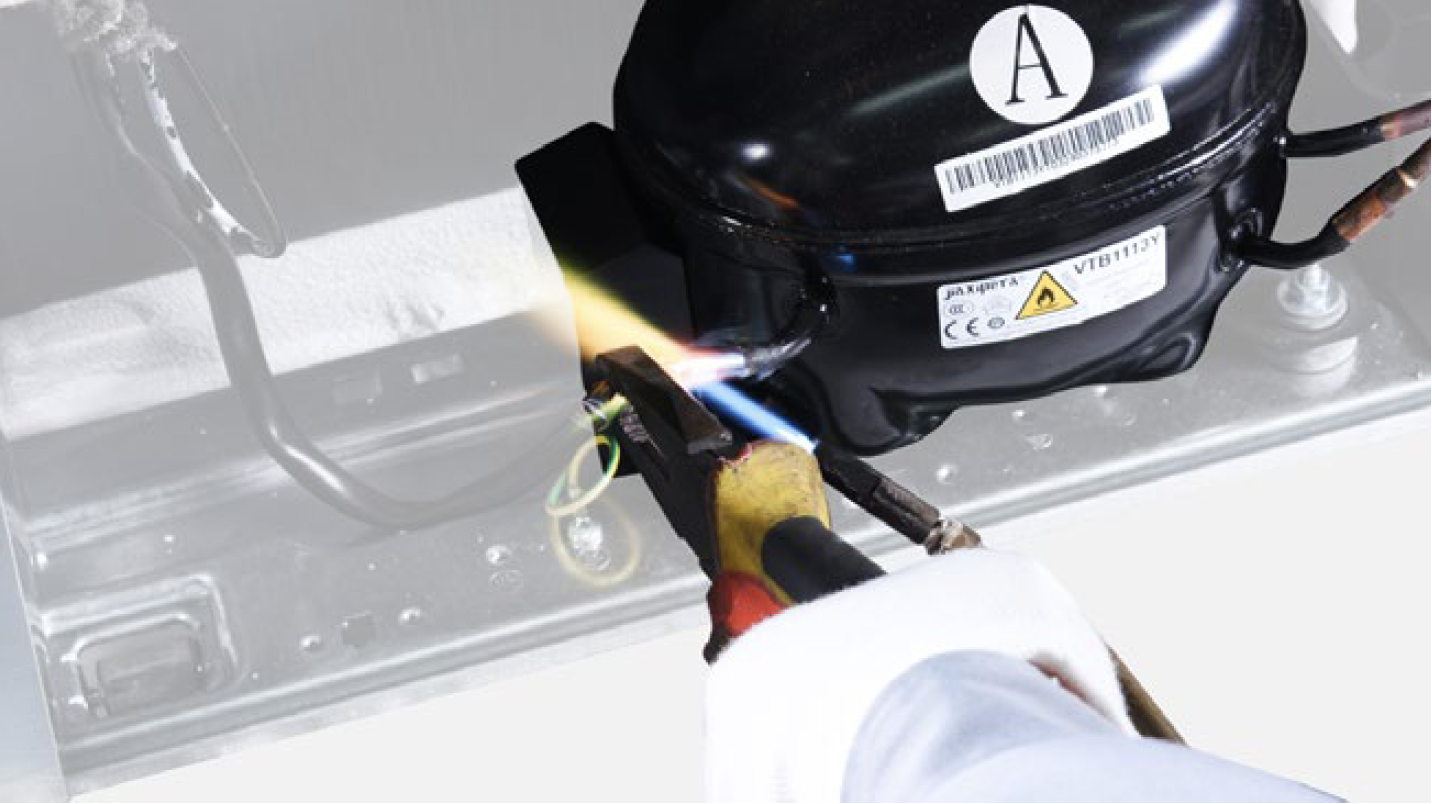
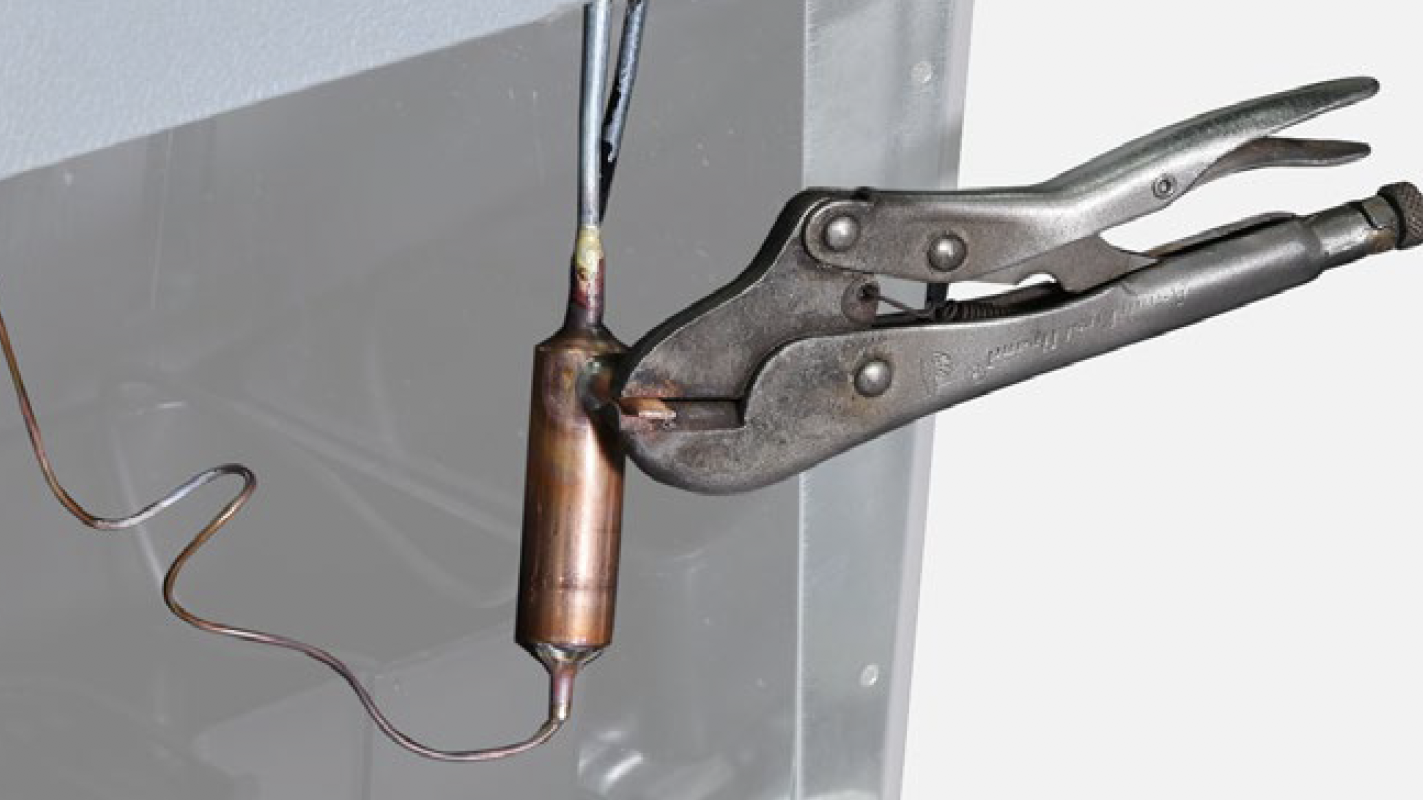
Step 2
Melt brazing material with flame and pull out processing pipe with pliers.
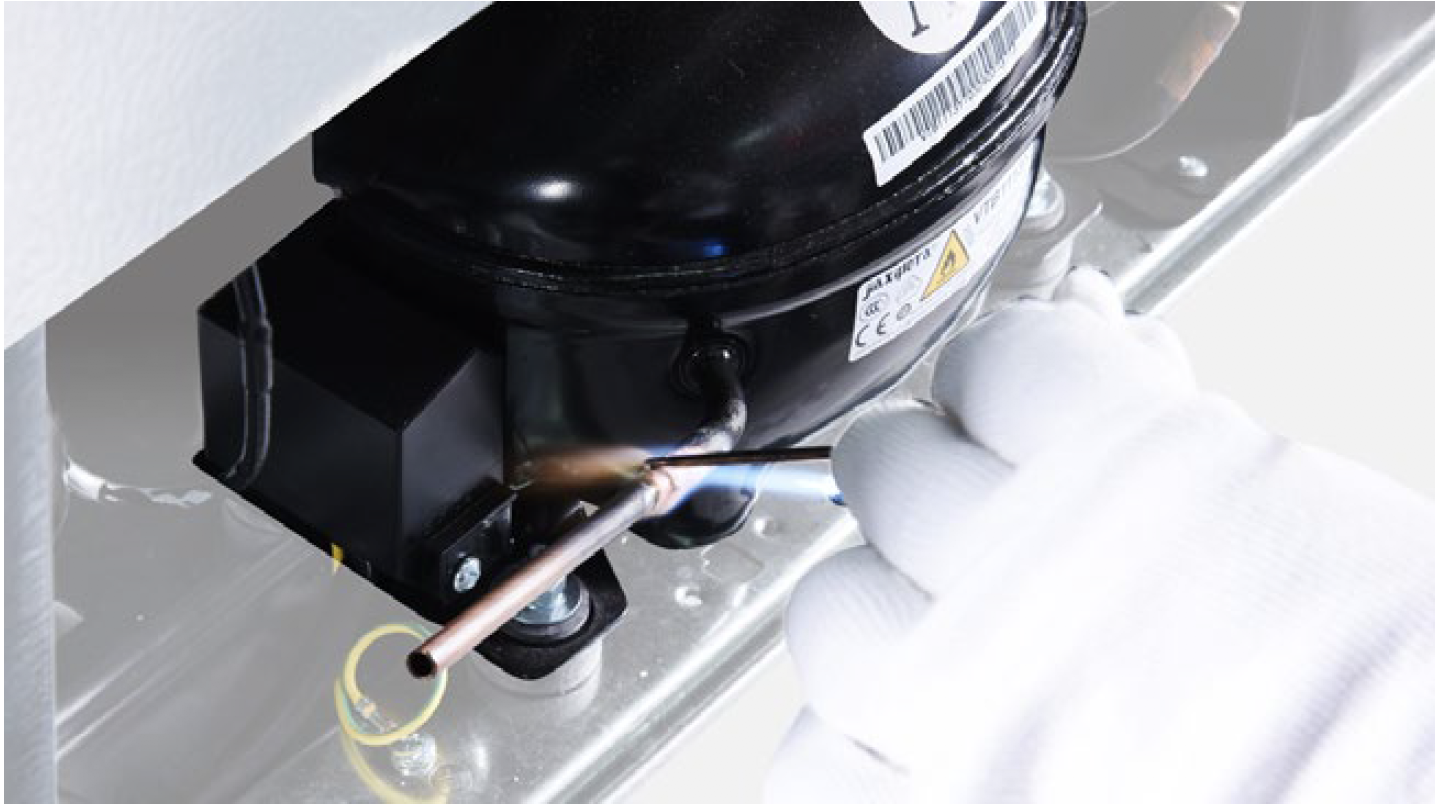
Step 3
Re-braze a copper tube onto processing pipe of compressor.
Please find more details of brazing requirements
NOTE
Step 4
Inject nitrogen (1.57Mpa)
through quick connector
into pipe for at least
3 min to blow remaining
refrigerant away.

Step 5
Check to see if gas pressure from capillary is normal or not.
Note:
Measure the 2 ends of
cutting points

DIAGNOSIS 2

CHECK AND TEST 3


Step 1
First, cut off end closed
to exhaust end (A in
below picture).
Step 2
Then, cut off the end closed to suction end.

DIAGNOSIS 3

PROCEDURE 1

Step 1
Use a larger copper tube to connect 2 ends of brazed joint.

Step 2
Braze the 2 ends.

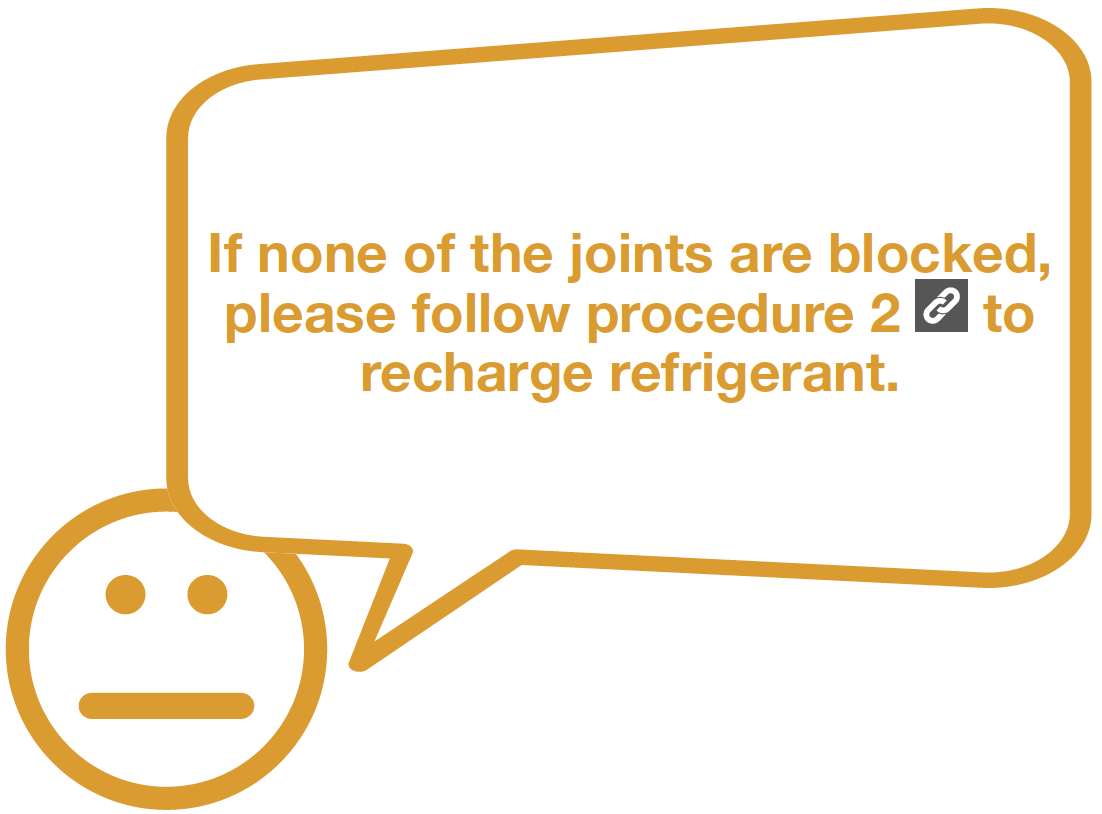
PROCEDURE 2
Step 1
Clean paint off of brazed joint of drying filter.
Step 2
Cut off drying-filter.

Step 3
Braze on a new
drying-filter.

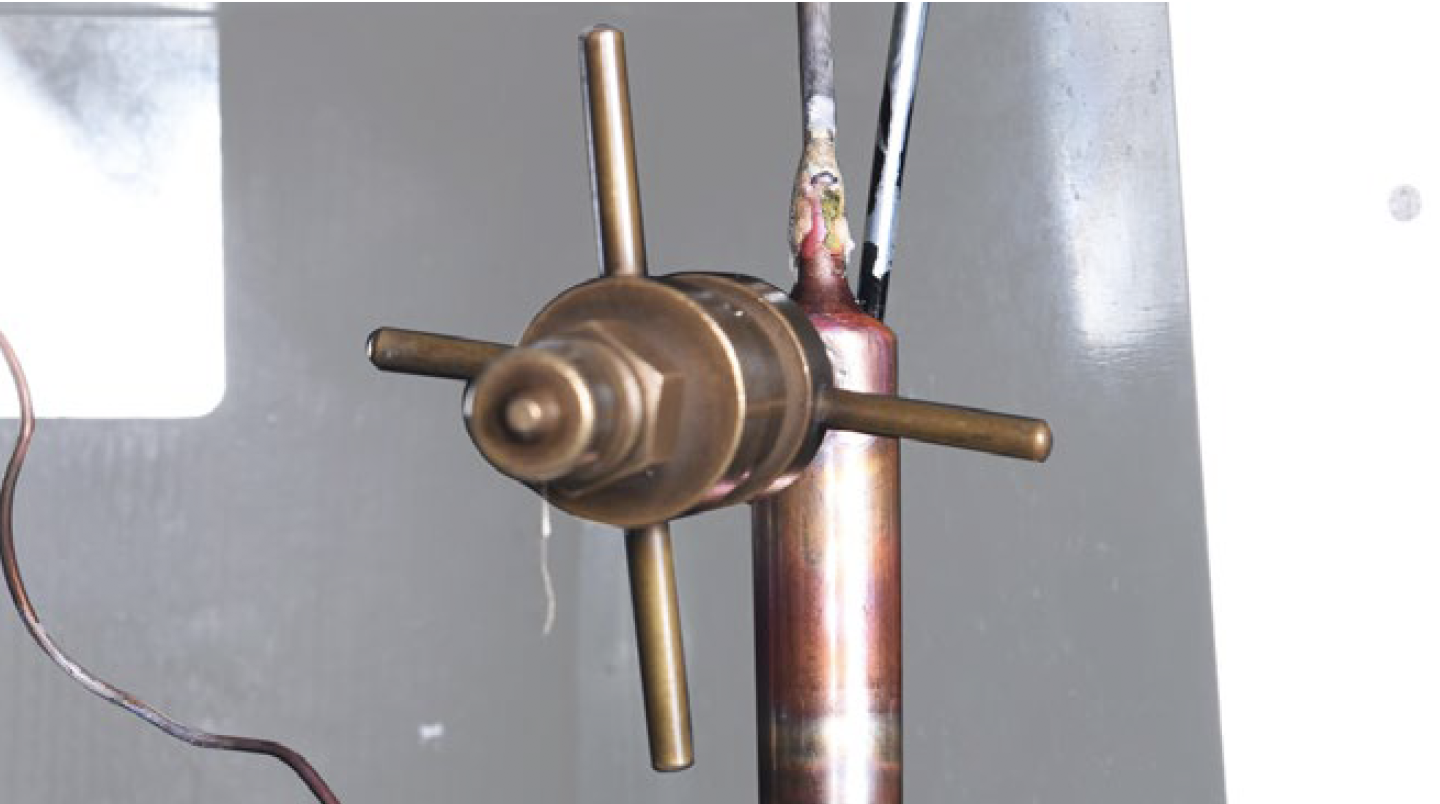
Step 4
Add quick connector onto processing pipe of drying-filter.
Step 5
Perform a leakage test on all re-brazed joints of drying-filter and compressor processing pipe.

Step 6
Vacuum and recharge.
Please get more details of vacuuming and gas- charging requirements

Step 7
Block processing pipe twice by locking pliers.
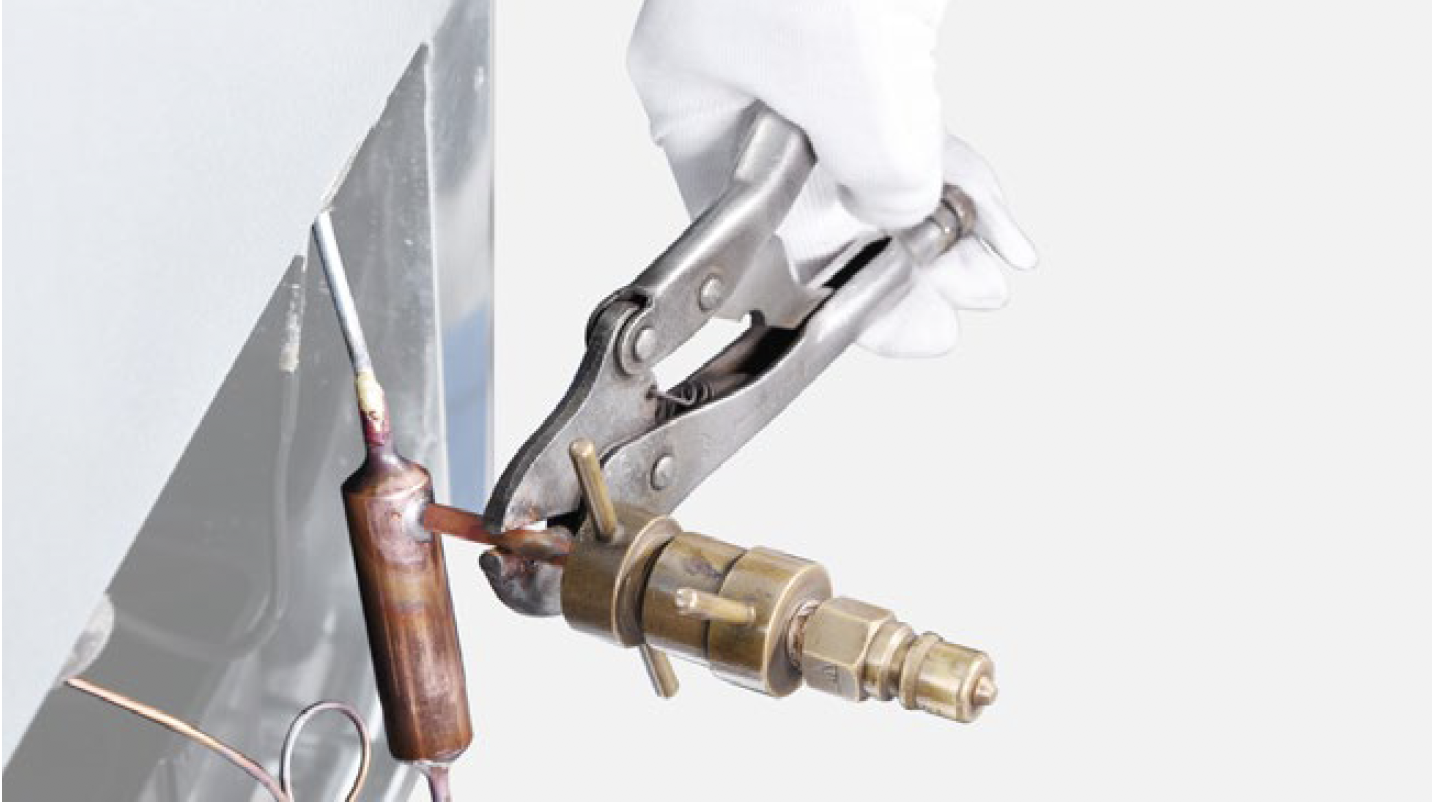
Step 8
Leave locked pliers attached to second block and shake to cut off the remaining pipe.
Step 9
Braze the ends and remove the pliers.

DIAGNOSIS 4


GO BACK TO COMPONENT LIST